
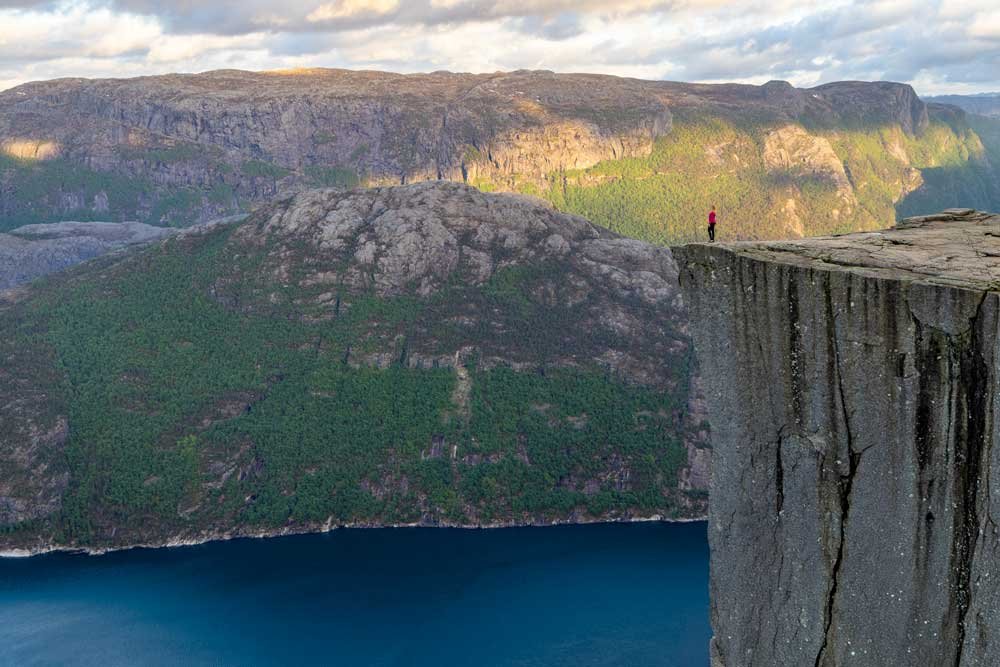
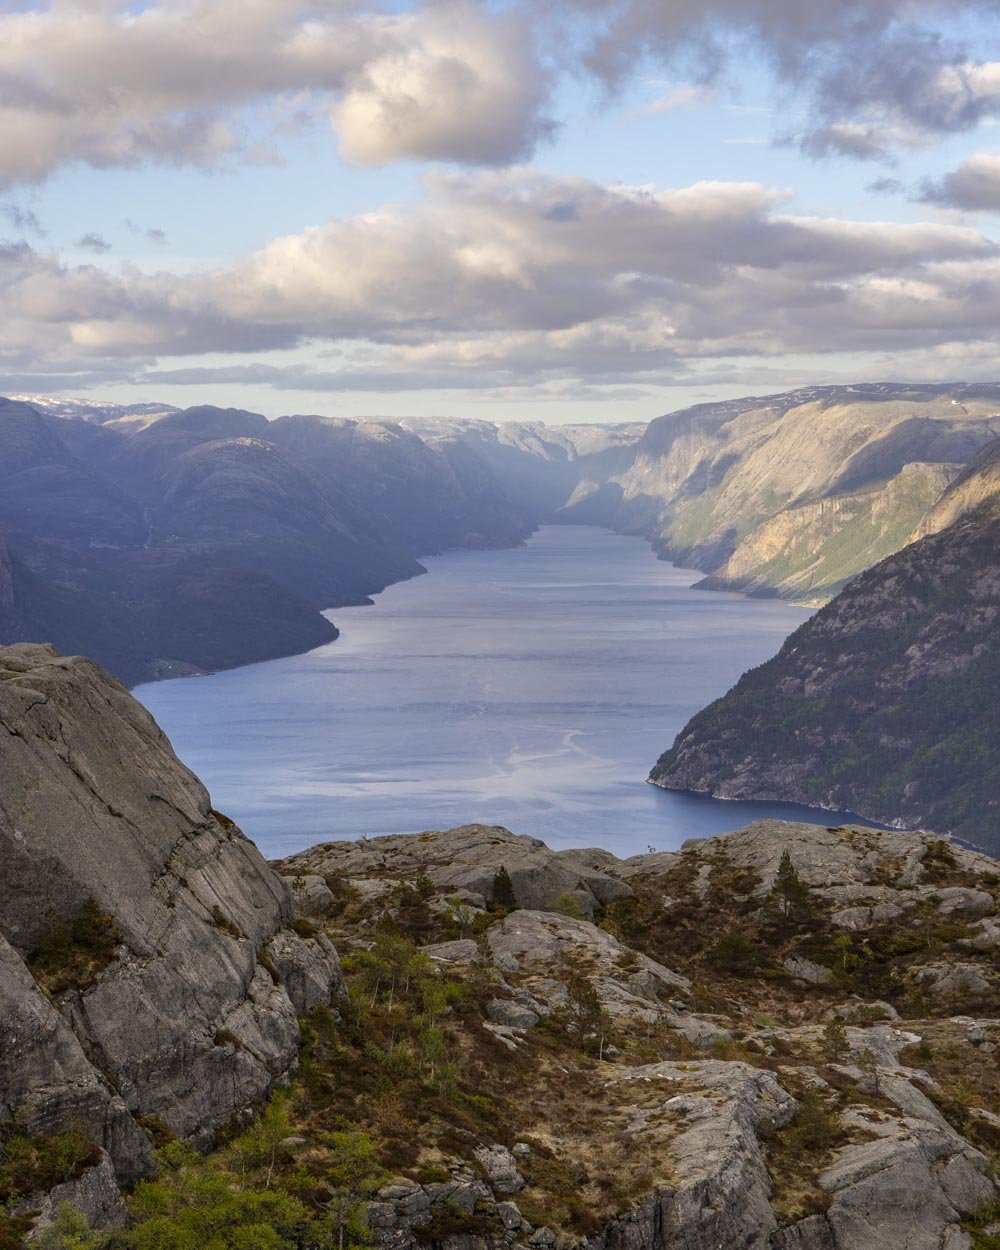
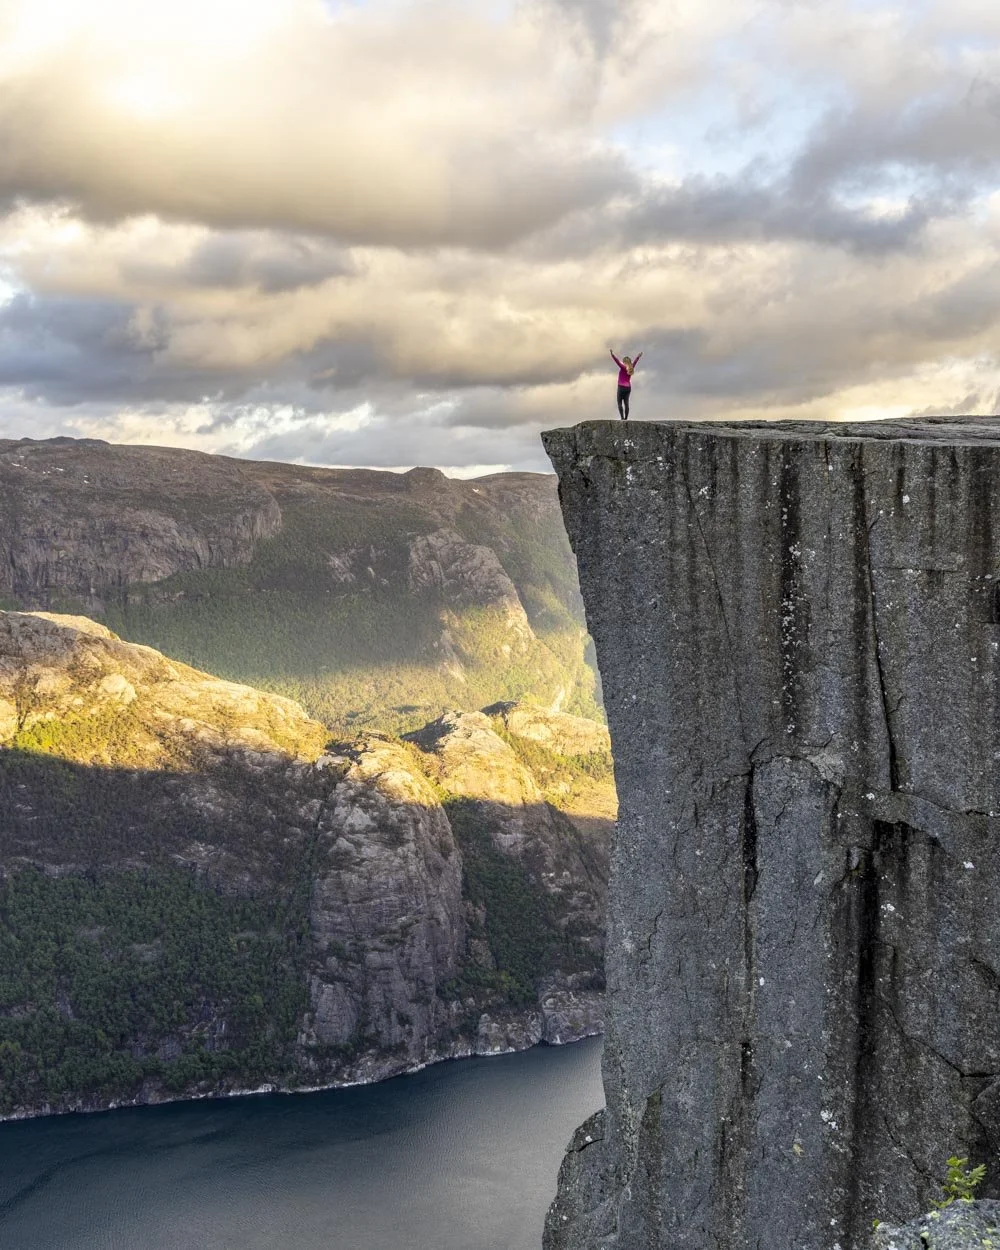
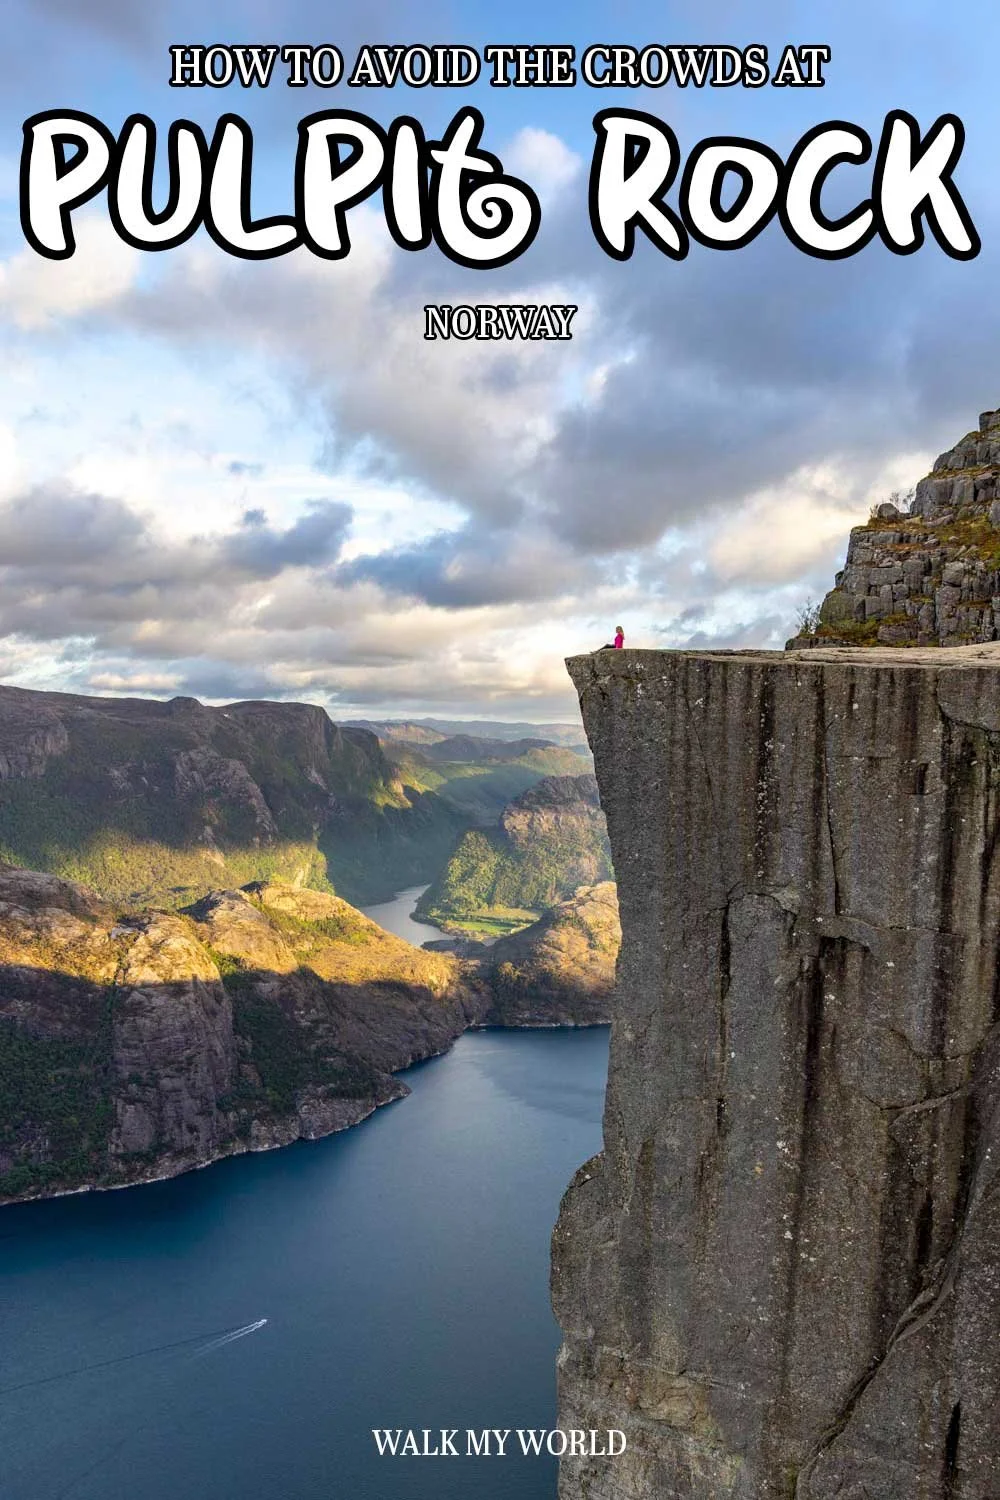
When it comes to the Pulpit Rock hike, we’d heard all the stories: huge crowds on the rock, conga lines of people snaking up the trail and claims that it’s seriously overhyped and not worth your time or money. Yet we’d also seen the incredible photos; a sheer cliff wall that stands 604m tall, presiding over an ice blue fjord surrounded by mountains. We knew we still wanted to visit.
I am so glad we did because our experience couldn’t have been further from the horror stories, we absolutely loved it.
Pulpit Rock is as grand and alluring as the best photos you’ve seen, and yes, despite everything you may have read, it’s still possible to experience it without the crowds. In this guide we’re sharing how we did it as well as all the details on what to expect from the hike itself.
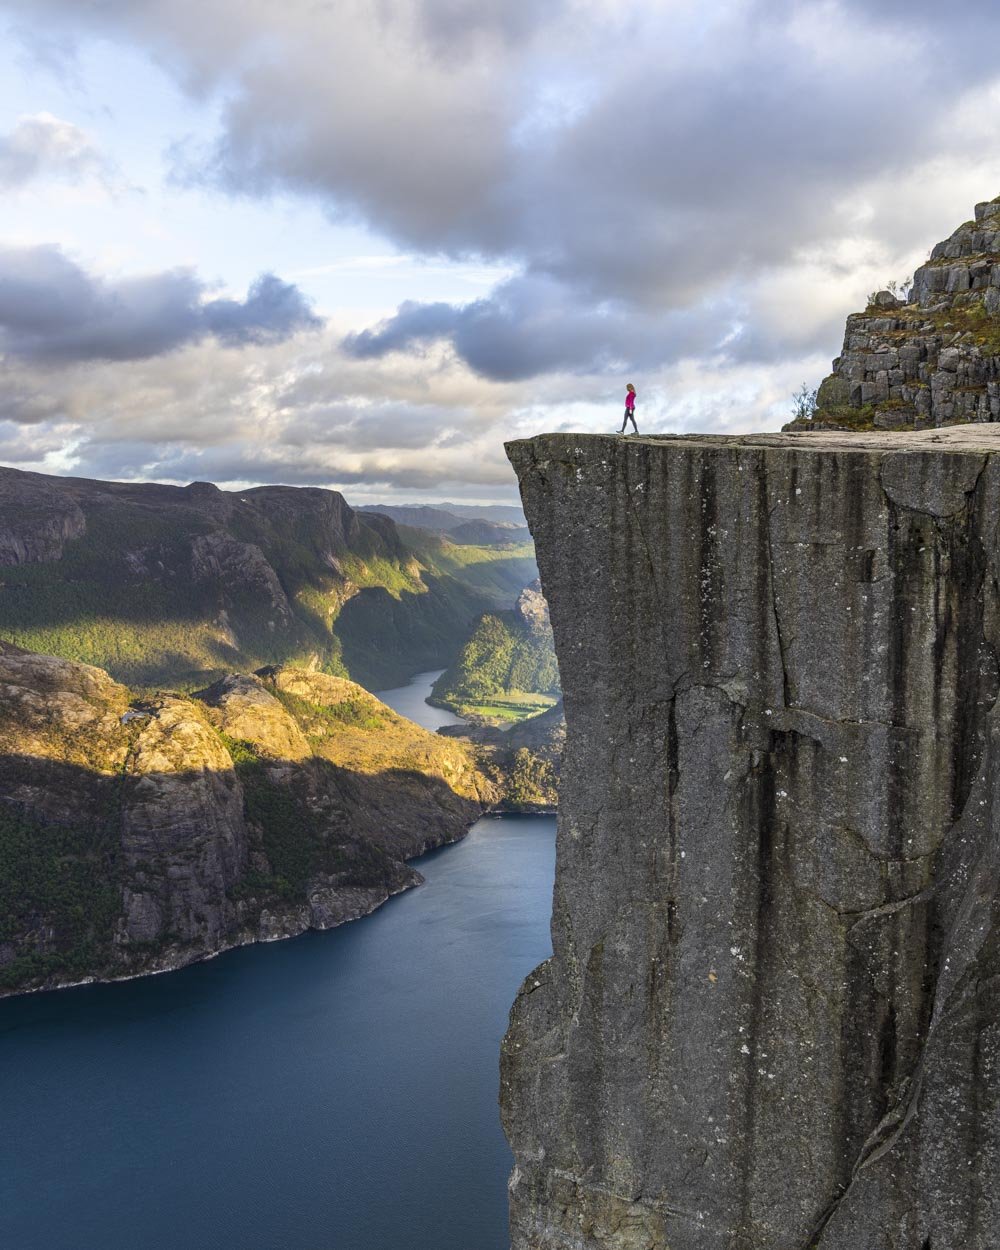
The Preikestolen Pulpit Rock Hike
How to beat the crowds
The majority of people hike Pulpit Rock in the summer months, but it’s still hugely popular in the off season too. If you’re equipped with snowshoes and or crampons, then naturally a winter hike will see far fewer people on the trail with you, although the limited daylight hours mean anyone with the same idea will be condensed into a small time frame.
However, I am going to assume that, like us, you’re probably going to visit when the snow and ice has cleared. In my opinion the best months to see fewer crowds and still have a good shot at decent weather would be May and late September through to October.
However, many hundreds of people a day still hike the trail at this time and in July and August that number rises into the thousands, with some days as high as 7000 people according to the tourism board.
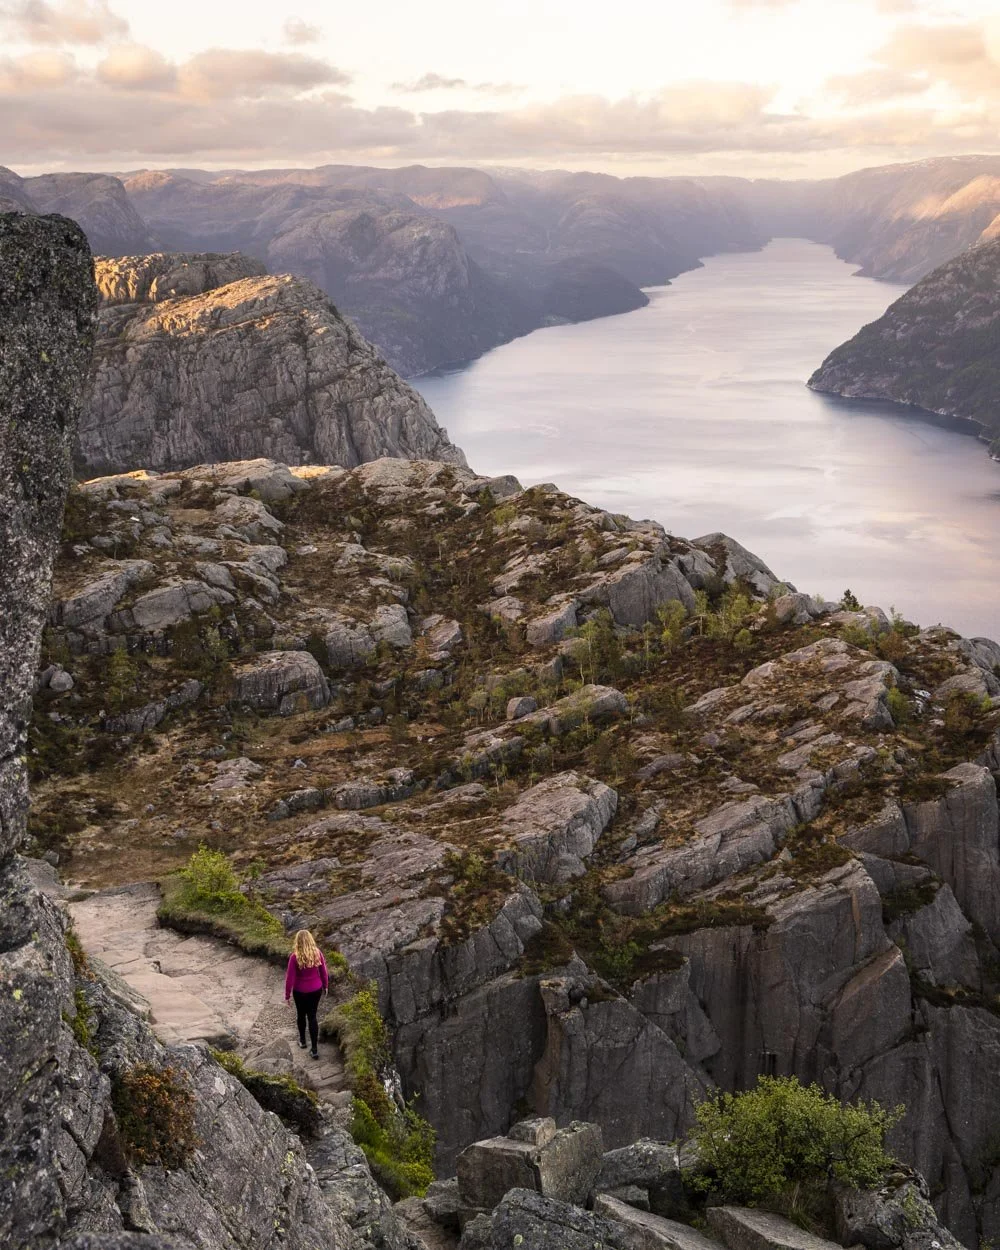
The way to get around this is to hike late. Most people will not consider hiking late into the evening yet the daylight hours from May to August are so long that you won’t even need to walk back in the dark.
We visited Norway at the very end of May and during our two weeks in the country we had two days in the Pulpit Rock area which weren’t 100% overcast and or, high winds.
That meant that everyone who wanted to walk the track around this time were also aiming for the same weather window. We knew a lot of people are willing to get up early to hike but few people even consider going late.
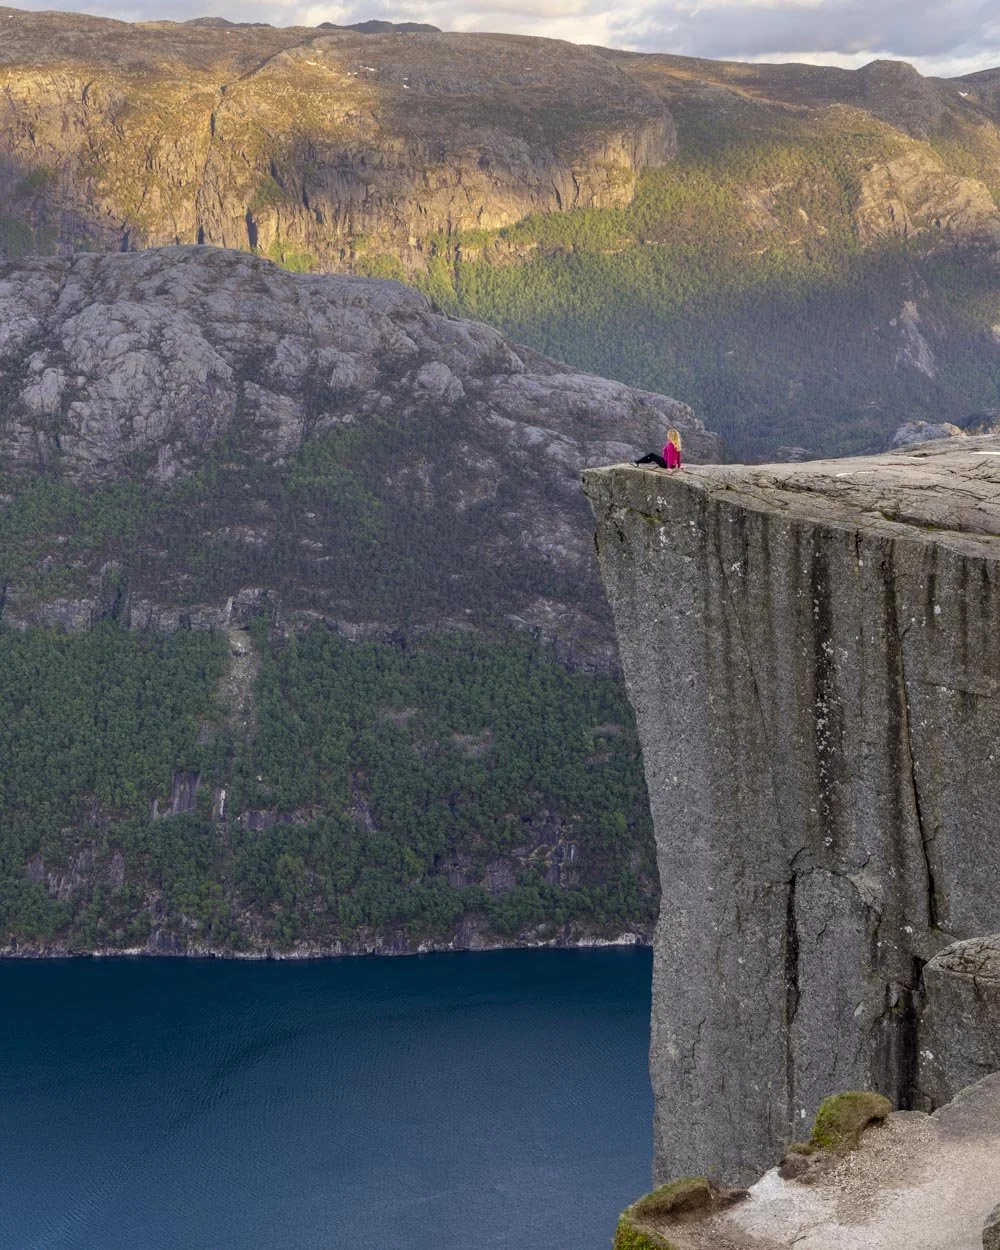
We set off at 7pm and we spent over an hour at the rock, sharing it with just four people across that entire time, most of the time it was just us and one friendly guy from the Netherlands, hi Thomas if you’re reading this : )
It was the dream experience and though we didn’t expect crowds leaving so late, we also didn’t expect it to be as quiet as it was. It was good vibes all round with everyone in awe, not just of the rock and the views, but that we were sharing the experience with so few others.
We left Pulpit Rock at 9.45pm and due to the loooong twilight hours it was still light-ish when we got back to the car park and that included time spent stopping to watch the most colourful part of the sunset along the way.
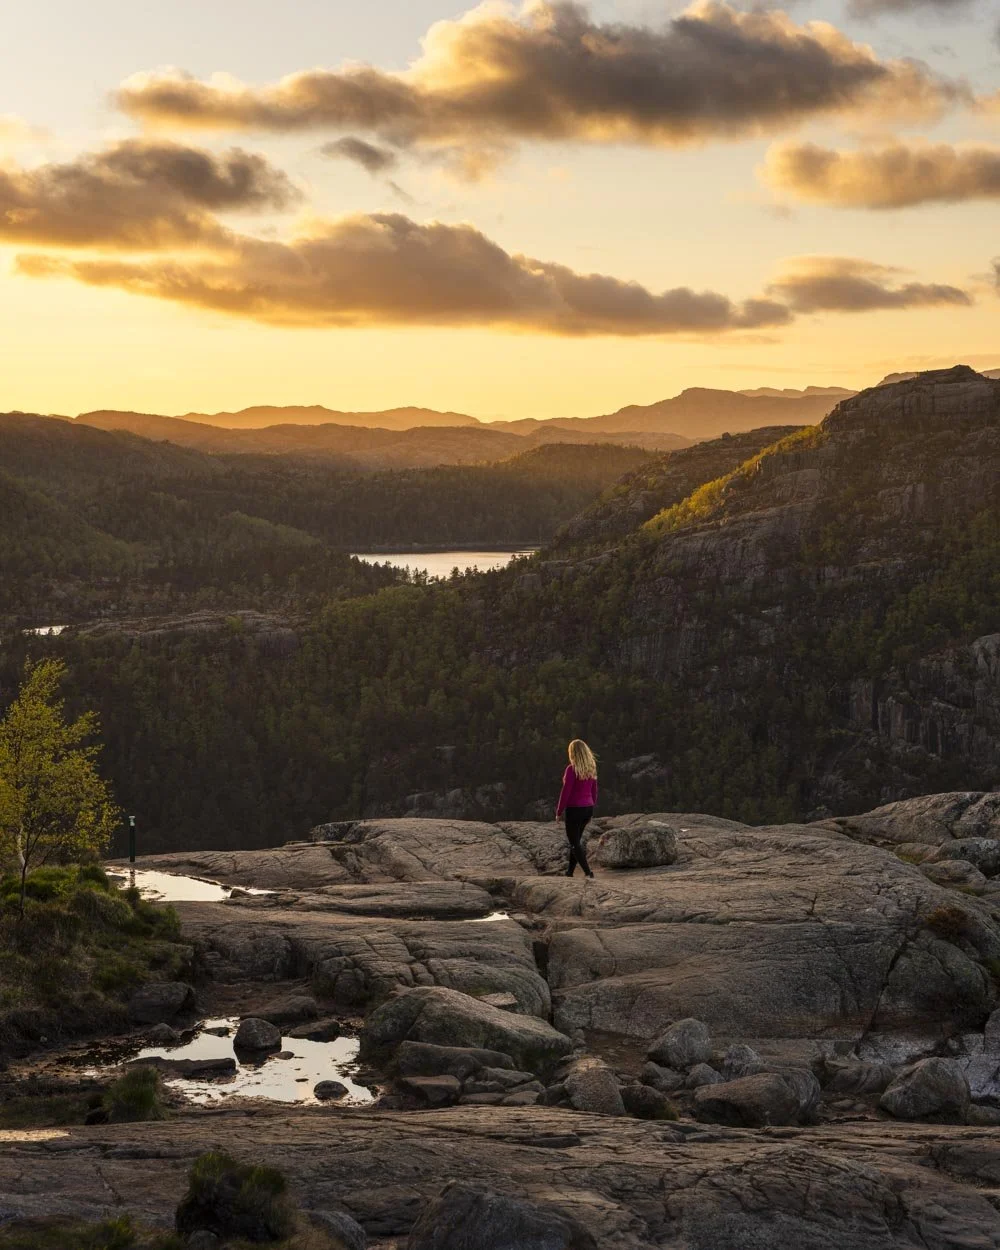
If you’re hiking in July and August you will likely need to set off a bit later than we did, or go at the same time and be prepared to wait a little (it’s hard to say, it could be just as quiet but there will be more people in the area so even later may be preferable).
We met a guy who worked in the nearby campsite and he confirmed that almost no one ever goes late, so it wasn’t just luck the day we went. Oh and though it is tiring to hike so late in the day a little sweetener is the light. Though Pulpit Rock will be in shadow, the light is gorgeous and it’s in full shadow, which is better for photos than harsh contrasts.
How to make sure you get the best views
Looking more closely at the weather forecast will have a big impact on your experience, we’ve heard of people arriving at the rock and it’s completely socked in with cloud or fog and they see nothing!
Obviously if you’re tight on time, this bit isn’t relevant, but If you have a bit of flexibility and want to make sure you get amazing views we recommend using the trusty YR website to check for fog and cloud cover.
It’s also best if you can aim for low winds so you can enjoy the area for longer, though this one can be trickier to achieve. Happily YR covers the weather for Preikestolen itself and it was highly accurate on our visit.
Go to the details tab at this link then scroll across and you can see the cloud cover. You want to aim for as low a percentage as possible in the low and middle cloud cover section as this is the cloud that sits on top of the mountains and obscures the view.
Ideally you don’t want much high cloud either, but it’s much better to have a high percentage of high cloud than any other type (if it’s very dense it normally means you just have a white sky).
Additionally, where you see grey lines under the icon in the ‘weather’ tab, that means it will be foggy.
Though fog often lifts and shifts more quickly than low lying cloud and could be atmospheric if it’s only partially obscuring the view.
Finally, YR also tells you the wind speed, so if you see that it is quite high (above 10 m/s), then you may want to reconsider your trip as it will be very blustery!
A step by step guide to the Pulpit Rock hike
The stats
Distance: 8.7km return
Elevation gain: 580m
Difficulty: Moderate
Trailhead: Preikostolen Car Park
Summary: The walk to Pulpit Rock is all on a well maintained track, although large sections are rocky. Due to its popularity, the path is kept to a very high standard but it’s rarely smooth, so if you don’t like uneven terrain you may still find it challenging.
There are flat sections, but the majority of the walk to the rock is uphill. Some sections are steep but these bits are all generally on rock steps. The track is very grippy when dry, but would require a little more care when wet. Additionally there are a few very minor rock slopes to climb.
The final 150m to Pulpit Rock is described as being on a narrow ledge, I think that makes it sound a bit scary. It’s not really narrow at all, though the drop to the left is gigantic, so it would probably be a bit stomach churning for vertigo sufferers.
The way down is straightforward, but again, due to the large number of rocky sections you do need to watch your footing a bit. There is a very small amount of uphill track on the way back, but the majority is downhill.
The path is exceptionally well marked, almost to the point of comical, with track markers every 50m in the latter stages.
Starting the trail: a baptism of fire
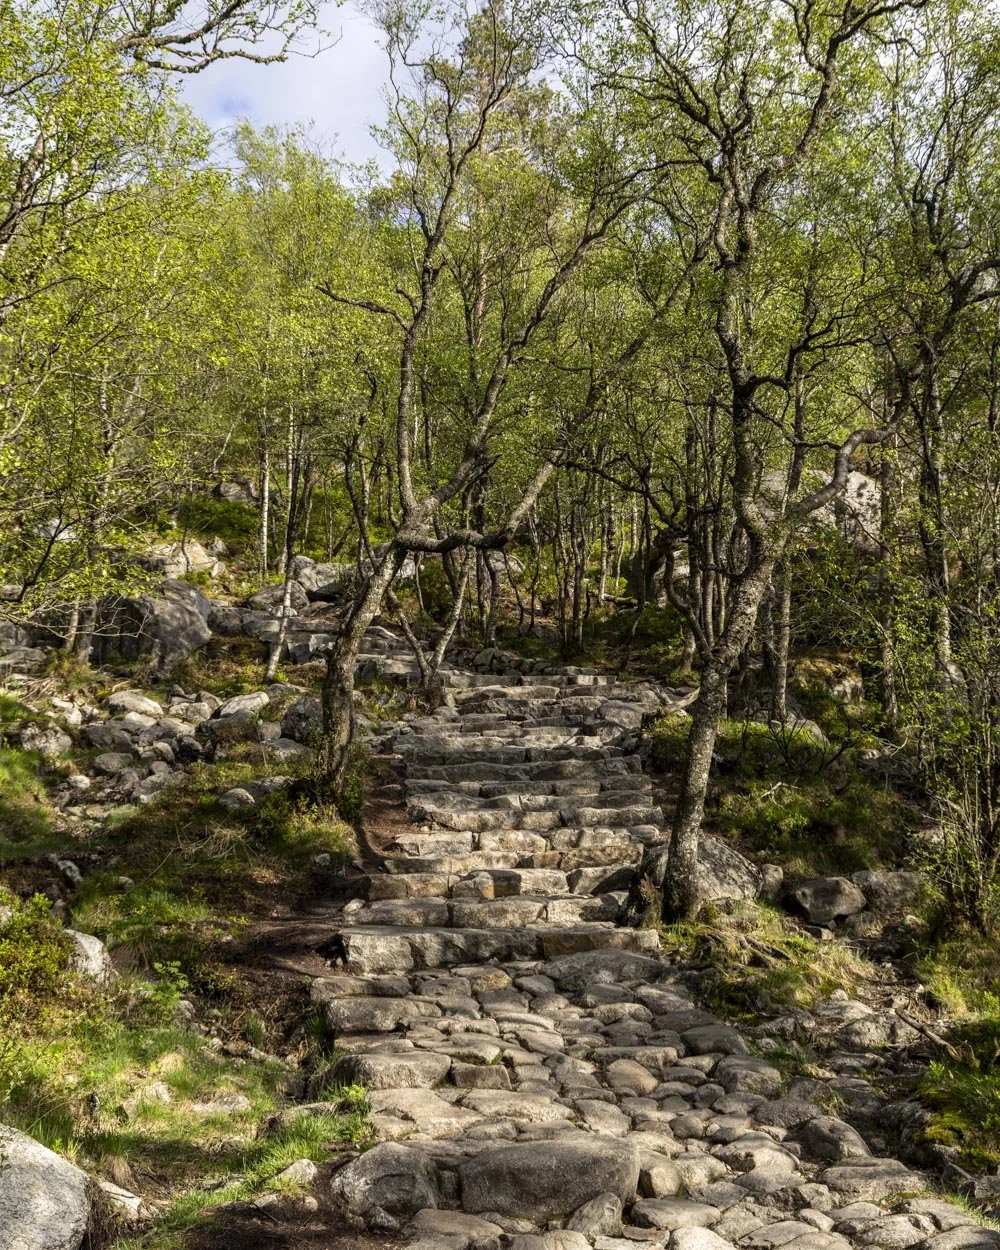
From the car park you follow the signposted trail which begins just past the cafe. It starts as a steep gravel track which soon turns into stone steps.
It was at this point that I realised this was going to be an easy walk by Norwegian standards, not by your average standards!
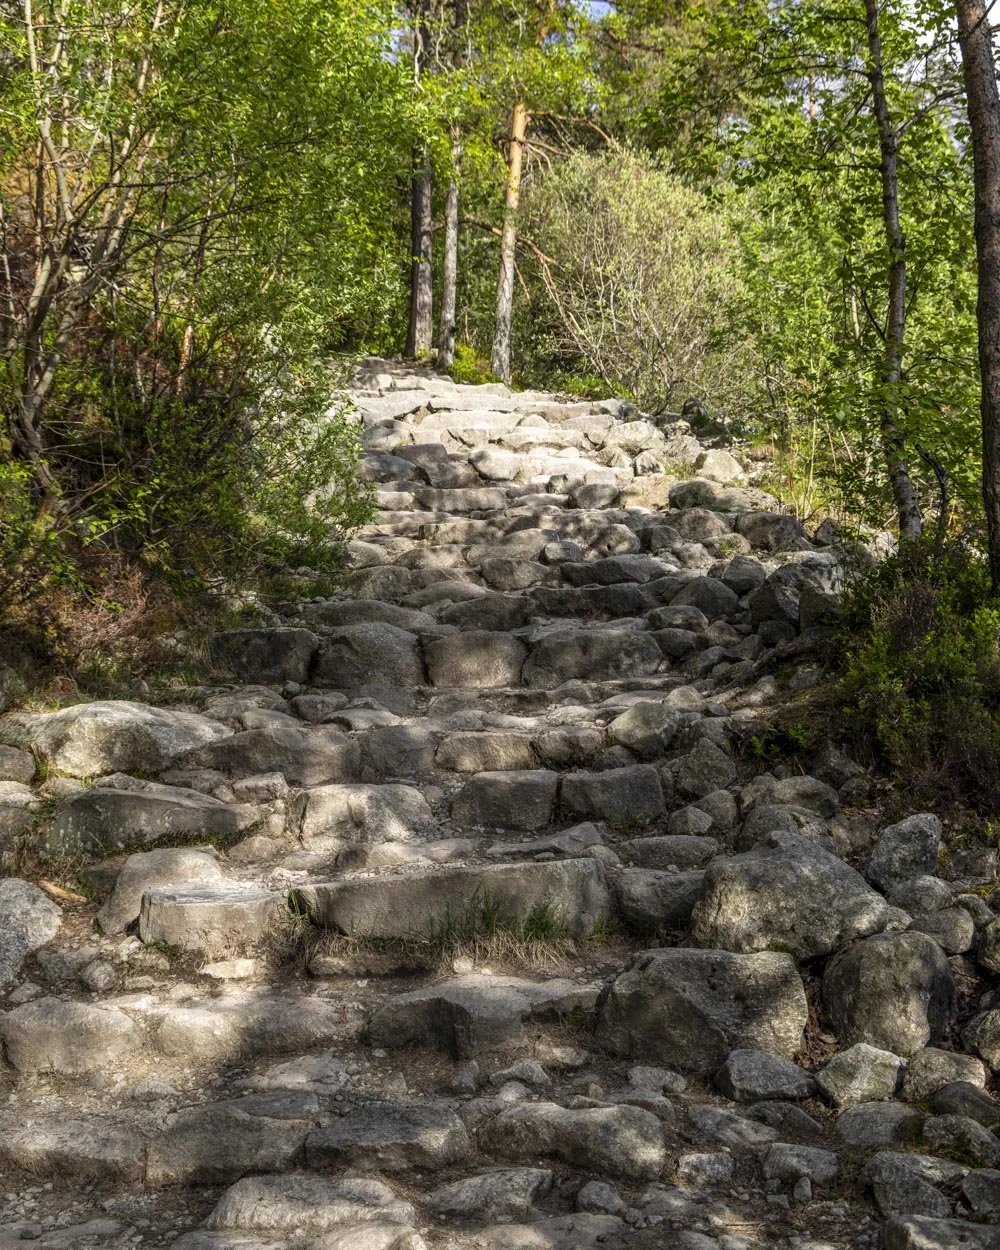
You’ll reach the top of the first set of stairs after 370m and at this point you have climbed 90m in elevation, making it a 24% gradient!
The first part of the hike is in very pretty forest laden with moss and rocks, offering shade and a bit of shelter from the elements. At the top of the stairs you have a brief section walking across smooth rock and the path will undulate but is mainly flat-ish.
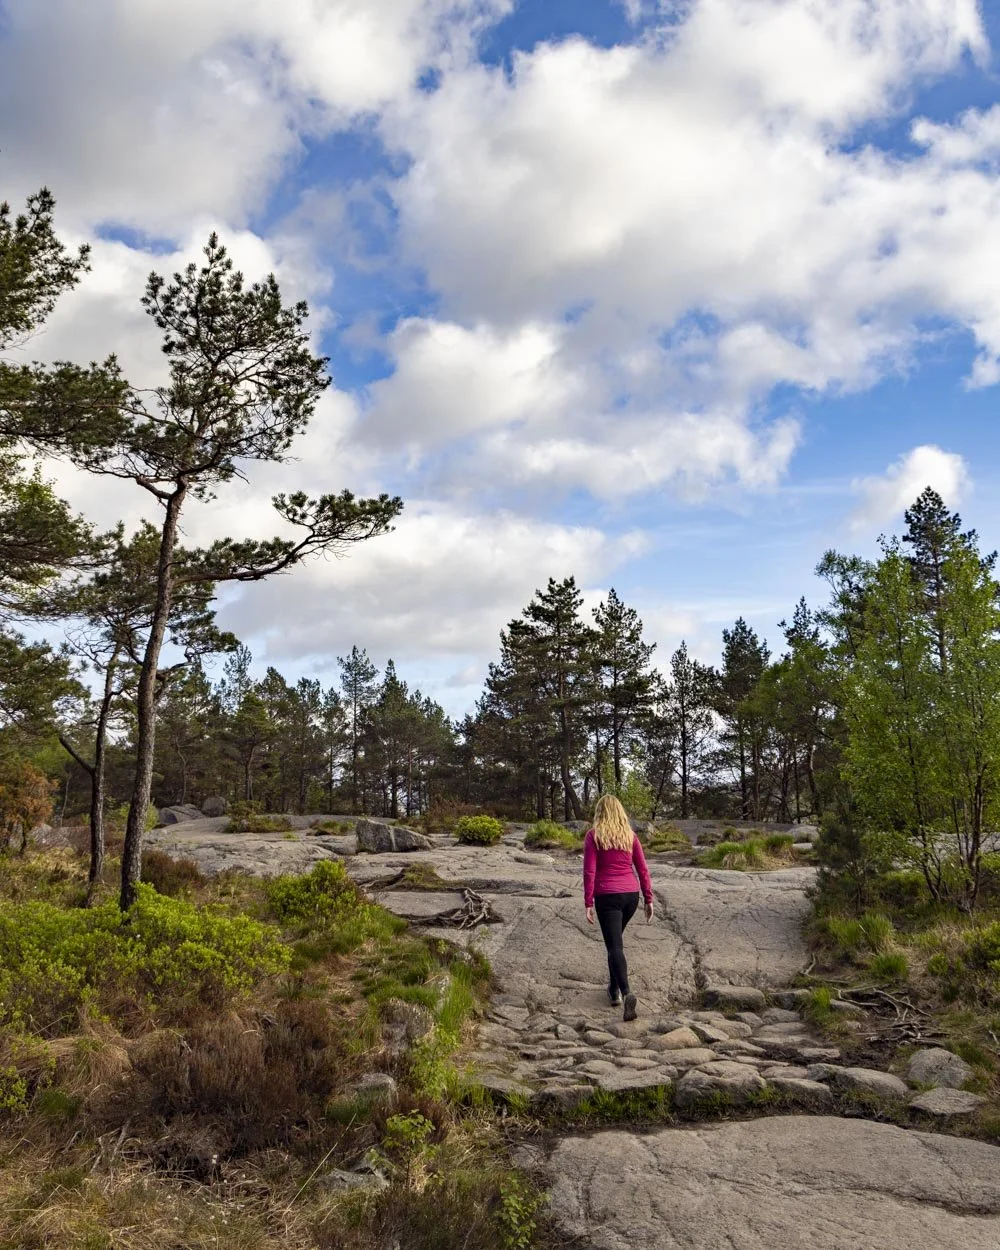
You’ll reach a bench seat 850m in and there’s a bit of a view, but it’s nothing on what’s to come.
Shortly after the bench seat, 1km into the walk, you’ll reach more rock steps leading uphill, but it’s not as steep as at the start.
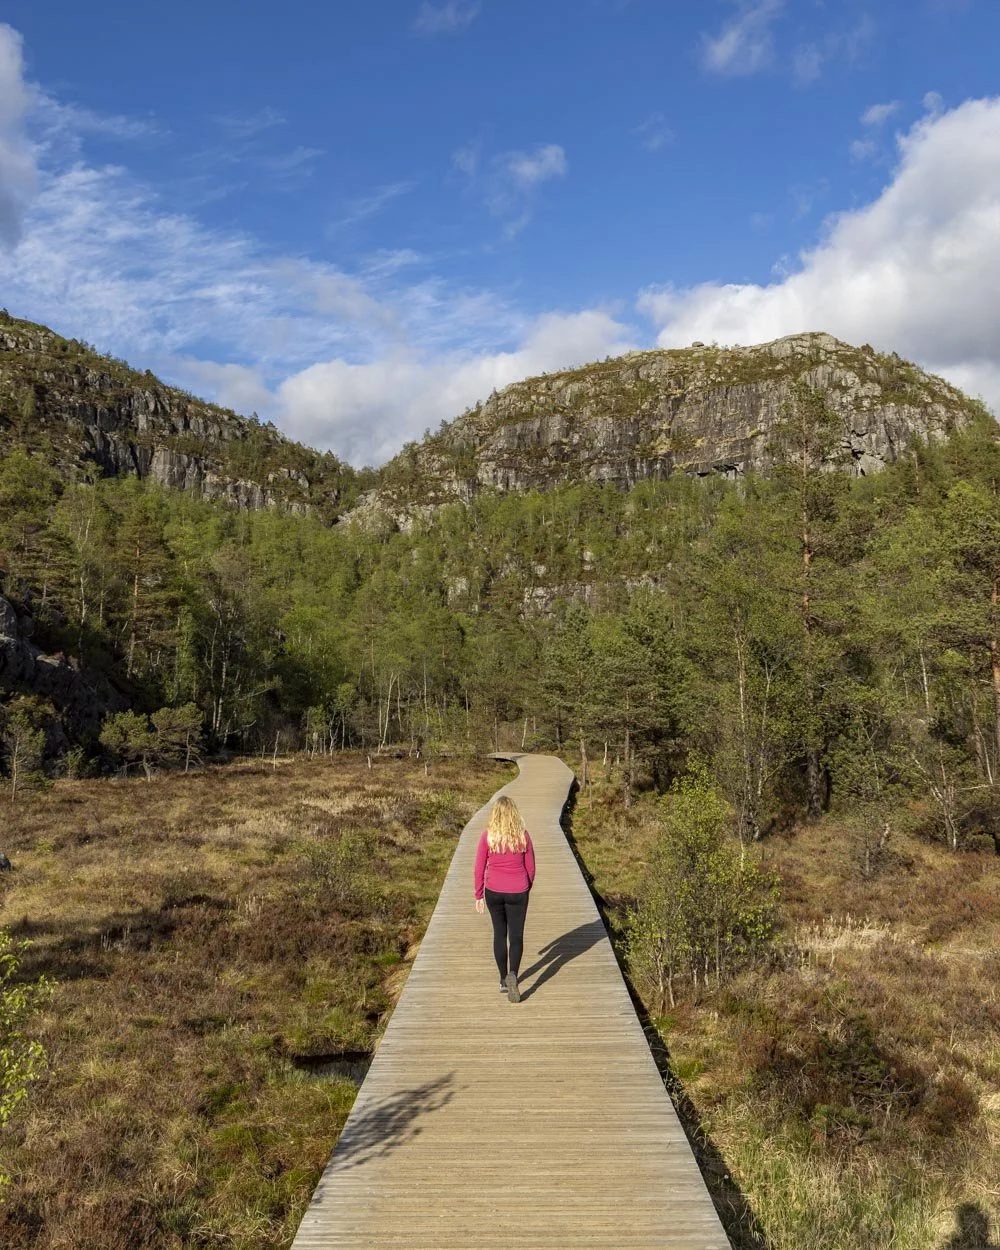
You’ll reach the top of the stairs 200m later and you’ll soon come to a pretty - and flat - section of boardwalk.
You’ll be very grateful for the boardwalk when you look down into the marshy ground beneath! It’s also very pretty with looming rock walls ahead of you.
The climb continues
After this short but welcome flat section, you’re back to the climb, it’s more rocks than rock steps at first, but they are grippy when dry and most are very stable.
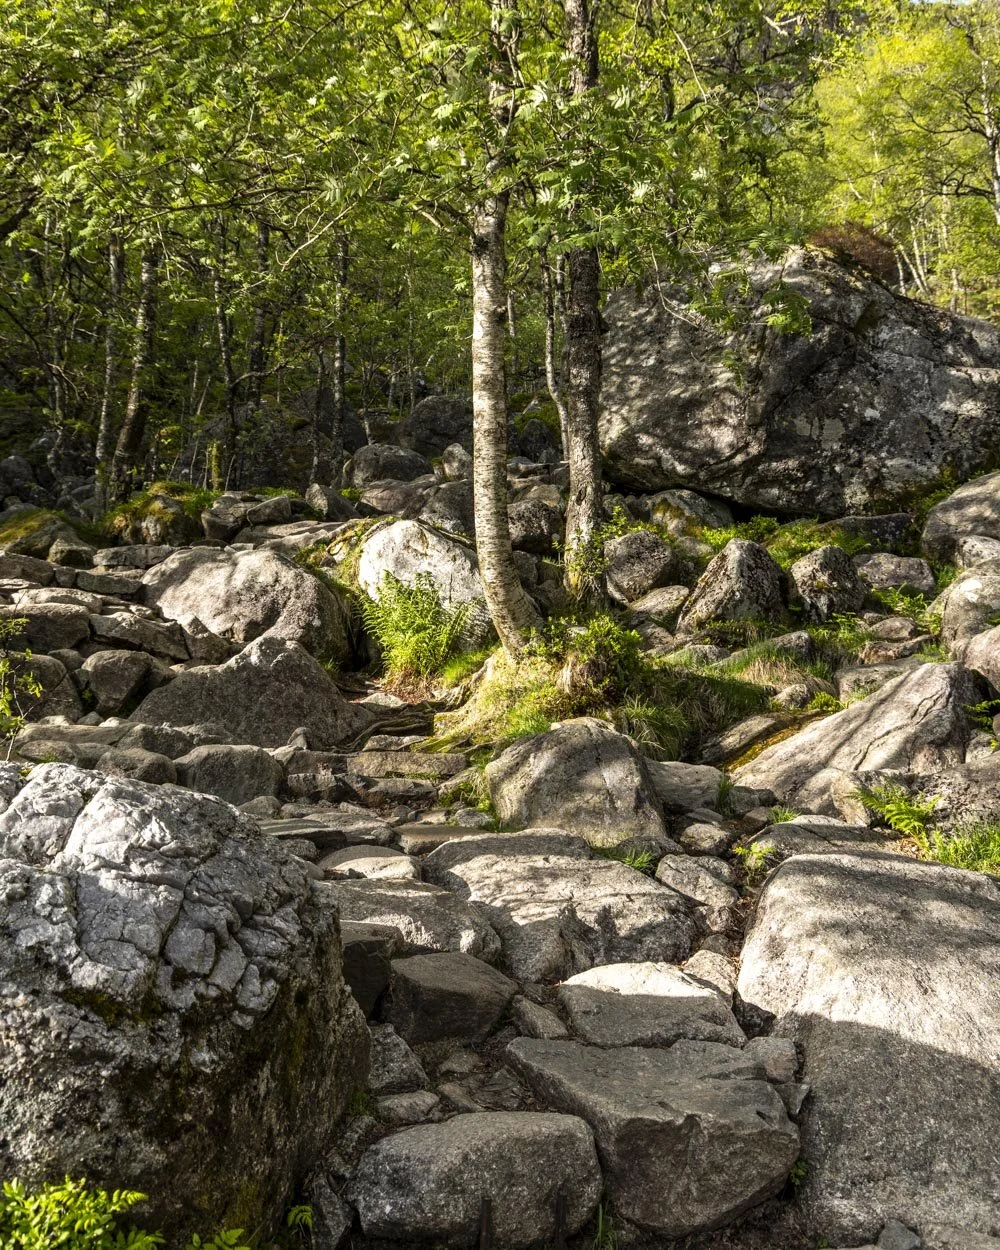
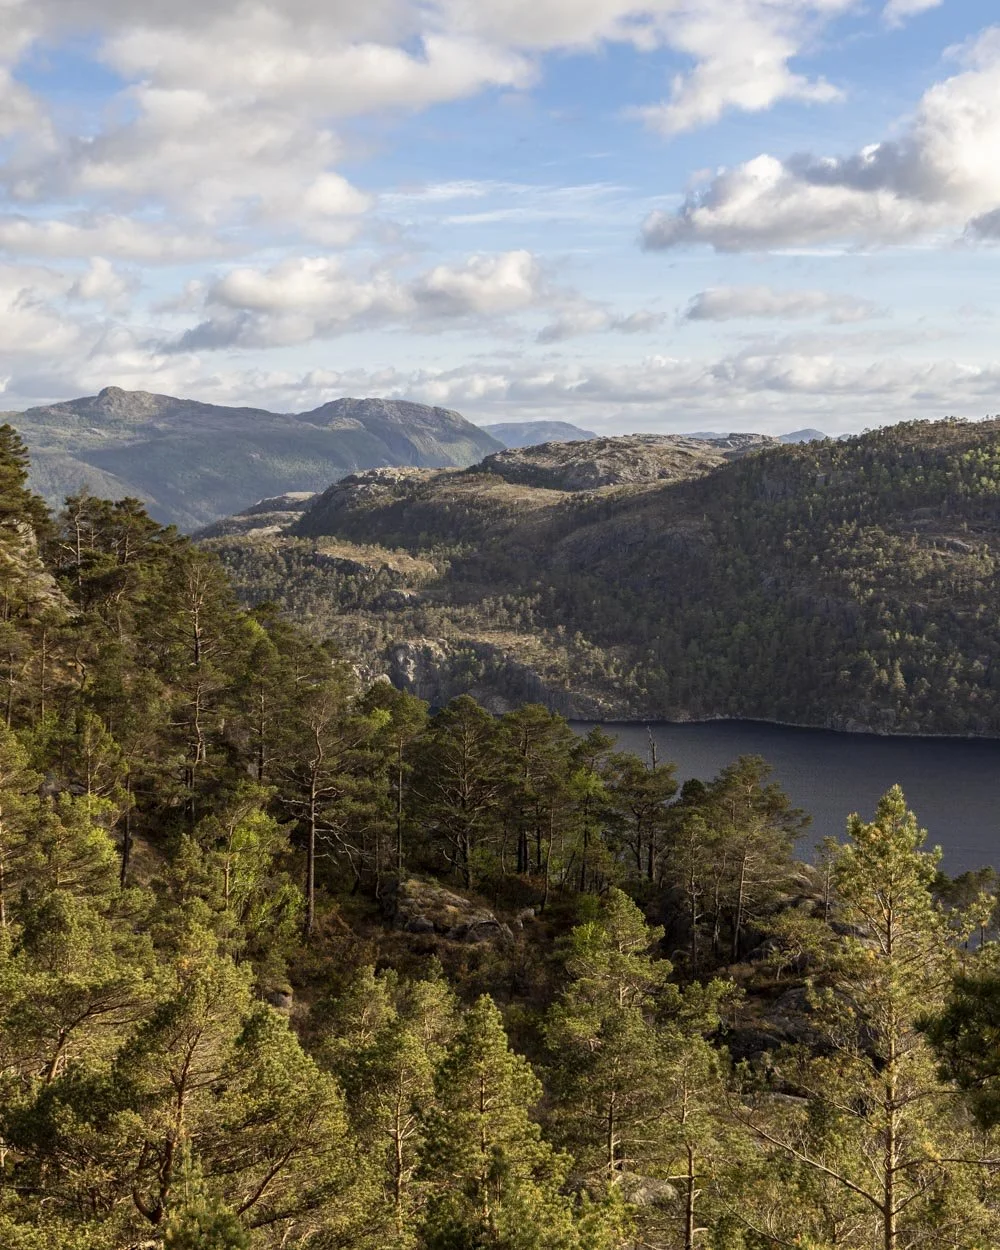
They soon become proper rock steps again and after a few hundred metres you start to get some terrific views when you stop and turn around.
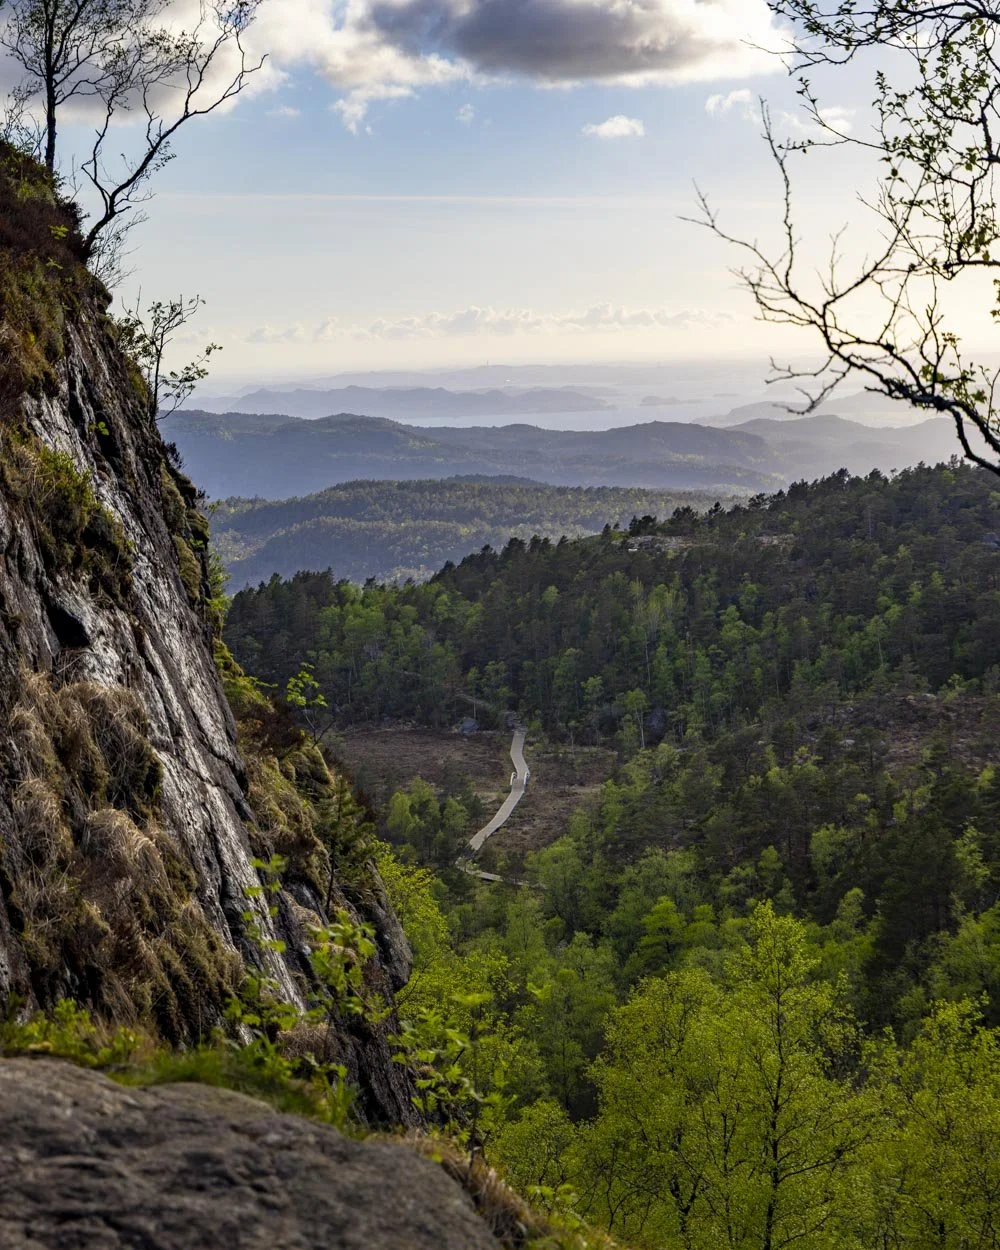
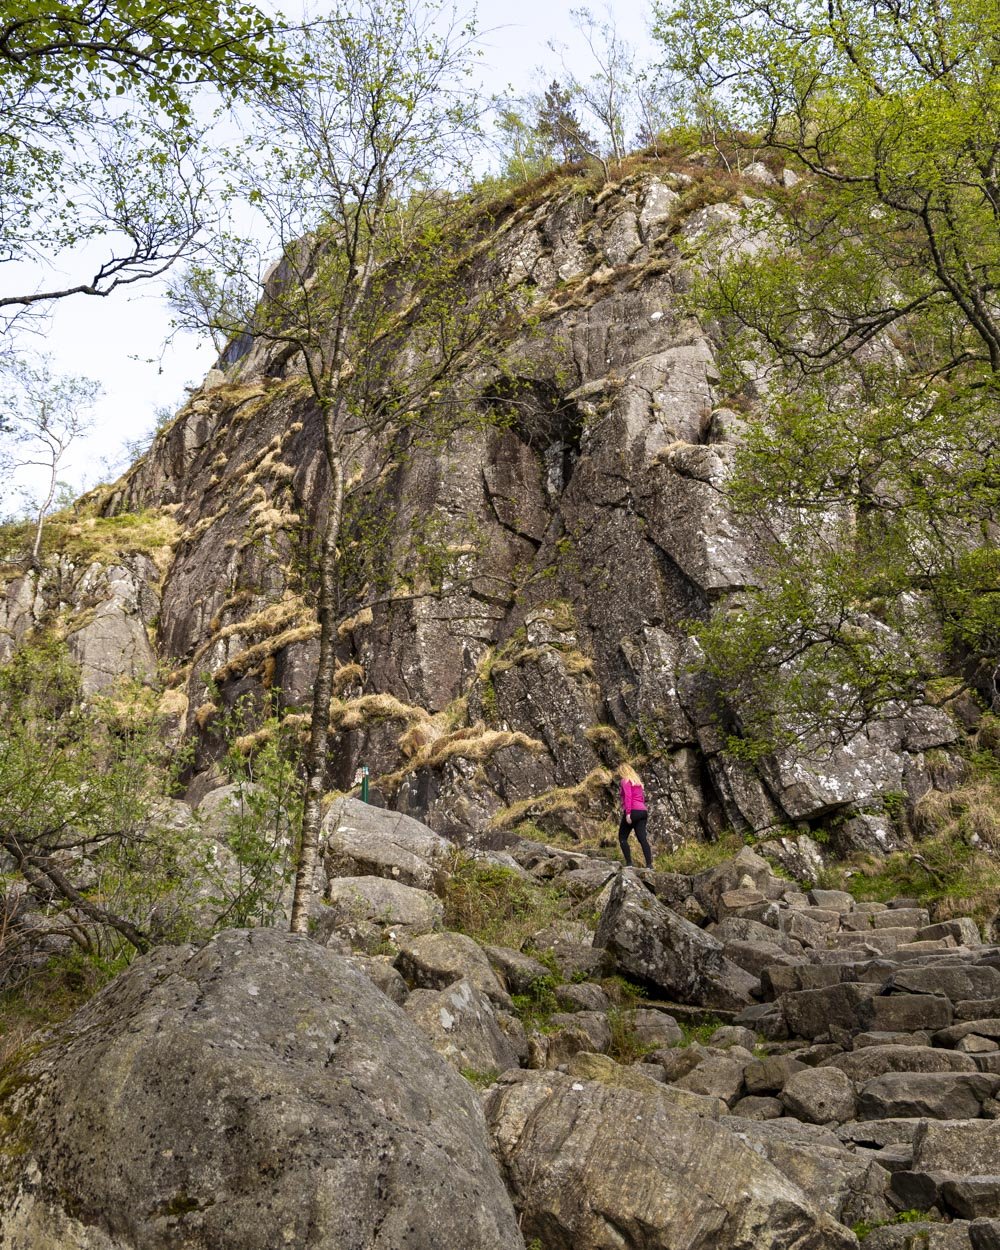
The first 400m of the climb are steep and then it slackens off just before the saddle, which you’ll reach 2.3km into the walk.
You’ve now covered 315m of the elevation gain, so around 2/3 of the climb to Pulpit Rock.
Your reward is a stunning view towards Lysefjord, surrounded by rugged mountains. I was already in awe but from here the scenery gets more and more dramatic.
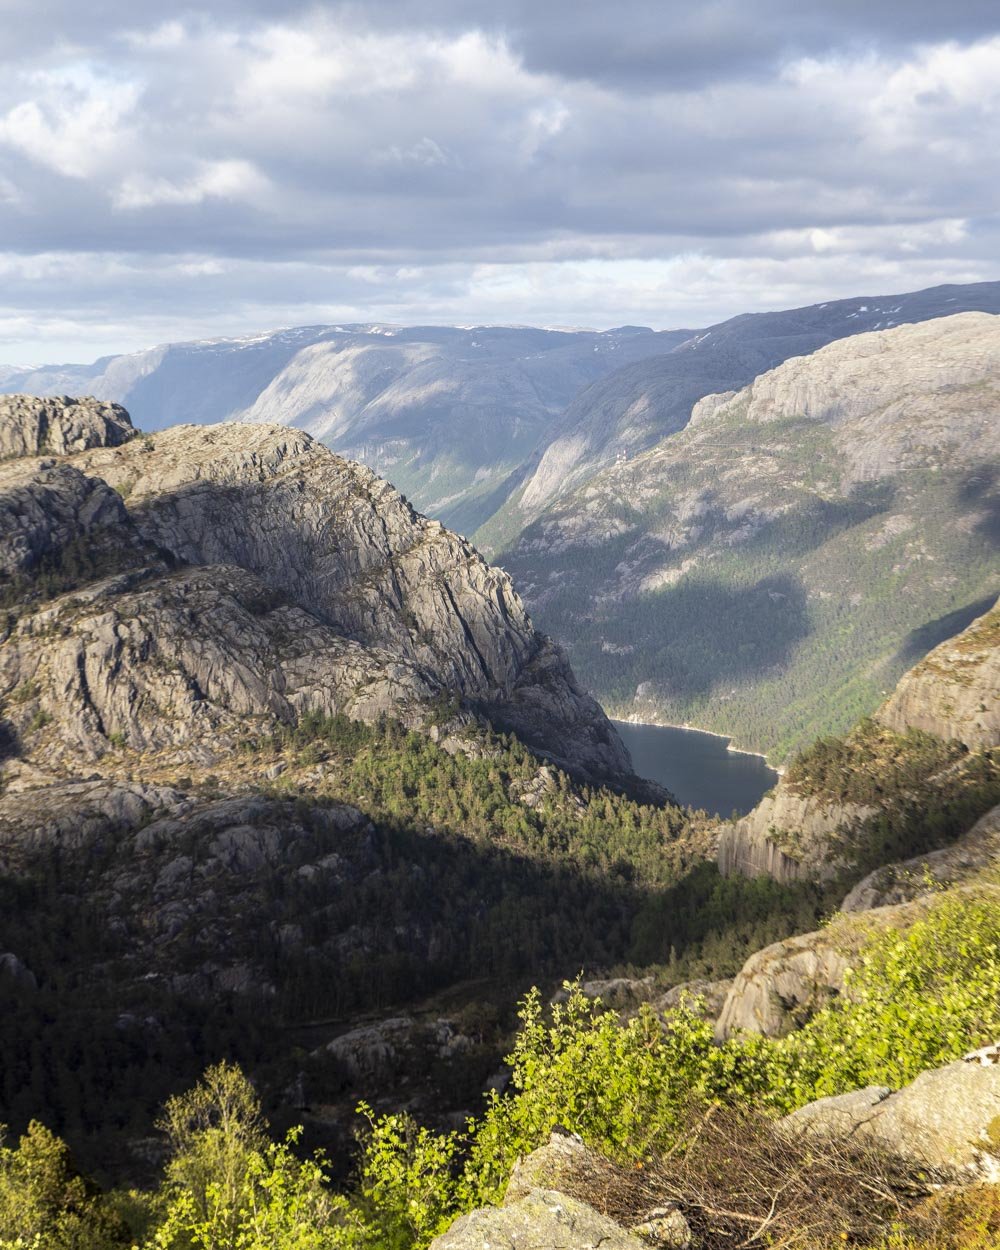
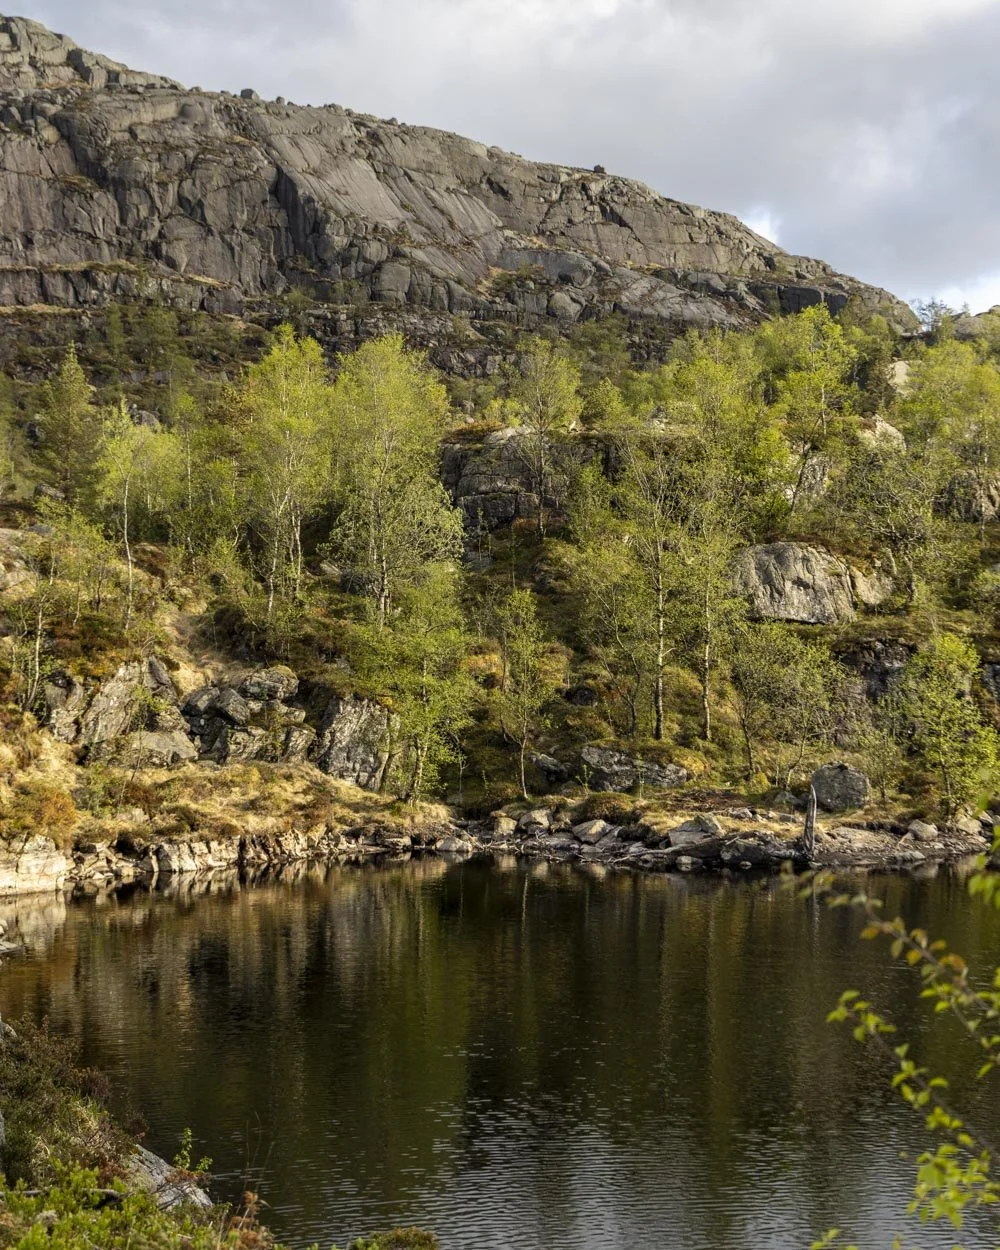
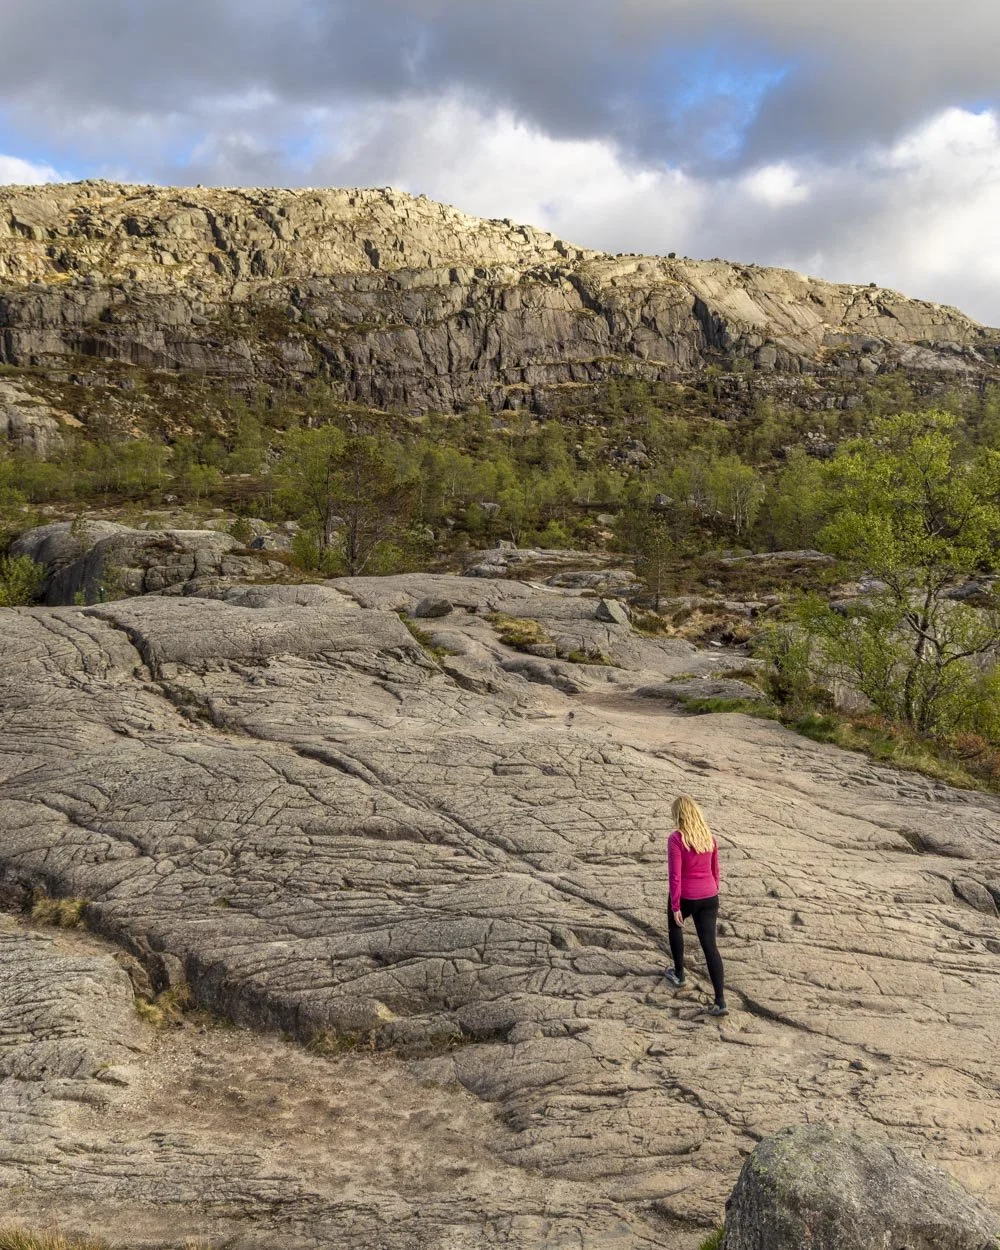
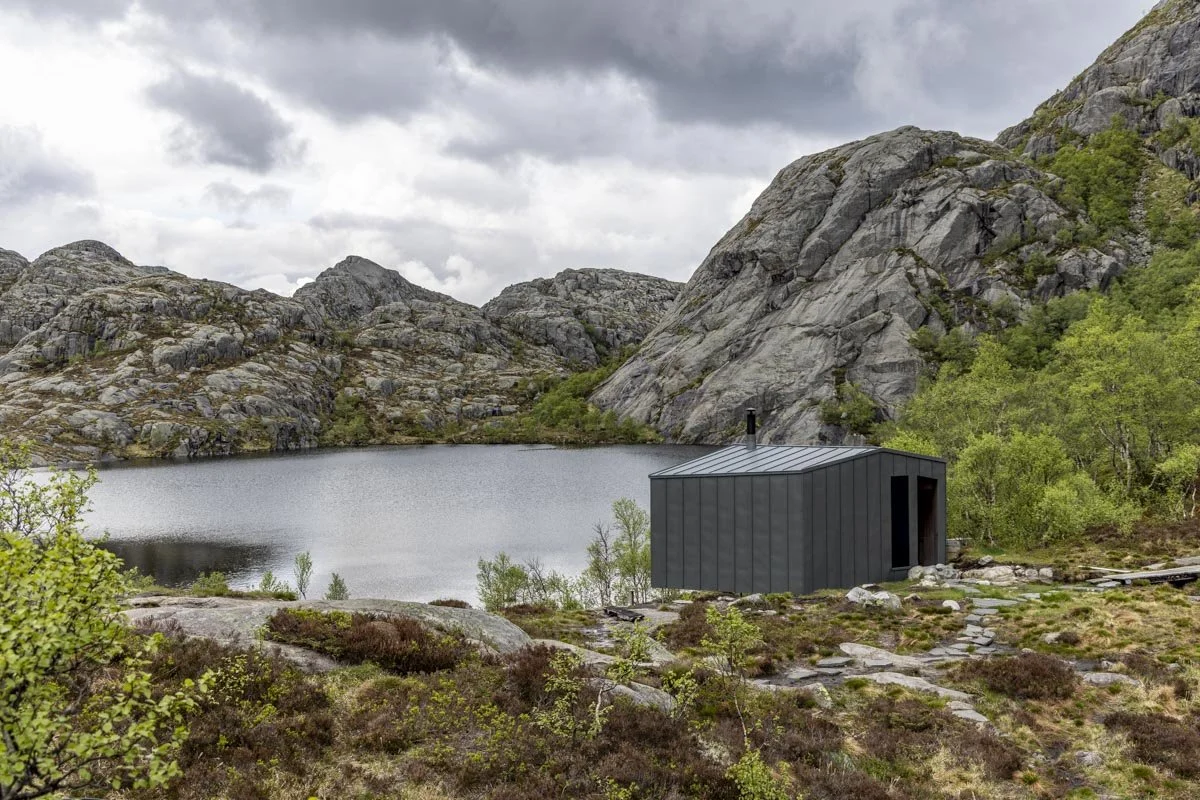
You have a few more shallow stairs, some flat track and then a short descent to two very pretty mountain tarns. You’ll walk up and down some slab rock and past the emergency shelter at the 3km mark.
It’s now wide open views all the way and we could not believe that there wasn’t another soul around. It was magical and would have been reason enough to hike late even if Pulpit Rock itself had been busy.
The most spectacular section of track to the grand finale
When you reach the emergency shelter you are just 1.2km from Pulpit Rock and all the steep climbing is behind you. The uphill sections are very gradual and the track now feels very easy.
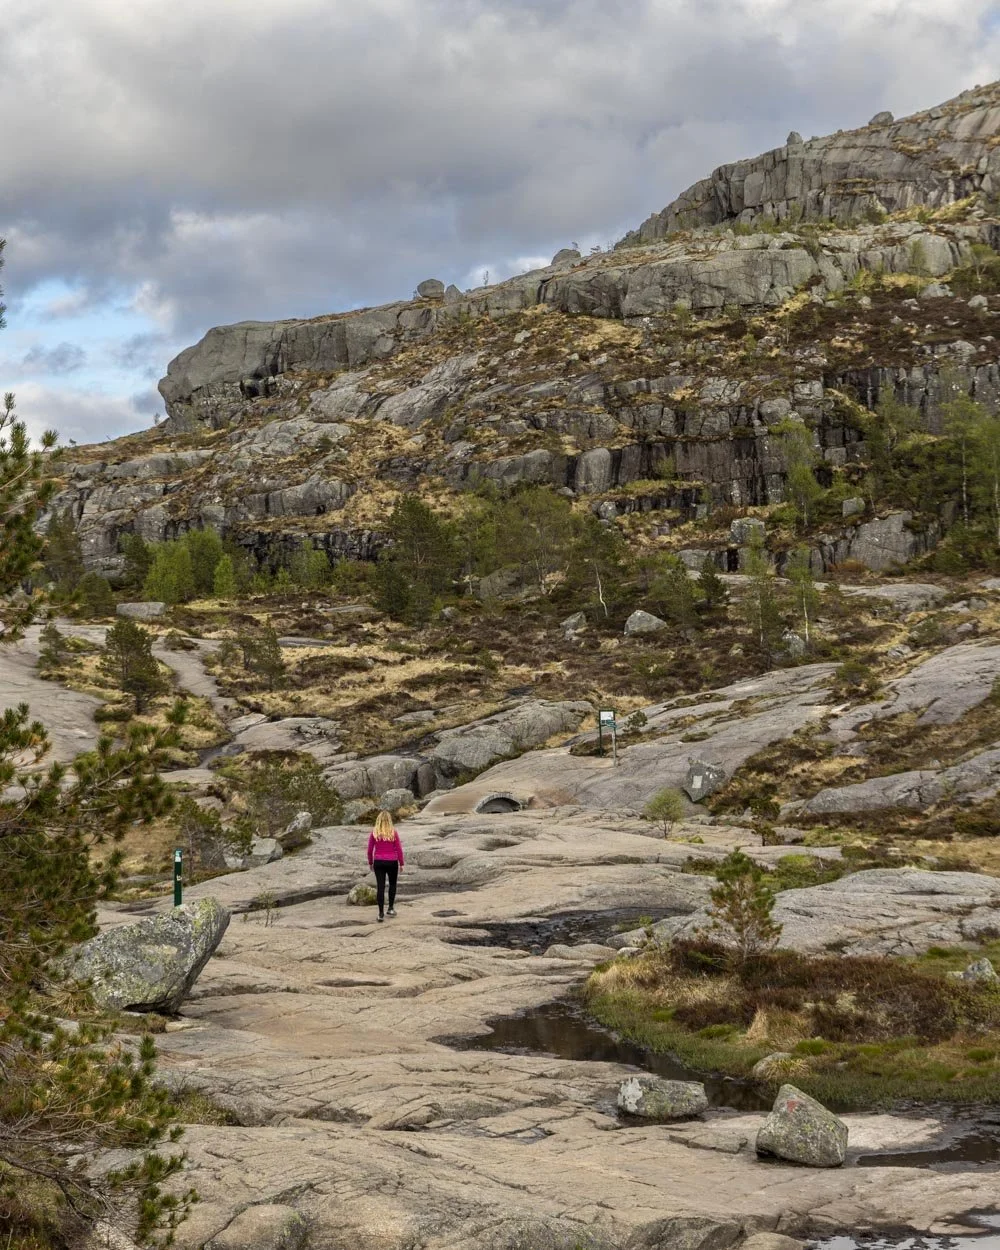
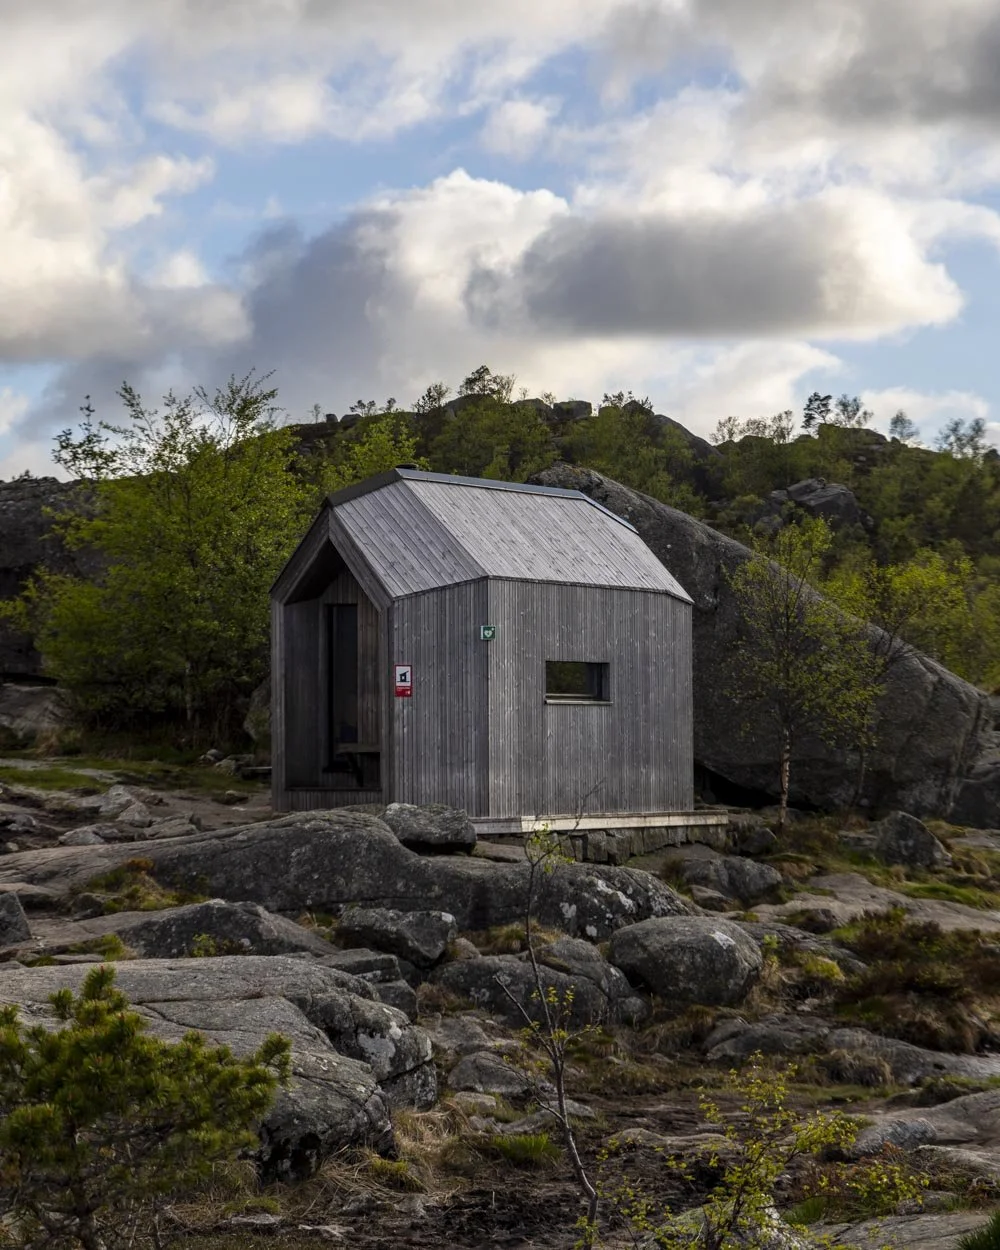
The views are sublime, with more and more mountains and lakes coming into view. Walking along the slab rock reminded me a lot of Yosemite National Park, another of our favourite hiking destinations.
Roughly 300m from the shelter you have one short descent on rock steps before the path flattens. Next you’ll come to a fun section with a huge view (and drop) on one side and a towering cliff wall on the other.
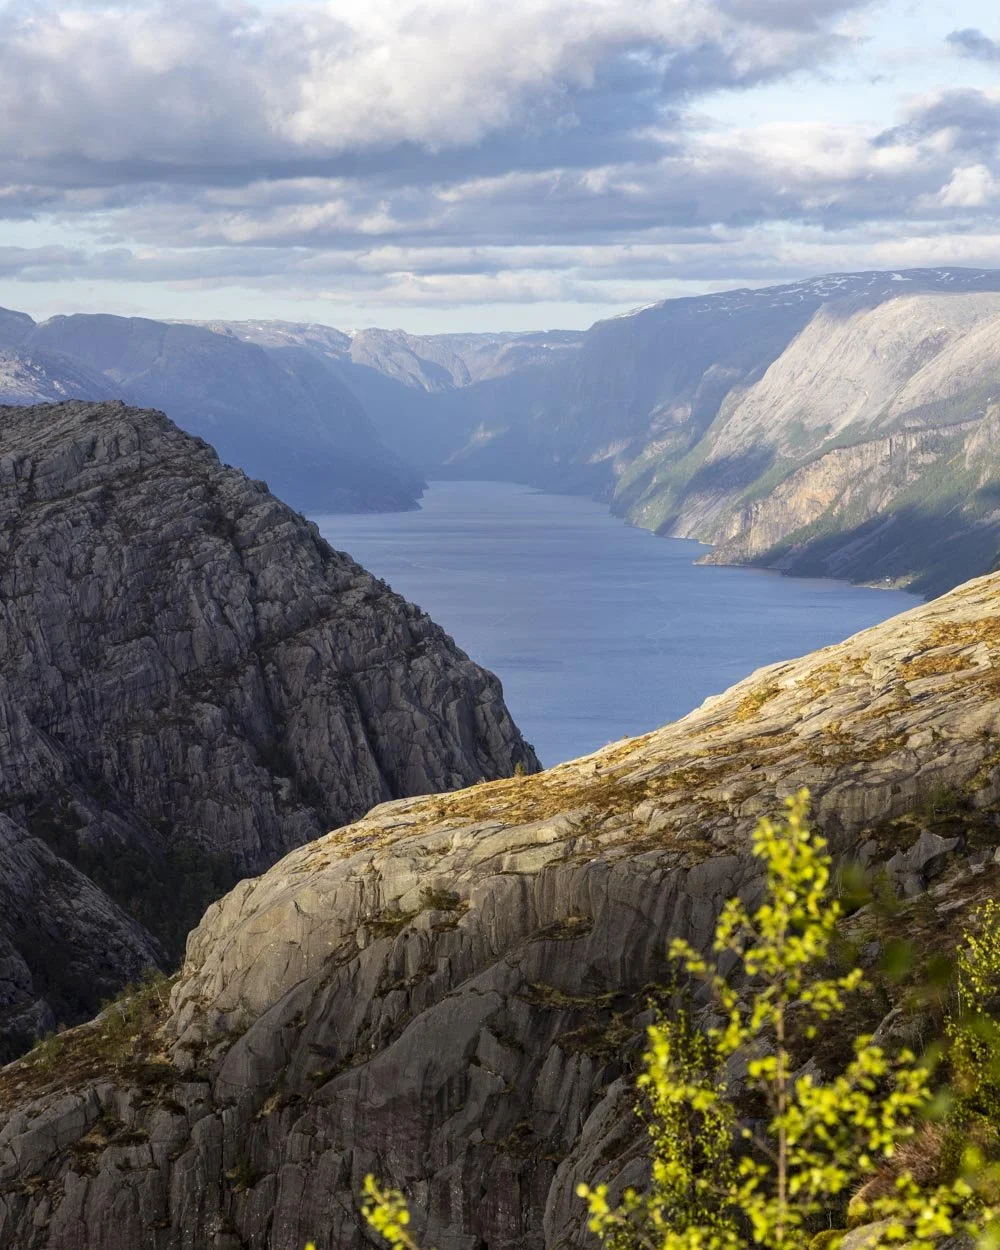
This part of the track is flat but somewhat narrow, though there is a sturdy chain rail on one side which I imagine is there to assist if the path is slippery (which it’s not when it is dry).
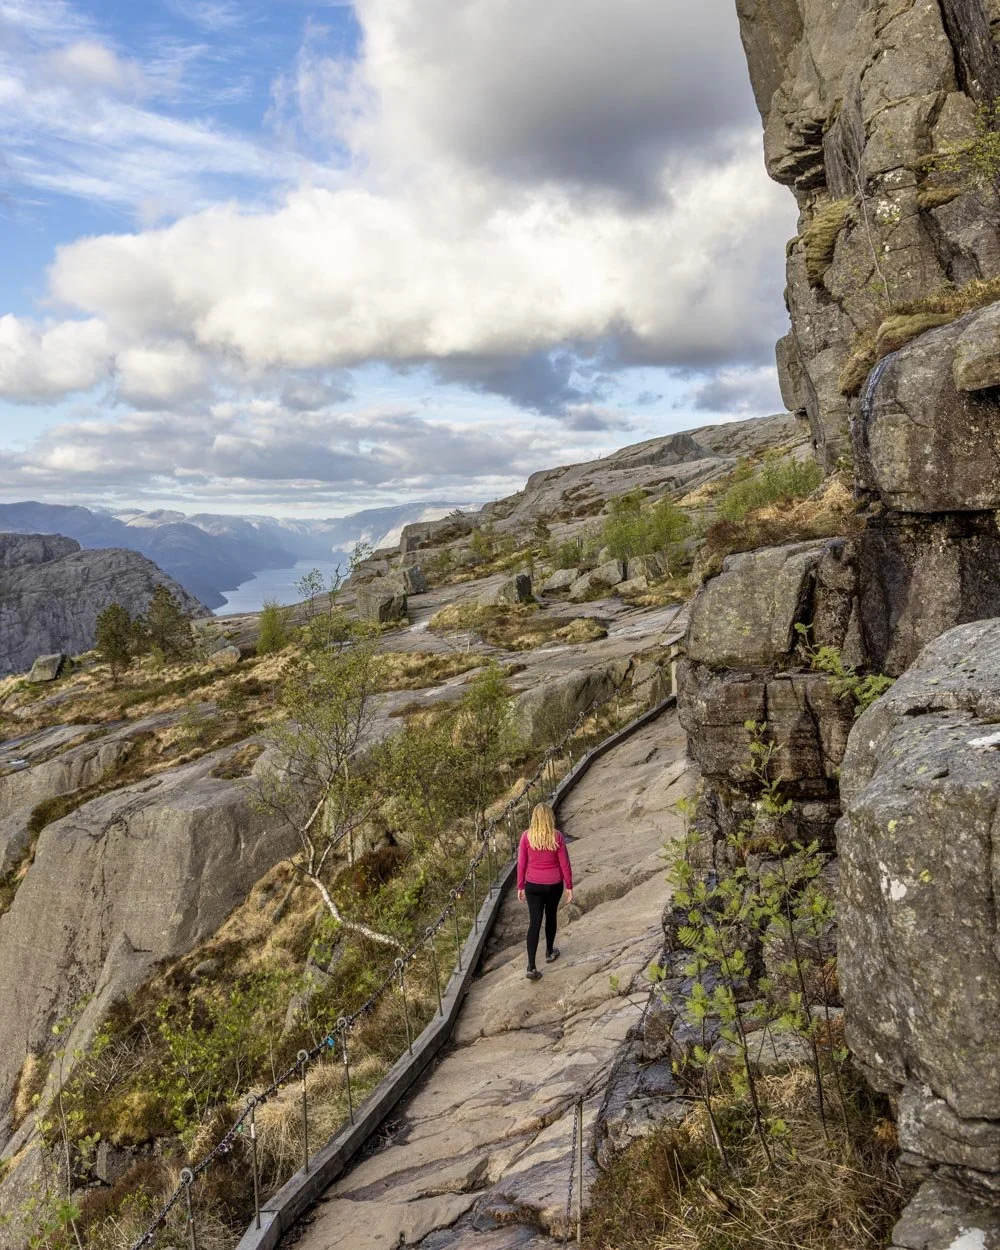
You’ll then walk gently up a rock slab with increasingly distracting views of the fjord. Roughly 150m before you reach Pulpit Rock the path narrows and there is a warning sign about this section beforehand.
I was imaging a knife edge type situation, but it’s not really narrow at all. I mean if it were icy I might think differently, but in good conditions it didn’t feel narrow and the view is staggering.
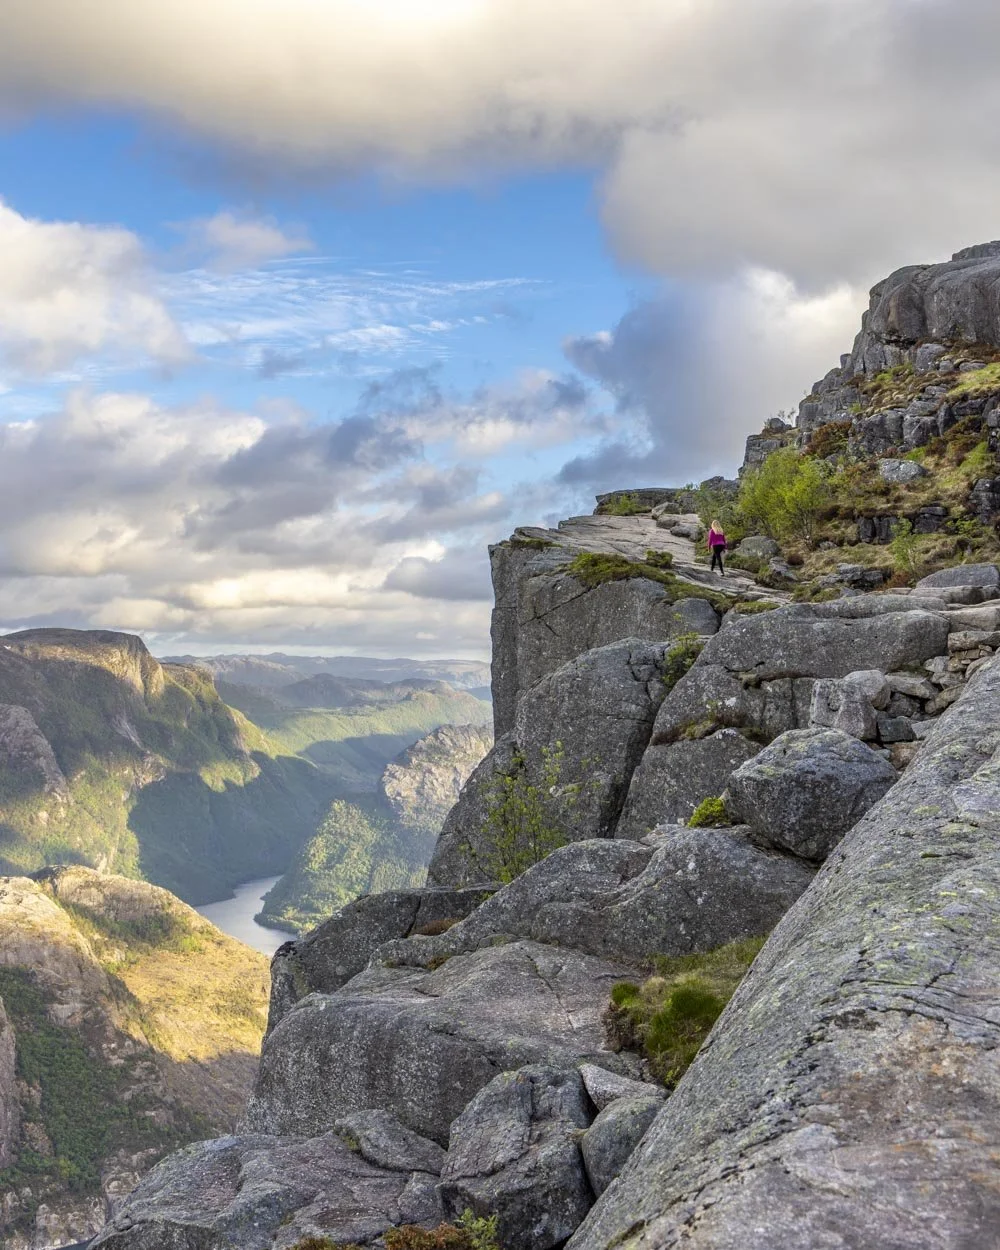
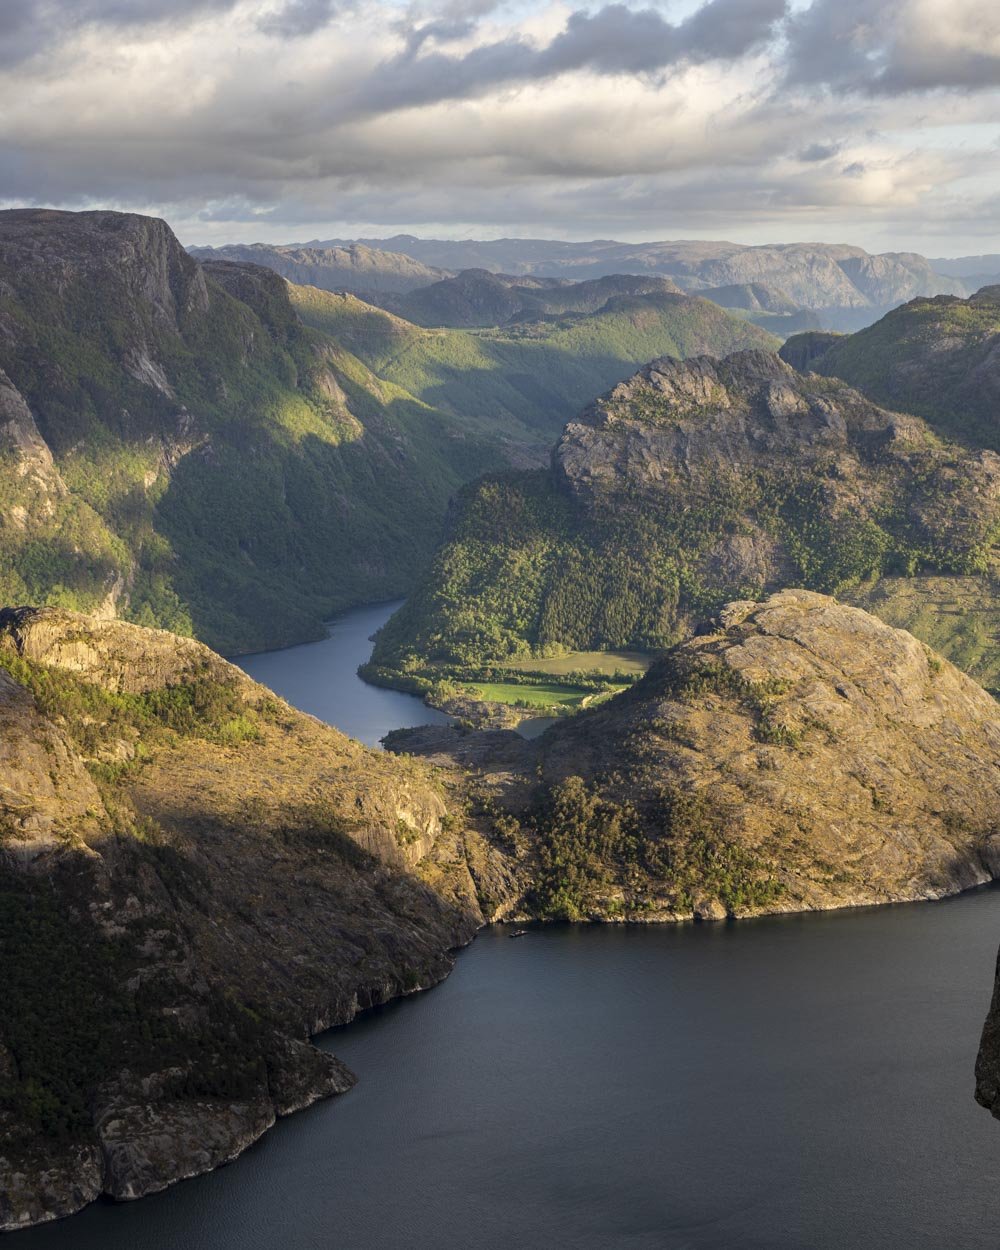
You are now so high above the fjord that any boats appear toy-like. The drop off is sheer enough that you can only really stand and stare transfixed. And then after a final gentle ascent you reach the view.
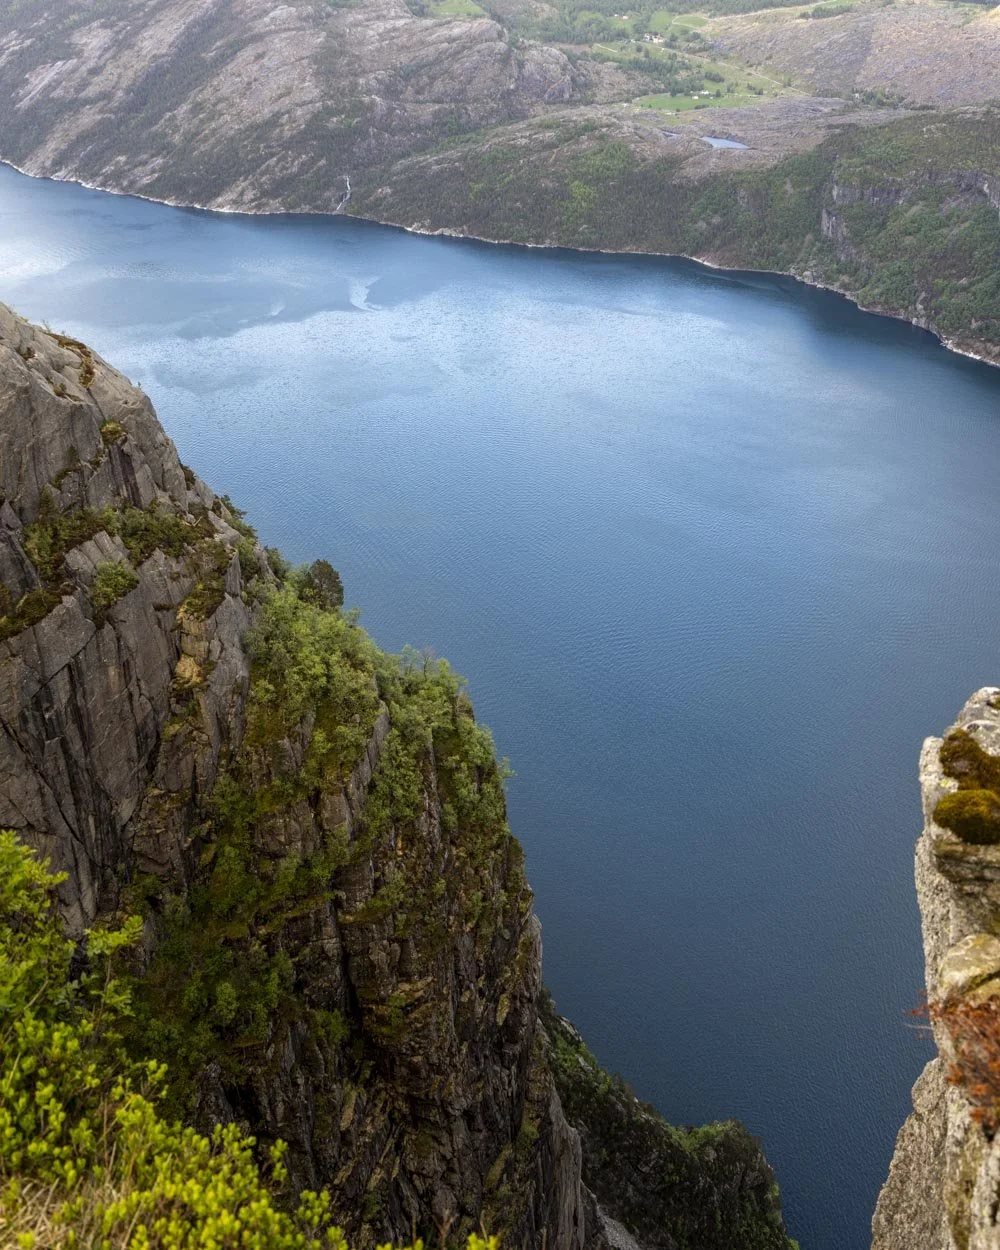
The one you’ve seen in all the photos. But better. Because nothing can compare to seeing that cliff presiding over that fjord in real life.
Pulpit Rock
The view from Pulpit Rock is exceptional. I honestly believe anyone who sees it and thinks otherwise is jaded with the world and it makes me vow never to get like that myself.
The fjord is phenomenal; the water is ice blue, the cliffs feel steeper than any I have ever seen and Pulpit Rock jutting out before it all is the icing on the cake.
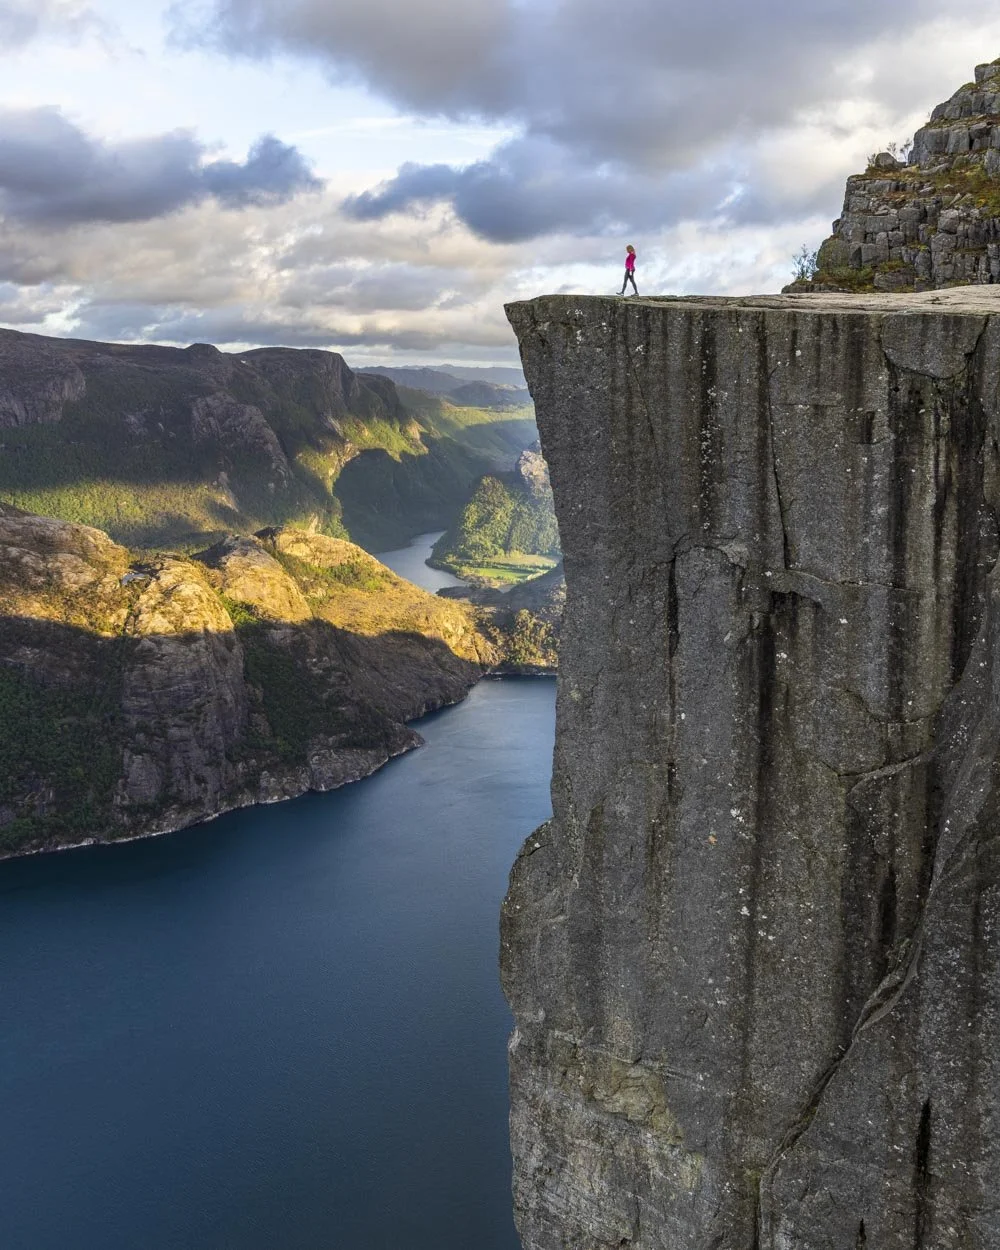
Yes, Norway is an exceptionally beautiful country and yes views from other quieter hikes are also jaw-dropping, but that doesn’t take away from this one.
Just don’t go when it’s crawling with people so you can really appreciate the majesty.
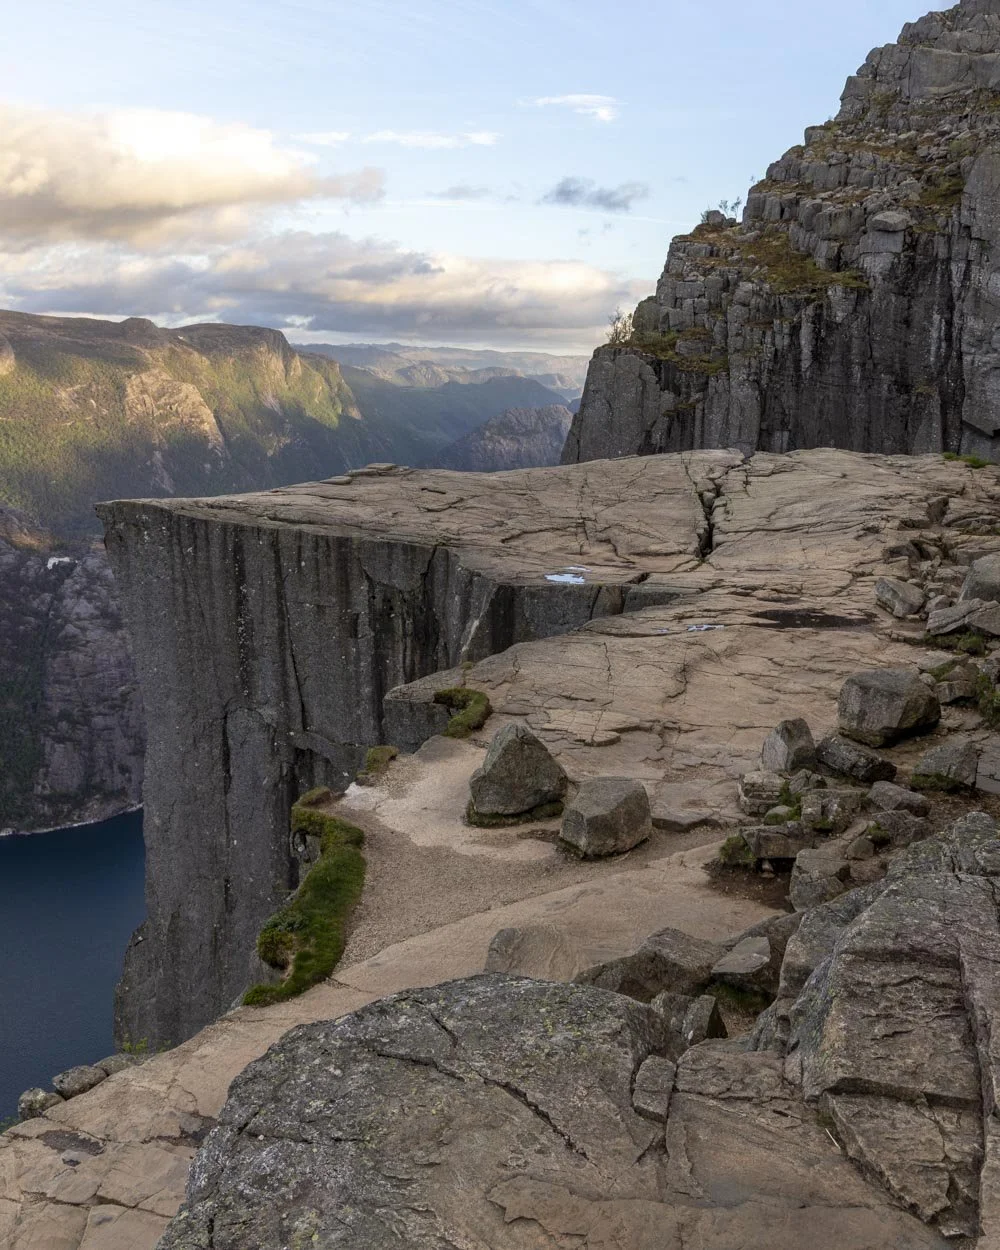
The view and the experience was everything I had hoped for and more. The natural high carried us all the way back to Stavanger without a single thought about how late it was and that we had the Kjerag hike planned for the very next day!
If you have a little more time and energy you can scramble up the rocks behind Pulpit Rock to get some elevated views. We went a little way up but not as far as you could go if you were so inclined.
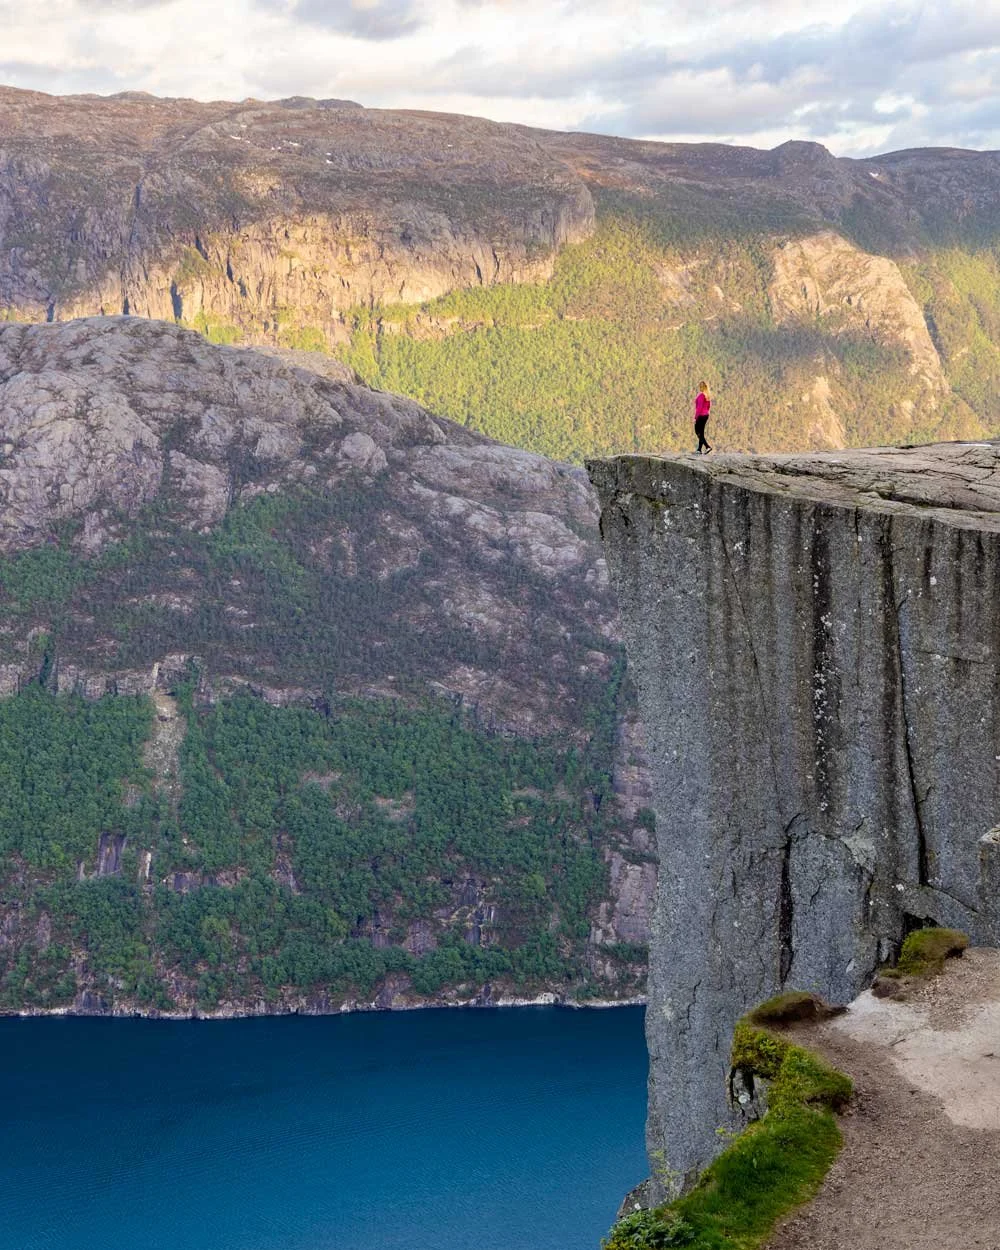
Even scrambling for a few minutes will offer an alternative perspective on the rock, but I wouldn’t recommend it unless it’s dry or it could be quite slippery.
All in all, the Pulpit Rock hike became famous for a reason, so definitely don’t skip it, but do consider going at a quieter time for the very best experience.
Preikestolen Pulpit Rock hike logistics
The parking fee
If you’re coming in your own car then you will need to pay the 275 NOK (approx USD $30 or €25) parking fee. It’s only 40 NOK for less than two hours parking, but with the best will in the world you can’t do this hike in two hours and enjoy the rock.
It is a high price to pay for parking but I felt much better about it when I saw the fee goes into maintaining the trail and conserving the area. In fact it’s run by a not for profit so you know the money is being spent wisely.
Note that you can’t sleep here in a campervan overnight.
Facilities at the trailhead
The car park is exceptionally well kitted out. There are hundreds of spaces and even electric car chargers so you can charge your car while you hike!
There are many flush toilets and a cafe and shop. The shop rents out equipment such as crampons and hiking boots if needed. If you go with our plan of an evening hike though then both the shop and cafe will be closed.
Getting to the Pulpit Rock trailhead
The Pulpit Rock hike begins from the Preikestolen Parking - P1, you can see it on Google maps here. There are 400 spaces here, if it’s full there’s another car park with 600 spaces, P2 – Moslimyrå, you can see it on Google maps here. If both are full you will be told by the attendant when to return. However, using our beat the crowds hack you will have no problem parking in P1.
The final few kilometres to the car park is narrow and windy - yet another reason you don’t want to hike at peak times! It’s an easy road to drive and fully paved, but it’s much better when you don’t have to worry about passing traffic.
It takes around 40 minutes to drive to from Stavanger and passes through a long tunnel which has quite a high toll fee (119 NOK/€11 from memory). It’s best to do the hike from Stavanger or one of the nearby villages as the major transport hubs of Bergen and Oslo are 4 hours 45 minutes and 7 hours 15 minutes away respectively.
Getting to the Preikestolen Pulpit Rock hike by public transport
If you don’t have a car you can reach Pulpit Rock by public transport but it means you’re restricted to their timings. Depending on which company you use the journey costs between 524 NOK (approx USD $56.50 or €48.50) and 572 NOK (approx USD $62 or €53) return per adult ticket.
This company looks to have the most pick up options and the most departures.
Pulpit Rock by tour
If you would prefer to go to Pulpit Rock with a guide, you can find many highly rated tours and this will offer the chance to get some commentary on the area and have all the logistics taken care of.
This tour has hundreds of 5 star reviews, though I would lean towards this one as it’s a sunrise hike which will be much quieter than going in the middle of the day.


Where to stay in Stavanger
We’ve stayed at a few different places in Stavanger, for a mid range option, the Scandic hotel was comfortable and reasonably priced. The decor in all the Scandics we’ve stayed in has been minimal but the beds are always good, as well as the shower and brekkie so we often opt to stay in them.
If you want an apartment, try Hatty’s Habitat Penthouse Apartment (it’s midrange despite the fact it has penthouse in the name!). I contacted the owner to ask about parking but by the time I heard back it was booked up and I tried to get in for the whole following week and couldn’t.
All of that to stay it looked by far the best price vs quality place to stay in Stavanger with a full kitchen inc dishwasher, washing machine and dryer and really nice modern decor.
We had to book somewhere else for more money and less amenities so get in quick if your dates are set. You can see the latest availability and reviews by clicking the button below:

This post may contain affiliate links, meaning at no additional cost to you, that we will earn a small commission if you click through and decide to make a purchase. This helps towards the costs of running our website. Thanks for your support.


This guide covers everything you need to know about the Pulpit Rock Preikestolen hike, including a detailed trail description, parking info and most importantly how to beat the crowds.