
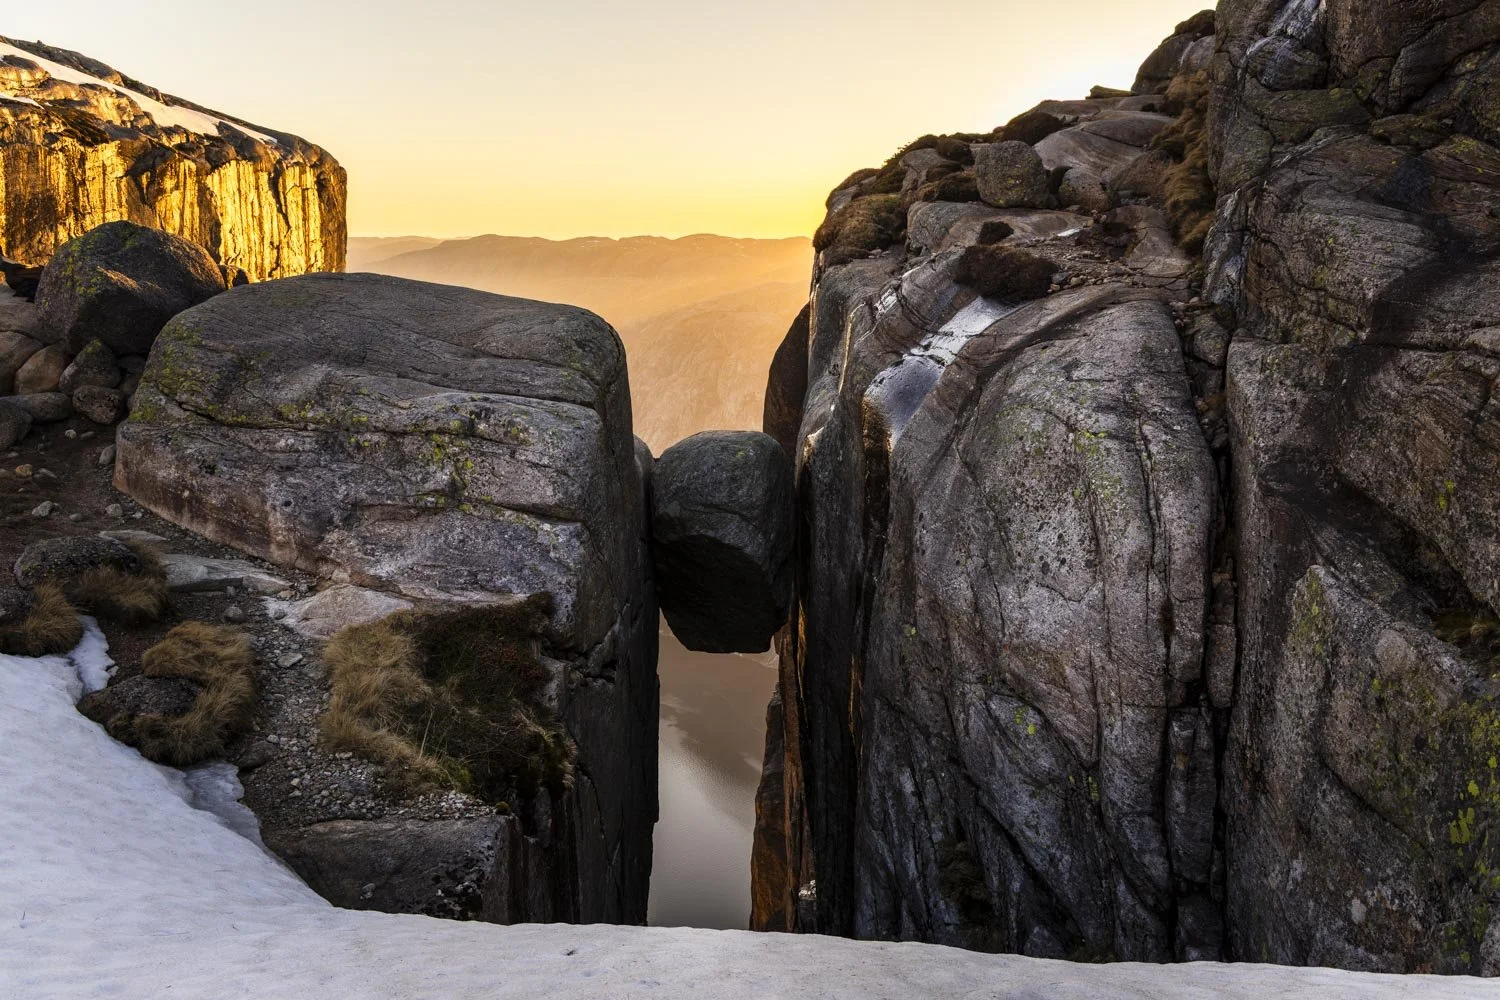
Whether you choose to stand on top of the crazy boulder or not, a hike up the steep granite rock faces to reach Kjeragbolten is incredible. And you can trust me on that because despite declaring to Joe that I would absolutely be standing on top of the boulder, I didn’t.
I’d seen soooo many pictures of Kjeragbolten that I naively believed that it couldn’t possibly be that scary, nor the hike to reach it that difficult.
Let’s just say the Kjerag humbled me. And though that did bruise the ego a little, I couldn’t be disappointed when the hike was far more memorable than I’d been expecting, and ended with one of the most enchanting waterfalls I have ever seen in my life.
I didn’t even realise this trail had a waterfall, let alone one as special as Kjeragfossen. Time it right and you can even experience the magic of Norway’s very own ‘Firefalls’.
Read on for everything you need to know about that as well as trail notes and how to escape the crowds.
Tips for tackling the Kjeragbolten hike
Before we get started on the trail notes, here are some tips to help you plan the hike.
How to beat the crowds
A quick social media search or cursory flick through any list of Norway’s best hikes will see the Kjerag track mentioned many times. Along with Pulpit Rock and Trolltunga, it’s one of the most popular hikes in the country.
Unlike Pulpit Rock, the season for hiking the Kjerag without specialist equipment is quite short, with the road usually opening in mid May and closing again late October (weather dependent). However, the beginning of the season will still have plenty of snow around so most people tend to walk in July and August.
Many hundreds of people a day walk the track during this time and while it’s always best to try and walk popular trails outside of the peak summer months, that isn’t always possible.
Even if you are outside peak season as we were (late May), brief weather windows can condense all hikers into the same short time frame.
During our 10 days in the area we had two days that weren’t going to be very wet or very high winds, so anyone wanting to hike the Kjerag around that time would be aiming for that same weather window.
For this reason, we decided to hike the trail late in the afternoon and this did work for us crowds-wise. The car park was very busy on our arrival but everyone was coming back down the track as we were going up. However, unlike Pulpit Rock, going late in the day is not going to be suited to everyone.
The hike back down is long and requires concentration due to the steep descents. Despite being experienced night hikers we lost the correct route a few times towards the end.
So while I would recommend going later in the day, I would aim to be off the trail by twilight if you’re not confident walking on tricky terrain in the dark.
I am really glad we went for sunset (more on that later), but I would have left the boulder earlier if I’d have realised how long the walk back would take.
We started the hike after 6pm but I think starting a bit earlier would still have meant virtually no one else would have been at the boulder while allowing plenty of time to come back in the light.
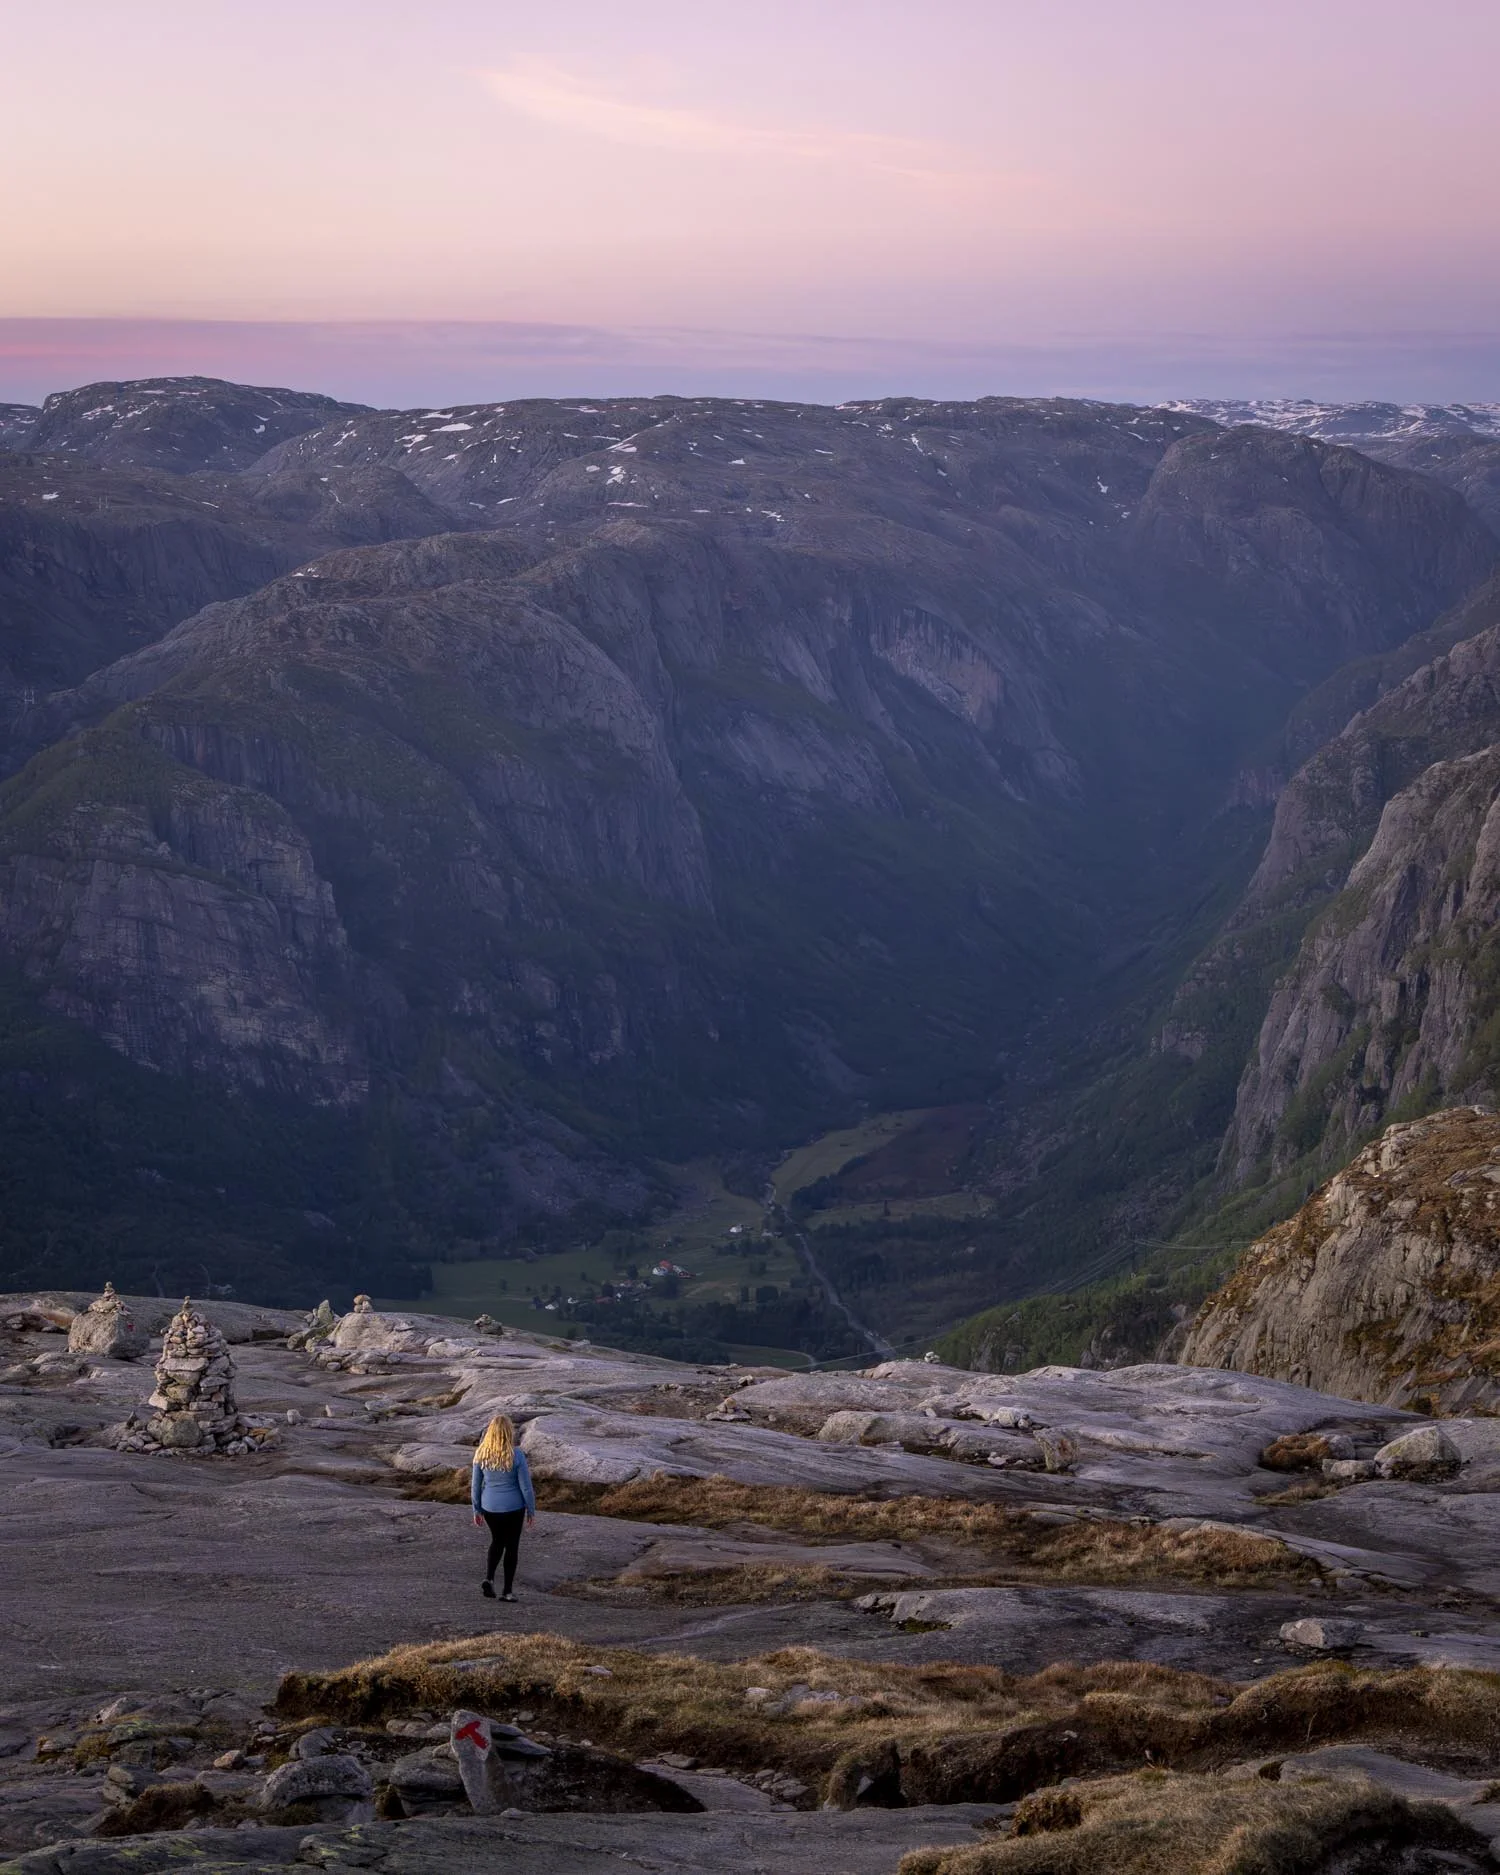
The safer alternative to going late is going early, the daylight hours in peak season are so long that you can make a really early start but still have daylight for your entire walk.
This is probably going to be the better and more comfortable option for most people. I would opt to go as early as you can manage after the sun comes up.
How to choose your weather window
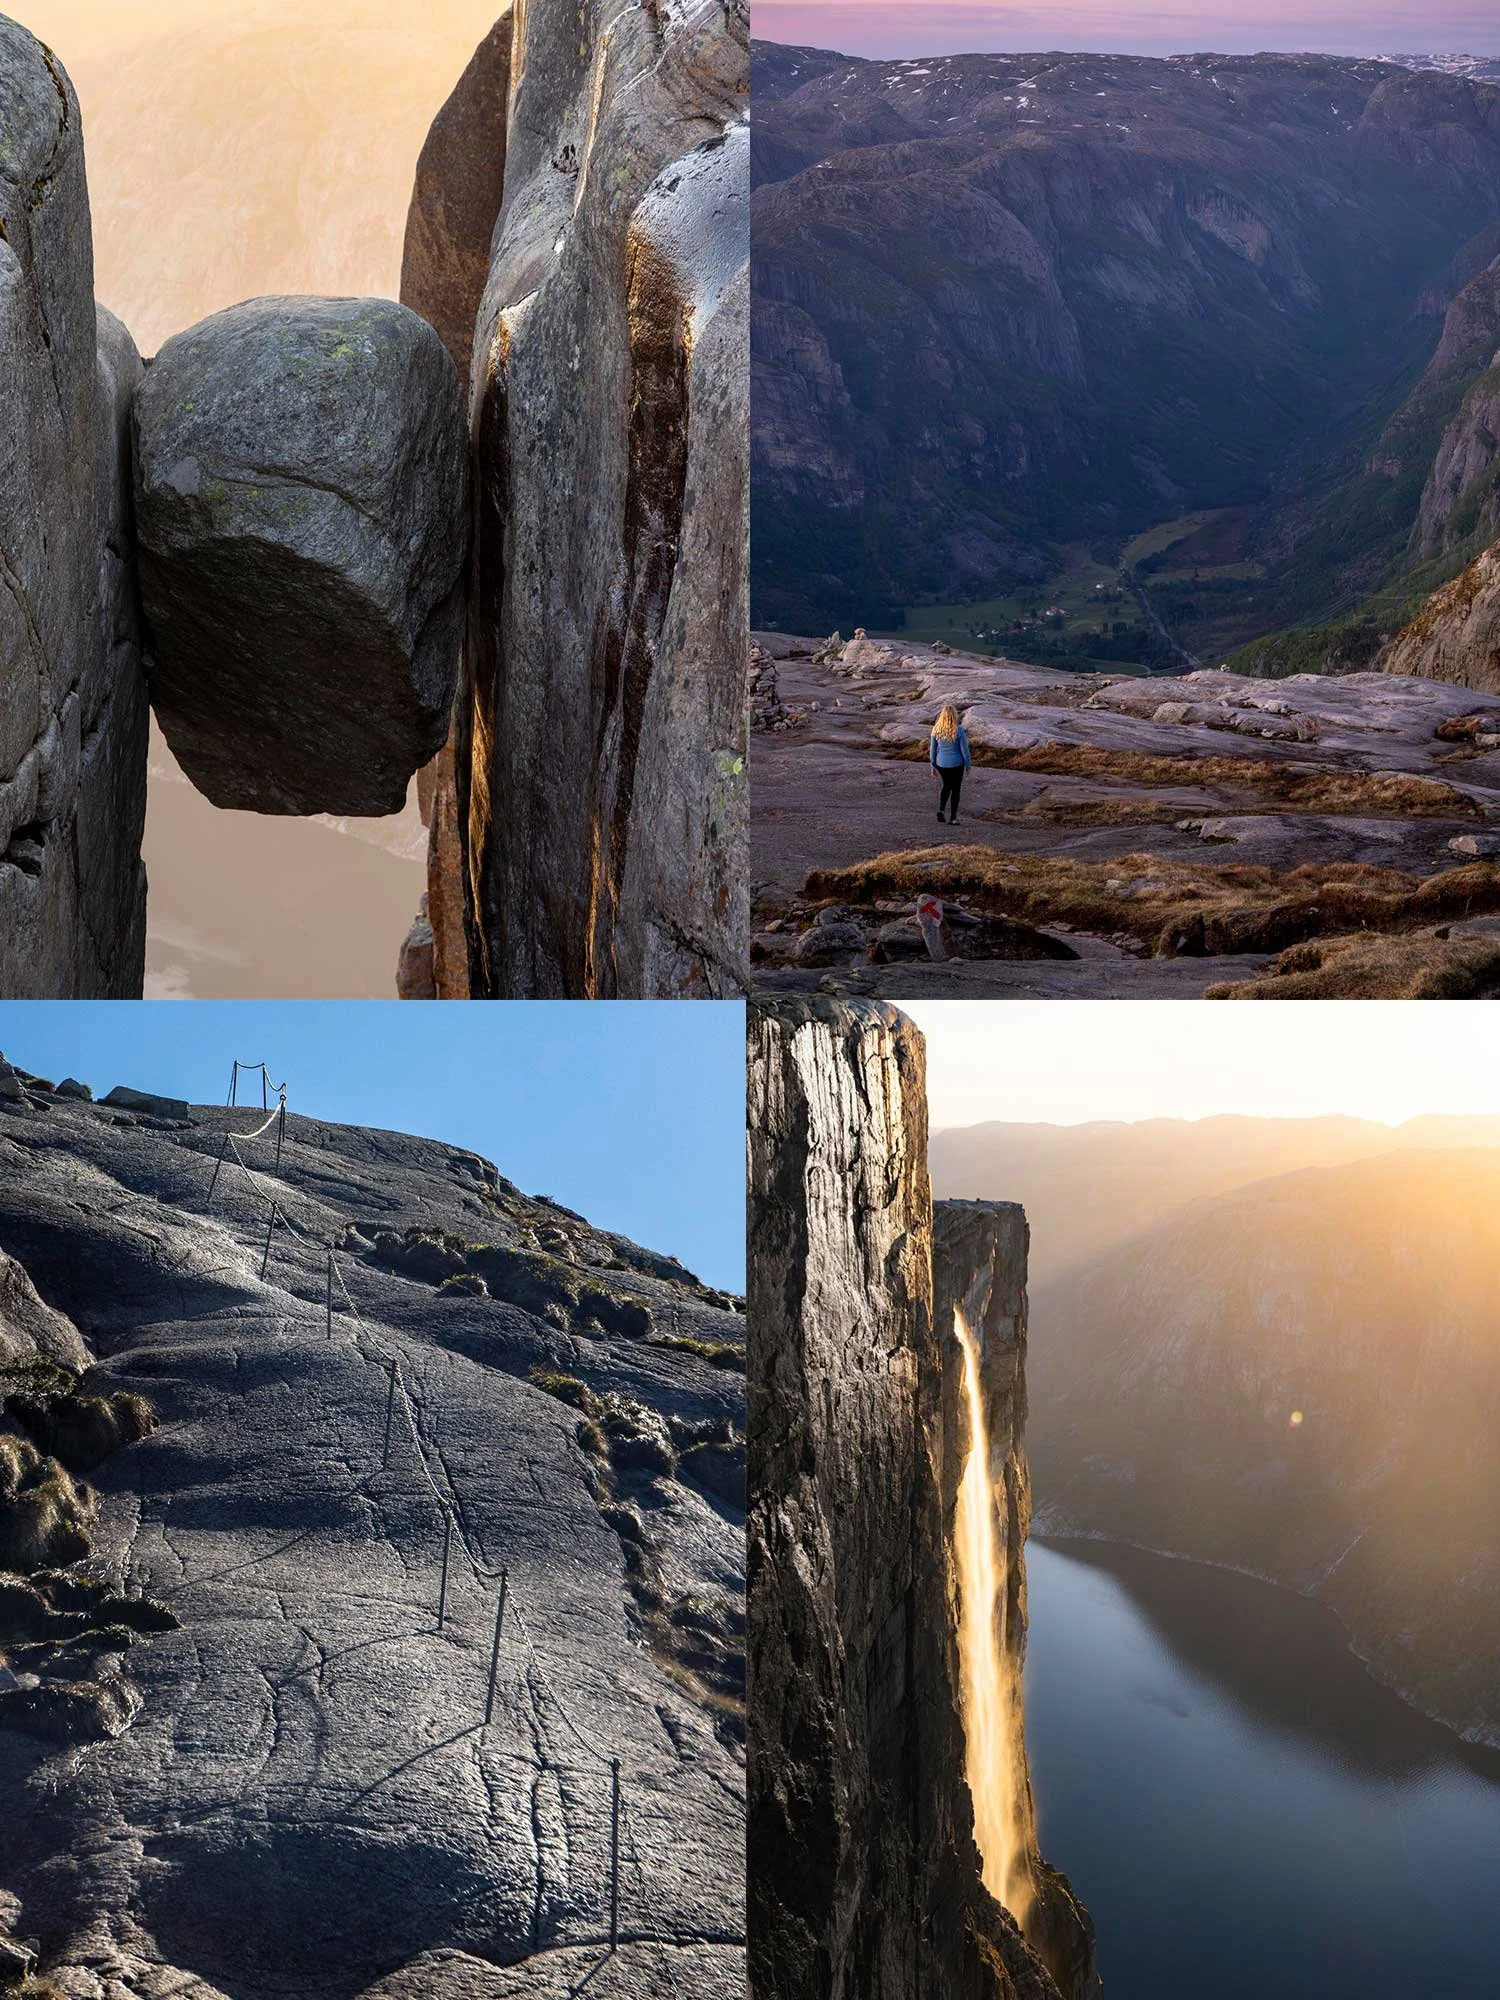
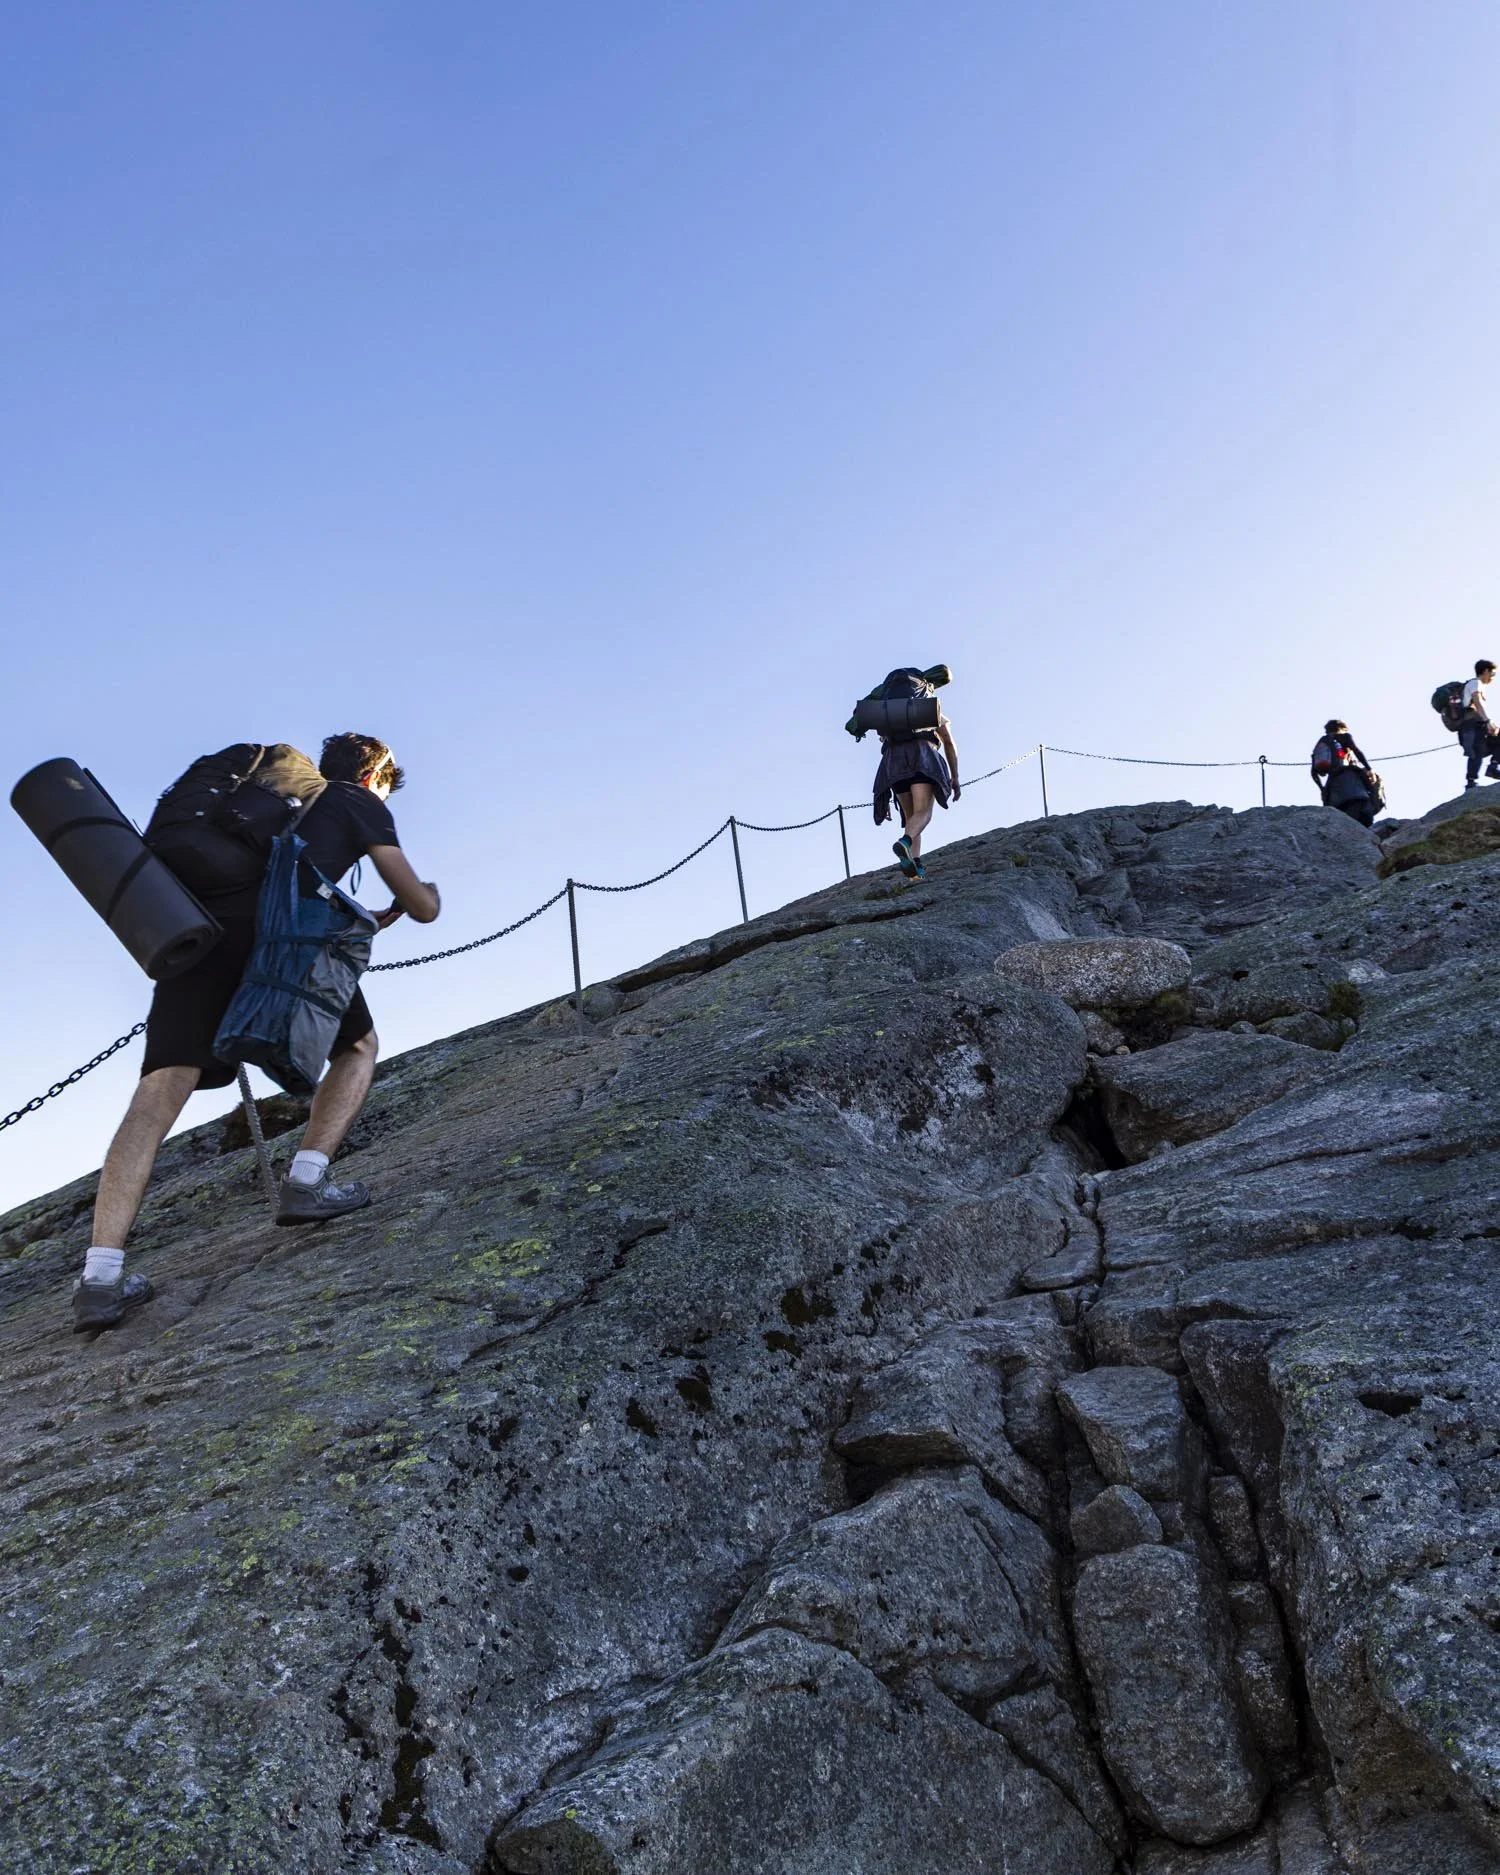
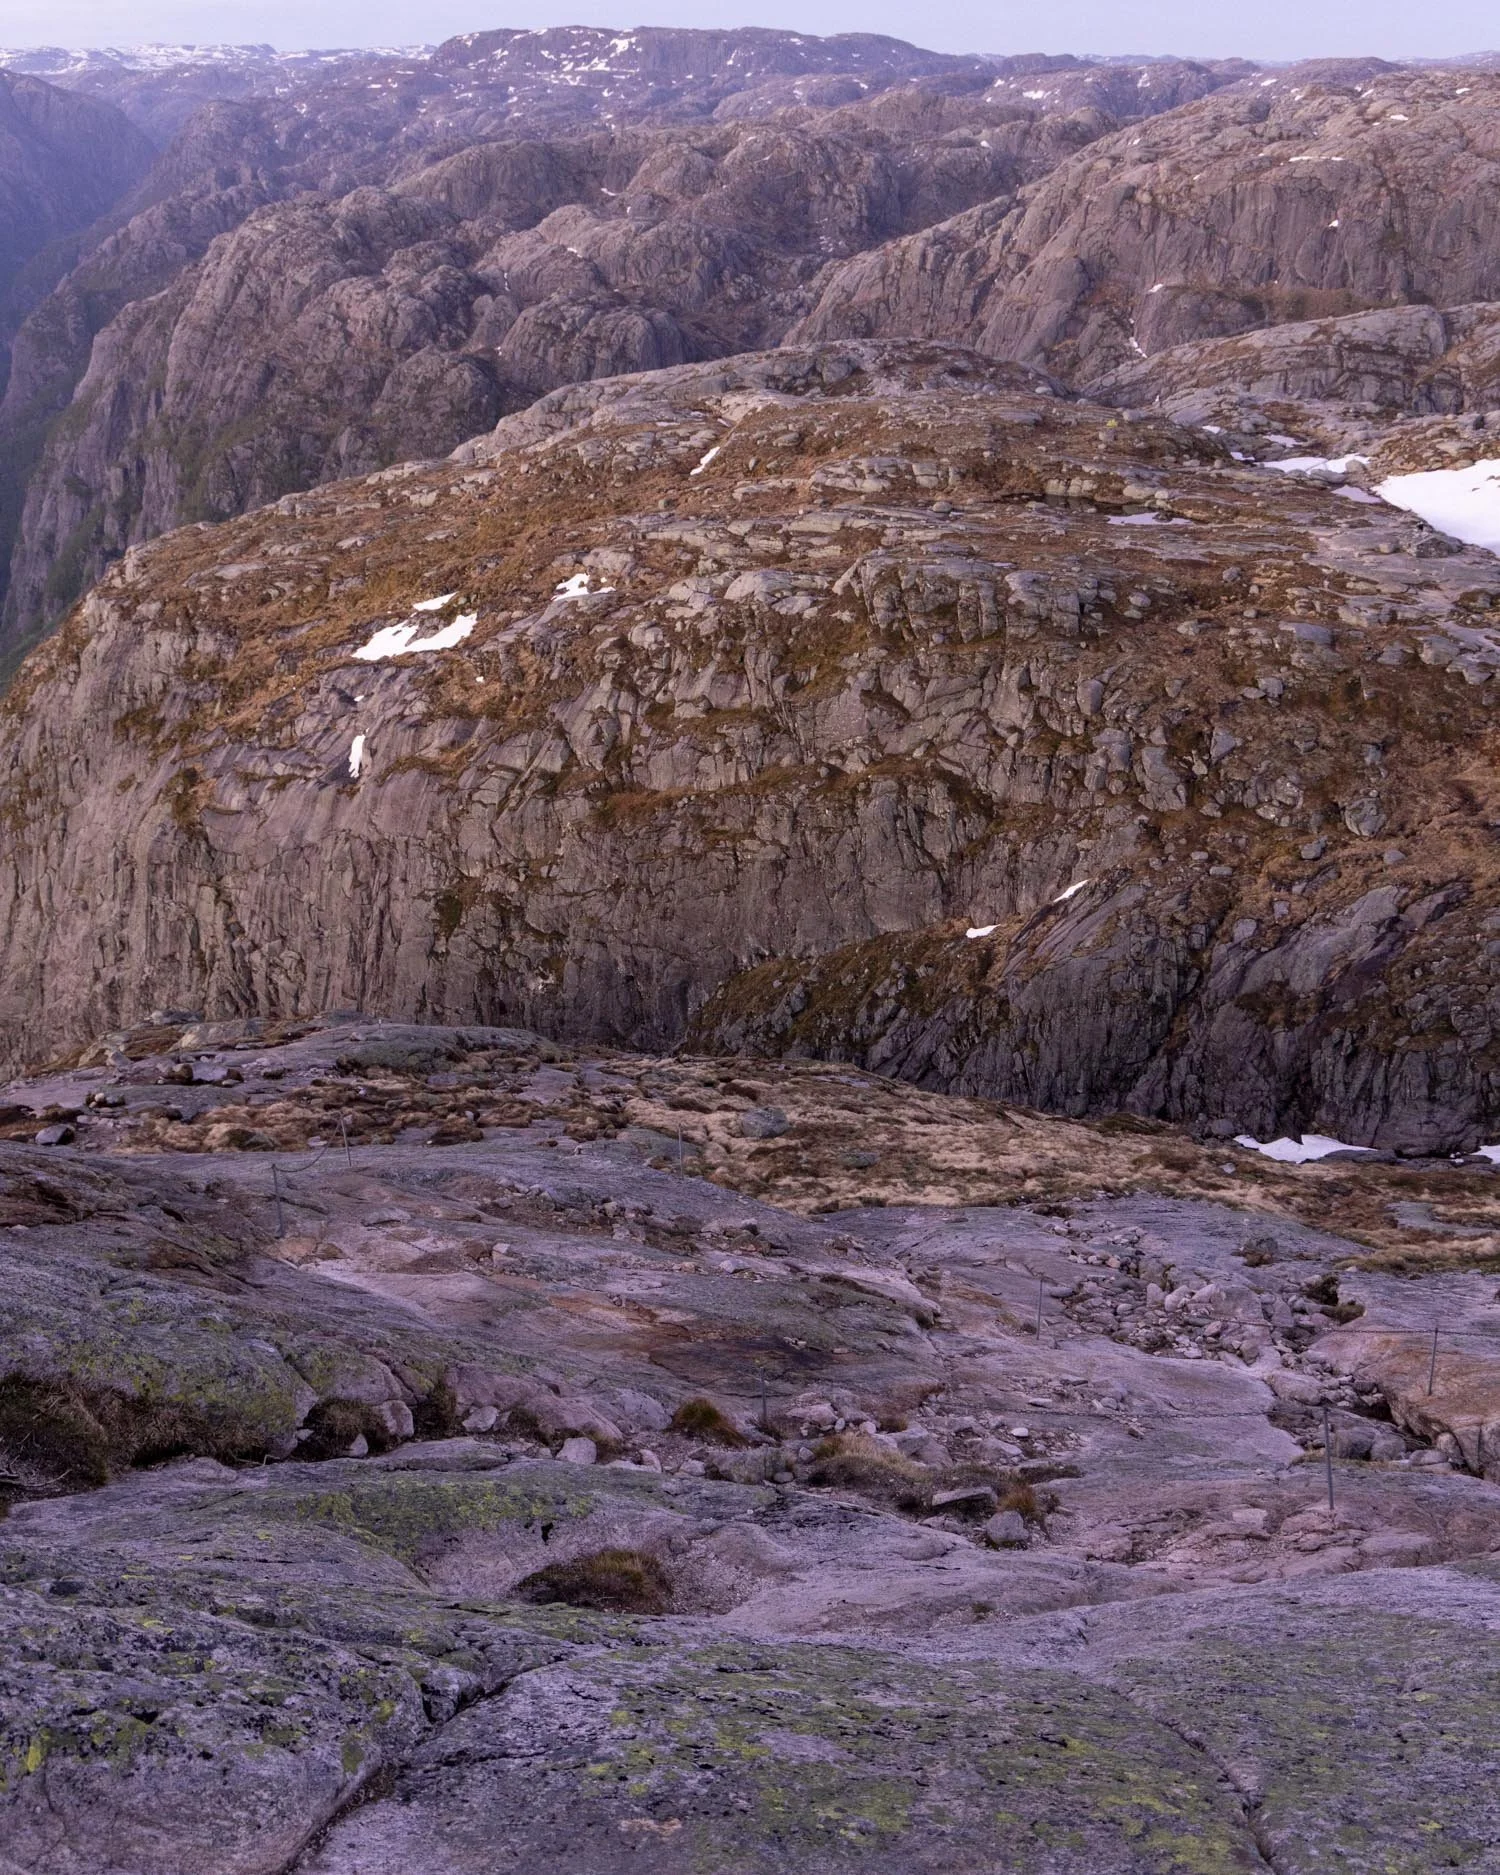
The hike to the Kjerag should not be underestimated. Much of the trail is walking up granite rock faces aided by fixed chains.
The rock is grippy for the most part when dry, but slippery when wet. Normally, when we talk about picking your weather window, it’s about getting the best views, but this time it’s about making sure the hike is safe.
If you’re planning to stand on the boulder, as well as dry weather you also want low wind speed. The boulder is totally exposed and one large gust could end in disaster.
Although safety is the most important factor, this hike is seriously beautiful so if you can get low cloud cover that’s optimal for the views.
The only website worth using for conditions on this hike is Yr.no, this is Norway’s own weather forecasting website and usually so accurate we use it all over the world. You want to find a day with no rain and then preferably a wind speed of 6 m/s or less. A really low glorious wind speed is 2 m/s and below, but this is rare to find in the mountains.
When it comes to cloud cover, click on the details tab. You are ideally looking for low percentages across all three categories.
However, again this is hard in the mountains so if you have the choice, go for the lowest percentages in the low and mid cloud categories.
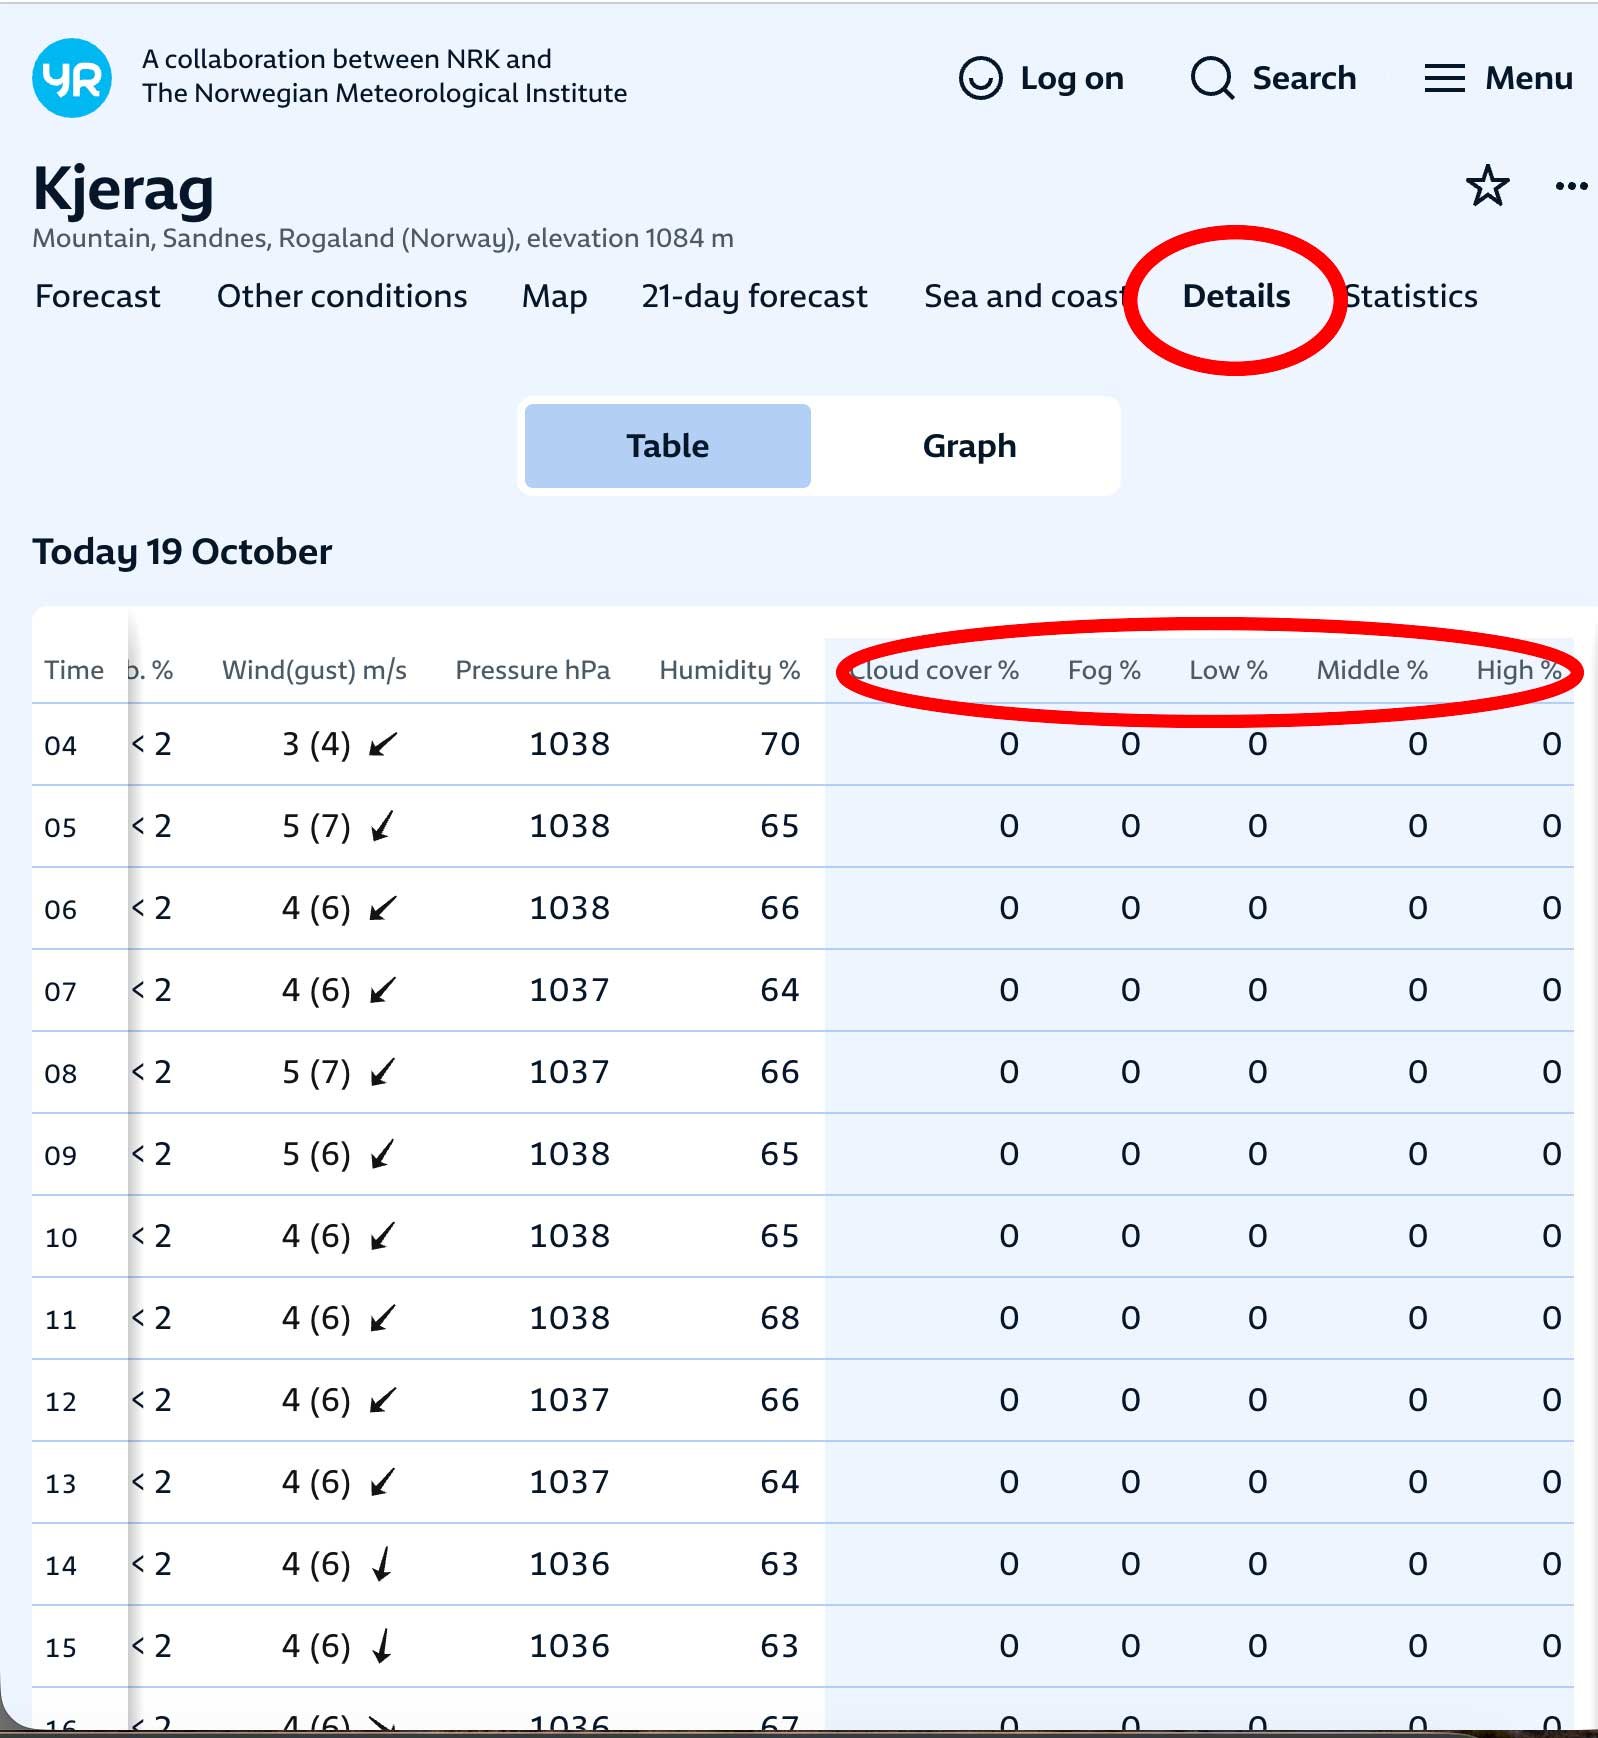
This is the cloud that tends to sit low and obscure views. Also watch out for and try to avoid the fog symbol (the grey lines under the sun icon).
If, like us, you’re planning to do the Pulpit Rock hike too, I would give your best day over to Kjeragbolten as Pulpit Rock is much easier and has a much better trail.
Be prepared for lots of steep sections and lots of chains!
Perhaps somewhat embarrassingly to admit as we run a hiking website, I definitely underestimated this hike. I don’t think it helped that we started so late having hiked Pulpit Rock the day before, but excuses aside, the reality was, I hadn’t done much uphill walking in a long time and I wasn’t very fit.
I think seeing pictures of the boulder at the end so many times over the years led me to the false sense of security that it would be quite easy to reach.
And while if you’re fit it won’t be difficult, if you’re a little off your game like I was then expect it to be pretty tiring.
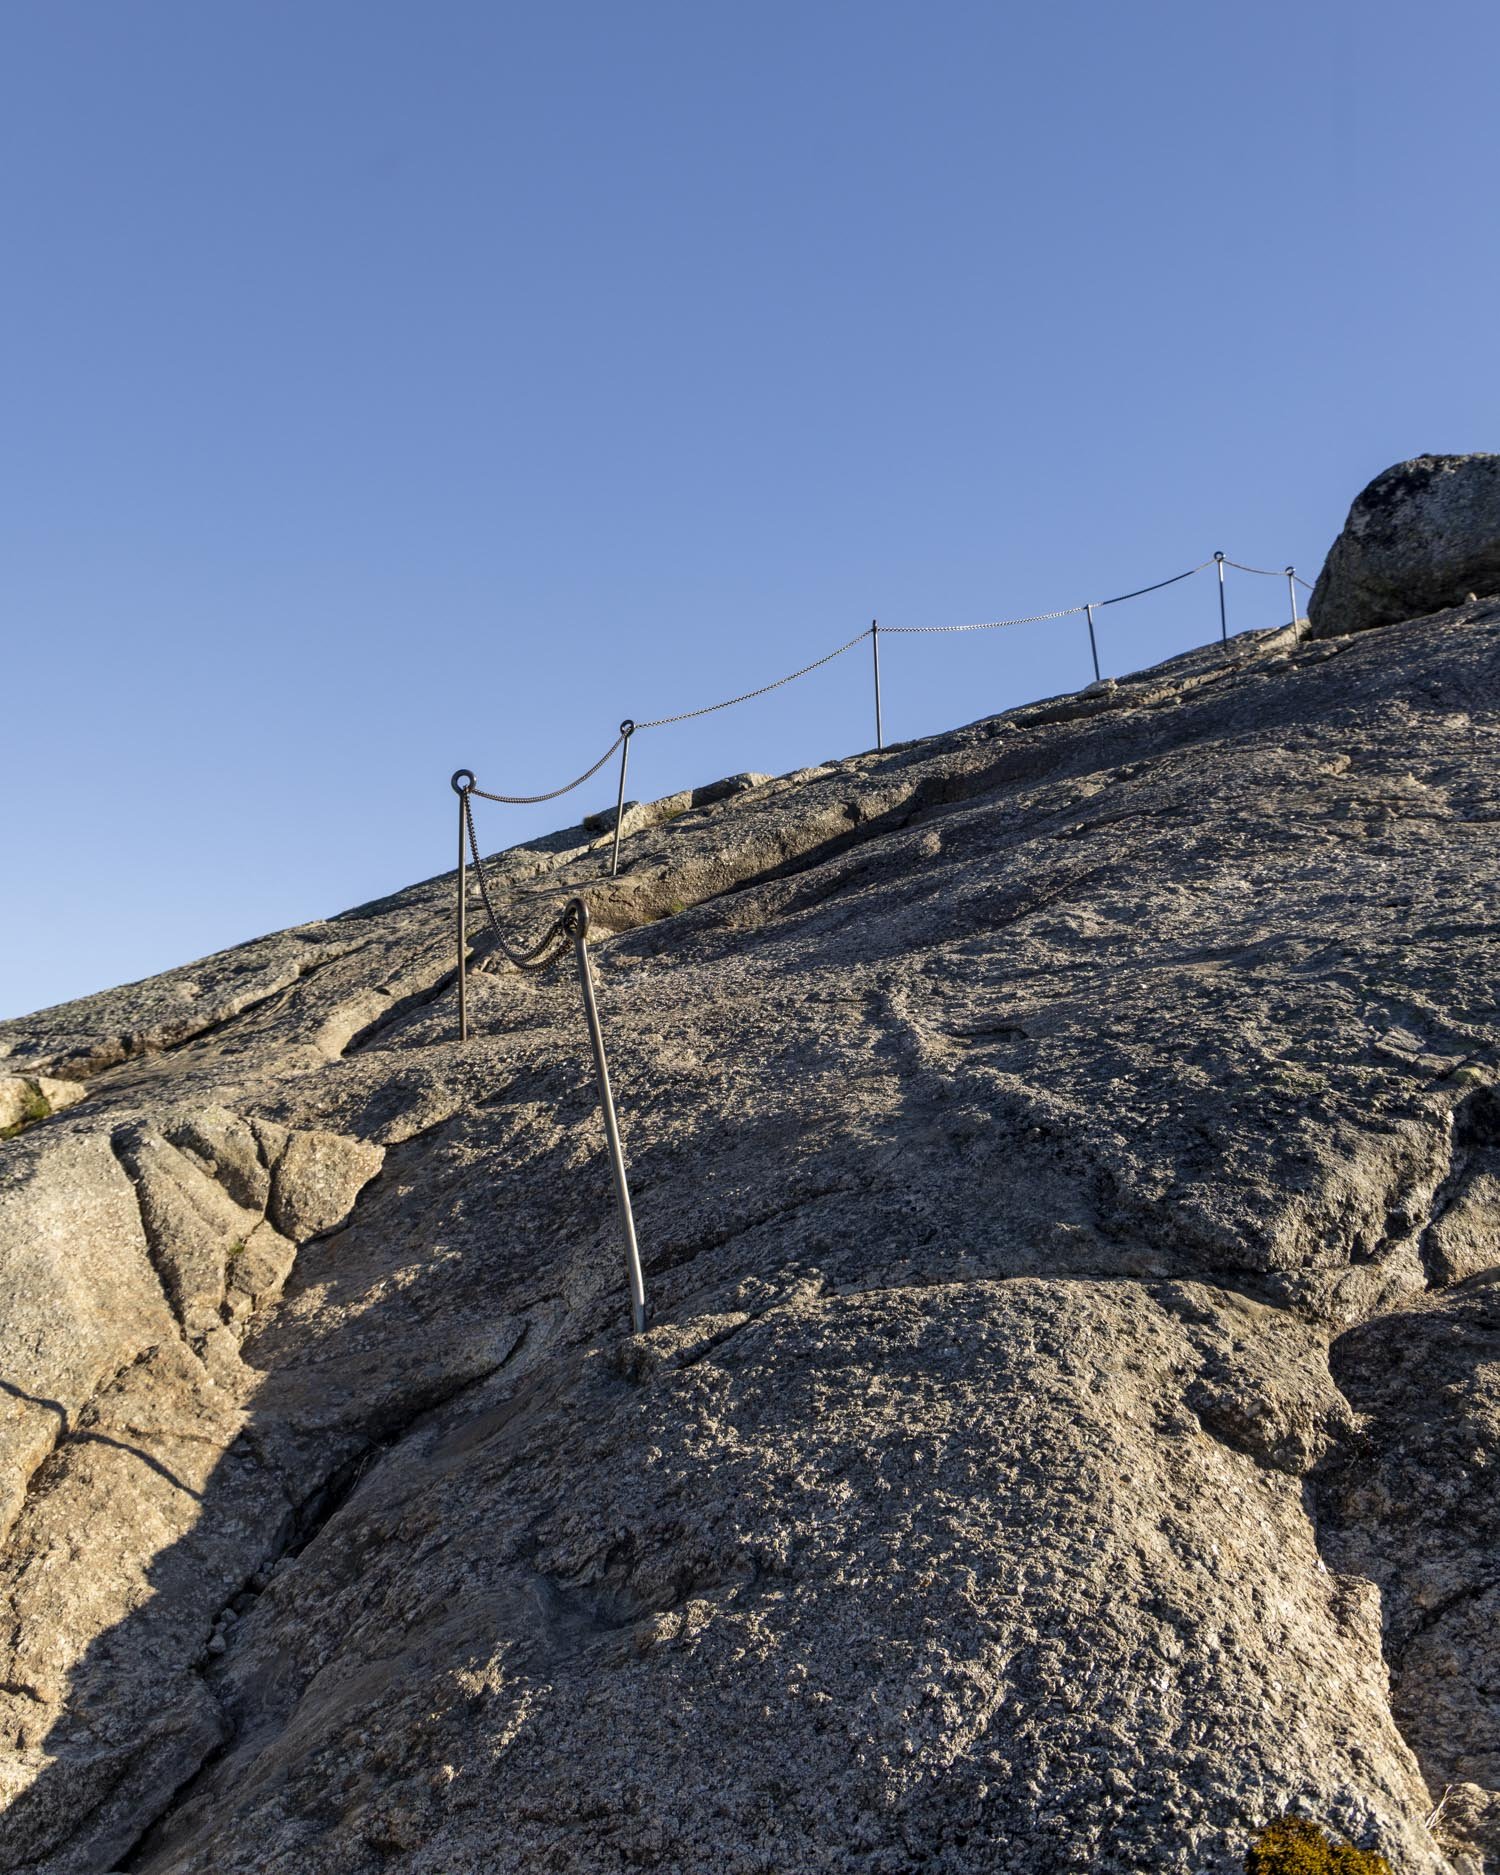
For me it was the descent where fatigue set in. On the way up I was so excited to get there whereas on the way back, especially as darkness fell, I just wanted to finish, yet you have to take care as it’s easier to slip when descending the steep sections than it is when ascending.
The other thing I hadn’t realised ahead of time was how much of the route was up granite slopes with chains. I knew there were sections of chains but I thought it would be more like hikes I’d done such as The Chief in Squamish where only short sections were chained.
The chained sections on the Kjerag are far more substantial and as I tend to worry about slipping (more so on the descent), I found it more tiring than expected.
Having said that the more you do the more you get used to it, so I would say it gets easier as you go.
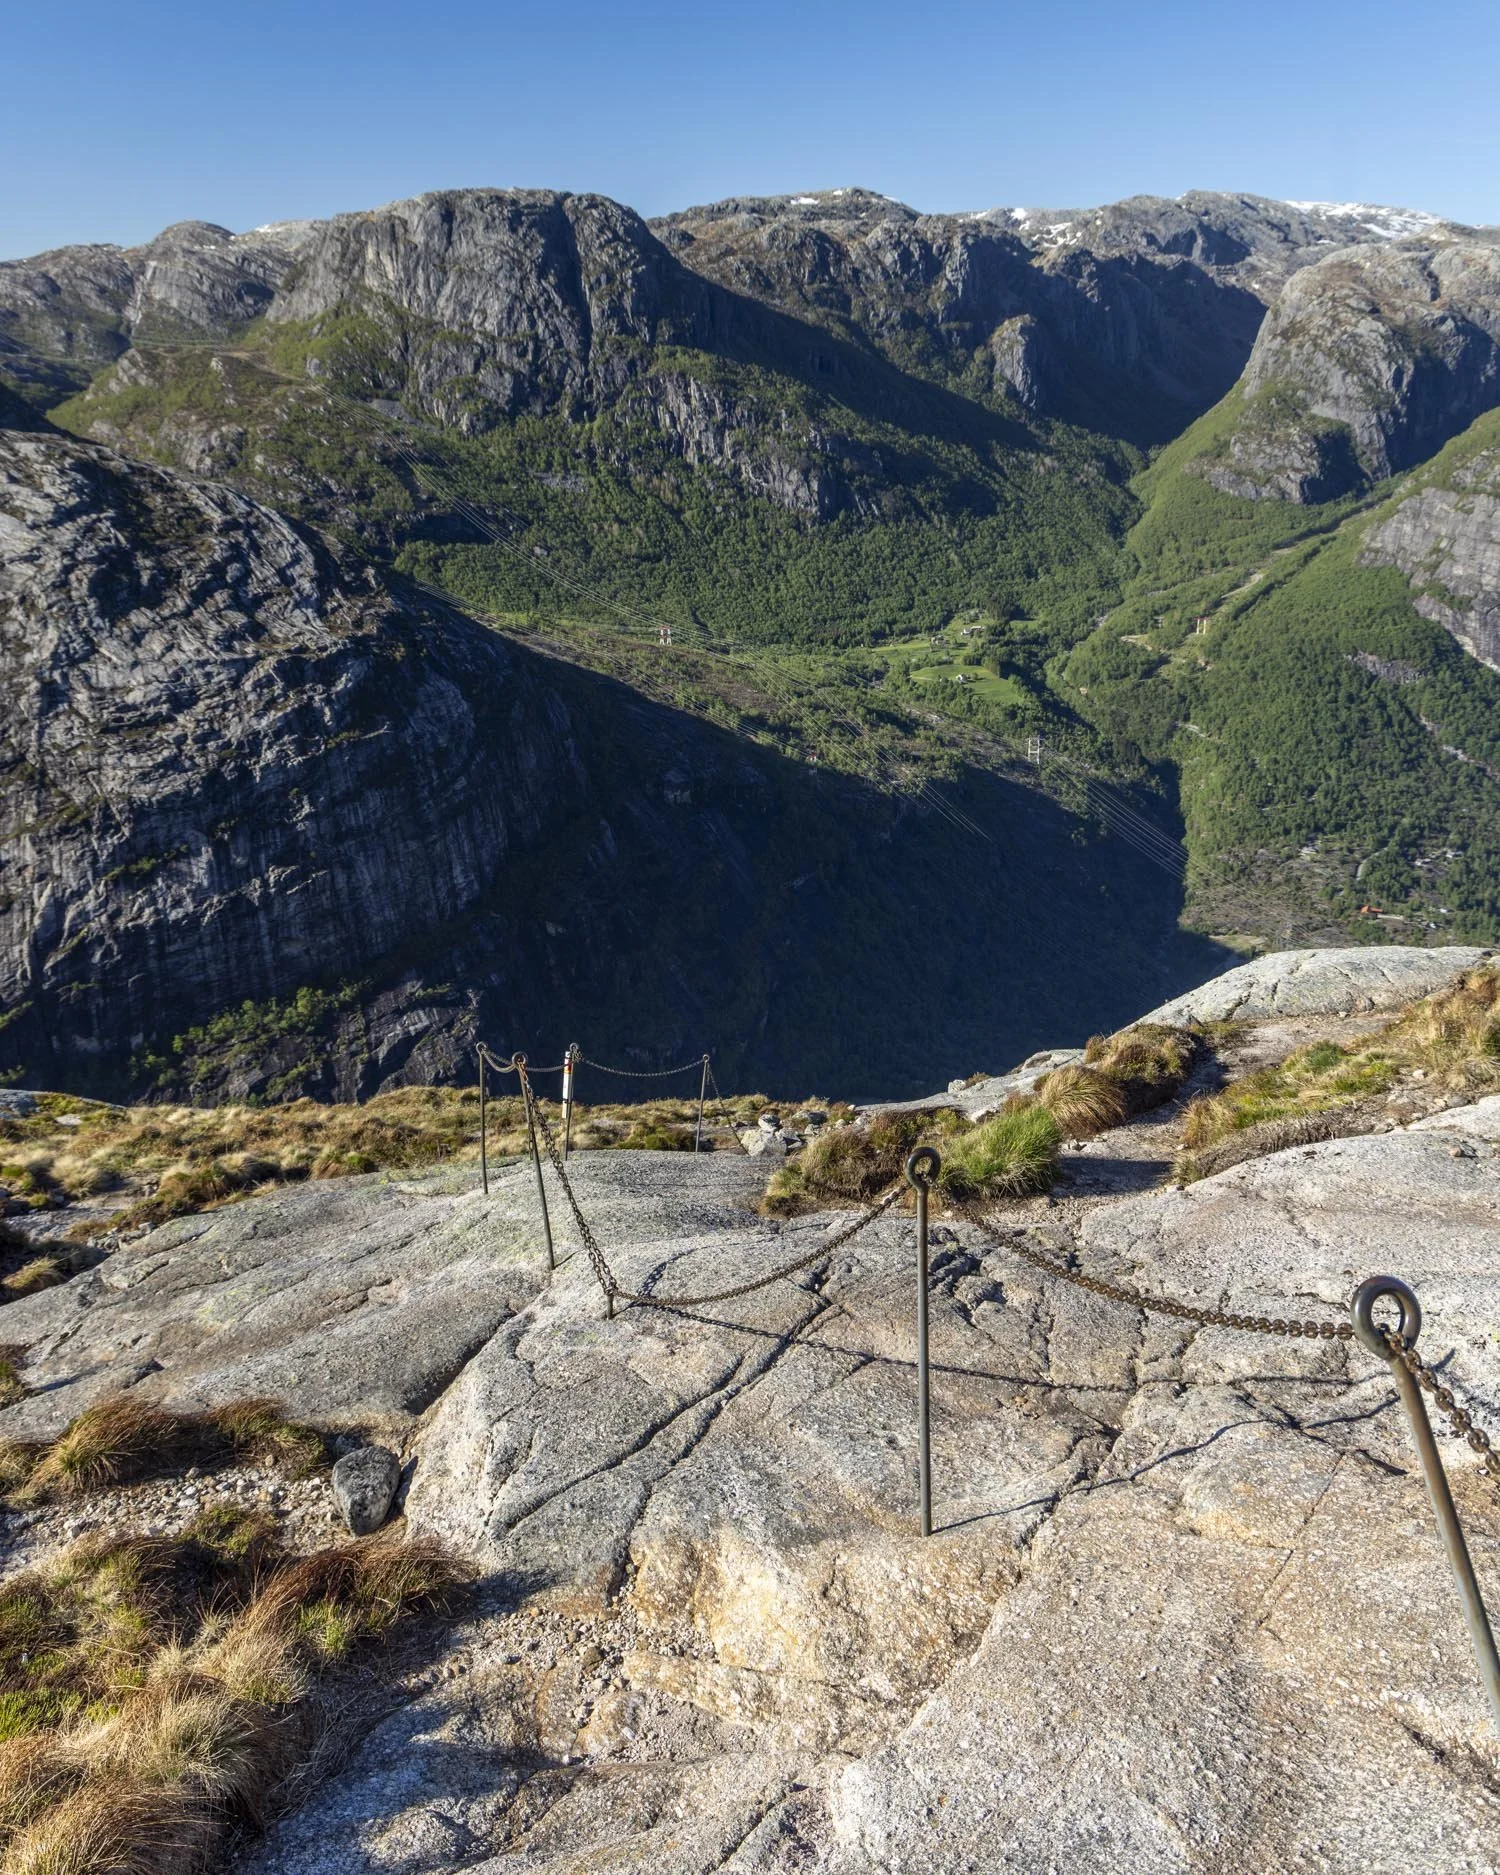
You don’t need to use the chains the whole time either, often it’s easy enough to walk up without them if the rock is dry and grippy and that’s a bit easier as the chains can be a bit low to the ground and therefore it would be a bit uncomfortable to use them the whole time.
In terms of exposure, none of the chains on the Kjerag route feel ultra exposed, but there are points it was very steep and while climbing up felt ok, I did worry about coming down!
However, I think if you come down backwards at the steeper sections it does make it easier and you’re not really searching for footholds or anything as you are simply moving down granite slabs.
In that sense I would say coming down was easier than I expected until the final hill when I started to feel particularly tired.
Snow and ice can still be present into June
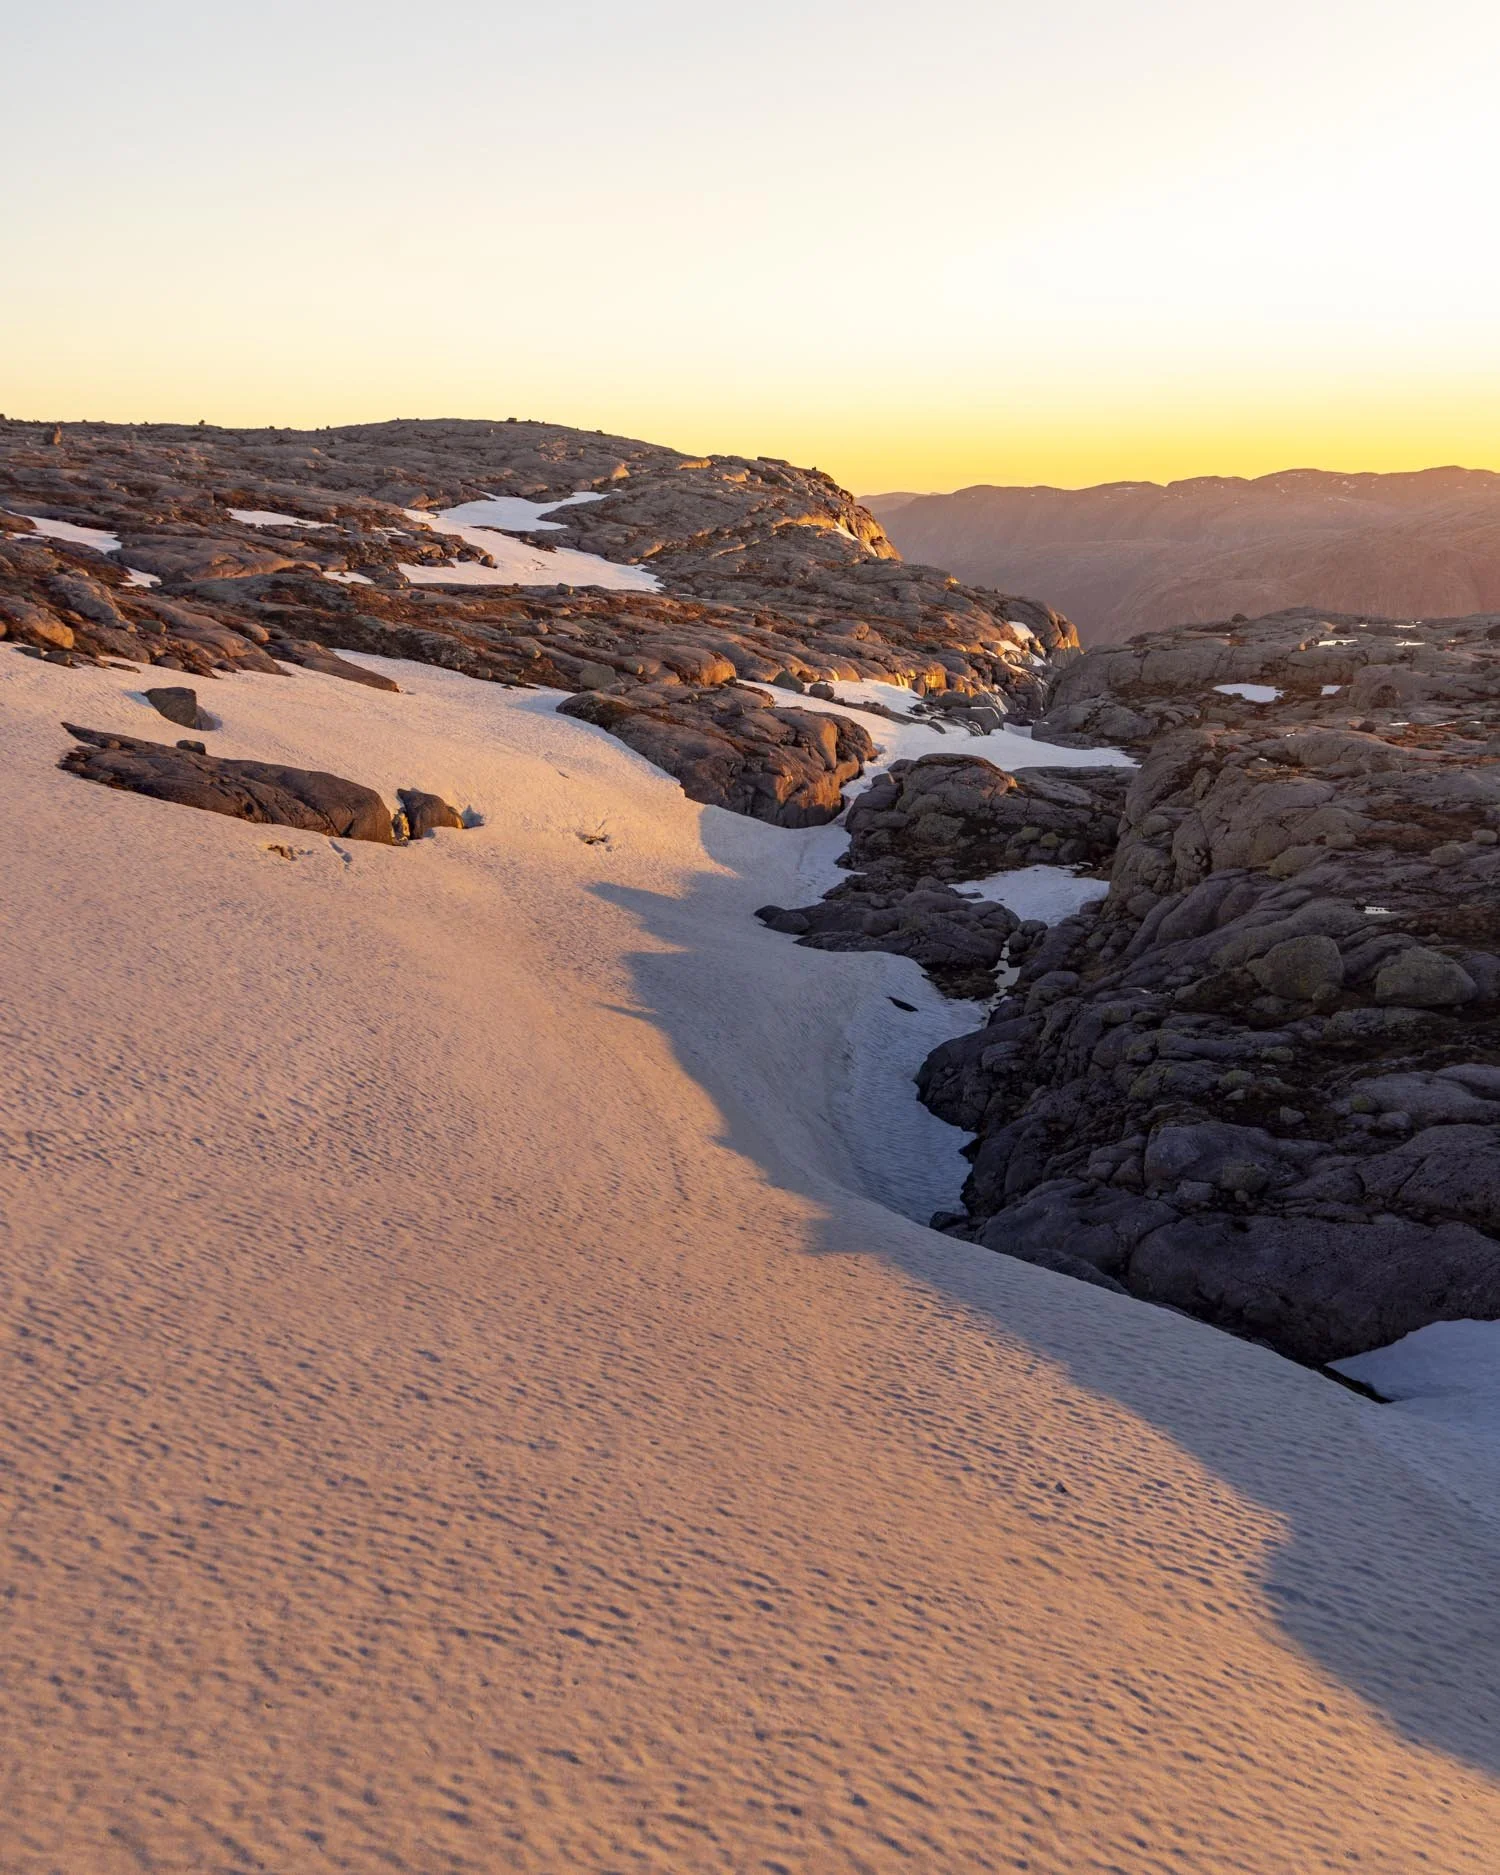
We hiked the Kjerag at the end of May and there were some sections of snow and ice on the trail. With care, none of them were anything much to worry about until you got to the Kjerag (though minor narrow sections on snow might be unnerving for some people).
As we were heading up the track two people stopped me and said to be exceedingly careful as you could slide right off the track at the very end (in front of where the boulder is).
I am not sure without those words ringing in my head I would have been too concerned, but I definitely took their point when I saw it with my own eyes.
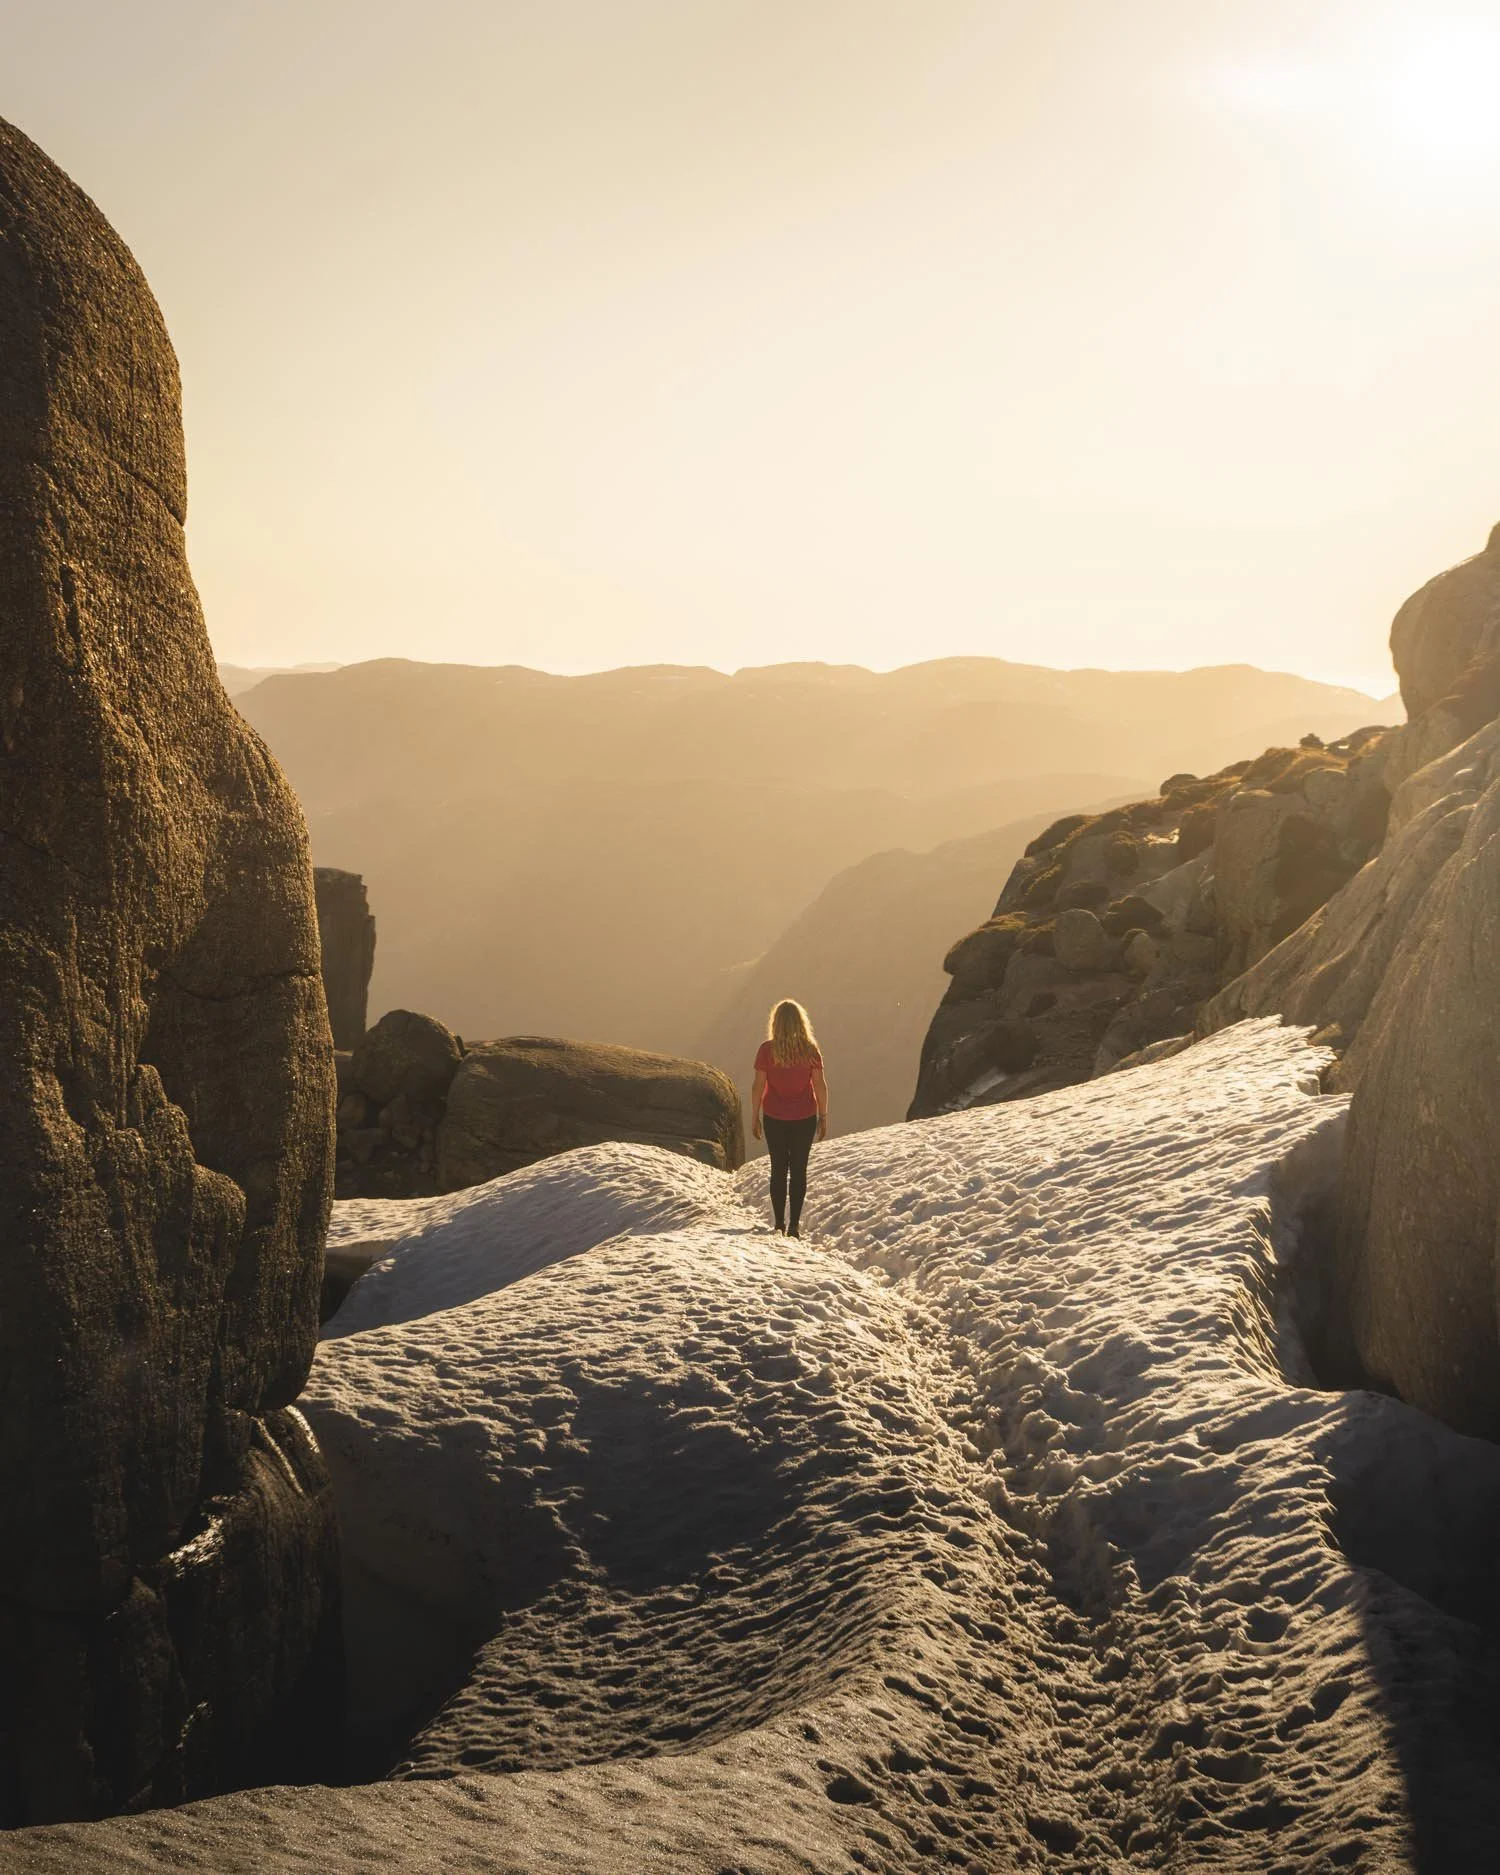
The track ends in front of the boulder with nothing but air between you and it. However, it’s the fact that it slopes downhill that makes it a slip risk in snow or ice. I did walk back and forth several times and felt ok but I trod carefully.
I think if you want to air on the side of caution I would bring a light pair of Yaktrax to slip over your shoes at the end. This would give you traction and confidence that you’re not going to slip.
I didn’t have mine with me, but I think given how much we were moving around taking photos, I would have used them if I did.
Keragfossen only runs seasonally
Keragfossen cascades 700m over the cliff top and into the spectacular Lysefjord. I didn’t know it existed before we got there and seeing it was a highlight of the whole walk for me.
It is one of the most beautiful waterfalls I have ever seen in my life and I wondered why I hadn’t heard of it before.
After a bit of research I found that it only runs seasonally after the annual snow melt (or a very heavy rain event) so most people won’t see it as by July it’s usually run dry.
It’s typically best viewed in May/June and by happy coincidence that’s when we were visiting.
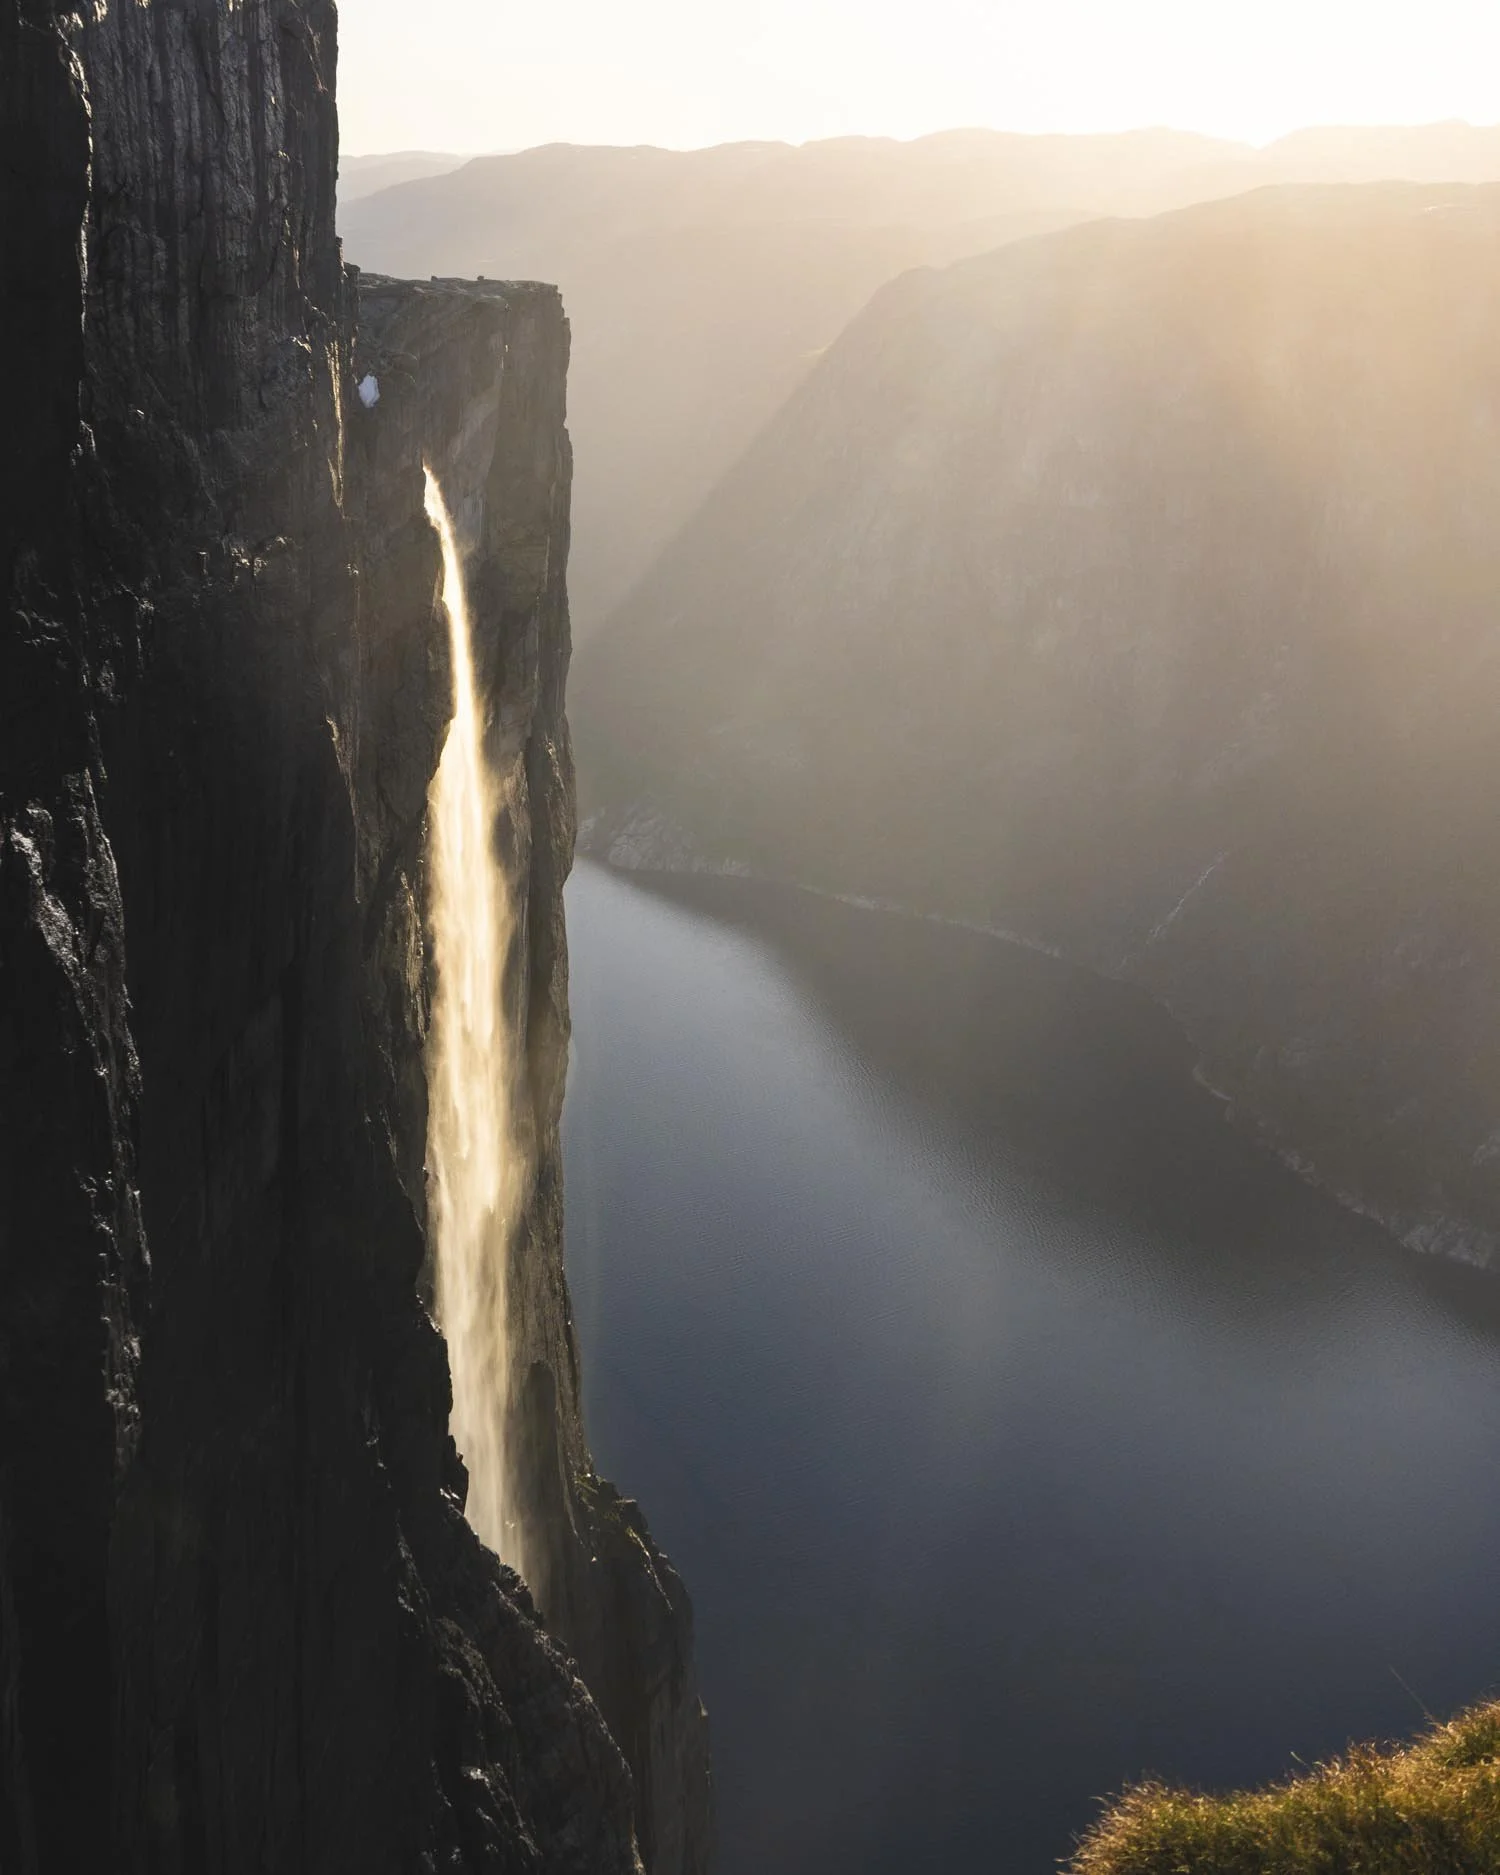
If you are an experienced hiker and confident going down part of the track in the dark, you can also witness the incredible spectacle of a ‘fire fall’.
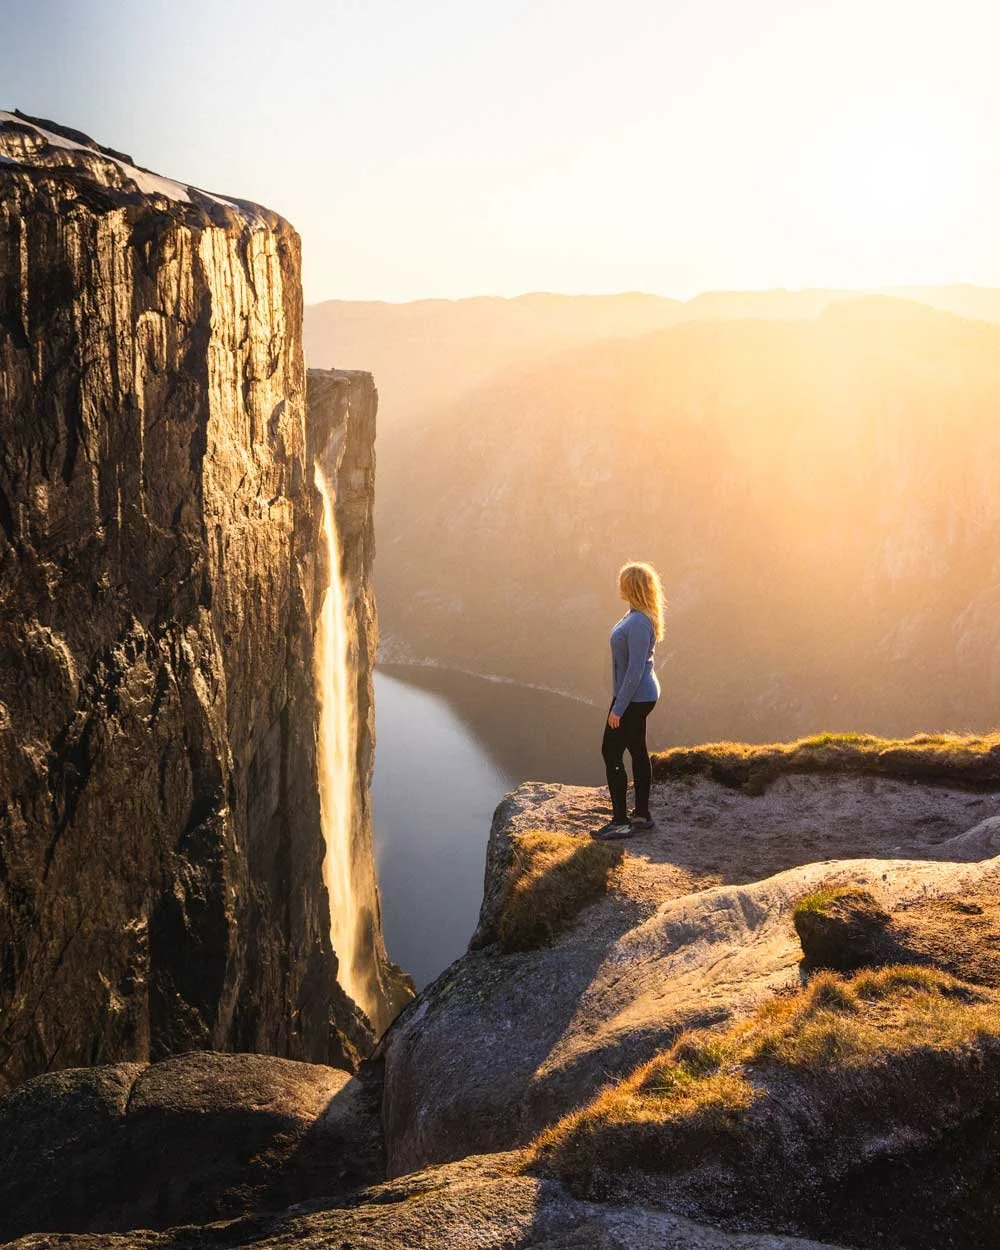
This happens around sunset when the sun is low in the sky and hits the waterfall giving the illusion it’s on fire. I’d always wanted to see the famous Firefall in Yosemite and to witness this one I had no idea even existed in Norway was something I will never forget.
You need the weather to be on your side though as if it’s a really cloudy day it won’t happen.
Even if you don’t want to hike to see the waterfall at sunset, if you have the freedom to choose I would 100% aim to hike the Kjerag when it’s flowing.
The Kjeragbolten hike
The stats
Distance: 4.8km each way
Elevation gain: 710m (580m on the way there, 230m on the way back)
Difficulty: Hard
Trailhead: Kjerag Parkering
Summary: The walk to Kjeragbolten is on granite rock for the majority of the way, this means you don’t really need to worry about mud for the most part. There are three main climbs and all of these have chains running up them to help you get up and down more easily.
The poles are fixed, so it’s not like the Half Dome cables where the poles come out! And since I have referenced Half Dome it’s worth noting that any steep sections on this hike are nowhere near as steep as that, you don’t need upper body strength for the Kjerag hike.
Dry weather will make this trail much easier as granite becomes slippery when wet. When dry the rock is grippy for the most part though there are a few polished sections which can be a little slick (but the chains give security here).
Sometimes the chains take the steeper line and I found it easier to use shallow routes away from them, but I imagine most people will generally stick to the chains.
Most of the time when descending I found it easier to go down backwards, facing the rock like you would a ladder and using the cables abseil-style.
Inbetween climbs and descents there are substantial flat sections so it’s not all one big slog.
Snow and ice can remain on the trail into mid June and start again late September. If walking early or late in the season you may want to bring traction devices just incase it is more significant than you expected.
Starting the trail: the first hill and chains
Distance: 810m, elevation gain: 190m
The good thing about the Kjeragbolten hike is that the hike starts as it means to go on.
Sometimes you can walk for miles and then come to a section of track that you just don’t feel comfortable tackling, but in this case, if you’re ok on the first hill (which has the fixed chains in place) you are going to be ok on the whole walk.
I wouldn’t say it gets much easier in terms of the terrain, but it doesn’t get harder! From the car park there are a few stairs to climb and then you’ll hit the granite slopes.
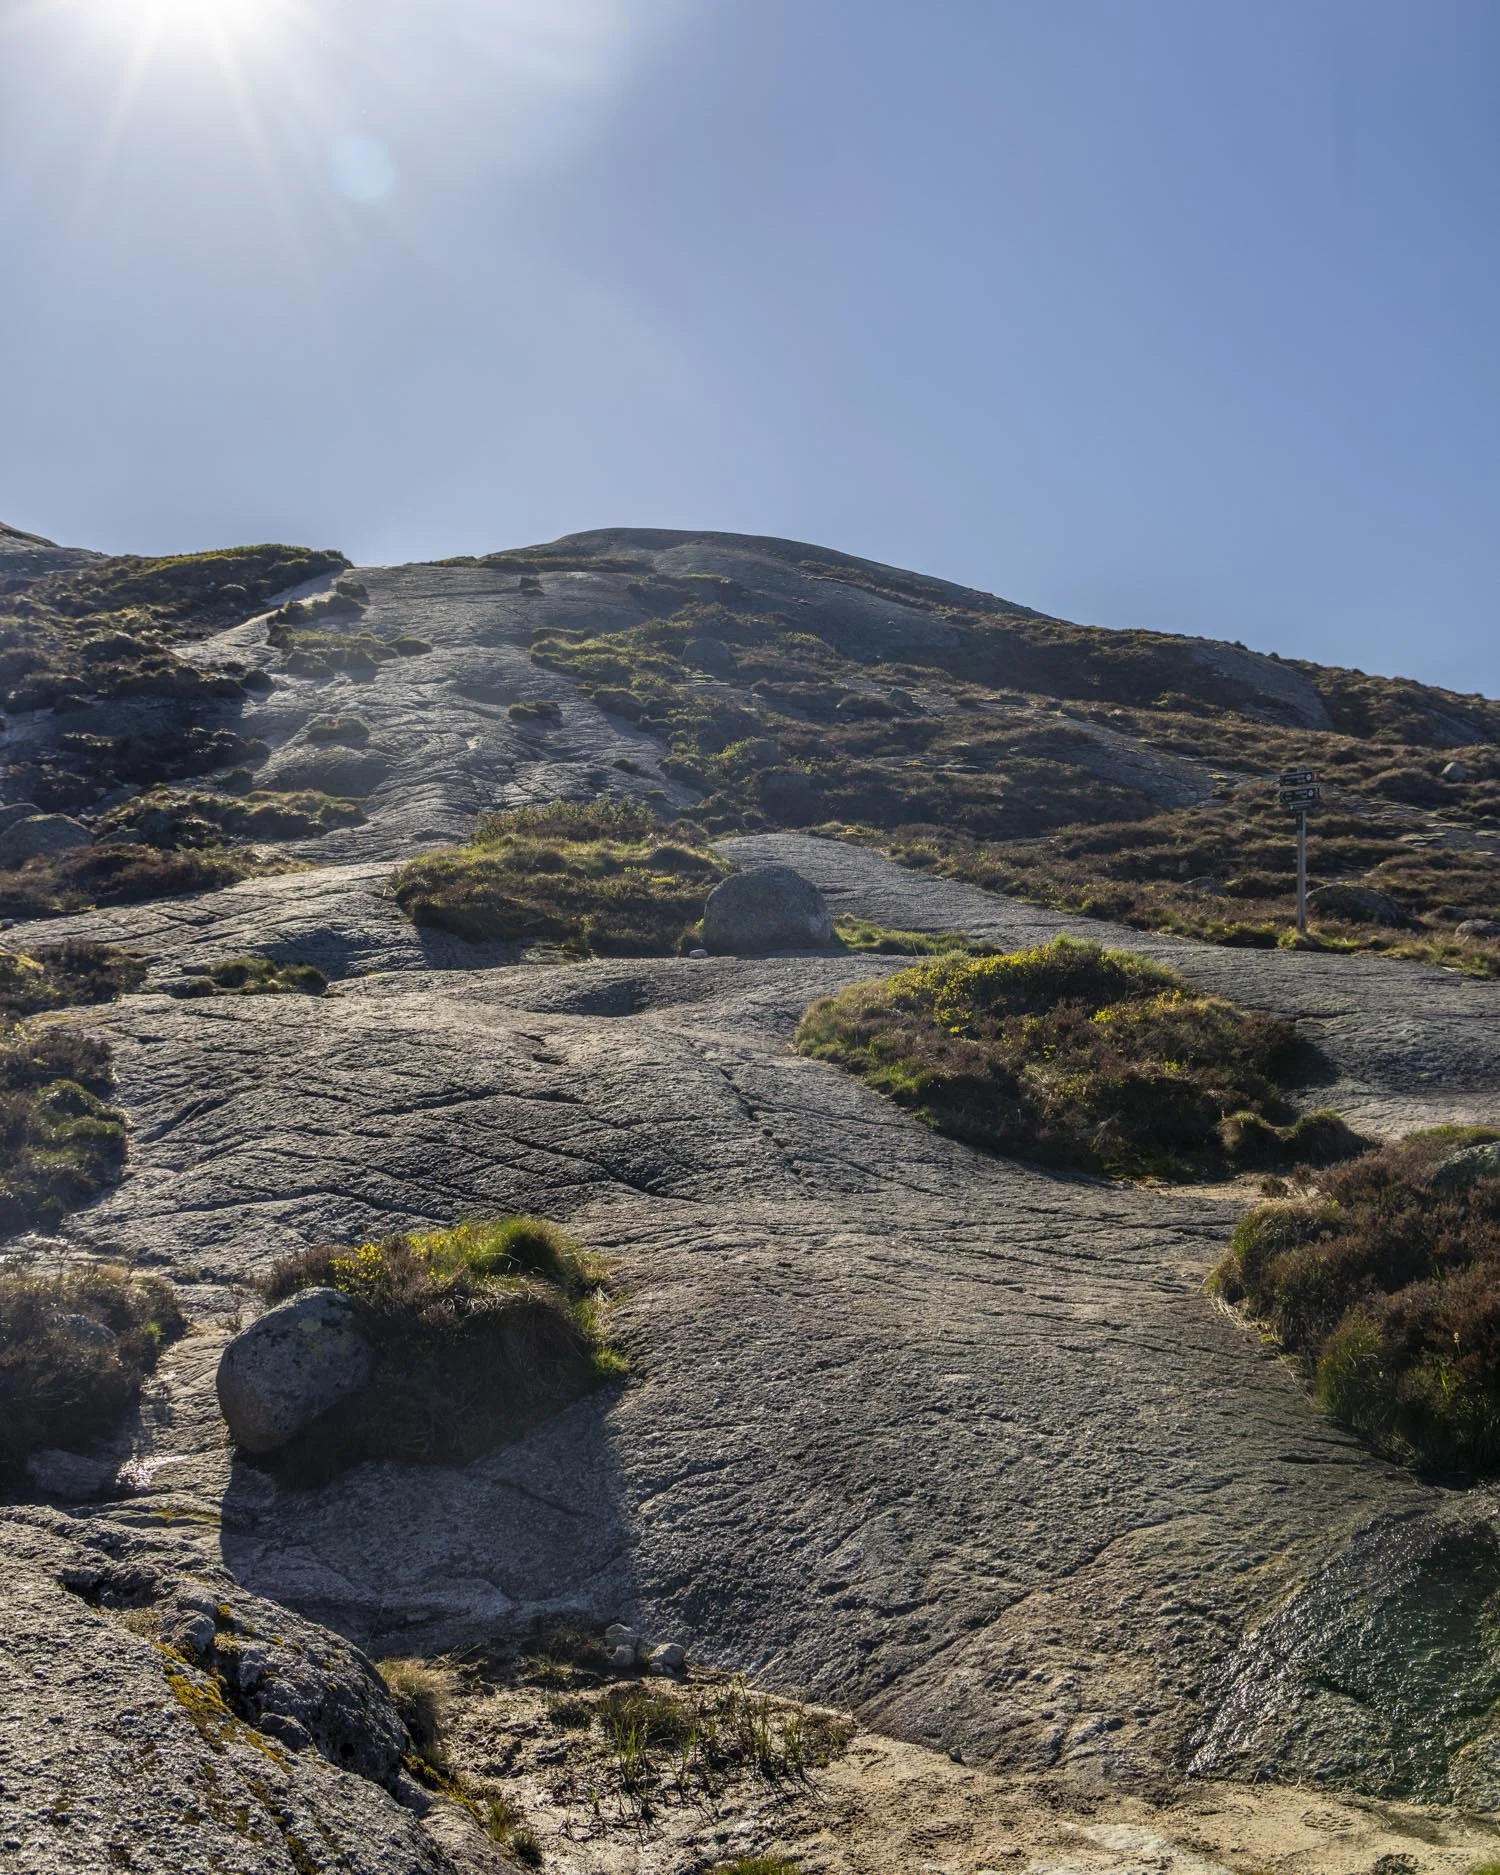
The first set of chains comes in at the 200m mark and it’s not overly steep but the gradient gets sharper as you climb.
By the time you’ve walked 420m total you have climbed 95m in elevation making it one of the steepest hikes we’ve ever done, on par with something like Roys Peak in New Zealand.
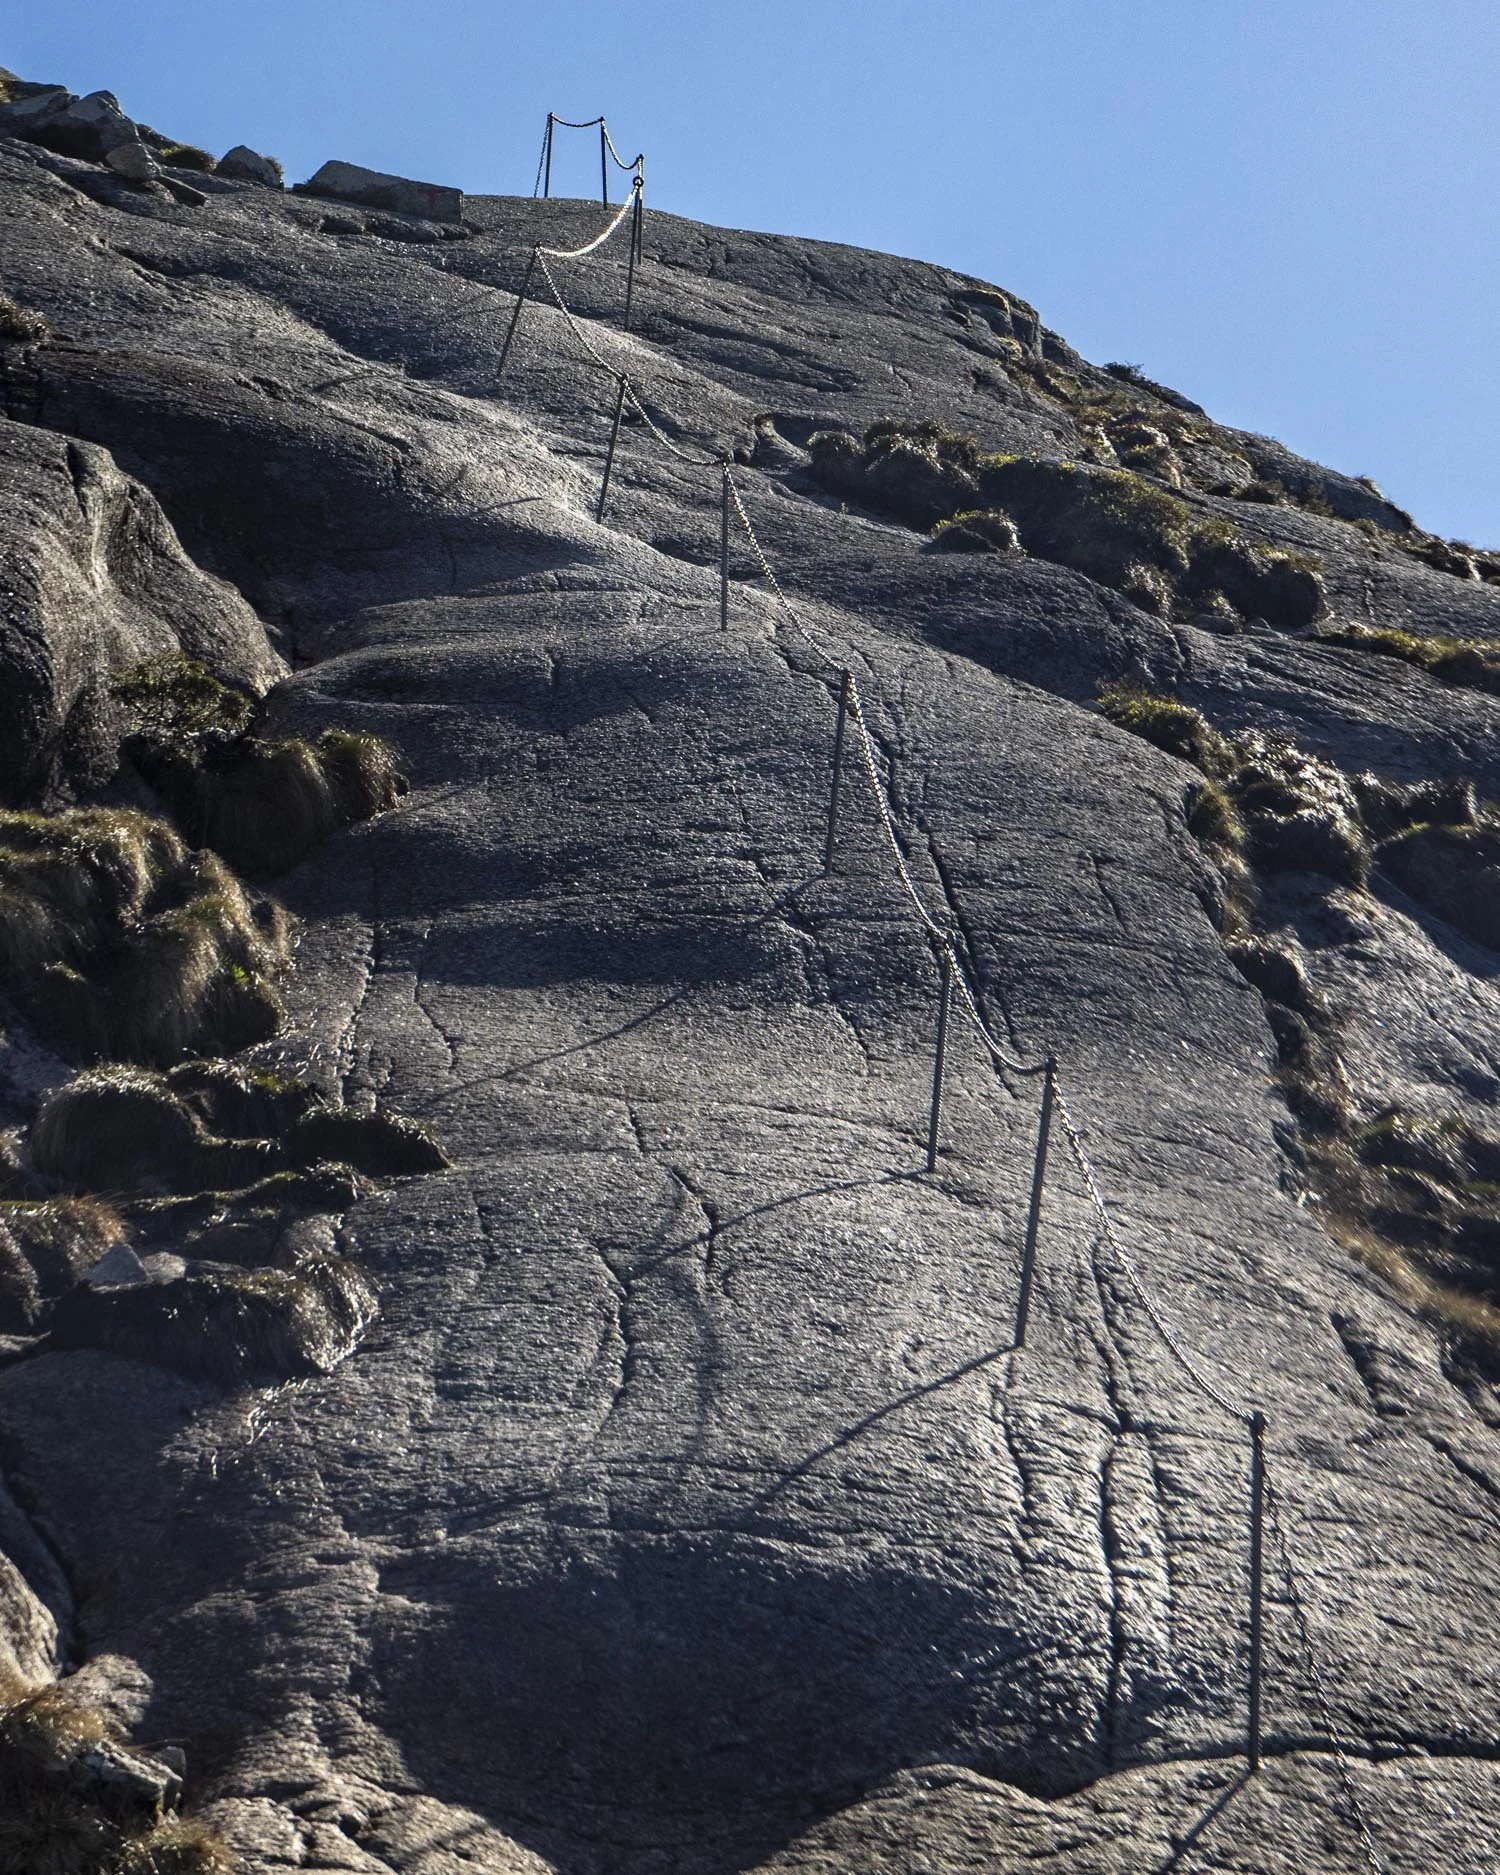
Some sections are steeper than others and it does feel like quite a long climb with the chains, but if you trust your feet on the rock, it’s not too difficult.
I think I was more taken aback than anything else as I hadn’t realised how extensive the chained sections were going to be.
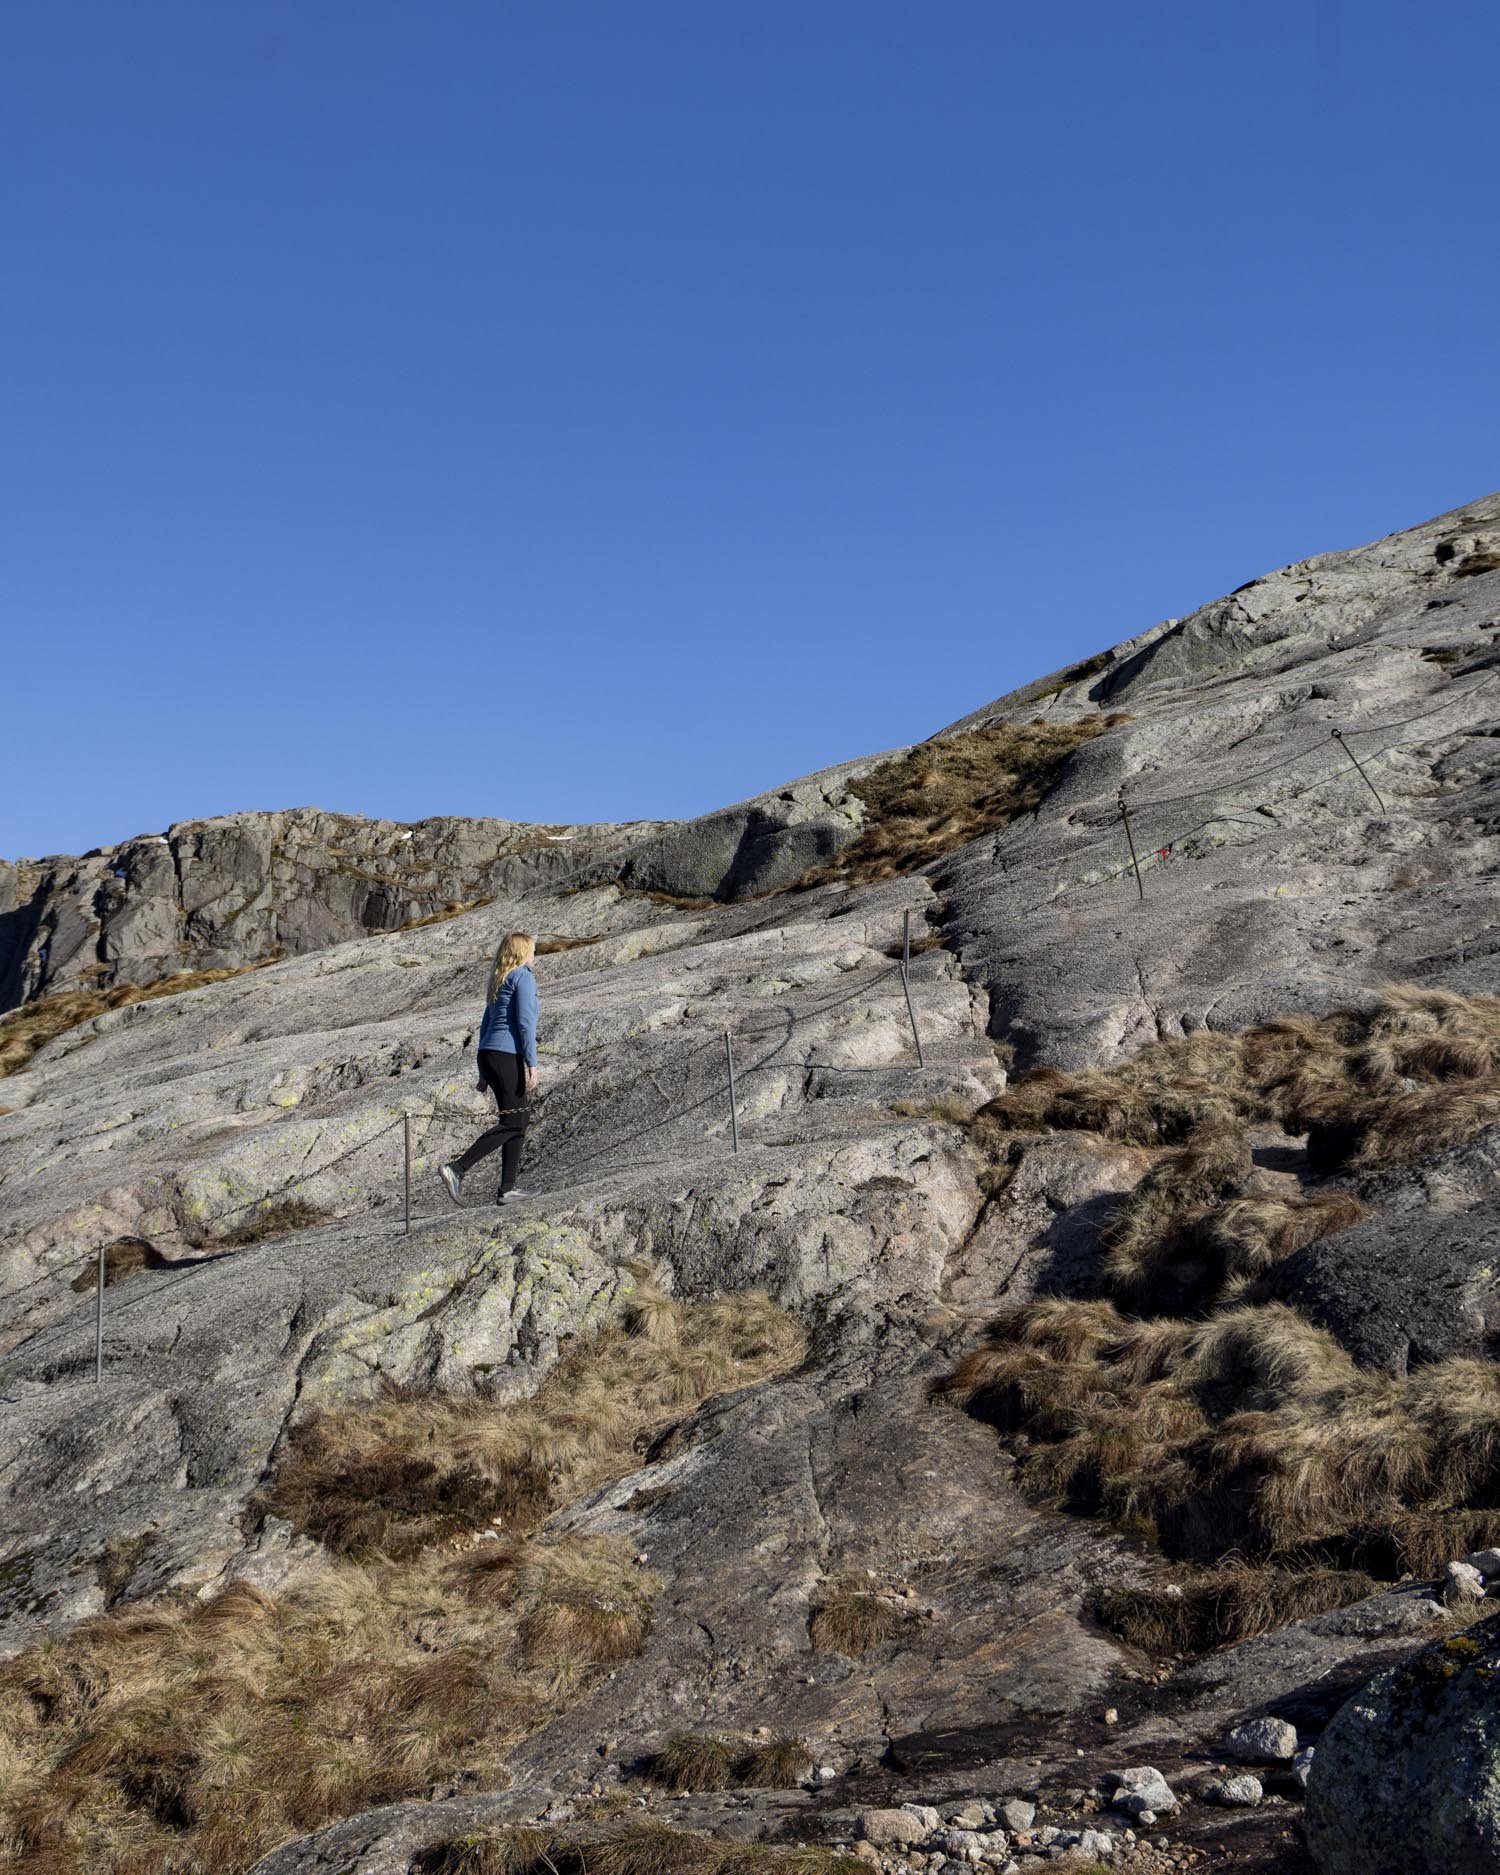
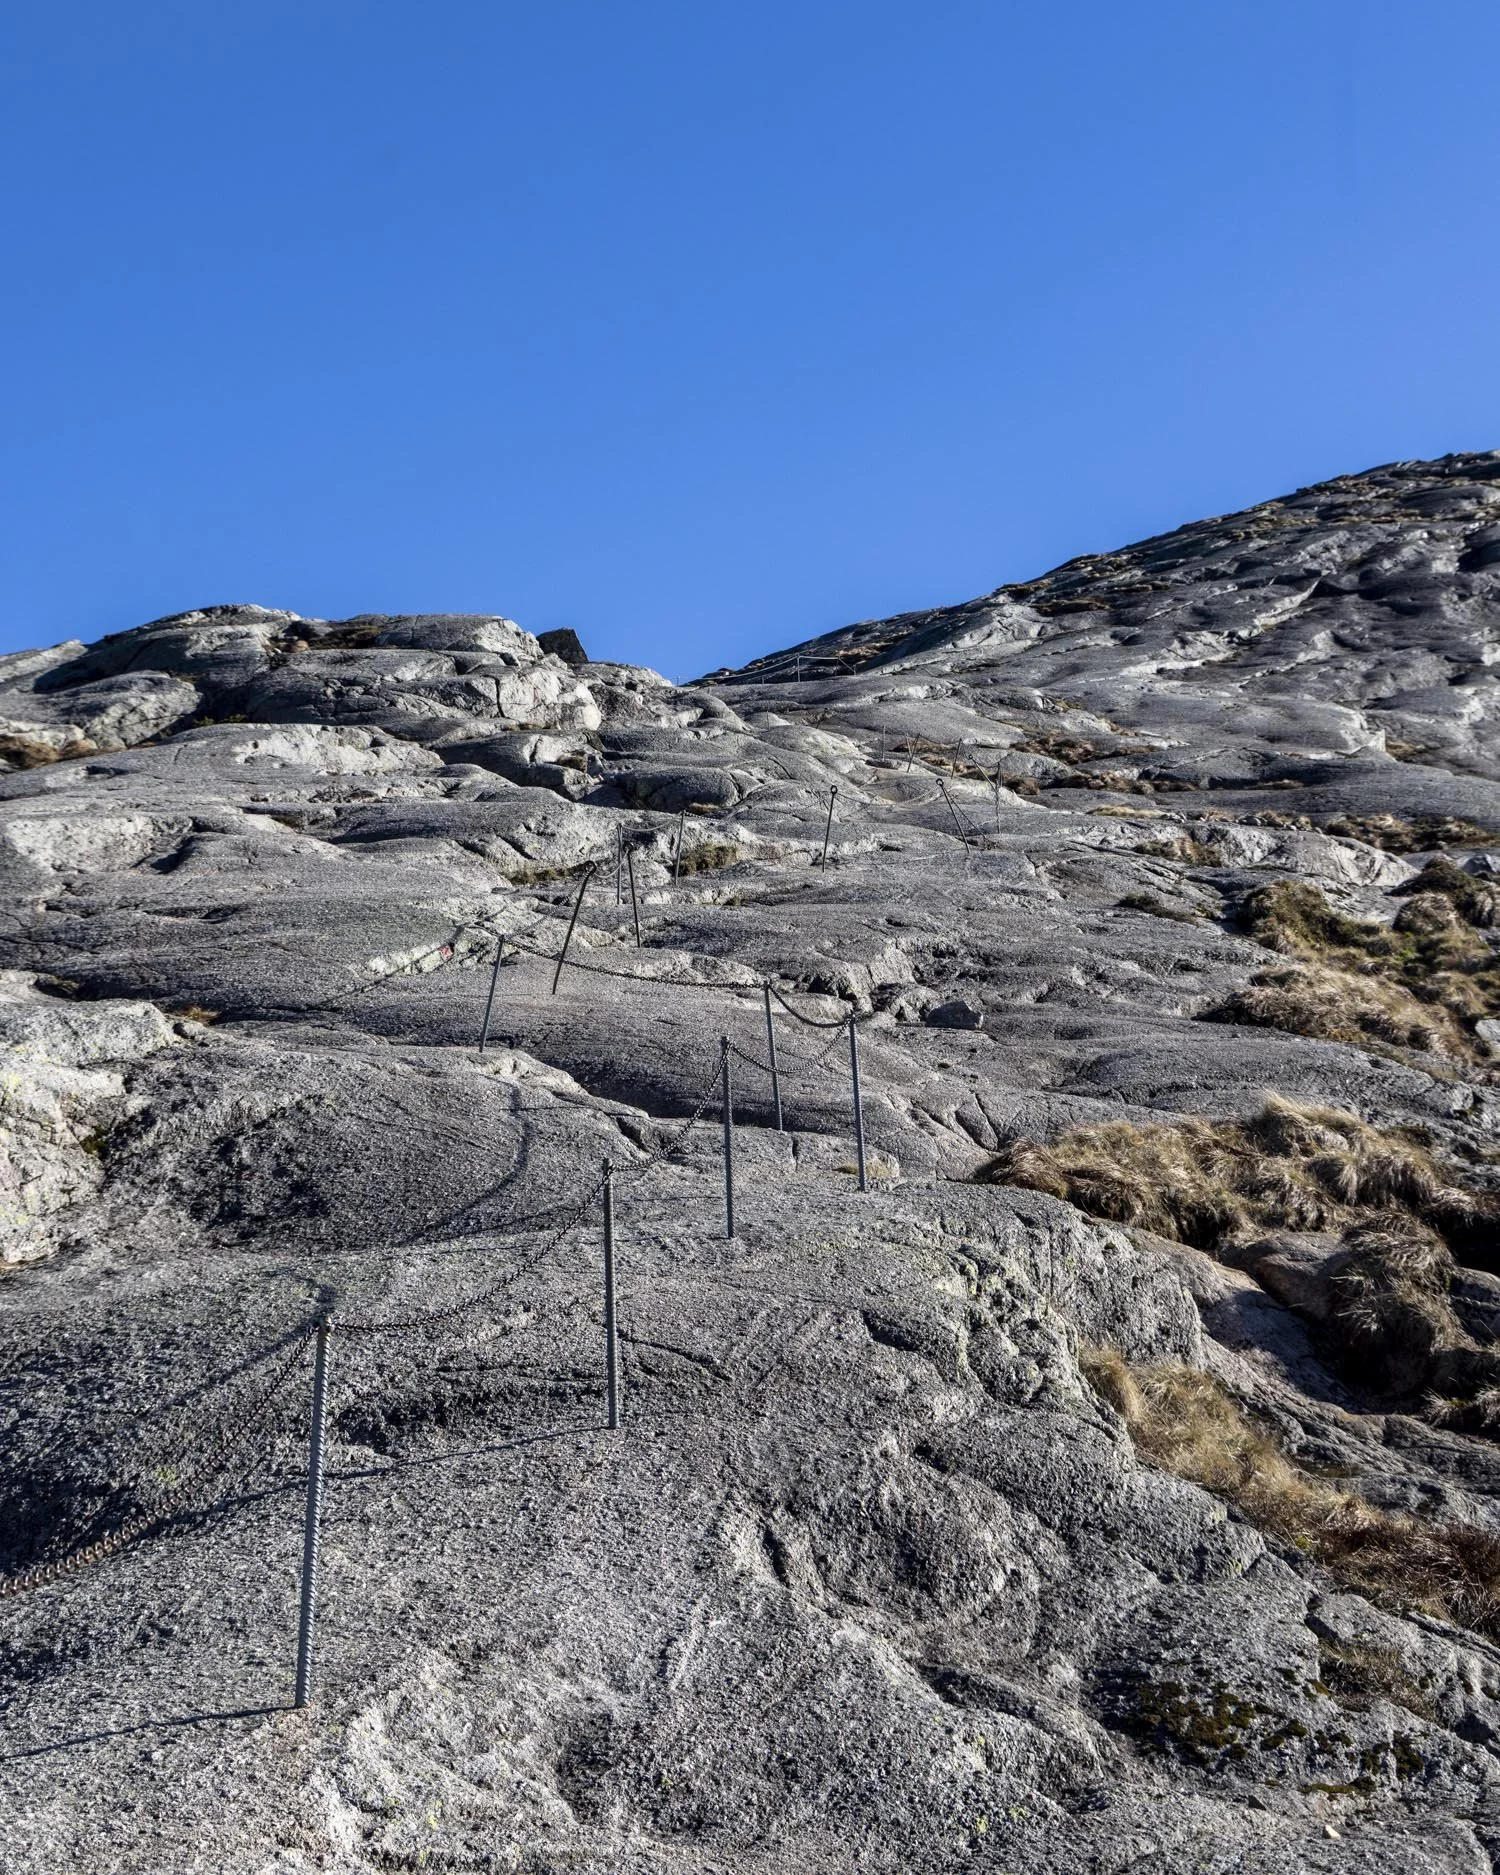
There is a break in the chains at the 600m mark with a few stairs and rock slope and then another 100m of chains before you’ve climbed the first hill.
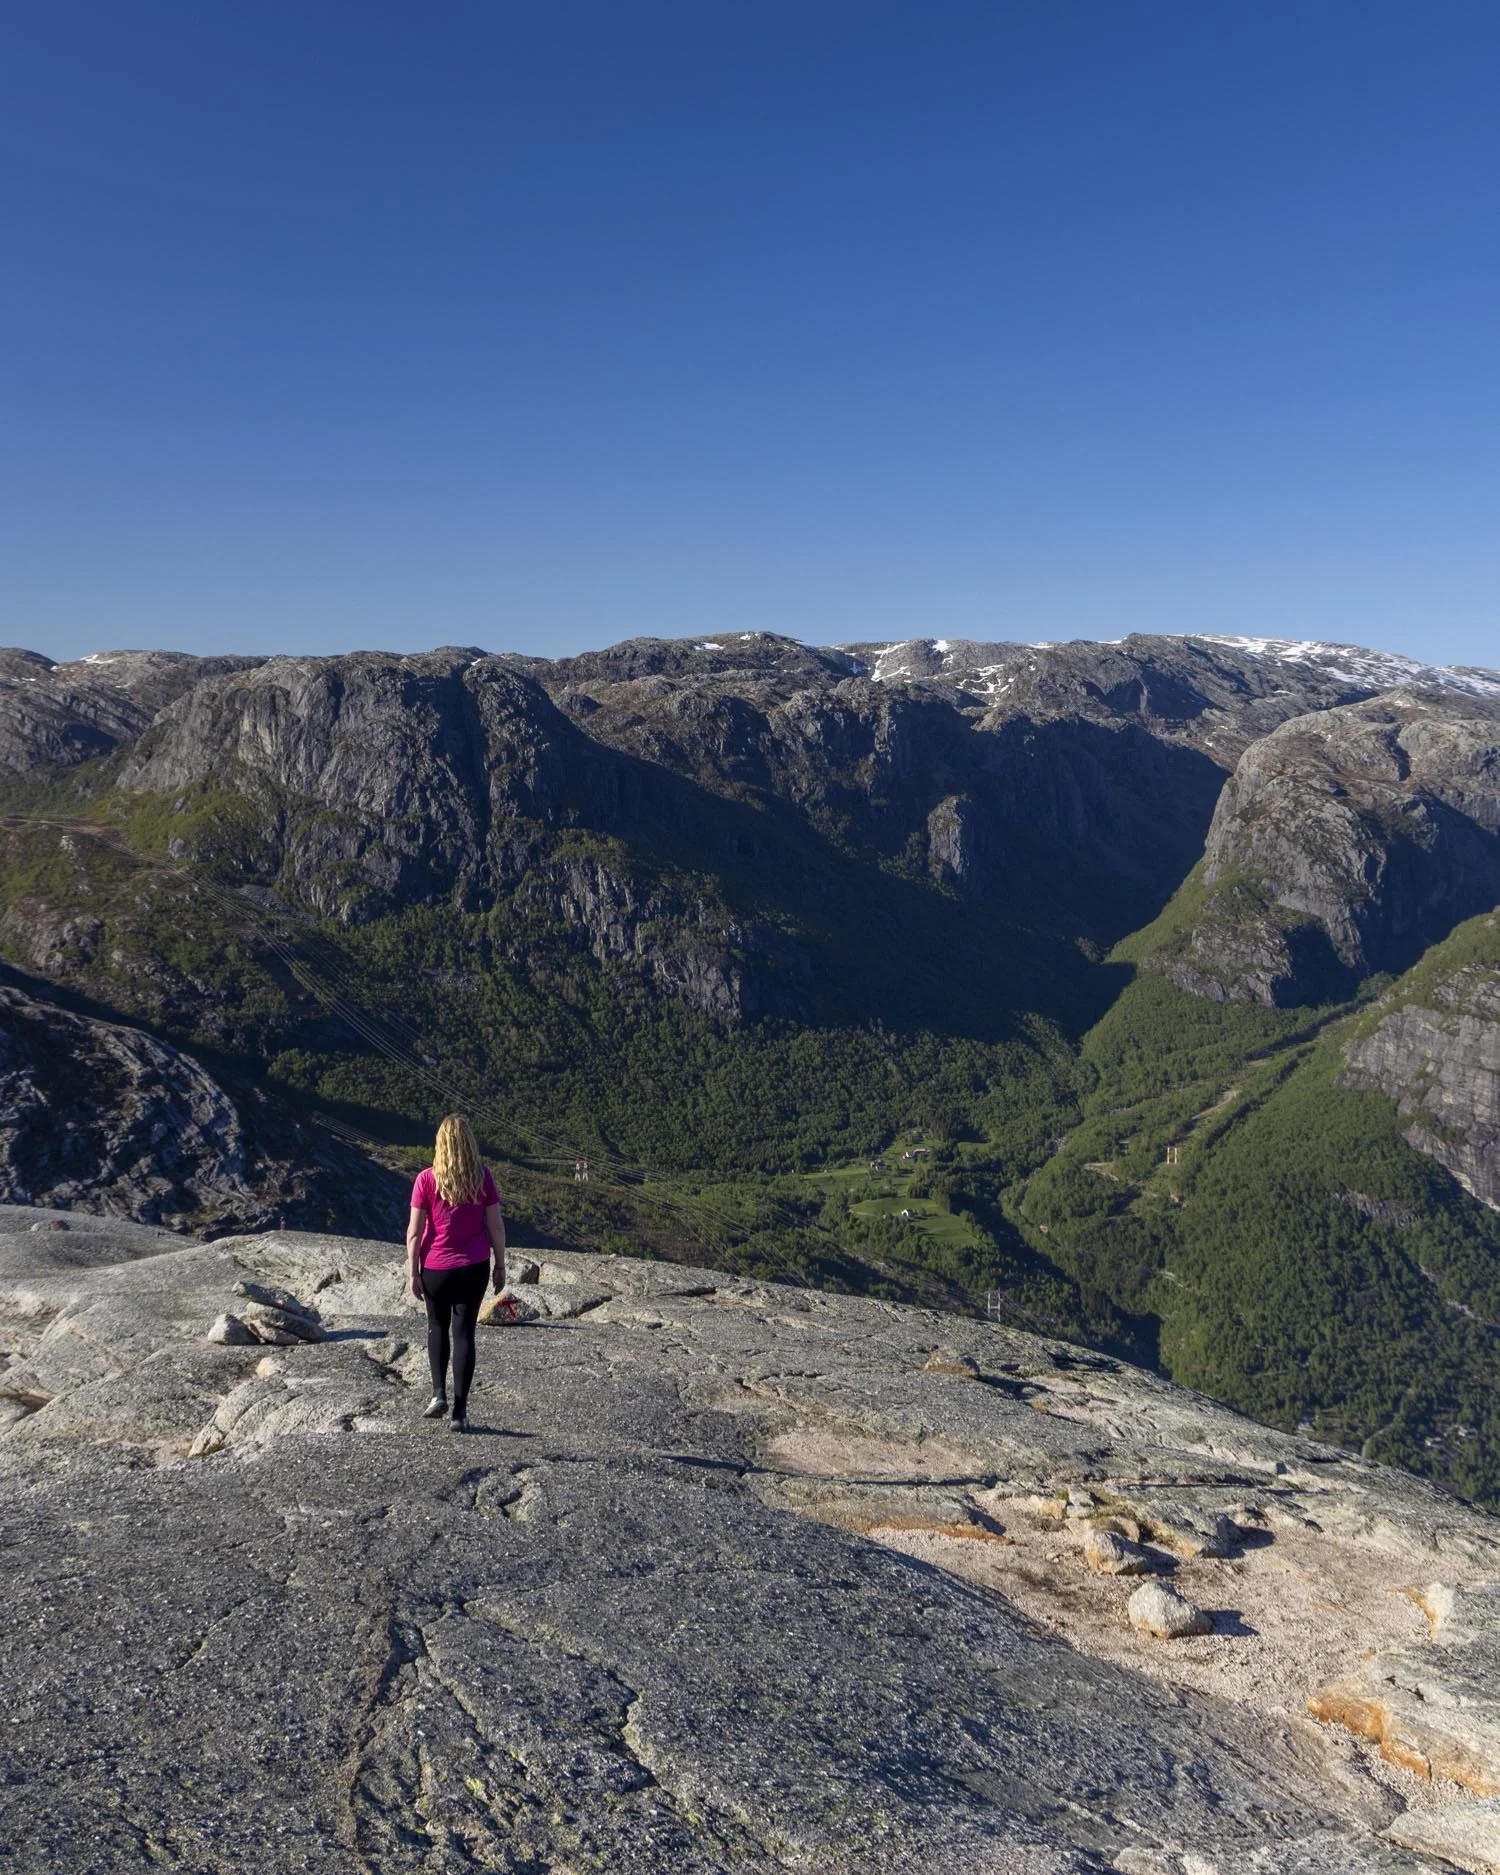
It’s worth noting that on a dry day with decent grip on your shoes you don’t need to hang onto the chains all the way up (unless it makes you feel more comfortable).
They are a nice back up support and especially good for the downhill sections, but for the most part it can be done just by walking up and that’s generally a bit more comfortable too.
Downhill to the base of hill number two
Distance: 650m
Once you reach the top of hill one there is a flat plateaux and it will probably be the first time you stop and properly take in your surroundings.
The views are simply beautiful with endless mountains which we were lucky enough to see with some residual snow patches. The next section of the walk is also quite easy. You have a little bit of flat track before you begin descending.
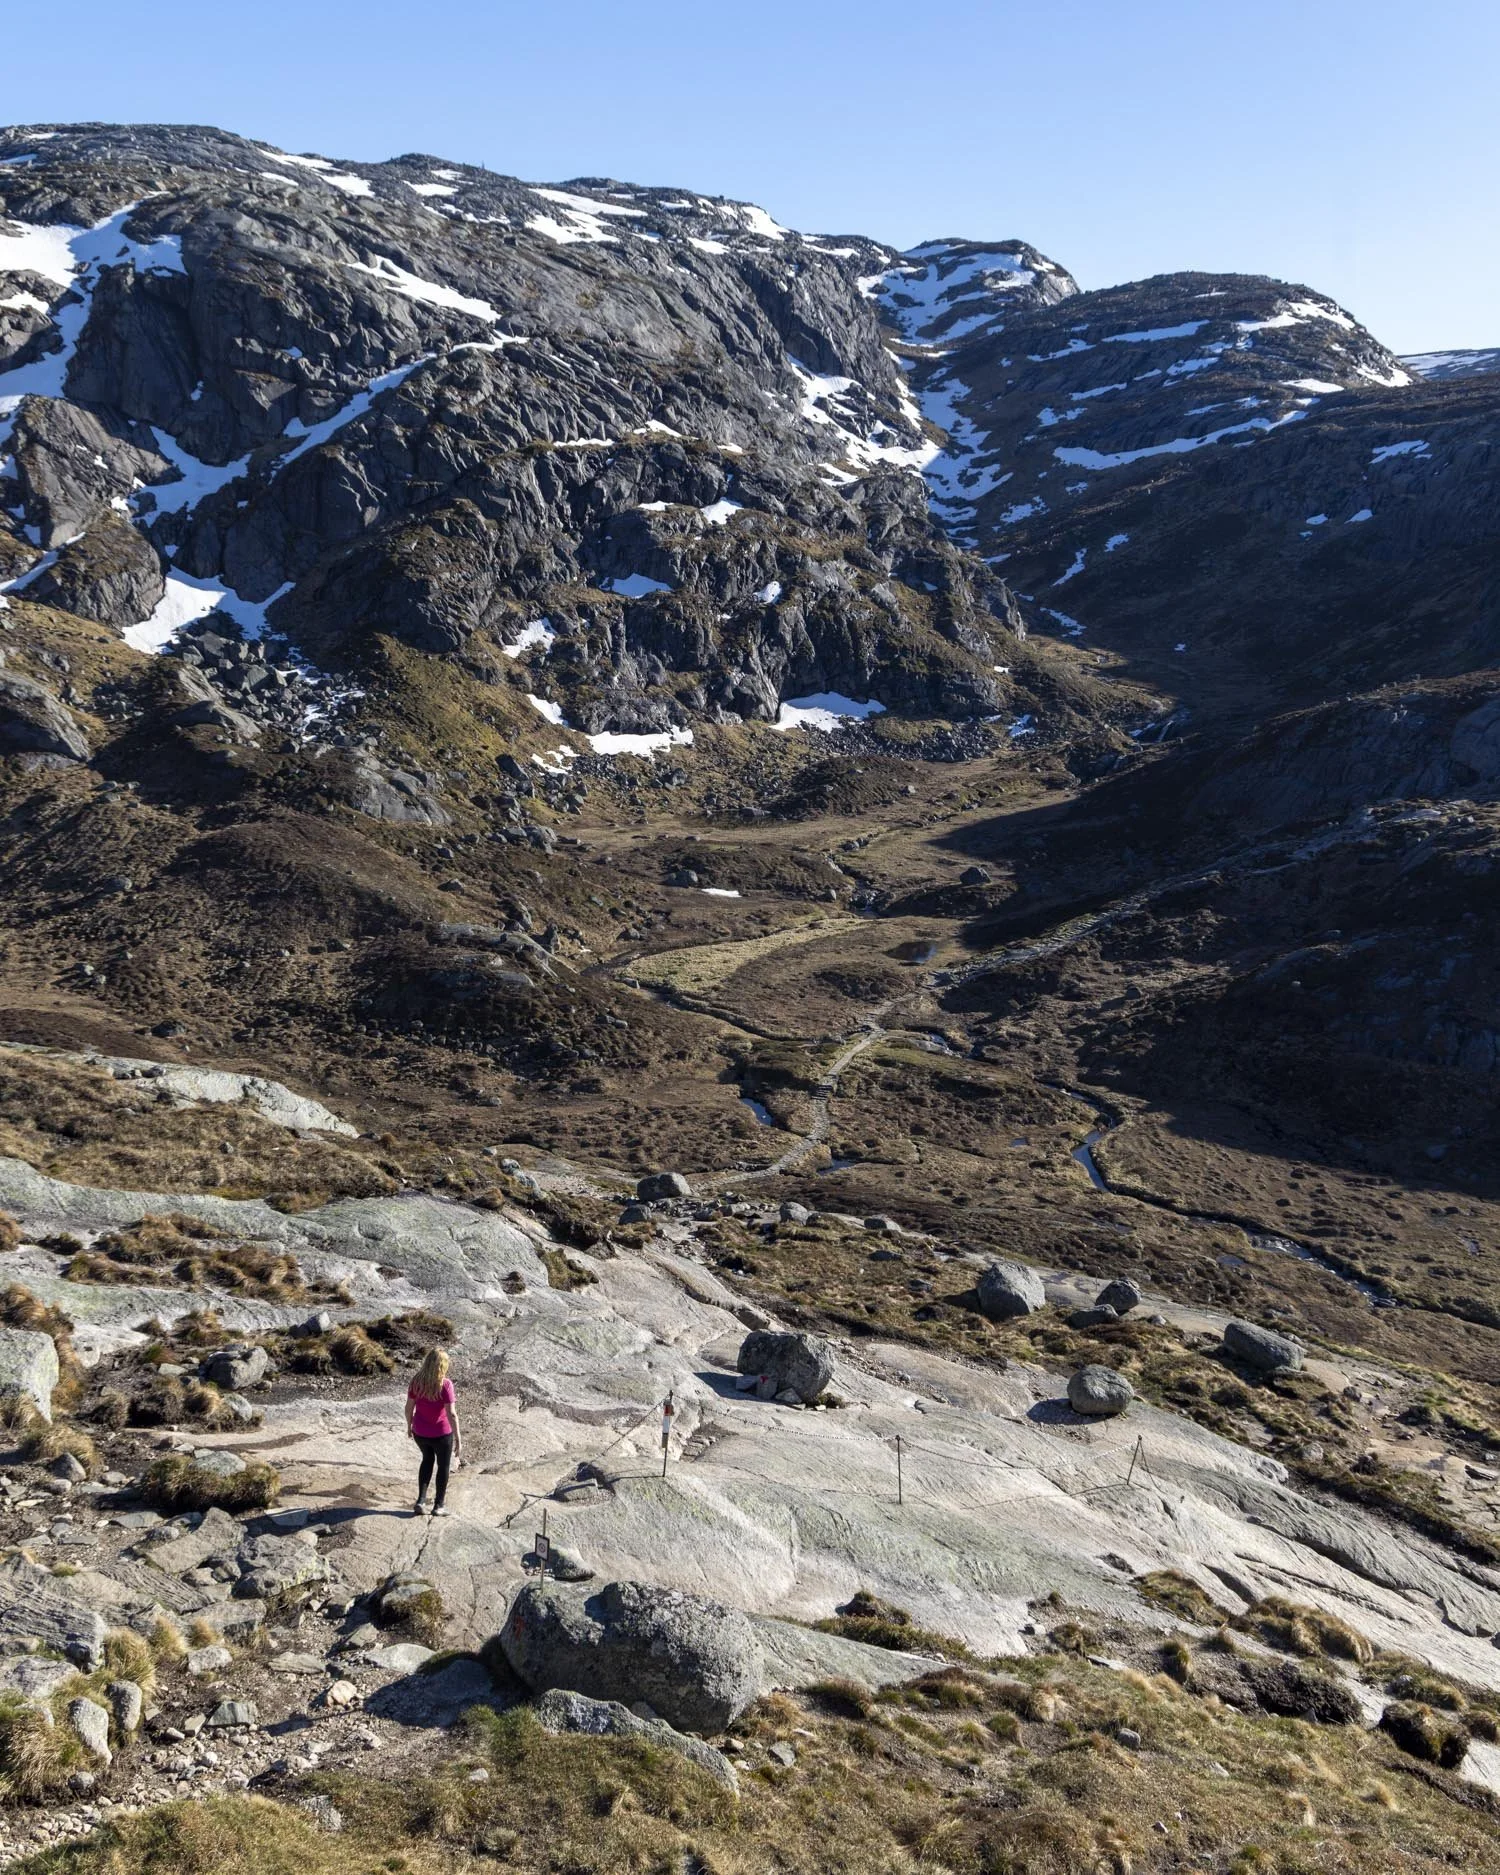
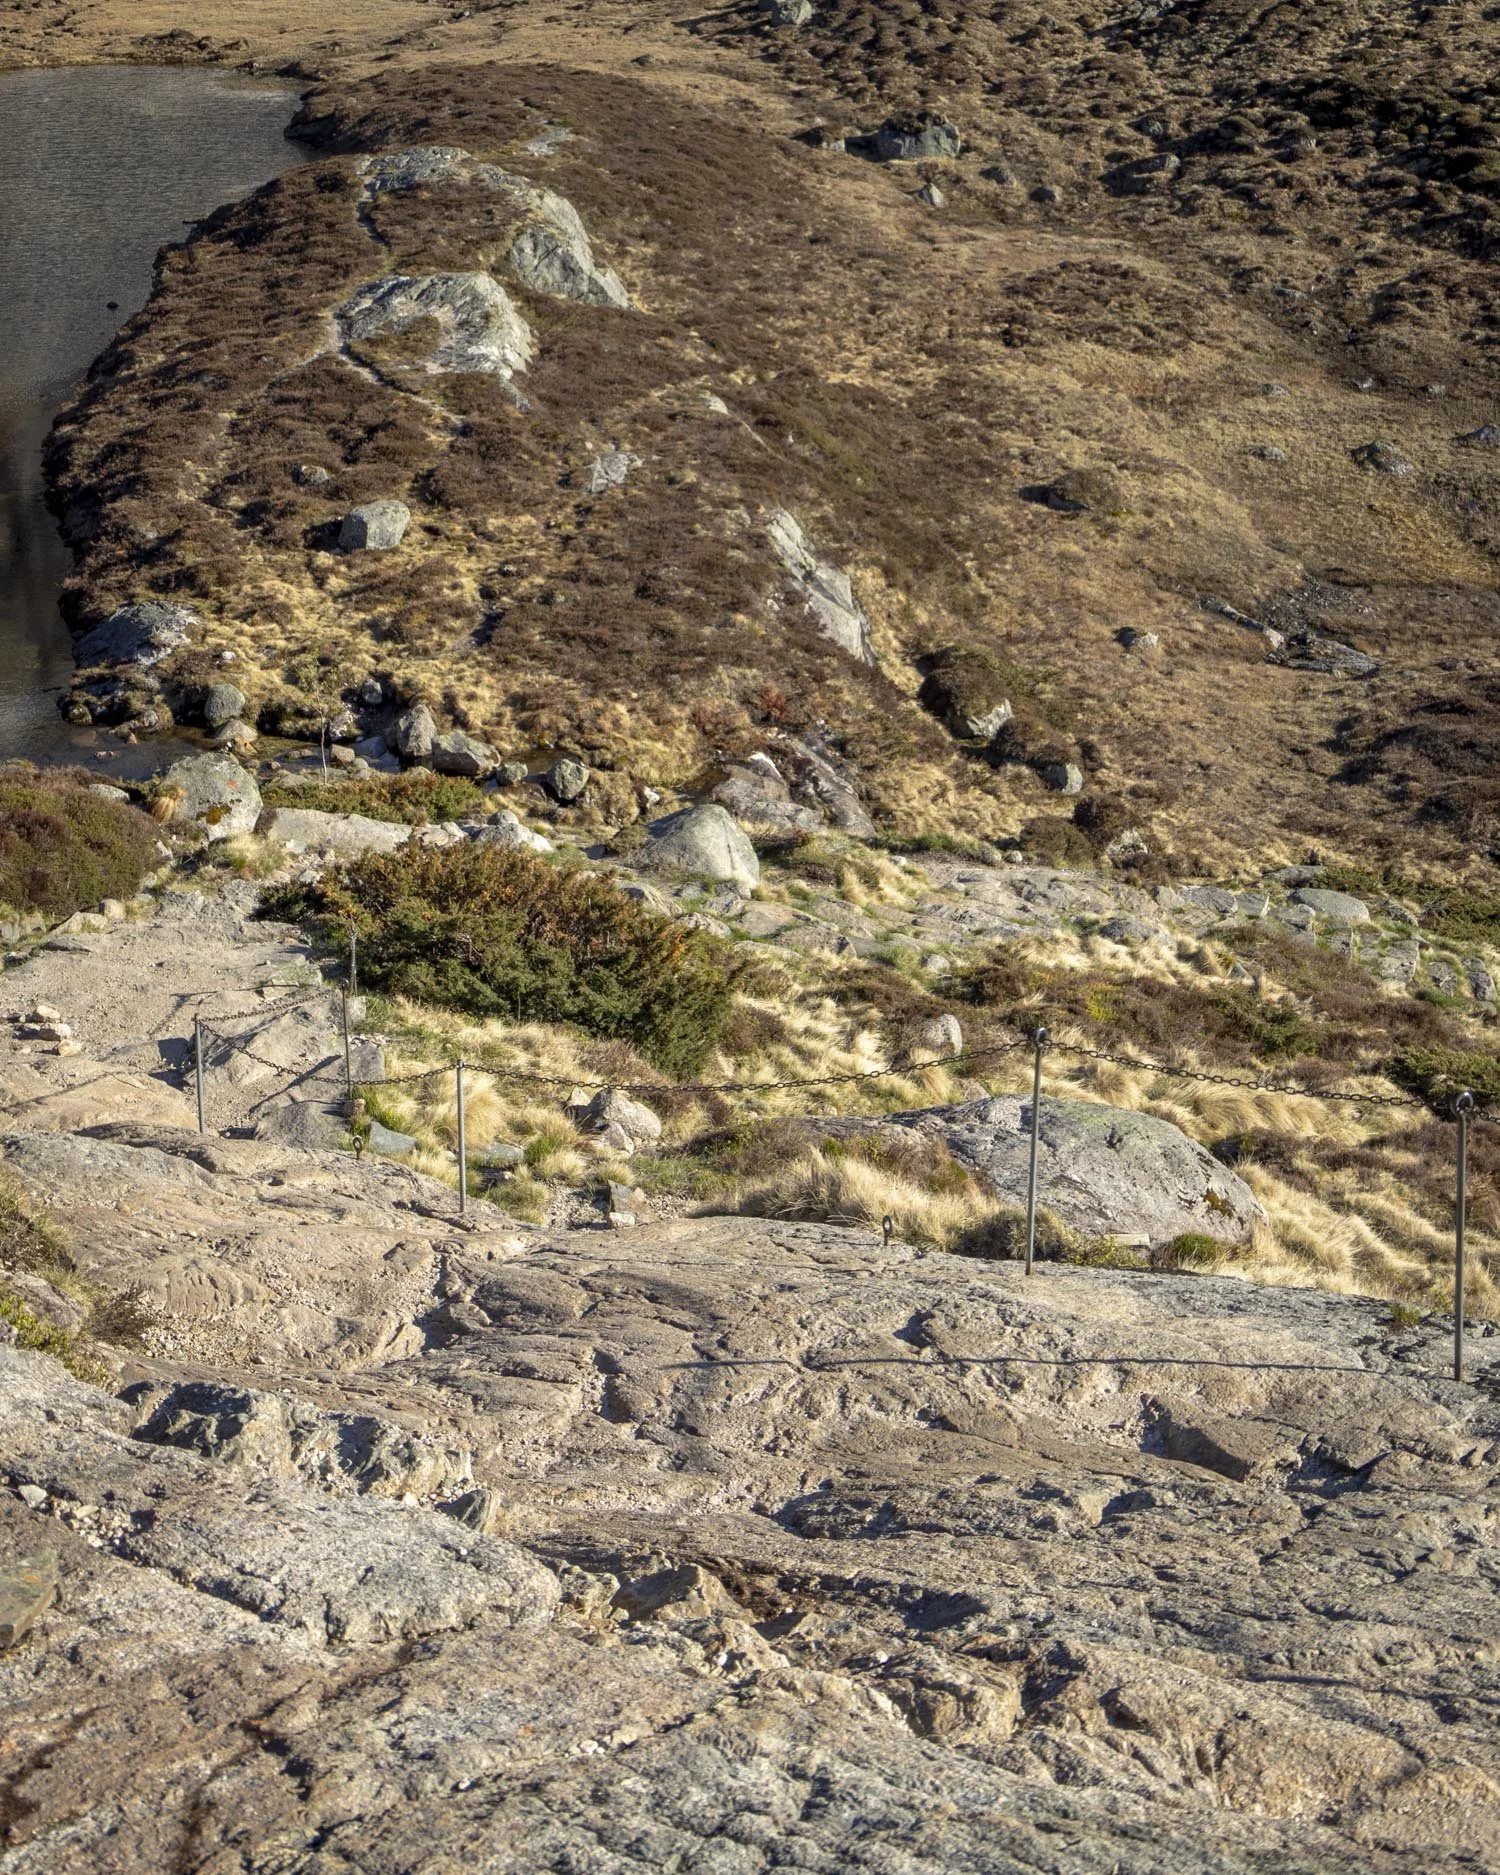
There’s rock slope at first but it’s not overly steep and though there are chains you probably won’t find you need to use them much, if at all. The slope gives way to stairs and then a brief flat traverse to the start of the second hill.
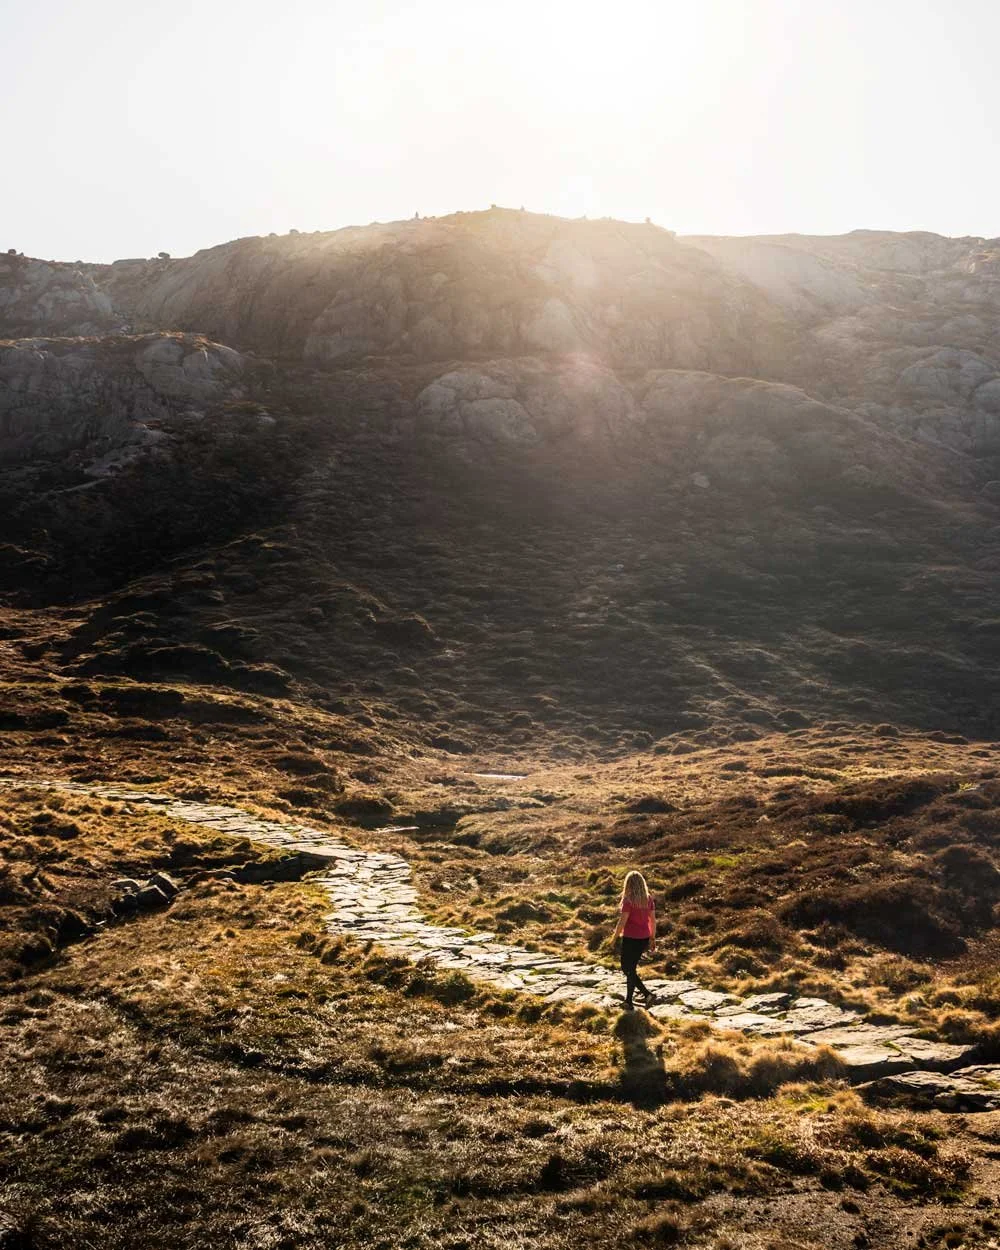
The mountains and small lake reminded me a lot of Iceland, or maybe a scene from the Lord of the Rings, it’s just gorgeous and we were so lucky to experience it without another soul around.
Climbing the second hill: the easiest one
Distance: 550m, elevation gain: 140m (total elevation gain at the top is 330m)
The second hill felt a bit easier than the first and this is the one where I didn’t always used the chained route (there are also less chains along this section).
We saw some red triangle markers following a less steep route up and often diverted to use those instead - though I think most people stick to the chains so it’s whatever makes you feel more comfortable.
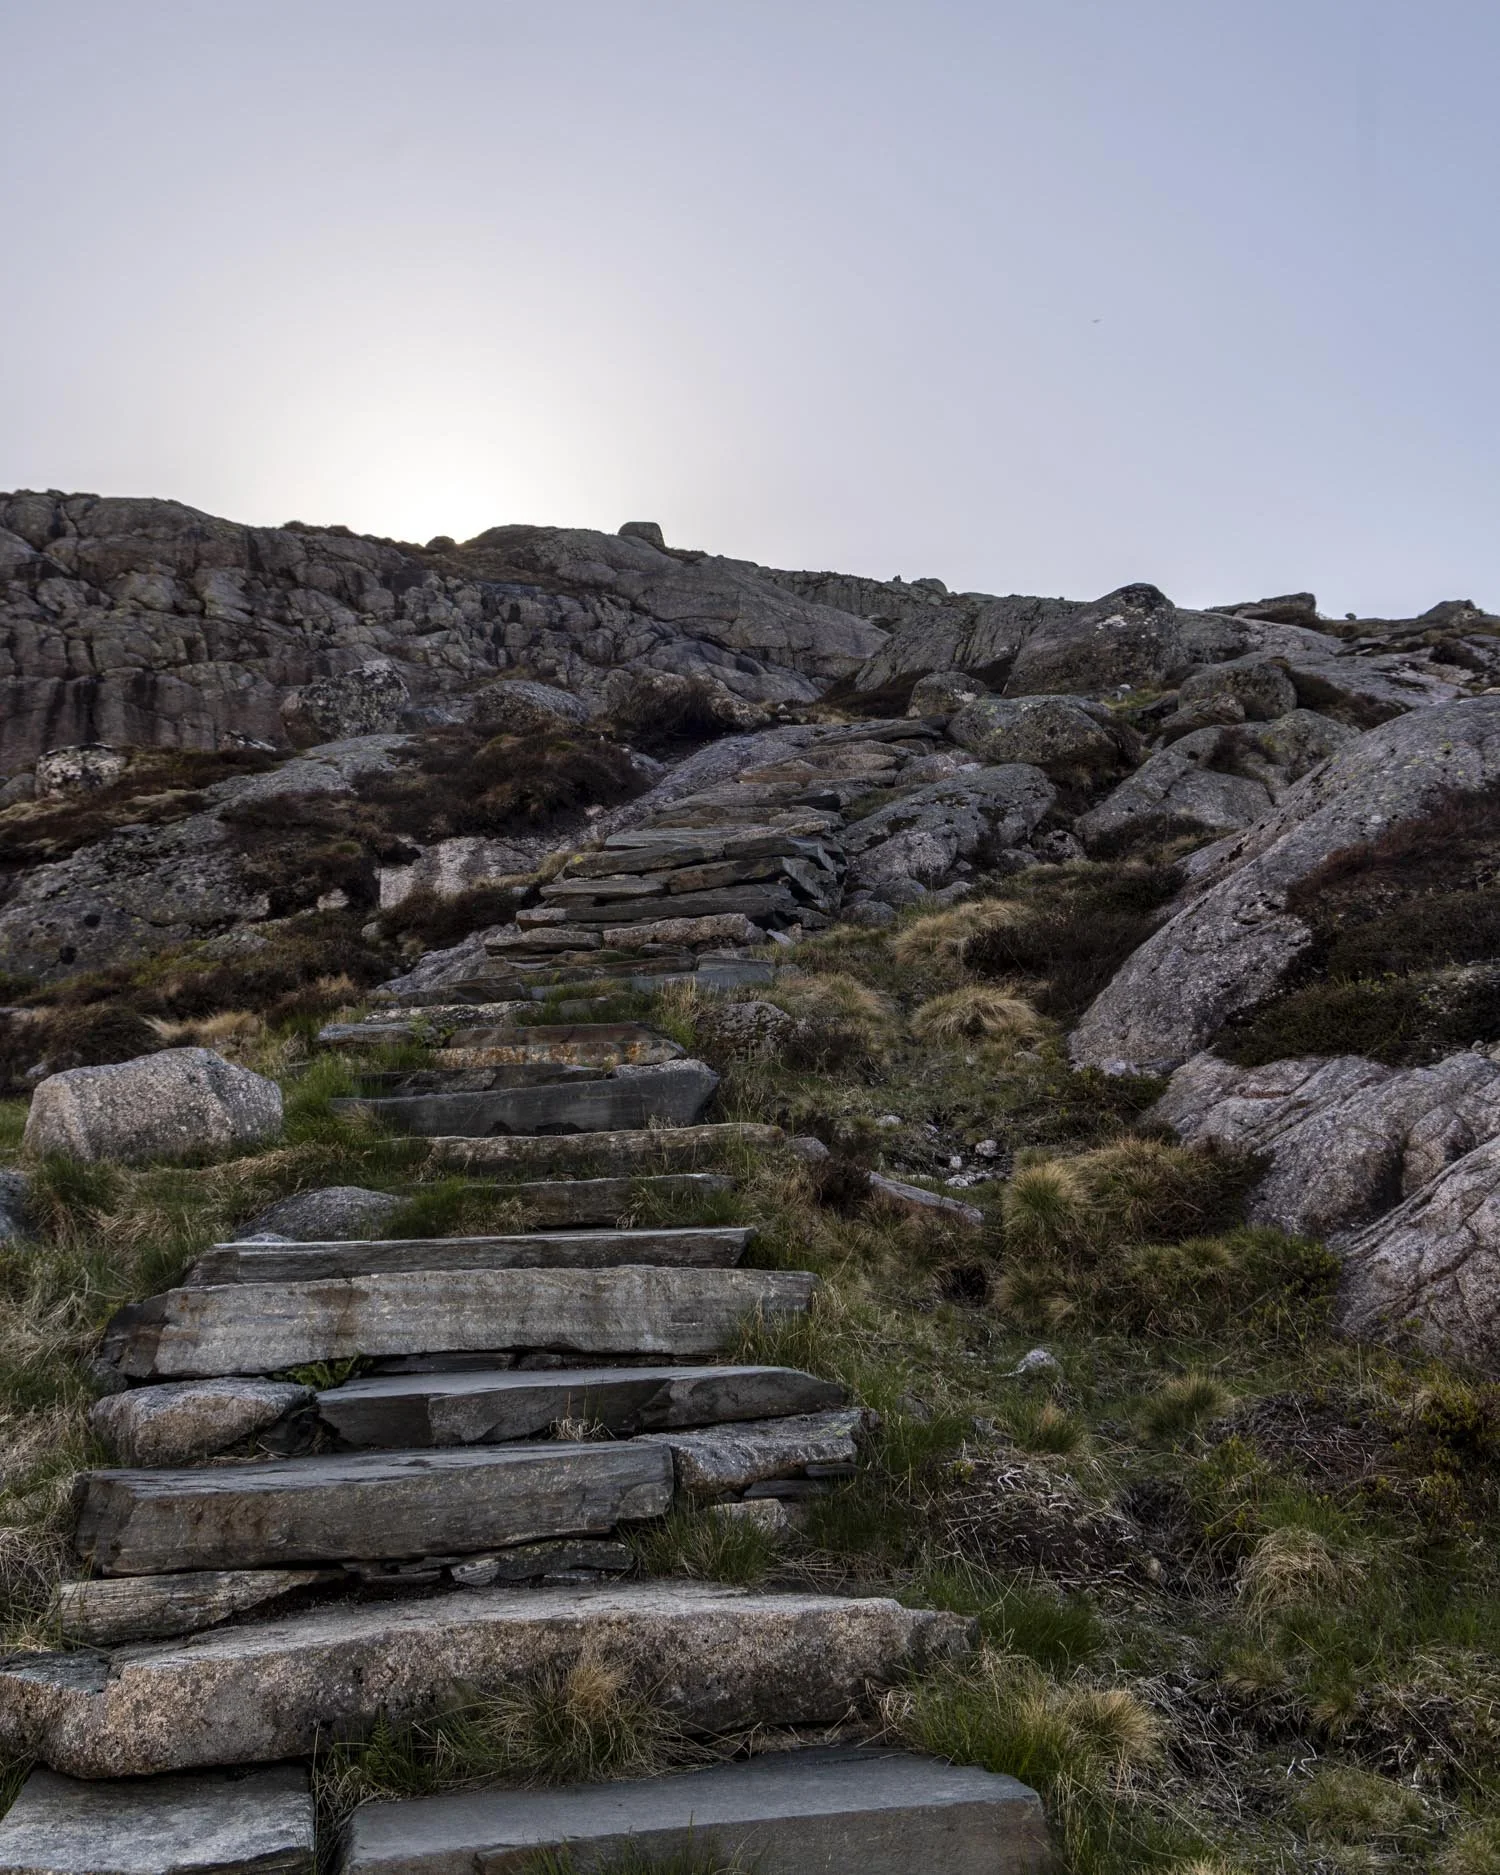
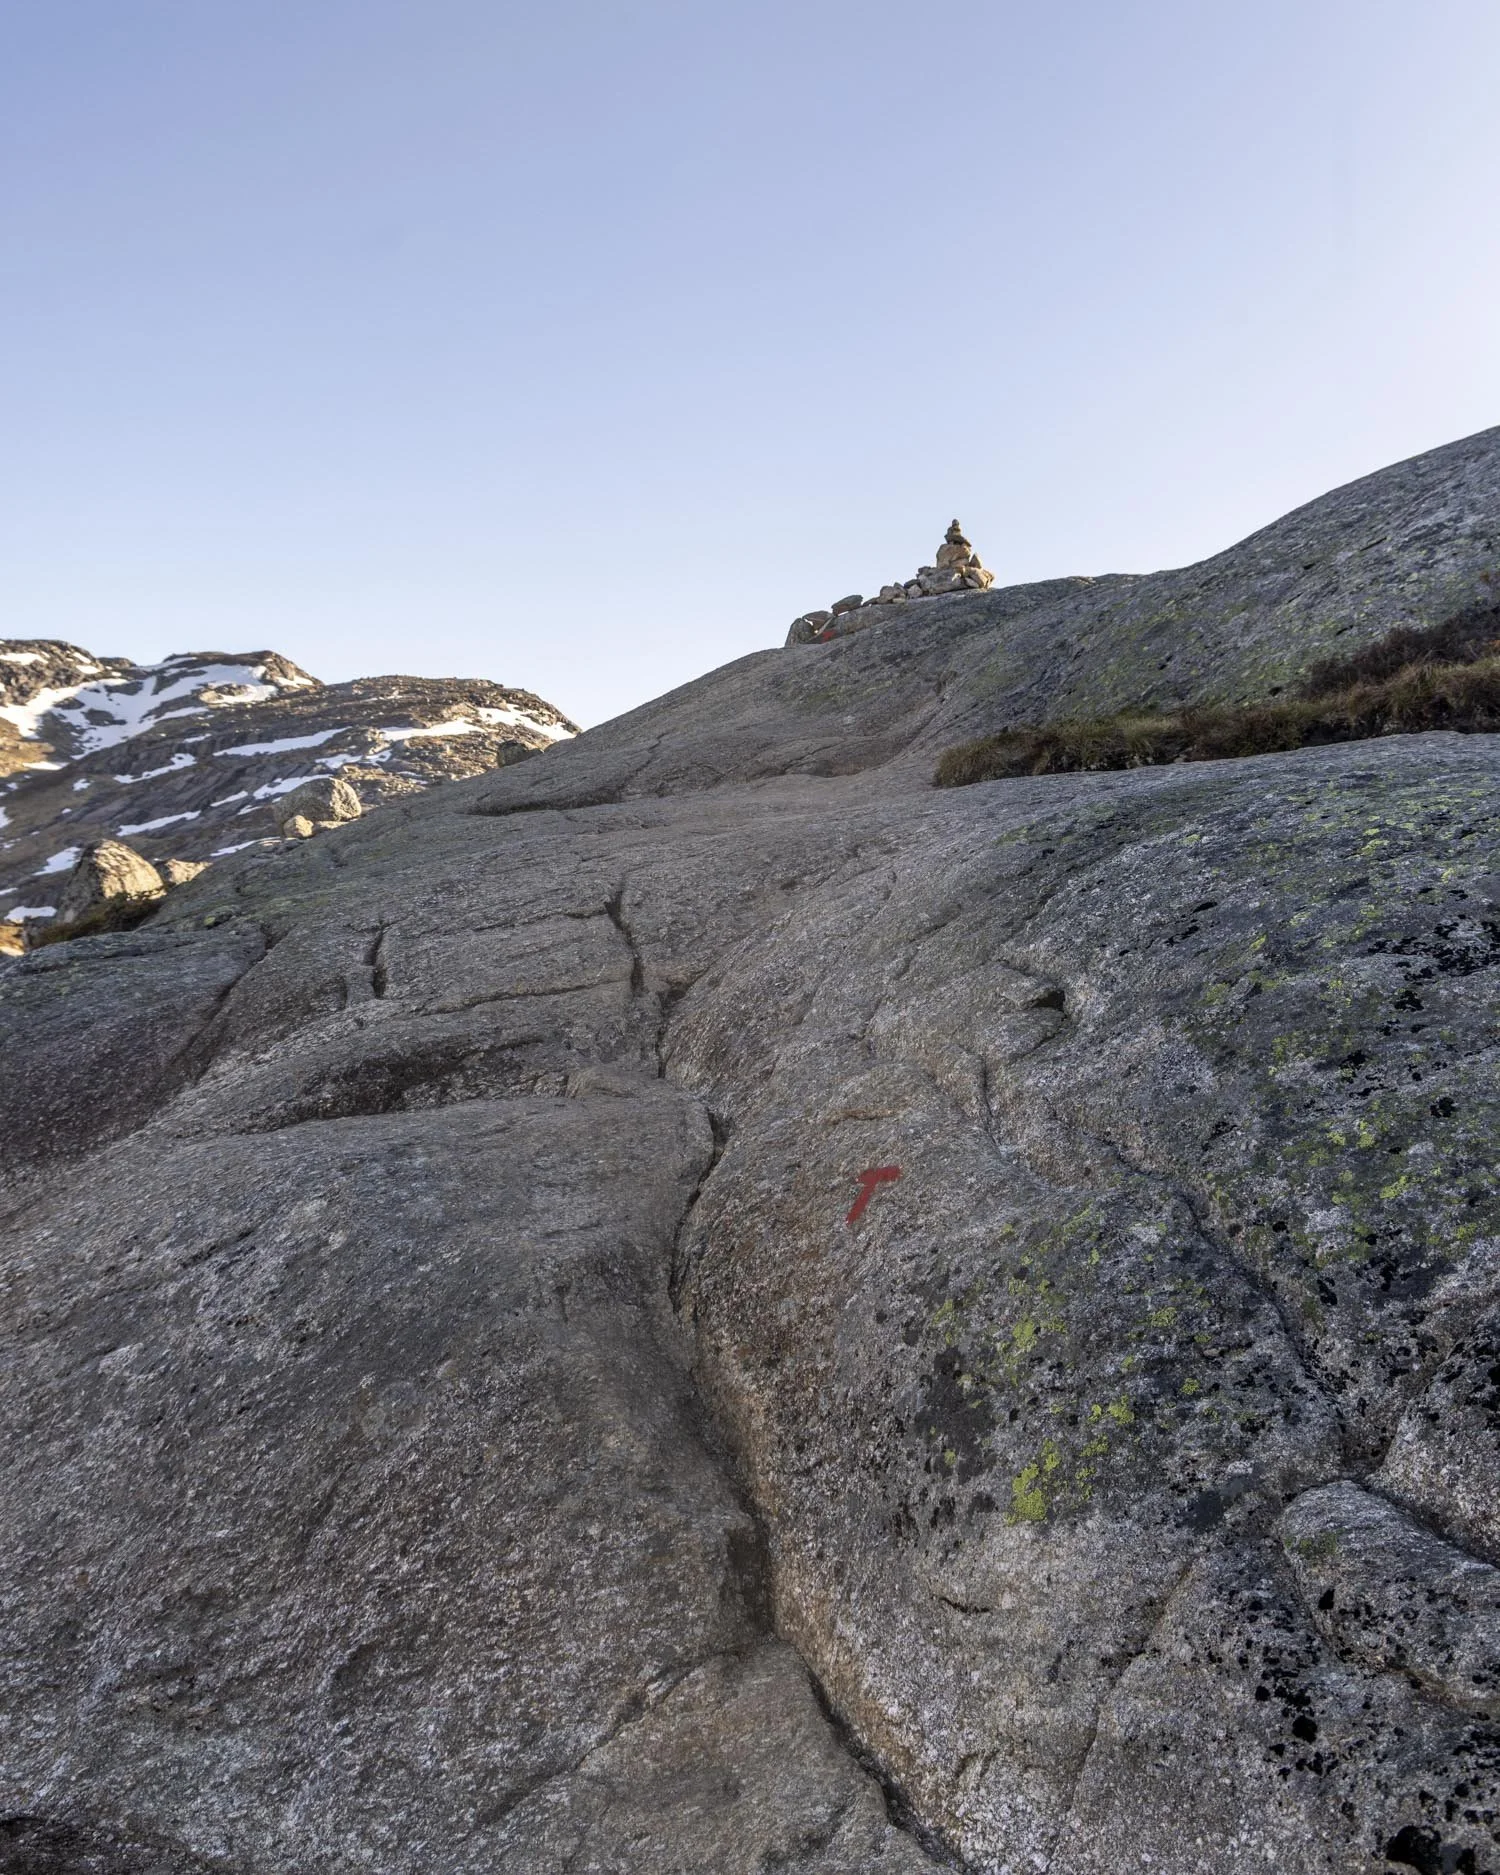
There are stairs leading uphill at first which give way to a rocky section which could be considered a bit of a scramble, but nothing difficult or scary in anyway.
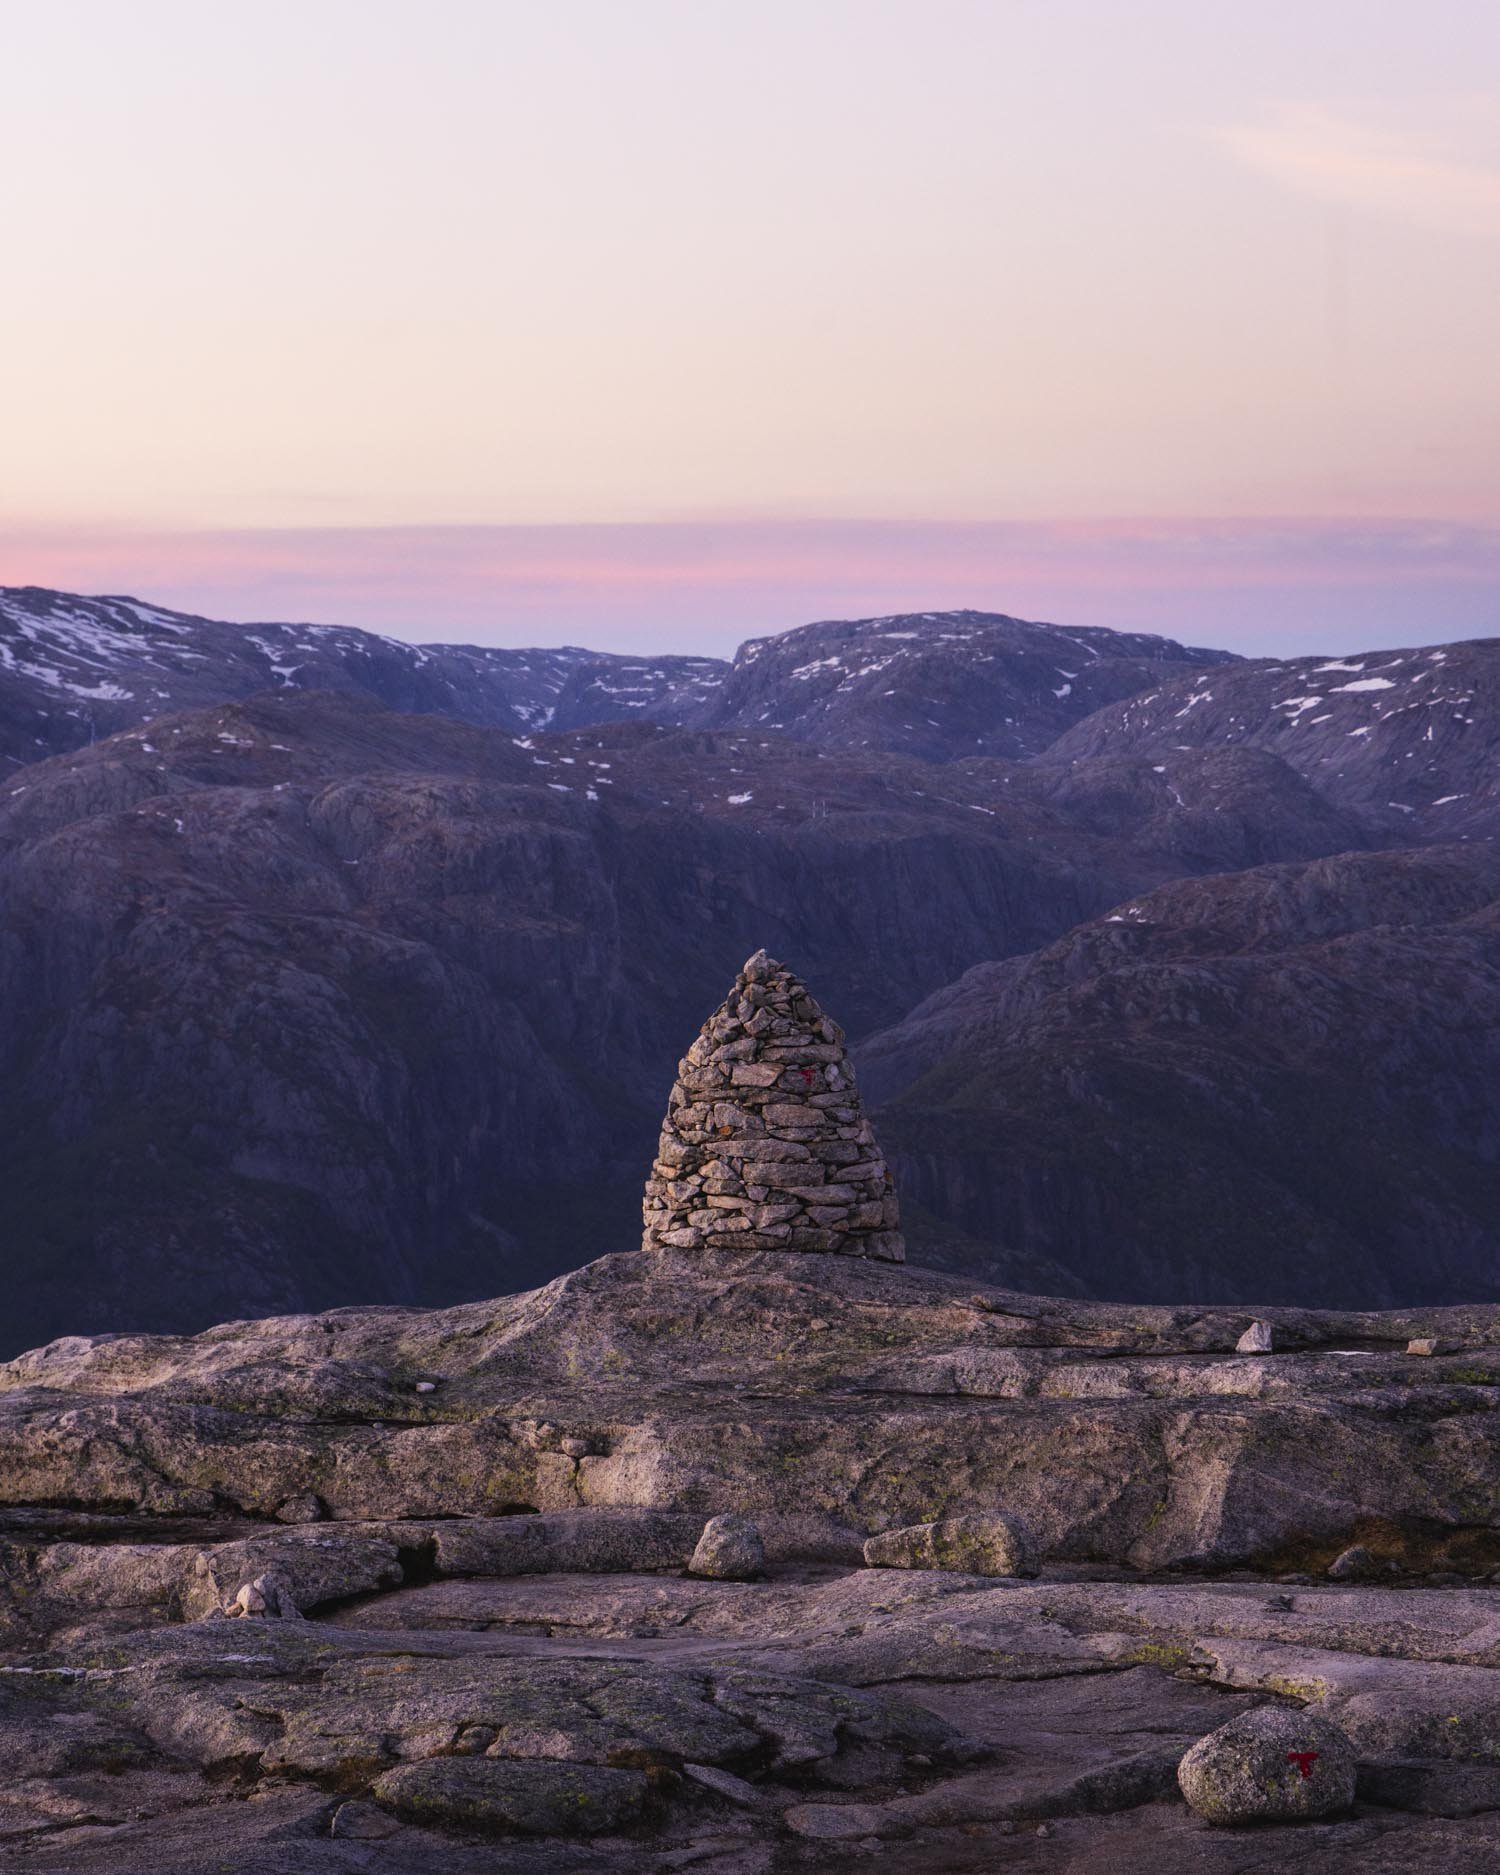
You’ll reach a huge cairn and follow the ‘T’ symbol to the right to take a less steep zig zag route up the hill. There are a couple of slightly different routes you could take, but it’s easy to spot the shallower line up if preferred.
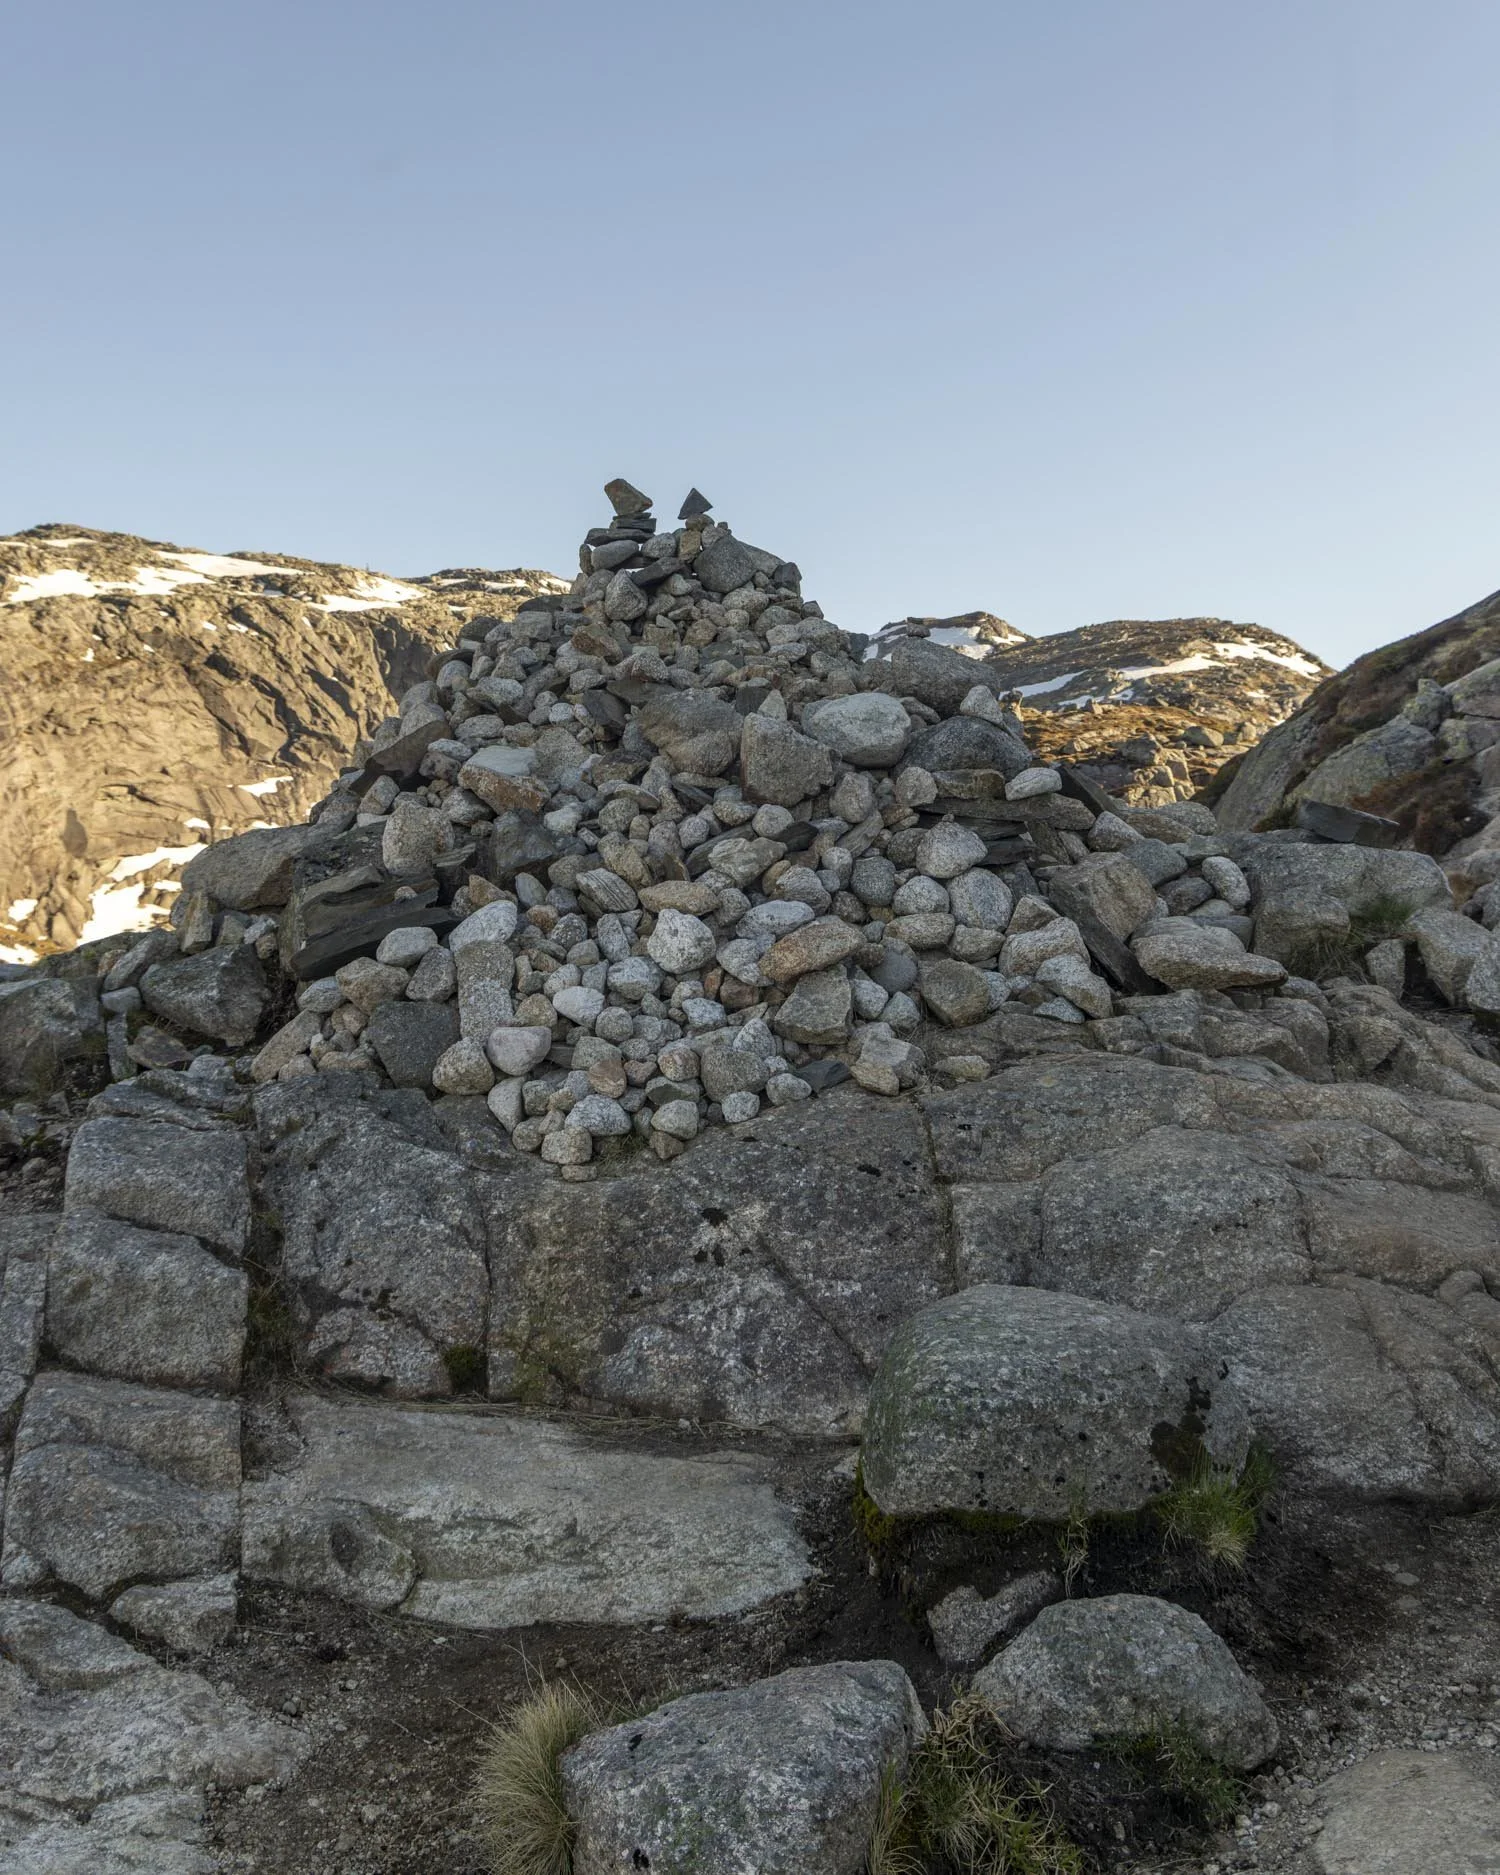
The gradient slackens (but is still quite steep) after 100m and then you’ll reach the top of the hill 100m after that.
When you’re at the top of this hill you’ve walked for 2km, which isn’t quite halfway, but you’ve climbed two of the three hills so it feels like good progress!
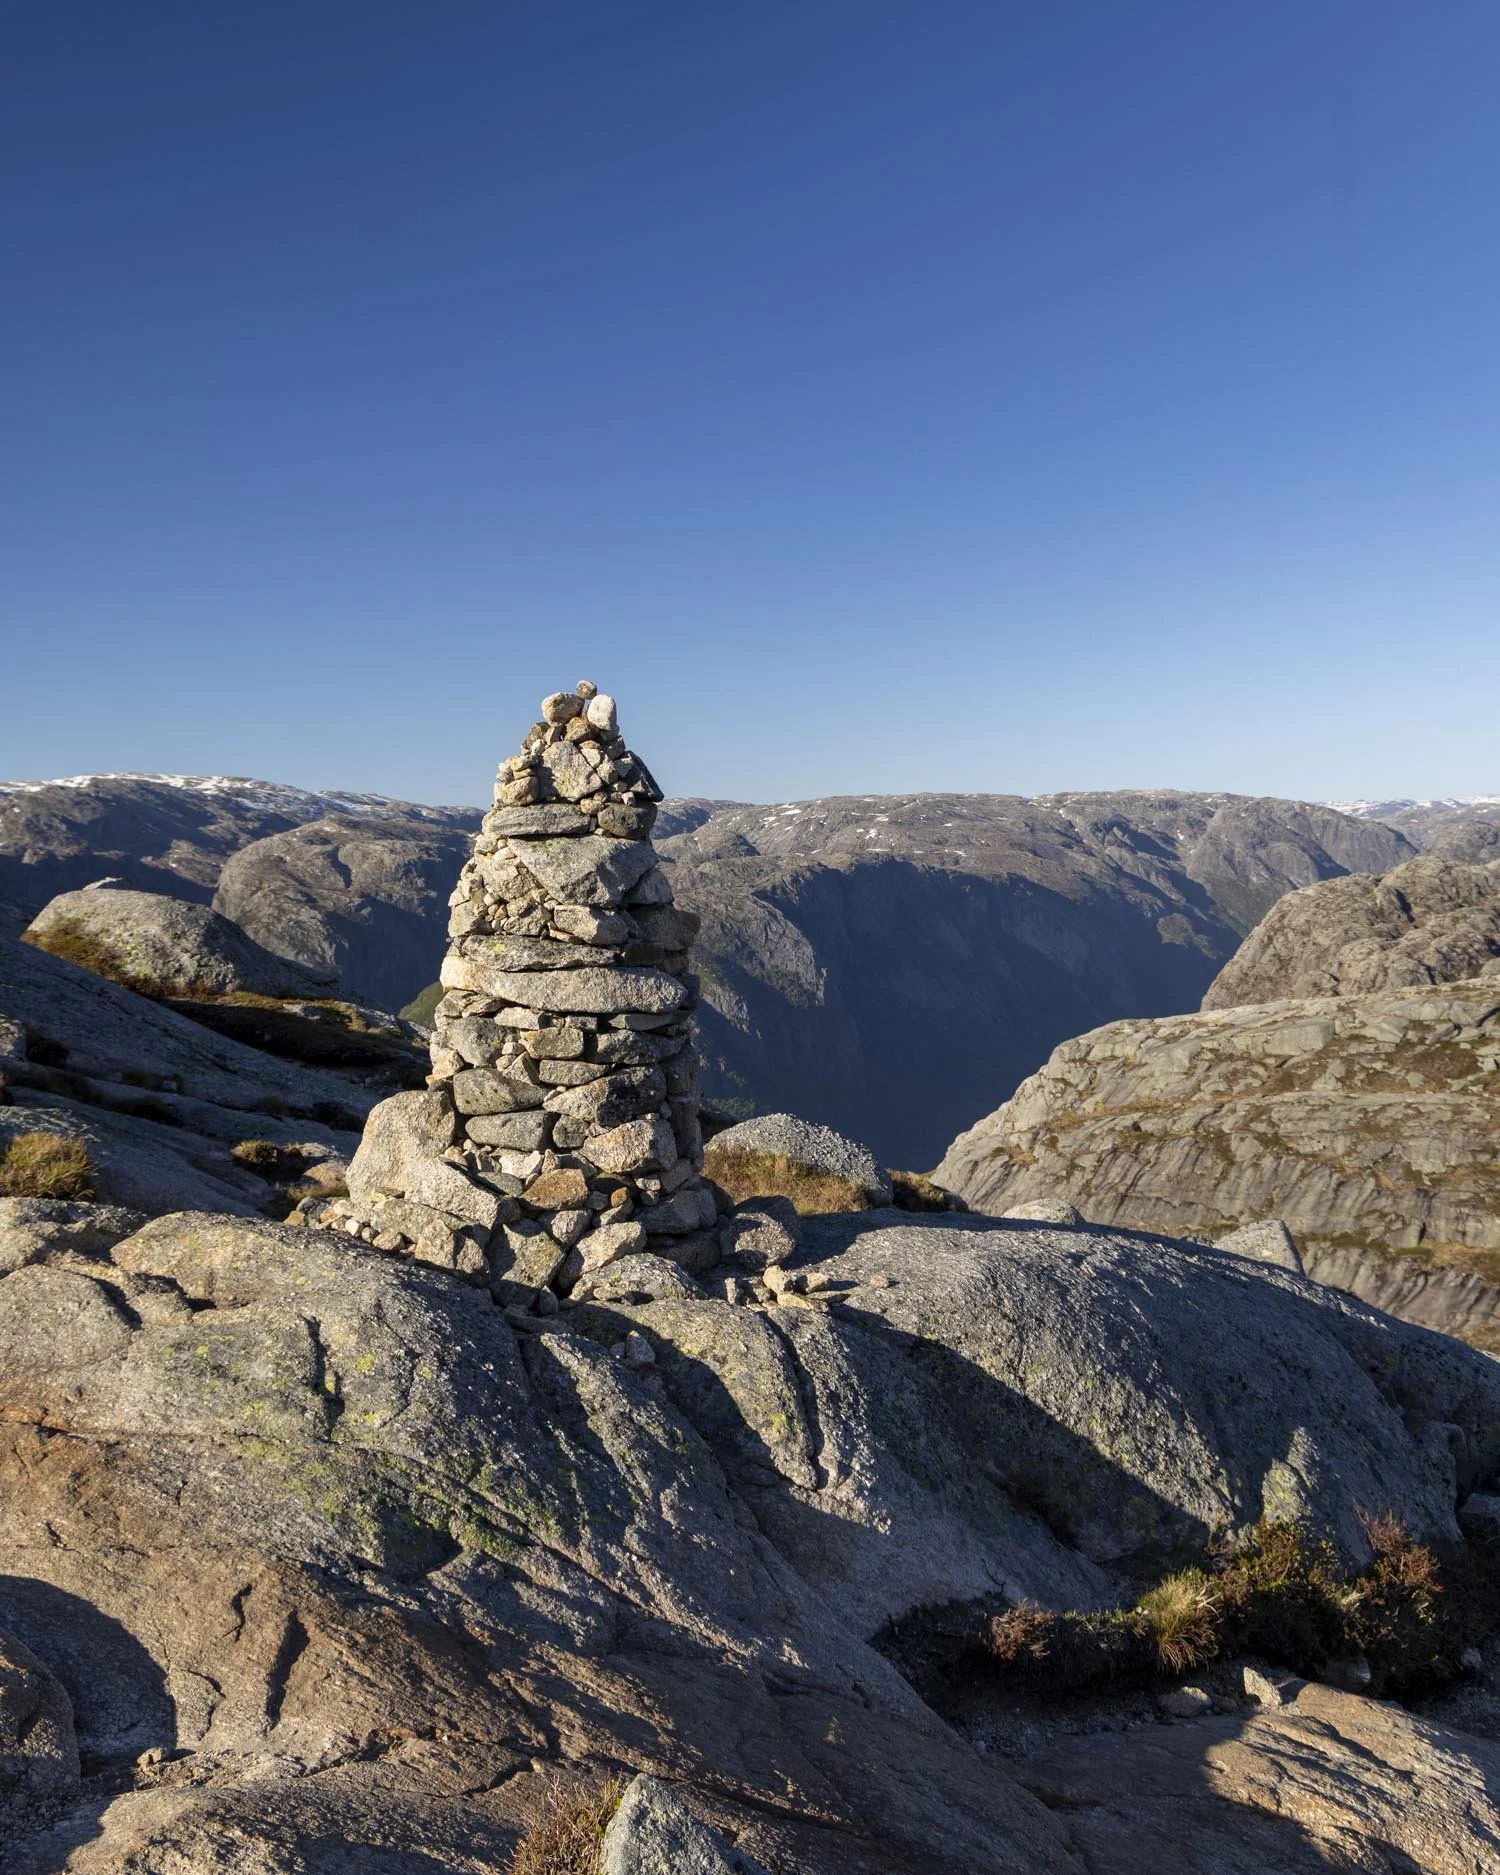
Reaching the base of the third climb
Distance: 450m
Once at the top of hill two you have a bit of flat ‘track’ again. This is where we encountered our first snow and ice on the trail. The snow crossing was quite short, probably less than 30m, but it was a touch slippery.
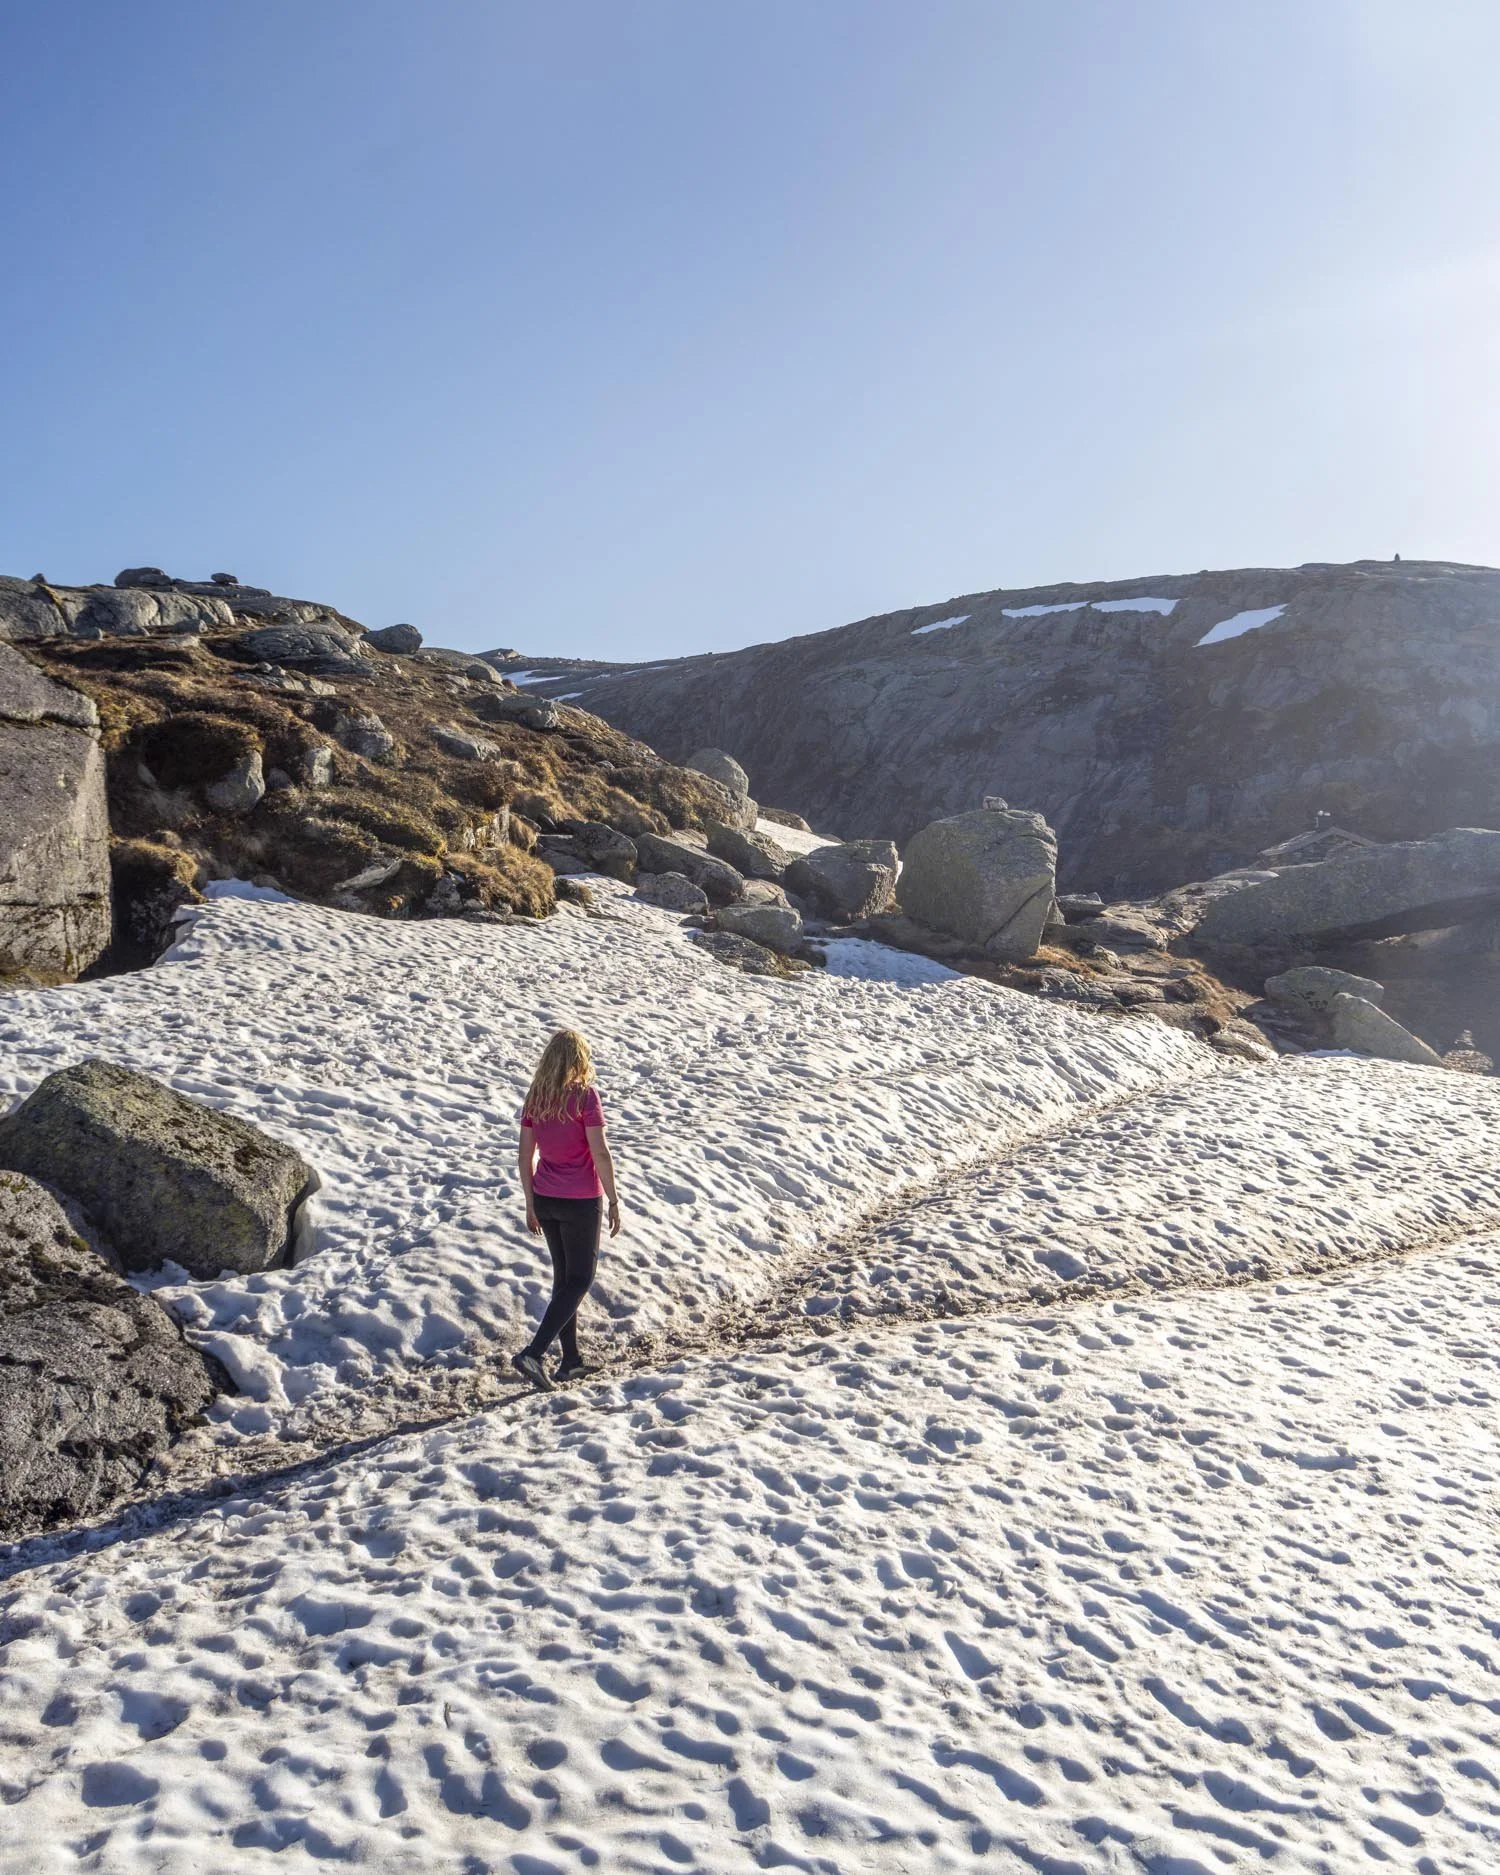
However, if you slipped you wouldn’t go far as it’s flat so it wasn’t unnerving in that sense. If you’re walking in the summer months (after mid June) it’s unlikely you would encounter snow here.
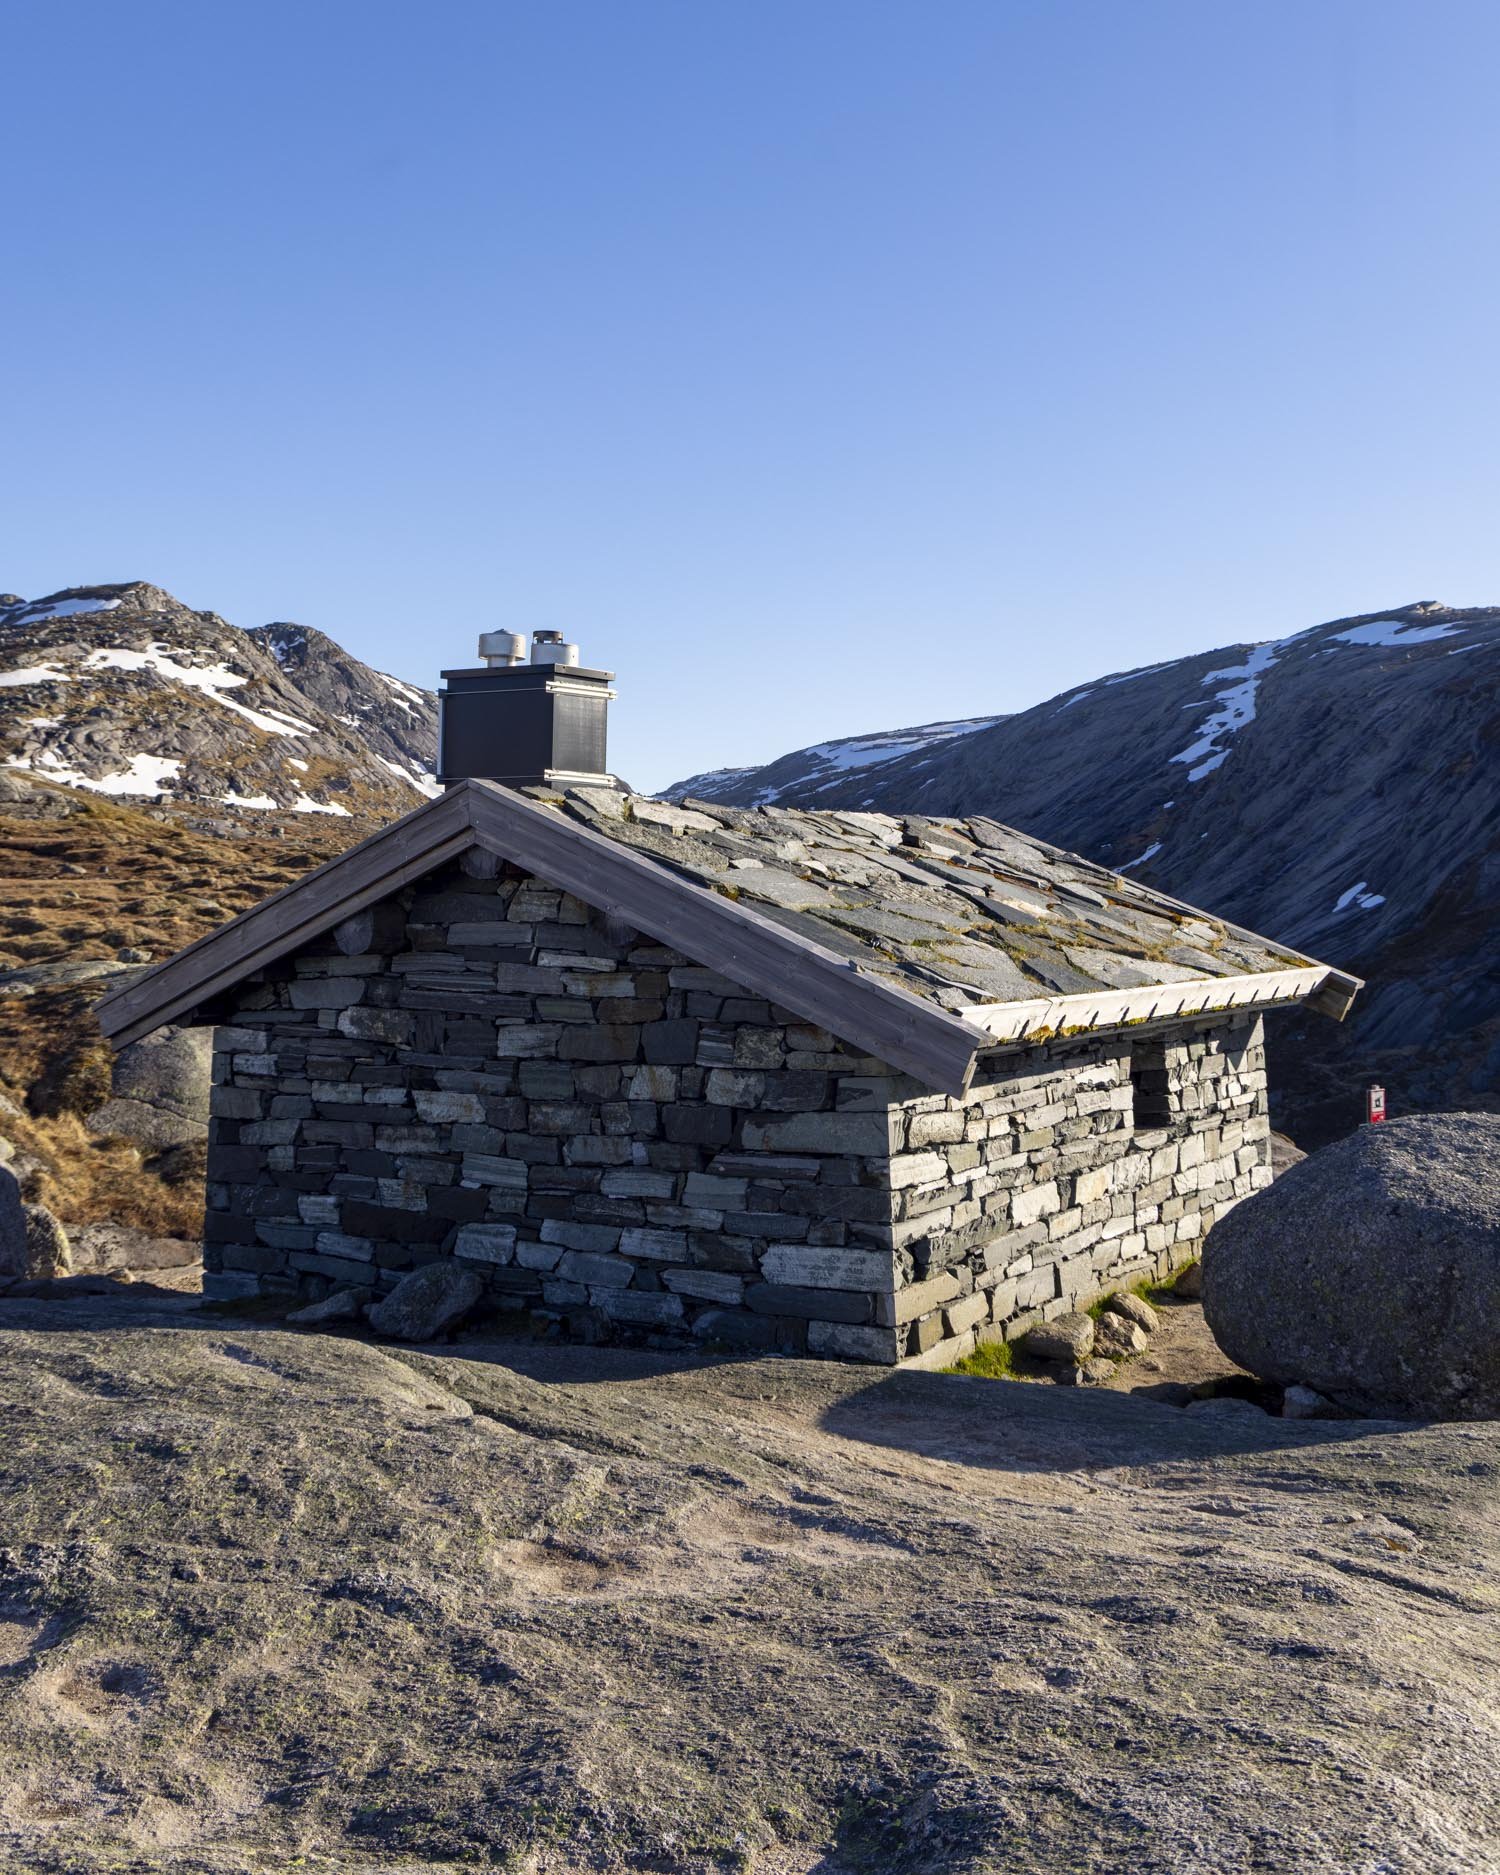
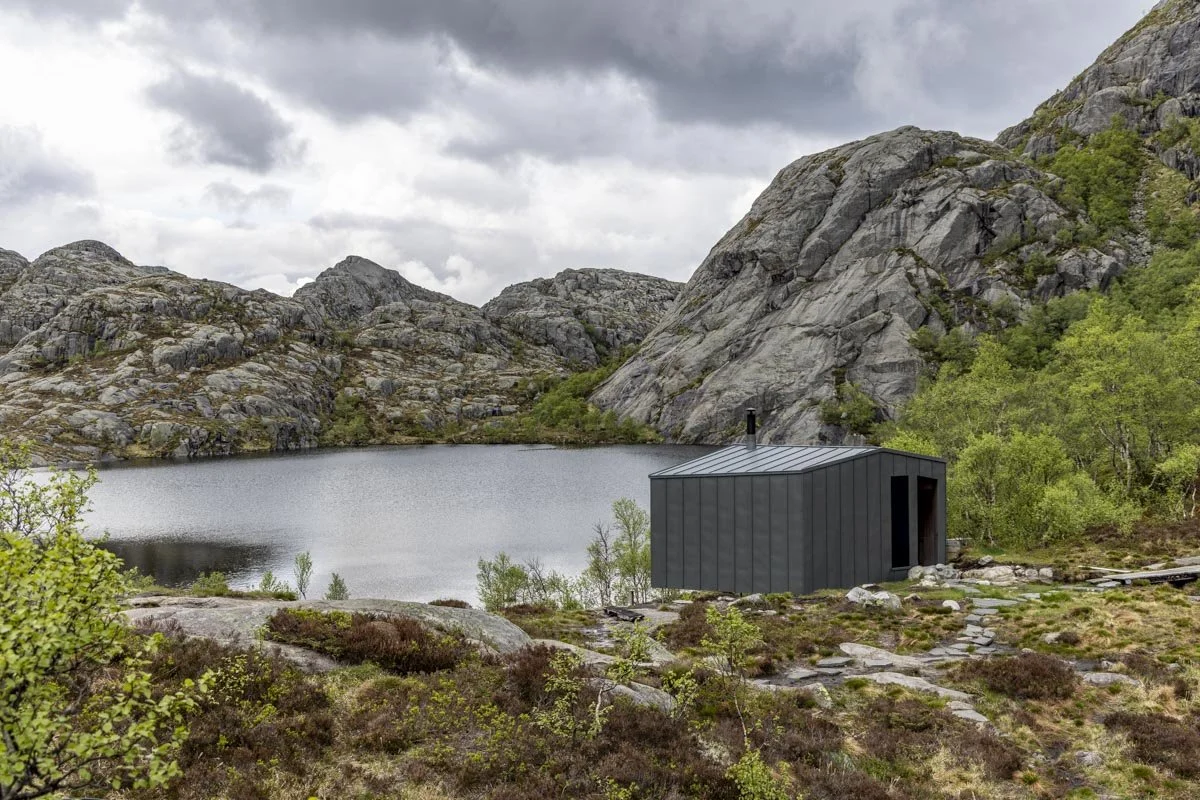
Just past the flat section you’ll come to the emergency shelter and then you have a 200m descent on rocky track to cross over a stream (there are rocks for stepping stones).
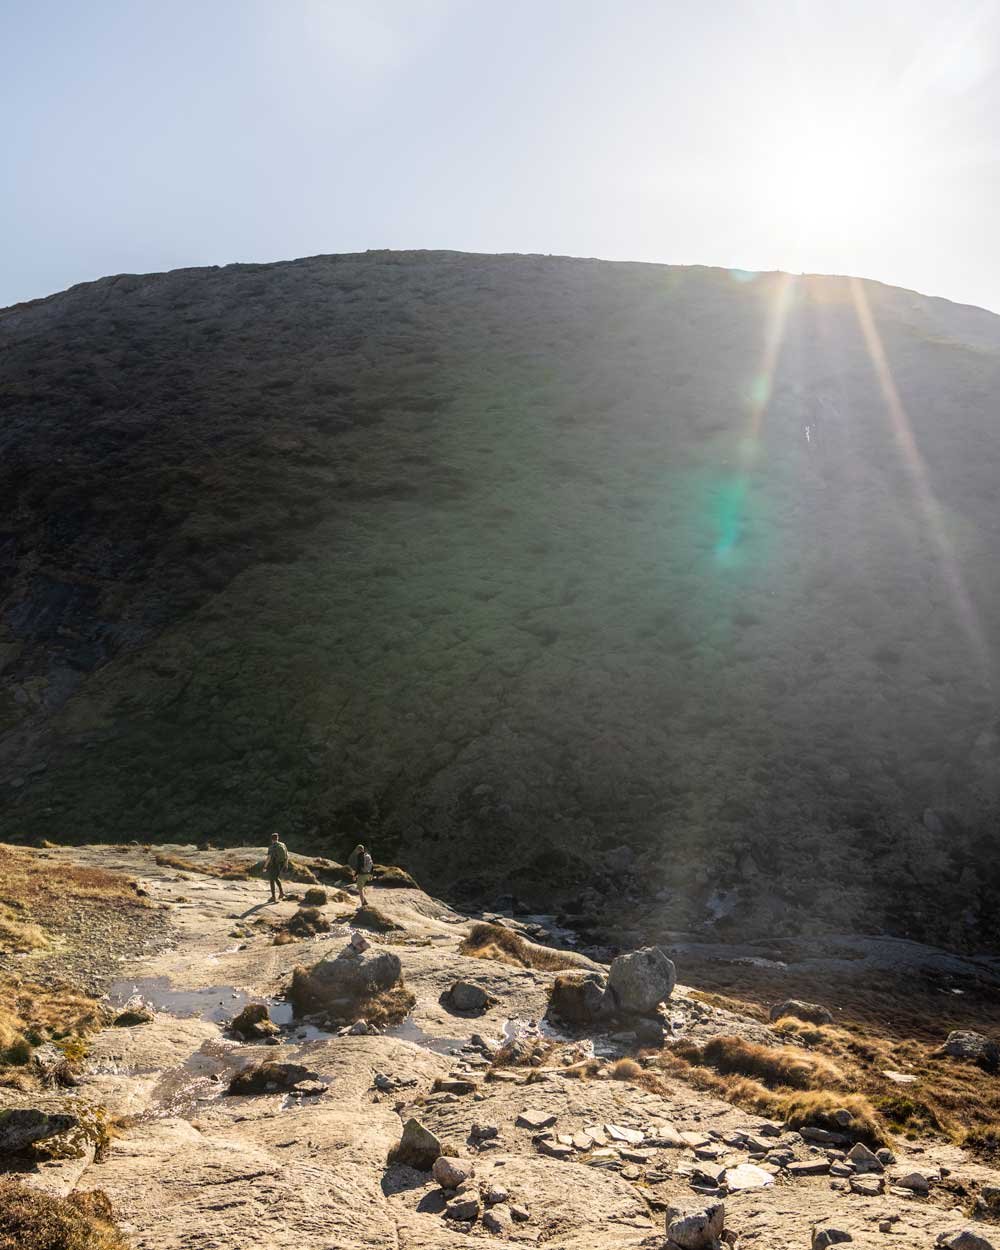
Next up is hill number three and the final proper climb of the hike (there is a little more uphill to go but no proper hills).
The final big climb
Distance: 1.25km, elevation gain: 236m (total elevation gain at the top is 536m)
As you can see from the stats, this is the big one at roughly twice the distance of the other two hills. It’s not as steep as the first hill across that whole distance, though parts of it are equally steep.
The first hundred metres or so are on steps and then the chains begin. Some of this section really is quite steep but it slackens off after 400m as you make a little traverse, following the cairns away from the chains.
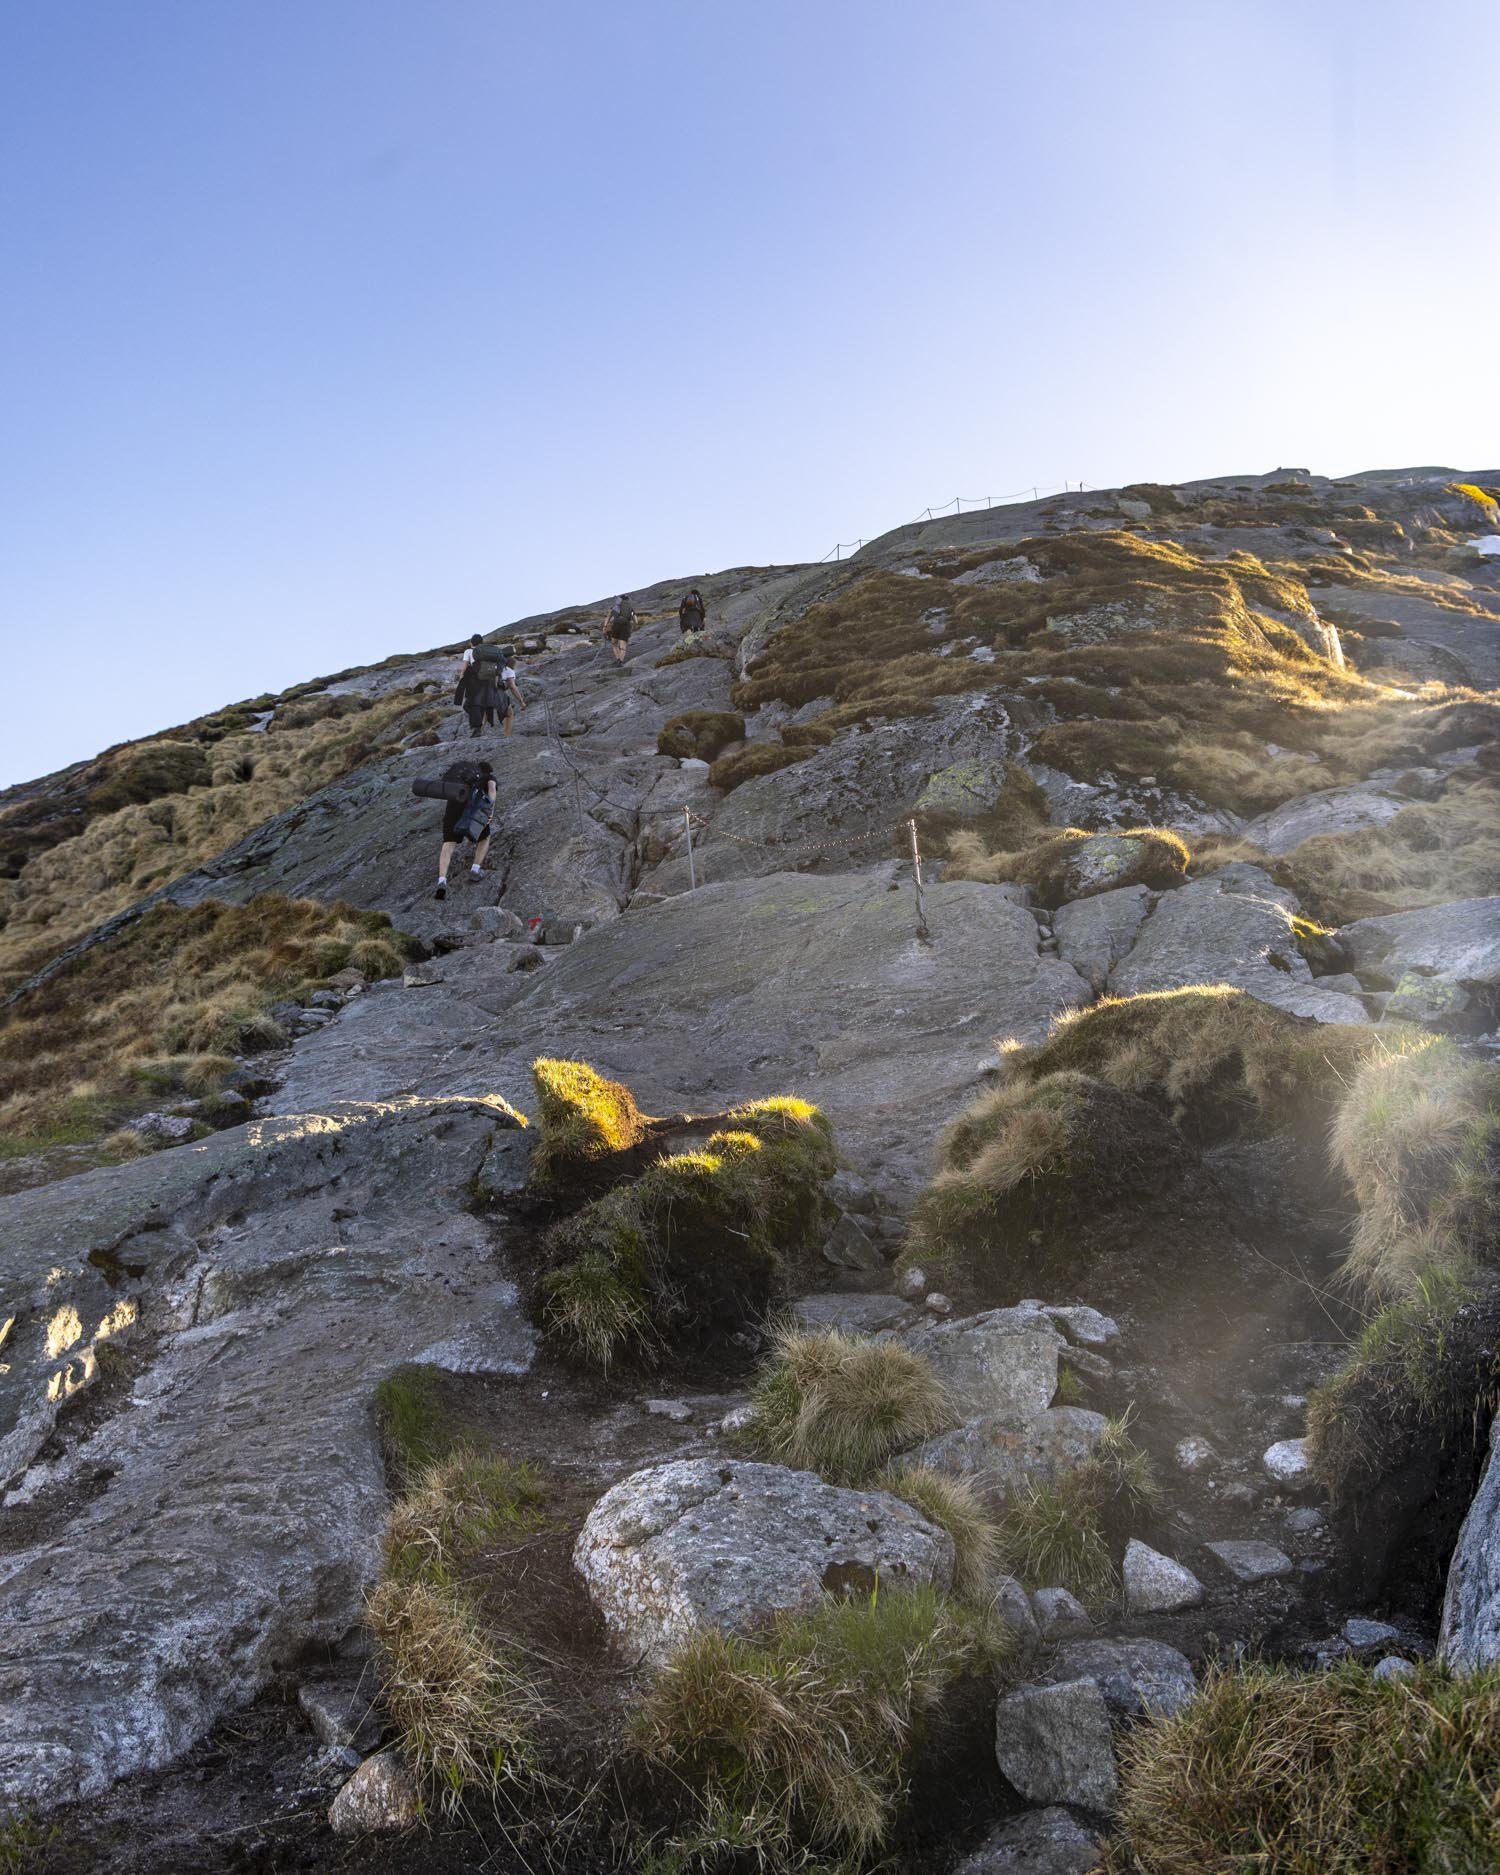
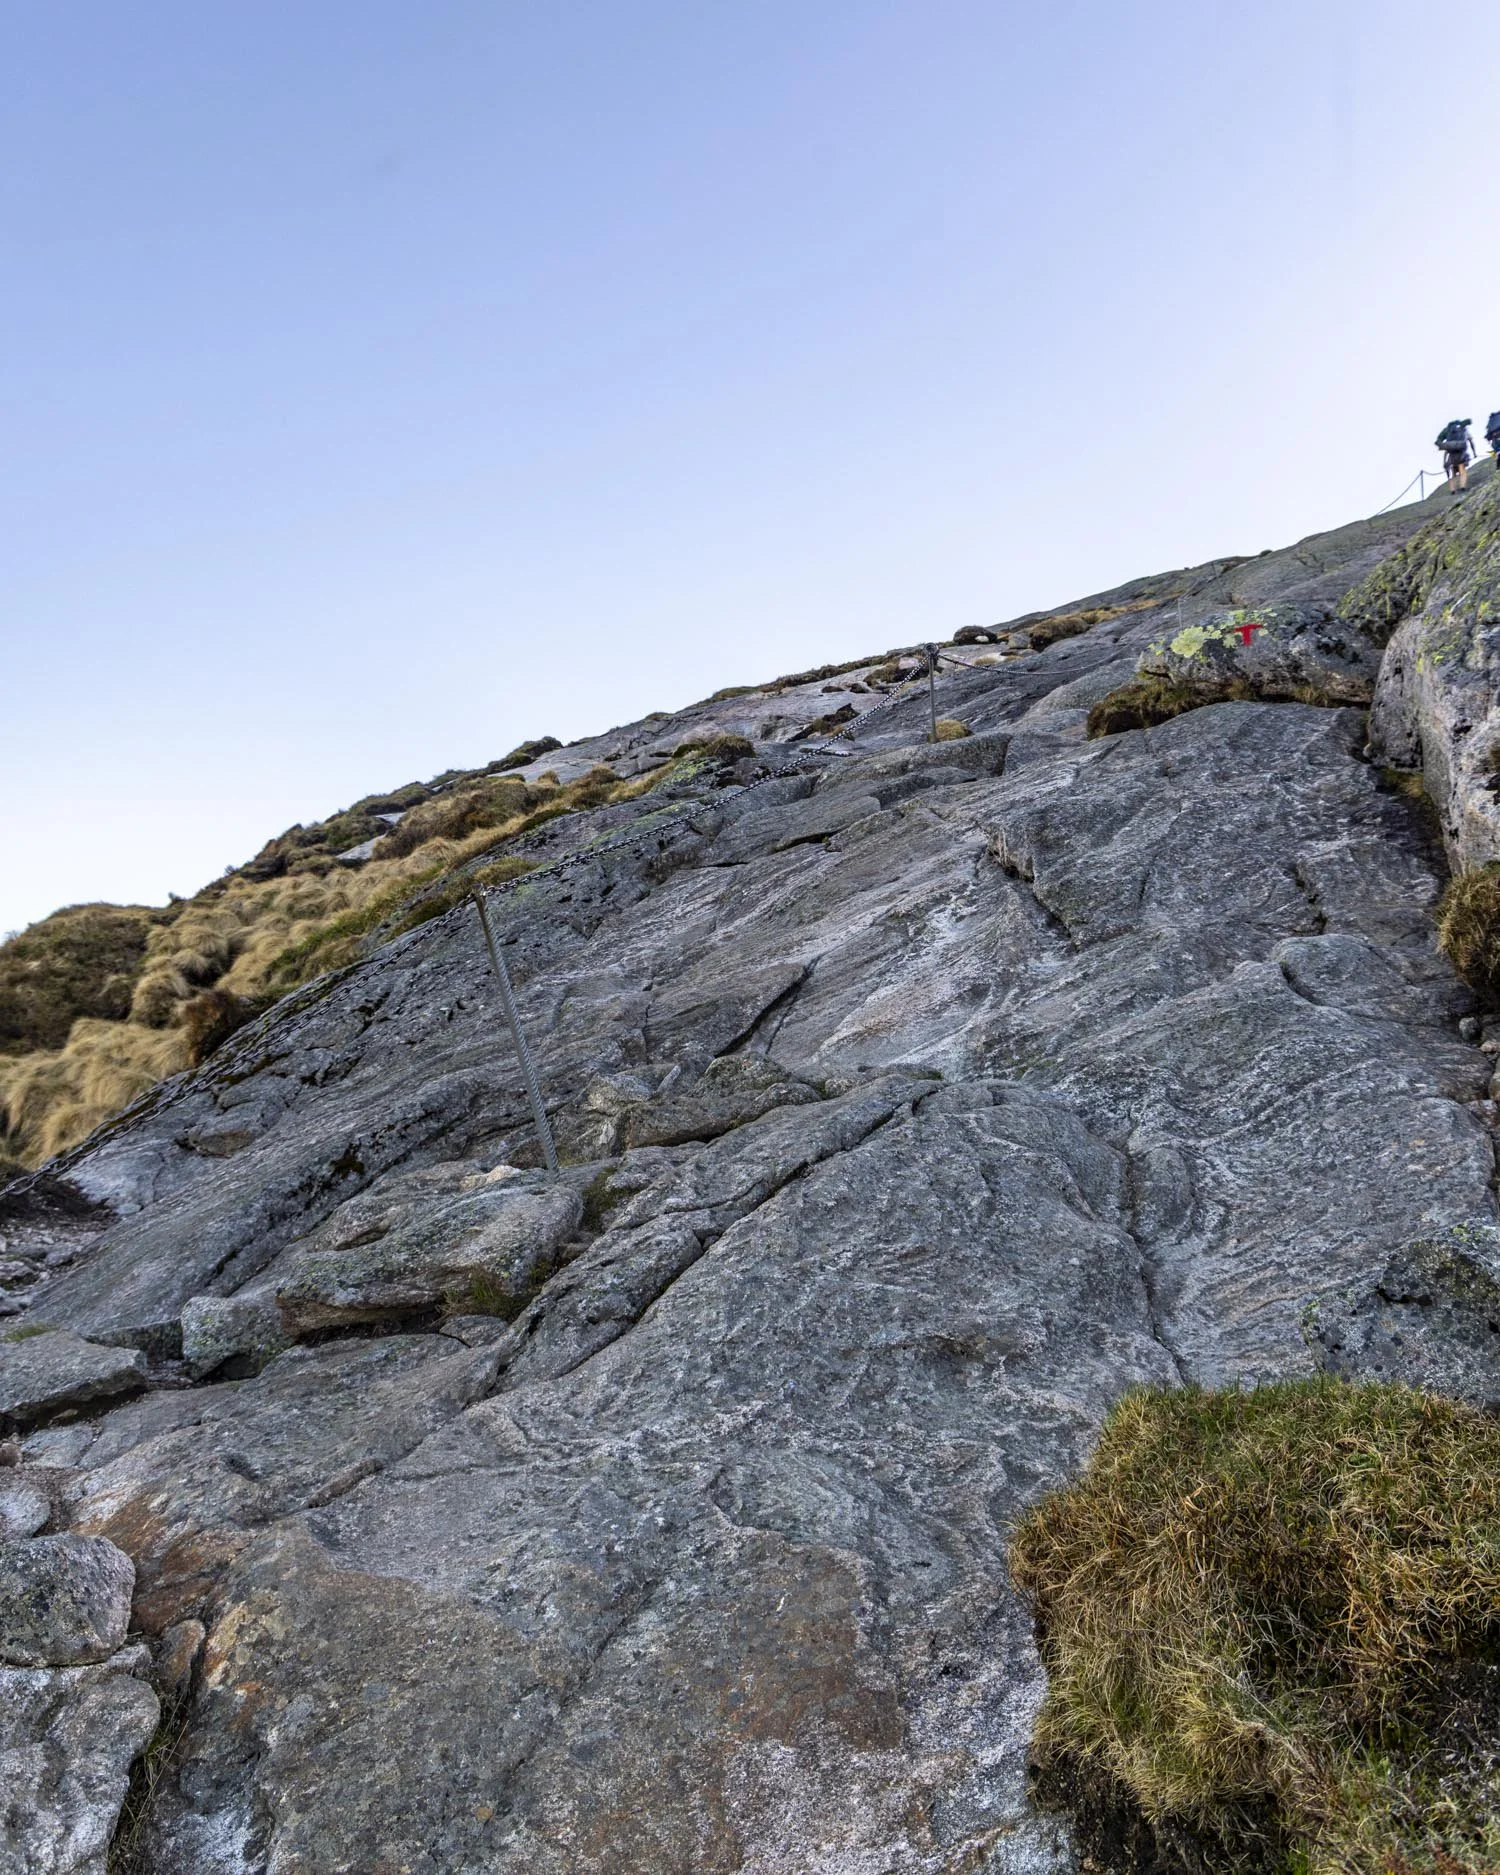
You’ll then keep climbing but on a gentler gradient to the top (which you’ll reach just over 3.7km into the hike).
Along this stretch I switched which side of the chains I was walking on a few times according to what the footing looked like.
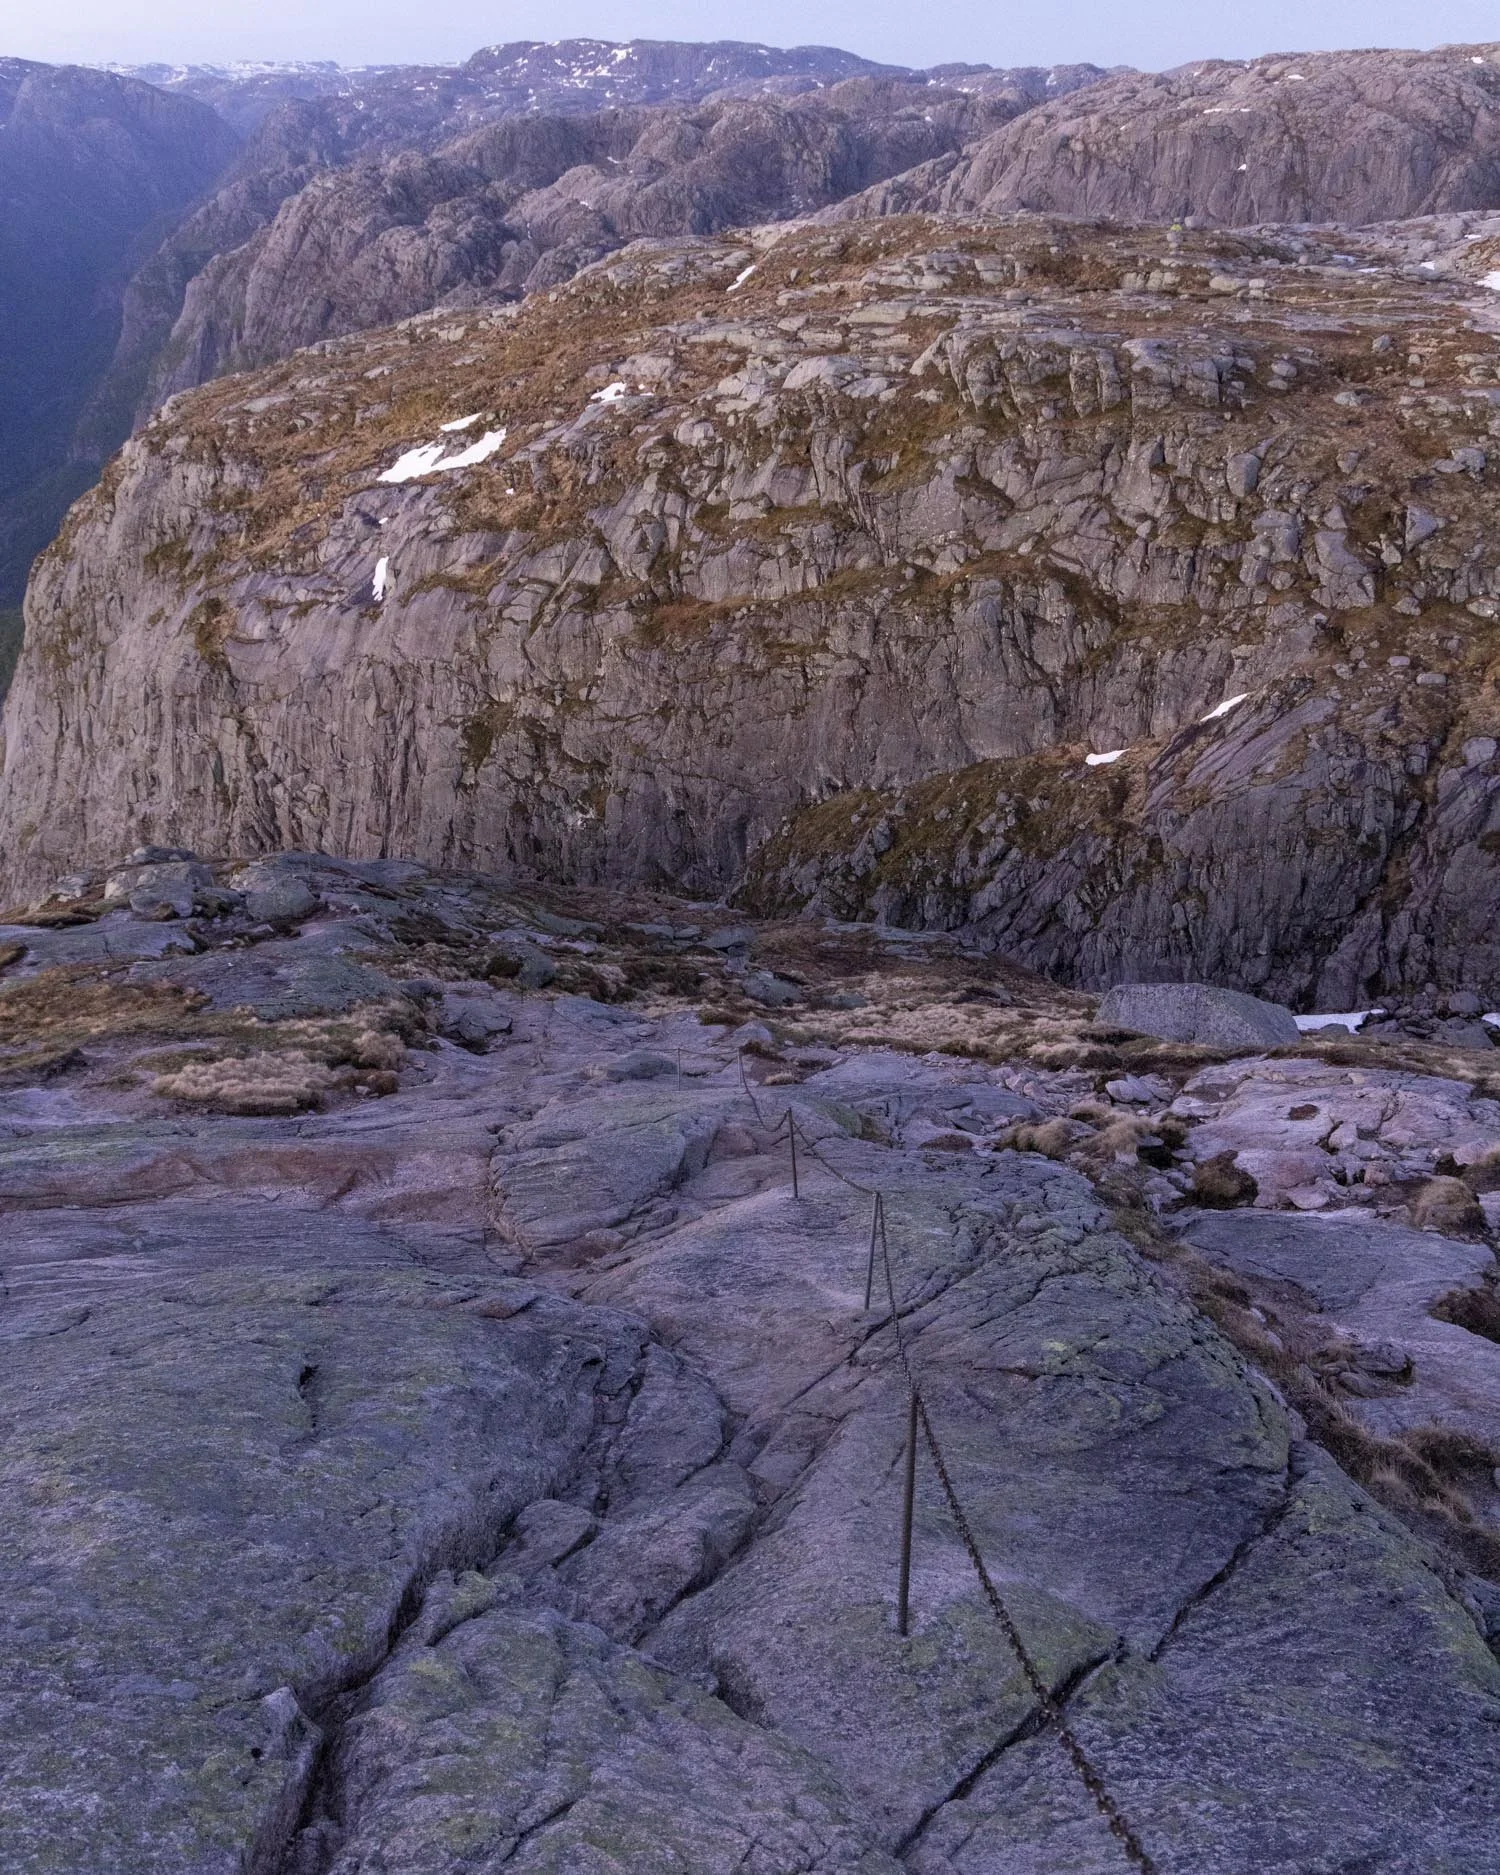
Sometimes there were a few steep polished looking bits where I preferred not to use the chained route at all and instead used the gentler tiered rock.
I would stick to the chains always if the ground was wet but when dry other routes felt easier at times.
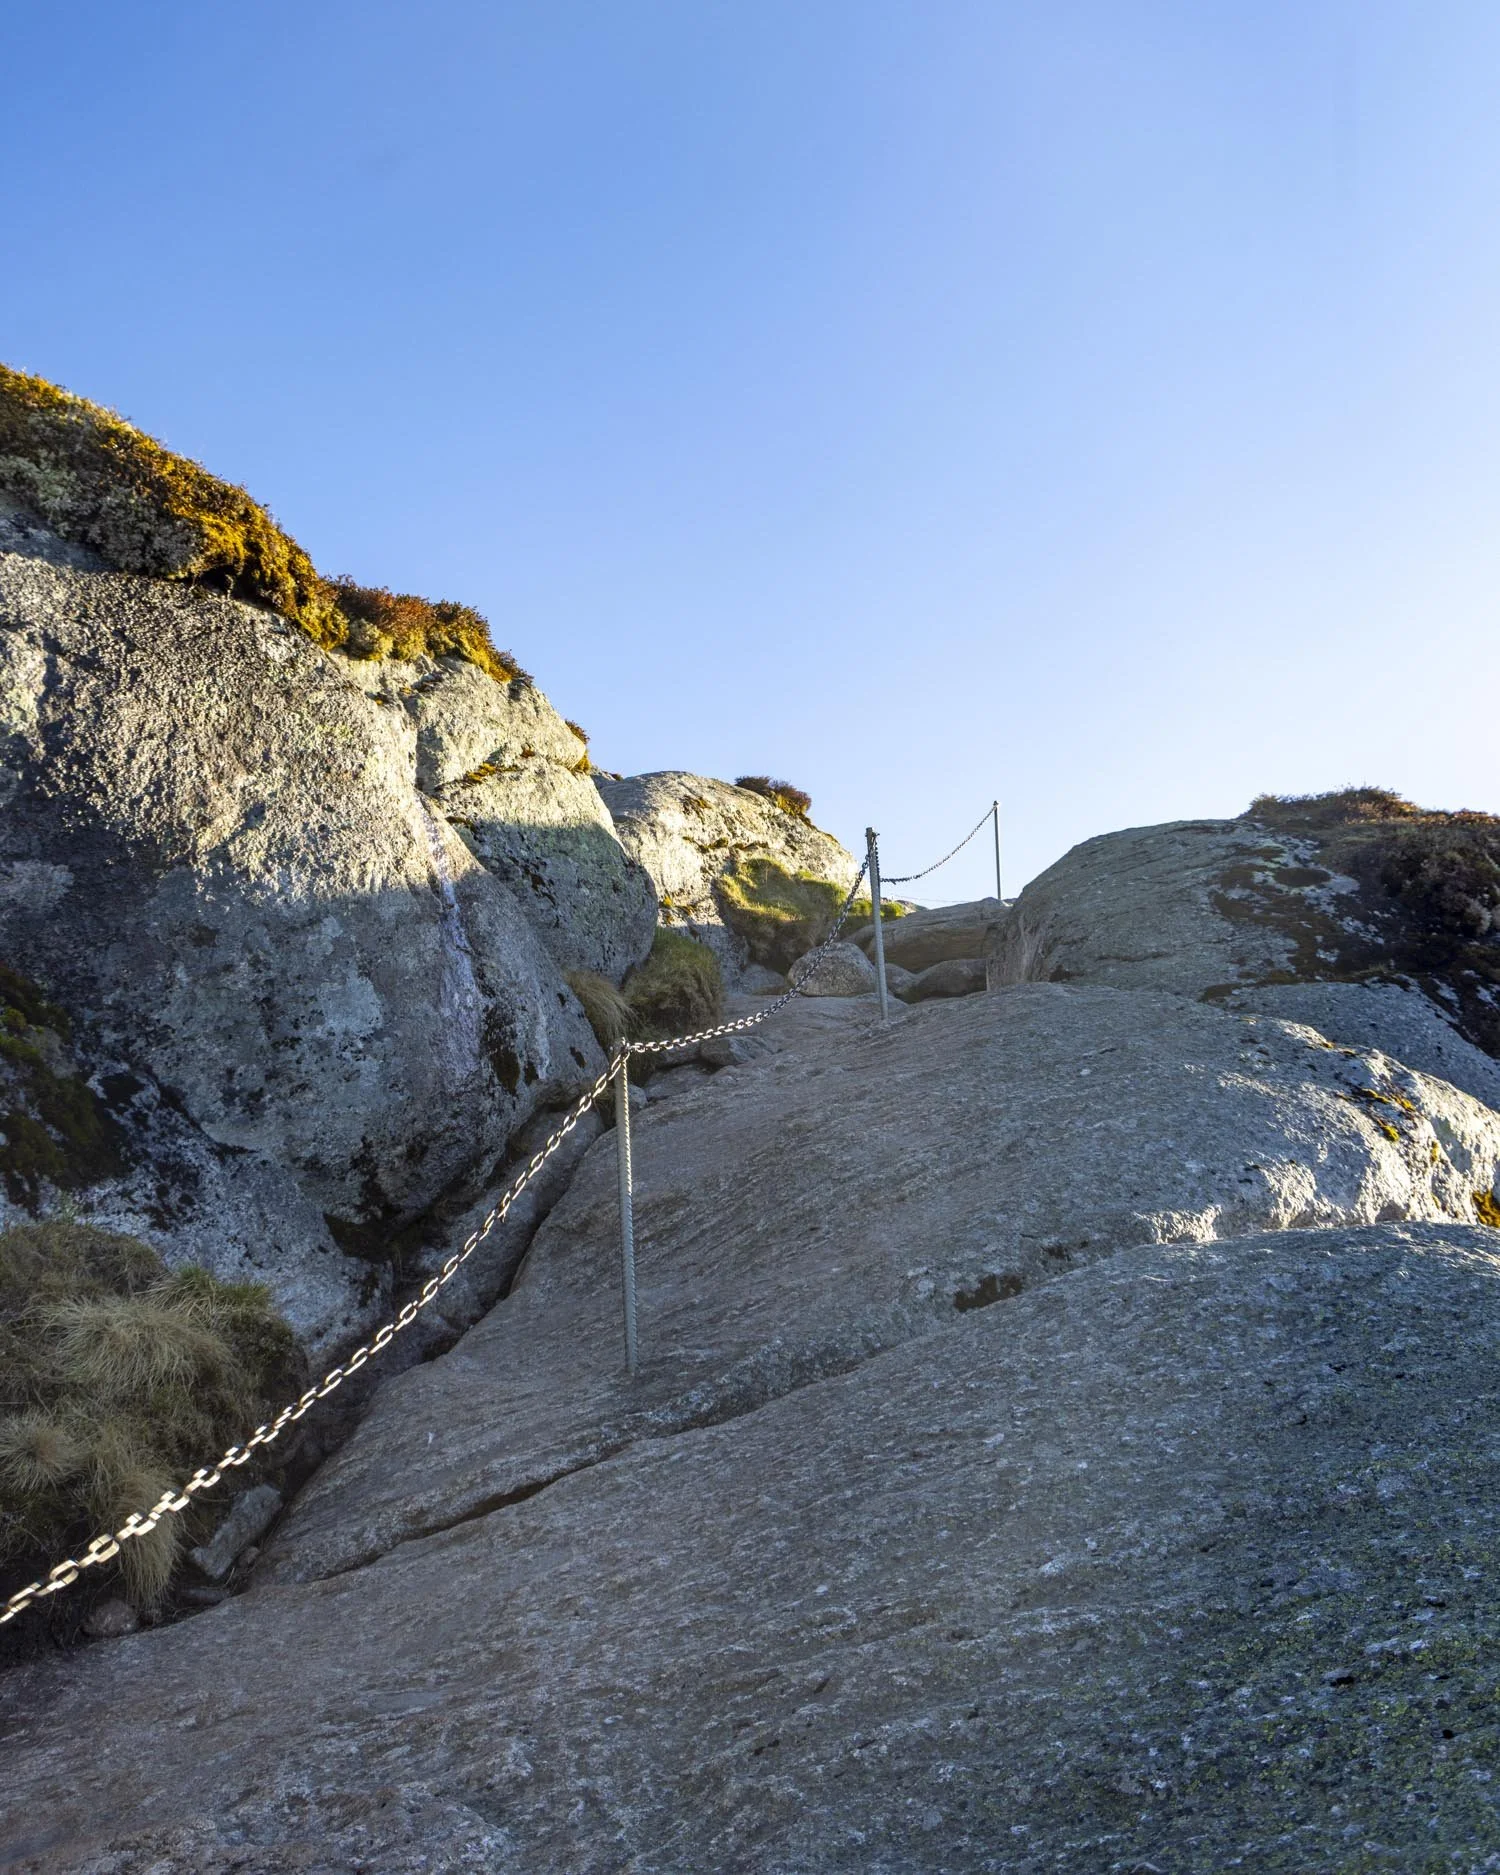
I think the other factor that made me feel much more comfortable on the chains throughout the whole hike, but especially on this longer section, was that no one else was using them.
Were it to have been really busy I would have felt pressured to move at a certain speed so I was really grateful to have such a quiet experience!
Reaching Kjeragbolten
Distance: 1.5km
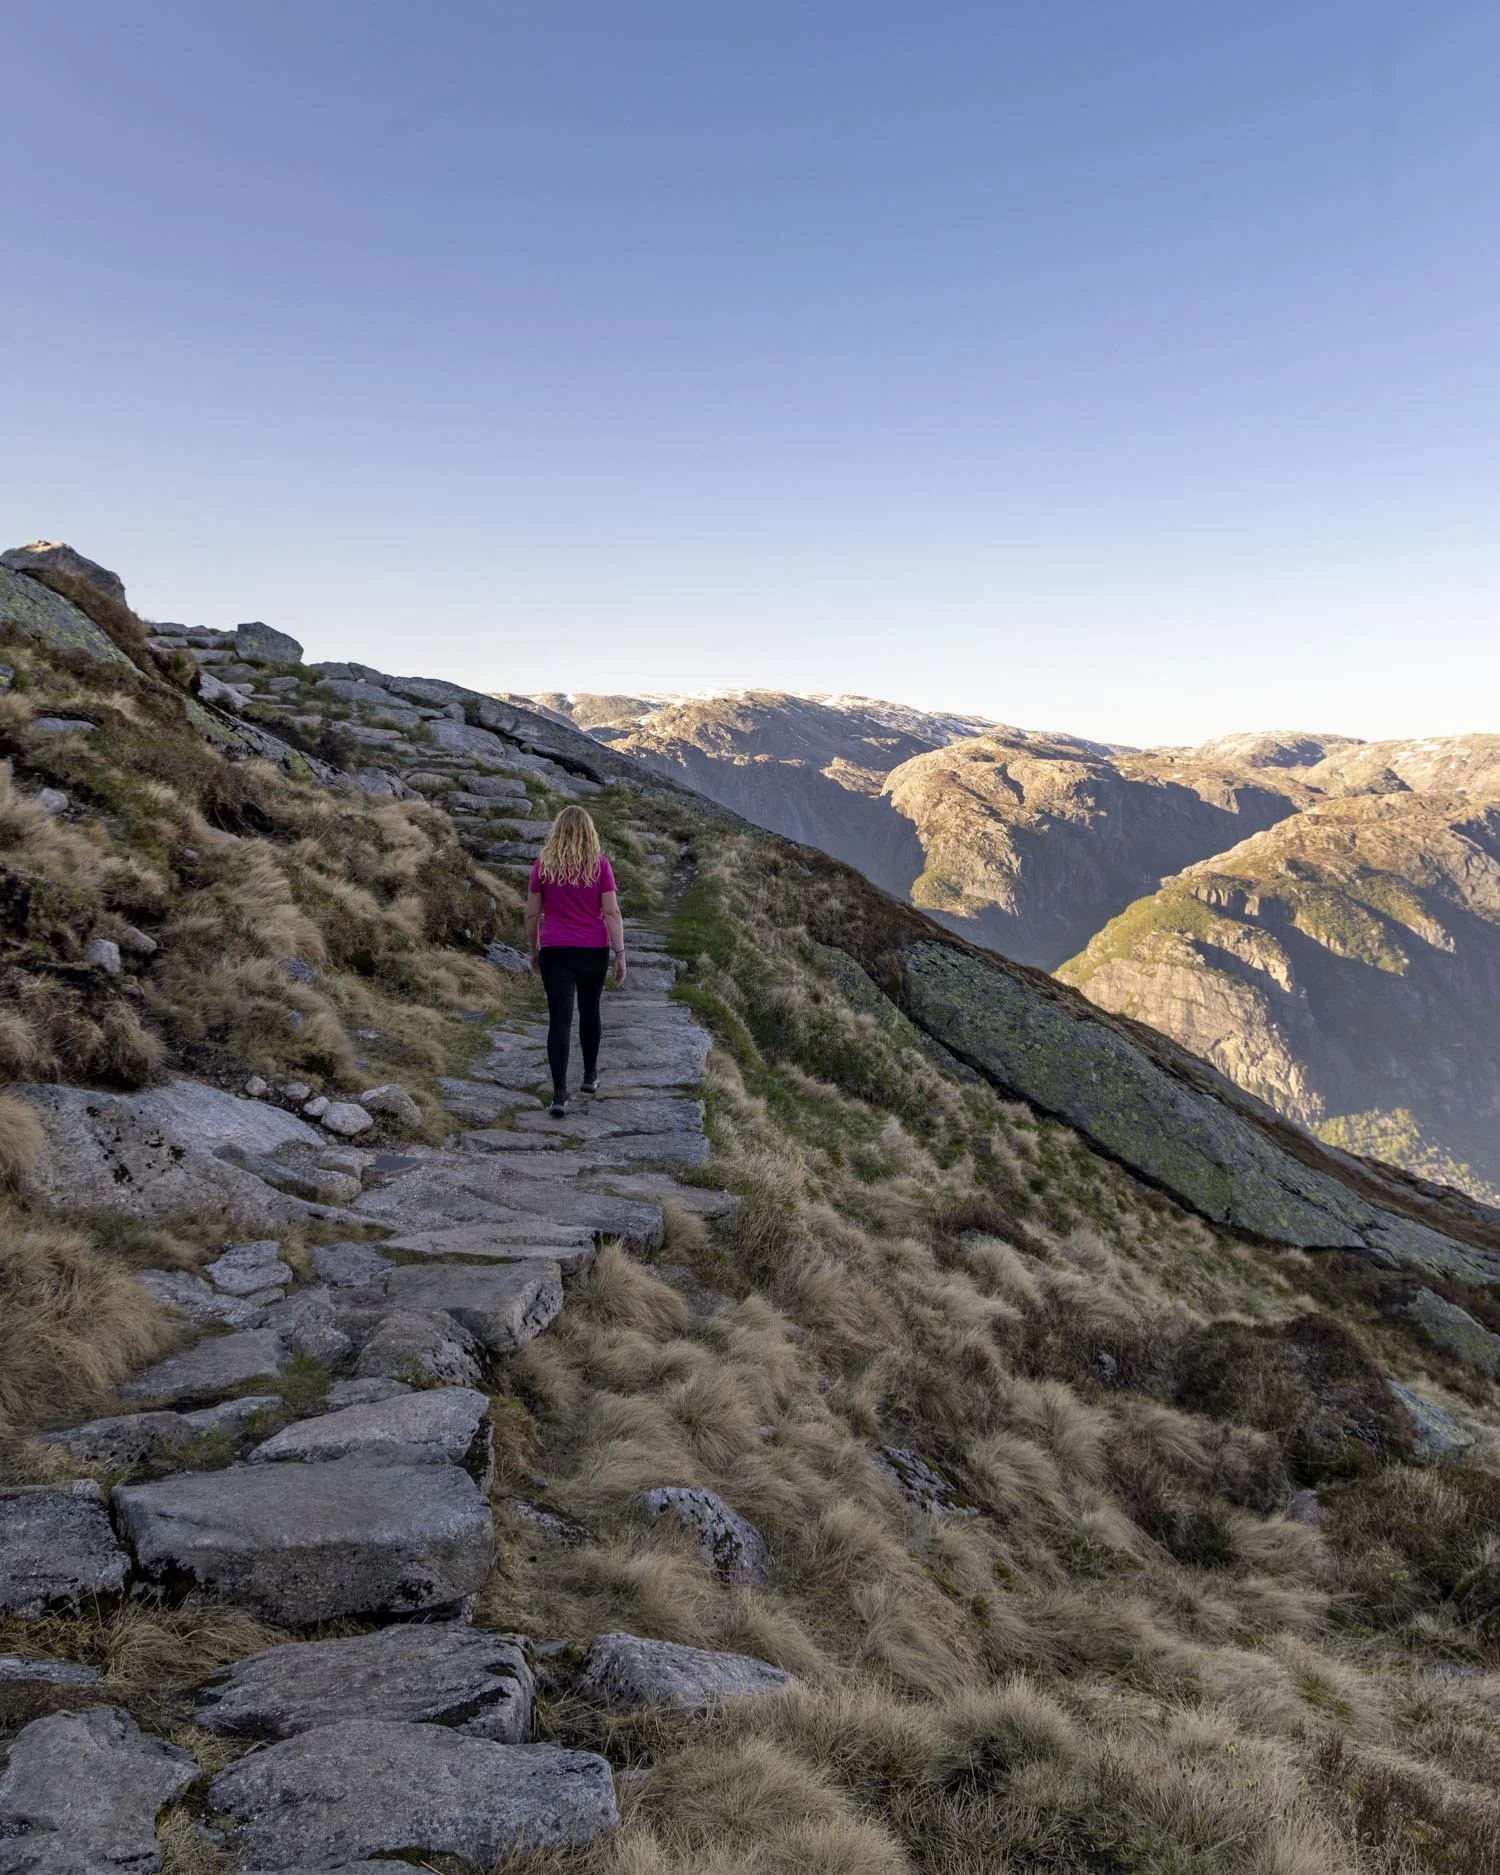
The final kilometre and a half to reach Kjeragbolten is the easiest part of the whole walk. There are no more chains and no more climbs of note, though some of the route is still uphill.
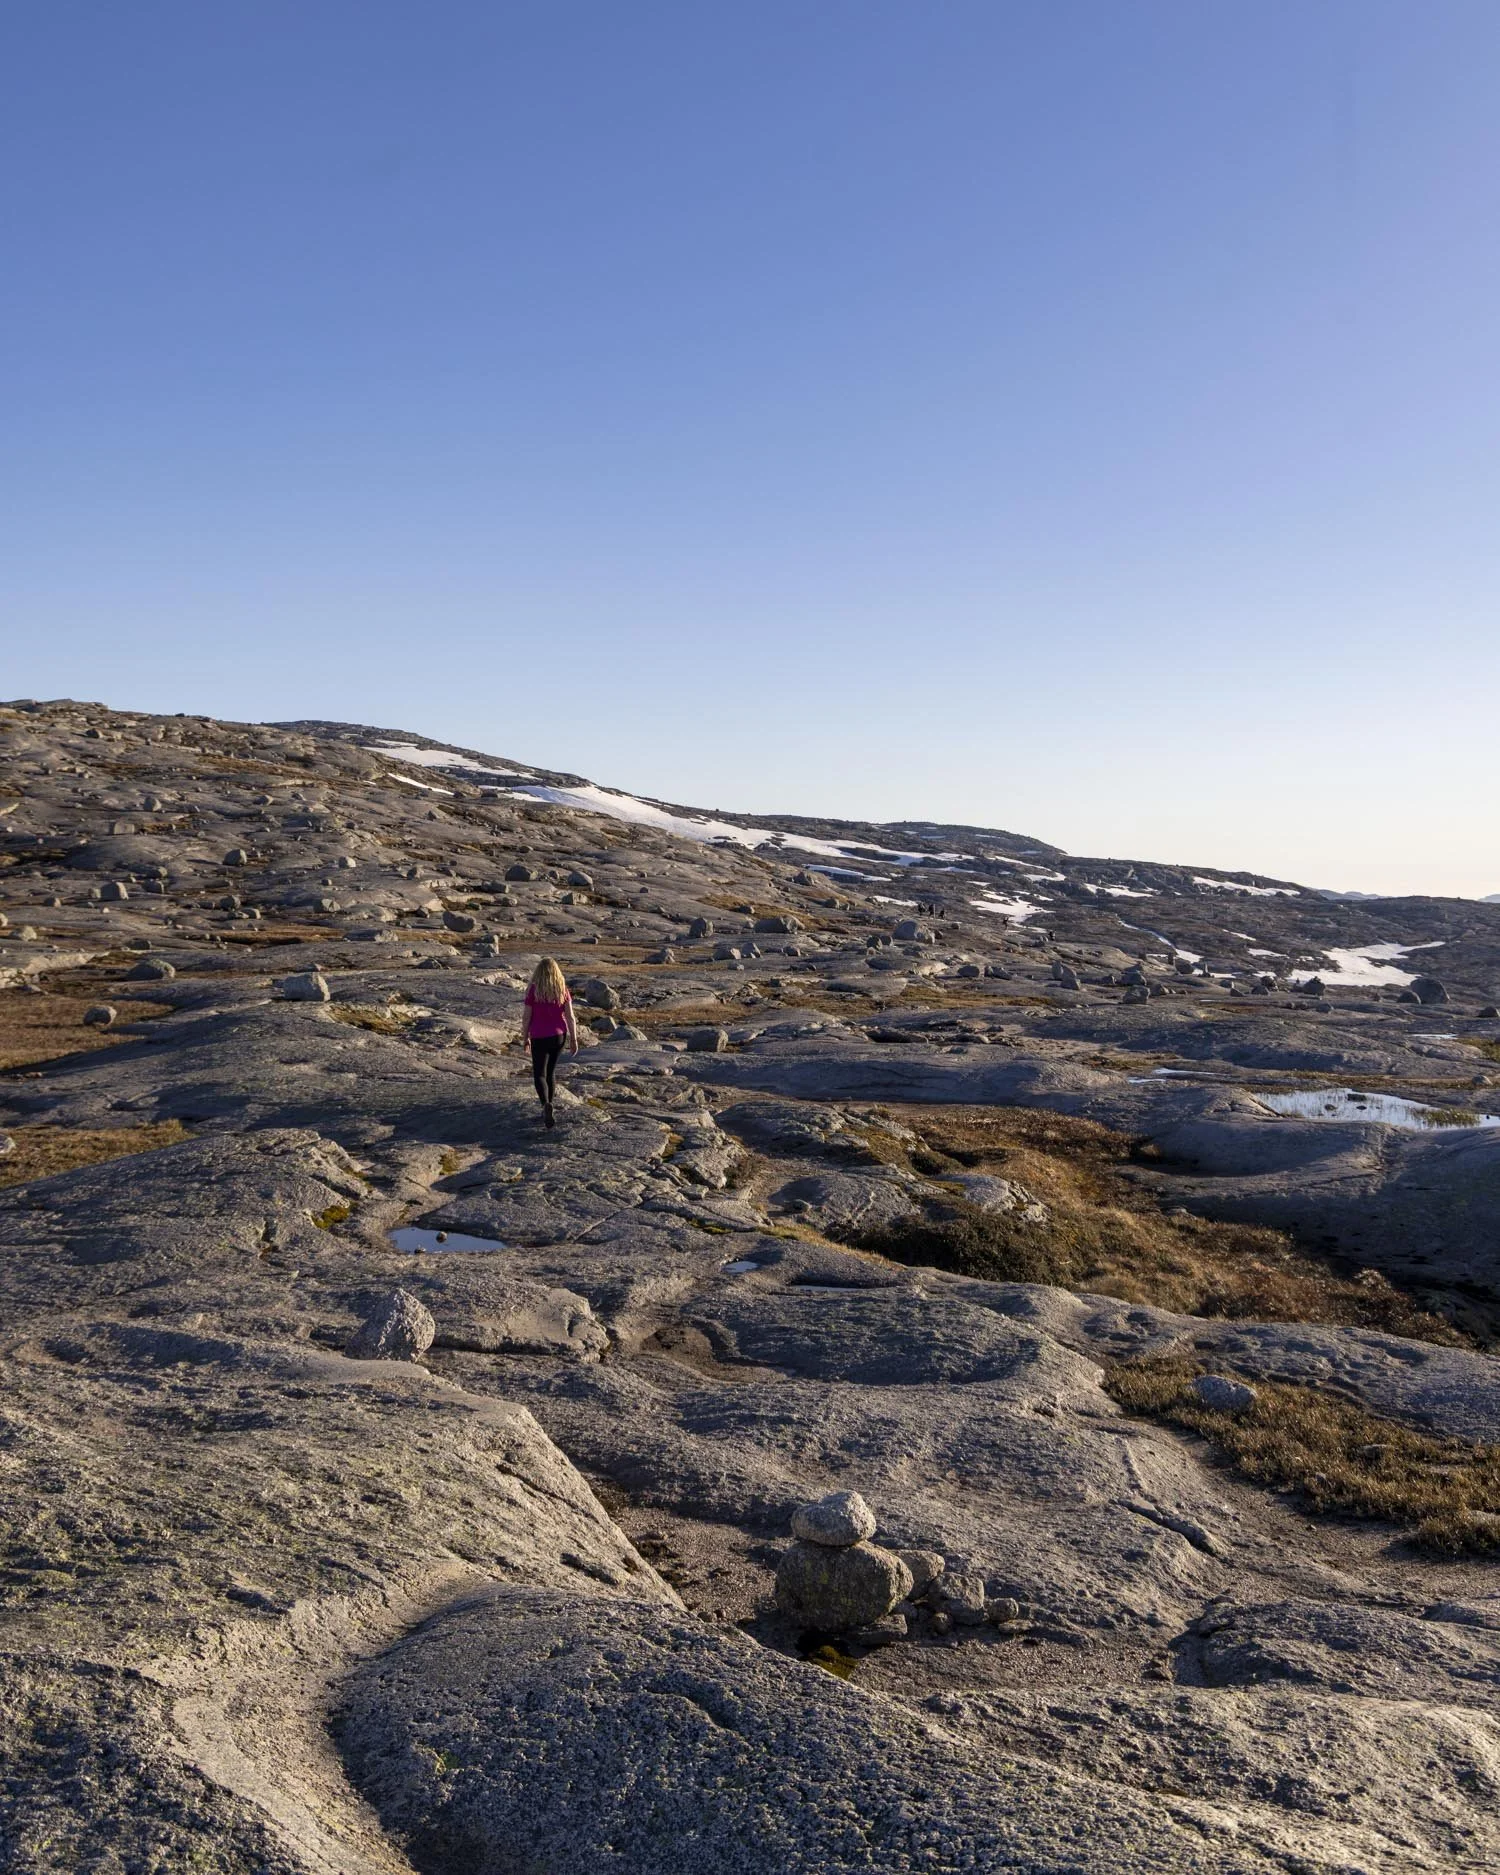
The majority of the way feels flat or pretty close to and the terrain is good. You’re mainly traversing a rocky plateau, following the intermittent markers.
For us there was quite a bit of ice around which dictated the route, but outside of shoulder season there wouldn’t be much thinking to do.
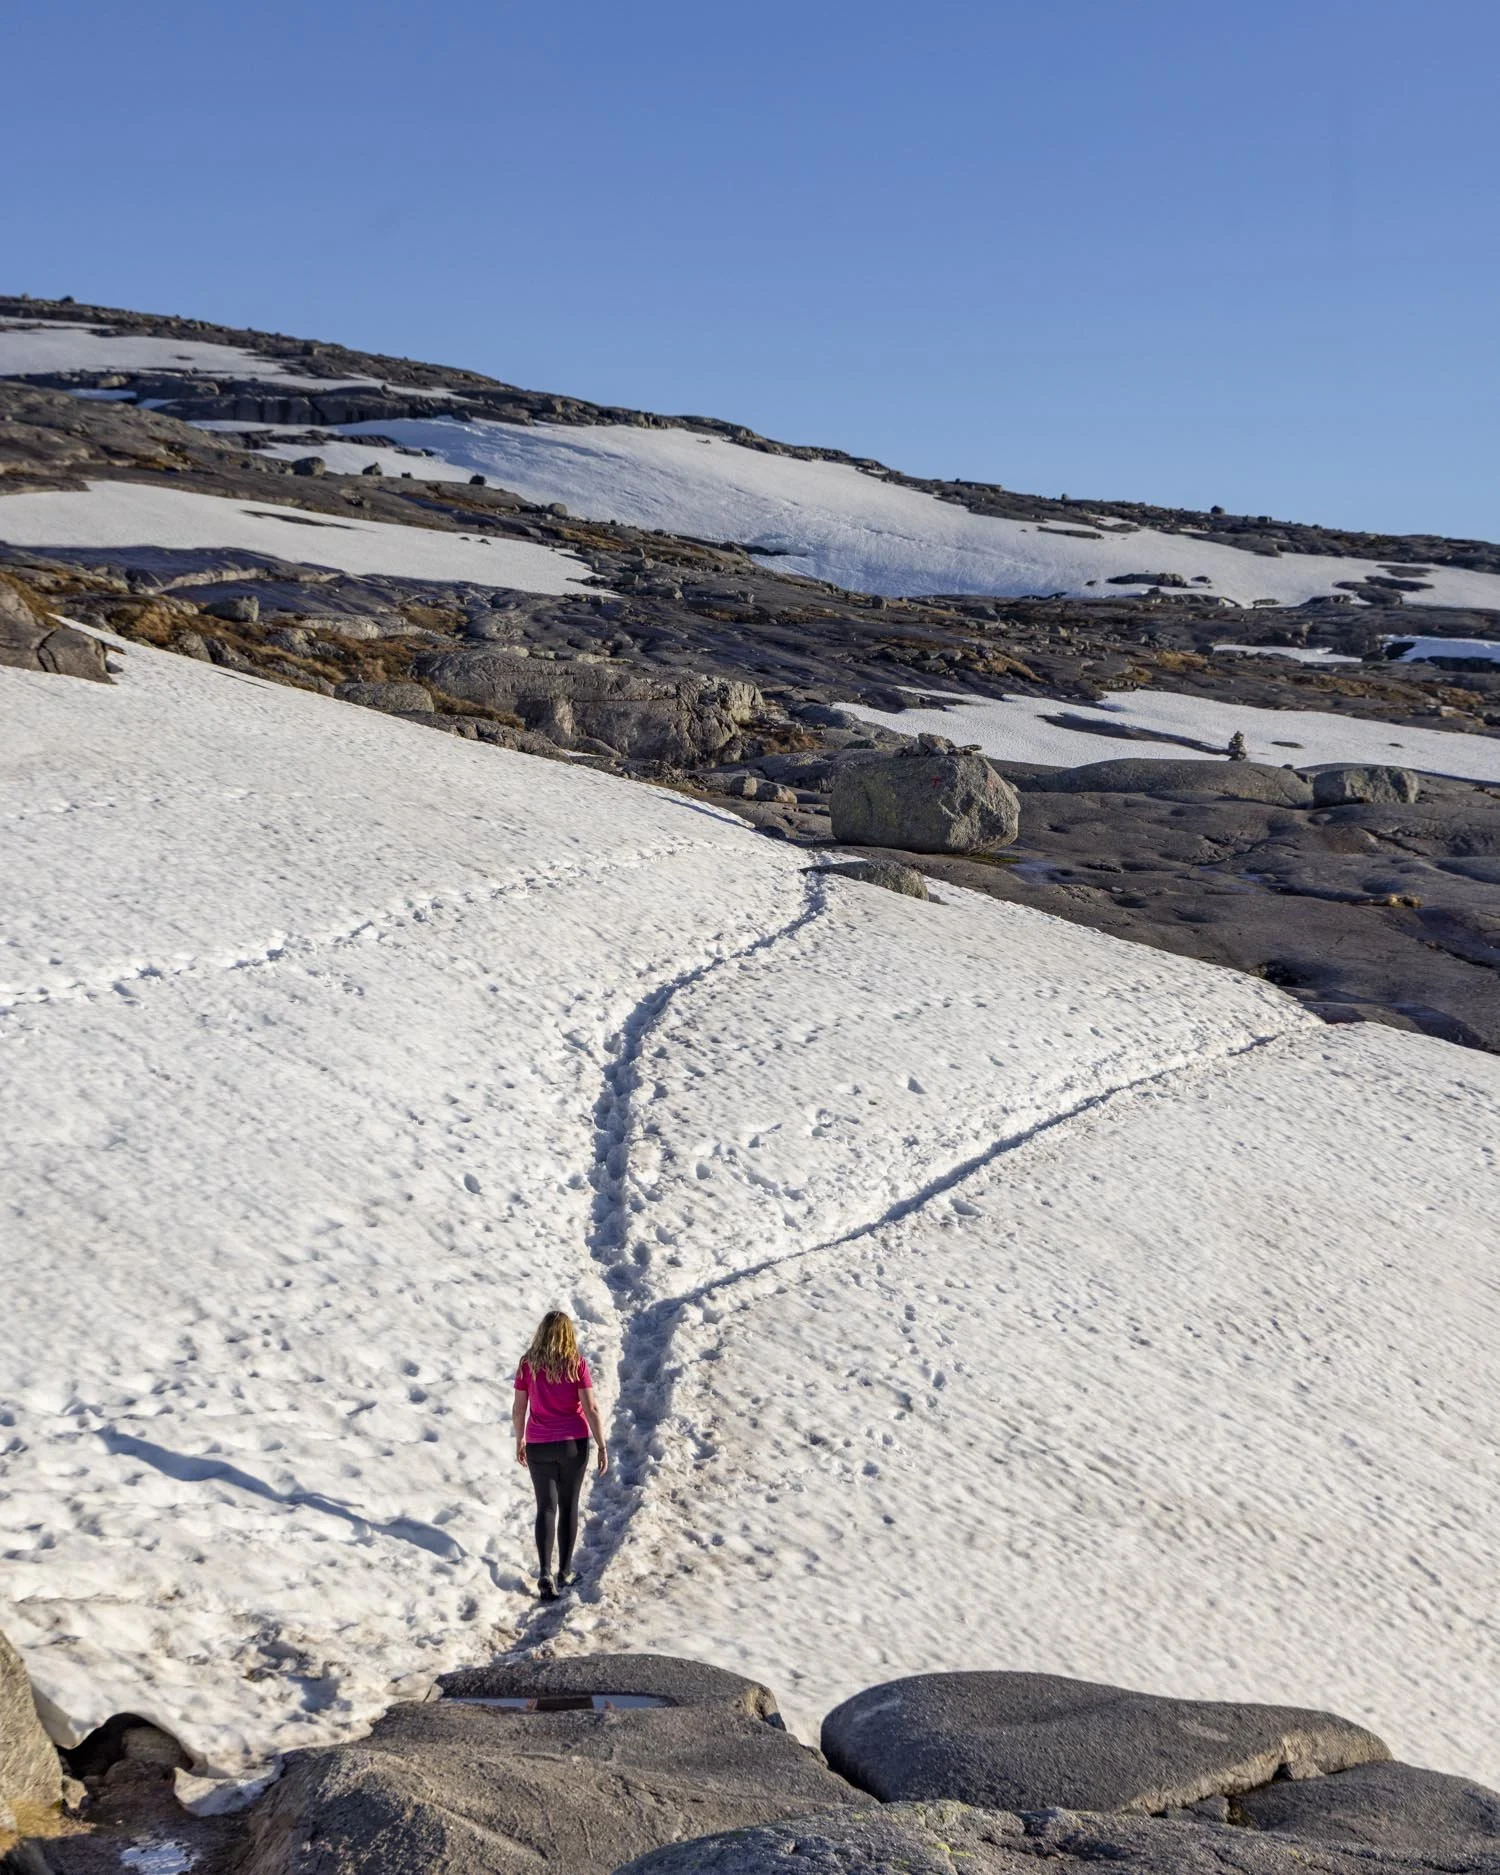
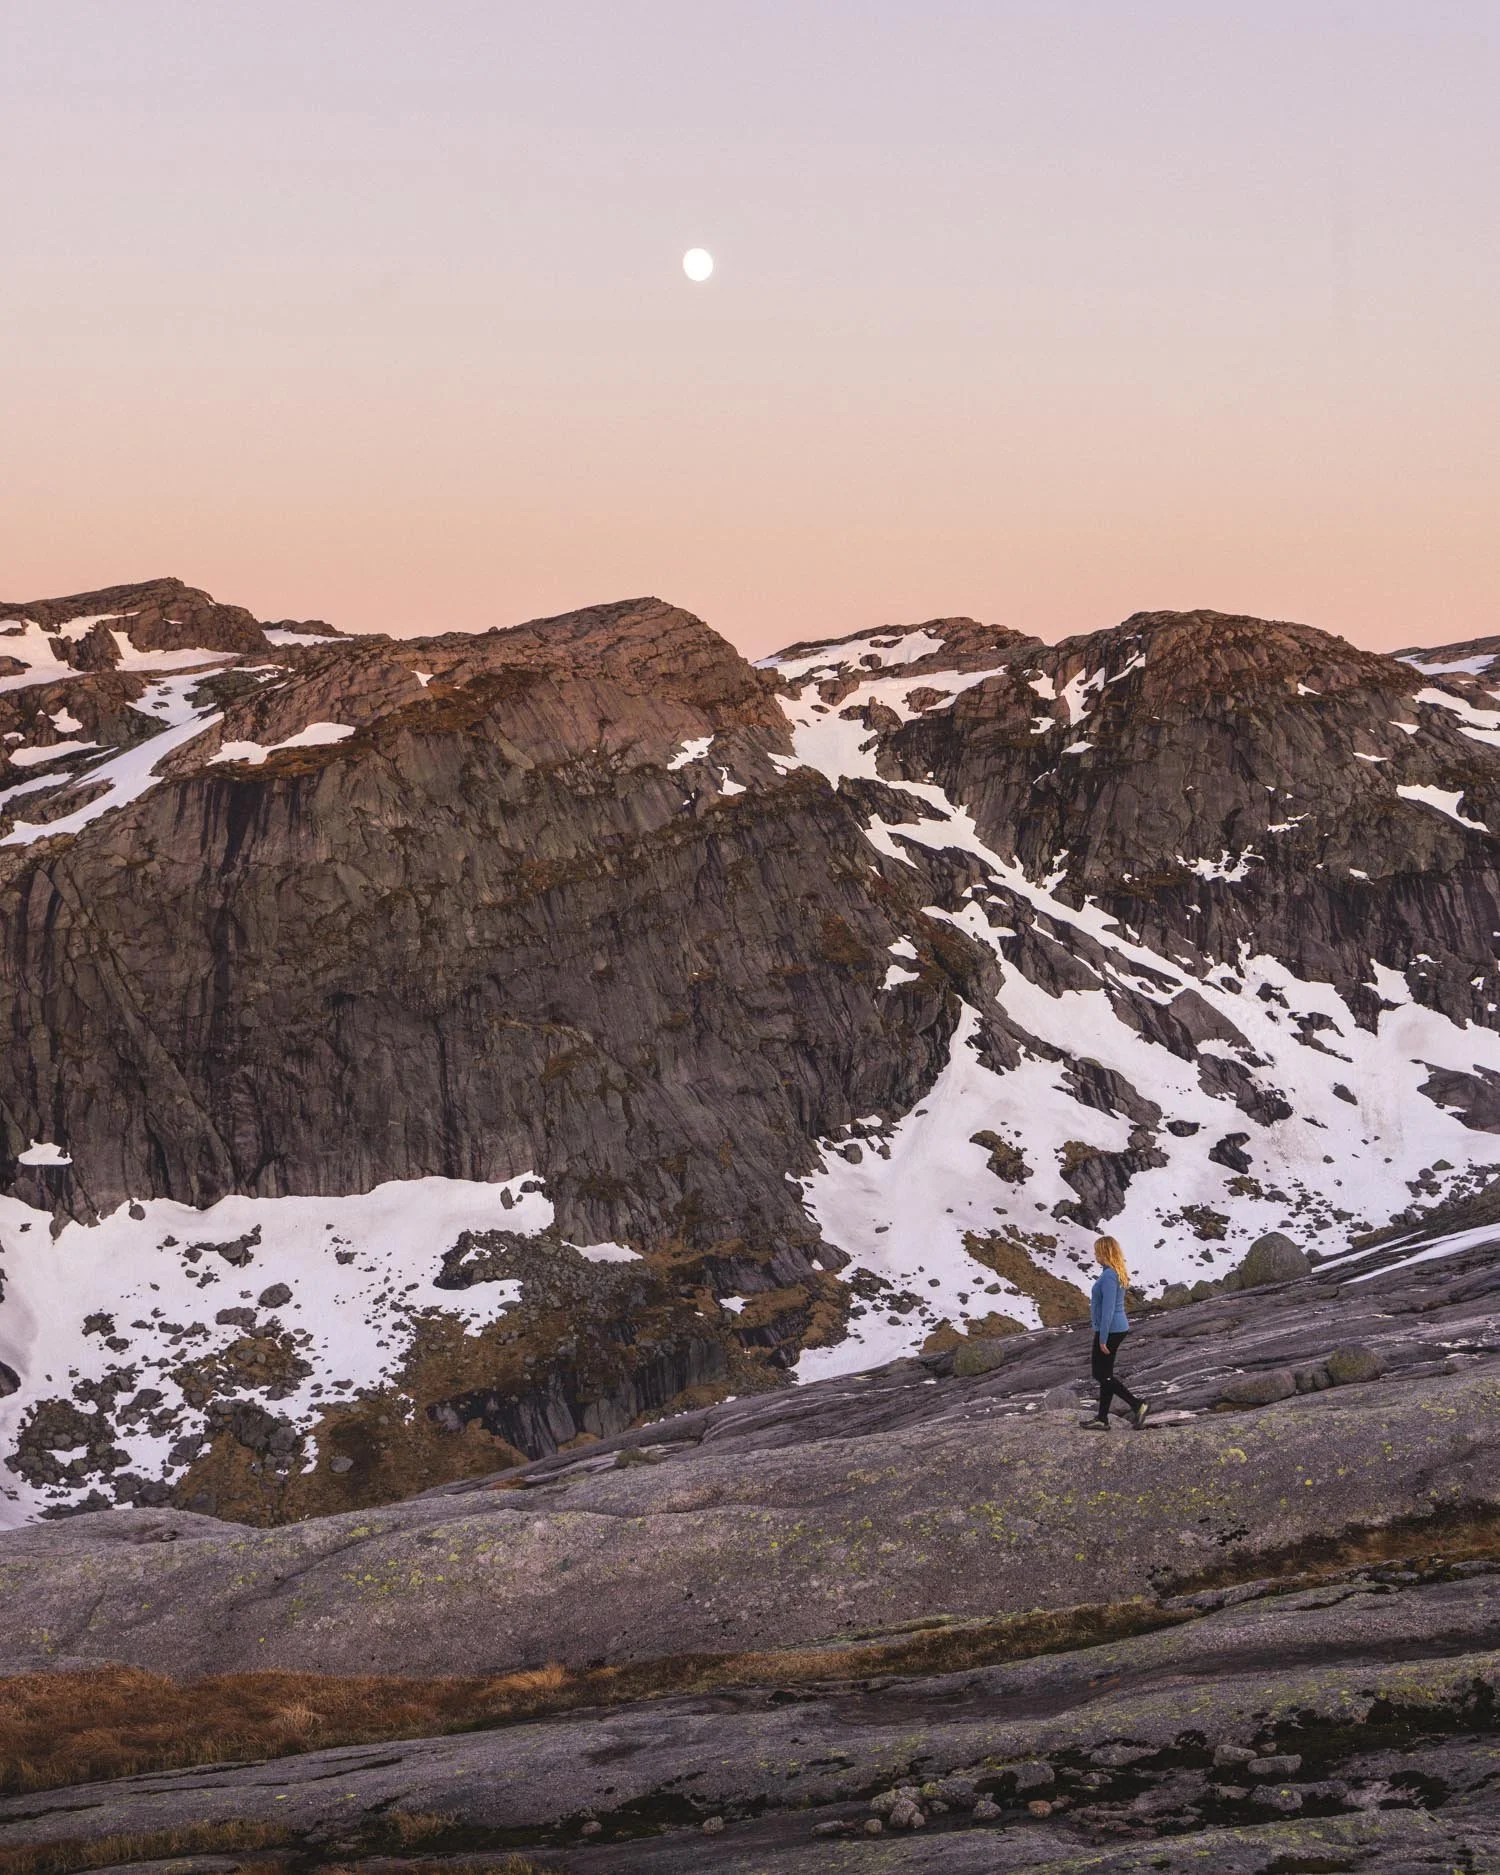
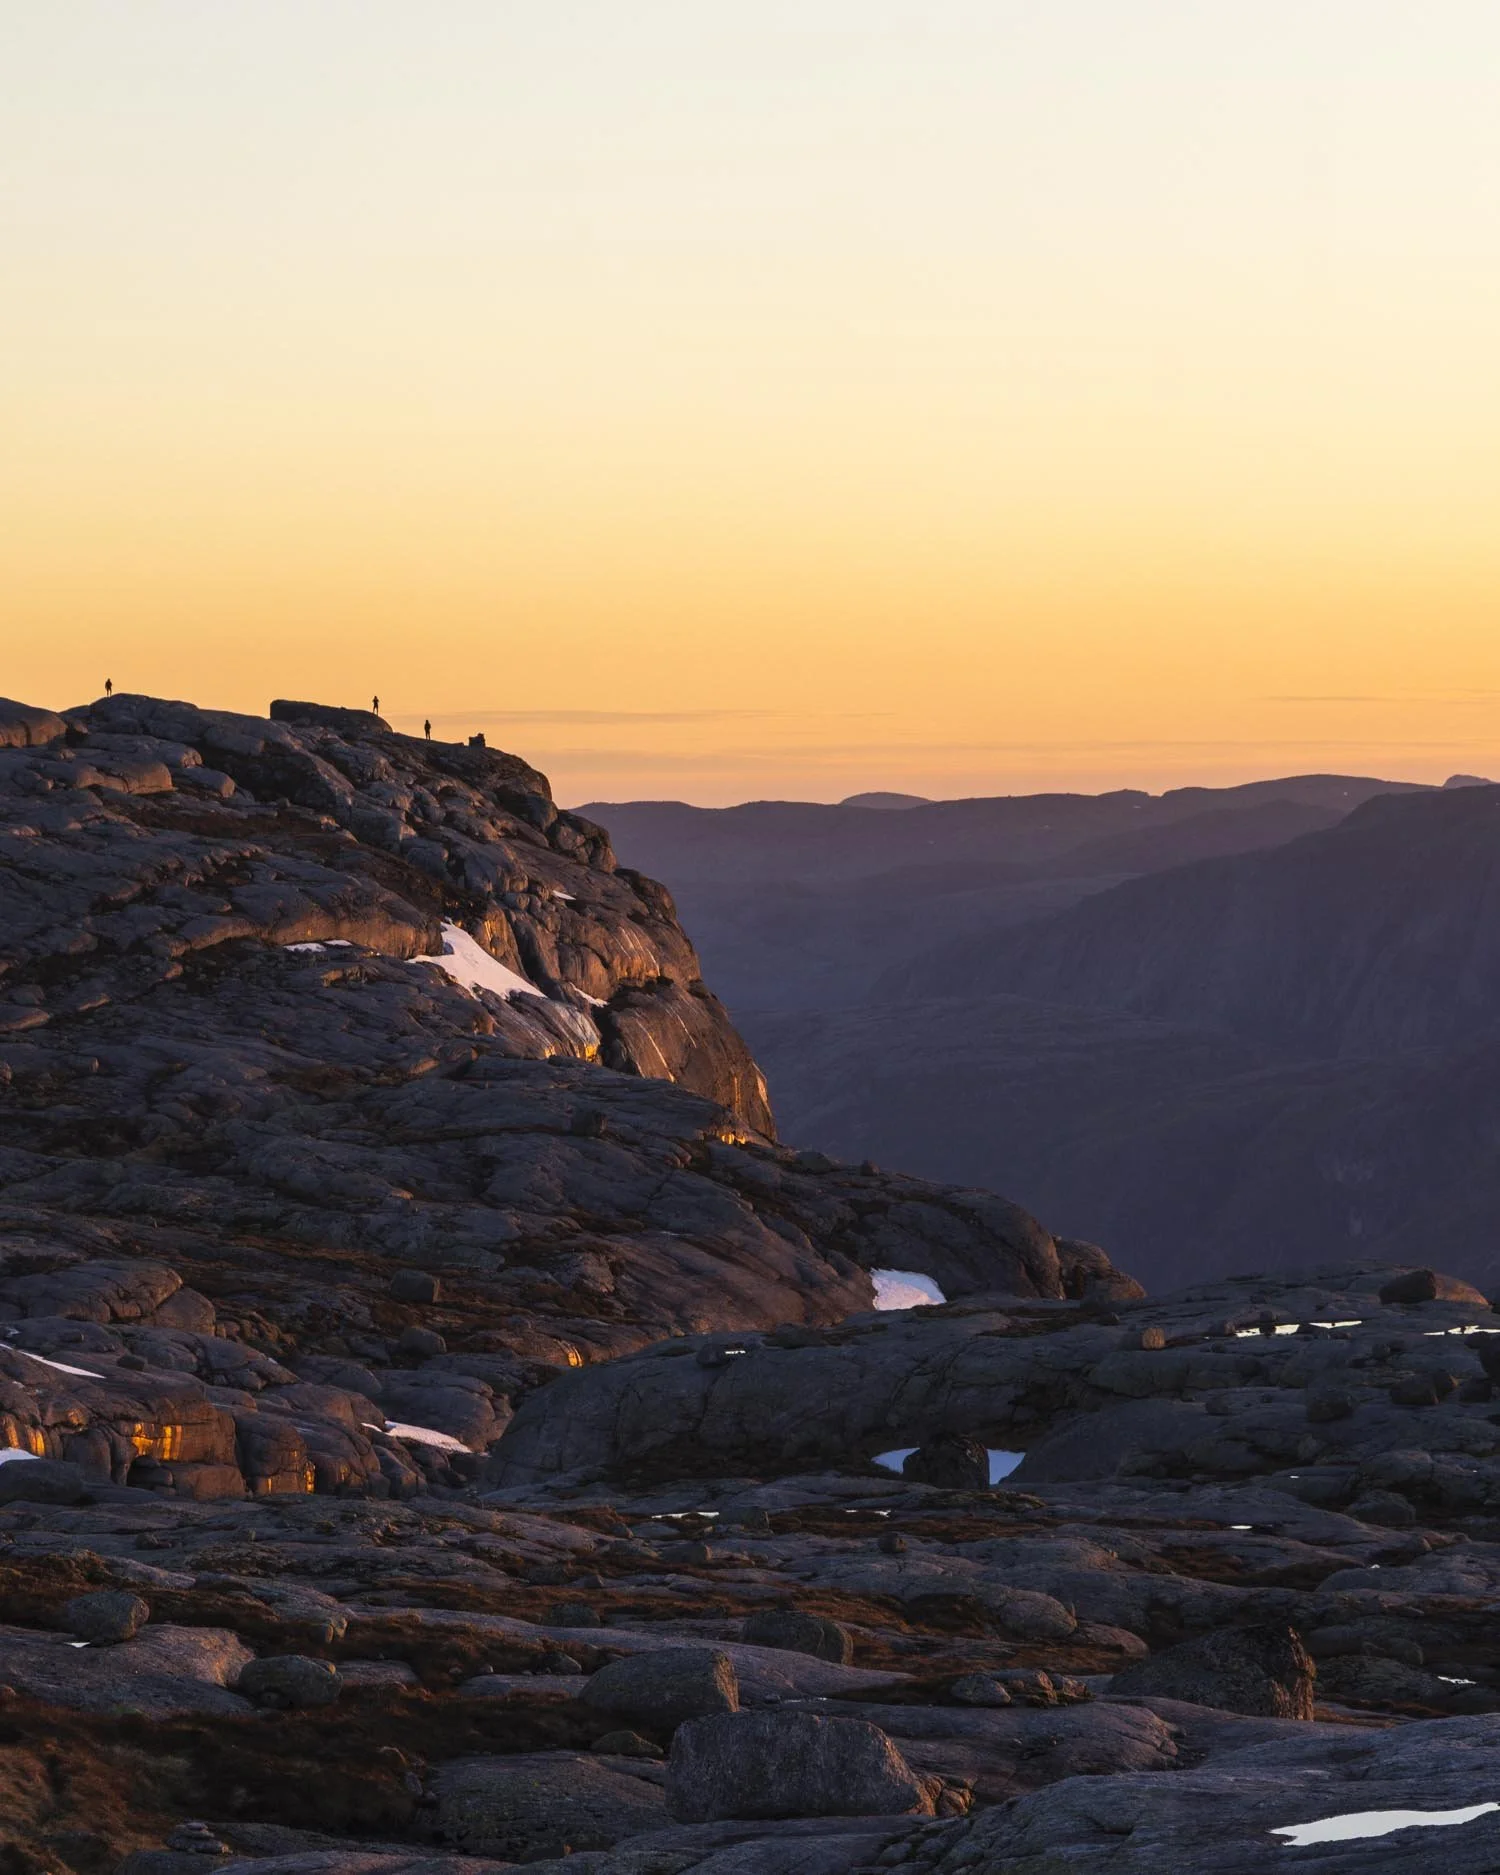
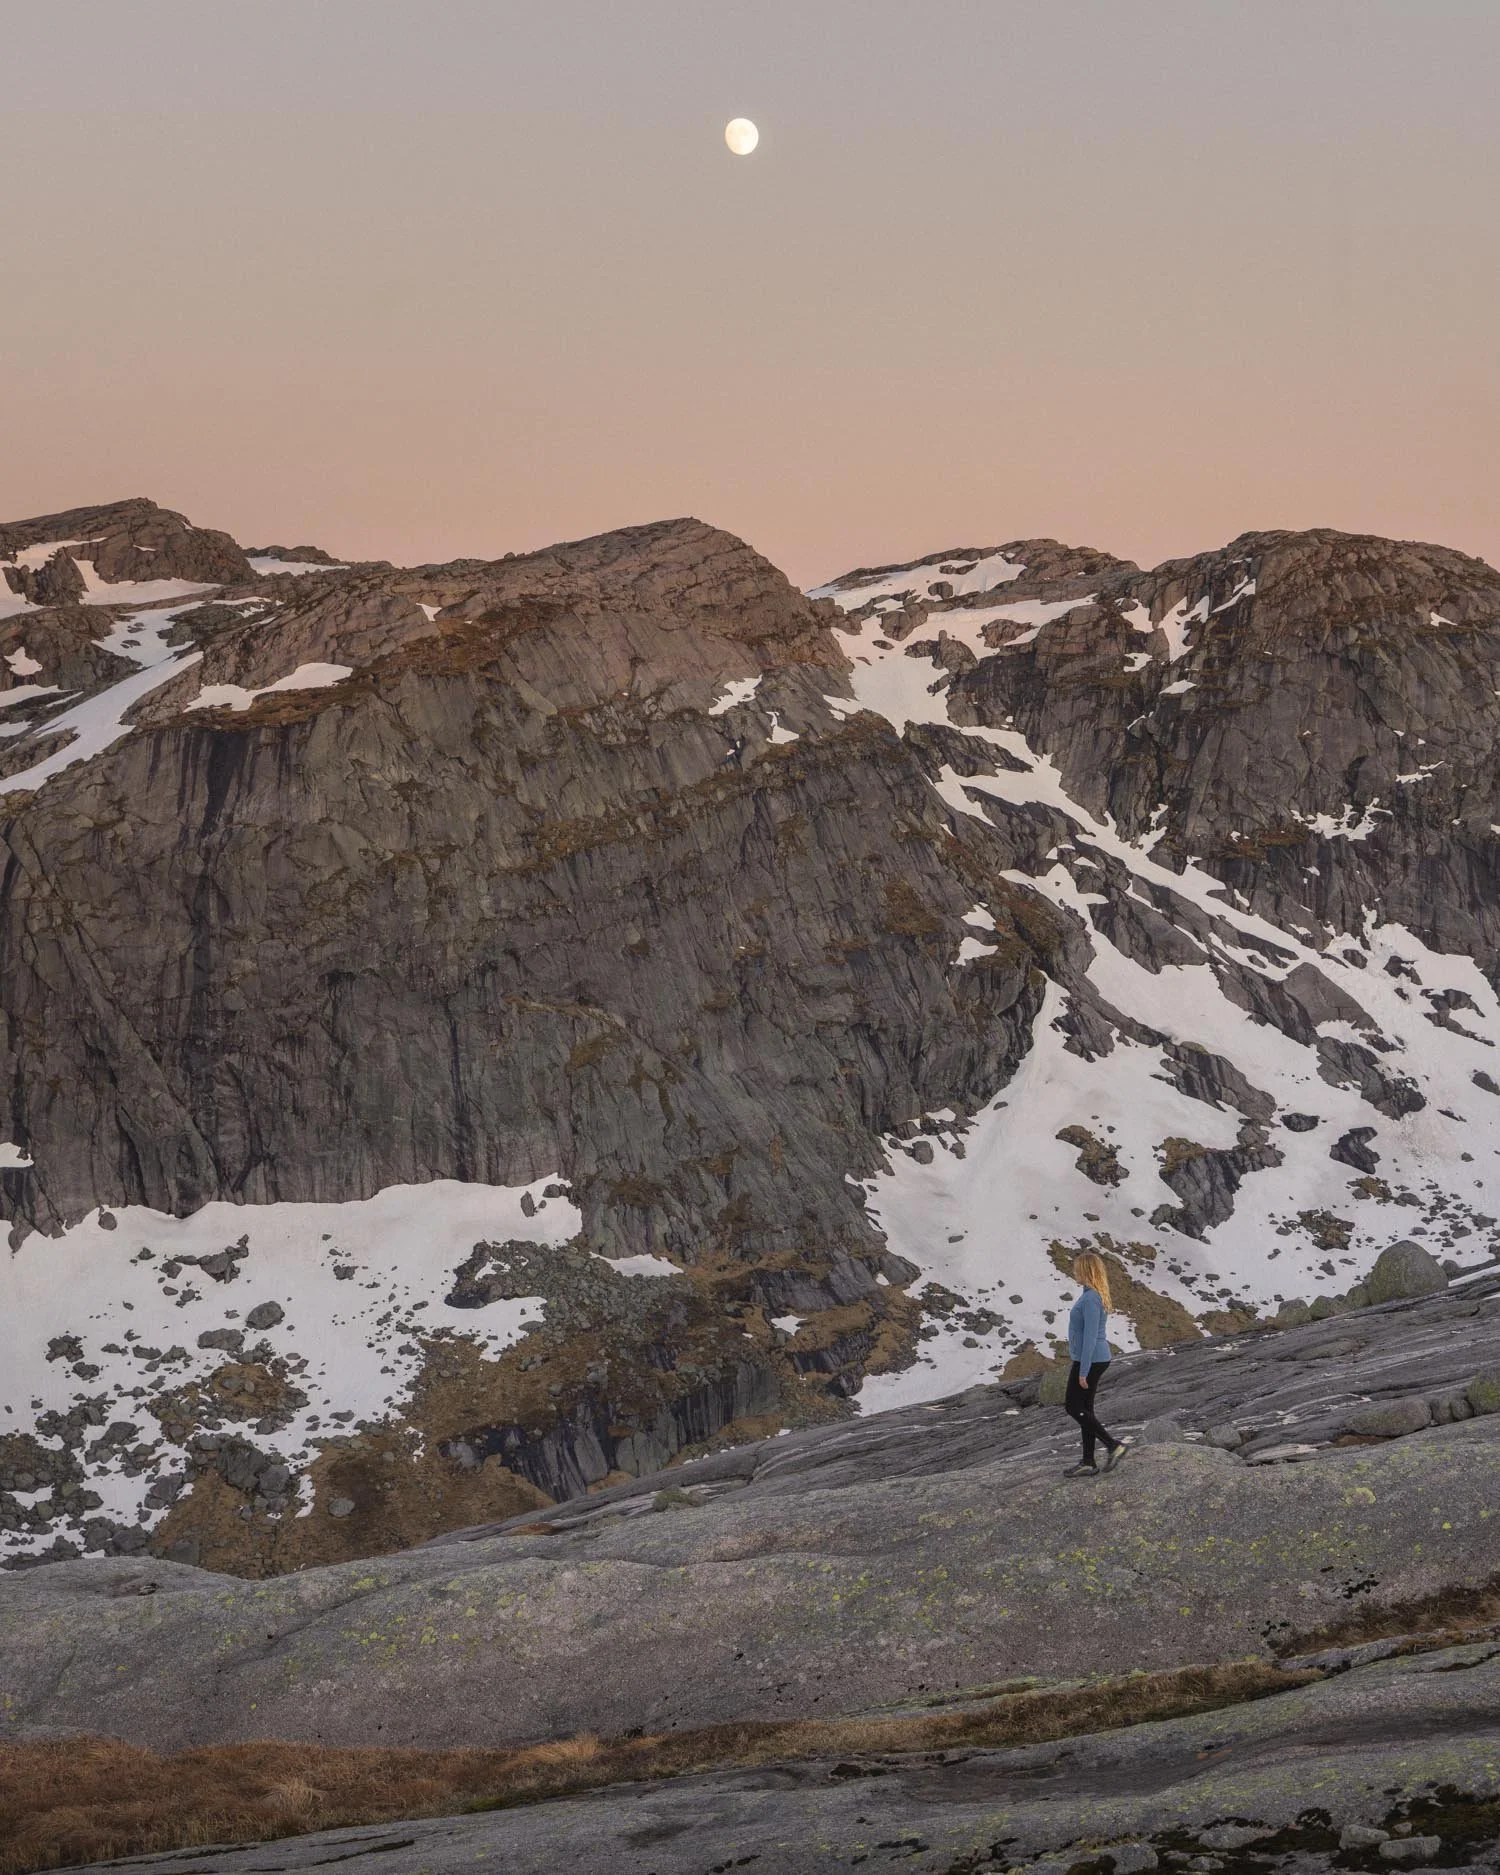
The views are breathtaking with endless mountains and ridgelines. It was especially stunning in the twilight on the way back, though I wouldn’t really recommend only being this far along by twilight!
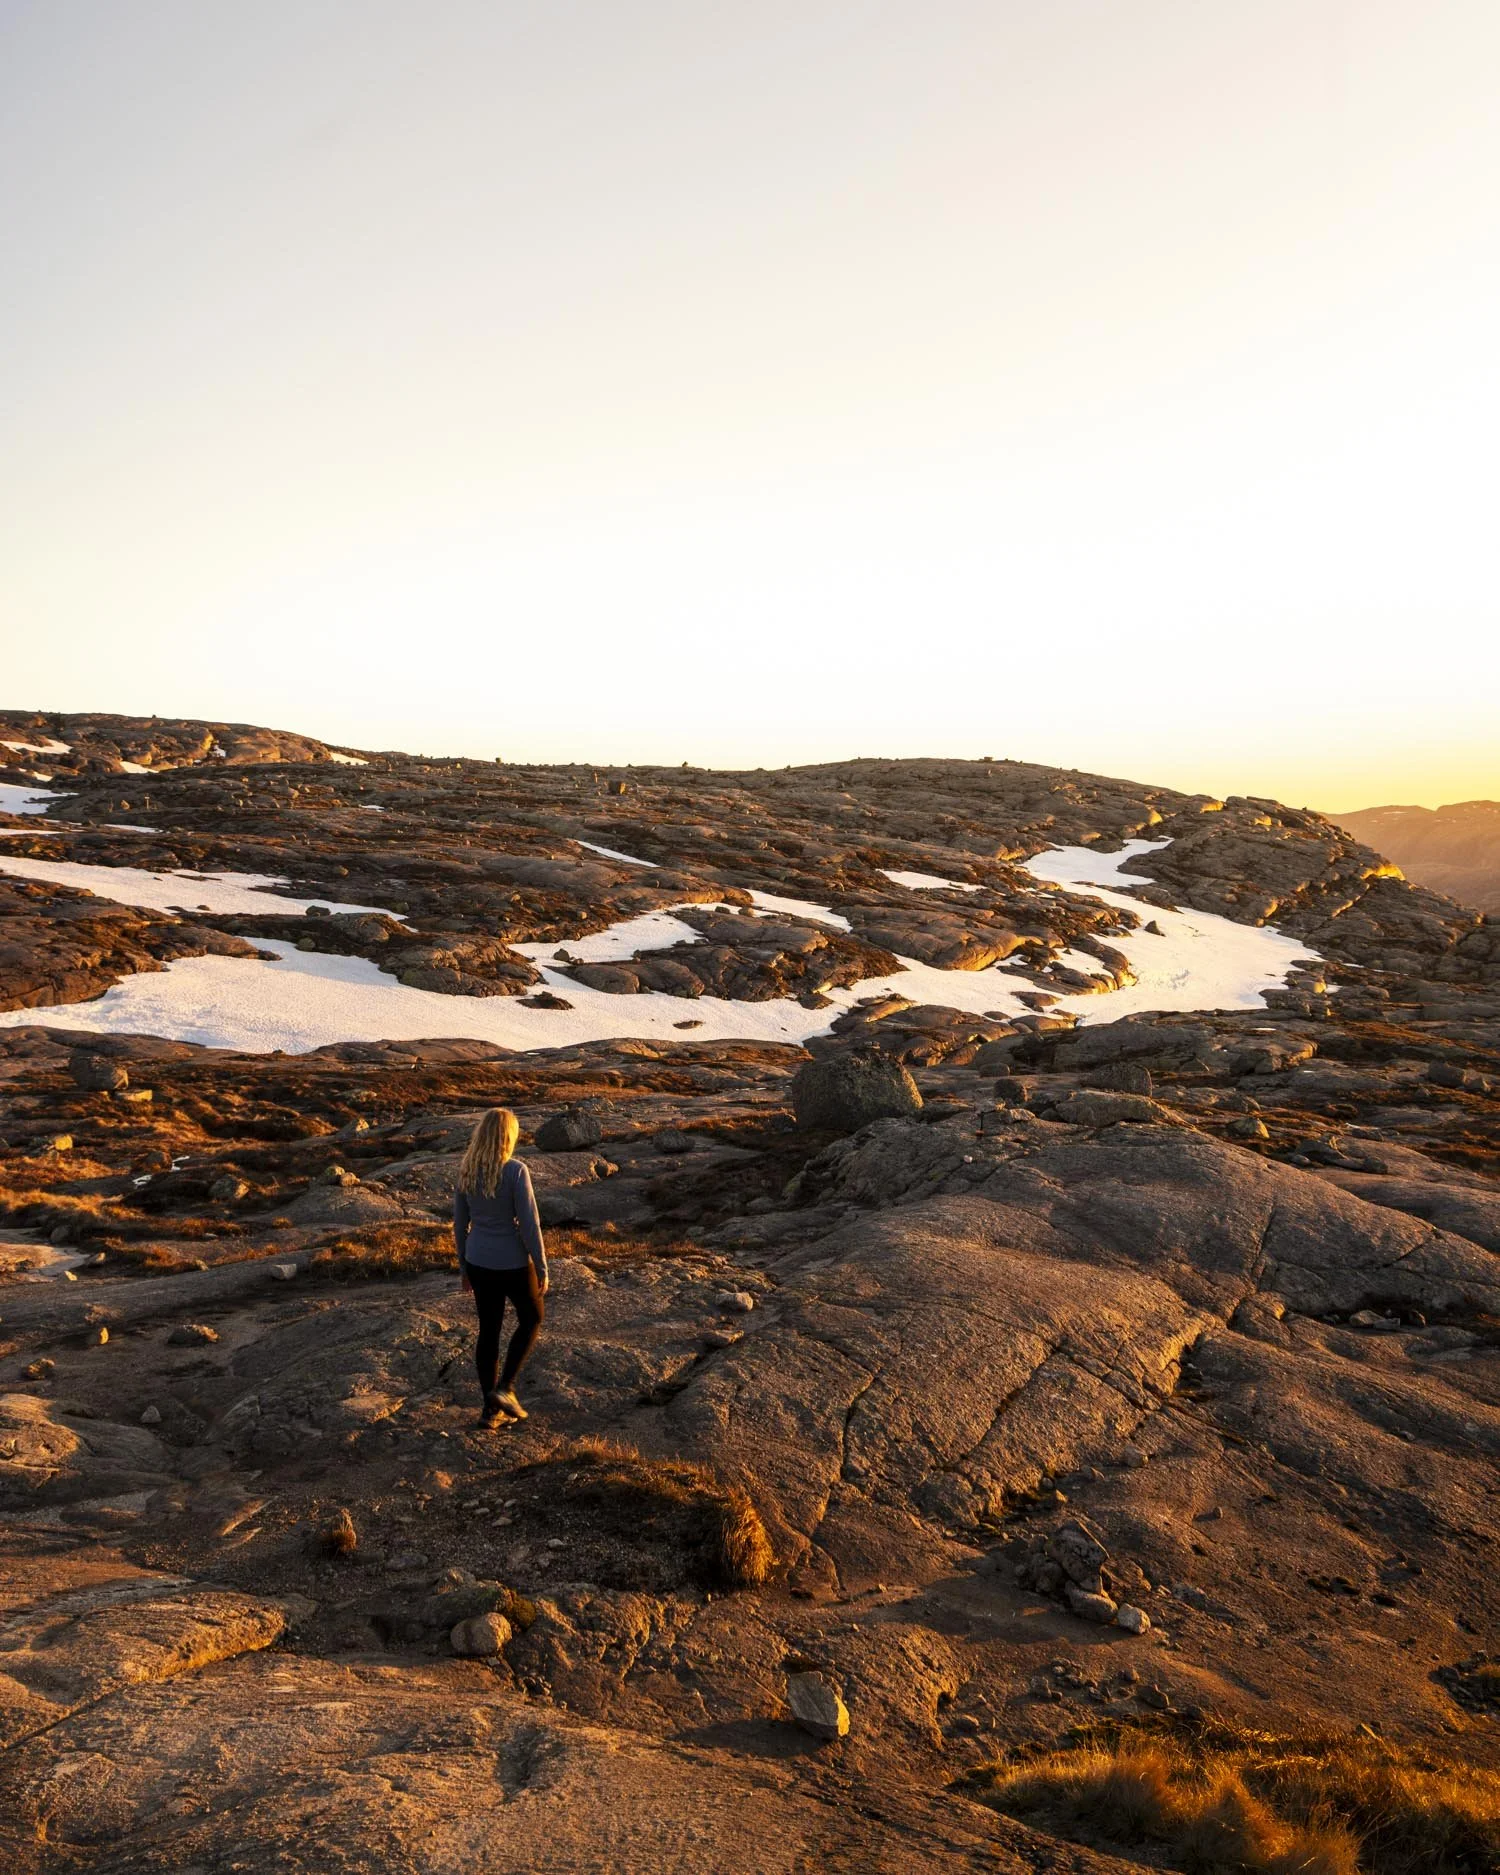
Once you’ve been walking for around 1.2km you will see a signpost saying the Kjerag is just 300m away. This is just before you reach what was, for us, a little snow gully with waterfalls cascading down the walls, but would otherwise probably be unremarkable.
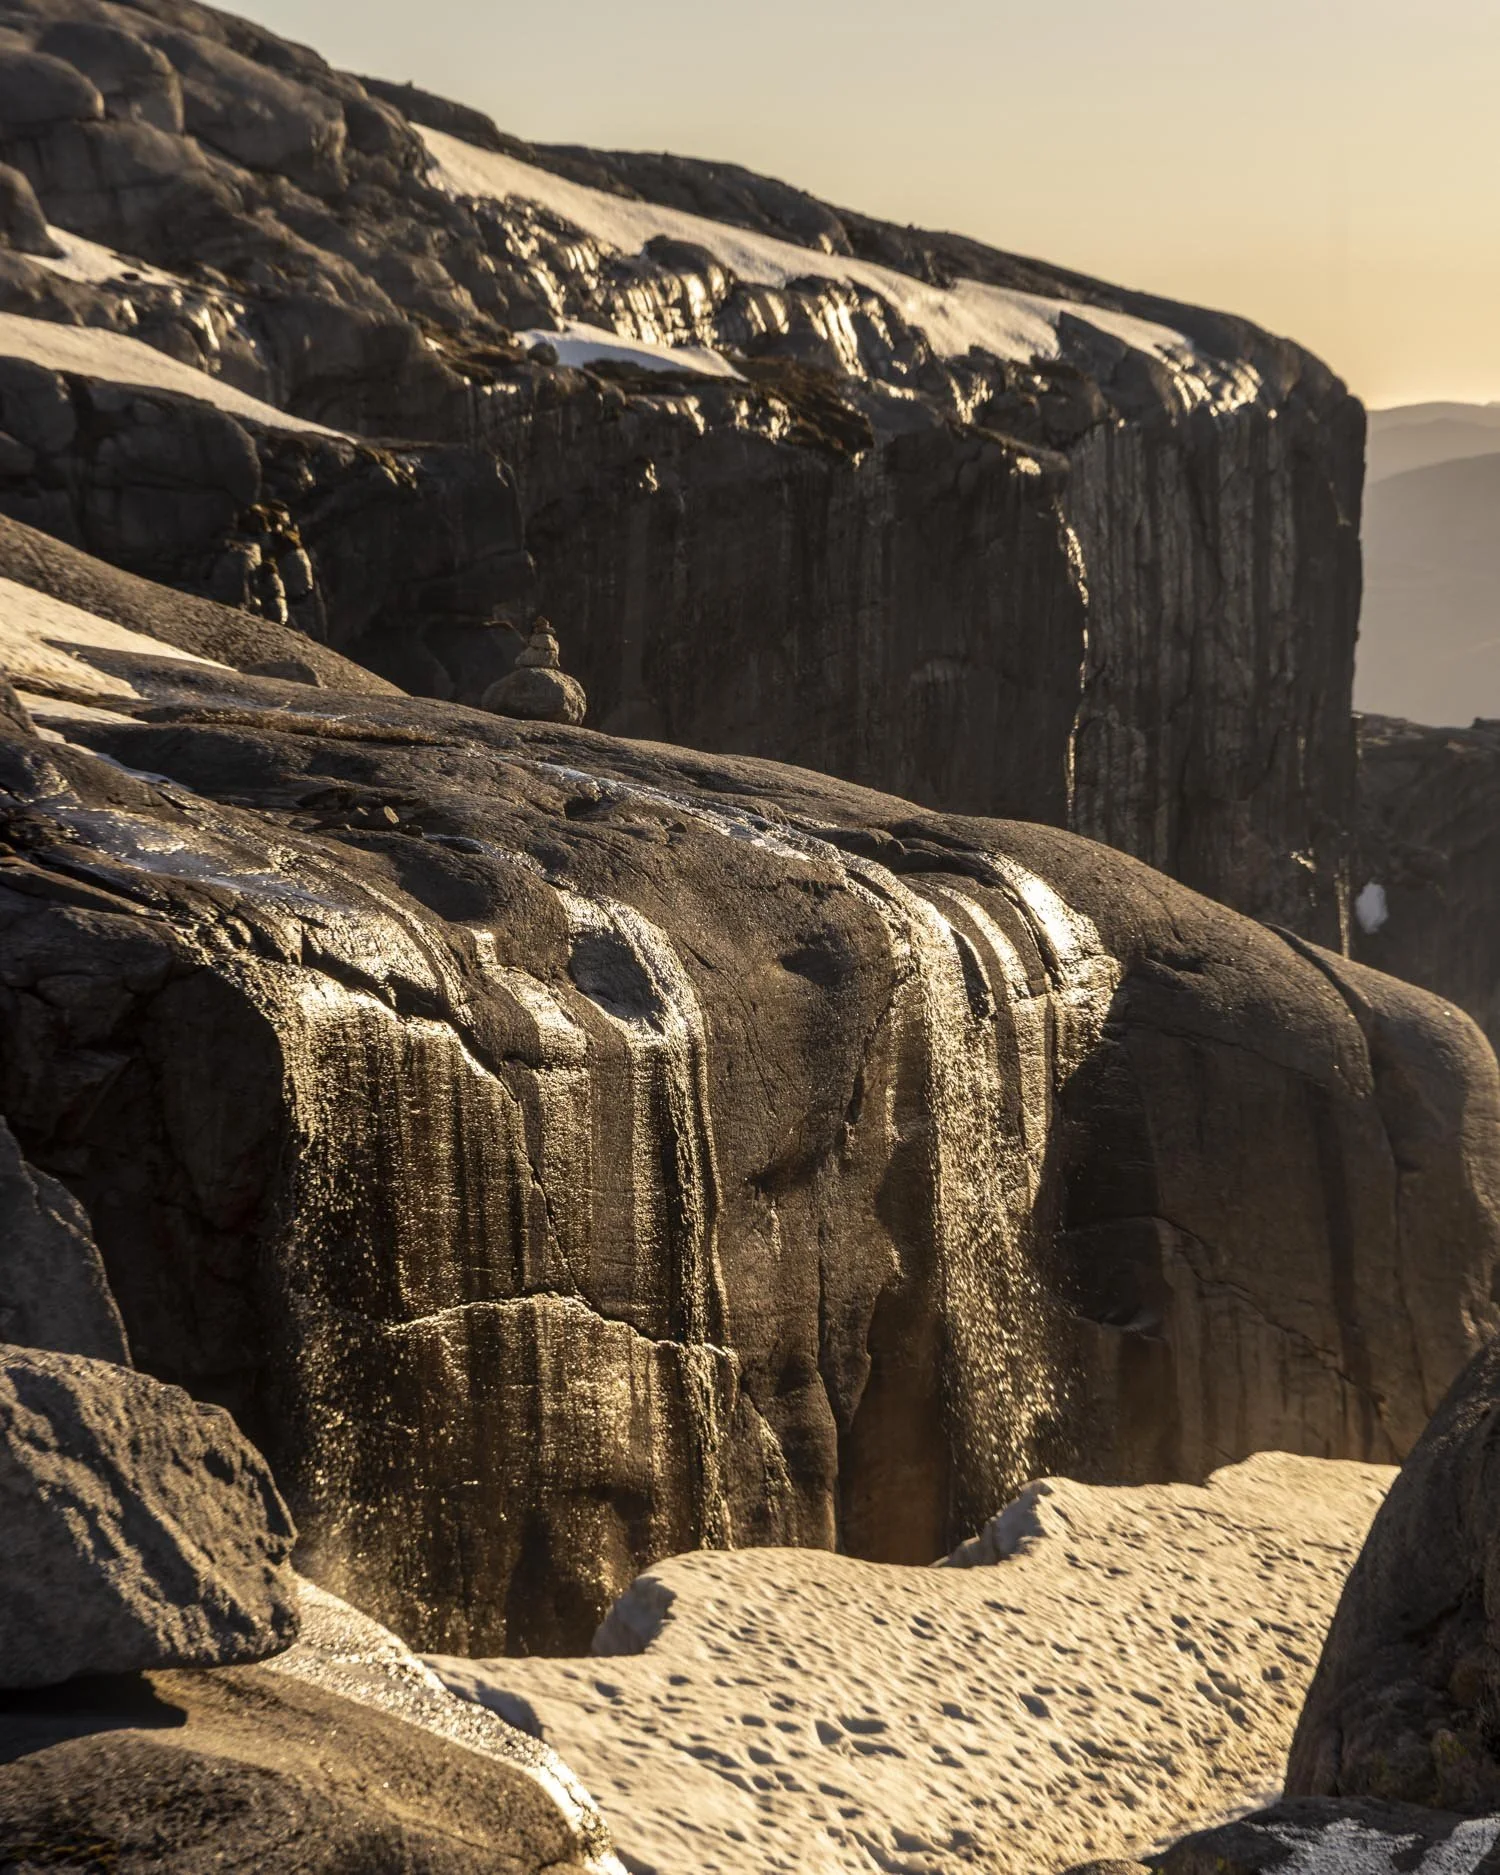
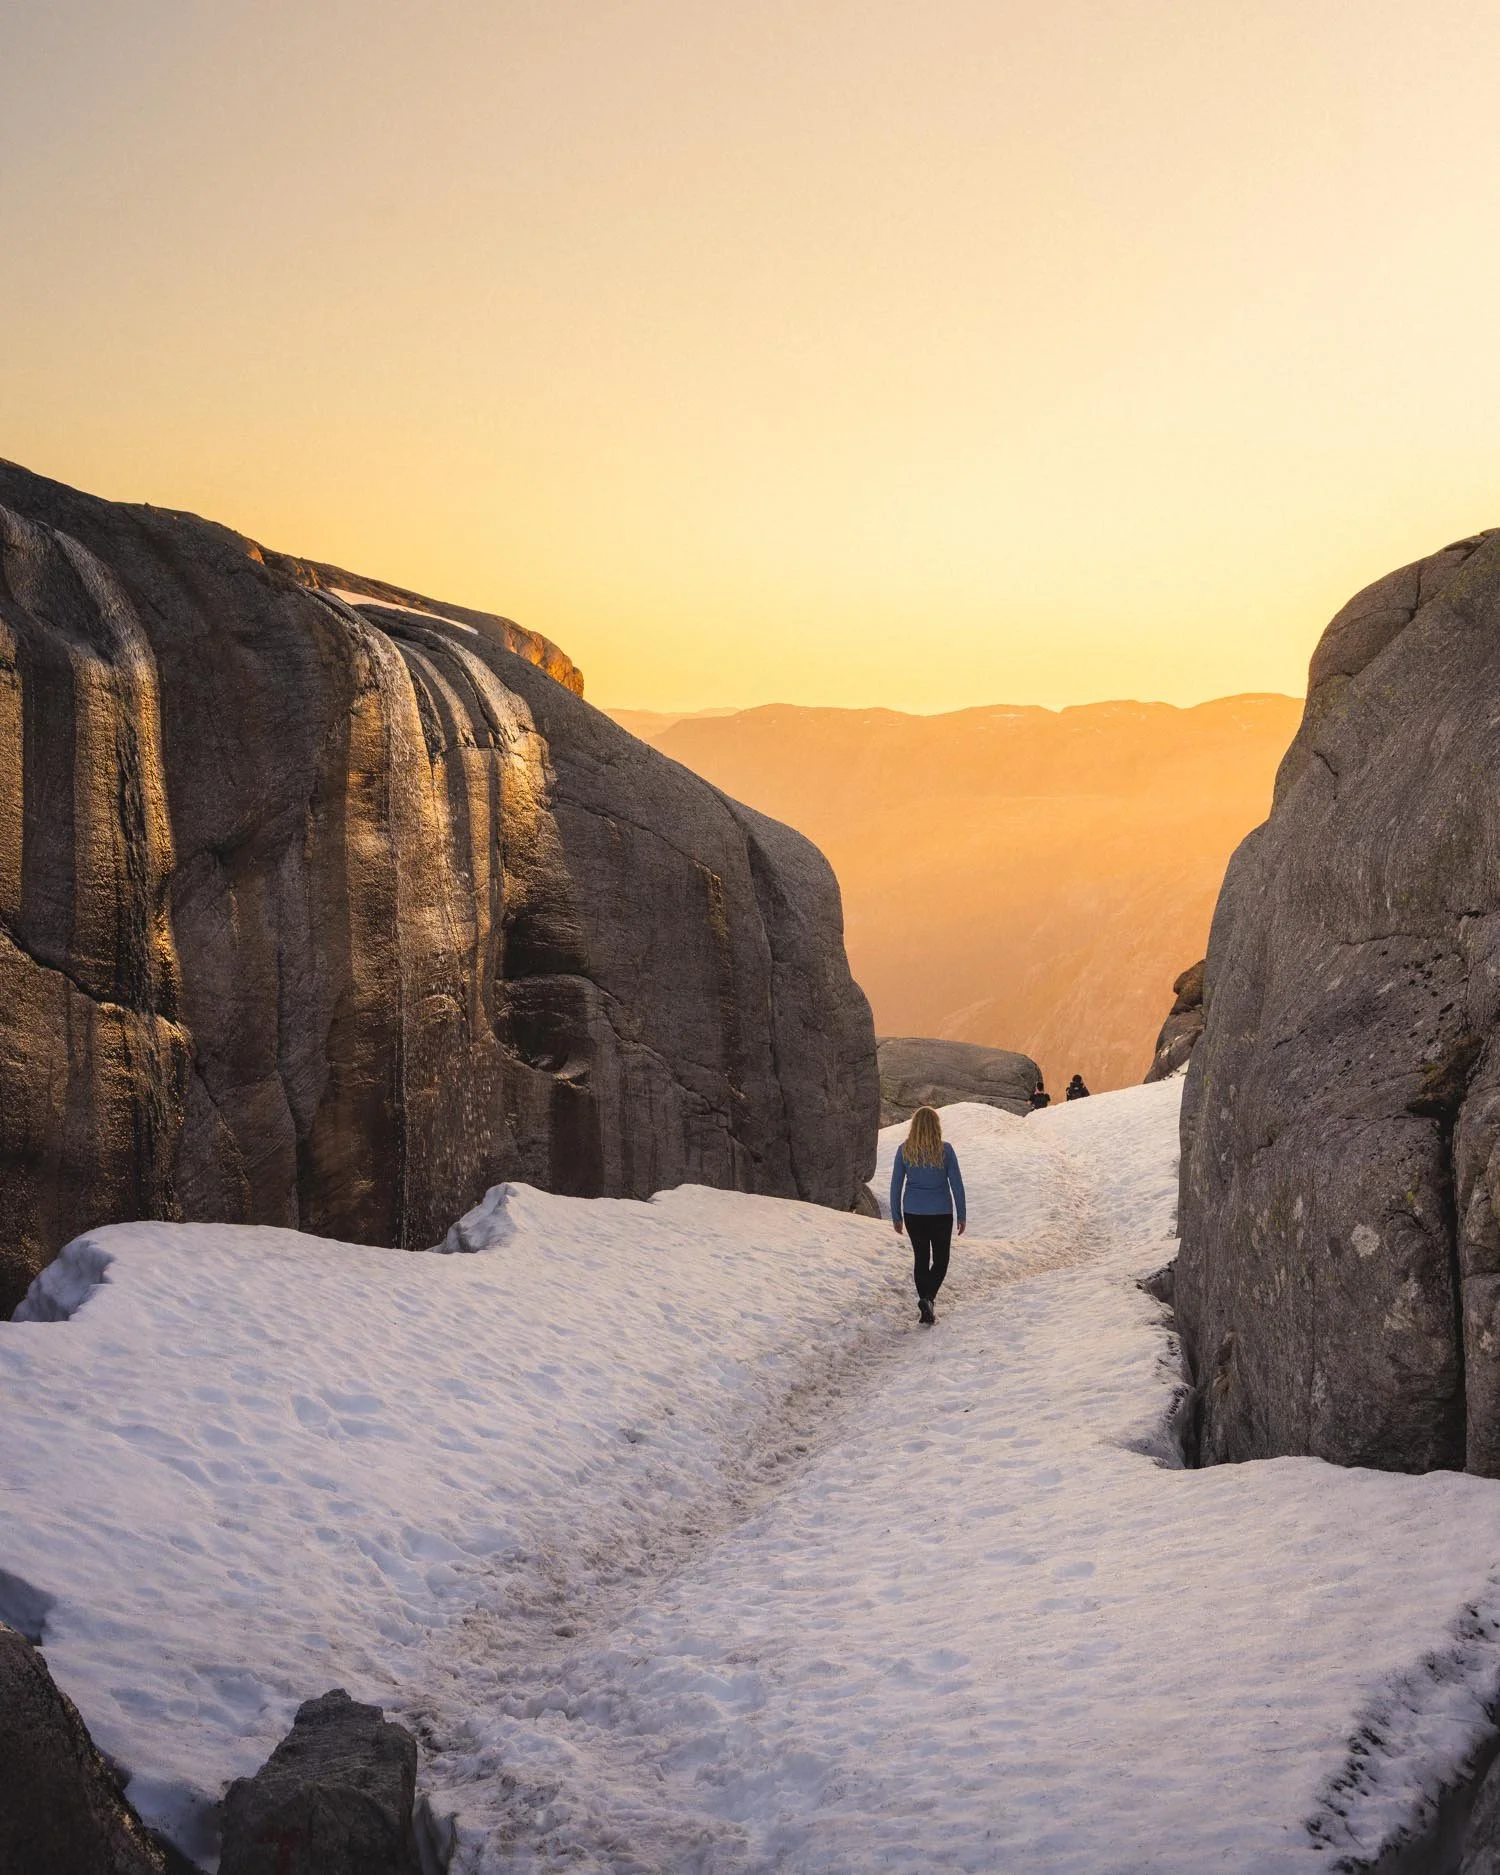
With all the snow and icicles it was the perfect little magical walkway down to the boulder - though if you’re also hiking with the snow you would want to be more careful around the final sloped section leading down to the boulder view as there is nothing to stop a fall.
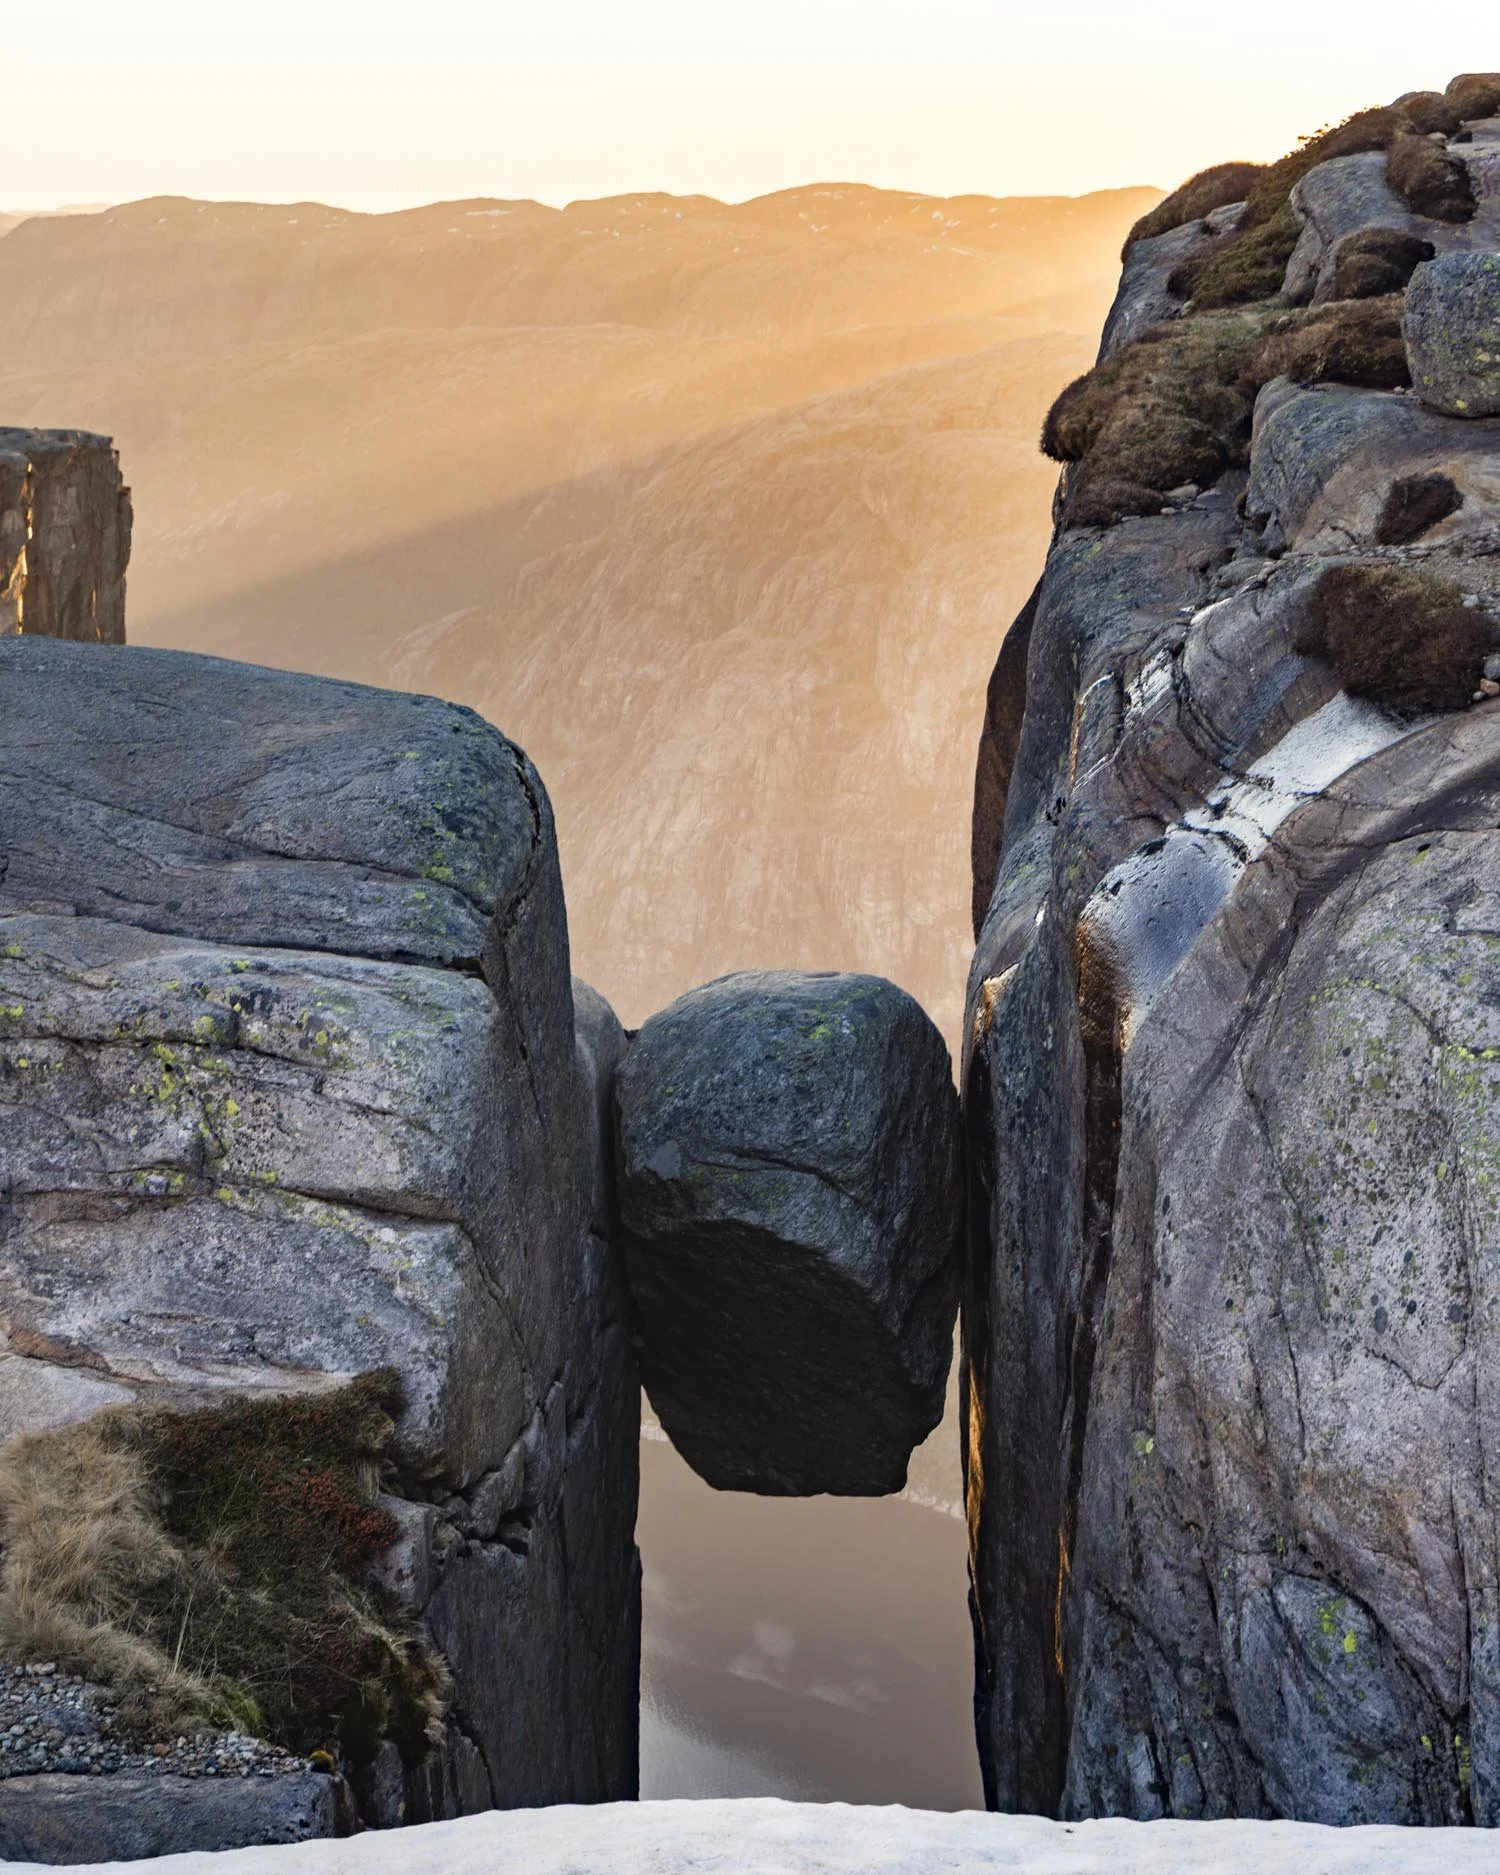
The route to stand on Kjeragbolten
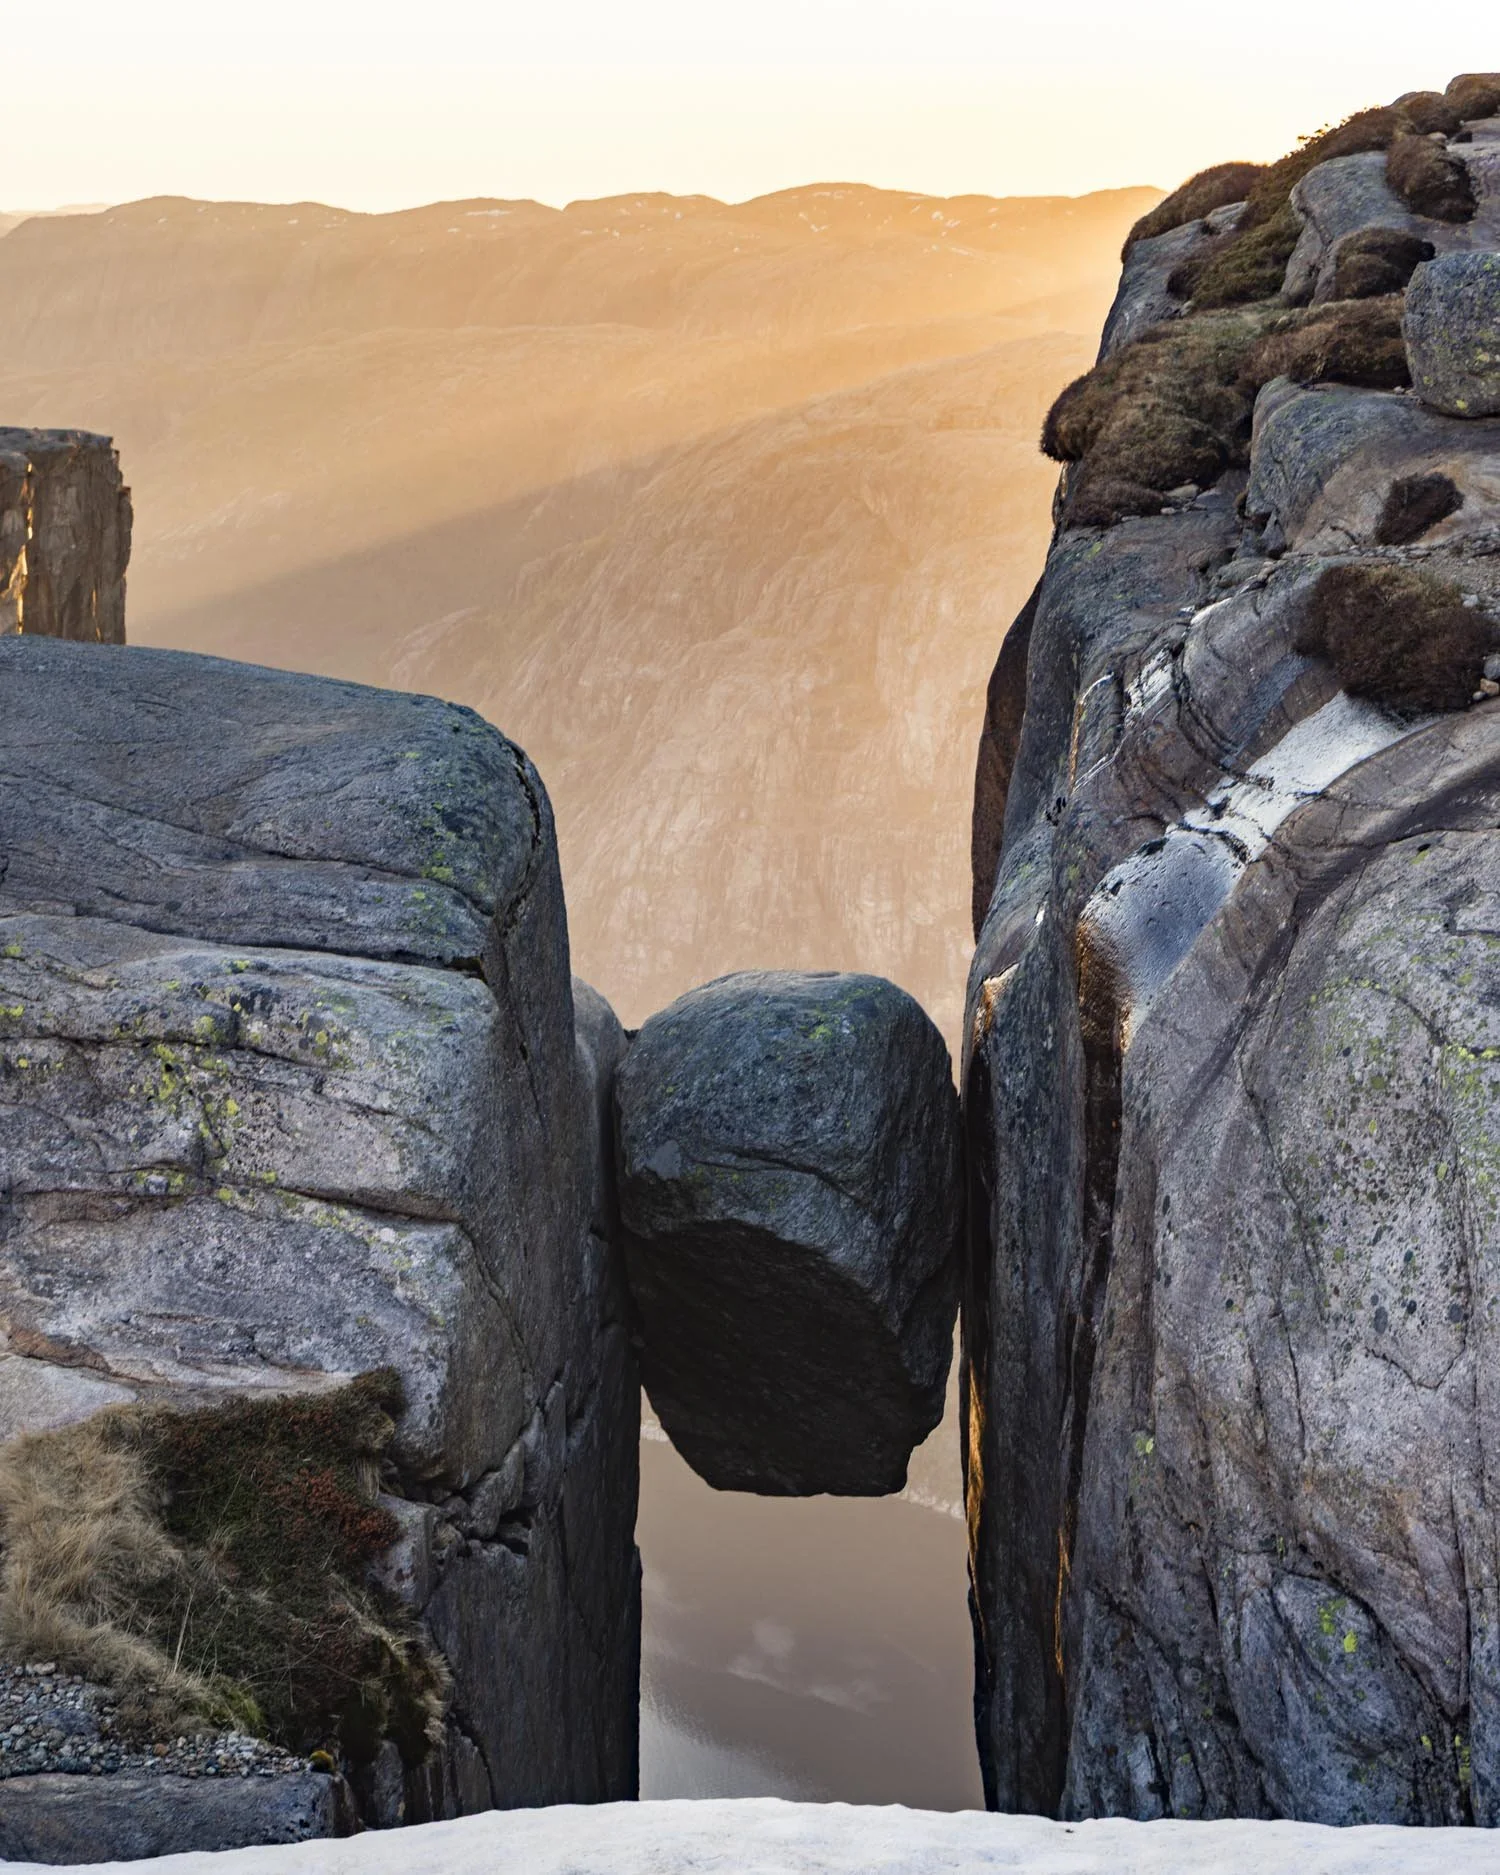
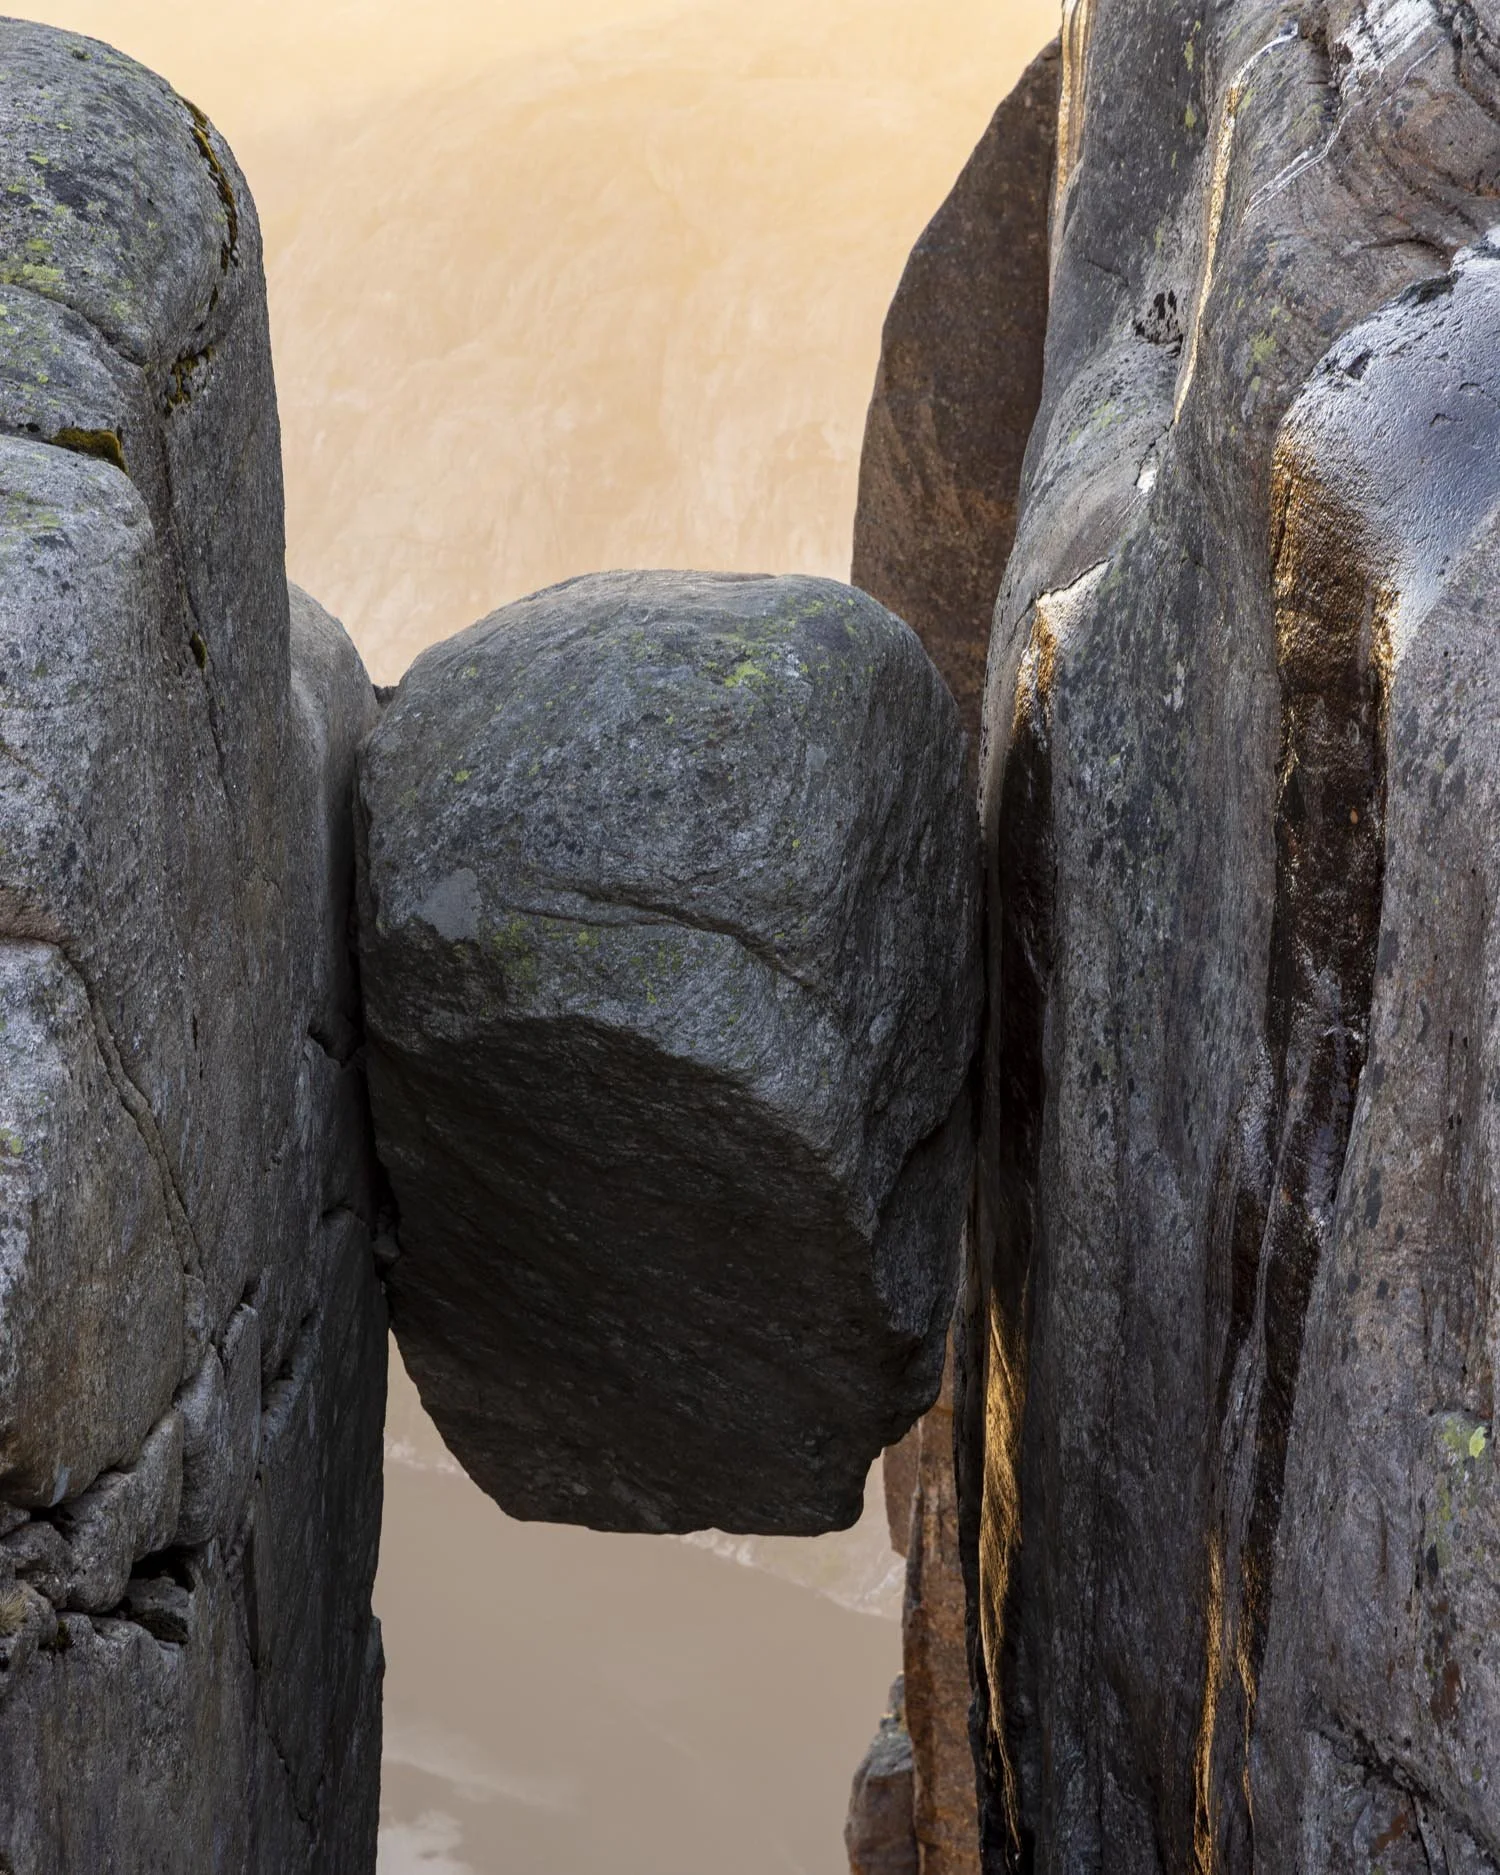
The view of Kjeragbolten as you pass between the rock walls is pretty incredible. It sits wedged between the cliffs with nothing but 700m of air between it and the ice blue fjord below.
To stand on top of it you make your way to the rock platform on the left side and you will see a small sign noting where to queue!
There are three little steps that lead up to the rock beside the boulder and a handle in place to get you onto that rock (not the boulder). All of that bit is easy.
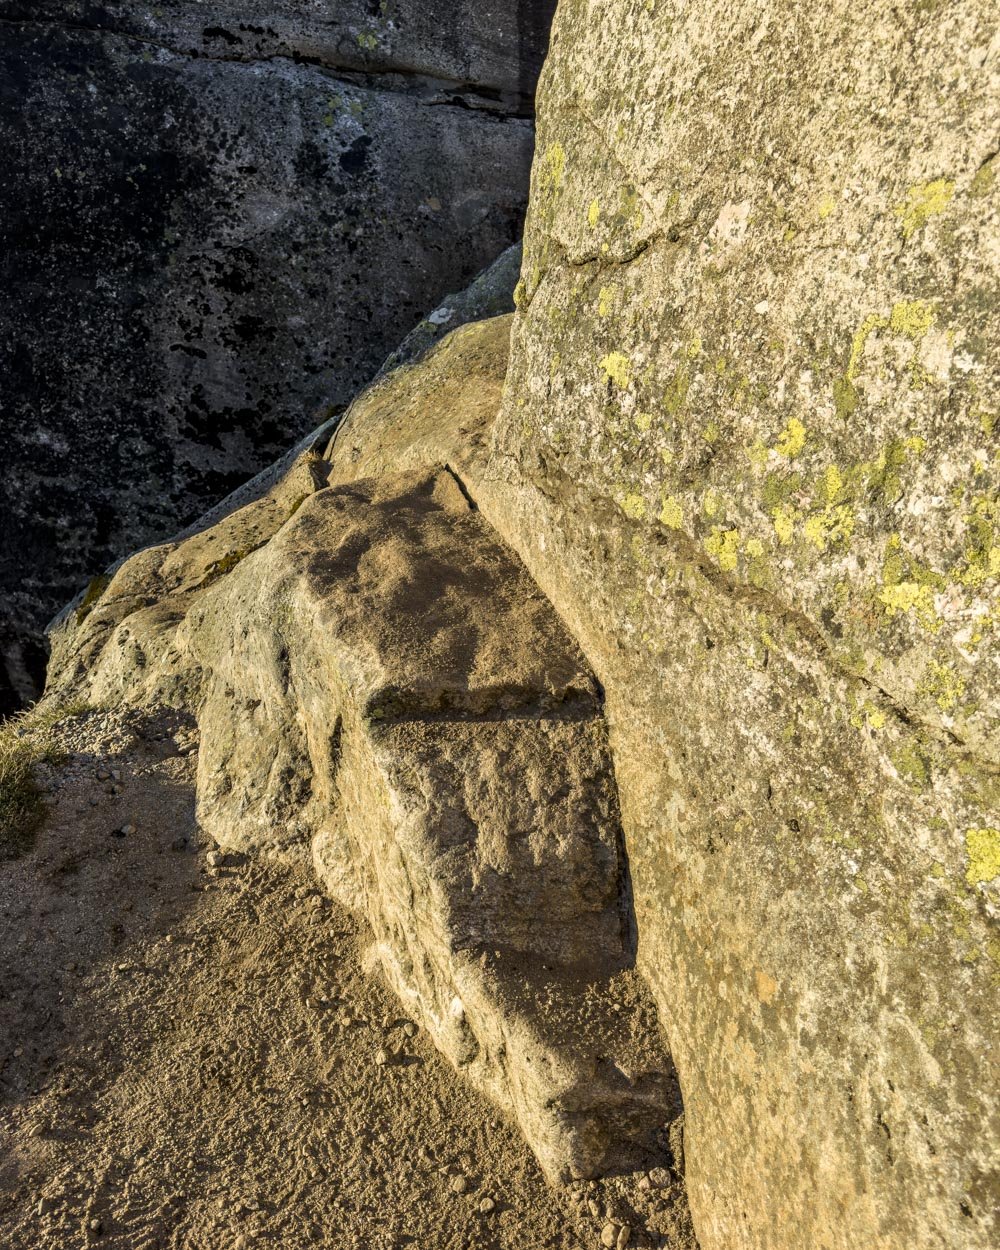
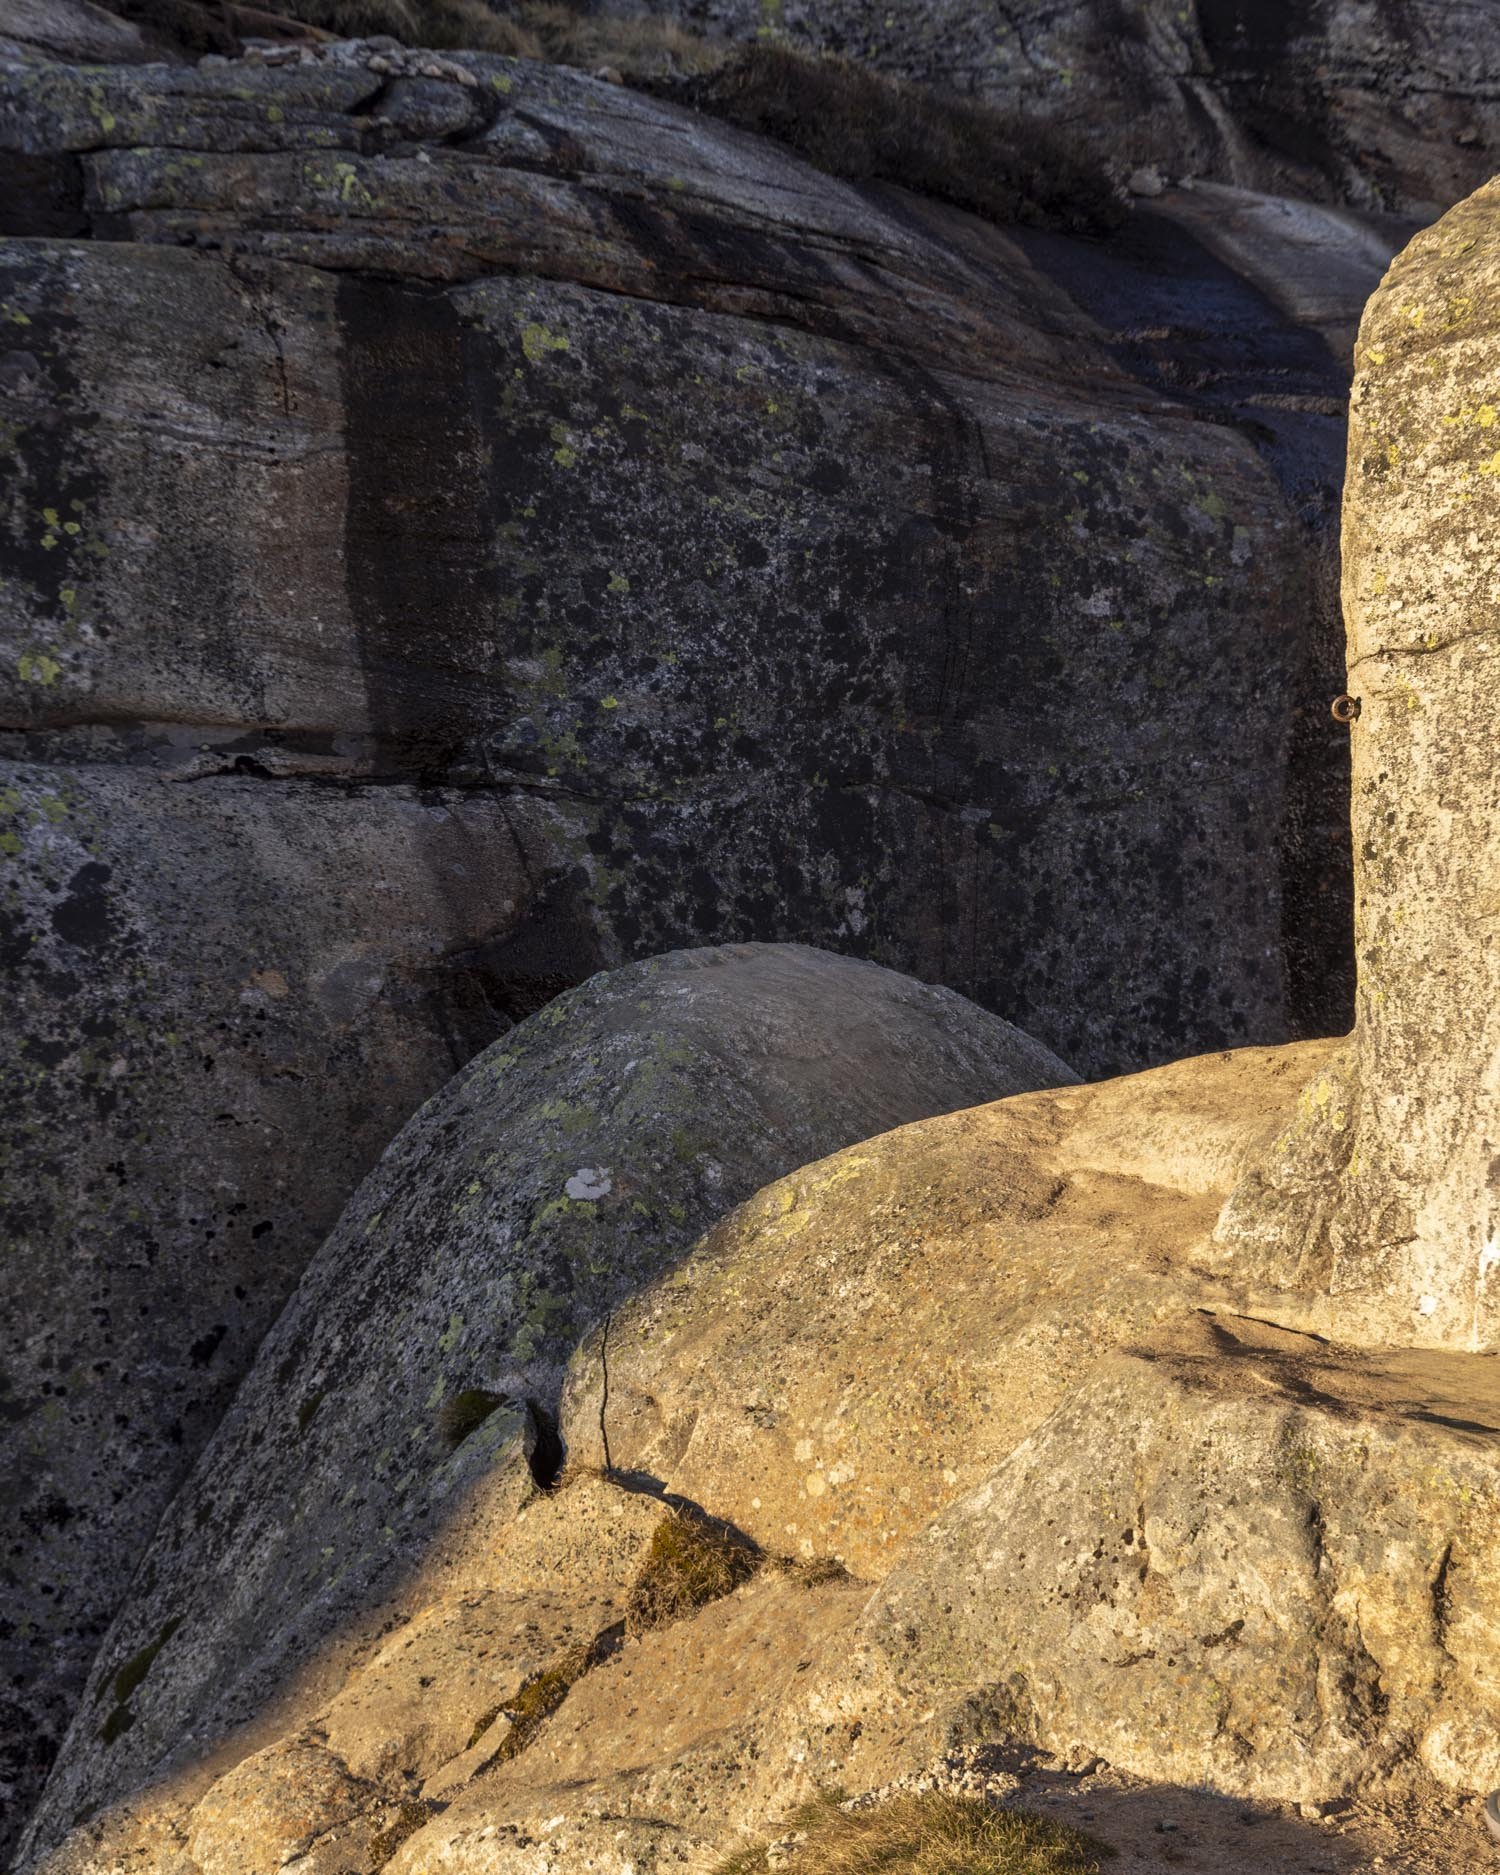
What’s not easy is seeing the all mighty drop down into the fjord and the actual shape of the boulder. I honestly believed I would stand on it no problem, but then I saw how curved it is.
I am pretty good with big drops but that curve made it look way more scary than it had been in my head.
If it were flat, it would still be narrow, but much less so. I now realise just how incredible all those videos of people jumping are because one wrong move and it would be so easy to slide right off.
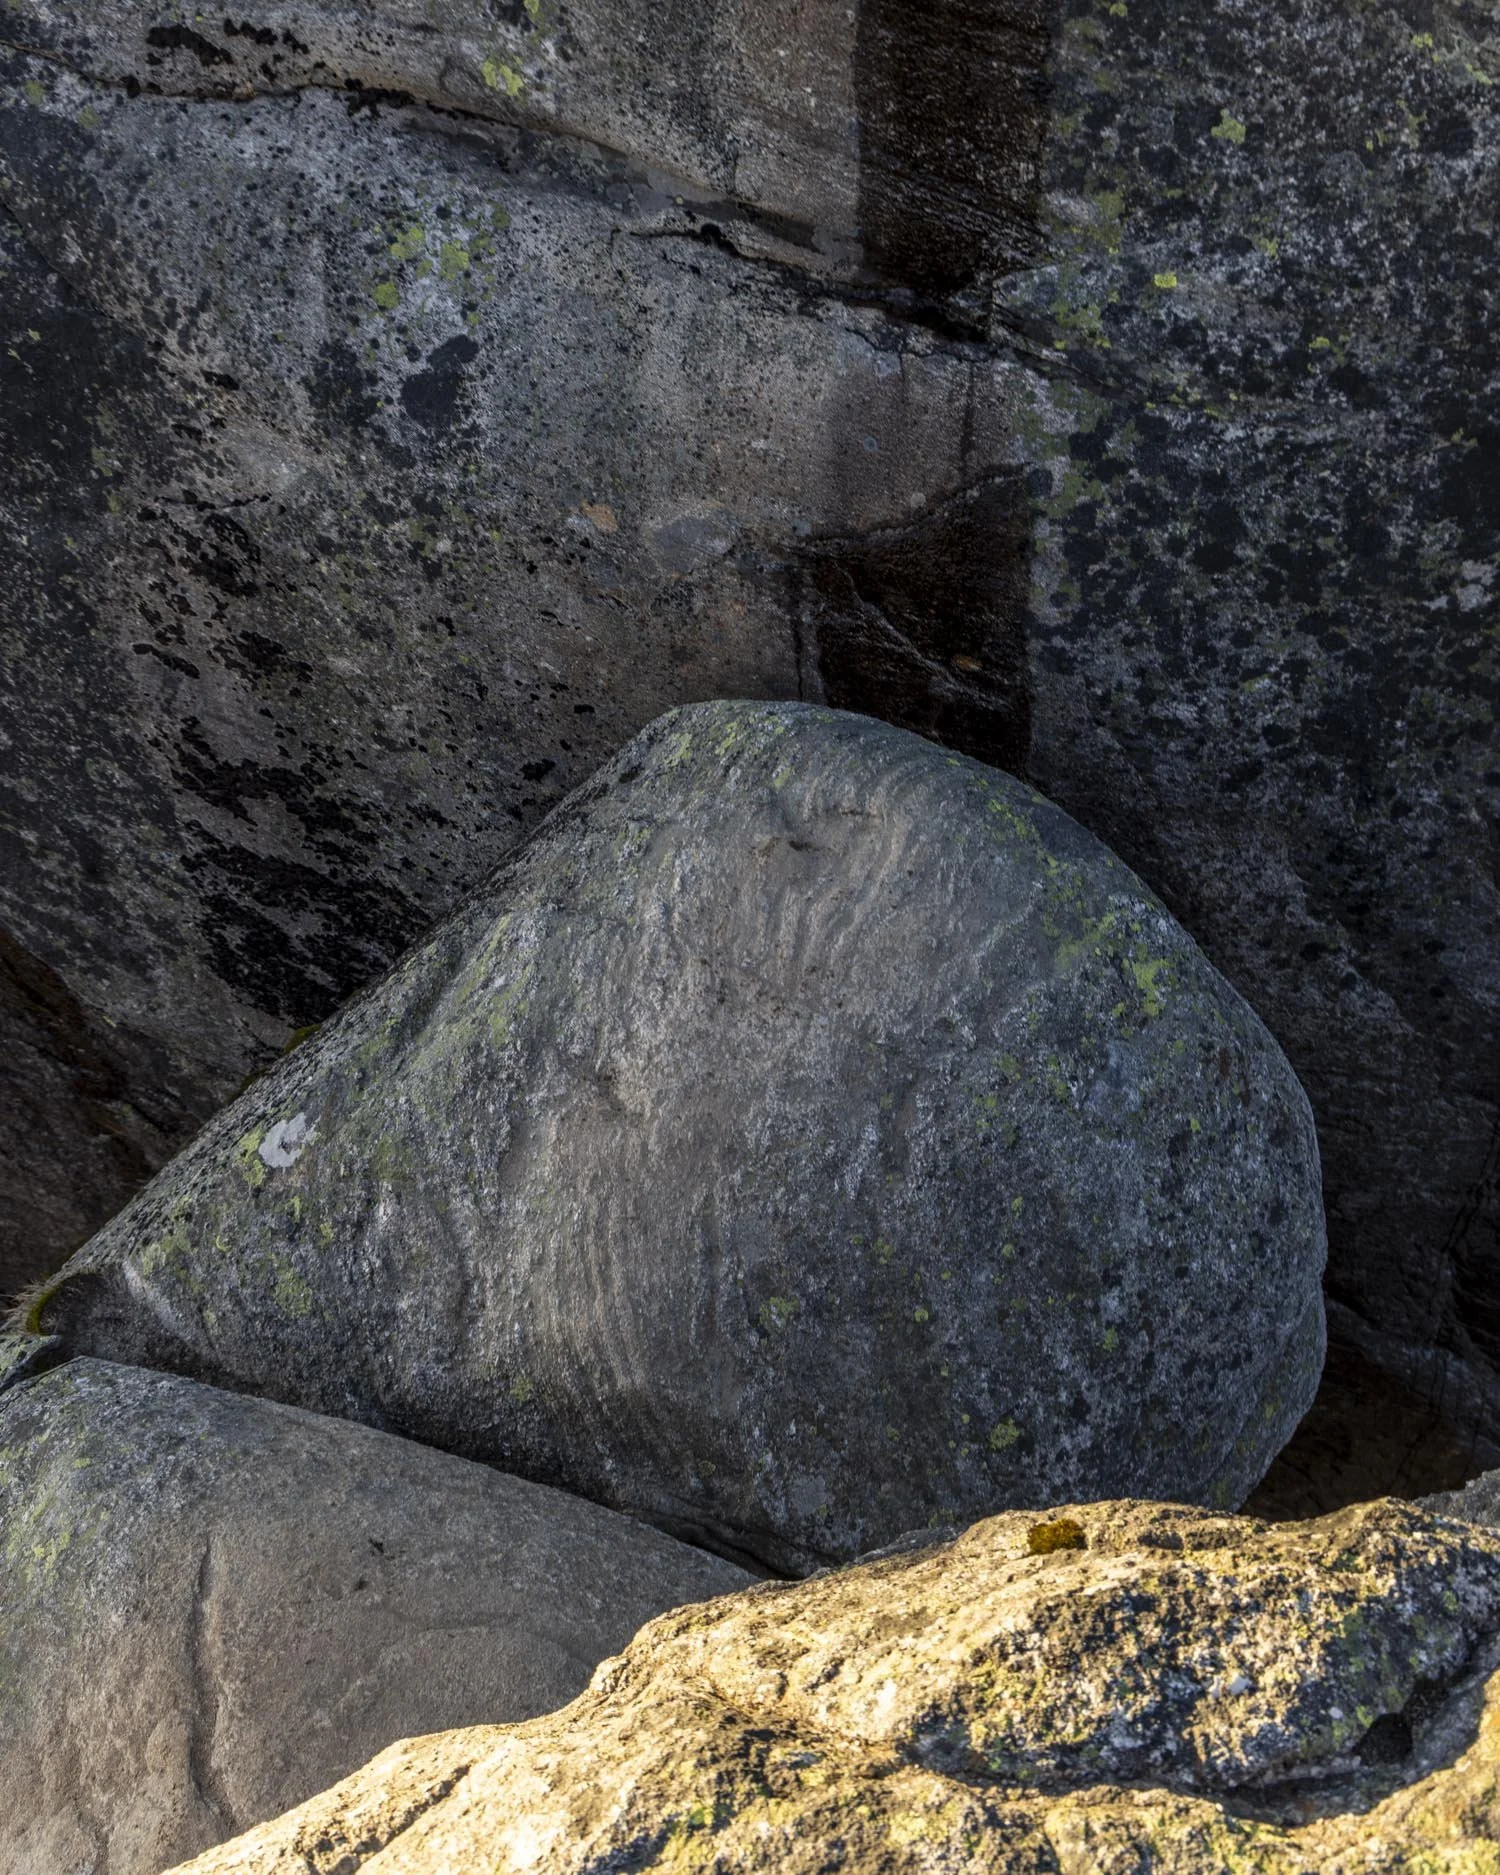
Having said that, to my knowledge, no one ever has. As soon as I was standing next to the boulder I knew I wasn’t going to stand on it, I’m a bit Bambi like at the best of times so there was no way I would dare.
I was a bit gutted but a few people on the way in had told me they didn’t stand on it either so I felt a bit better!
Not to put anyone off as hundreds of people stand on it everyday in season, but just to say if you decide not to, you aren’t alone!
Kjeragfossen and the ‘fire falls’
The unexpected highlight of the whole hike for me was the waterfall I never even knew existed and I guess much of the year it doesn’t! But when the snow melts it must be one of the most spectacular waterfalls in all of Norway.
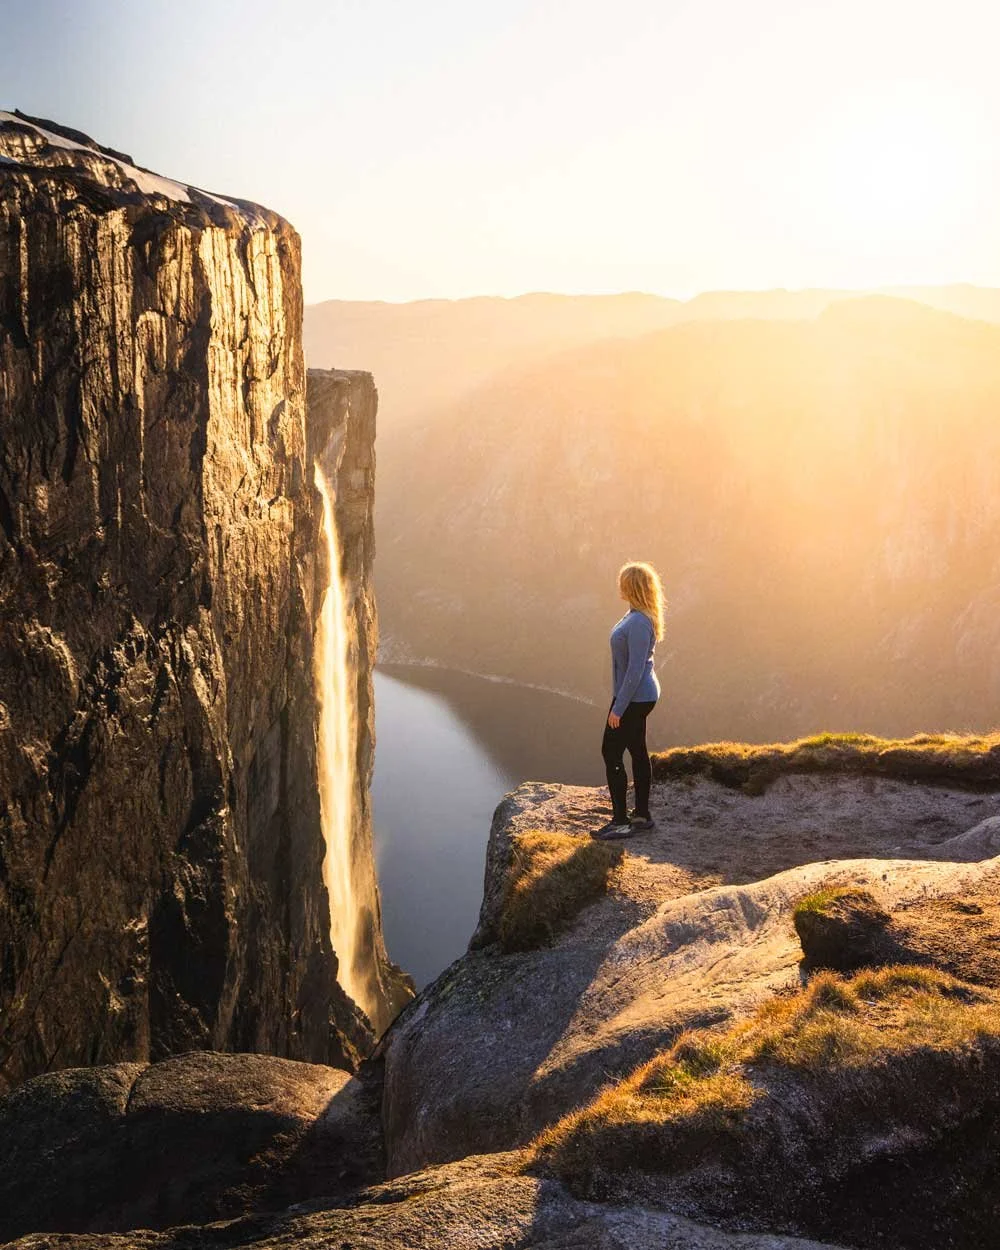
It tumbles for over 700m into the breathtaking Lysefjord making the view even more special, because even without the waterfall this is a glorious view.
The cliff walls are impossibly tall and it feels so wild and remote - well if you’re here alone, I imagine if there are crowds it might feel a little less wild!
When we first arrived the waterfall had a golden tint but as the sun continued to set it turned into a torrent of fire. It was truly awe inspiring and did make hiking back in the dark worth it as it’s a sight I will never forget.
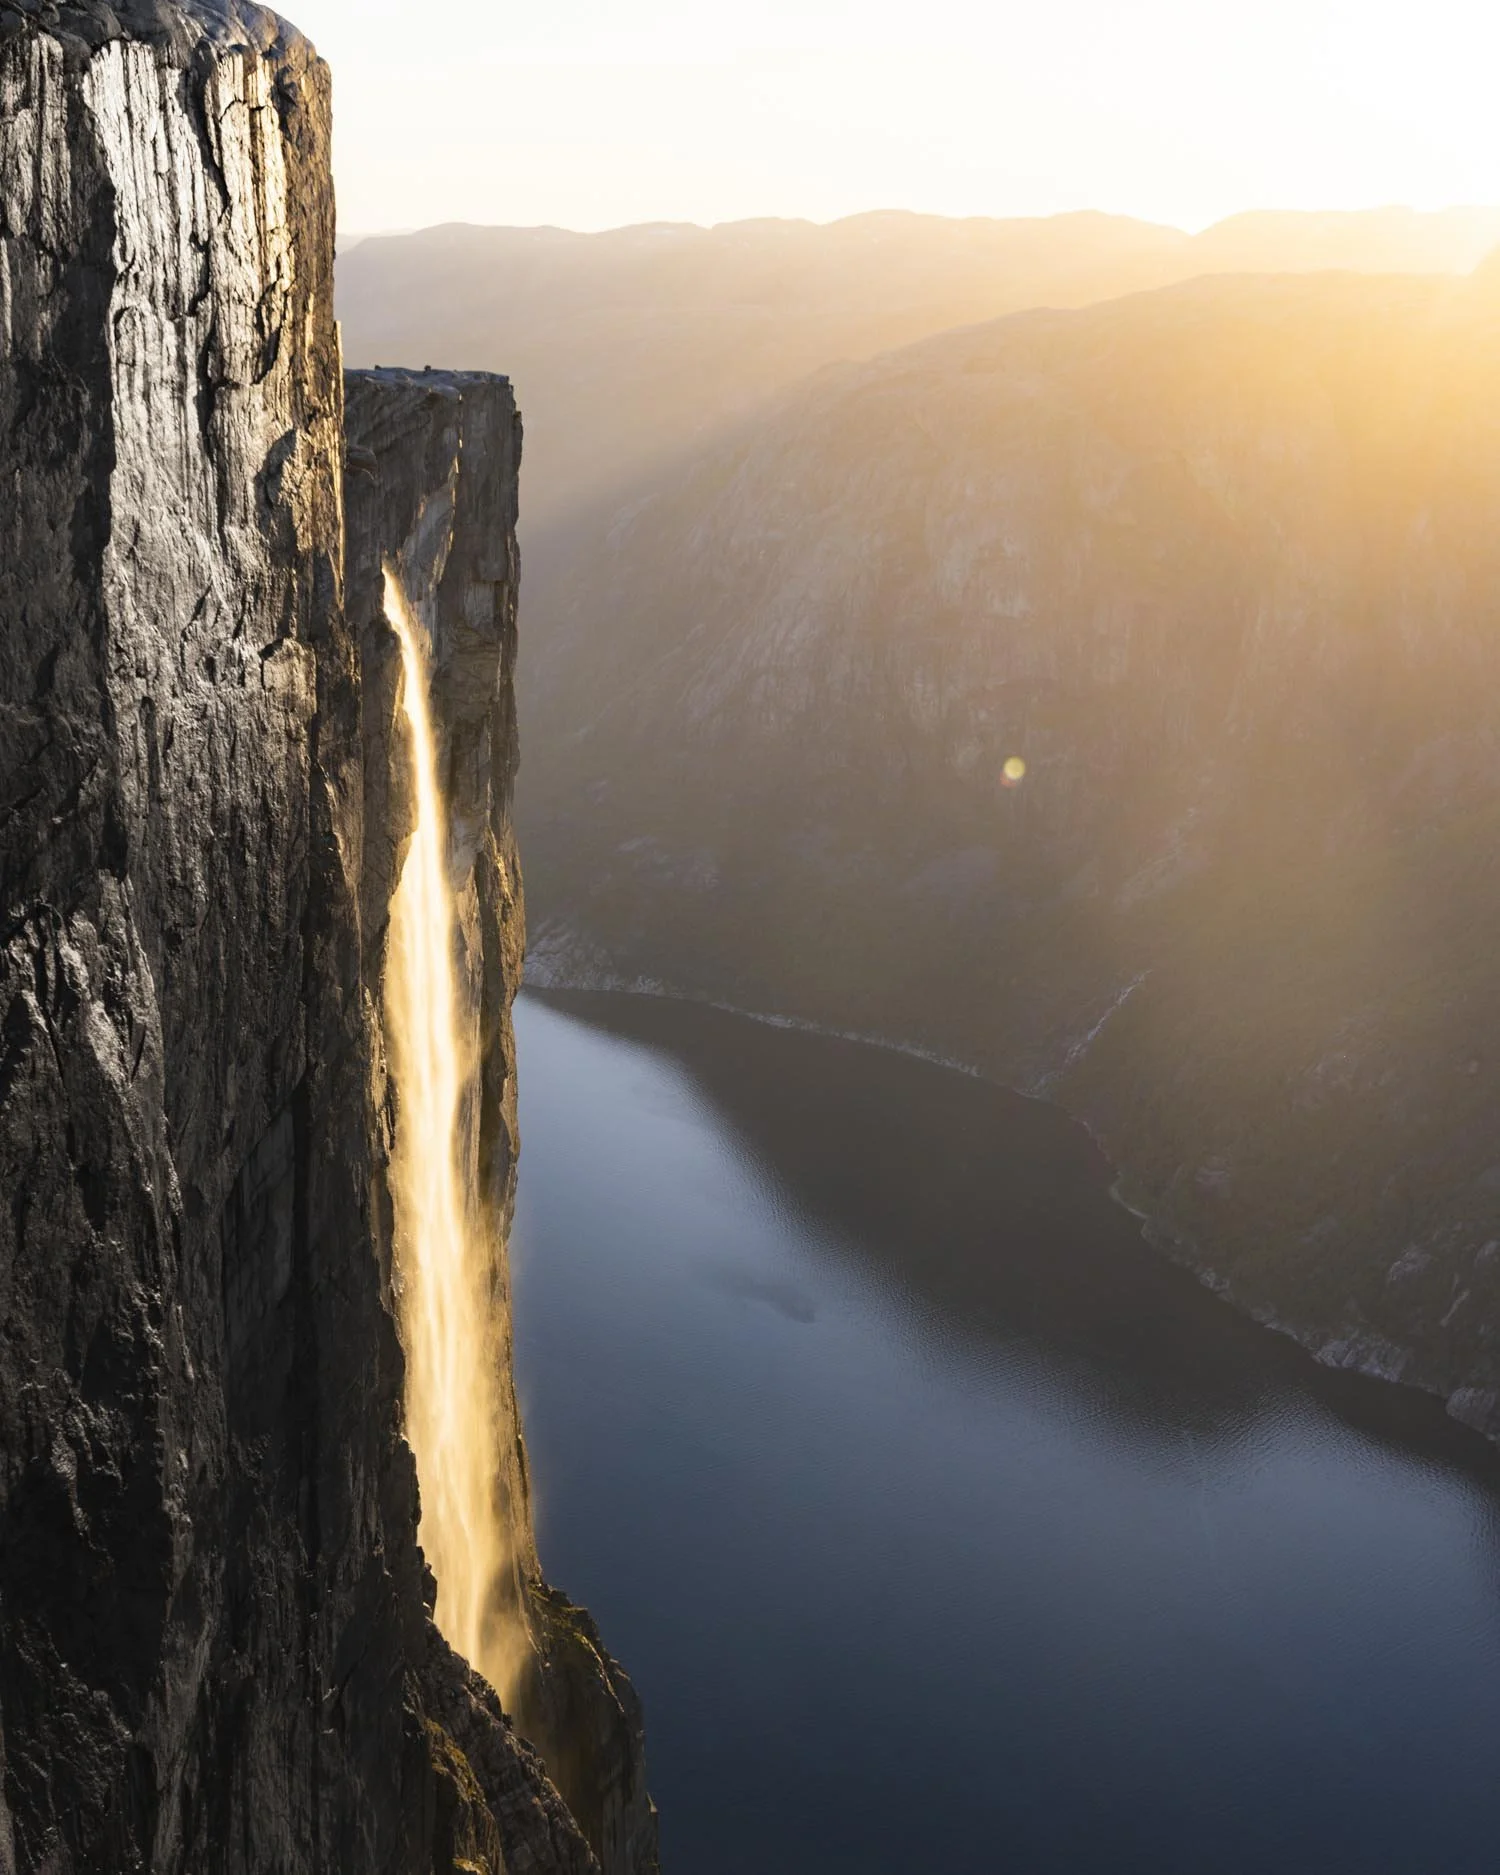
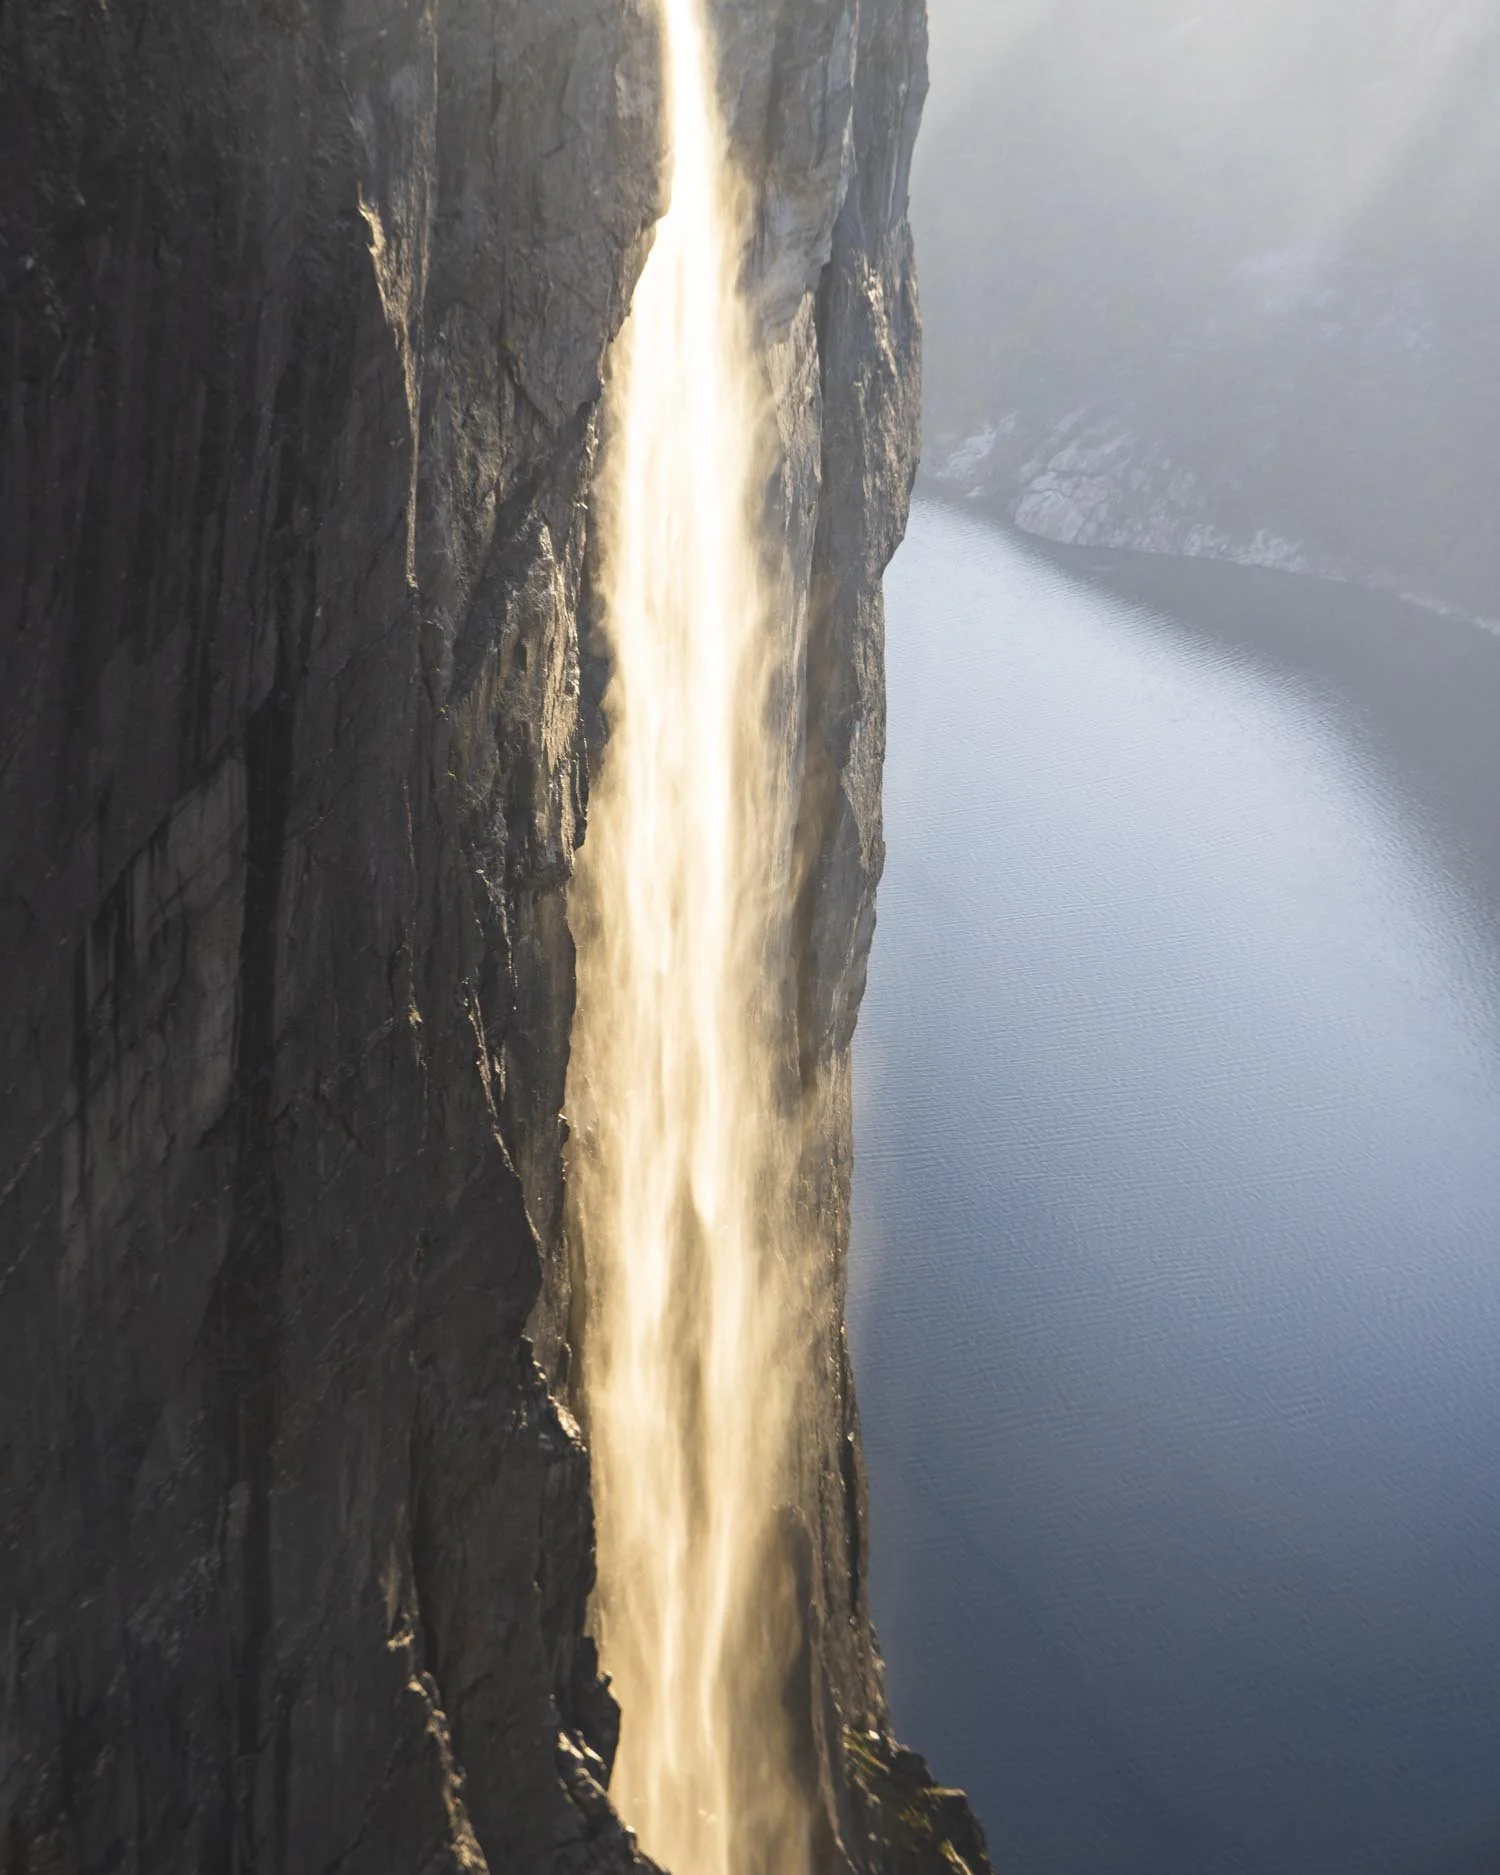
The rock platform beside the boulder and in front of the waterfall is large and flat so there is loads of room to sit and take in the majesty before you begin the hike back.
The hike back
One thing to remember about the hike back when planning how much time you think you’ll need is that you still have hills to climb! They are less substantial than the way there, but still require a bit of energy.
Otherwise how you find it will depend on how you feel about the chains. I found the chains easier going up than down, but a lot of people will likely think the opposite!
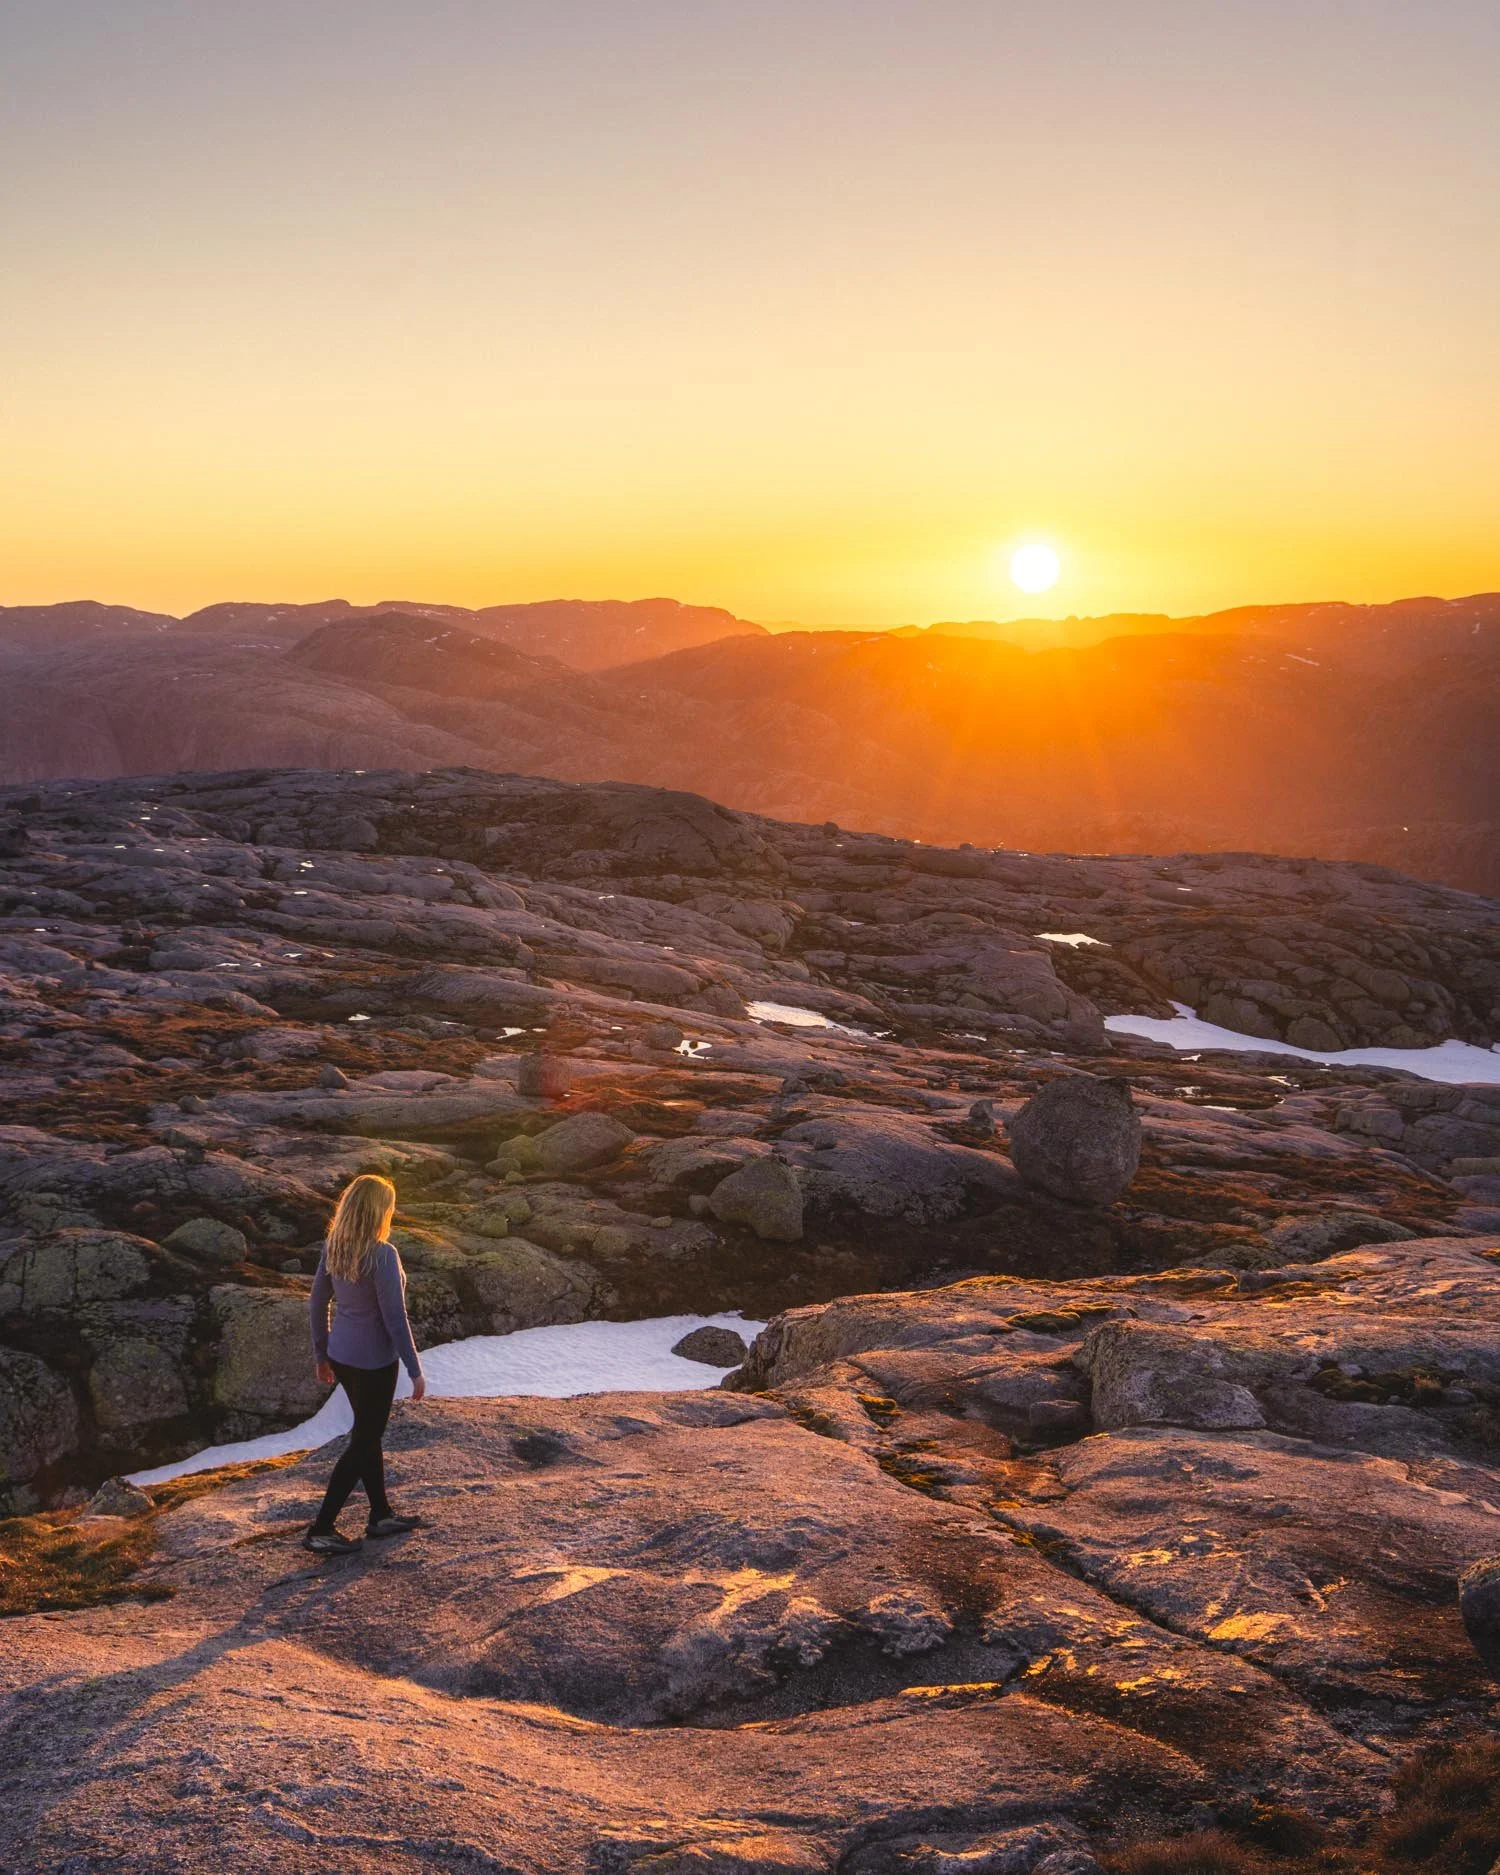
I will say that up until the last hill I found it easier going down (backwards most of the way) than I was expecting, but by the final hill it was really dark and I definitely felt fatigued.
With hindsight we should have left a bit earlier and brought some snacks, but you live and learn!
The Kjerag hike logistics
The parking fee
If you’re coming in your own car then you will need to pay the 300 NOK (approx USD $32 or €27) parking fee. It’s less if you only park for two hours but you could never complete the hike in that time! If you’re coming on a motorbike it’s only 100 NOK.
It is a high price to pay for parking but I felt much better about it when I saw the fee goes into maintaining the trail and conserving the area. In fact it’s run by a not for profit so you know the money is being spent wisely.
Note that you can’t sleep here in a campervan overnight.
Facilities at the trailhead
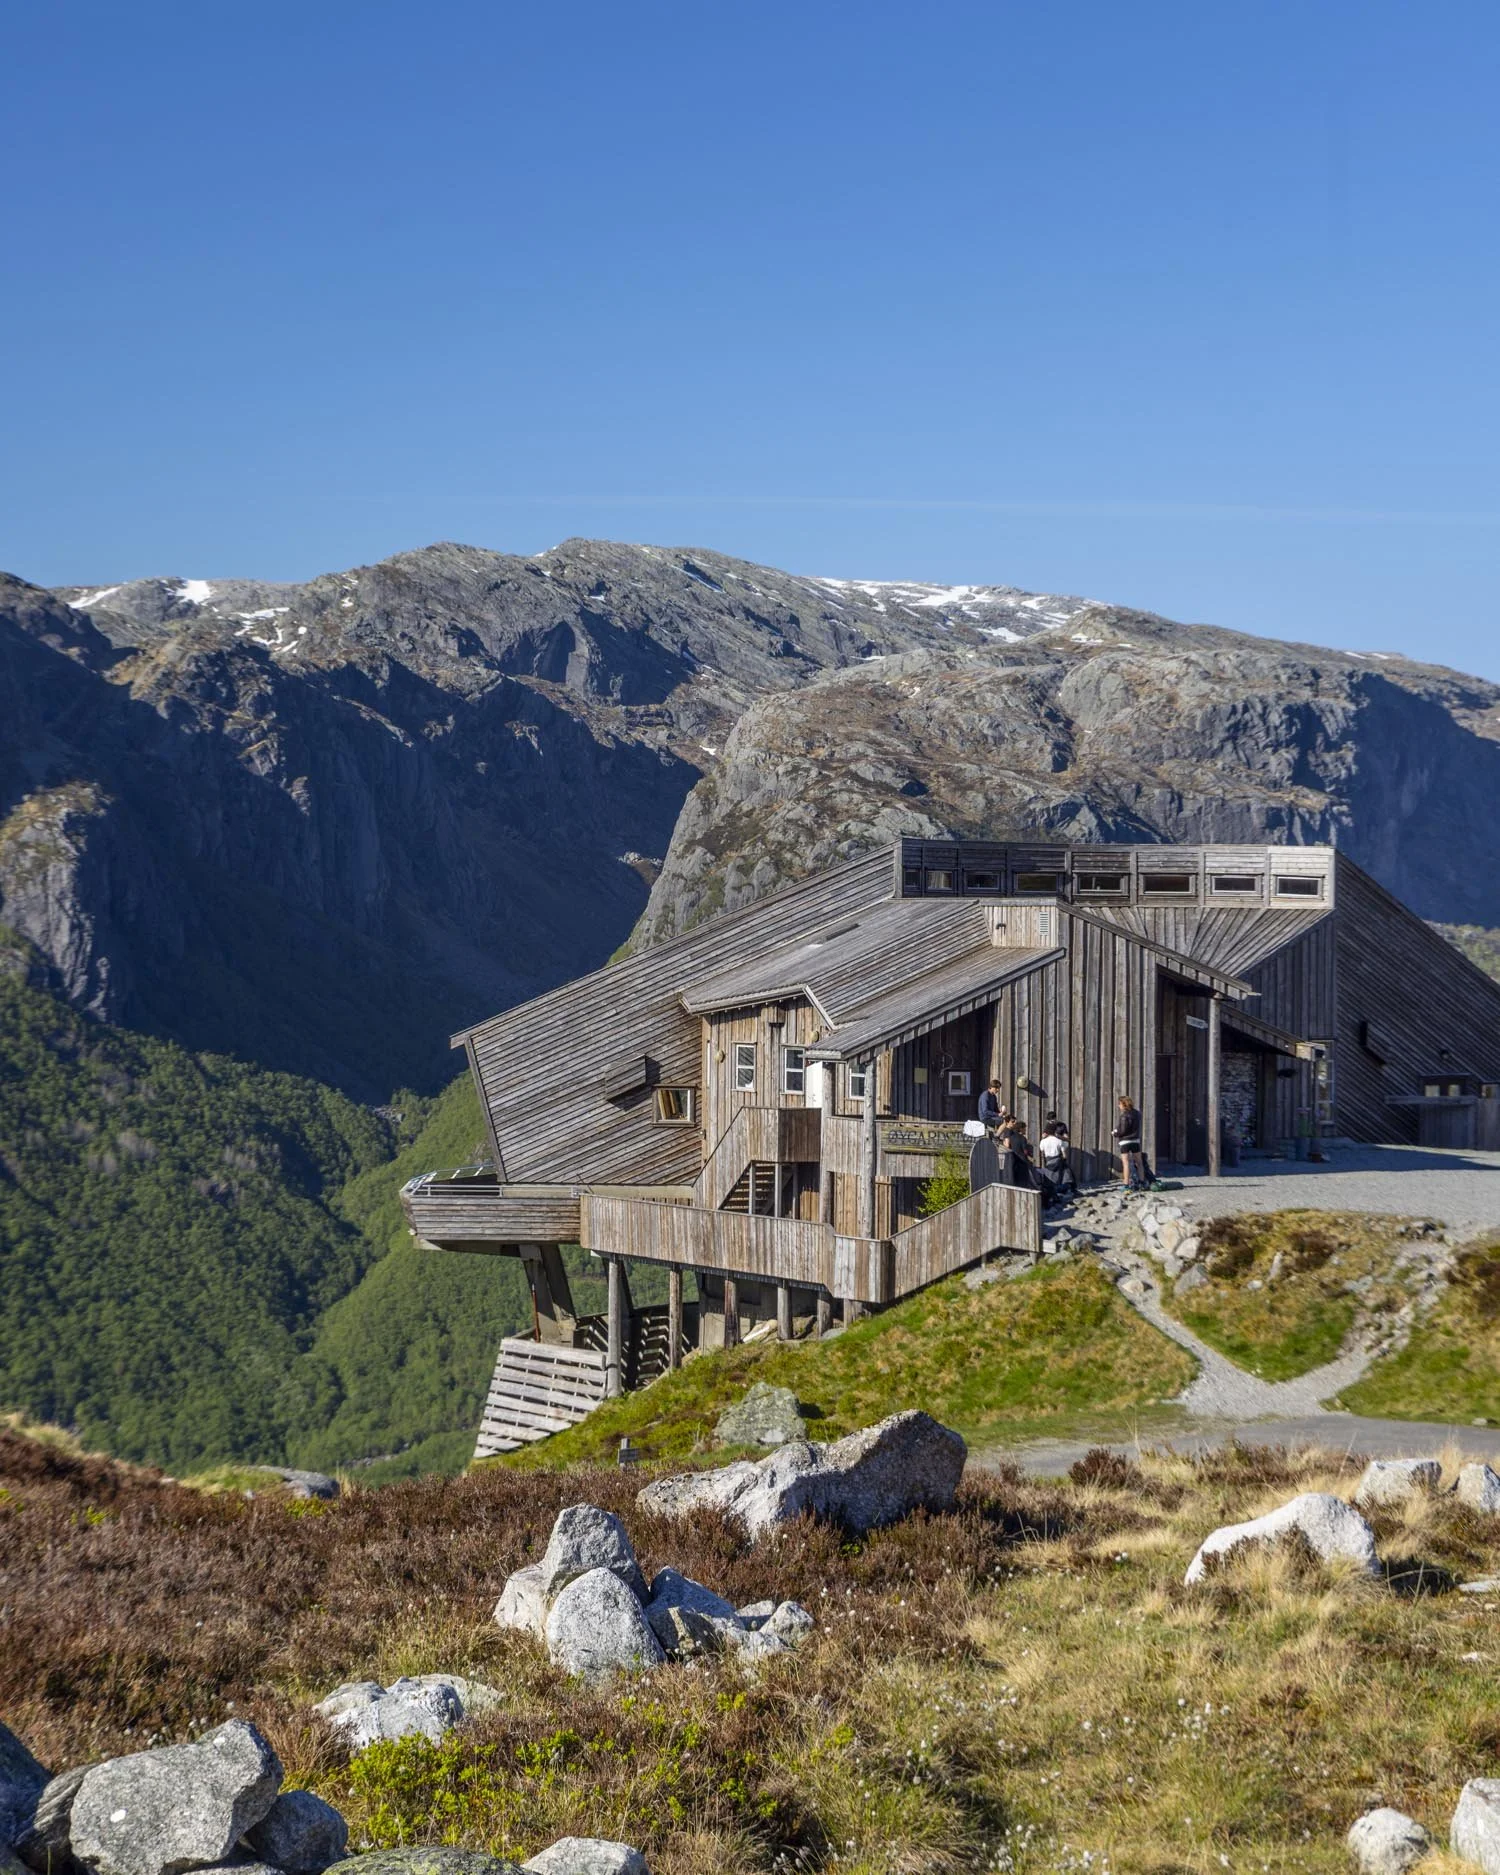
The car park has plenty of spaces (400) with an overflow car park (P2) if needed. There are also flush toilets and a cafe and restaurant (the Eagles Nest).
Getting to the Kjerag hike trailhead
The Kjerag hike begins from the Kjerag Parking - P1, you can see it on Google maps here.
The route to the parking area via the Fv4224 is paved the whole way, though steep and windy for a long stretch.
It takes around 2.5 hours to drive to from Stavanger, though there are small towns you can stay in which are closer (which is what we did).
The road is not open year round. Weather permitting it generally opens mid May and closes at the end of October.
If you want to cut the drive time down and make an experience out of it you can take the ferry to Lysebotn ferry quay (from Lauvvik, Forsand, and Songesand) which is then just a 7.5km drive from the trailhead. We didn’t do the journey by ferry but you can learn more about it here.
Getting to the Kjeragbolten hike by public transport
If you don’t have a car you can reach Kjeragbolten by public transport, but it means you’re restricted to their timings and at time of writing the bus doesn’t run daily.
Tickets need to be pre-booked and prices start at 1035 NOK (USD $110 or €95) return. You can see the timetable and all the details here.
The Kjerag hike by tour
If you would prefer to hike the Kjerag with a guide, there are small group tours available, this one is highly rated.
There are also private tours like this one if you want to set your own pace. You can see the current prices and availability for tours on GetYourGuide using the button below. They offer free cancellation on most of their tours, giving you the flexibility to cancel if the weather looks bad or your plans change.

Where to stay for the Kjerag hike
Most people make the long day trip from Stavanger, but if you wanted to stay closer to the trailhead there are quite a few self catering properties available and it will make for an easier day.
We tried to book this gorgeous holiday cottage, but as we are always so last minute it sold right before we were about to book (a common theme for us!)
It had the best reviews and best facilities of any place that I looked at, it’s still around an hour from the Kjerag but definitely had the best feedback.
Stavanger
We’ve stayed at a few different places in Stavanger, for a mid range option, the Scandic hotel was comfortable and reasonably priced. The decor in all the Scandics we’ve stayed in has been minimal but the beds are always good, as well as the shower and brekkie so we often opt to stay in them.
If you want an apartment, try Hatty’s Habitat Penthouse Apartment (it’s midrange despite the fact it has penthouse in the name!). I contacted the owner to ask about parking but by the time I heard back it was booked up and I tried to get in for the whole following week and couldn’t.
All of that to stay it looked by far the best price vs quality place to stay in Stavanger with a full kitchen inc dishwasher, washing machine and dryer and really nice modern decor.
We had to book somewhere else for more money and less amenities so get in quick if your dates are set. You can see the latest availability and reviews by clicking the button below:
This post may contain affiliate links, meaning at no additional cost to you, that we will earn a small commission if you click through and decide to make a purchase. This helps towards the costs of running our website. Thanks for your support.
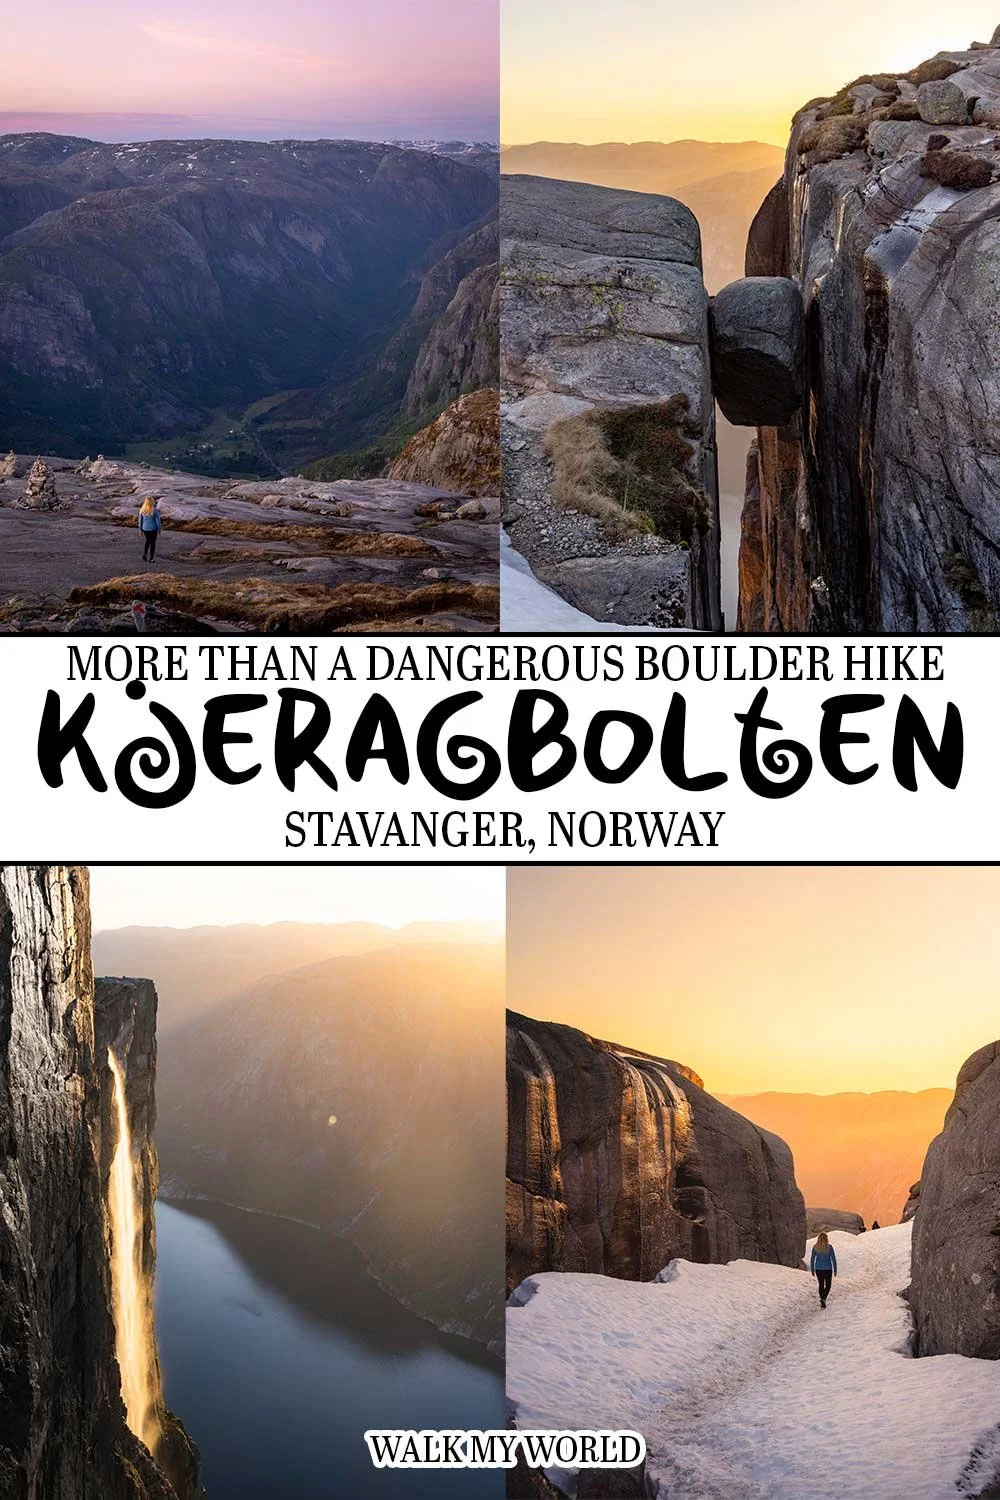
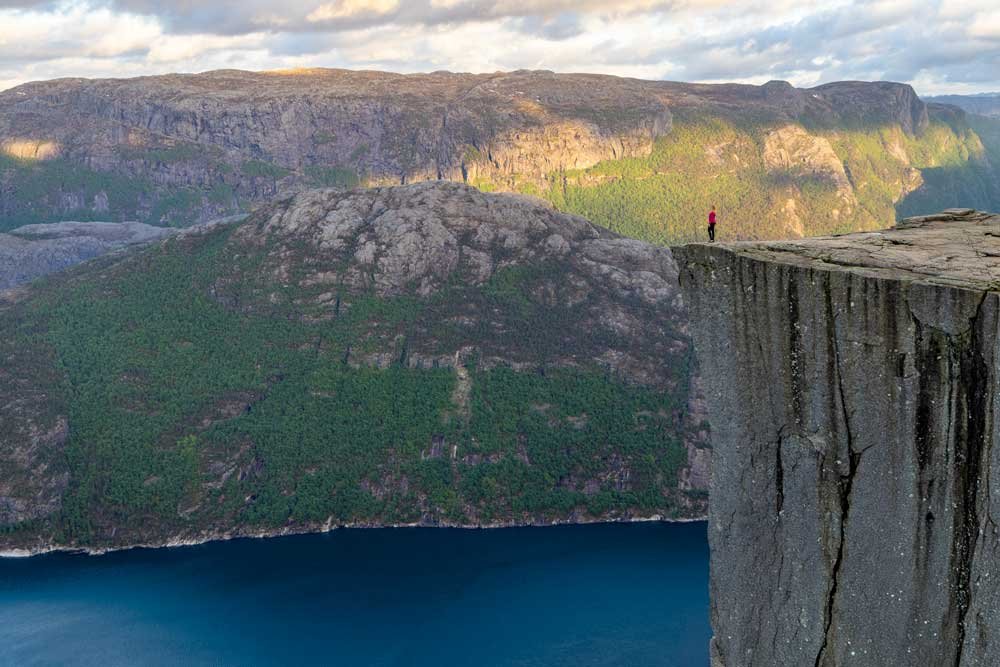


The full low down on the Kjerag hike from exactly what to expect from the trail and the chained sections, to how scary the boulder is and what it’s like to hike for sunset.