
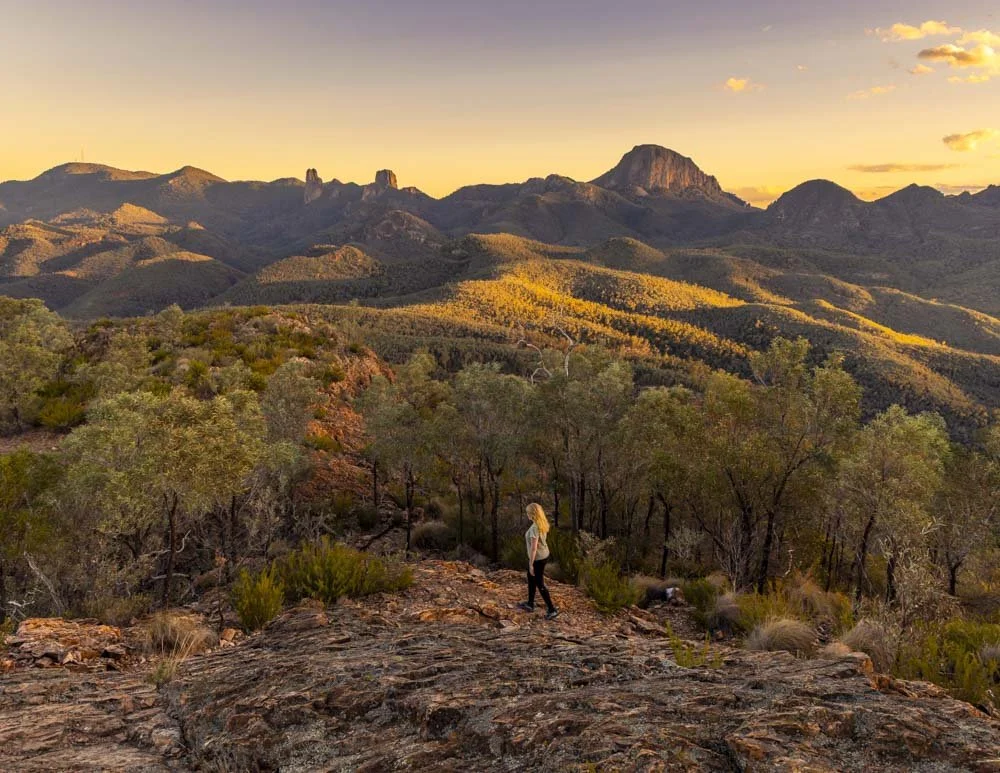
The Split Rock track is one of the best walks not just in the Warrumbungles, but in the entire state. It’s got everything you could ask for in a walk; stupendous views, an exciting rock scramble and enough of an incline to make you feel like you’ve had a workout without being too long or difficult.
You’re also climbing an ancient lava dome, which is pretty amazing in itself! In short, it should be very high on your NSW walks hit list.
We decided to head up for sunset which added an extra element of adventure, with stunning light on the summit followed by a walk back under one of the most glorious starry night skies I’ve ever seen.
Having said that, the scramble to the top should not be underestimated, and if going up for sunset you want to time it right so you make it back onto the main track before it gets dark. All that and more will be covered in detail in the track notes below.
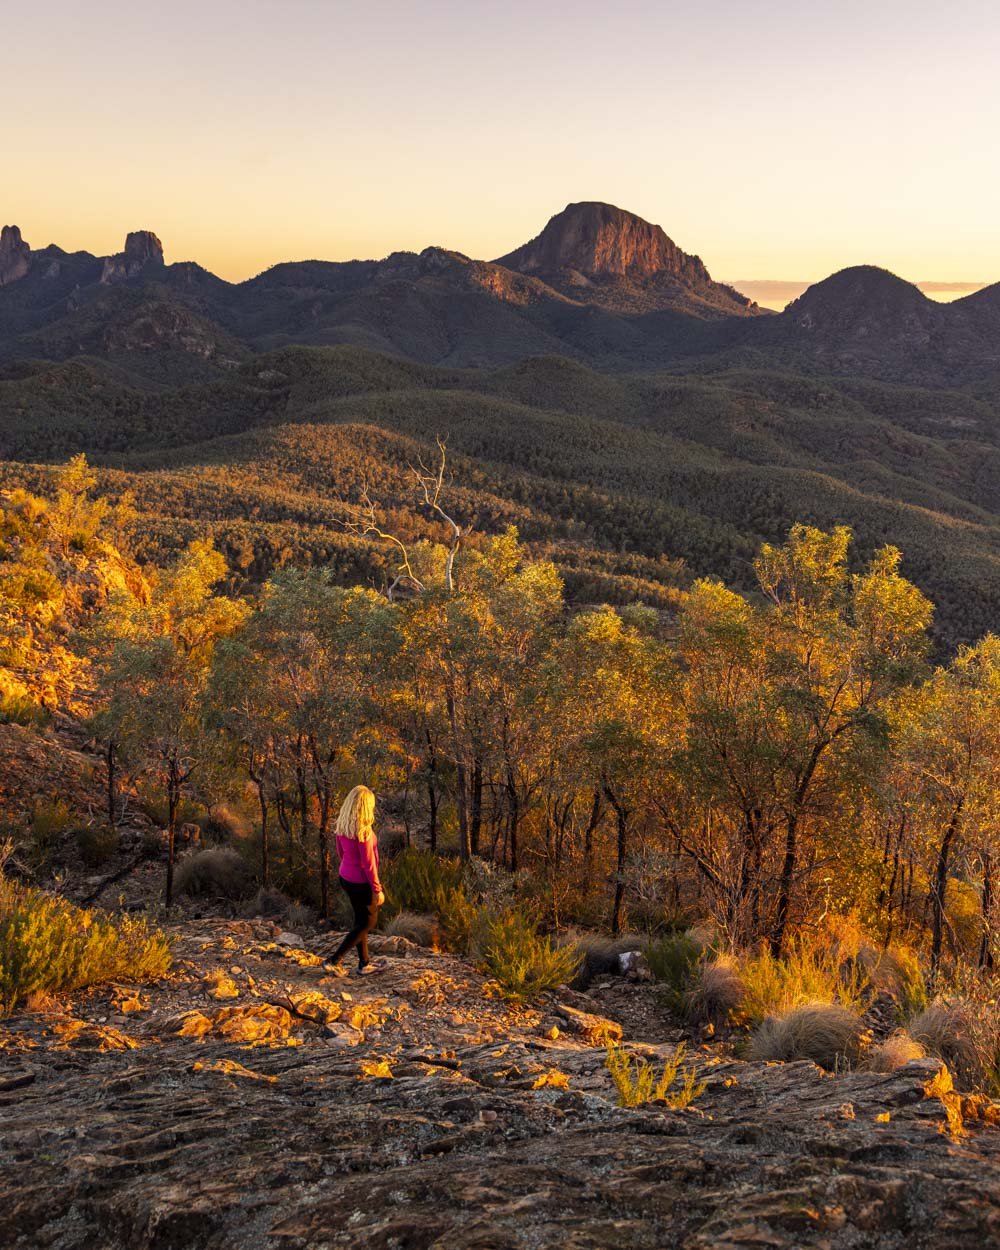
The Belougery Split Rock Circuit
The stats
Distance: 4.7km circuit
Elevation gain: 400m
Difficulty: Moderate - hard
Trailhead: Belougery Split Rock Car Park
Summary: The walk to within 300m of the top of Split Rock has a fairly steady incline, with some steep sections and a little flat track here and there too.
It is rough underfoot much of the way with some rubbly areas you need to watch your footing on. It also has some rock slabs marked by reflectors which you need to climb up or down depending on the direction you’re walking in.
Around half of the final 300m to the summit is a rock scramble. The beginning of the scramble is the steepest and the most exposed.
The last 200m or so is steep in places, but far less so and also much less exposed. I’ll go into full details on the scramble in the notes below.
If the rock is wet or rain is forecast you shouldn’t attempt the scramble.
Clockwise or anticlockwise?
Though you can walk the track in either direction we recommend walking clockwise. This is because the route is steepest, and the terrain most rough, in this direction and therefore it’s easier to ascend than it is to descend.
Yes you have to work a little harder in terms of exertion, but you’re highly unlikely to slip or stumble going uphill, whereas when descending it would be more of a possibility. This is especially important if, like us, you’re coming down in the dark.
I believe the signpost recommends going in the other direction, but I’m honestly not sure why!
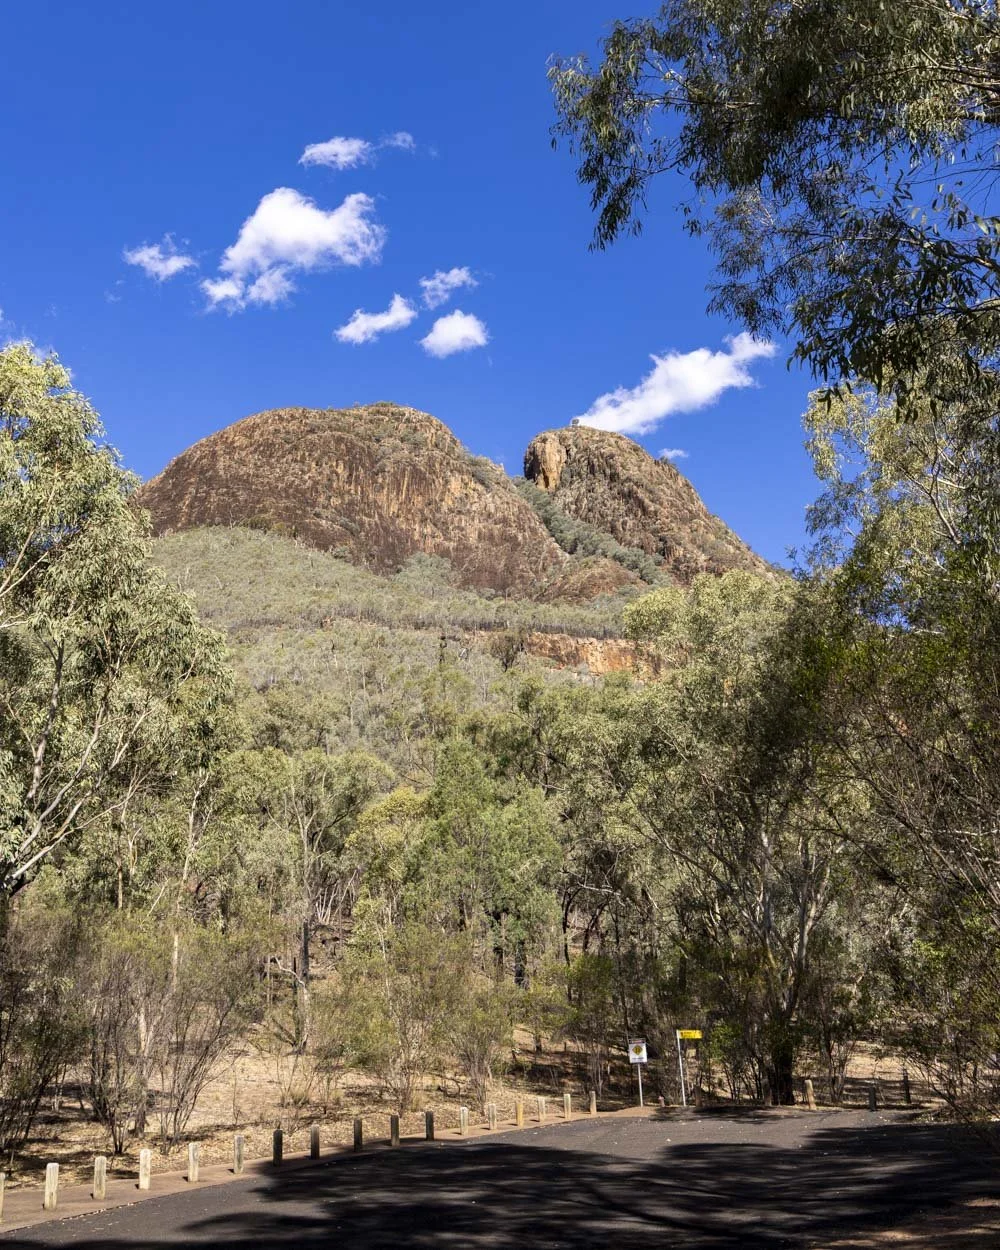
Starting the trail: the climb begins
From the Split Rock car park you begin the walk on the eastern (left side of the car park when facing Split Rock).
There’s no easing yourself in gently, it’s a steep climb from the off. It does slacken slightly after the first 100m but still remains pretty steep.
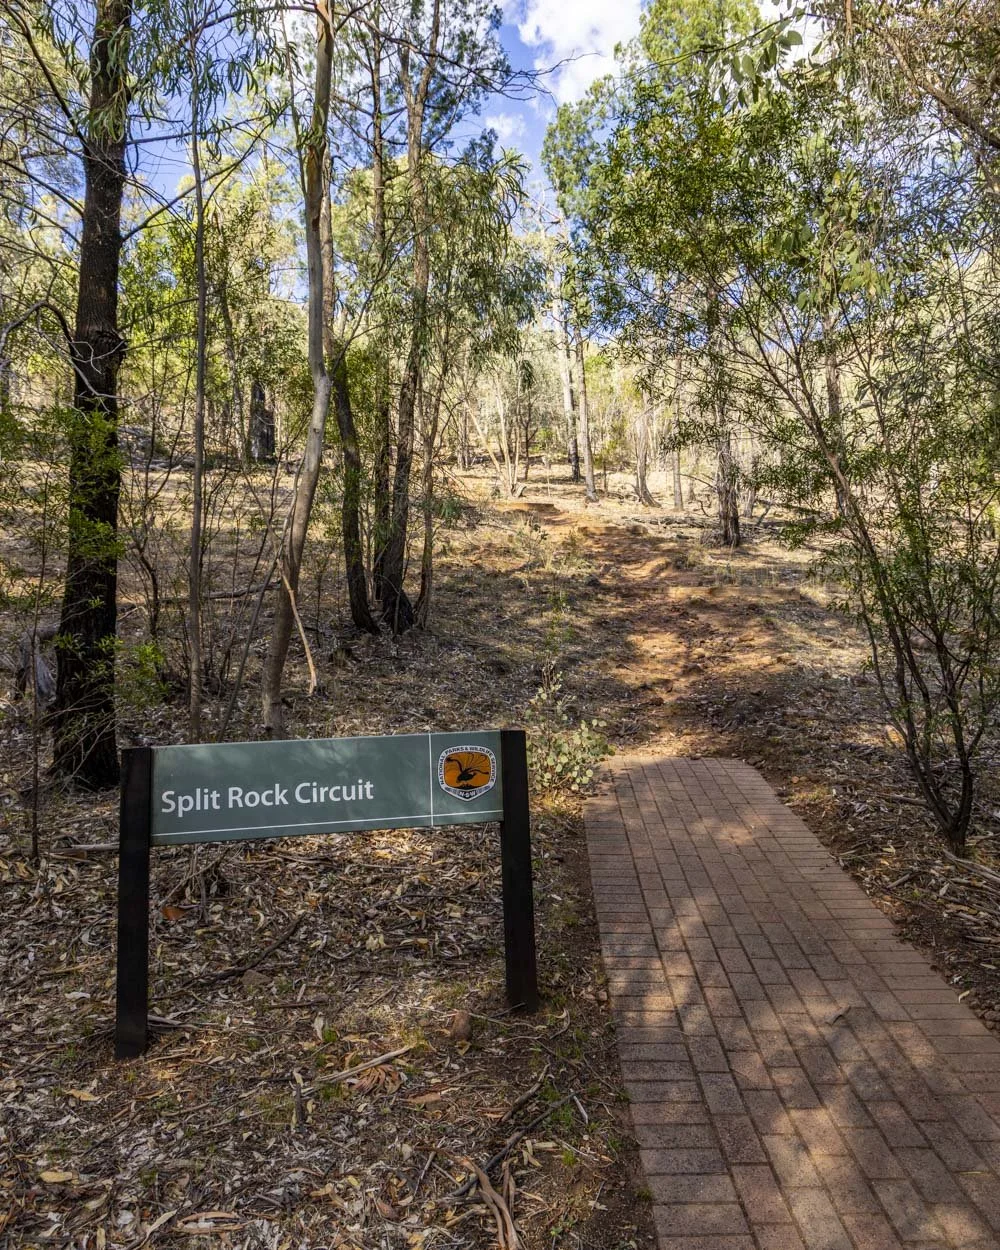
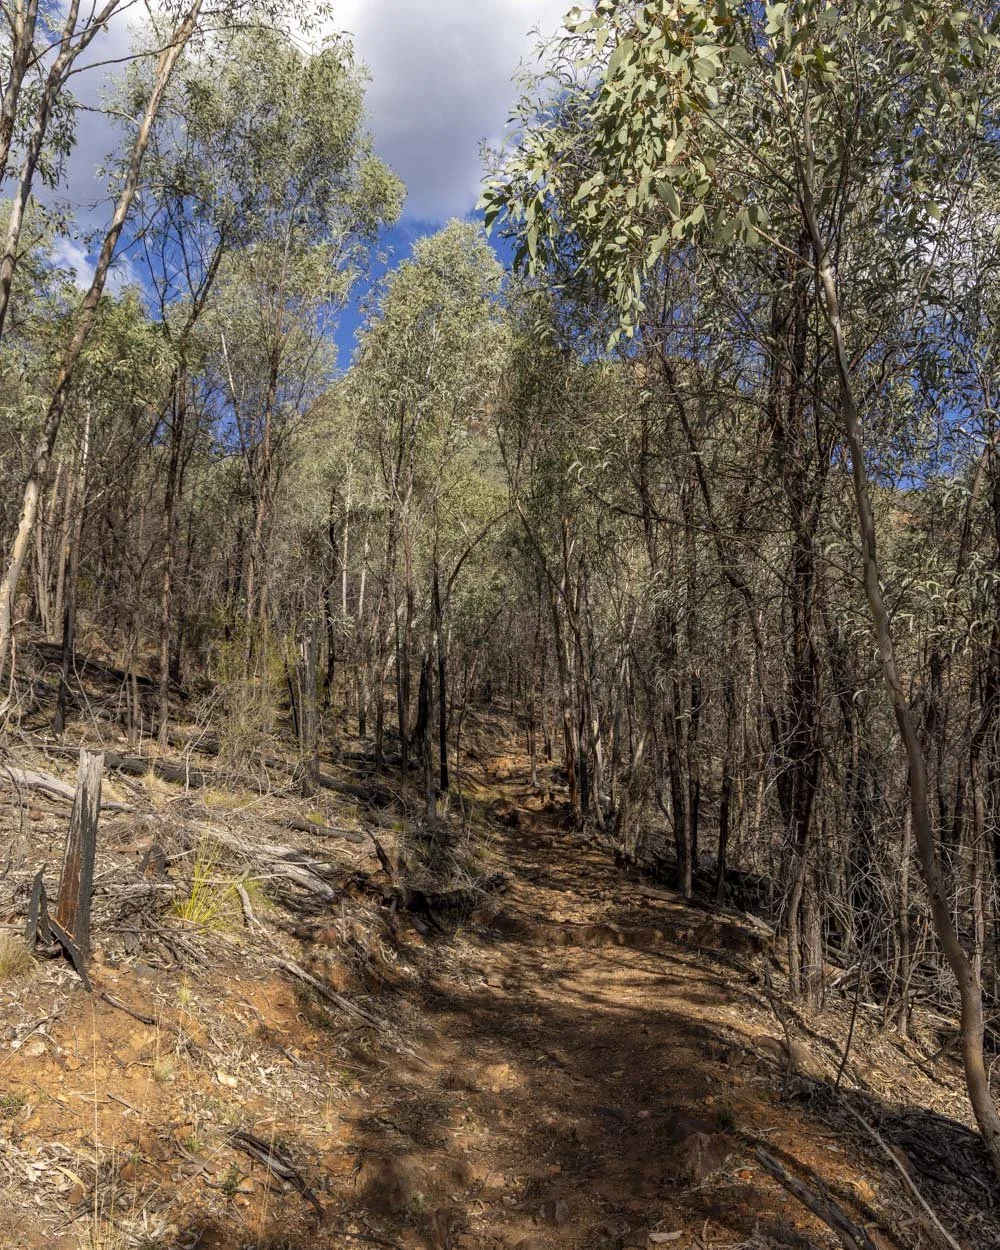
The first 340m is a dirt track before it becomes rocky.
You do have some coverage from the bush at various points along the trail, or if you’re heading up for sunset, almost all of the way to the summit junction.
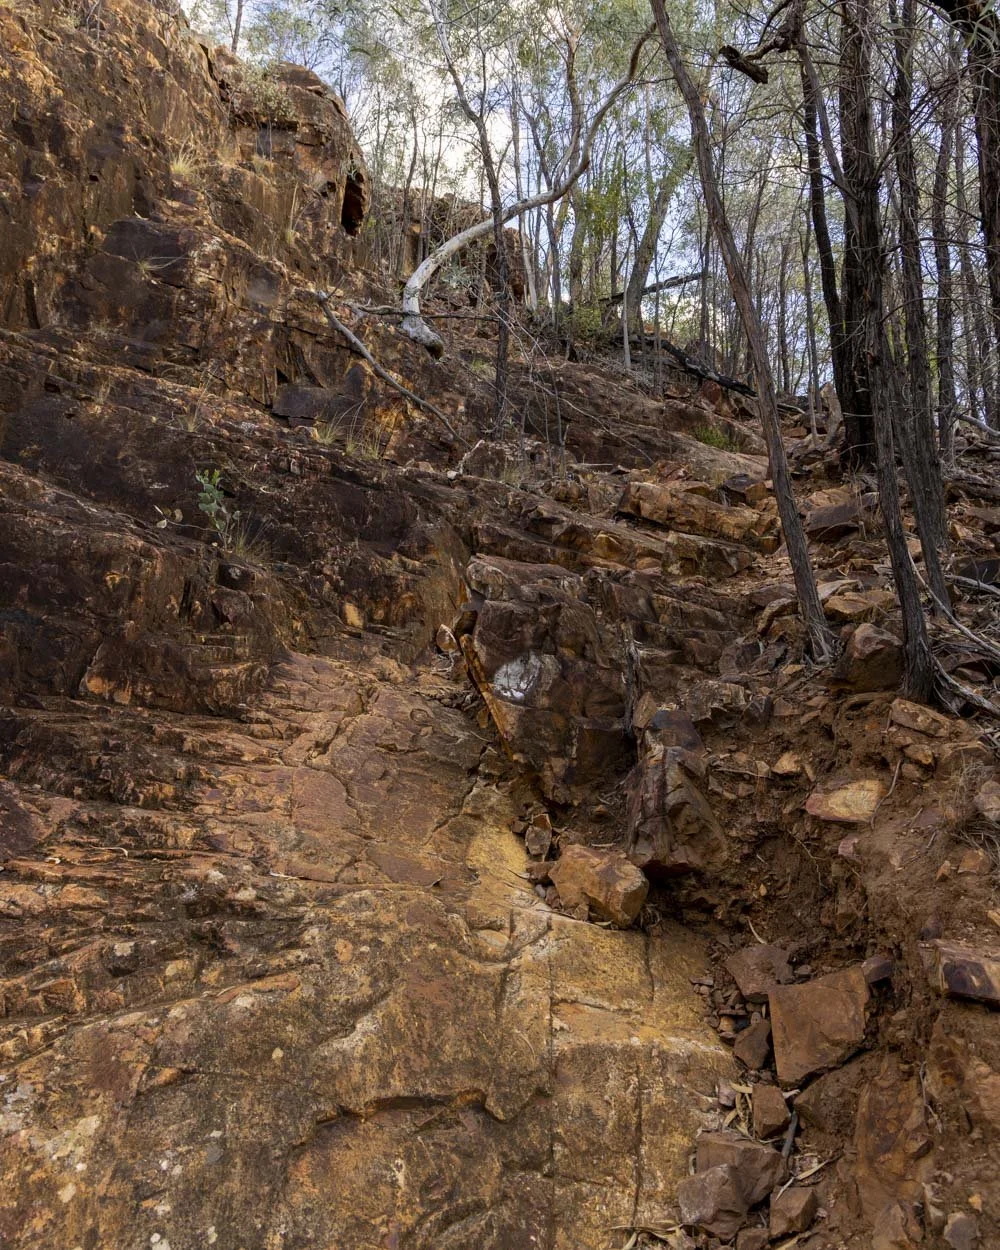
There’s a little rock chute at the 365m mark which has tiered rocks that make it easy to climb up.
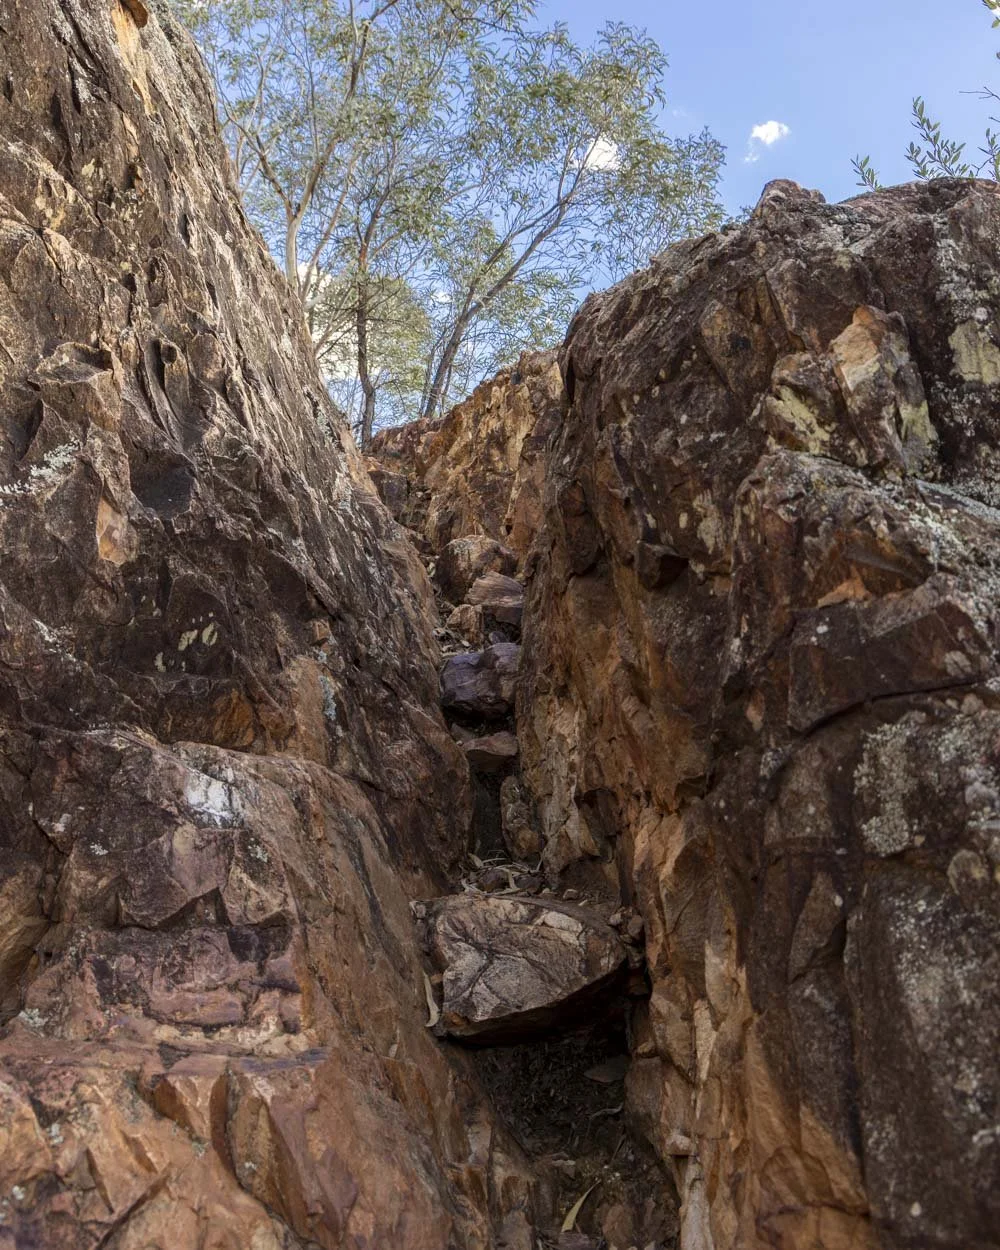
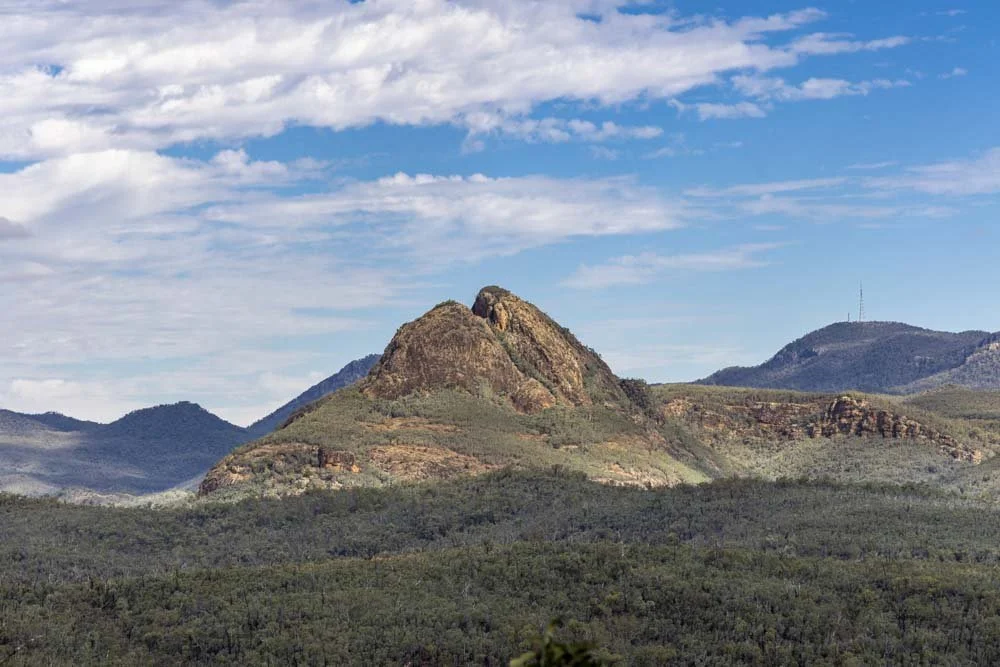
Roughly 450m into the walk the gradient slackens again and you’ll start to get some valley views, as well as a look at Split Rock presiding over the trail. It’s beautiful but from here it only gets better.
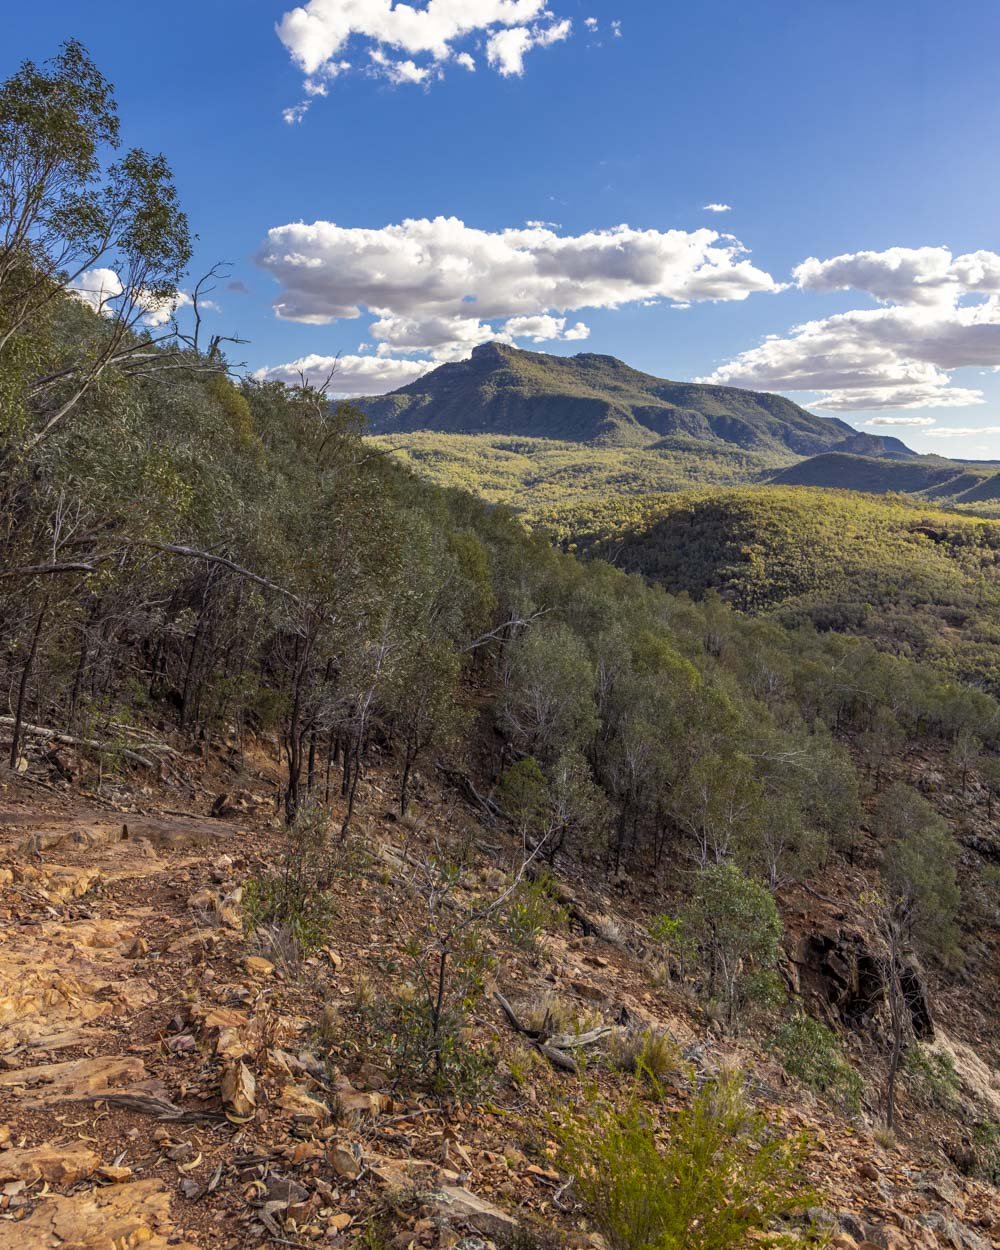
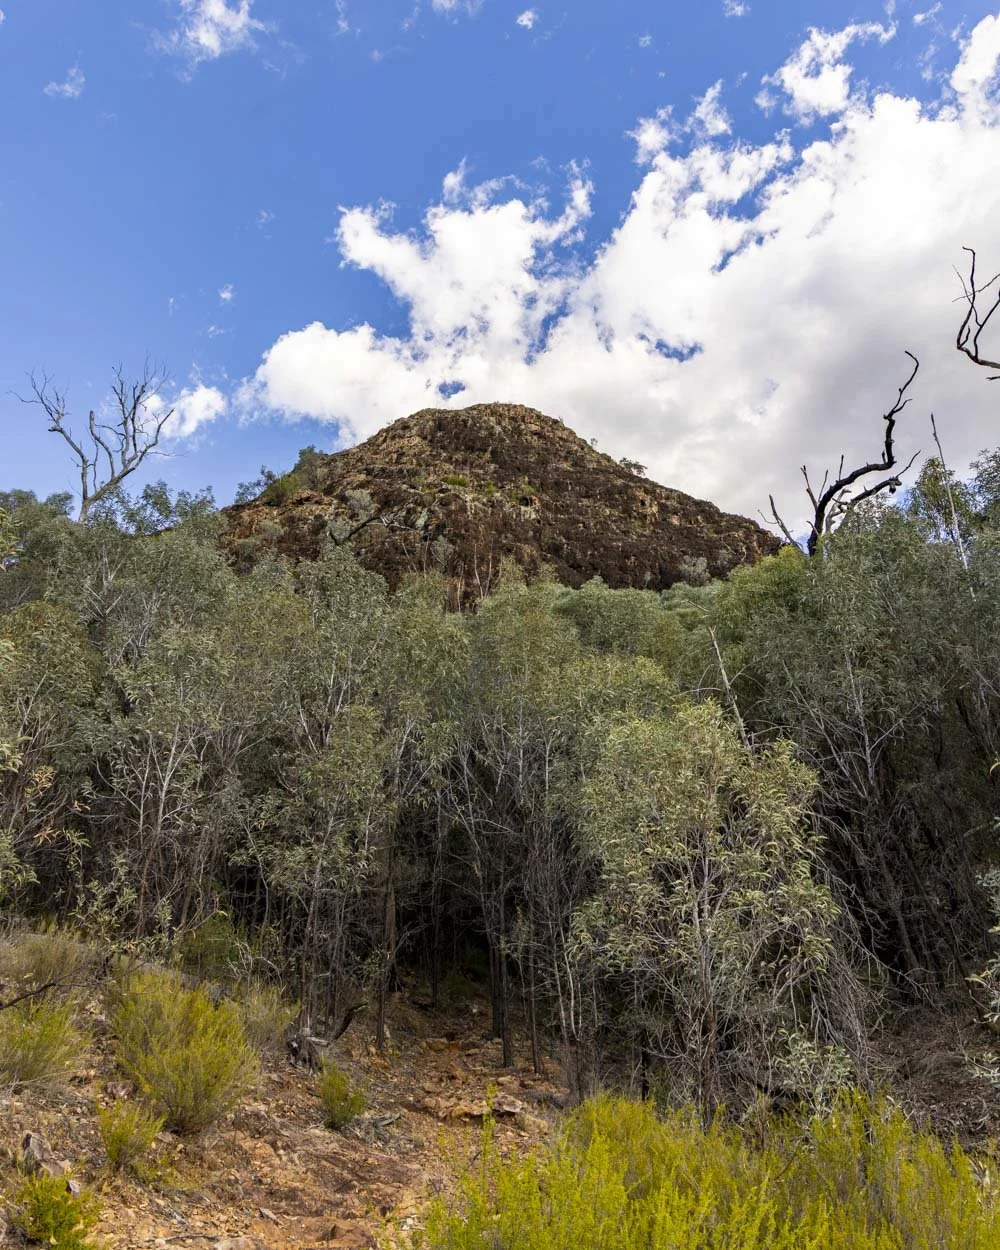
Reaching the summit junction
After a brief period out in the open you’ll go back into the forest and then (disappointingly) head sharply downhill.
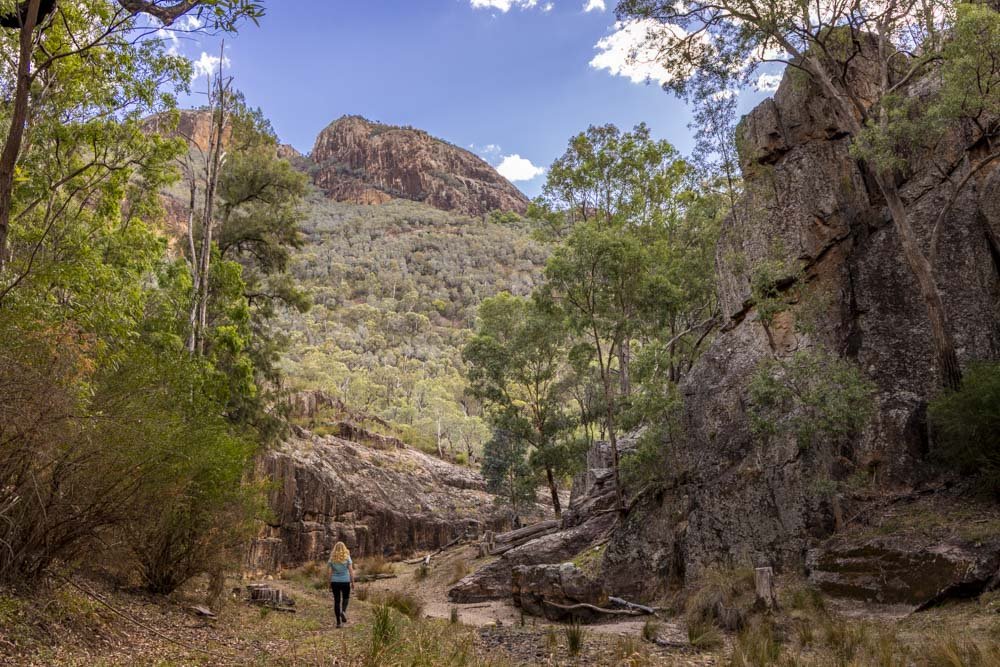
It’s only for 100m, so it’s not long before it flattens and then you begin heading uphill alongside an imposing cliff wall. It’s very impressive and there are several small caves etched into the wall.
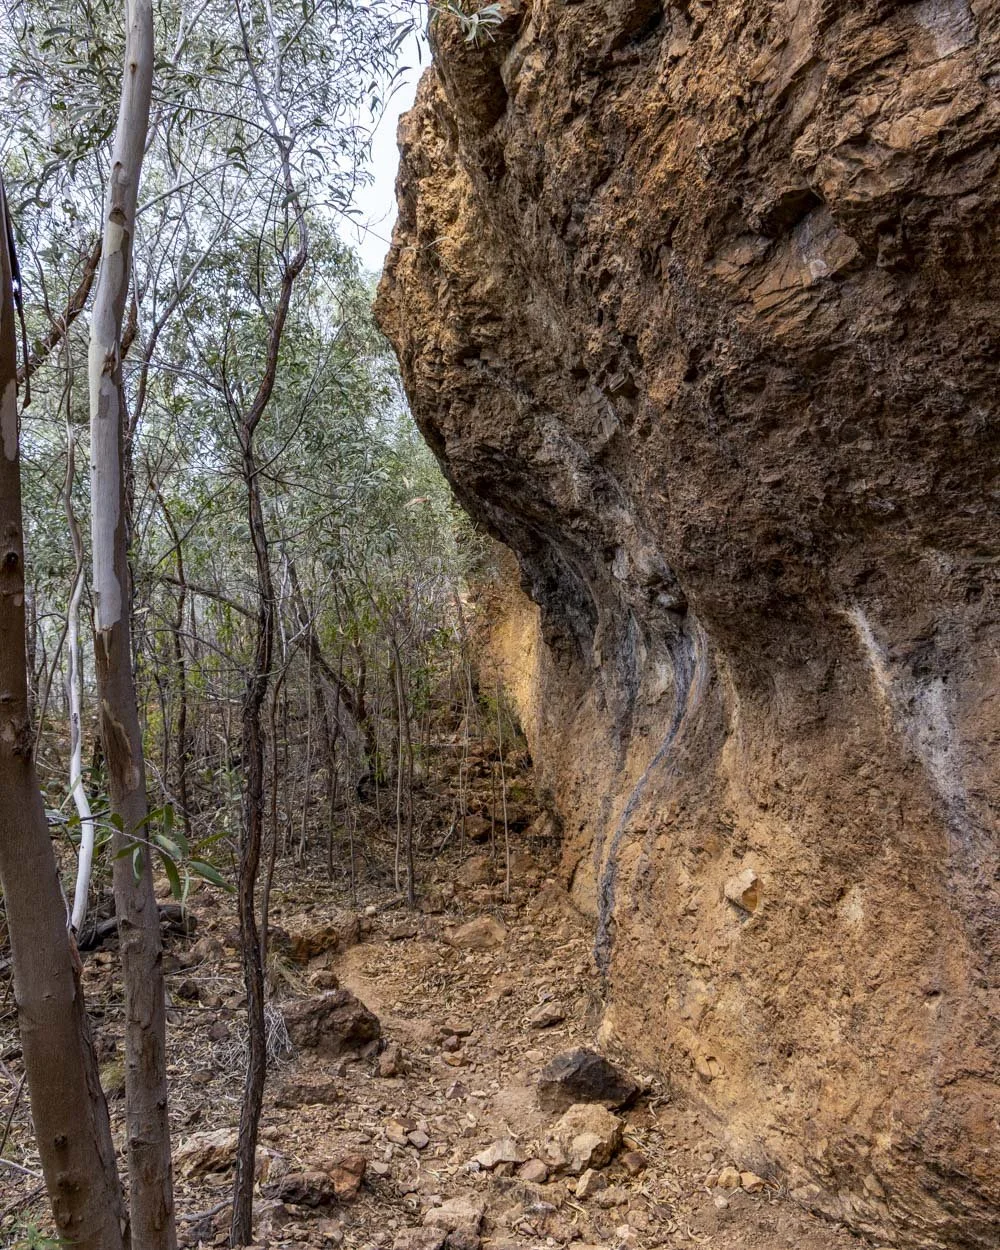
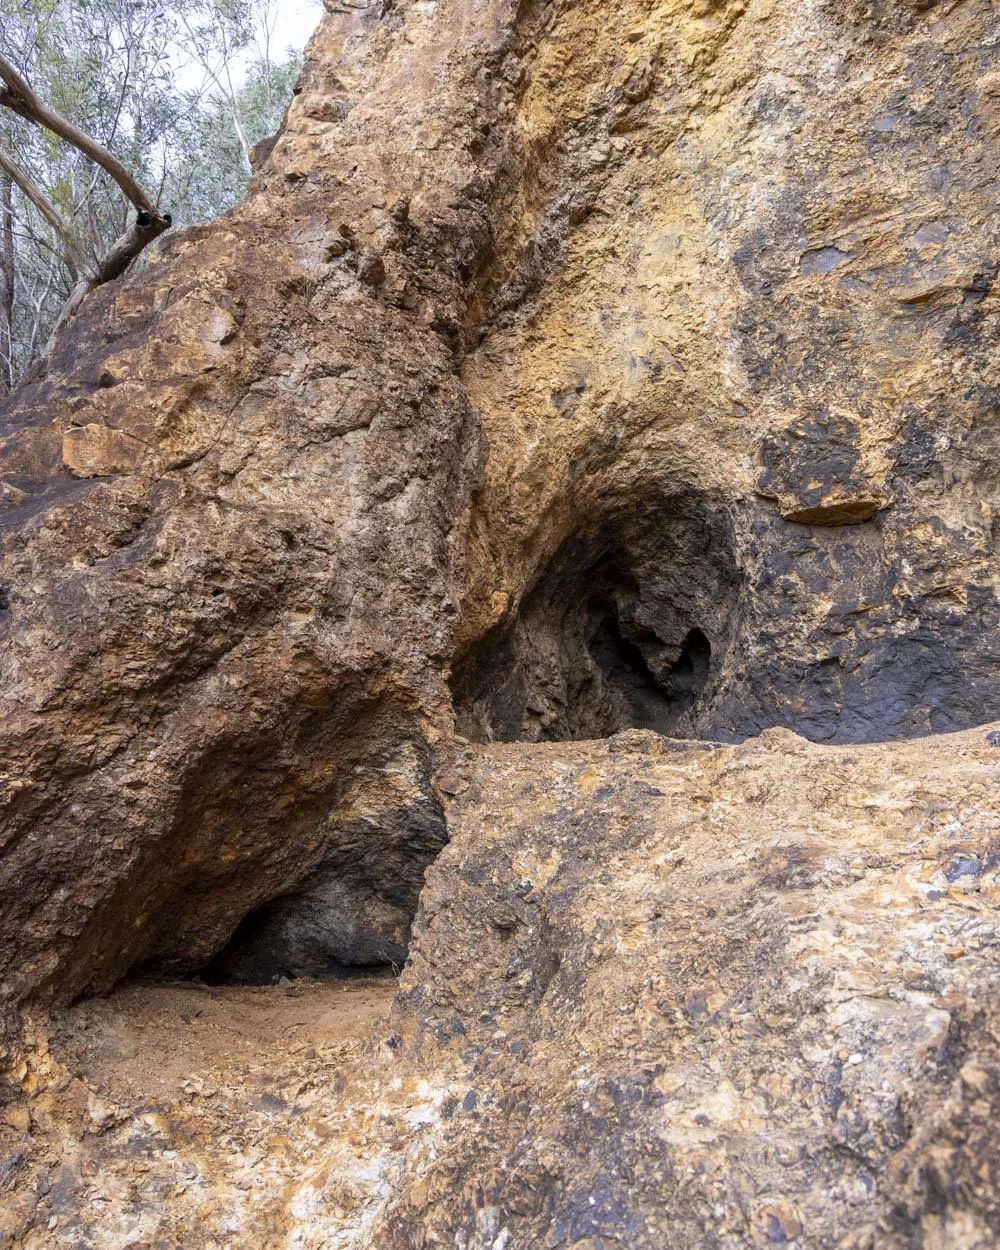
After climbing up beside the cliff there are some brief switchbacks and then you’ll cross a rocky section.
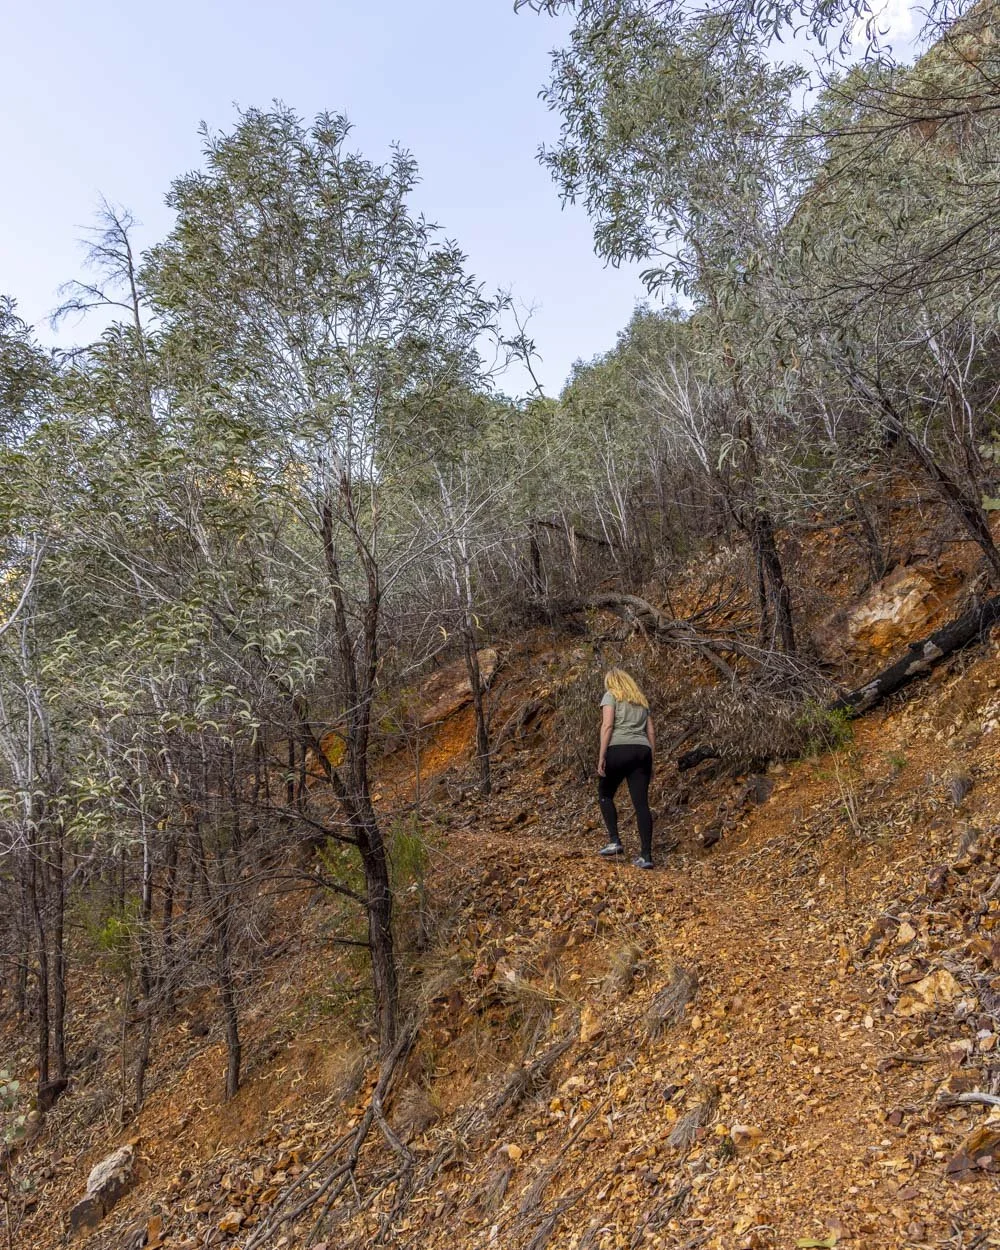
From here it’s a mix of flat track and some more climbing and one short section of gravel path which is very narrow with a drop to the left, but it’s flat and footing feels secure.
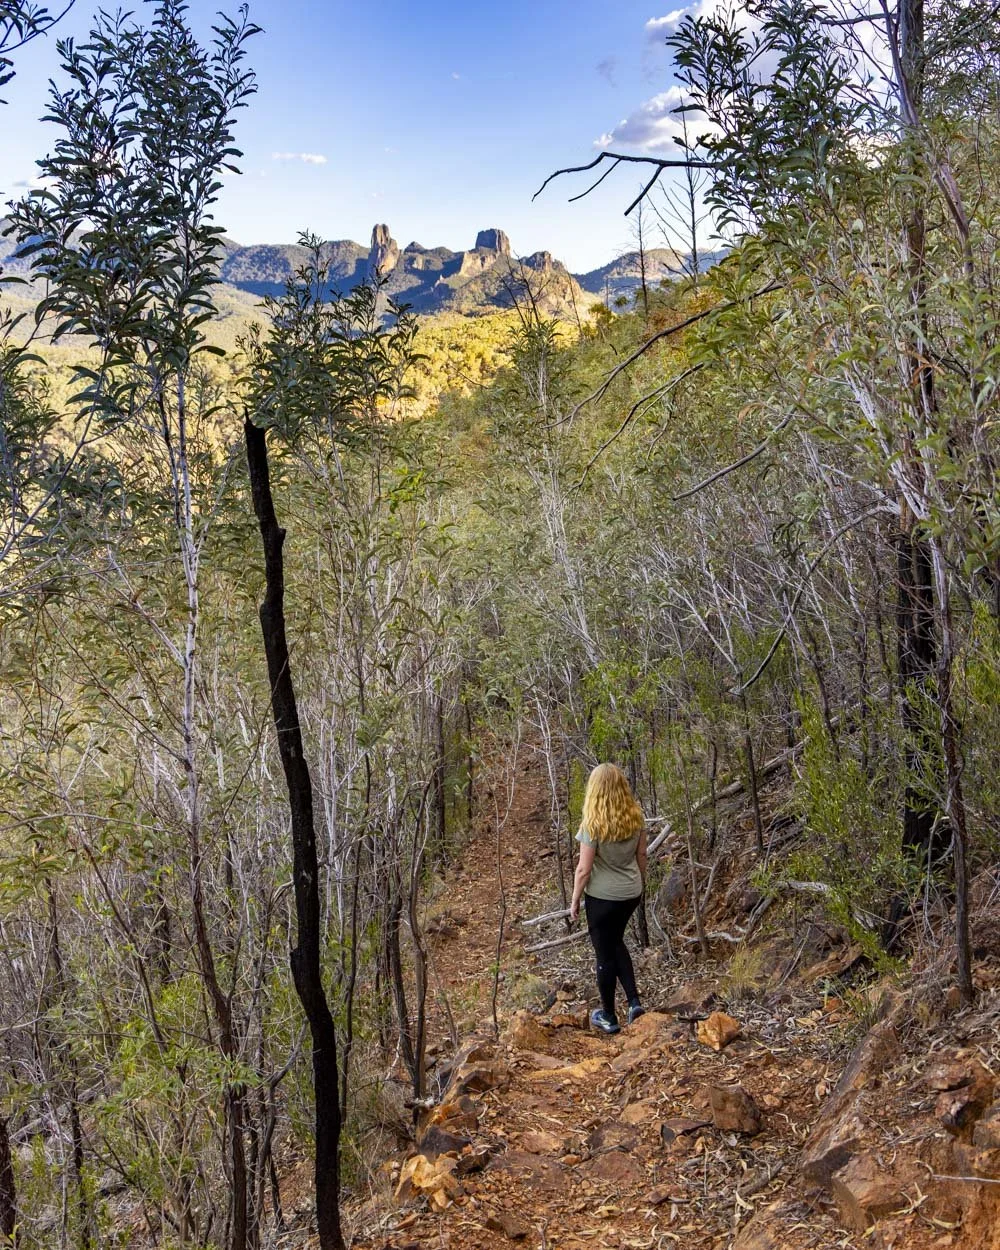
All the noticeable climbing is over now until you reach the summit junction. Much of the track is flat or gently downhill and you’ll start to get some more great views.
At the 1.8km mark you cross an old landslide, the path is narrow, but again feels very stable.
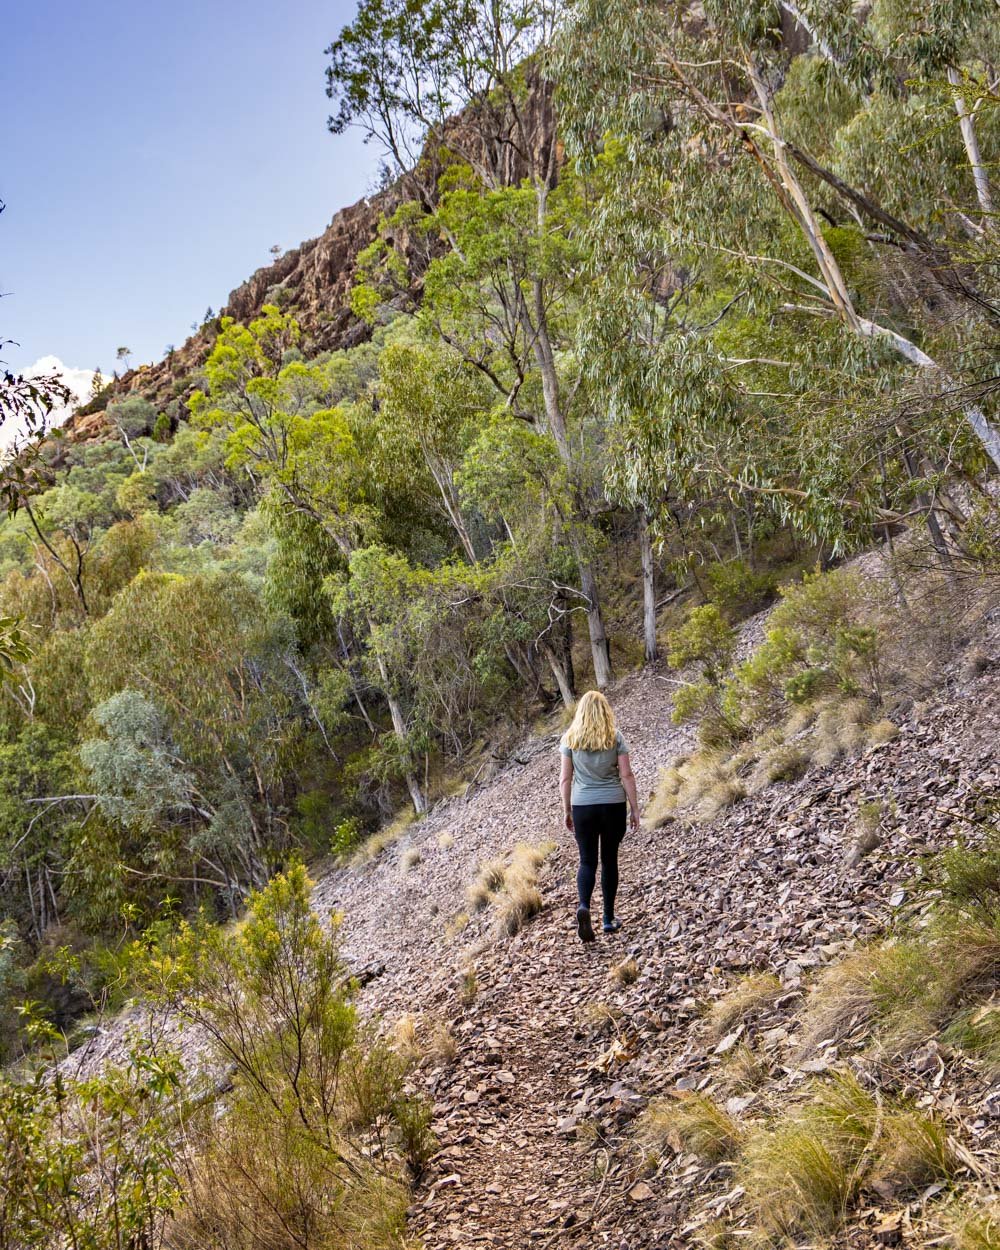
After a brief moment back in the bush you will come to a 10m long rock slab which is easy to cross and you’re now just 50m from the summit junction (a little over 1.9km from the parking area).
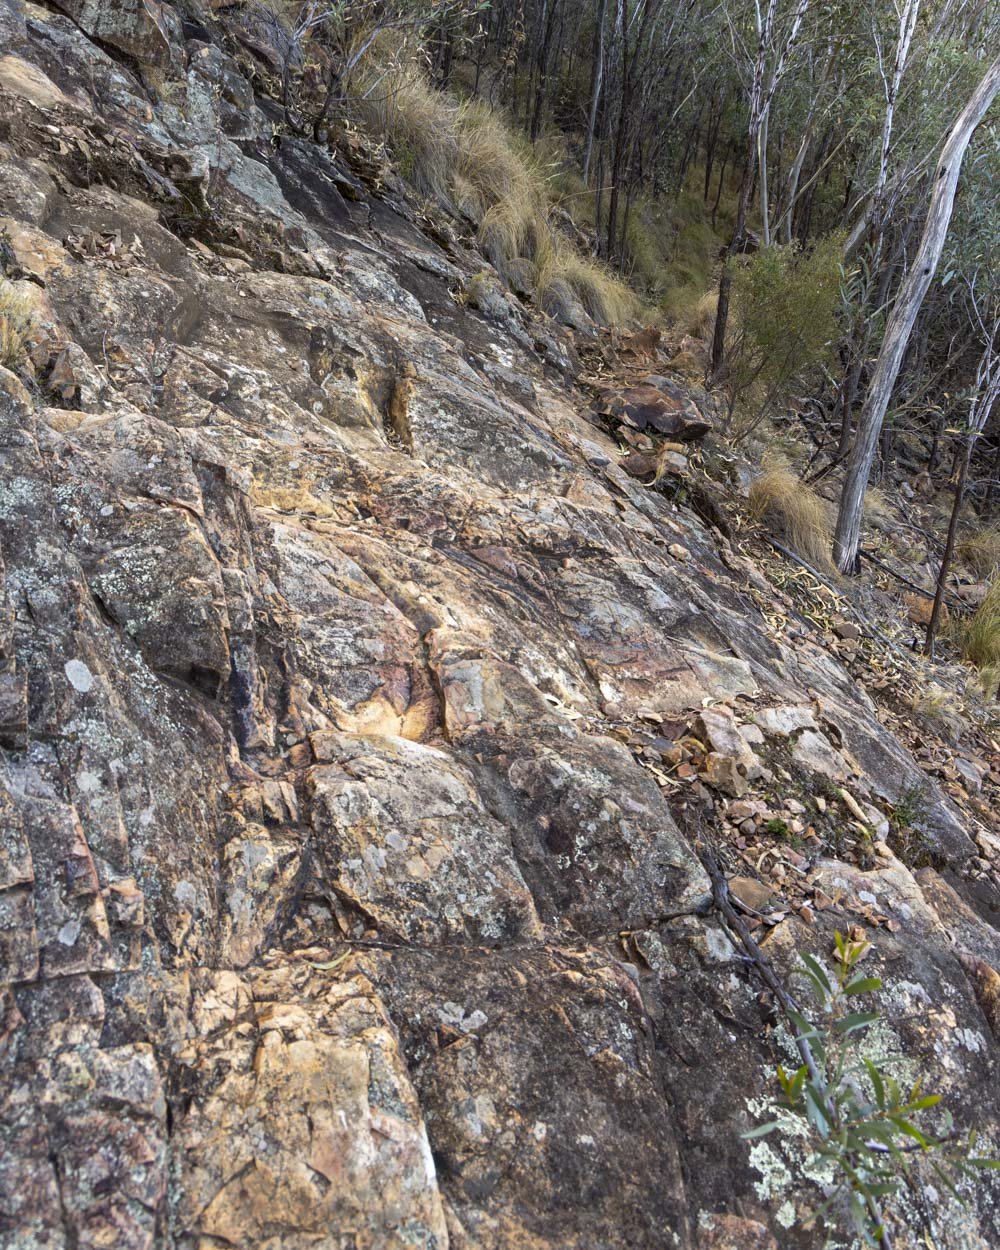
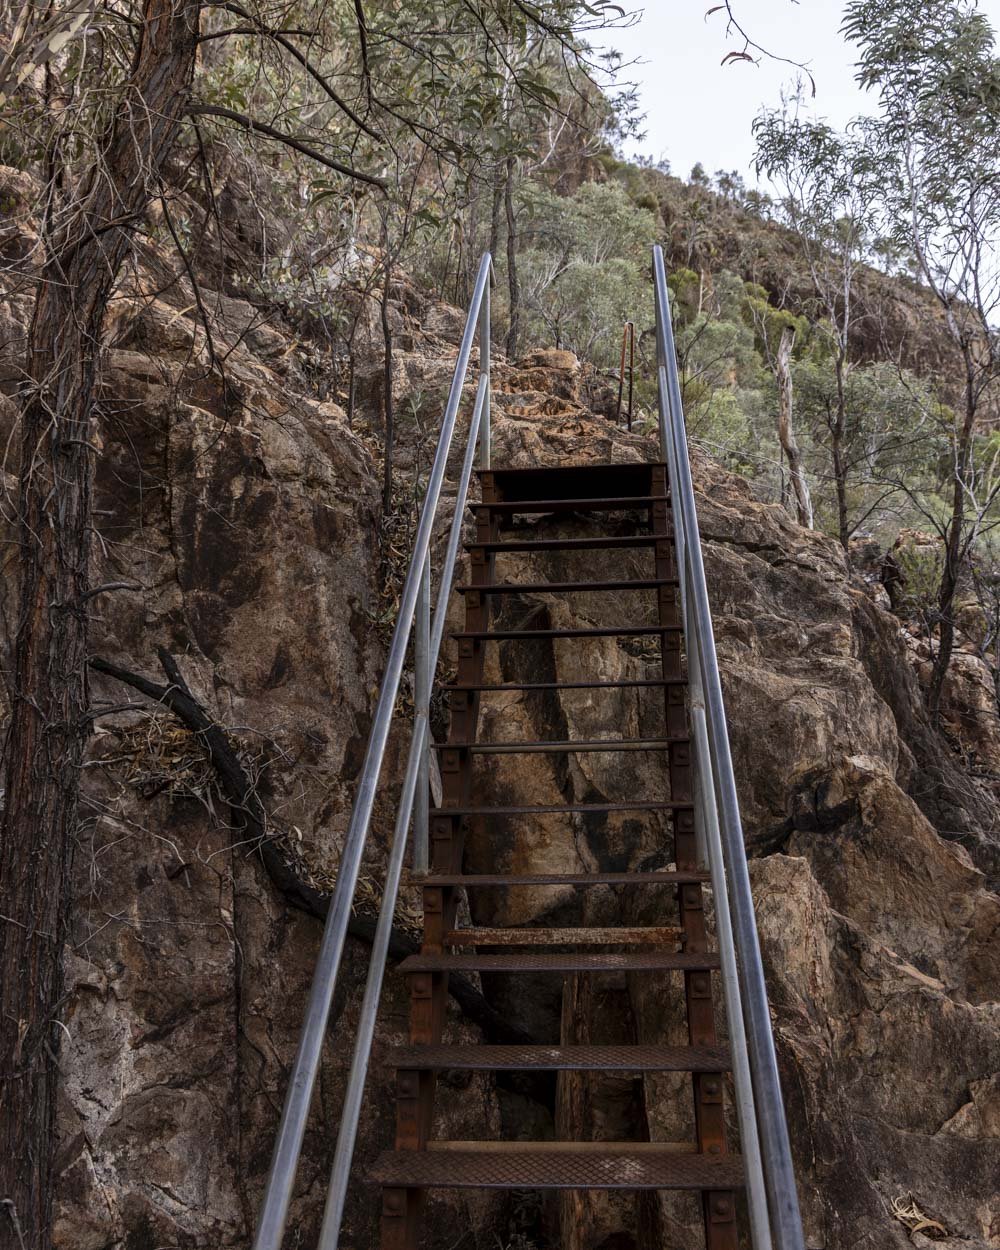
There is a staircase with a gate in front of it and a warning sign about the dangers of the track ahead.
It’s a good spot to take a break if needed, with lots of rocks to perch on and shade offered by the surrounding bush. If the rock is wet or rain is forecast you shouldn’t attempt the summit scramble.
The scramble to the summit
From the gated staircase the route to the summit is roughly 300m, but around half of this is on somewhat normal track (either a dirt or rocky path, steep, but not a scramble).
The first 50m is the steepest and a few metres of this section is quite exposed.
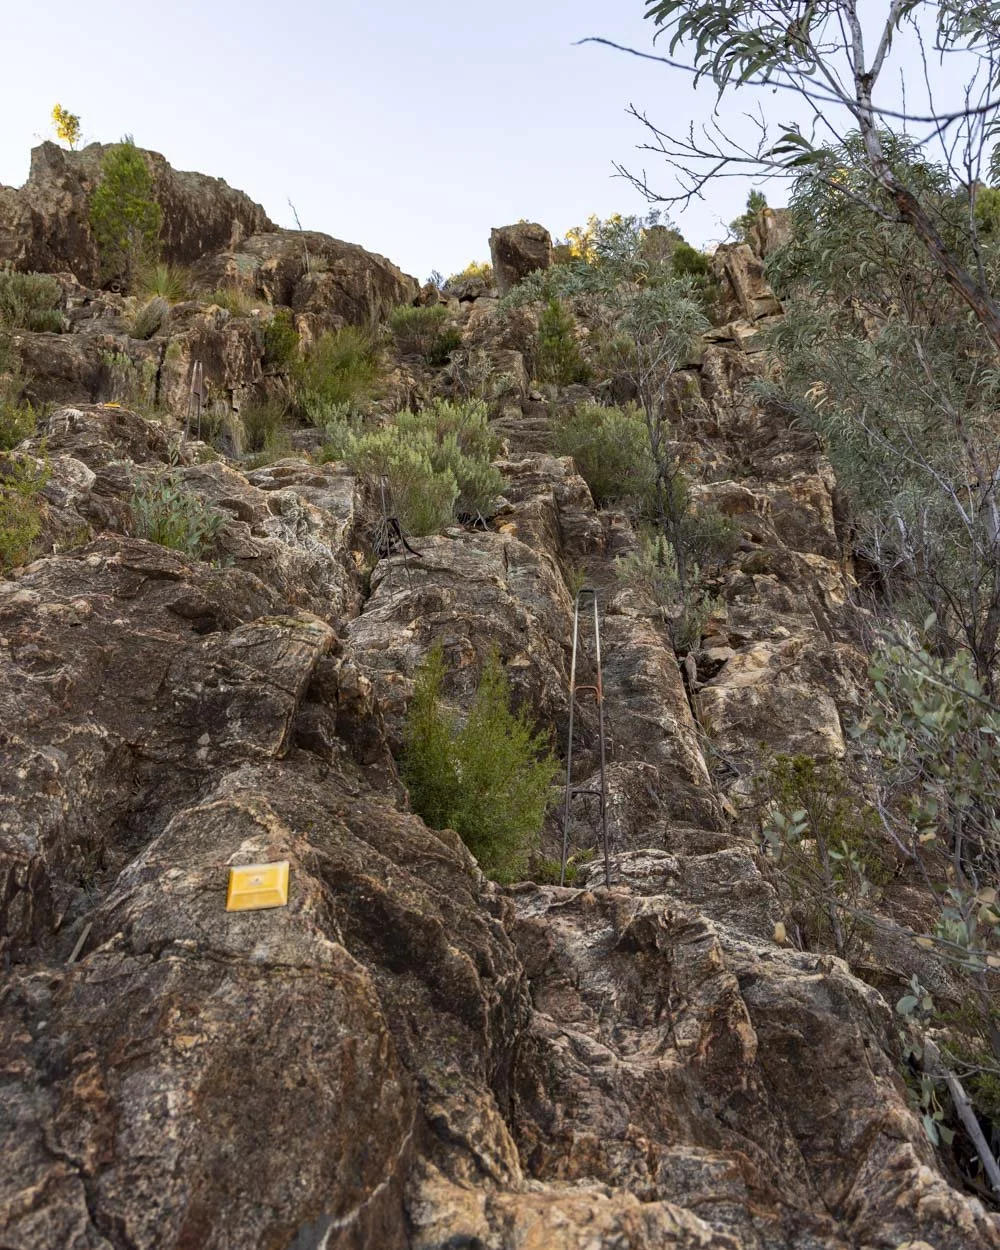
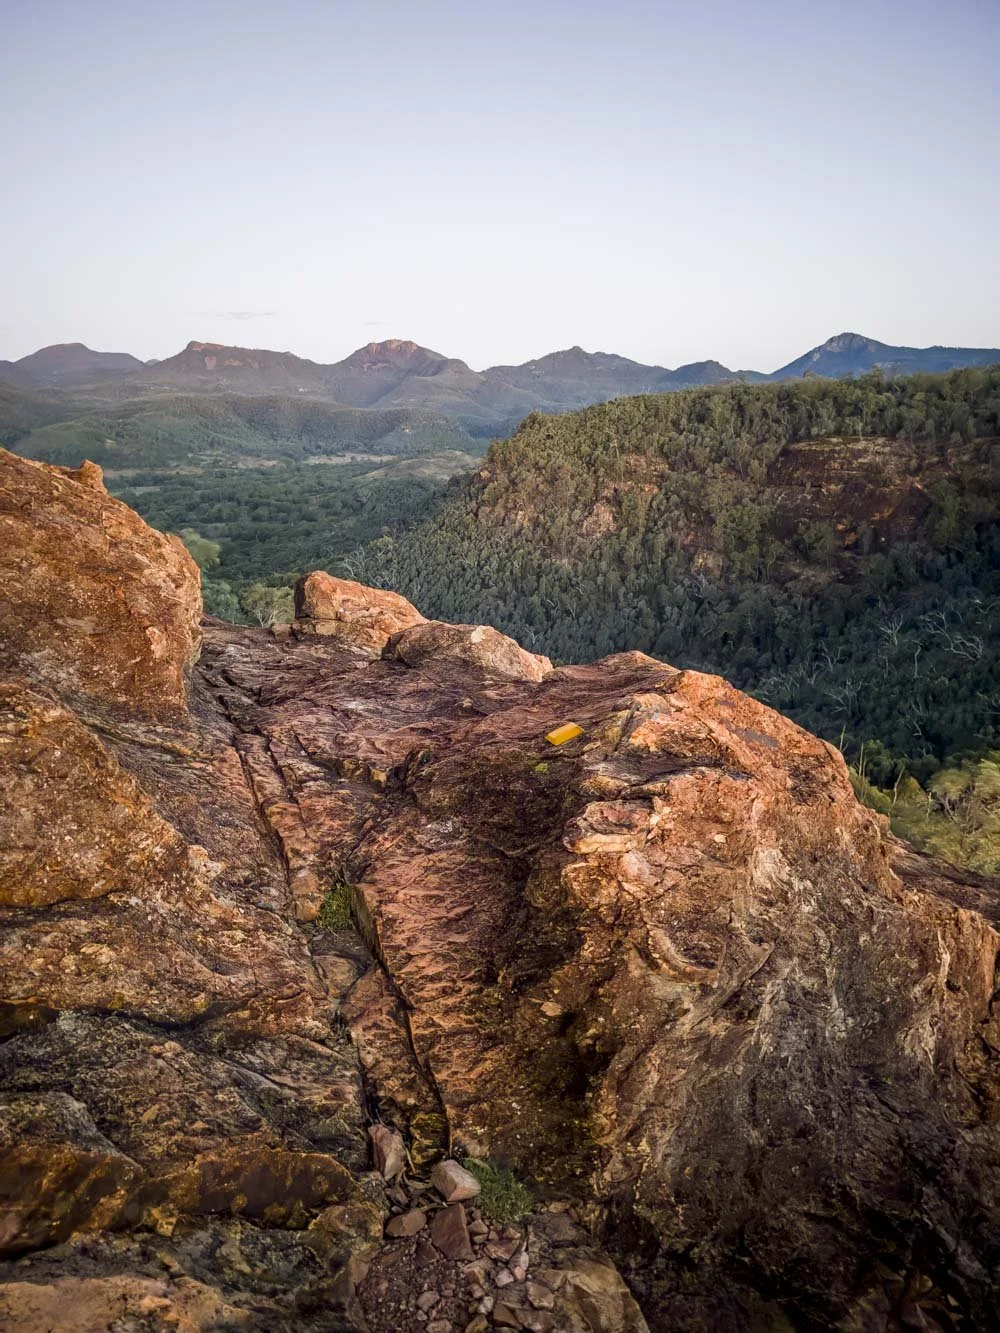
There are reflectors to mark the way and small steps have been carved into the rock in places, but it’s quite worn now and they don’t feel much like steps anymore.
There are also some old railings but I largely ignored those as they didn’t feel like the best route to me.
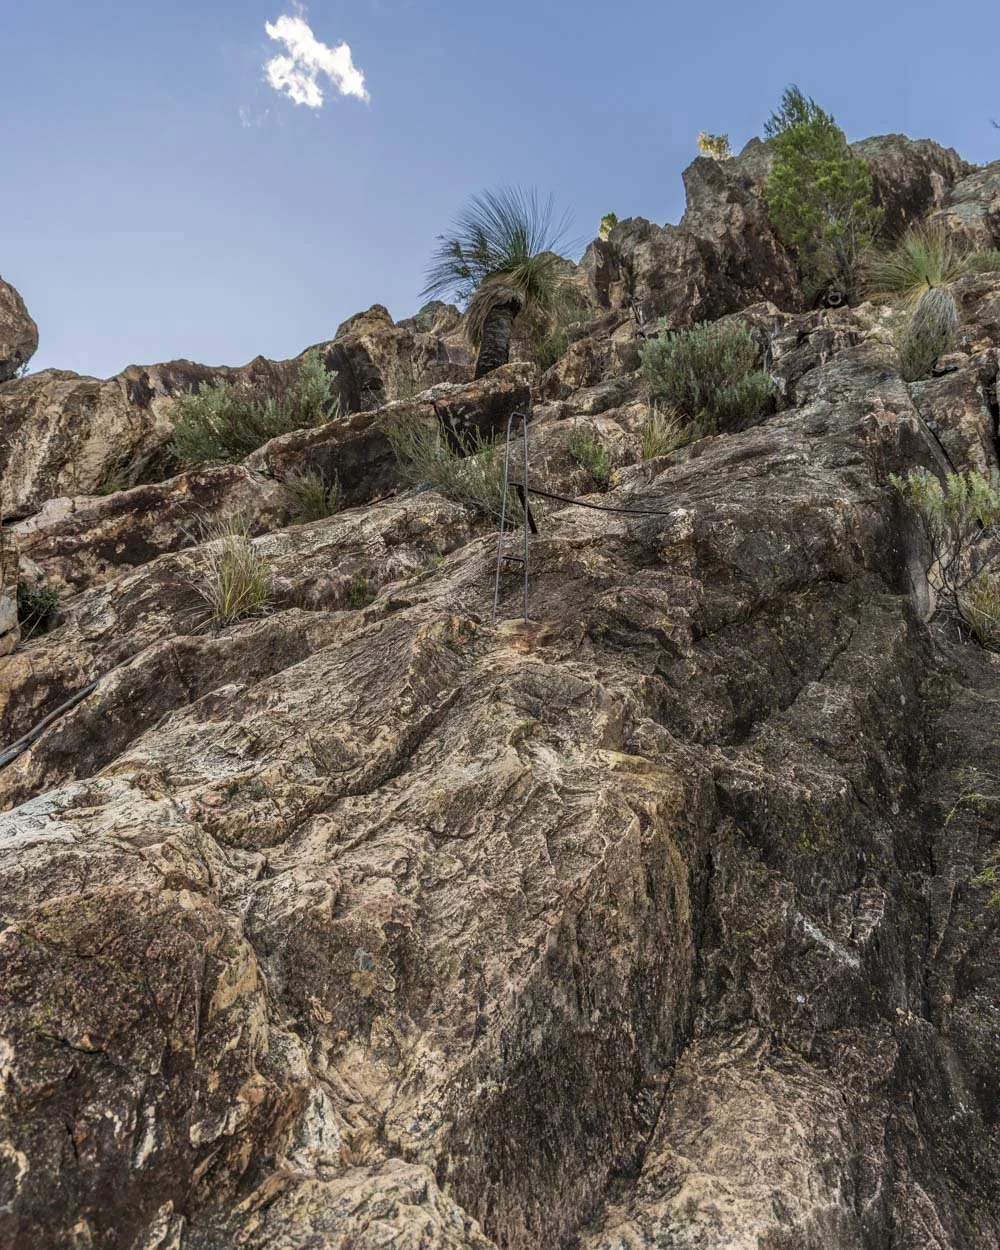
The start of the scramble is the most challenging and the ground does feel a long way beneath you. There is one short section where you need to traverse left and a few steps are very exposed.
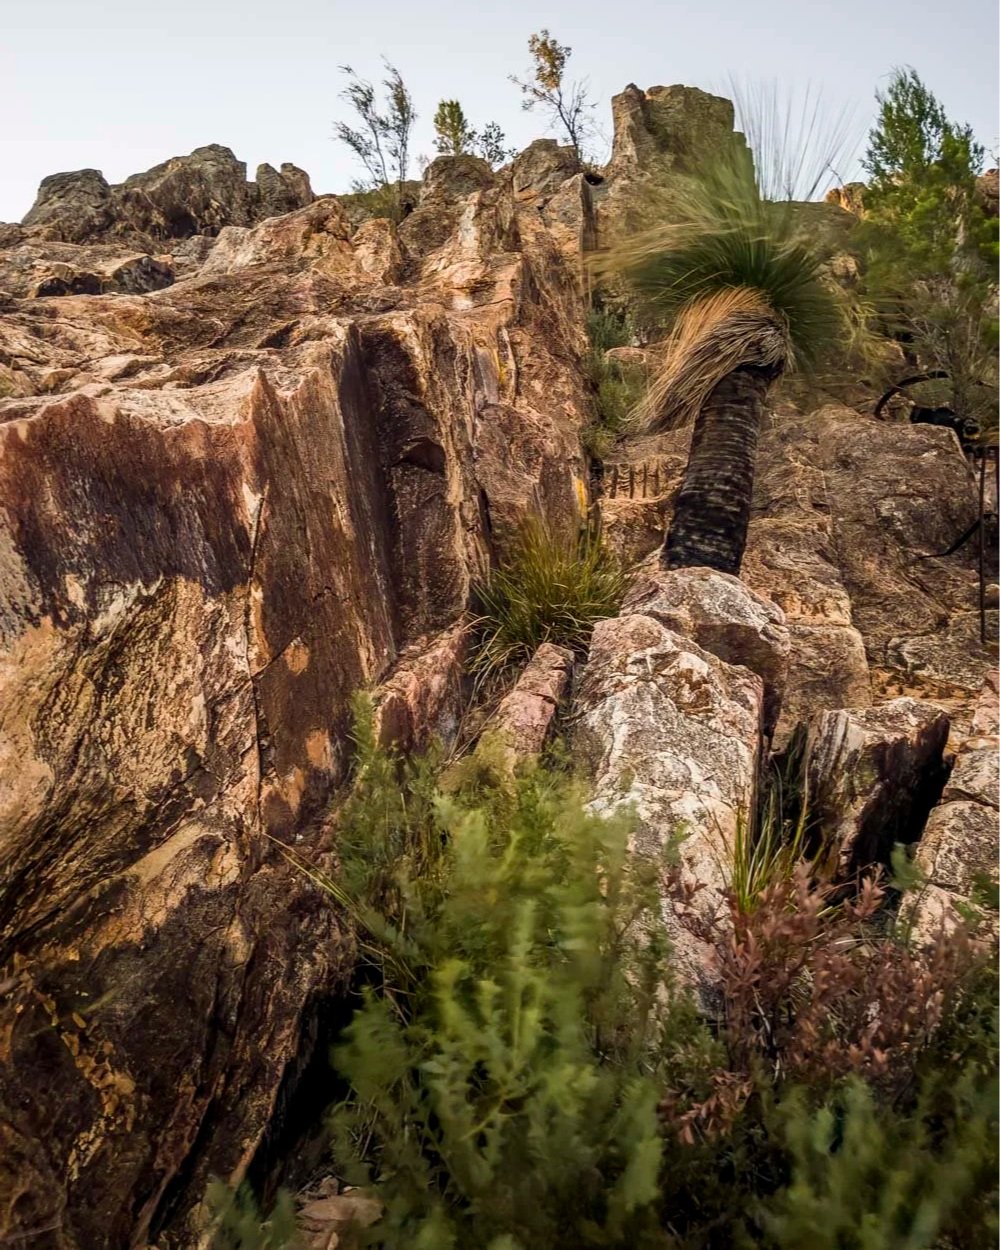
The tricky traverse
When dry the rock feels grippy and there are always good hand and footholds, but there’s no denying it’s steep and in a couple of places a slip would be very worrisome.
It reminded me of parts of the Pyramid in Girraween though overall I’d say it’s quite a bit easier. It is however, harder than Bald Rock and many other grade 5 walks we’ve done, so the grade 4 rating doesn’t really fit in my opinion.
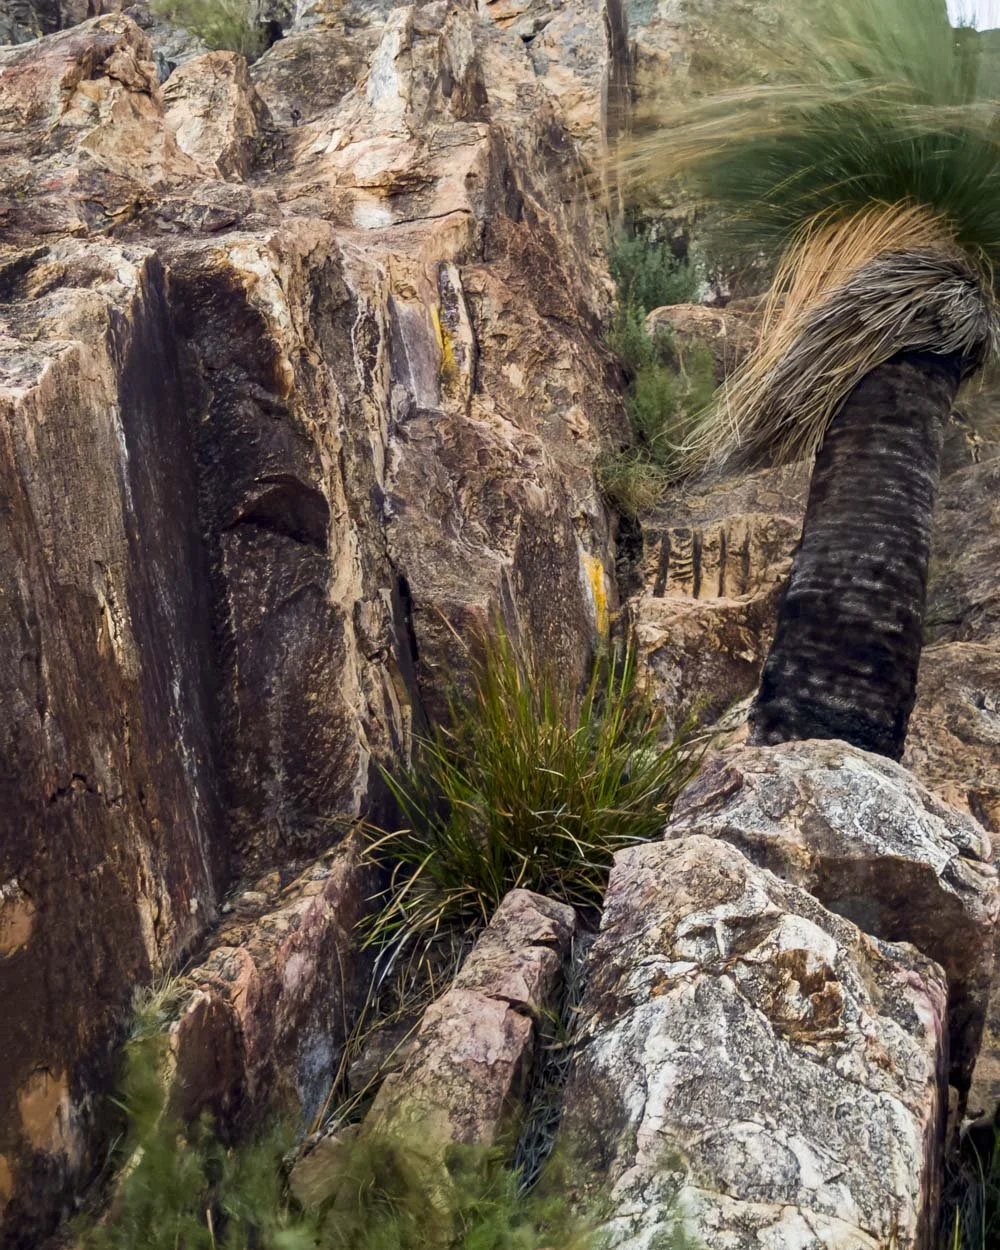
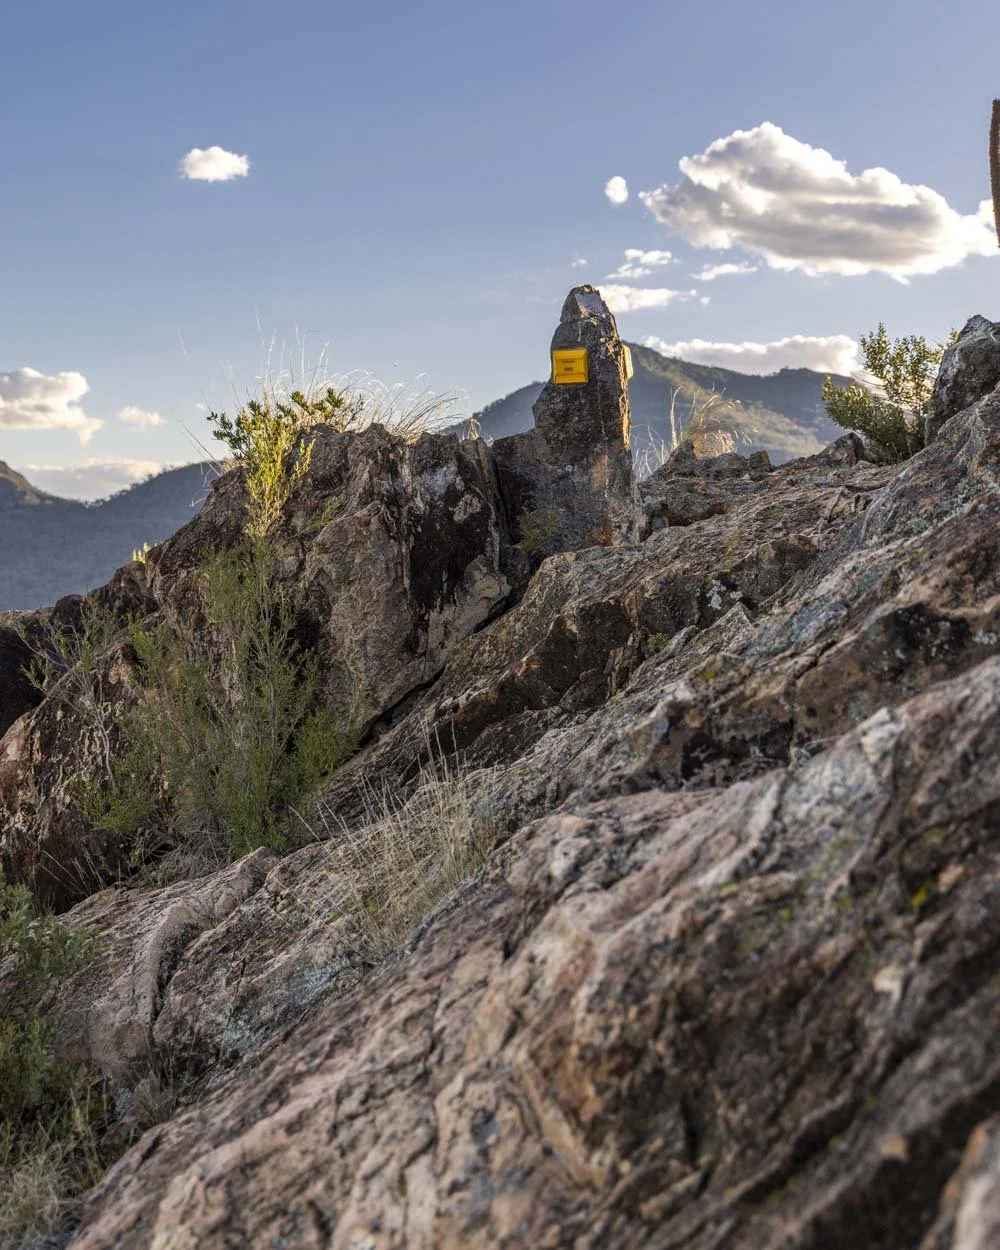
It was within my comfort zone because the rock felt so grippy, but it would be a real challenge if you’re nervous of heights.
Once you’ve made this left traverse things get easier and part of that is because it’s far less exposed so you don’t have that feeling that a slip would be dire.
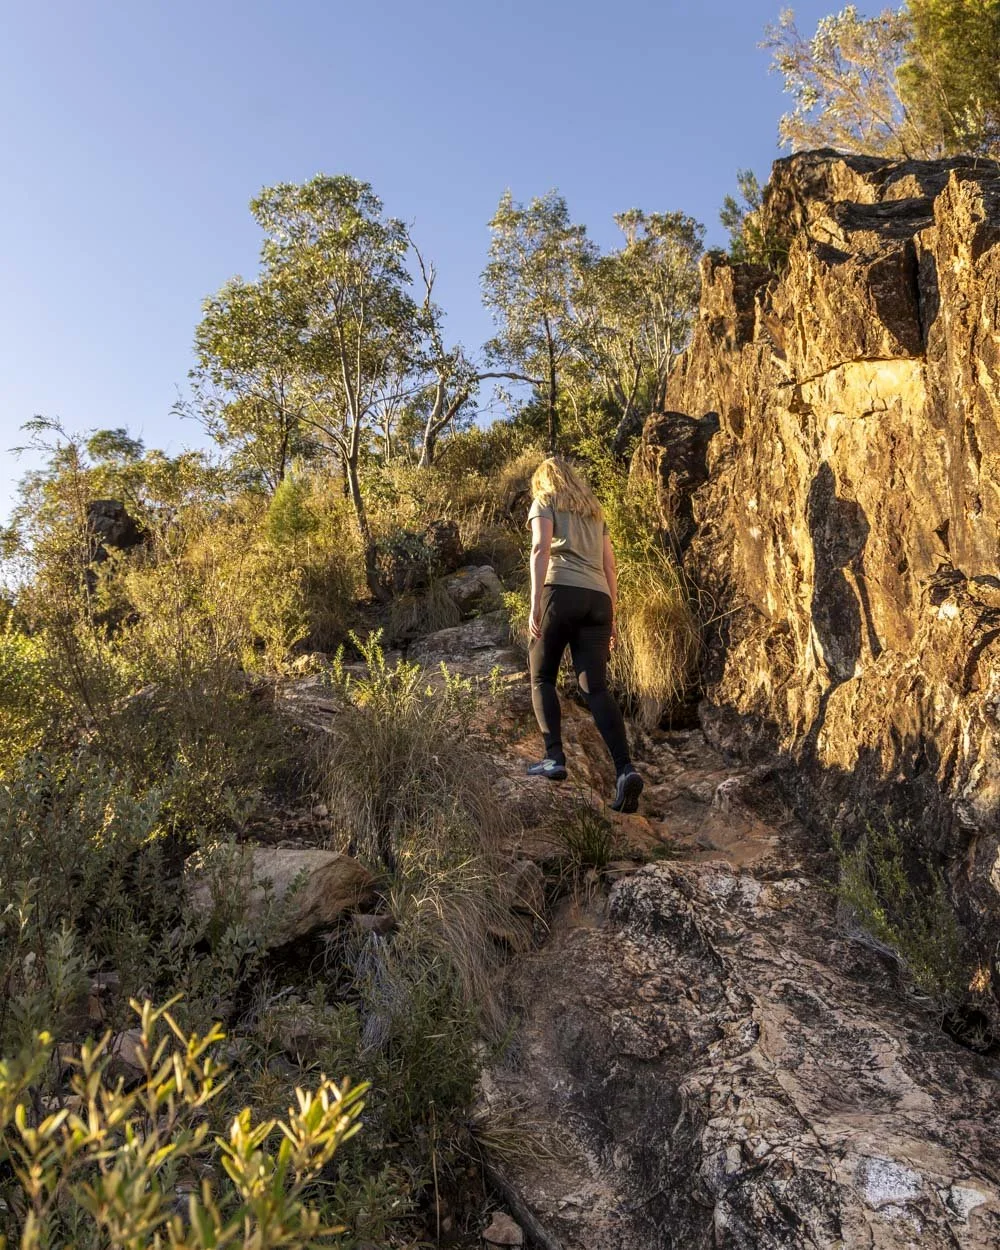
There are more steps cut into a rock slope leading steeply uphill, but they feel less worn and therefore easier to climb up. There are also more rocks and a section of wall you could use for added stability.
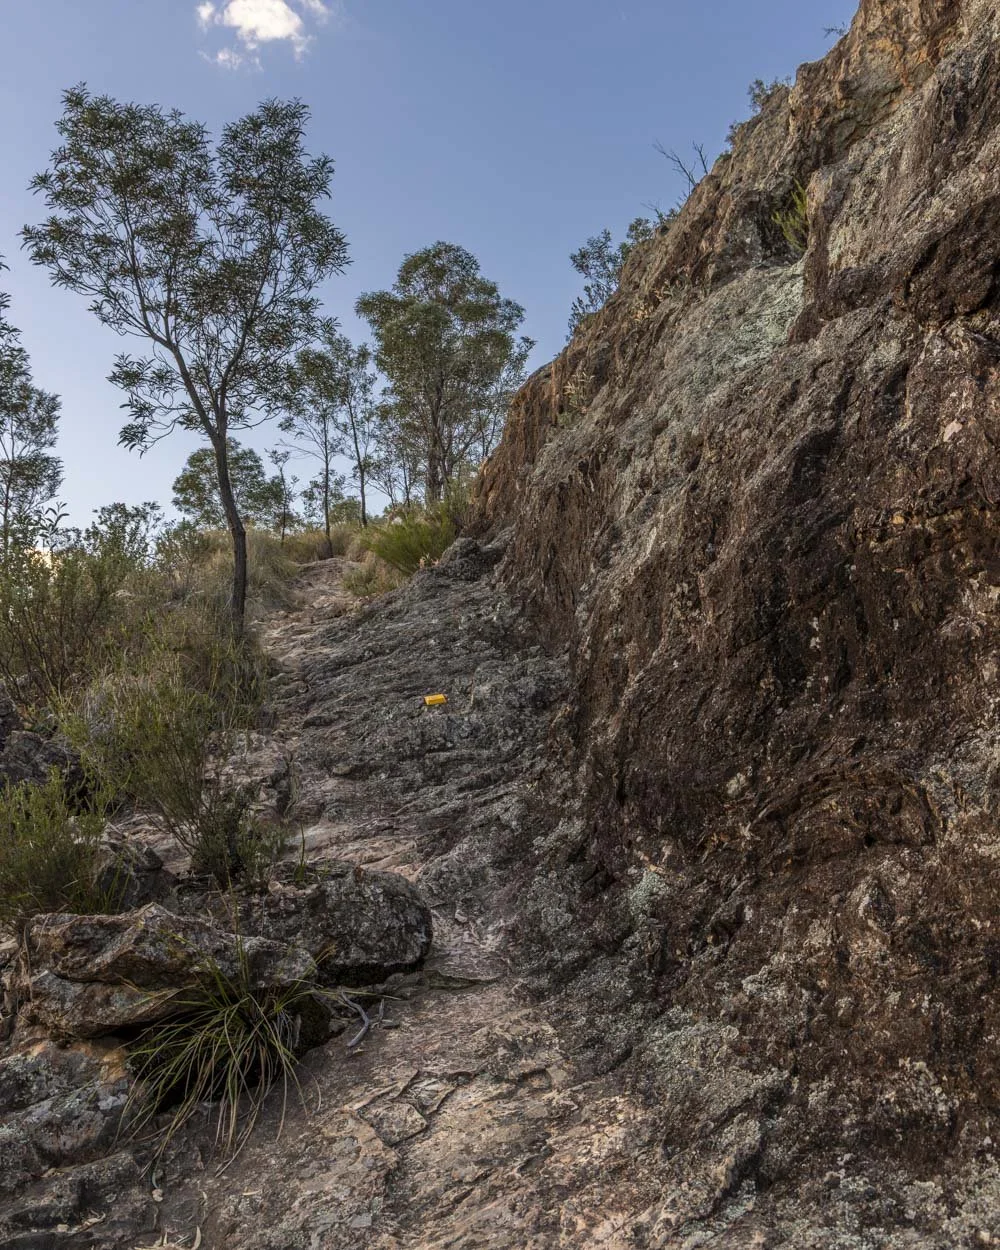
This sort of rock slope terrain continues for around 40m before you follow the reflectors right and shortly after the gradient slackens significantly.
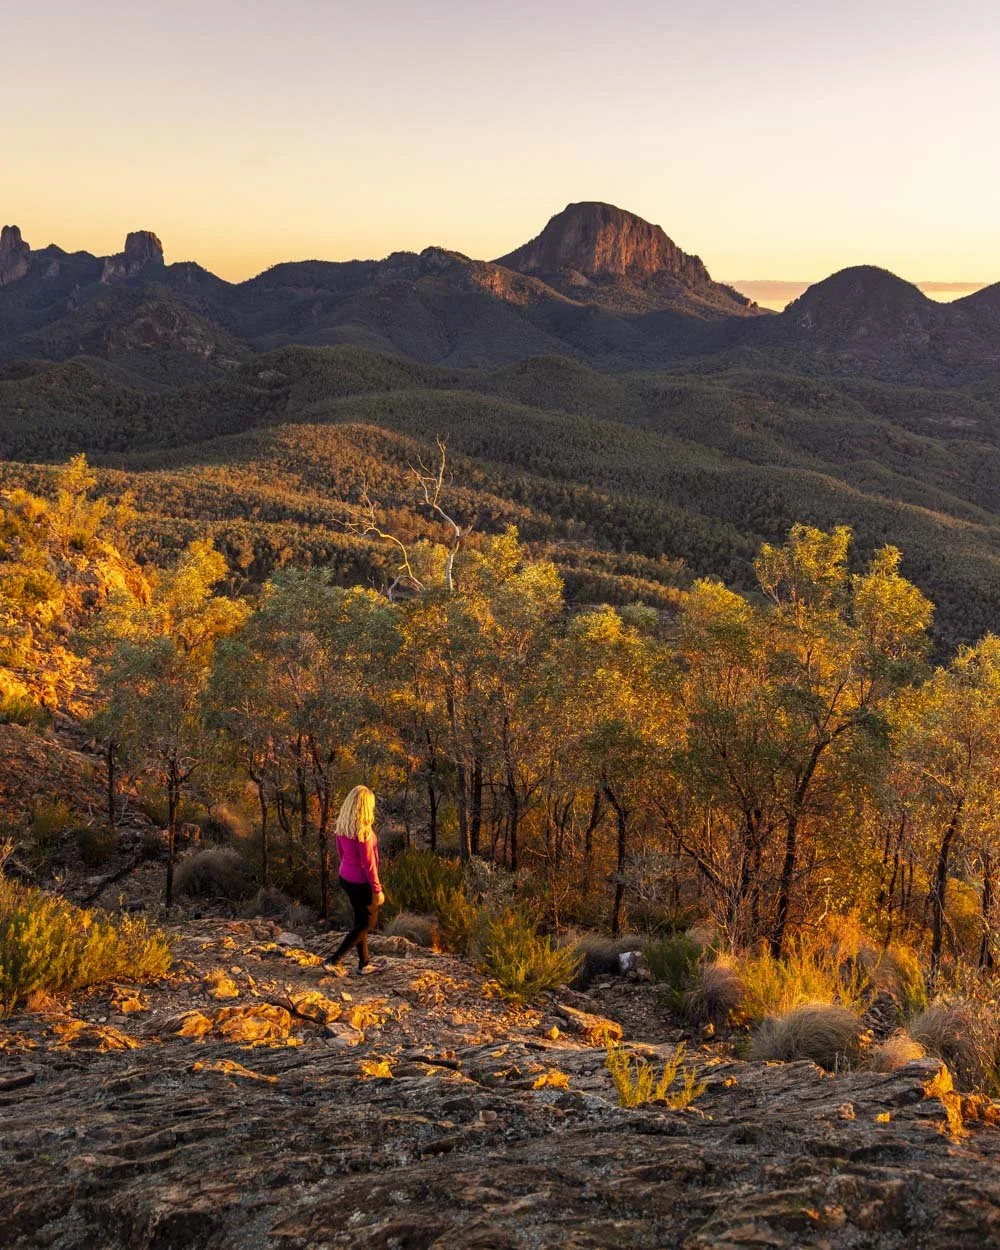
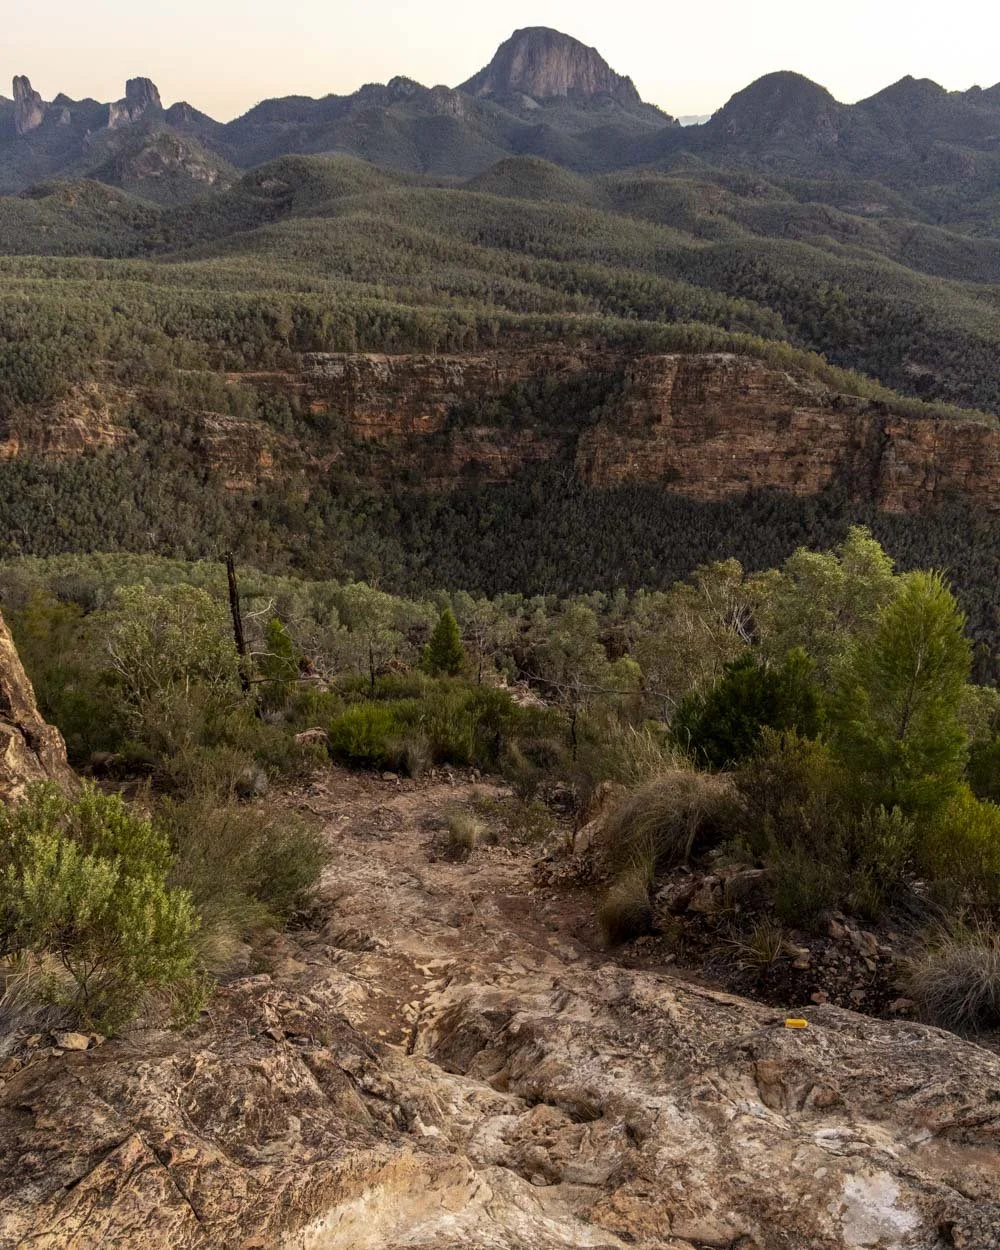
The views along this whole stretch are utterly magnificent and the track feels a lot easier so you can enjoy them fully.
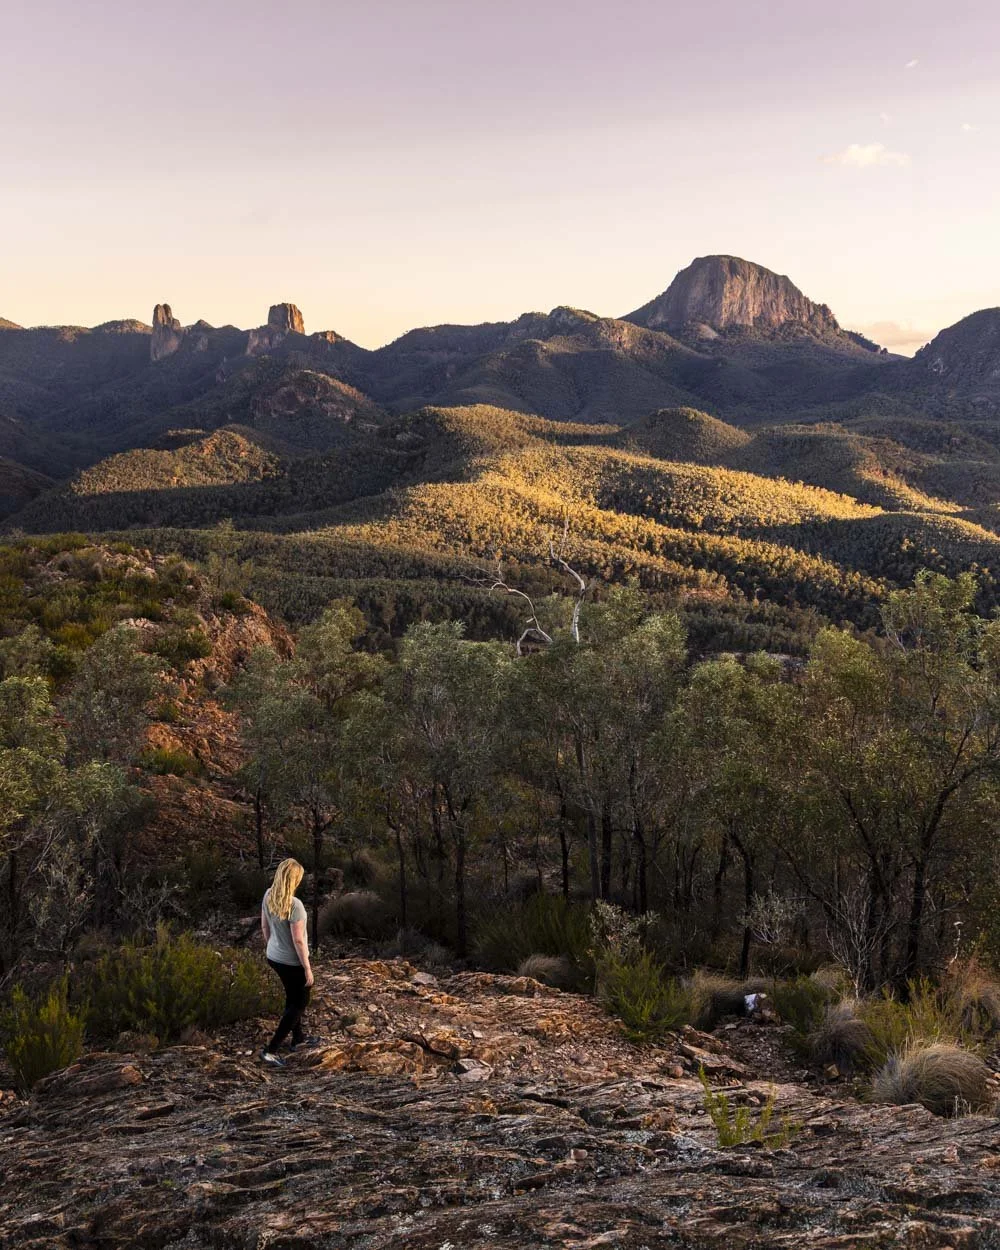
You’ll then reach a bit of a rocky track, which along with a little more rock slope, will take you all the way to the summit, around 120m away.
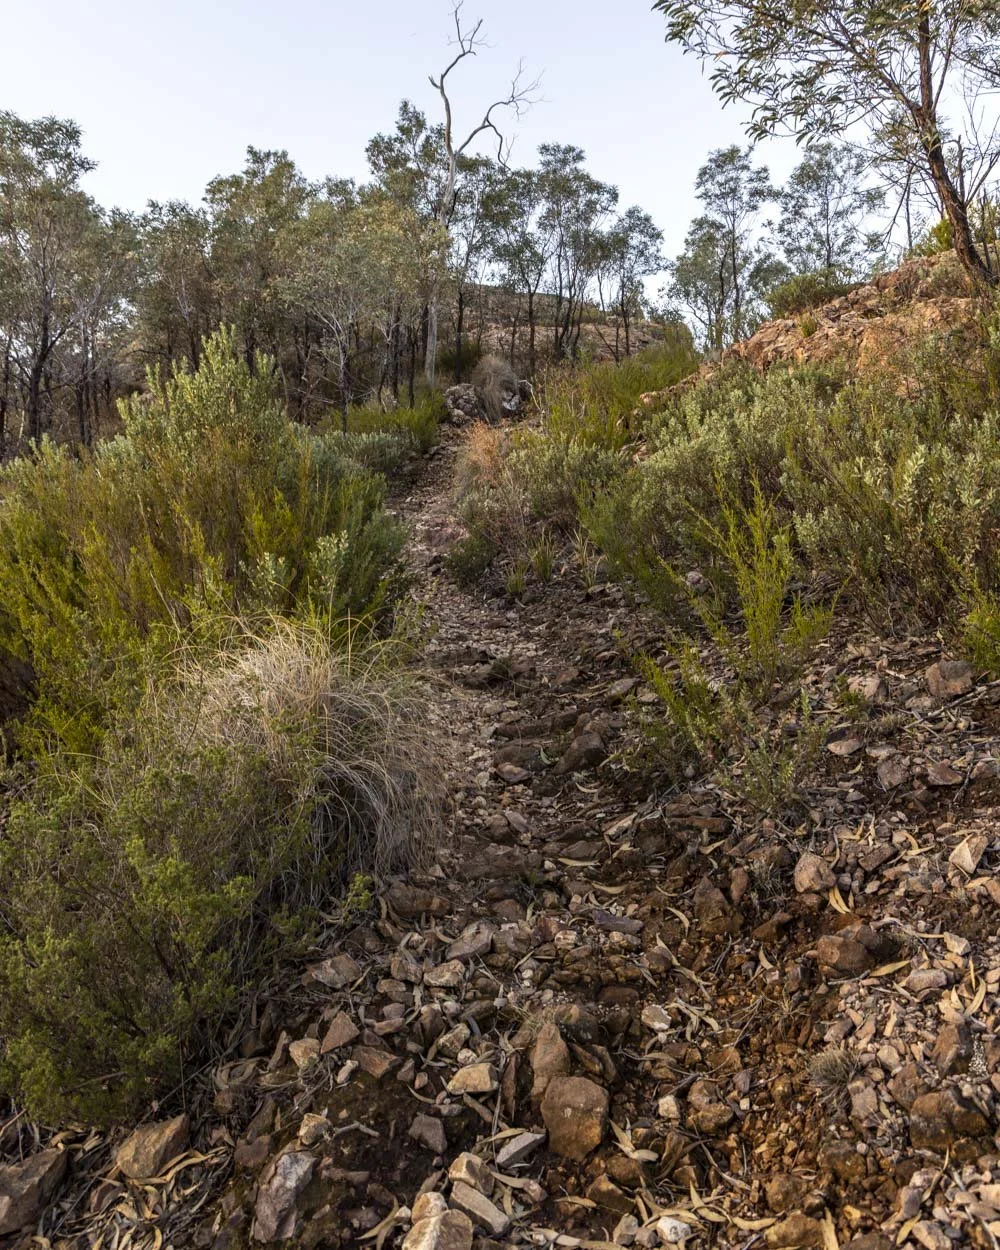
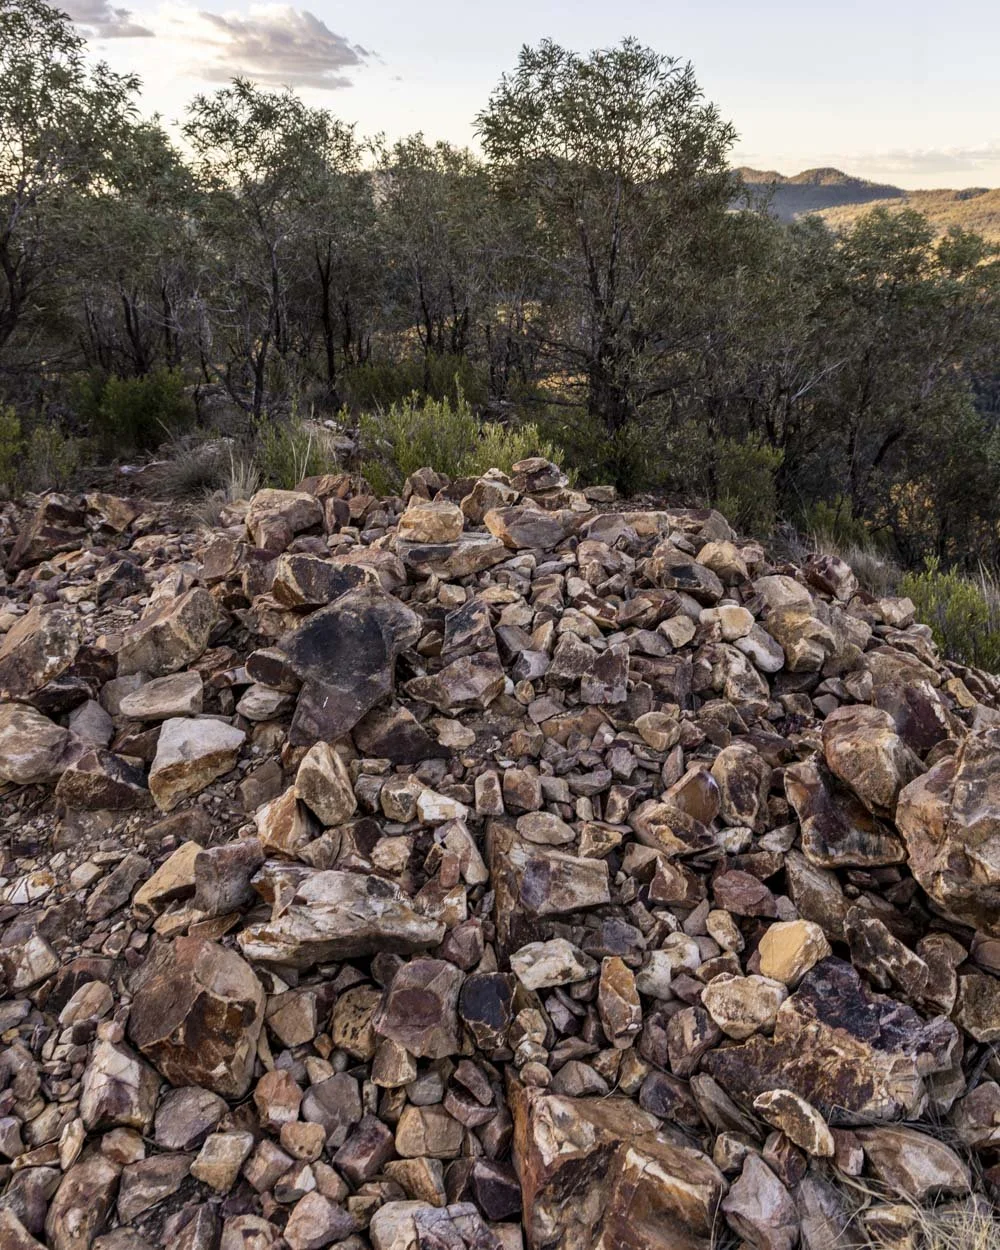
The Split Rock summit
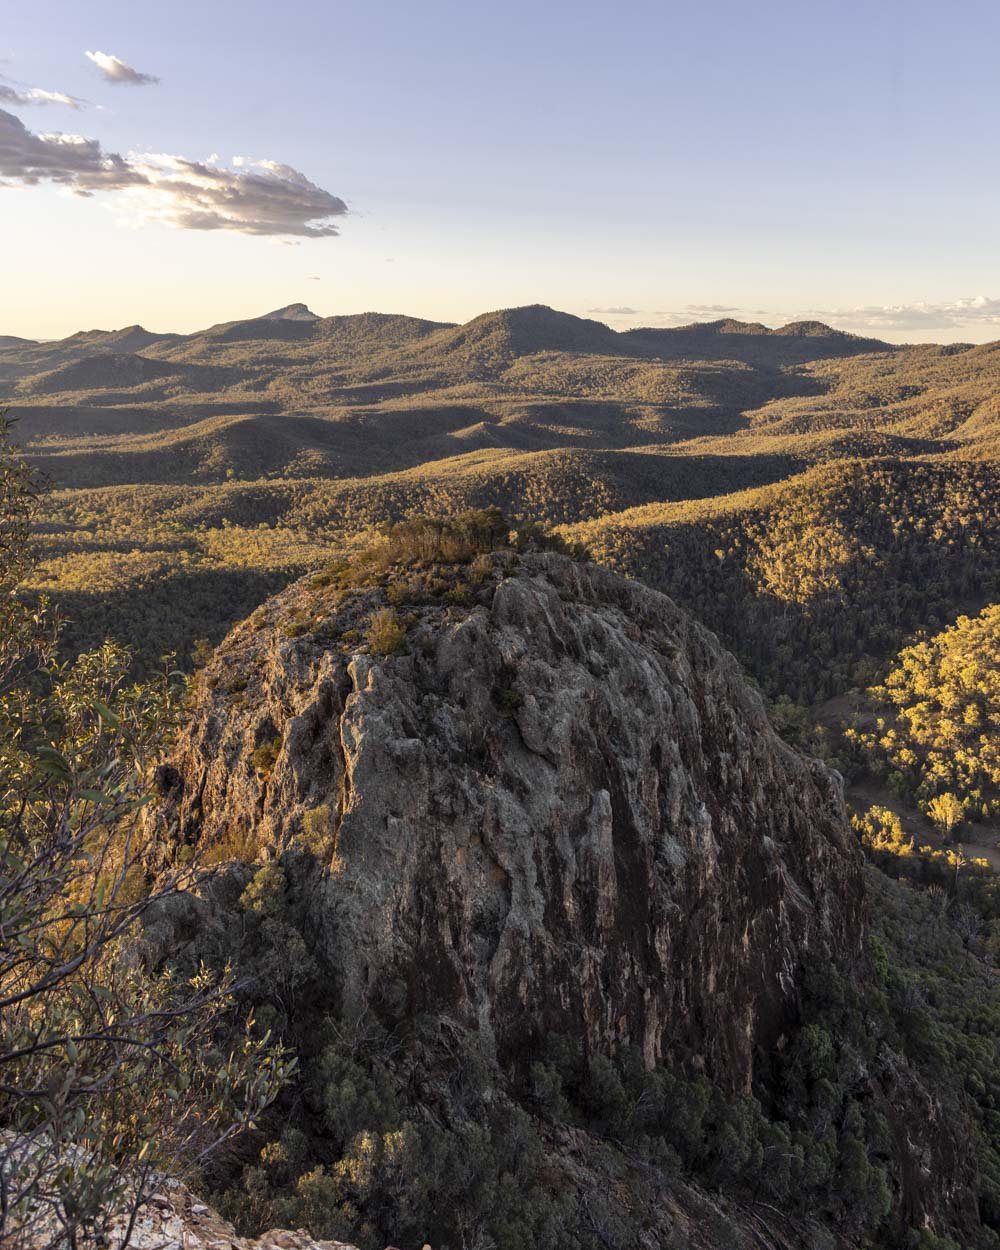
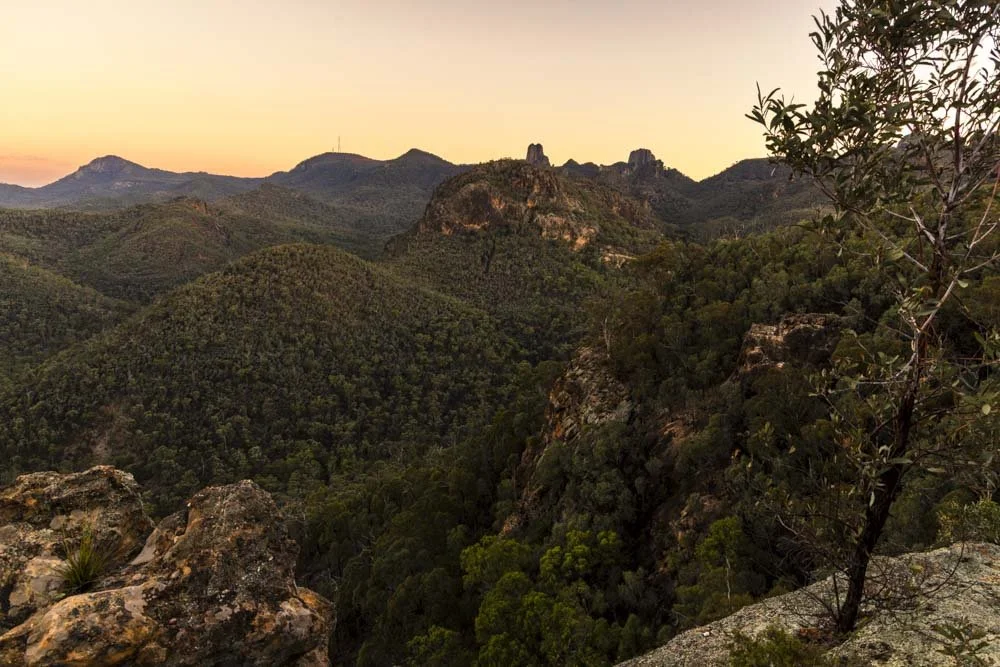
The summit is basically a big rock pile and though the views are good, they are not comparable to the views on the final 300m you just walked to reach it.
Definitely allow plenty of time to make your way down, stopping at all the different levels to really take in the truly majestic Warrumbungle mountain ranges.
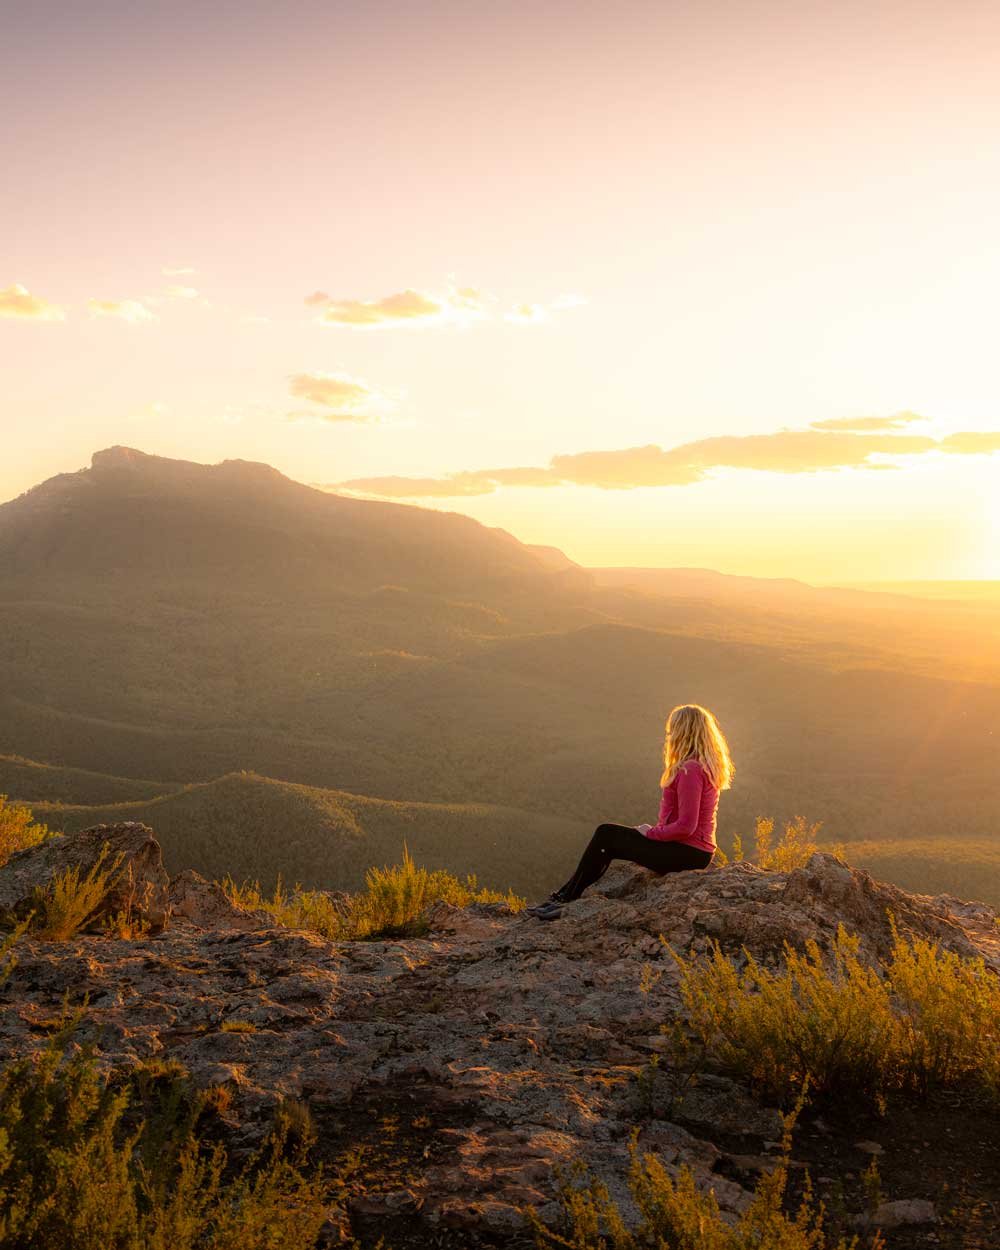
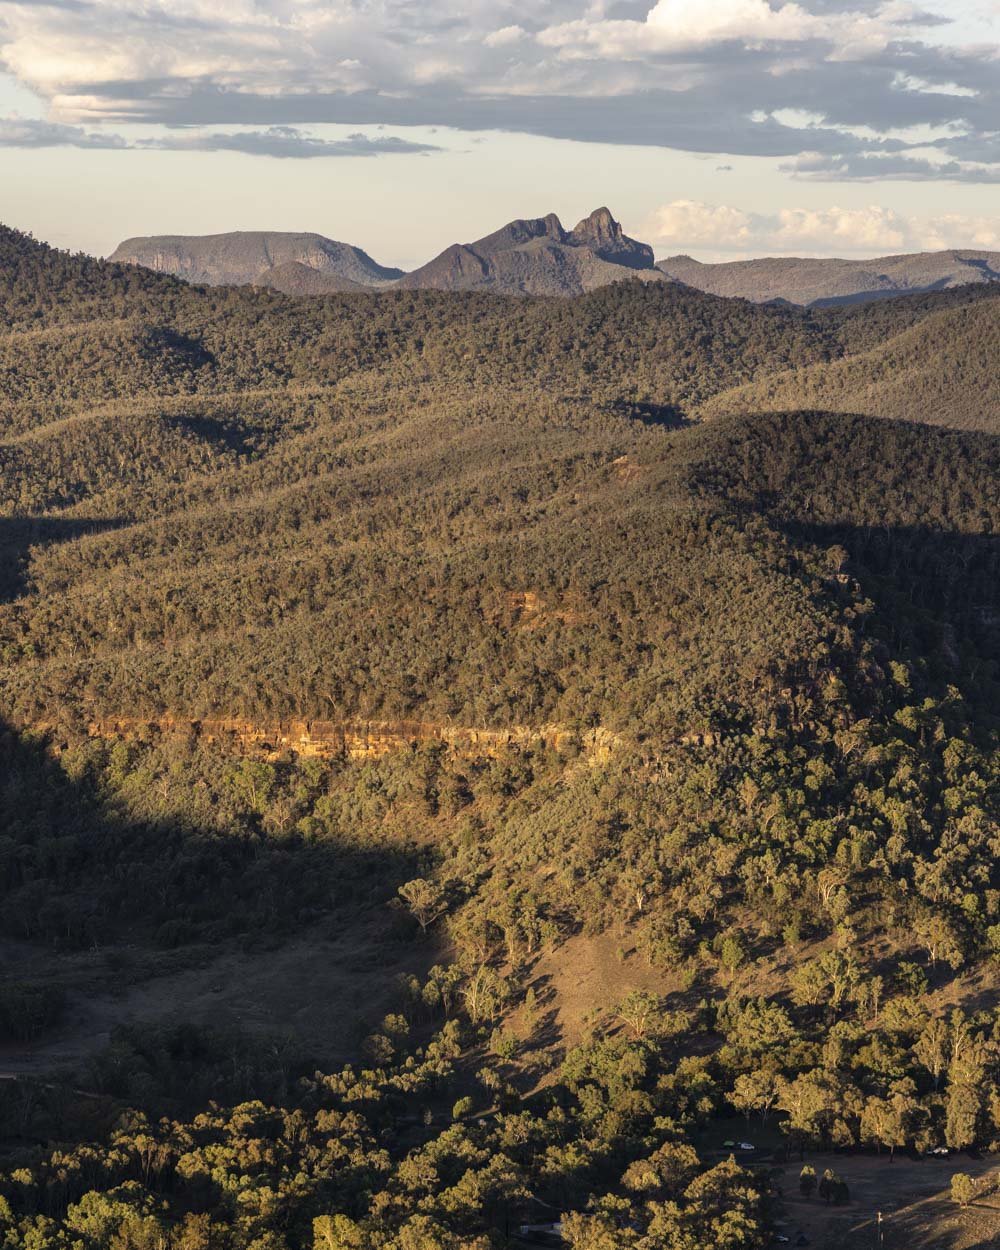
You can see all the prominent formations, from the Breadknife to Bluff Mountain and Belougery Spire and the endless expanse of the Western Plains.
We see a lot of incredible views on our adventures around the state, but this one really does stand out. I was so completely charmed by it that my resolution to make sure we got down the scramble before we lost the light went completely out the window.
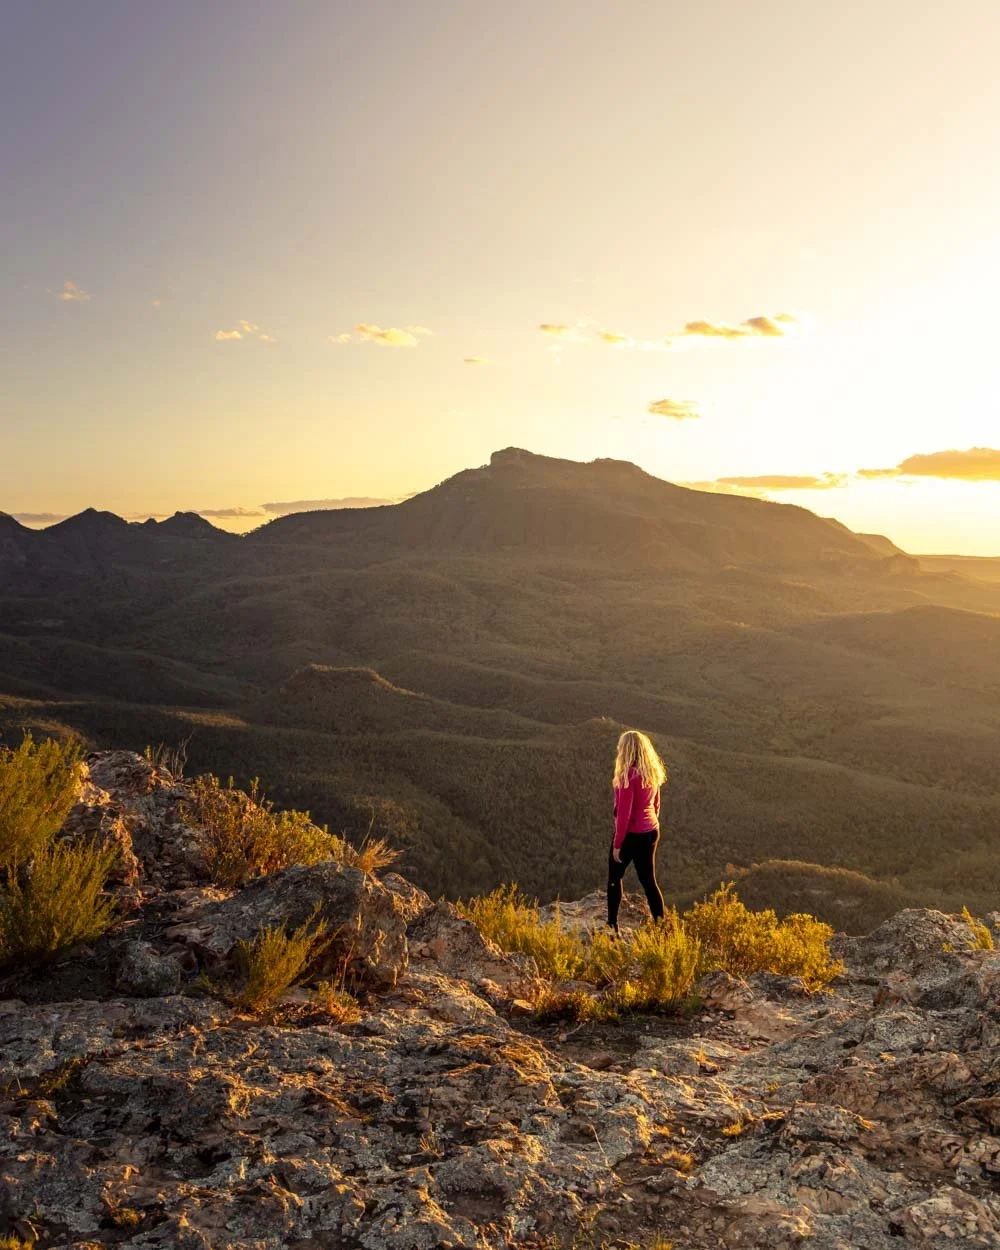
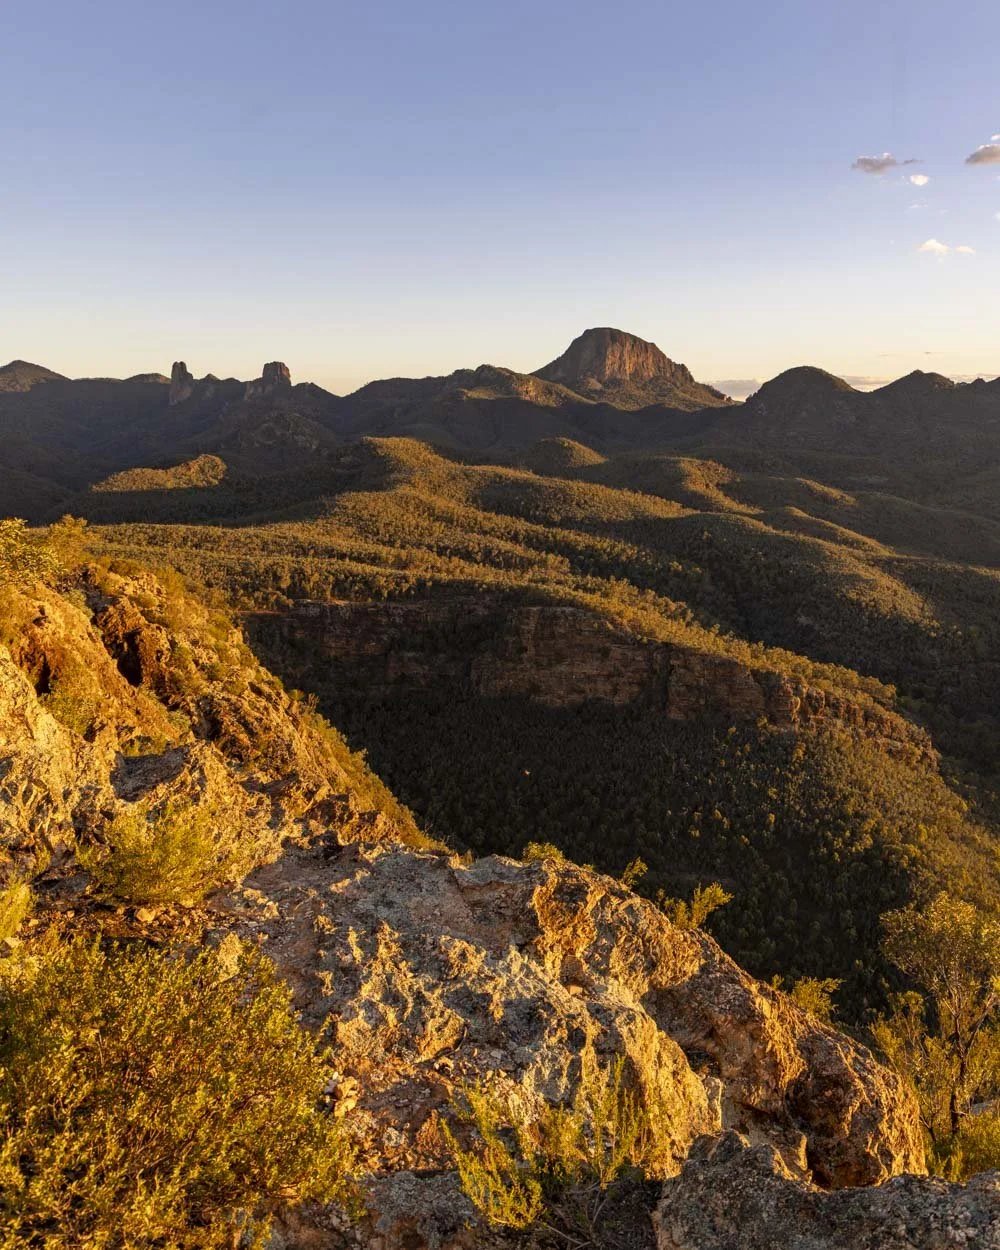
Not something I recommend, but it is testament to the absolute magic of the place. Thankfully the scramble down was easier than I anticipated though I was nervous when the twilight ebbed away so quickly!
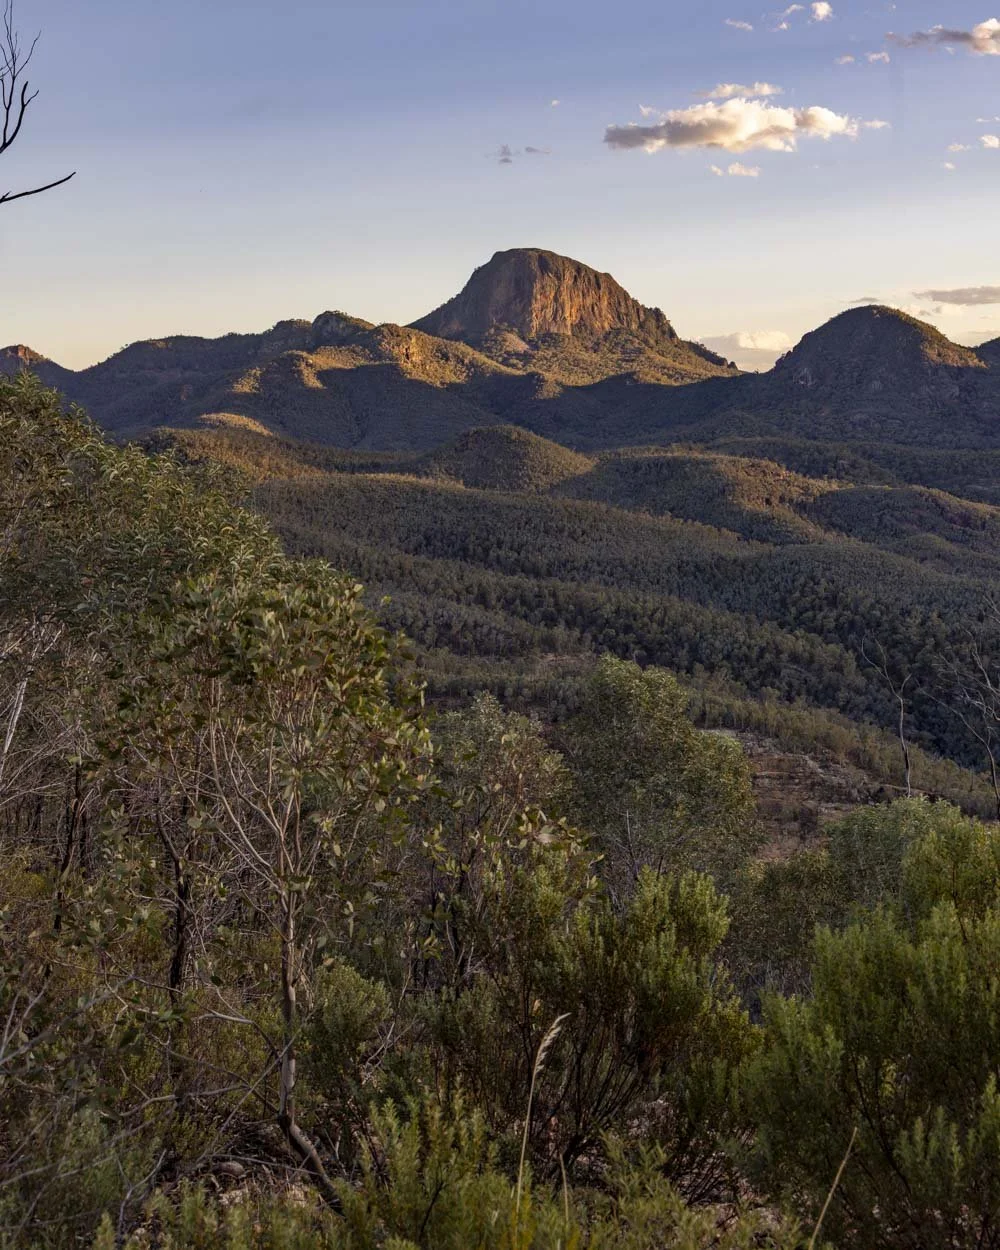
Anyway back to the summit for a second because I should also mention that you can continue past the summit rock pile for 30m to reach another lookout. It’s not an official lookout, but a rock with a view!
And it’s well worth seeing because you get a close up look at the other side of Split Rock which is not something we’ve seen from any other walk in the park (so far).
Descending the scramble
The first half of the scramble descent is easy as it’s mainly a normal path or some rock cut steps which are not too steep or exposed.
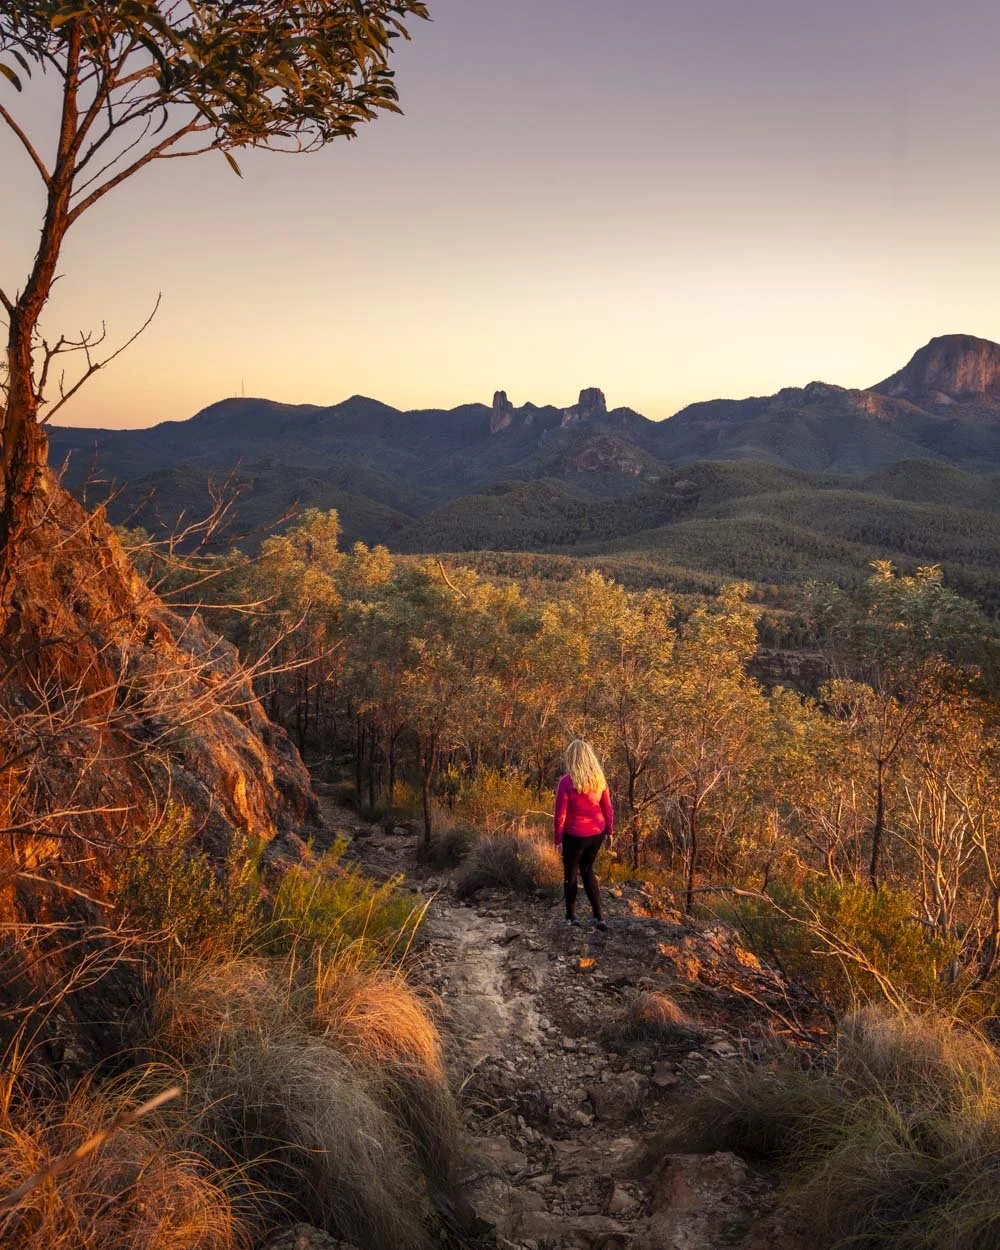
There was one bit (which you can see in the photos below) where it’s steeper and felt a little more iffy in reverse as I’d scooted up it without a thought initially. Perhaps it’s because in reverse you can see the big view ahead and it does feel rather lofty!
I went down this very steep bit on my bum which was straightforward as there were always notches on the rock to stop it becoming a slide.
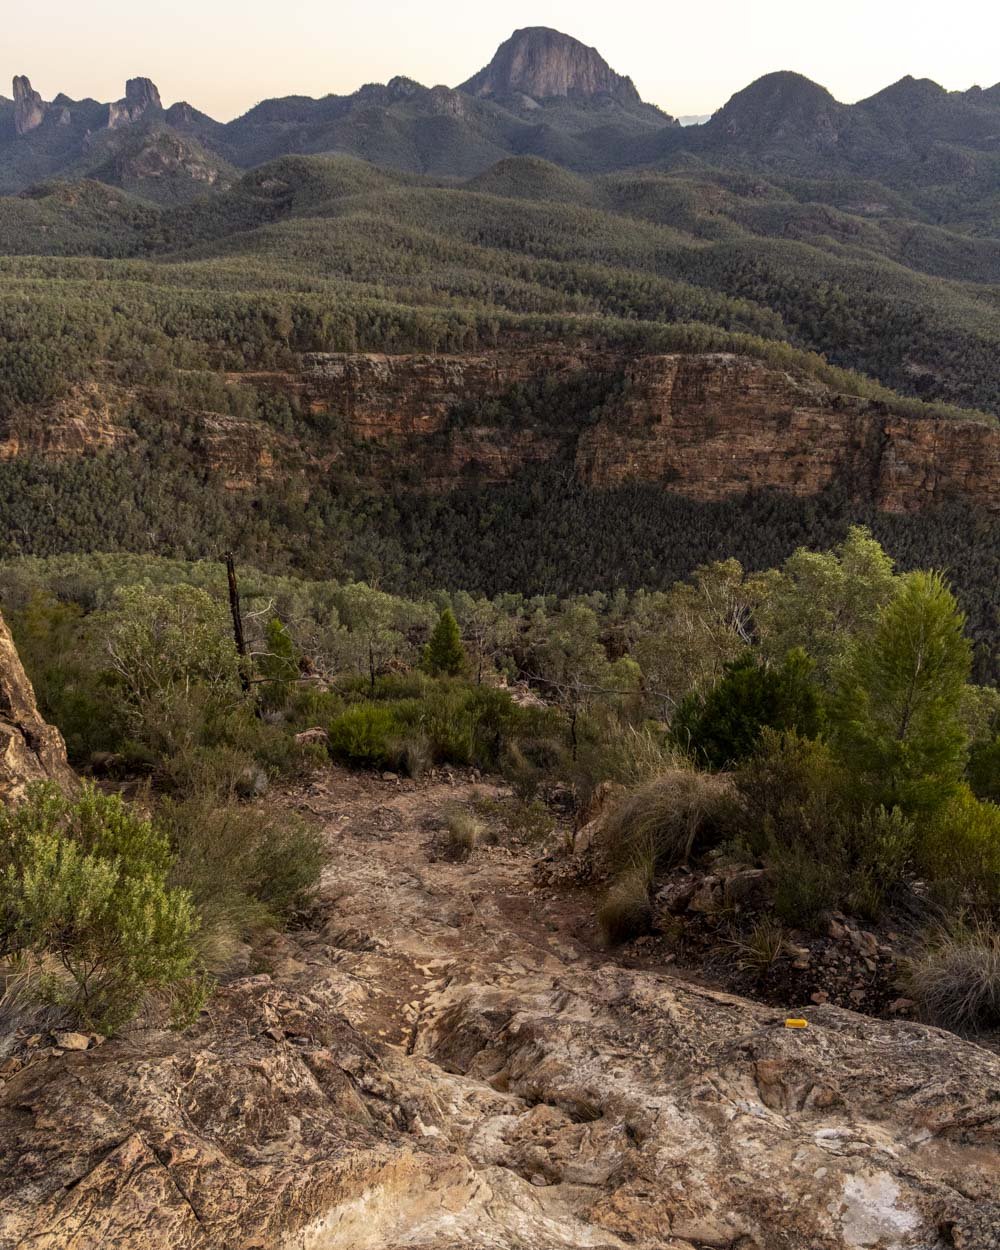
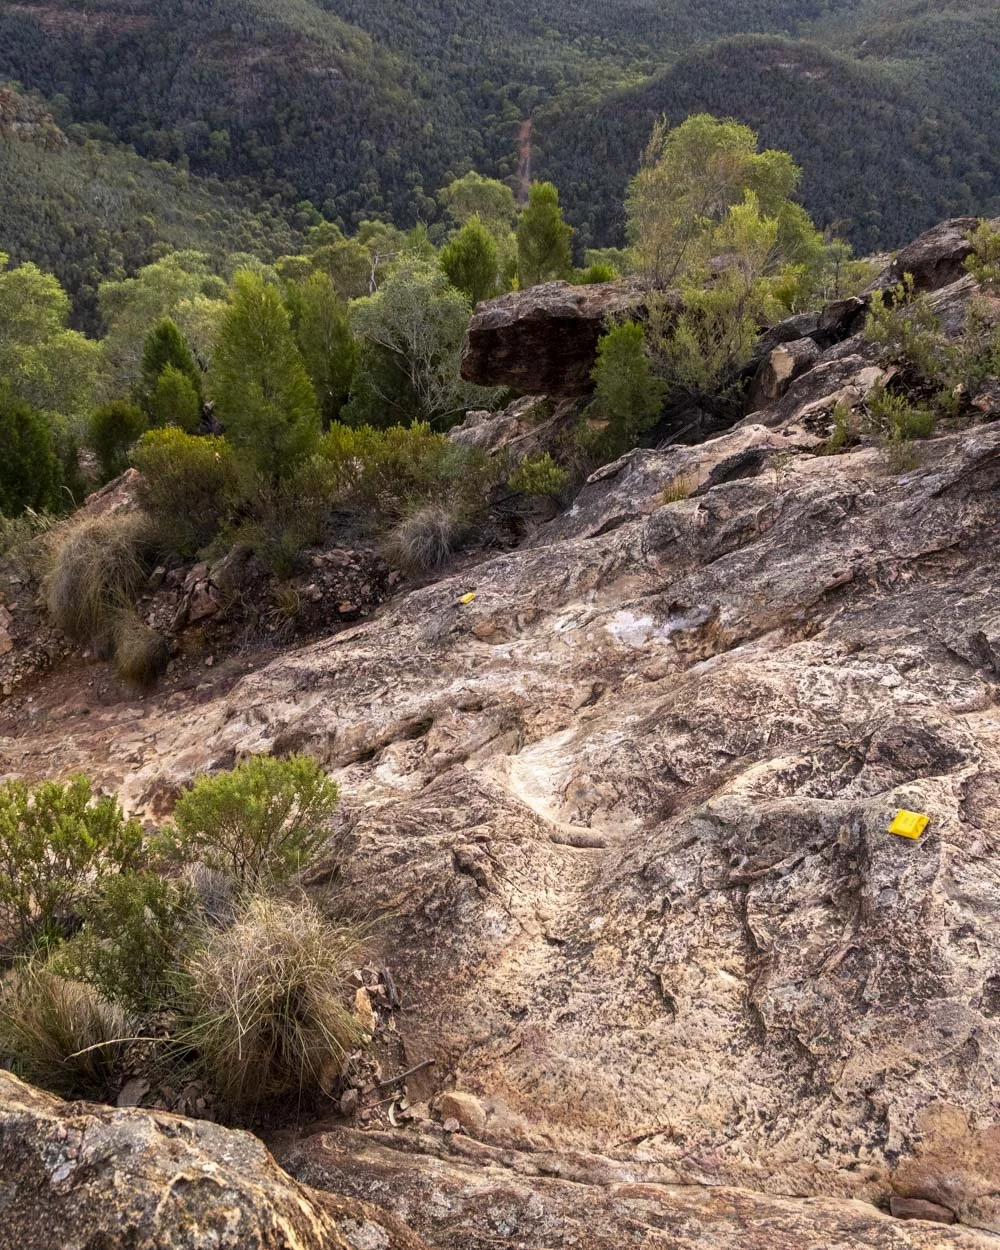
The only other bit that was notable was the final 50m, though as mentioned, this was easier than I expected.
The moves are all easy enough so the discomfort on this bit is more about the visuals which give you that feeling of being exposed.
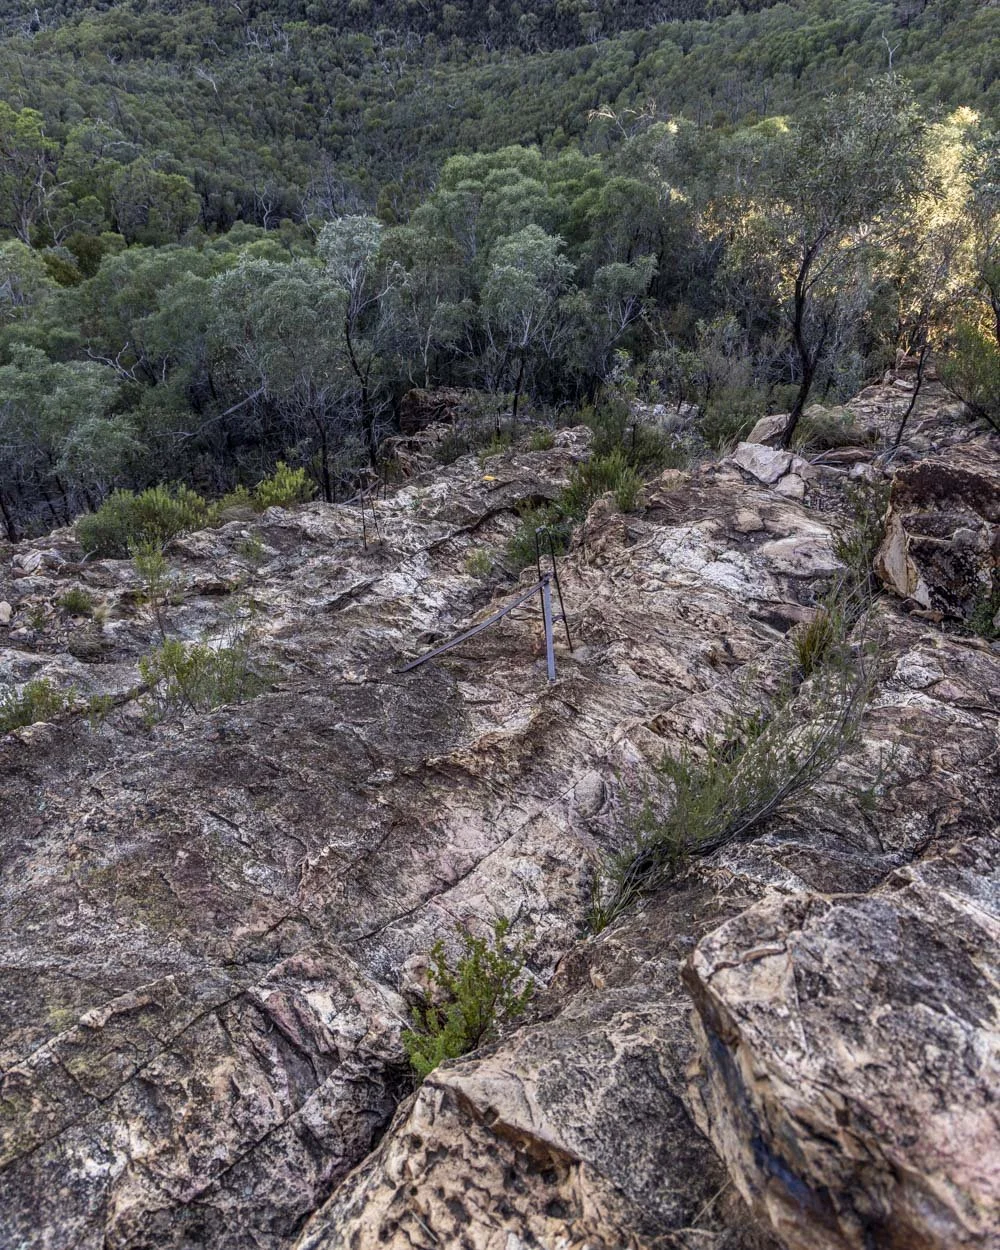
Since I didn’t really have any visuals as it was almost totally dark, I didn’t experience any real concern, though I certainly took it very slowly.
With that said, I still wouldn’t recommend coming down in the dark, it would be more sensible to get back to the staircase in the twilight.
Completing the circuit
All photos for this next section are taken with a phone and a flash so they are not good quality, but hopefully still show you the gist.
There’s just over 1km of relatively rough terrain underfoot before it’s an easy stroll back to the car park.
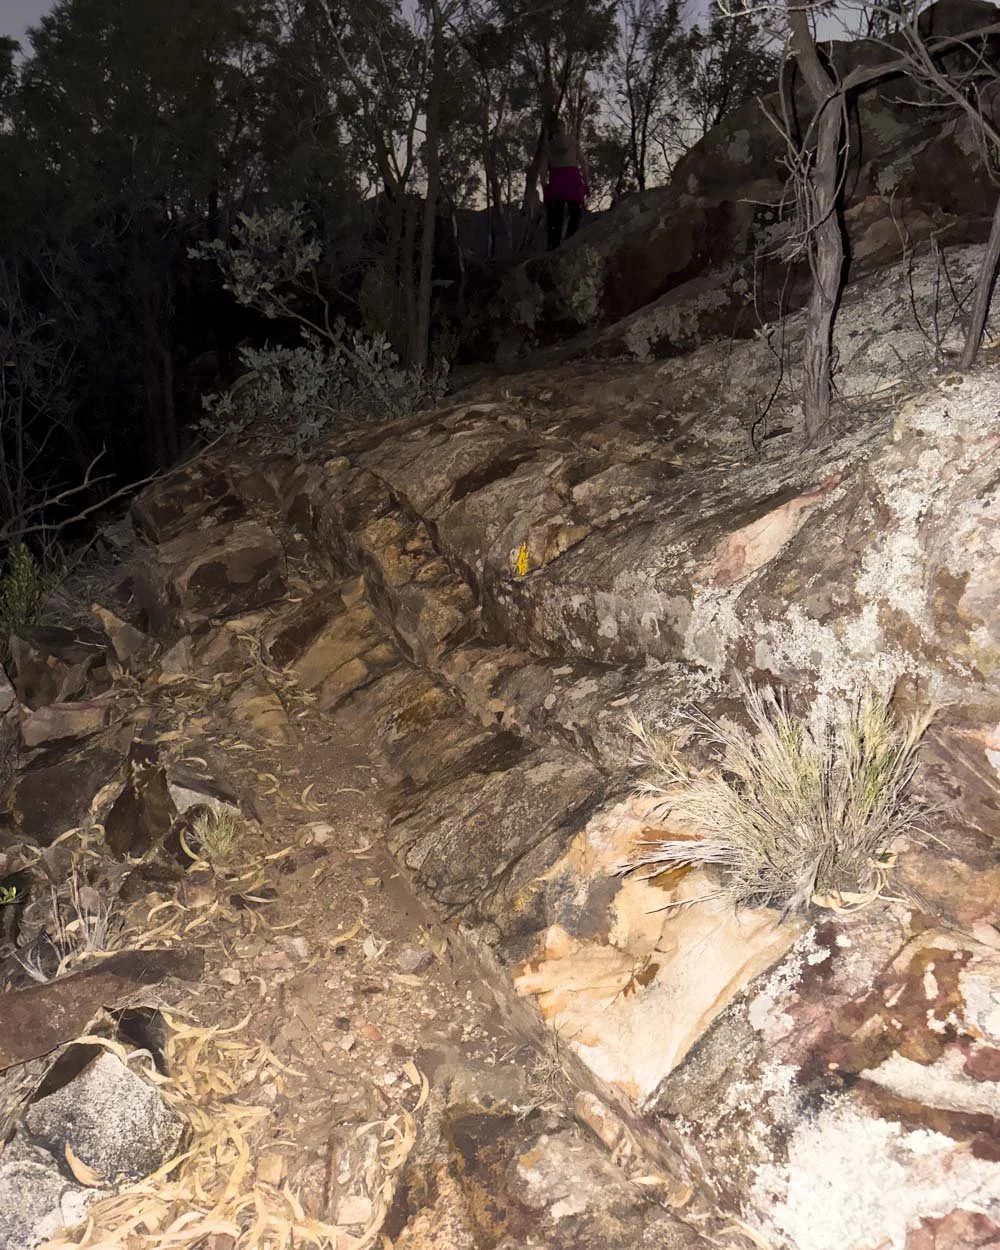
Reflectors mark your way over much of the first part of the descent, though almost none of them actually reflected, so if you’re in the dark navigation is a little more challenging than you might think!
As we do a lot of sunset walks and night hikes looking for glow worms we’re quite used to it, but if you’re not, you might not want to do this first kilometre in the dark either!
From the gated staircase at the summit junction the track heads right, climbing up some rock cut steps and then traversing a rock slope before the descent begins.
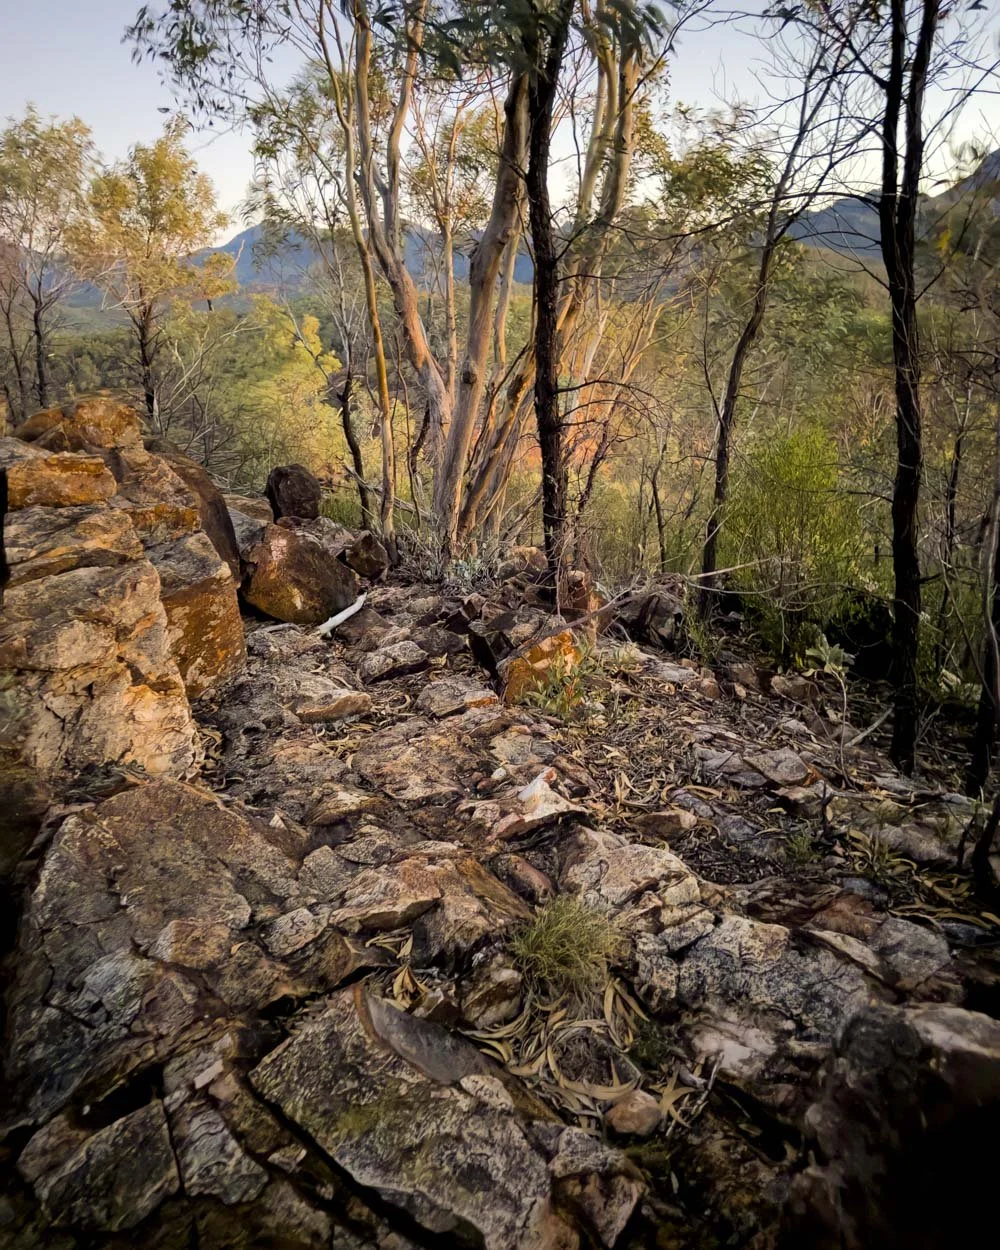
Initially the descent is on rock slope with reflectors and it’s a little steep in places.
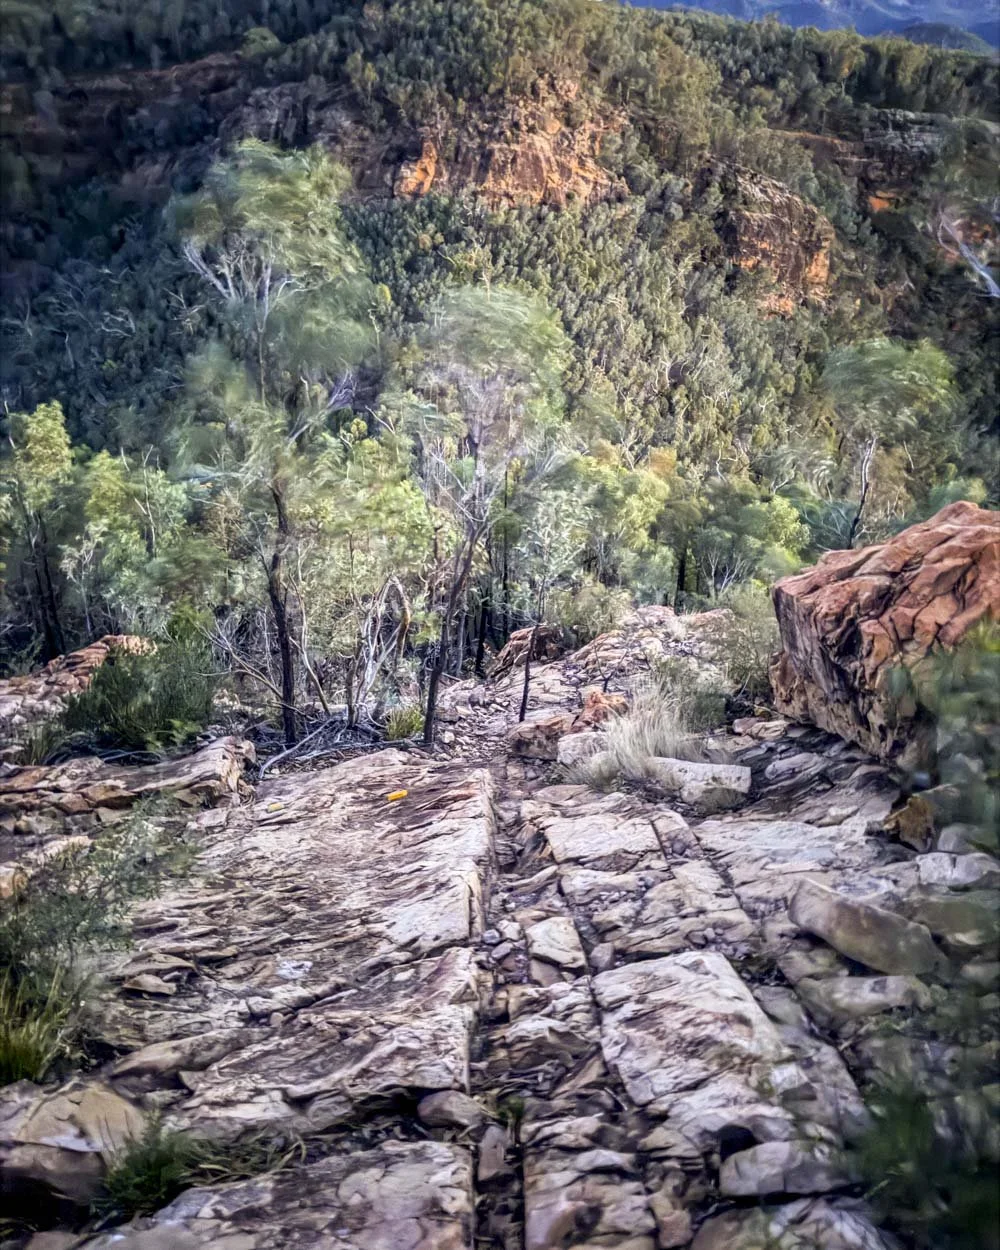
Some rocks and tree rooty bits follow before the gradient slackens a few hundred metres later. The steps are now wider and much more well maintained which makes the descent considerably quicker.
There are rocks and minor rubbly bits in some areas, but generally speaking the next 450m of the descent is quite easy.
You’ll then reach a narrow bush track and it’s either flat or a more gentle descent from here, at the 3.7km mark there are some huge boulders which were impressive even in the dark.
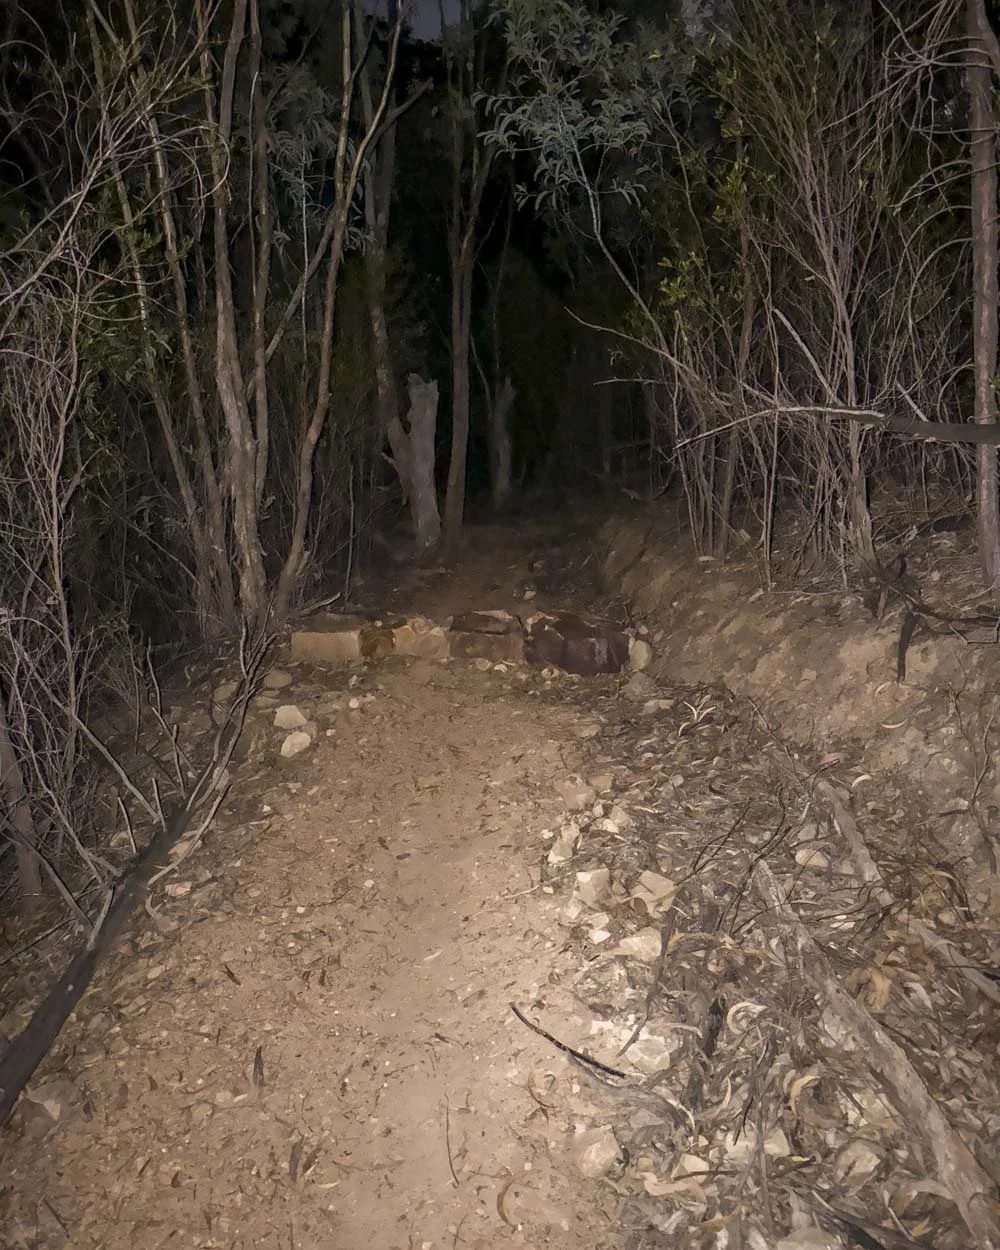
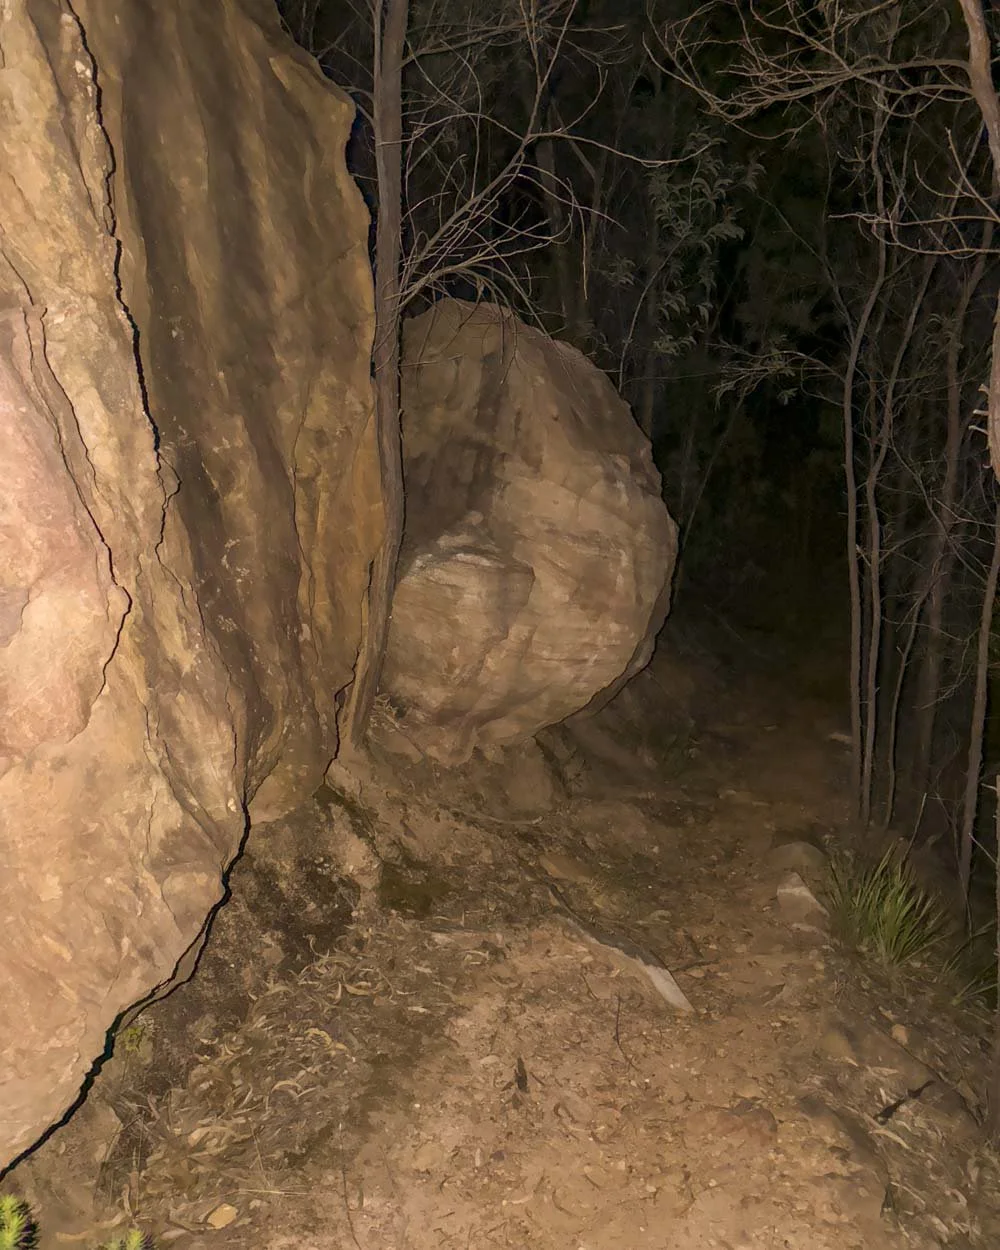
Just 150m after the boulders the track completely flattens and remains so all the way to the car park. At the 4.2km mark you will leave the bush and reach a fire trail, turn right here and it will lead you back to the car park which is 500m away.
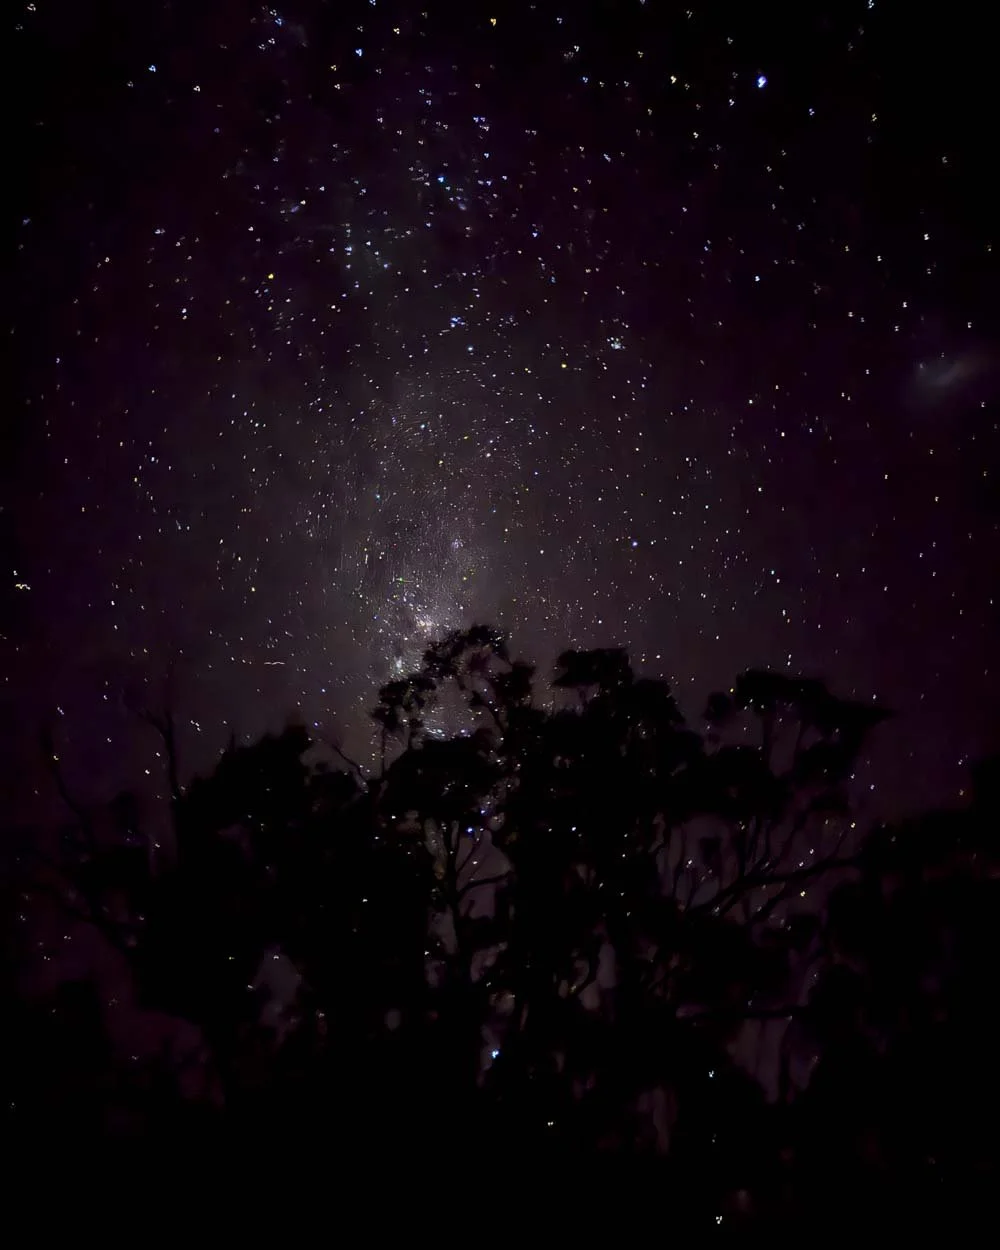
This last bit of the walk would normally be a bit dull, but for us it was really memorable as the stars were sensational. The photos below are from a phone which probably gives you some idea of just how amazing it was in real life.
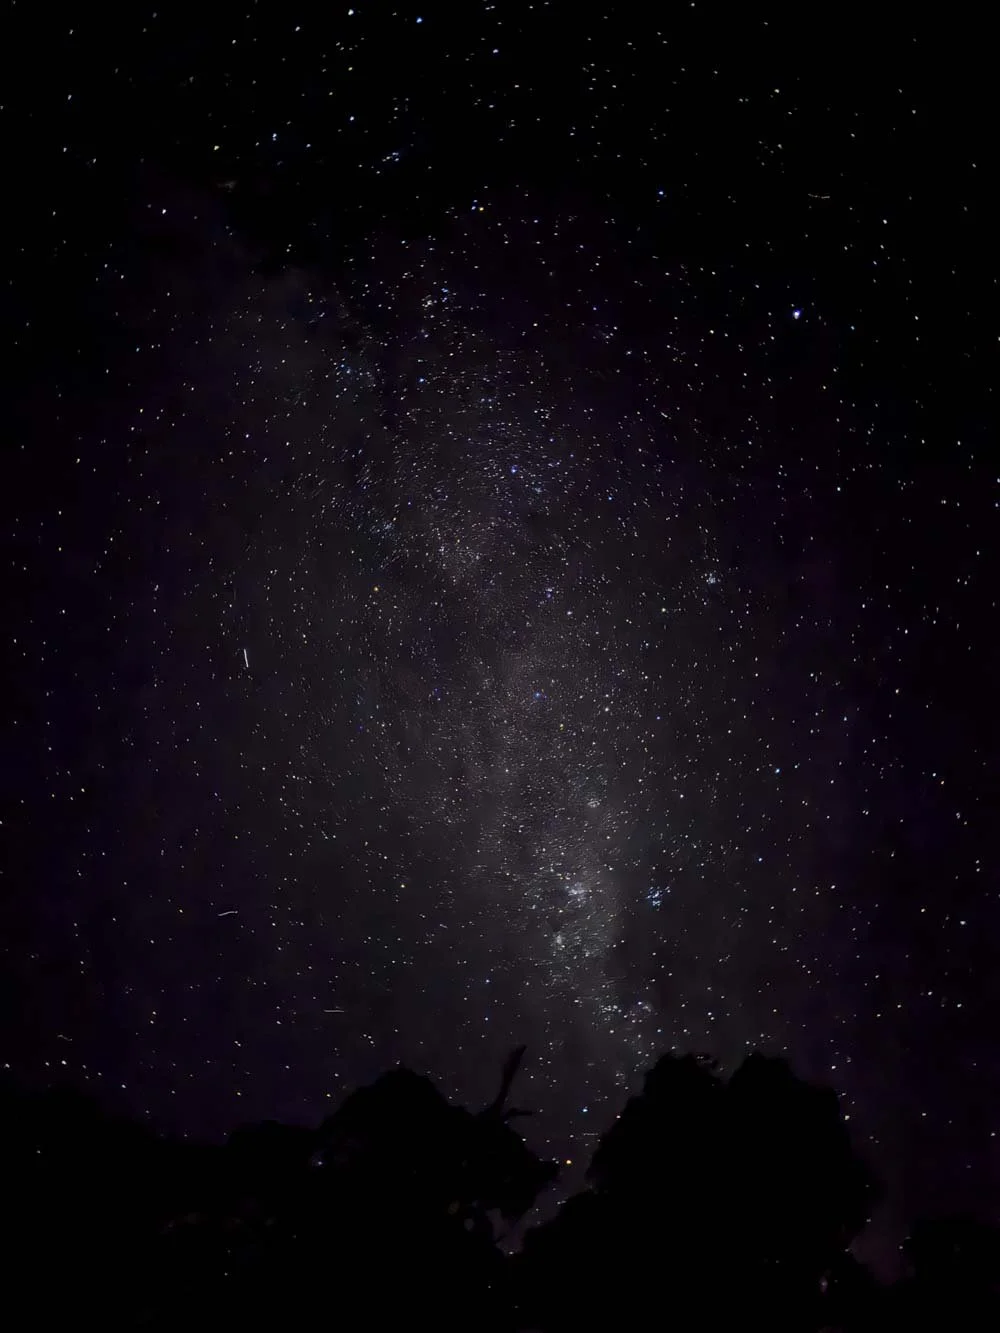
You could see the full Milky Way and core and the track was so smooth that you could really make the most of the view. It was the perfect end to one of our new favourite walks in NSW.
Getting to the trailhead for the Split Rock walk
The walk begins at the Split Rock car park in the Warrumbungle National Park, you can see the exact location on Google maps here. There are no toilets at the parking area, but it is not far from the Warrumbungle Visitor Centre.
The nearest town is Coonabarabran, a 35 minute drive away.
The Warrumbungle National Park has a daily fee of $8 per vehicle, though if you have an annual NSW National Parks Pass this fee is included.
This post may contain affiliate links, meaning at no additional cost to you, that we will earn a small commission if you click through and decide to make a purchase. This helps towards the costs of running our website. Thanks for your support.
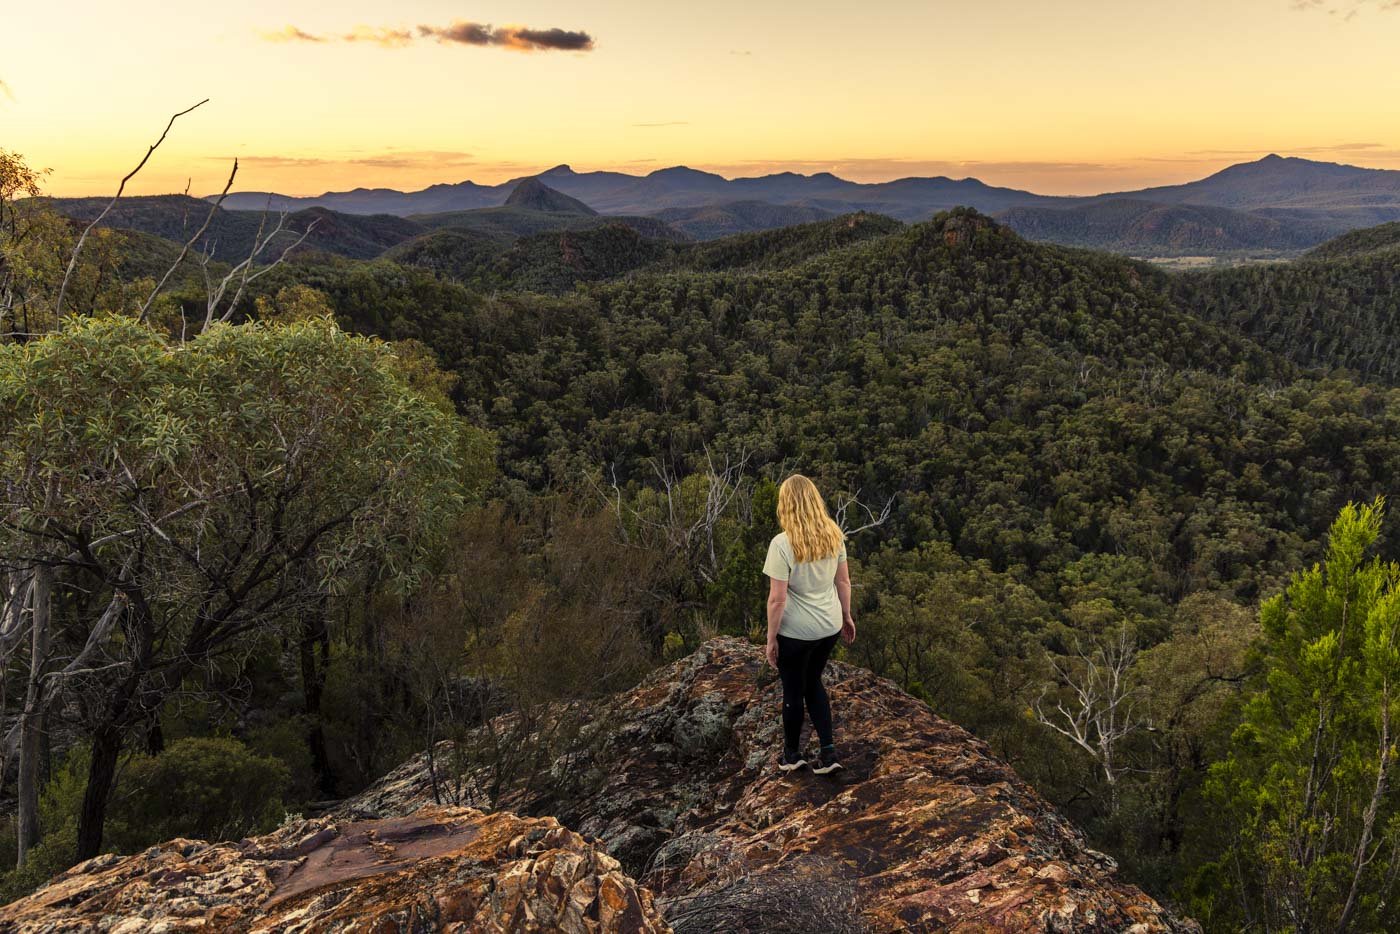
Everything you need to know about the hike to Mount Exmouth, the highest peak in the Warrumbungle National Park. We’re sharing difficulty, trail conditions and details on the side trail to Cathedral Arch.