
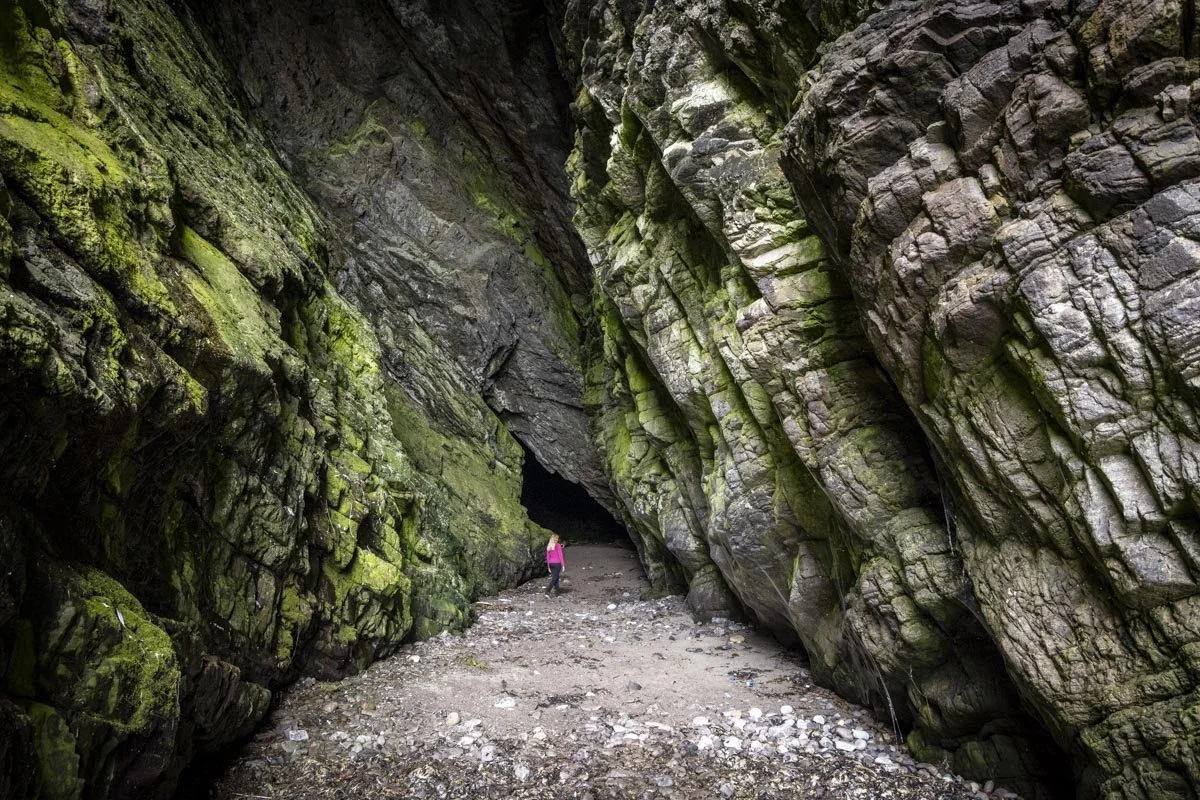
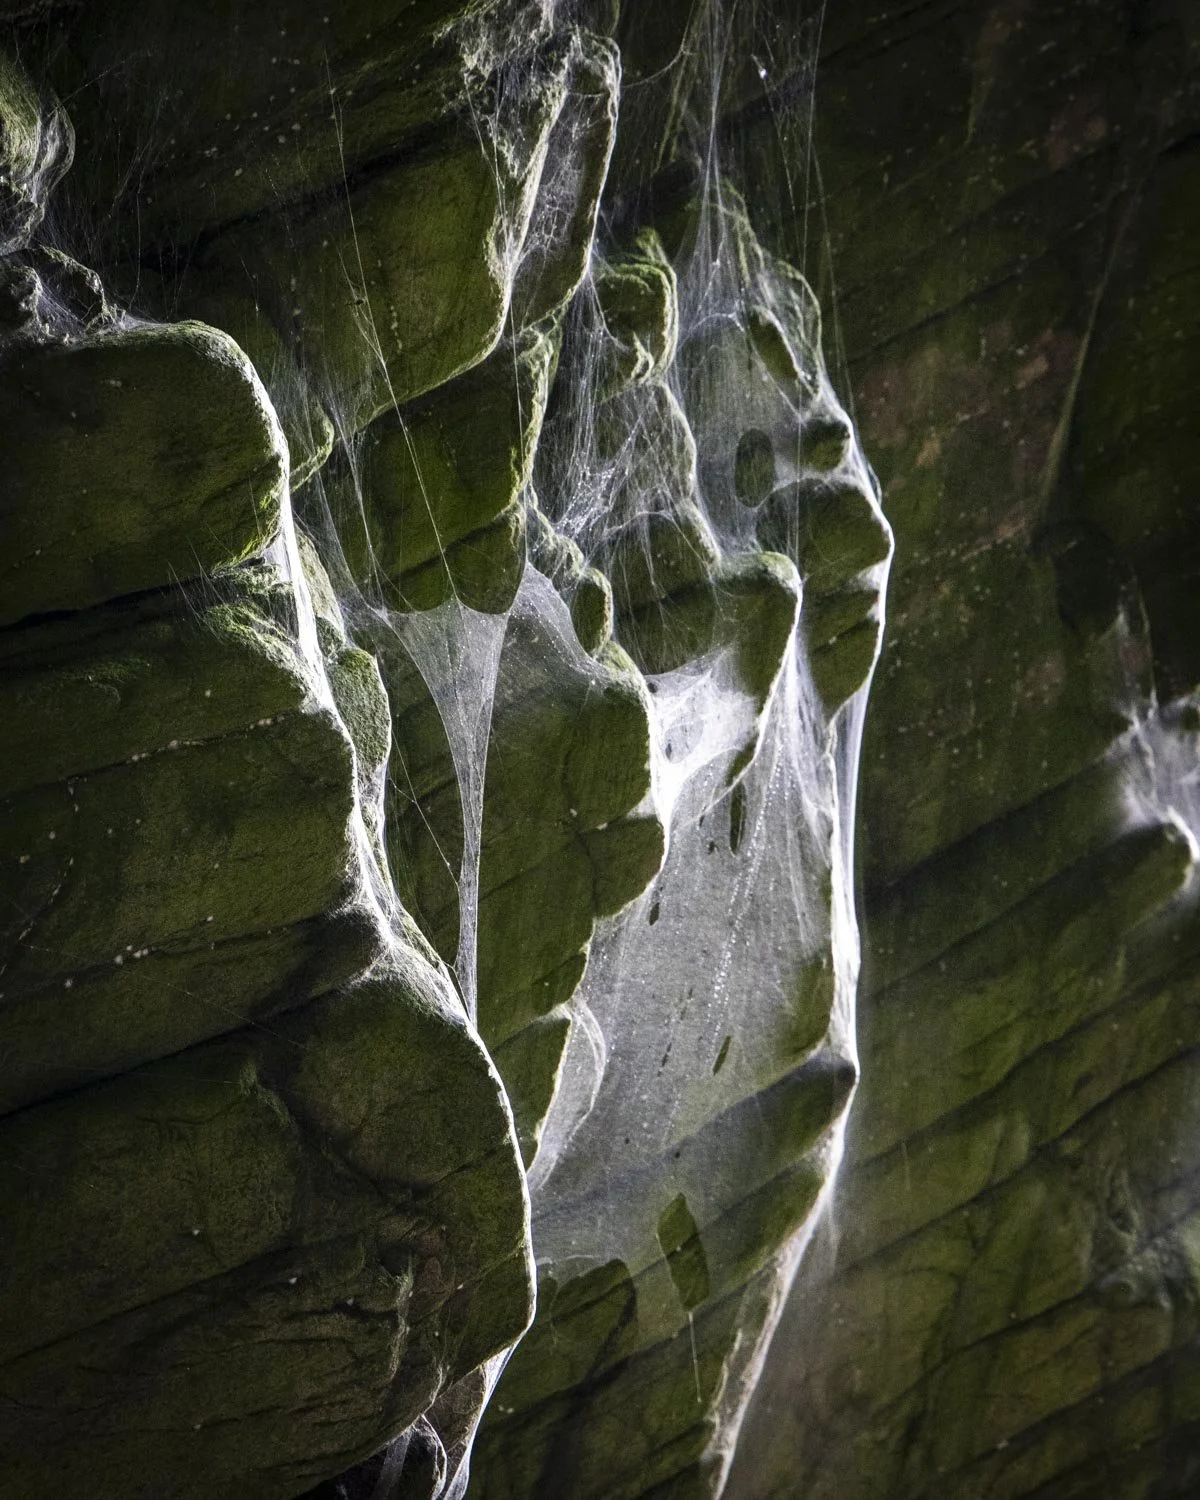
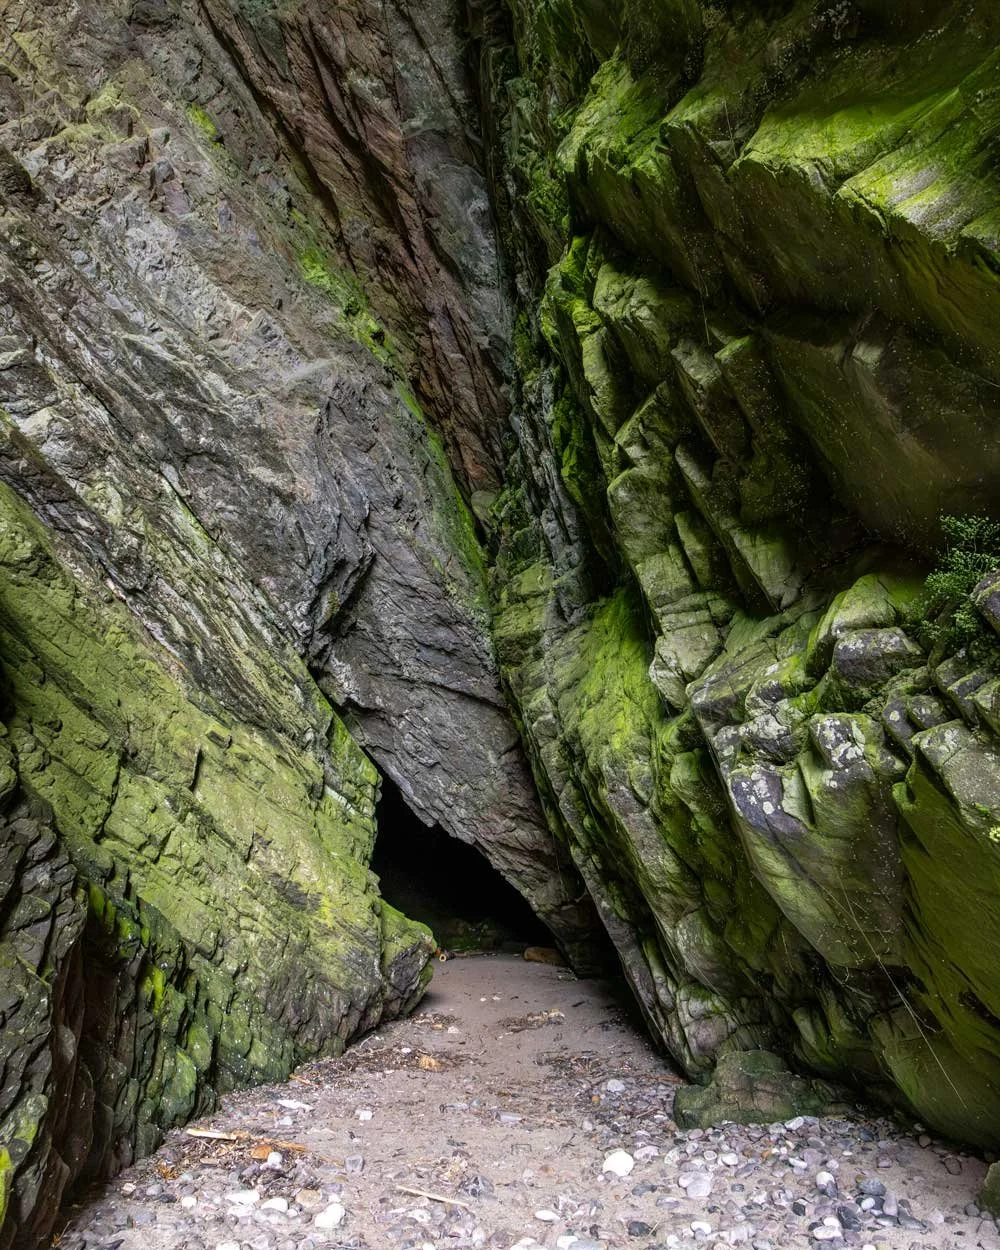
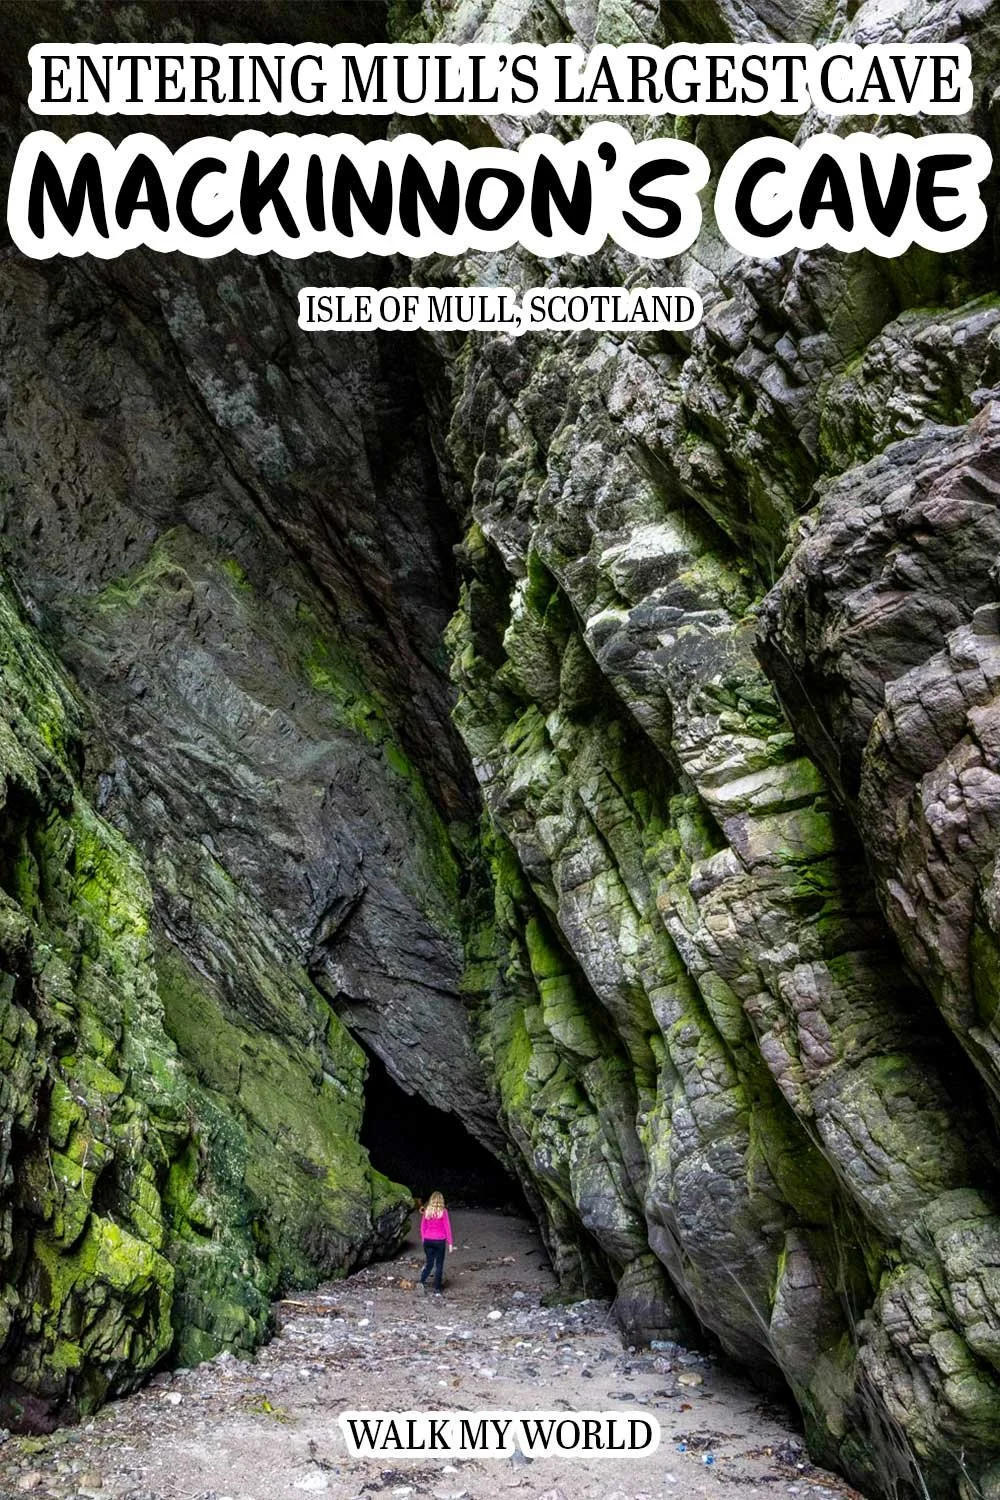
To enter Mackinnon’s Cave you must make your way through steep sided cliff walls covered in layers of thick spider webs. It’s not dissimilar to the way people decorate their front gardens for Halloween and you could easily imagine it being the inspiration for an Enid Blyton story!
It’s by far the deepest sea cave we have ever visited and you definitely need a torch to explore its pitch black depths. As you make your way into the darkness at first you can hear booming waves, but as you get further you will hear nothing at all.
It’s one of the few places I have ever been where the silence is absolute. In fact the only other place that springs to mind is the ancient tombs of Luxor, Egypt. It’s no wonder the cave is steeped in myth and mystery!
Accessing Mackinnon’s Cave is subject to the tides and does involve some tricky terrain which we’ll cover in detail in the trail notes below.
The walk to Mackinnon’s Cave
The stats
Distance: 1.15 miles (1.8km) each way
Elevation gain: 150m
Difficulty: Moderate
Trailhead: Parking area for Mackinnon’s Cave, Balnahard
Summary: The most important thing to consider with this walk is the tides. The cave is best accessed on a low to mid tide and would be completely inaccessible at high tide - make sure you give yourself enough time to explore and cross back over the tidal section along the beaches before the water starts to get higher.
In terms of the walk there are a couple of minor hills to climb, but nothing too challenging. You’ll need to cross some boggy ground but it was all below ankle height on our visit during an exceptionally wet August.
The tricky terrain comes in when you need to cross the rocky beach and this is done via small stones and large boulders.
All are likely to be damp and many were very slippery. We found a route which cut the worst of this out but it involves scrambling with a minor amount of exposure (all detailed in the notes below).
Starting the trail: the boggy traverse
From the parking area (full details at the end of the article) you head along the gravel road in the opposite direction to the way you drove in. The mountain ahead is stunning and very reminiscent of Iceland.
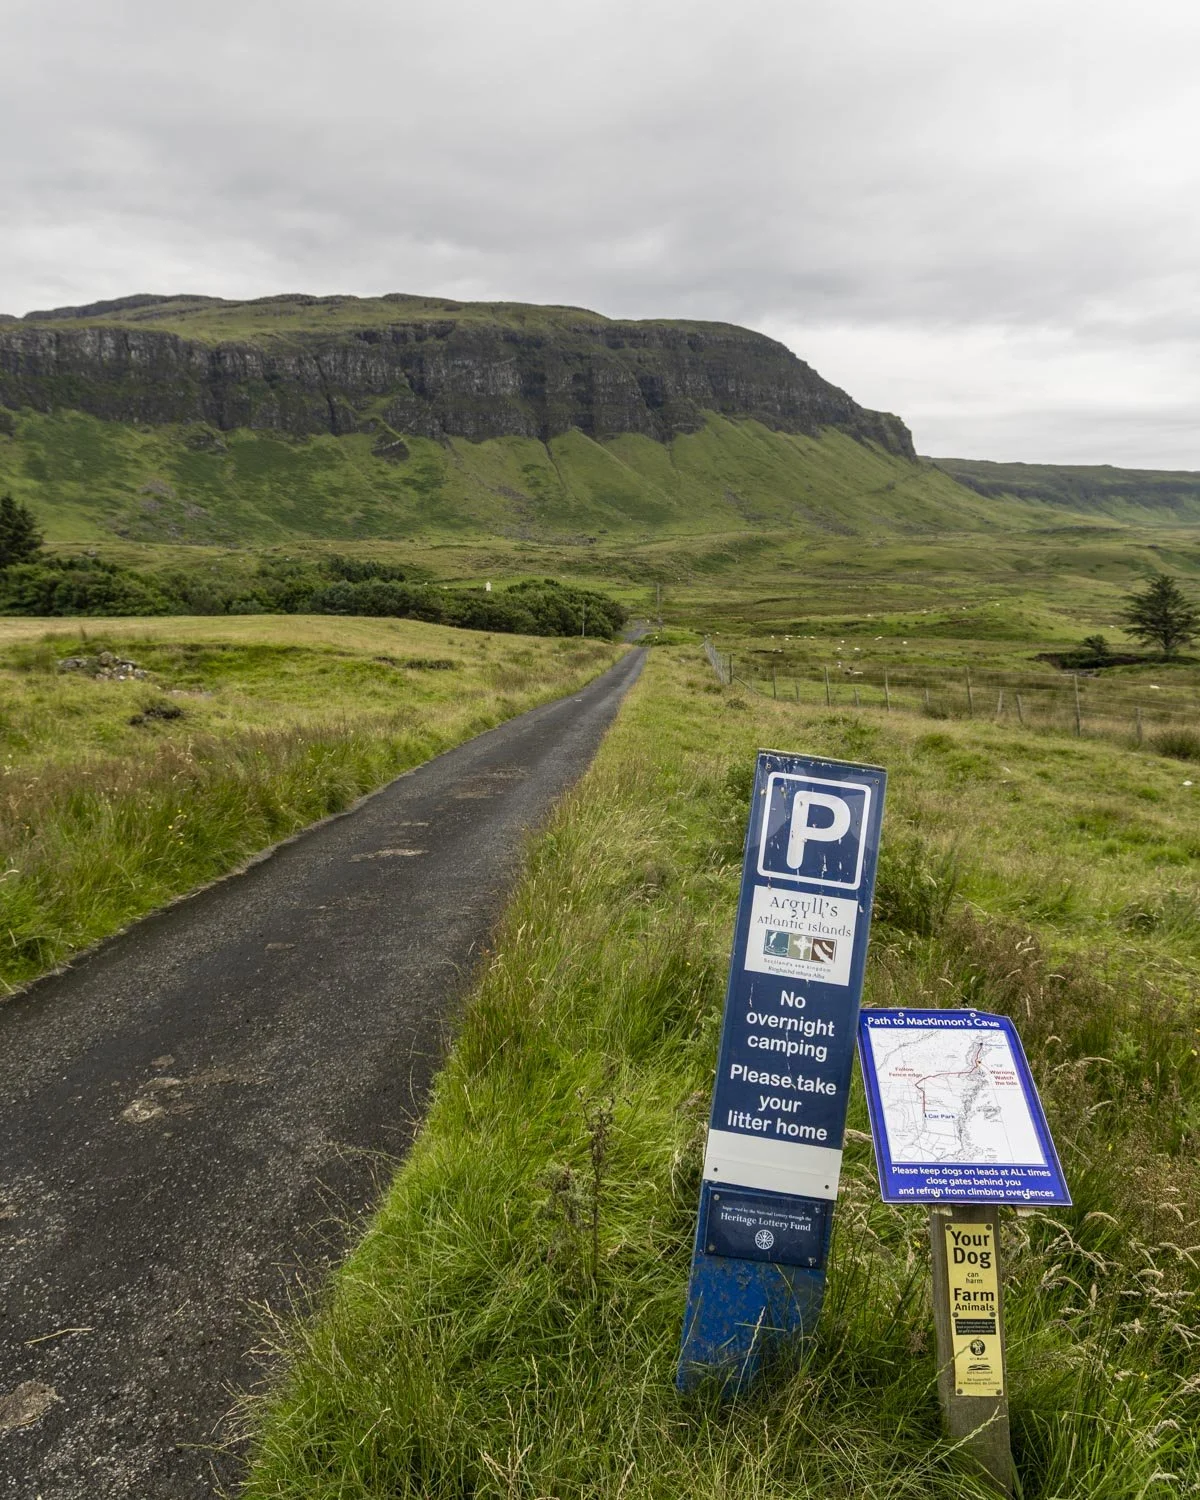
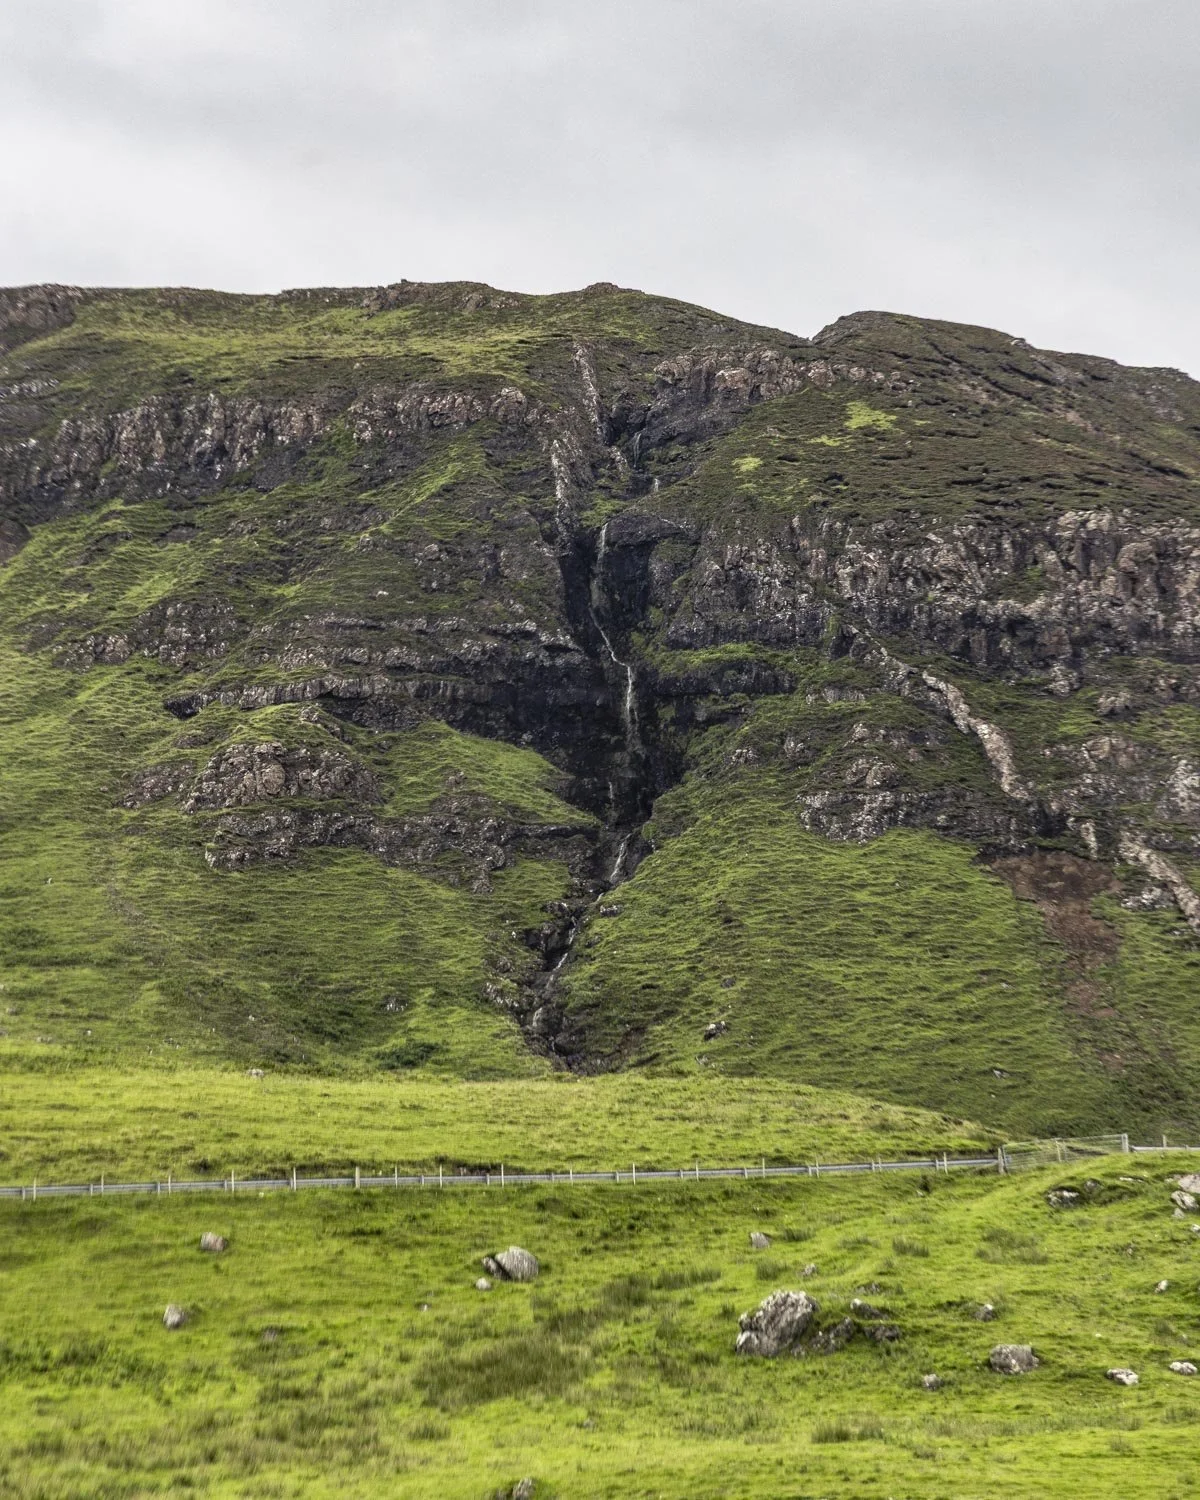
Even the rain and grey clouds couldn’t diminish its beauty. You’ll pass through a gate after 300m and come to a signpost for the cave.
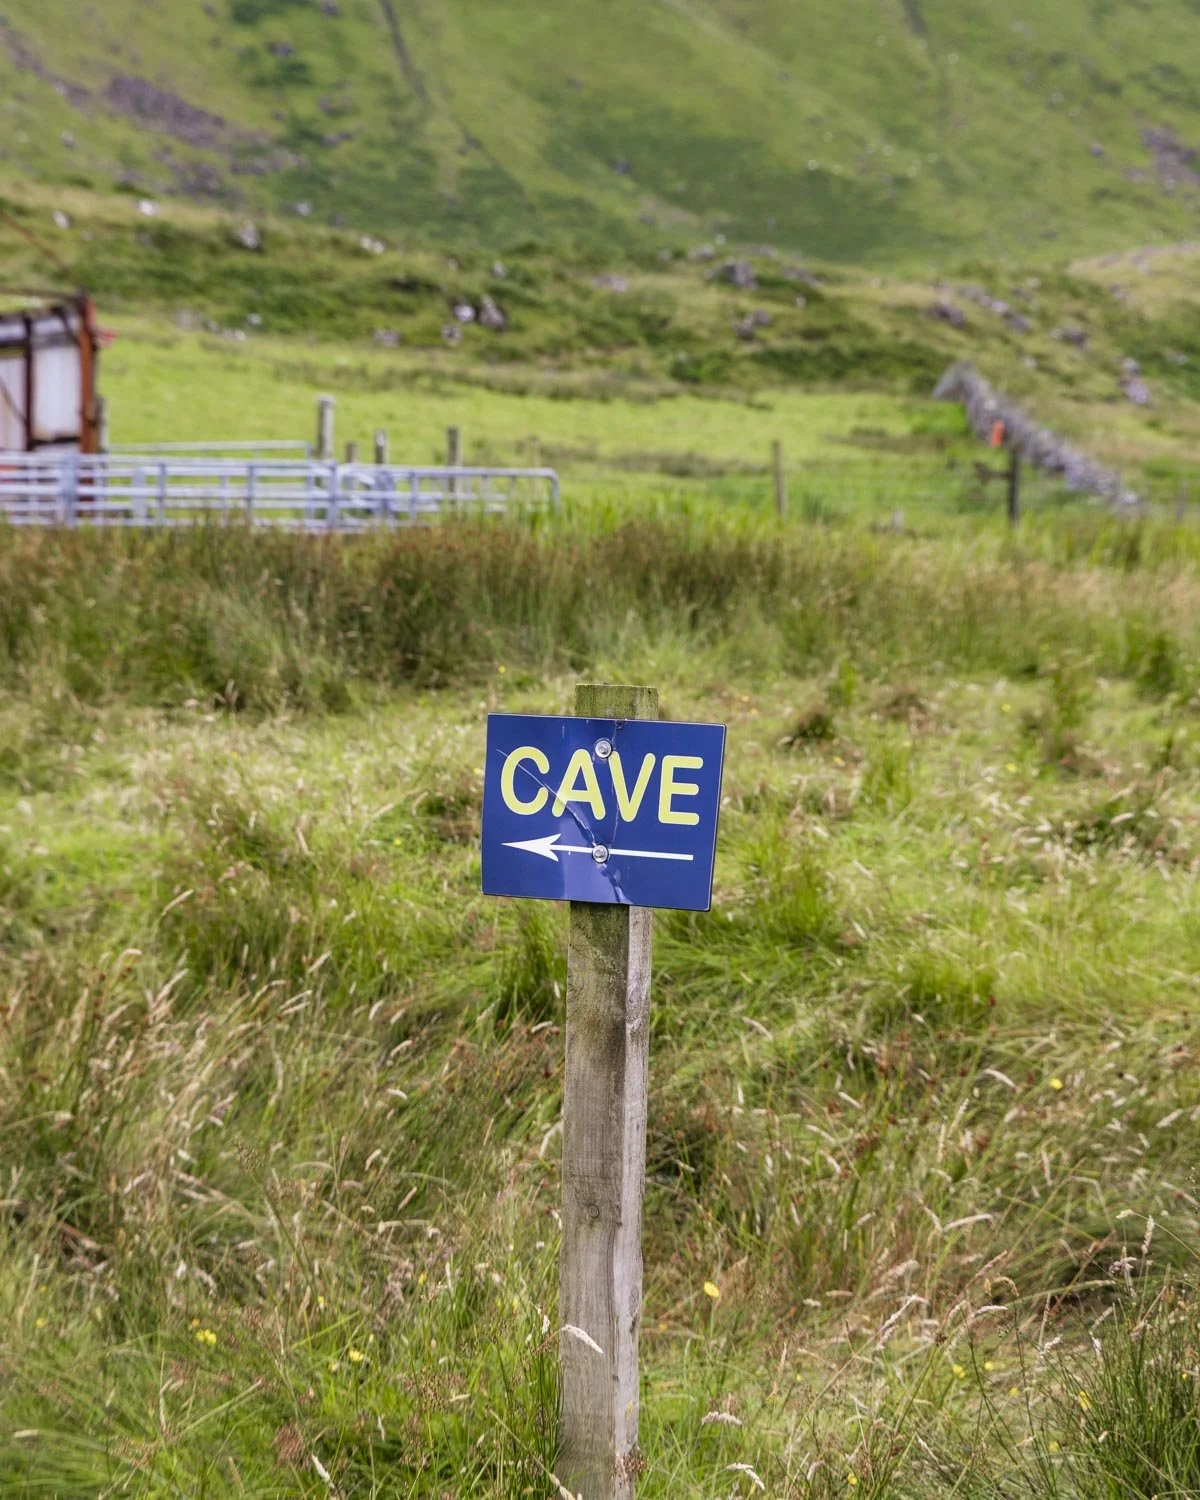
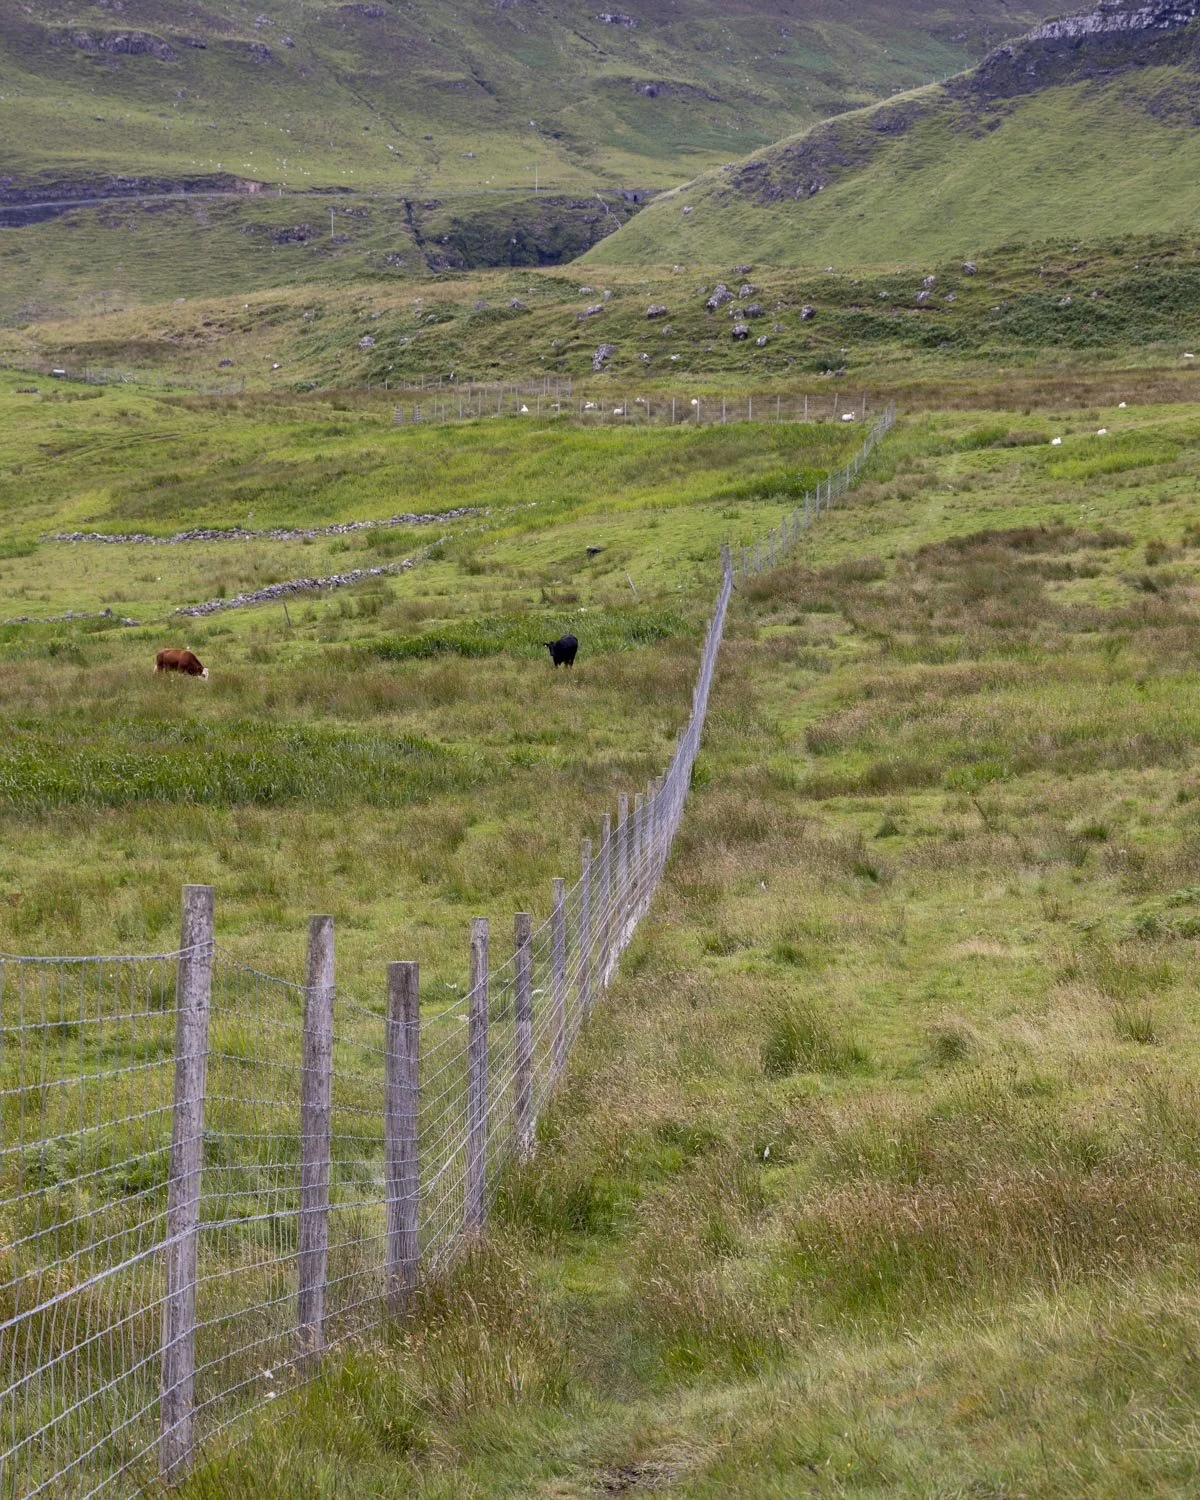
The path is to the left of the farmhouse, along the grassy track. At the 400m mark you will come to another gate and from here the path heads slightly uphill on a rocky path.
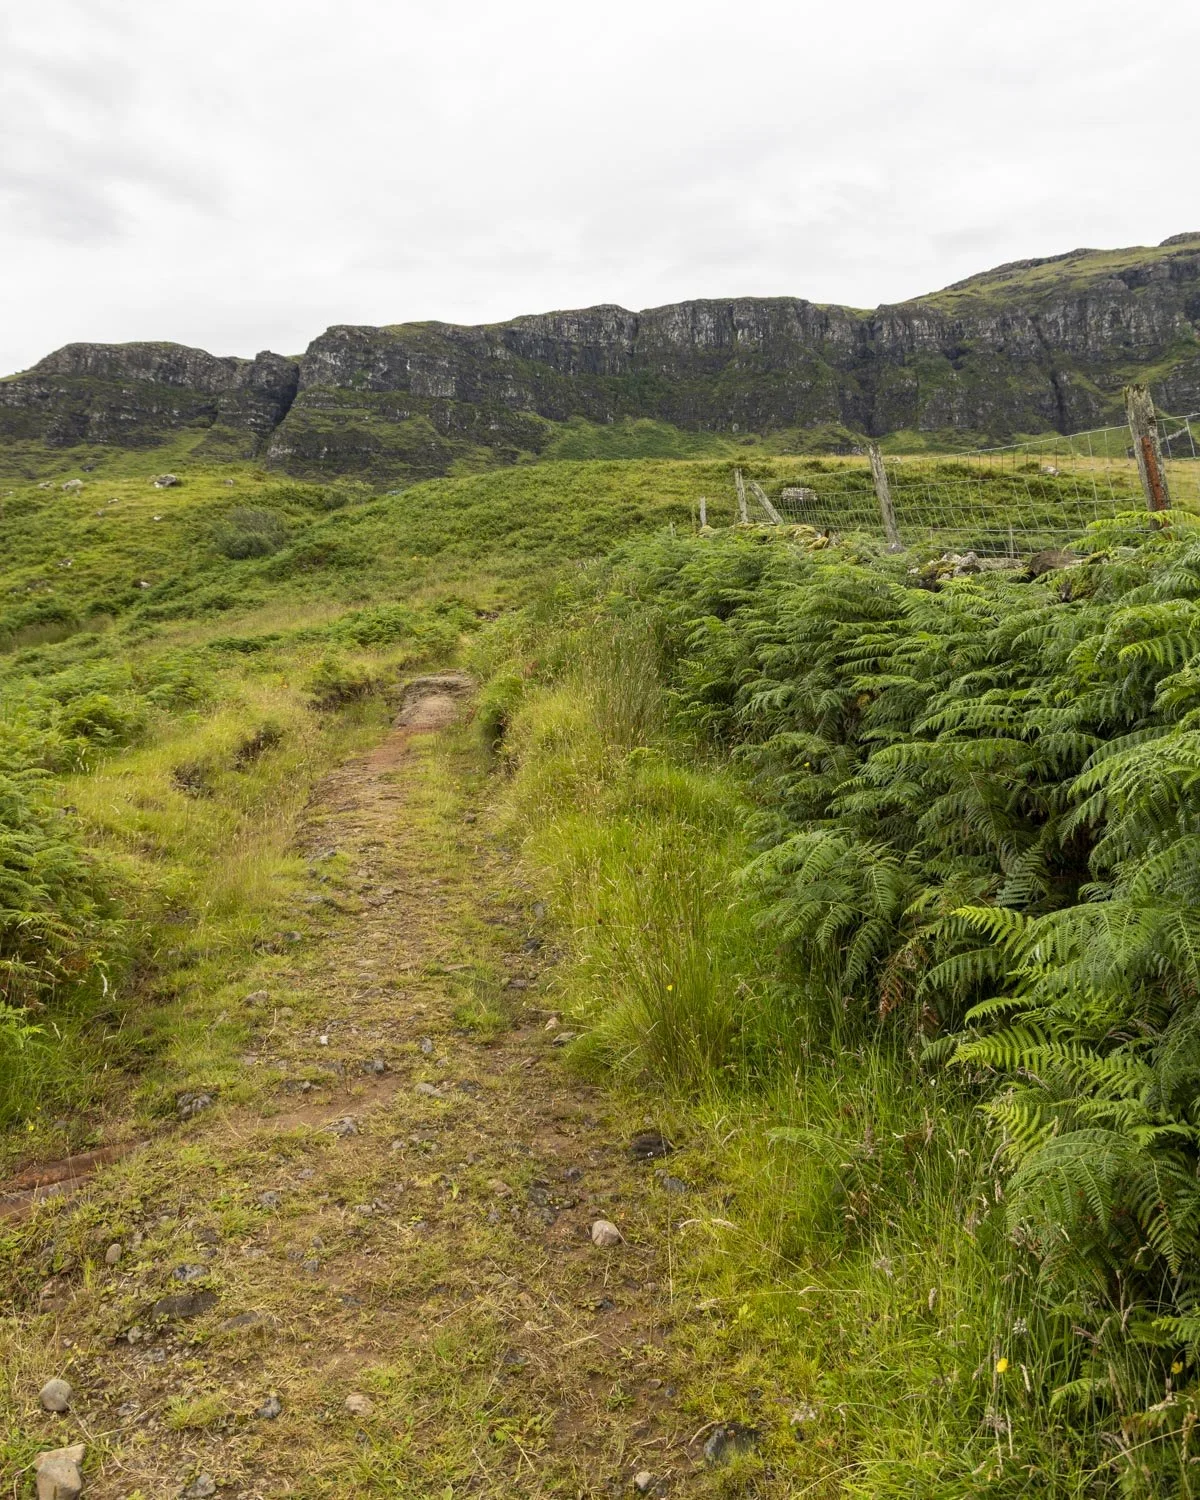
Roughly 50m later there’s a fork and it feels like the more obvious path leaves the fence line. This is a red herring, you need to stick closely to the fence line even though it means walking along the wet, sometimes boggy terrain.
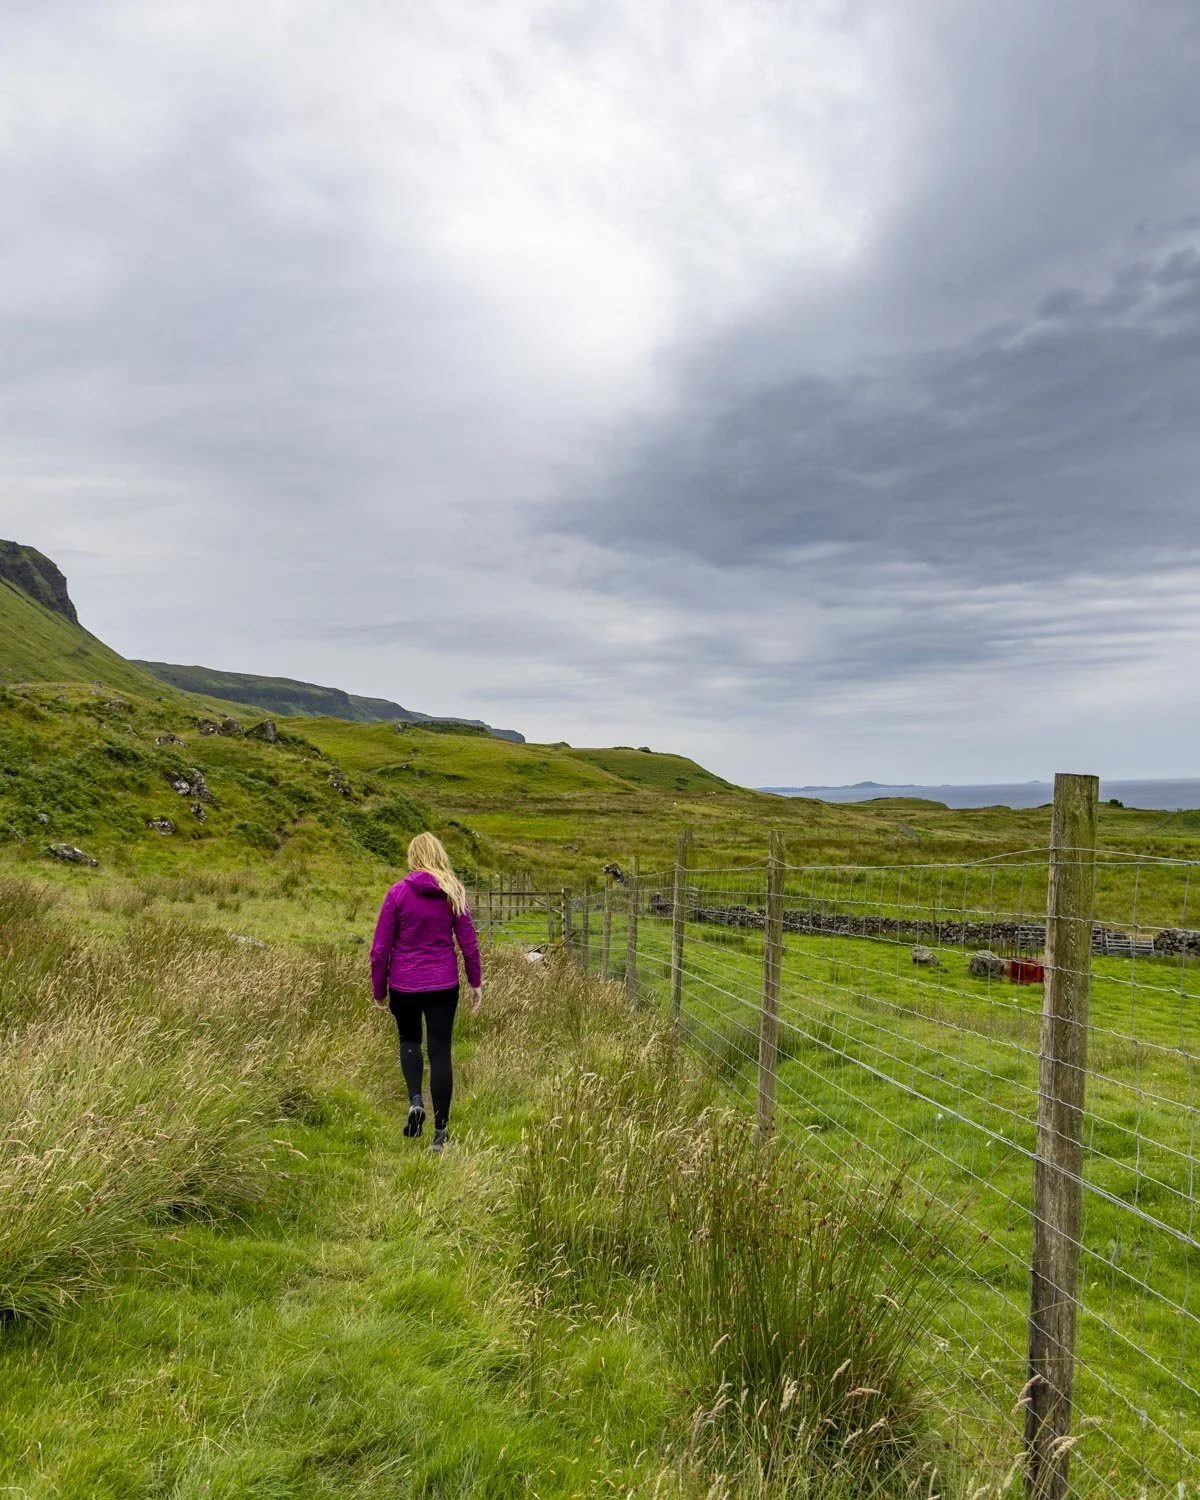
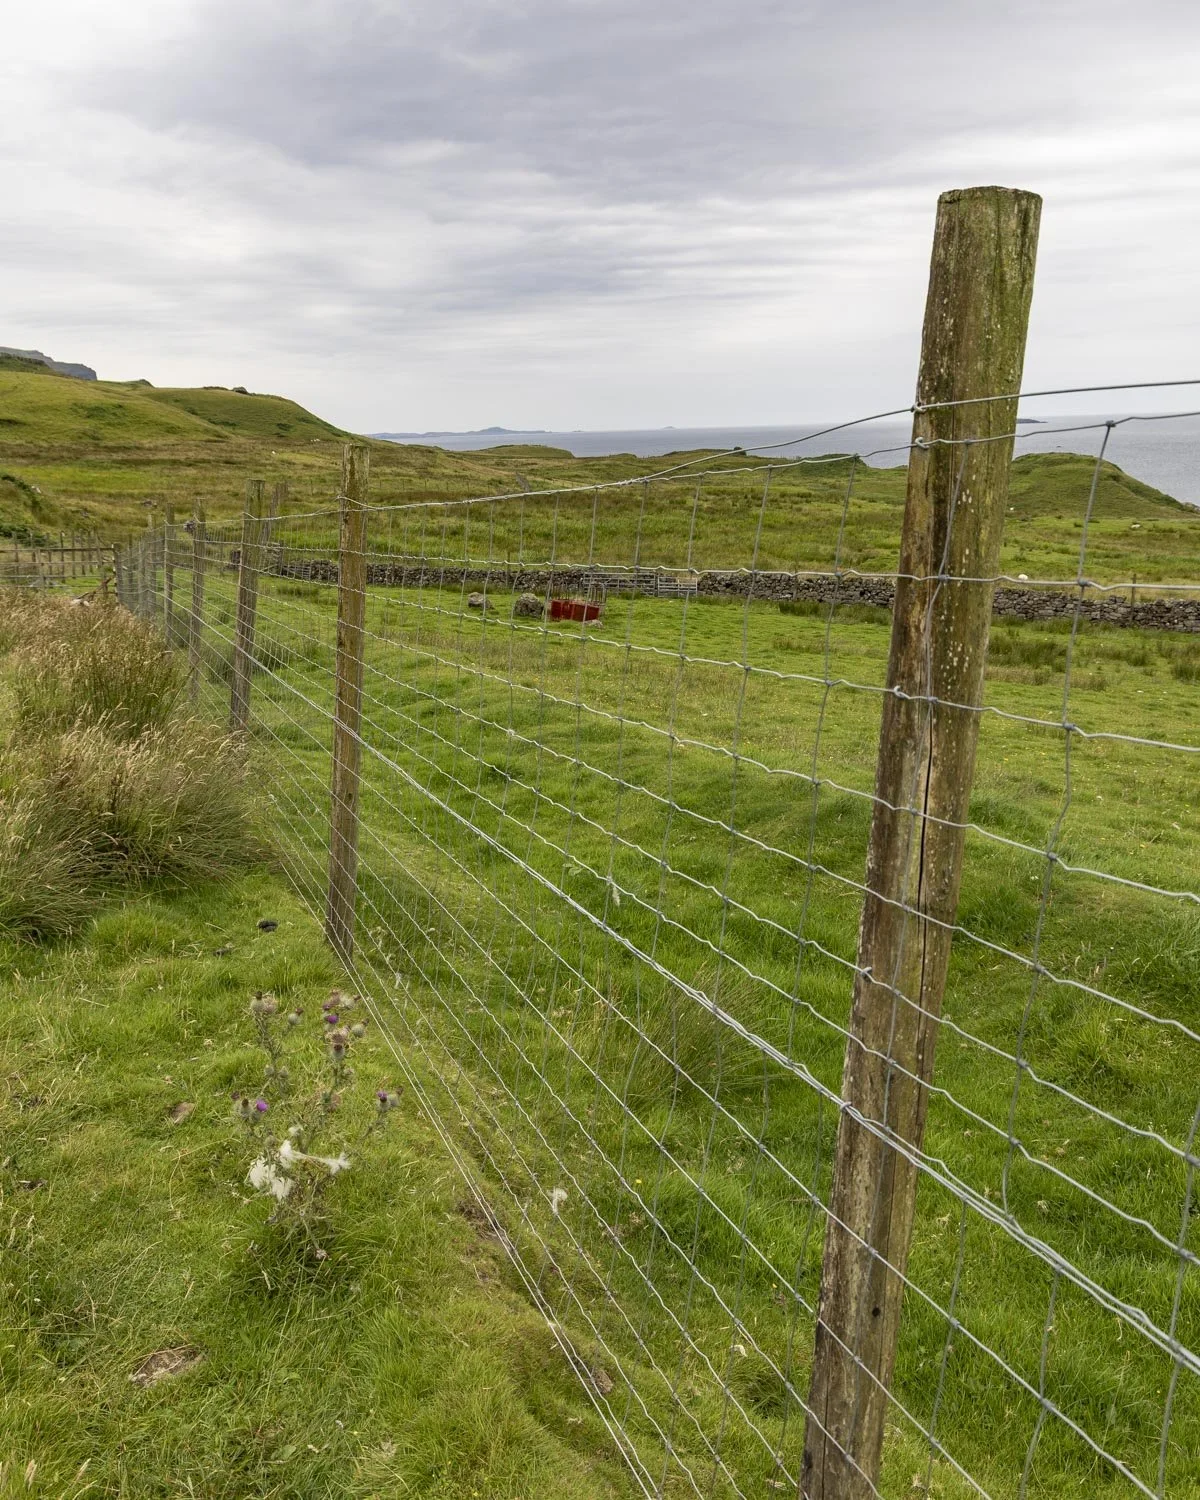
After 100m you’ll pass through a rusted old fence and from here it’s pretty boggy for quite a while. Some sections are definitely better than others, but the grass is soft and wet the whole way.
However, it had been exceptionally wet during our visit so it may be a lot better if you’re luckier with conditions than we were.
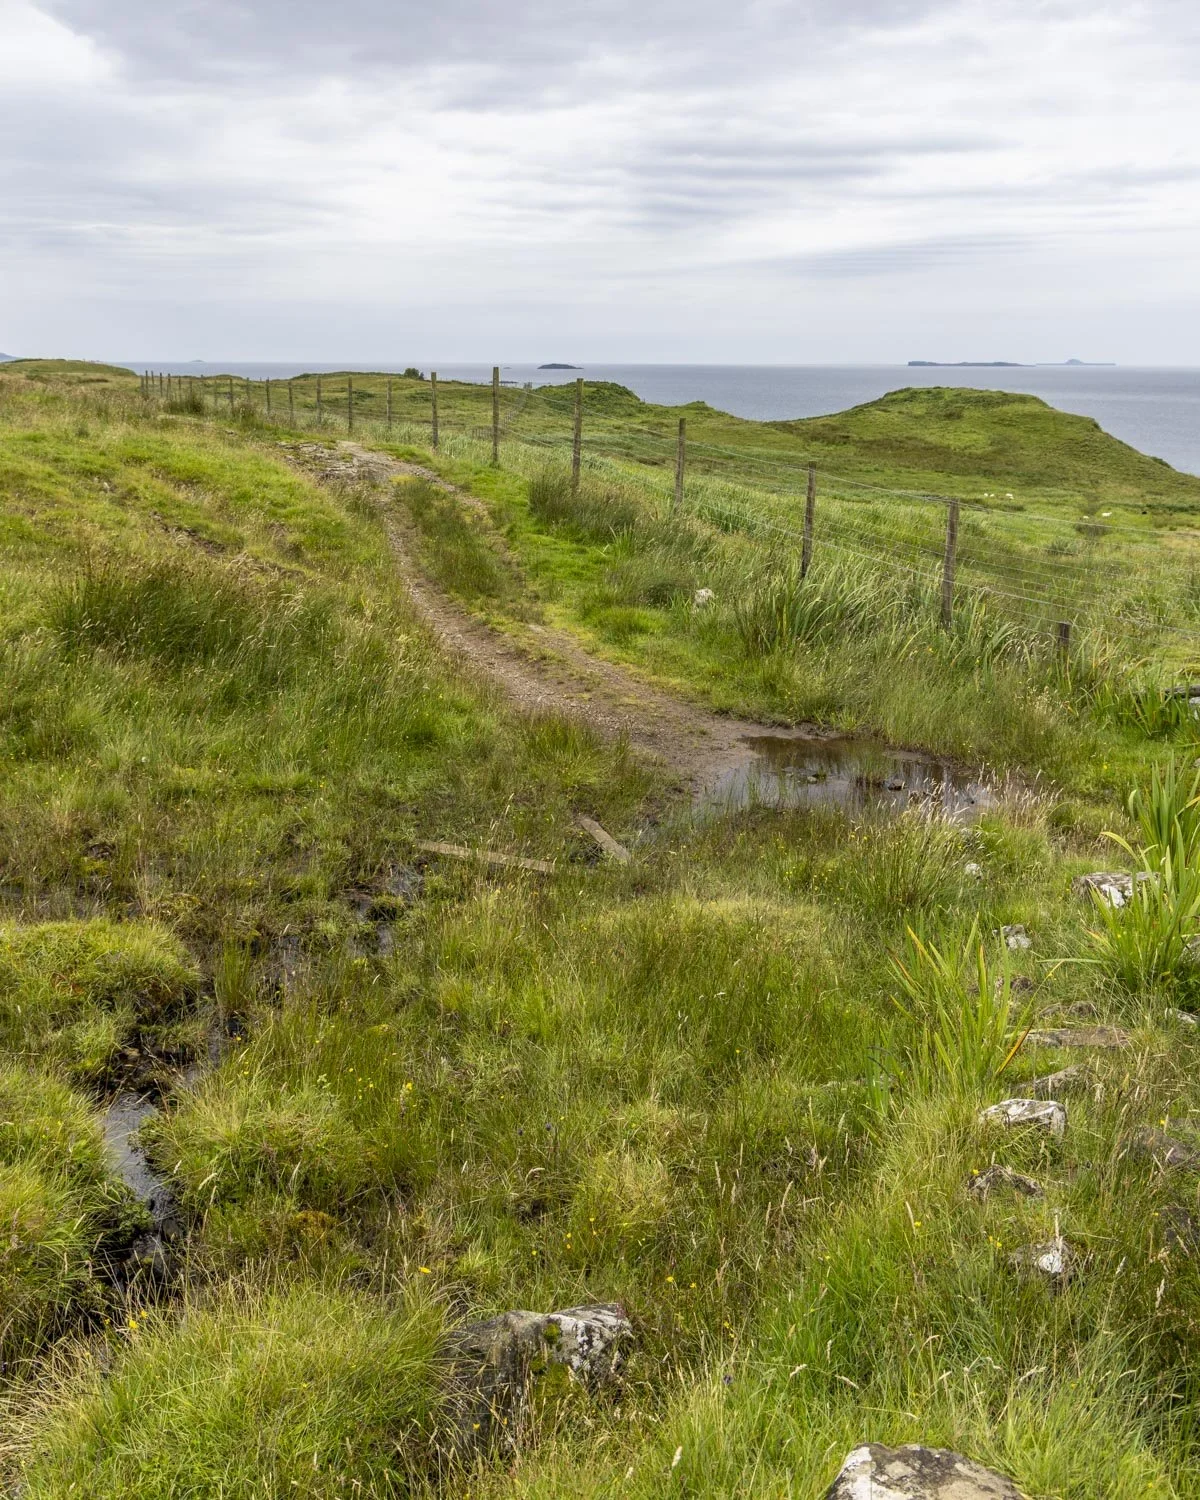
At the 700m mark you’ll find some wooden planks which help a bit with the mud and just beyond this the worst of it is over.
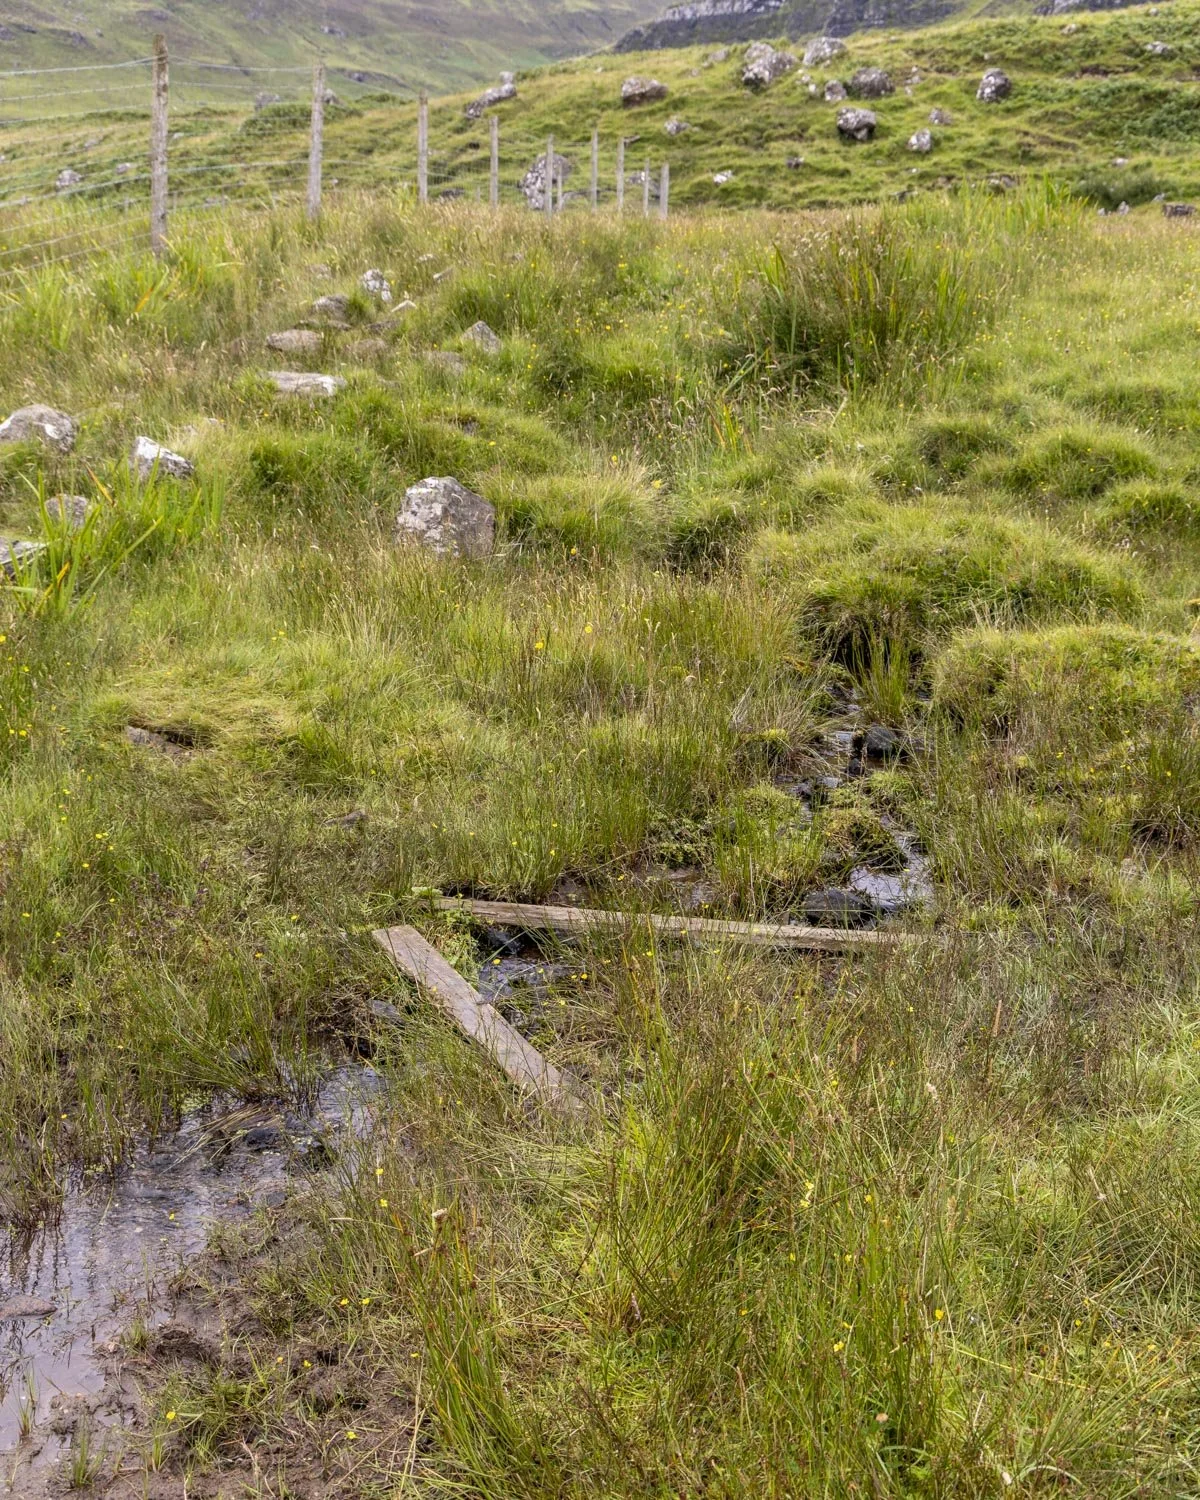
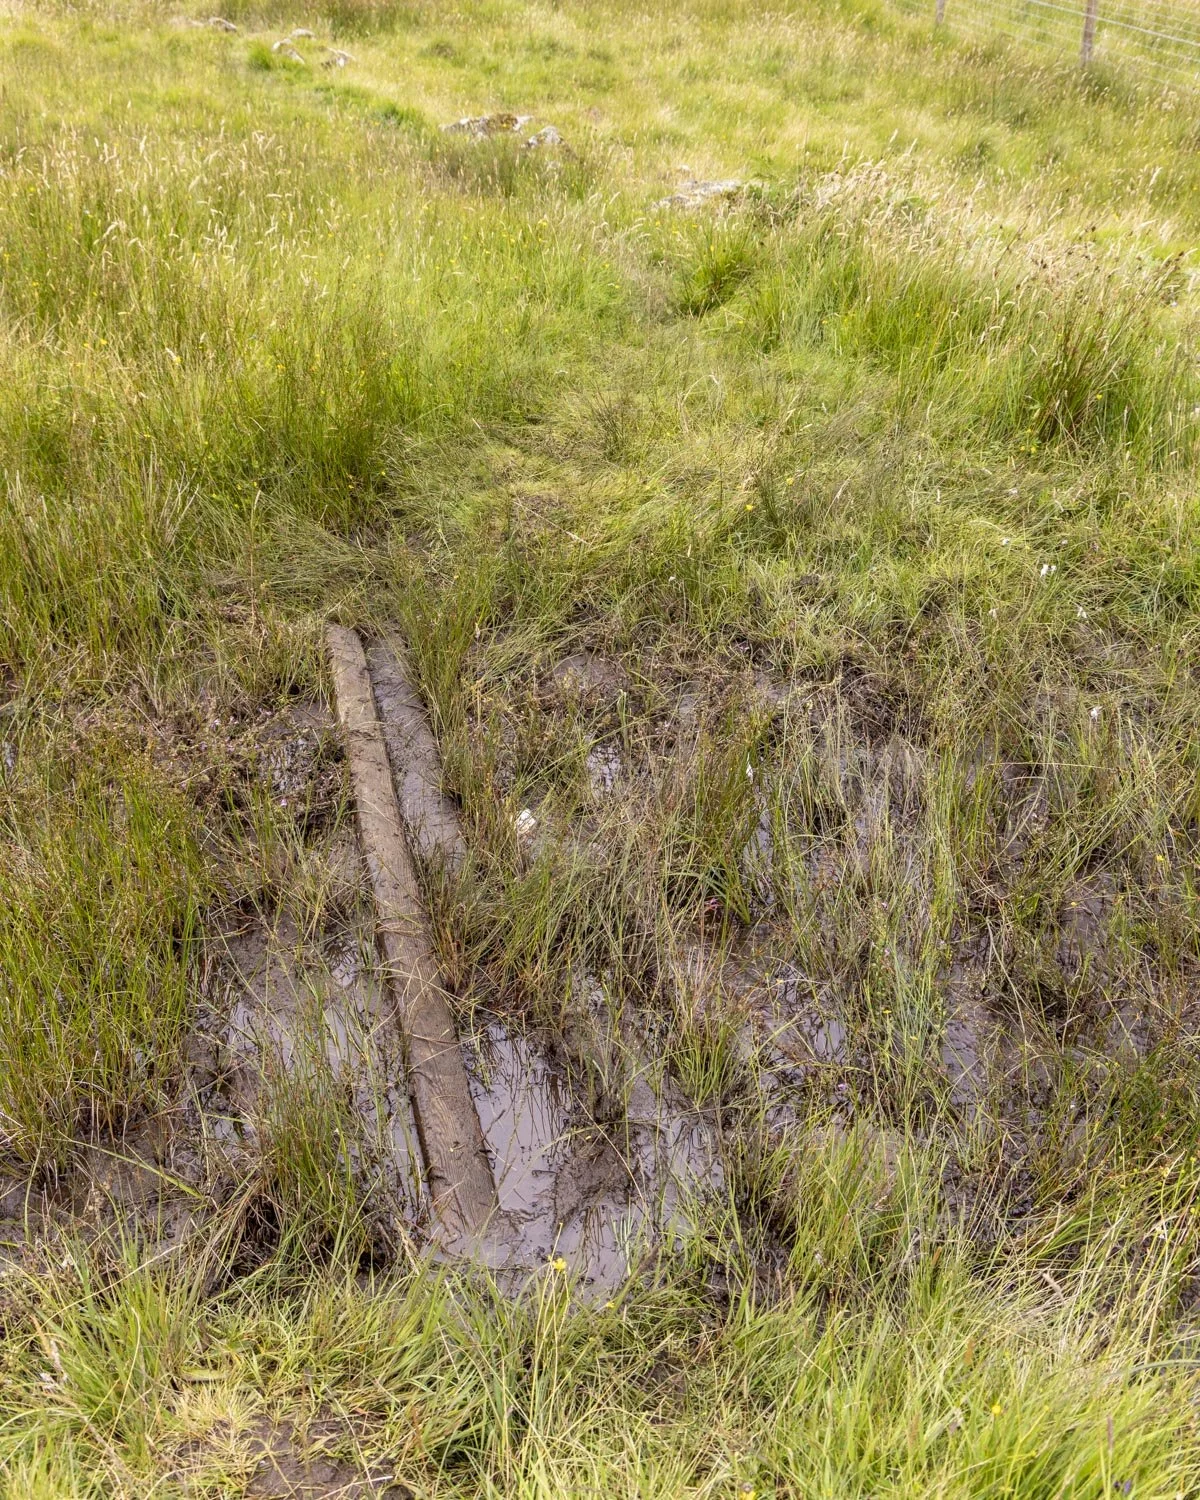
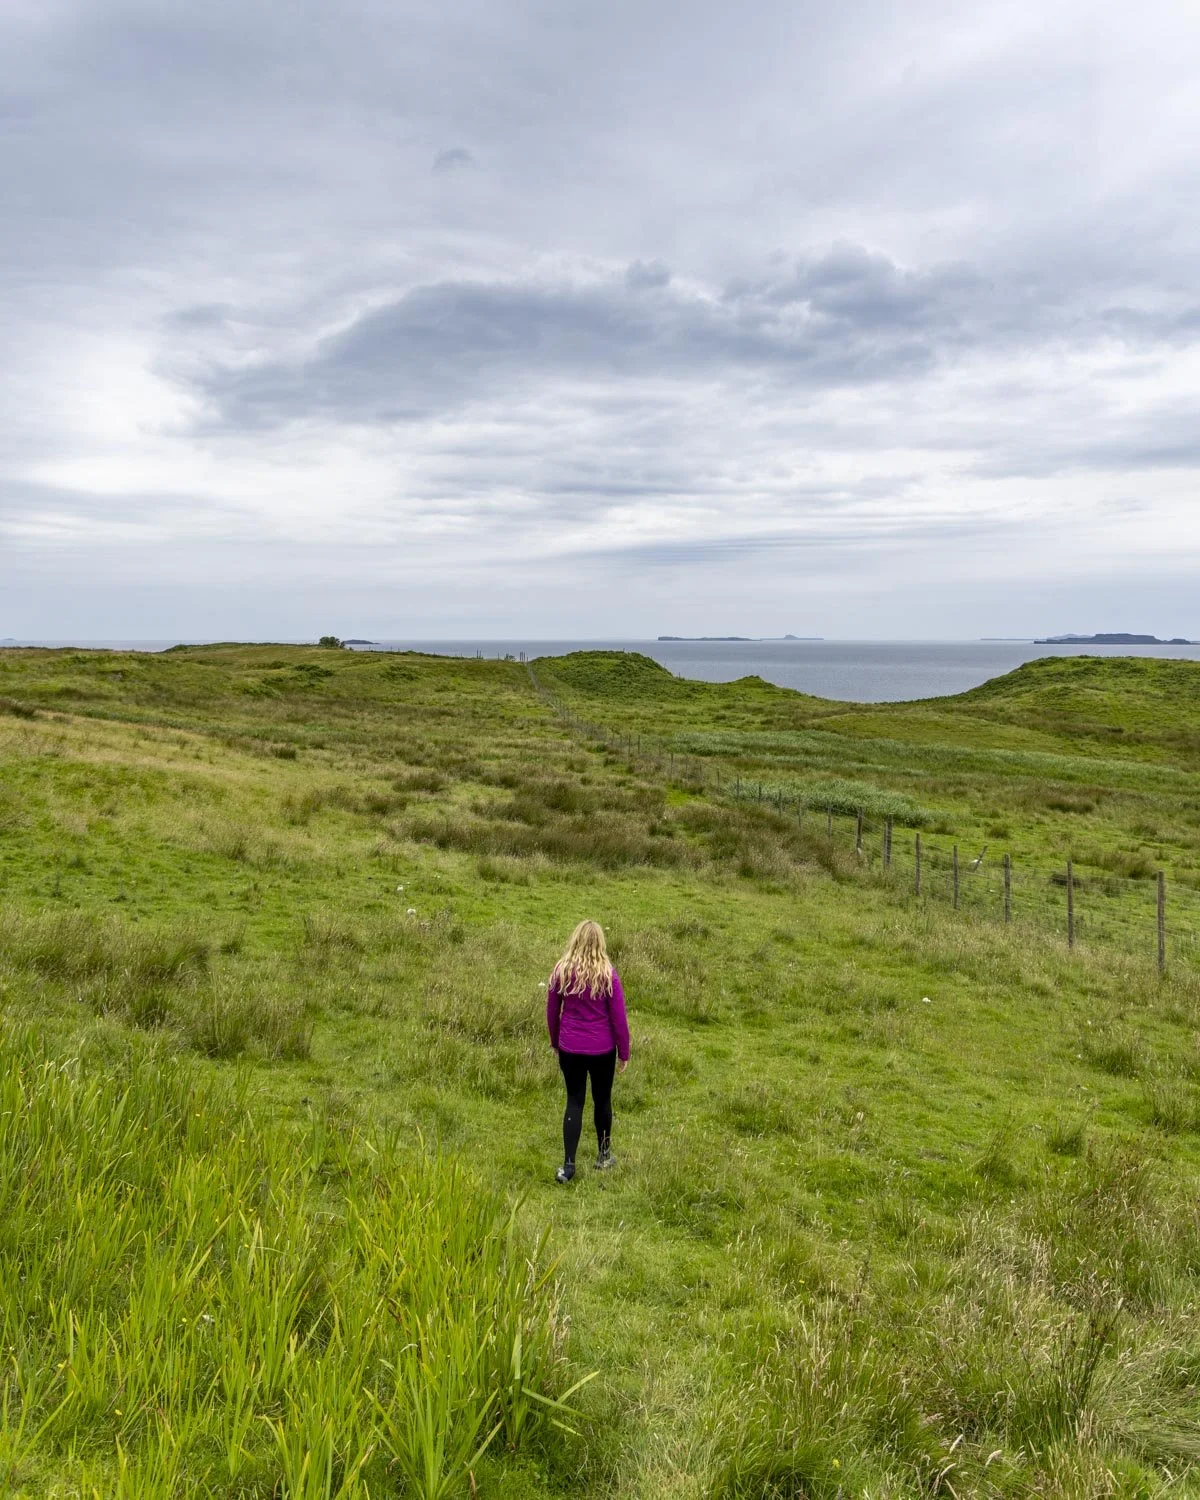
Keep sticking to the fence line as you follow the grassy trail with fantastic views of the mountains to your left and the sea directly ahead.
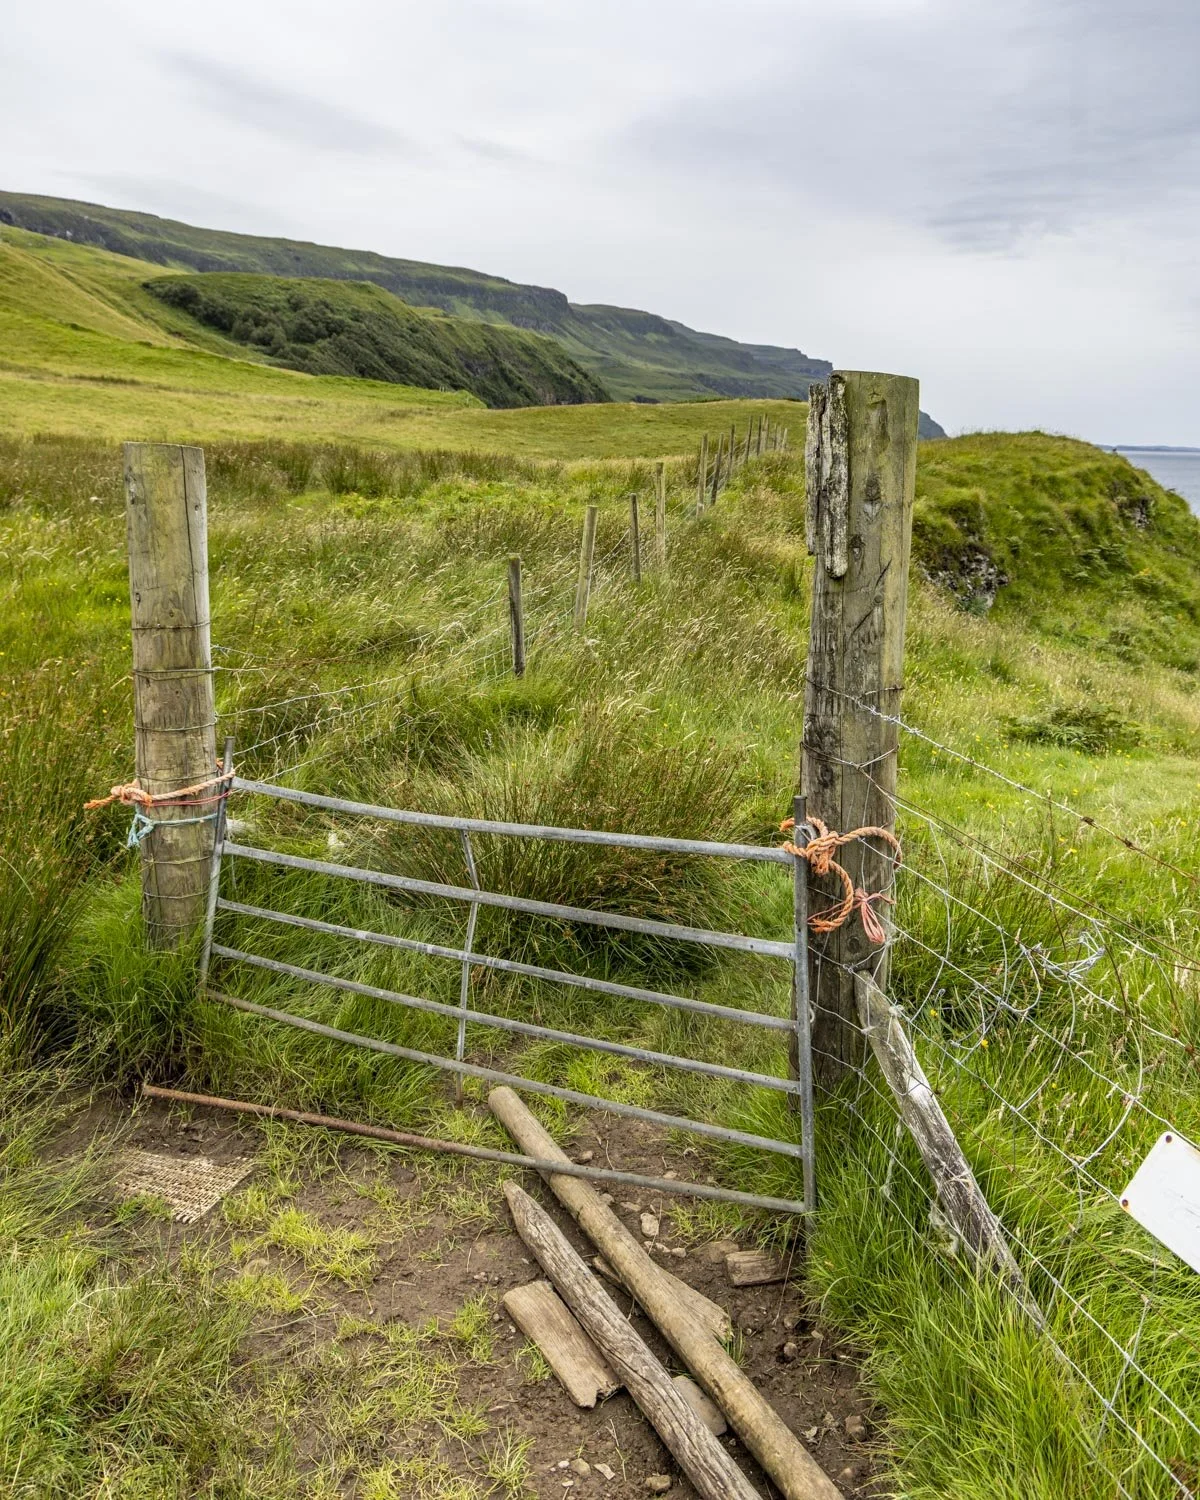
Roughly 0.7 miles (1.1km) into the walk you’ll reach a fence running horizontally along the grass and there’s a small very washed out signpost. You need to hop over the gate here and then follow the track downhill.
Reaching the beach
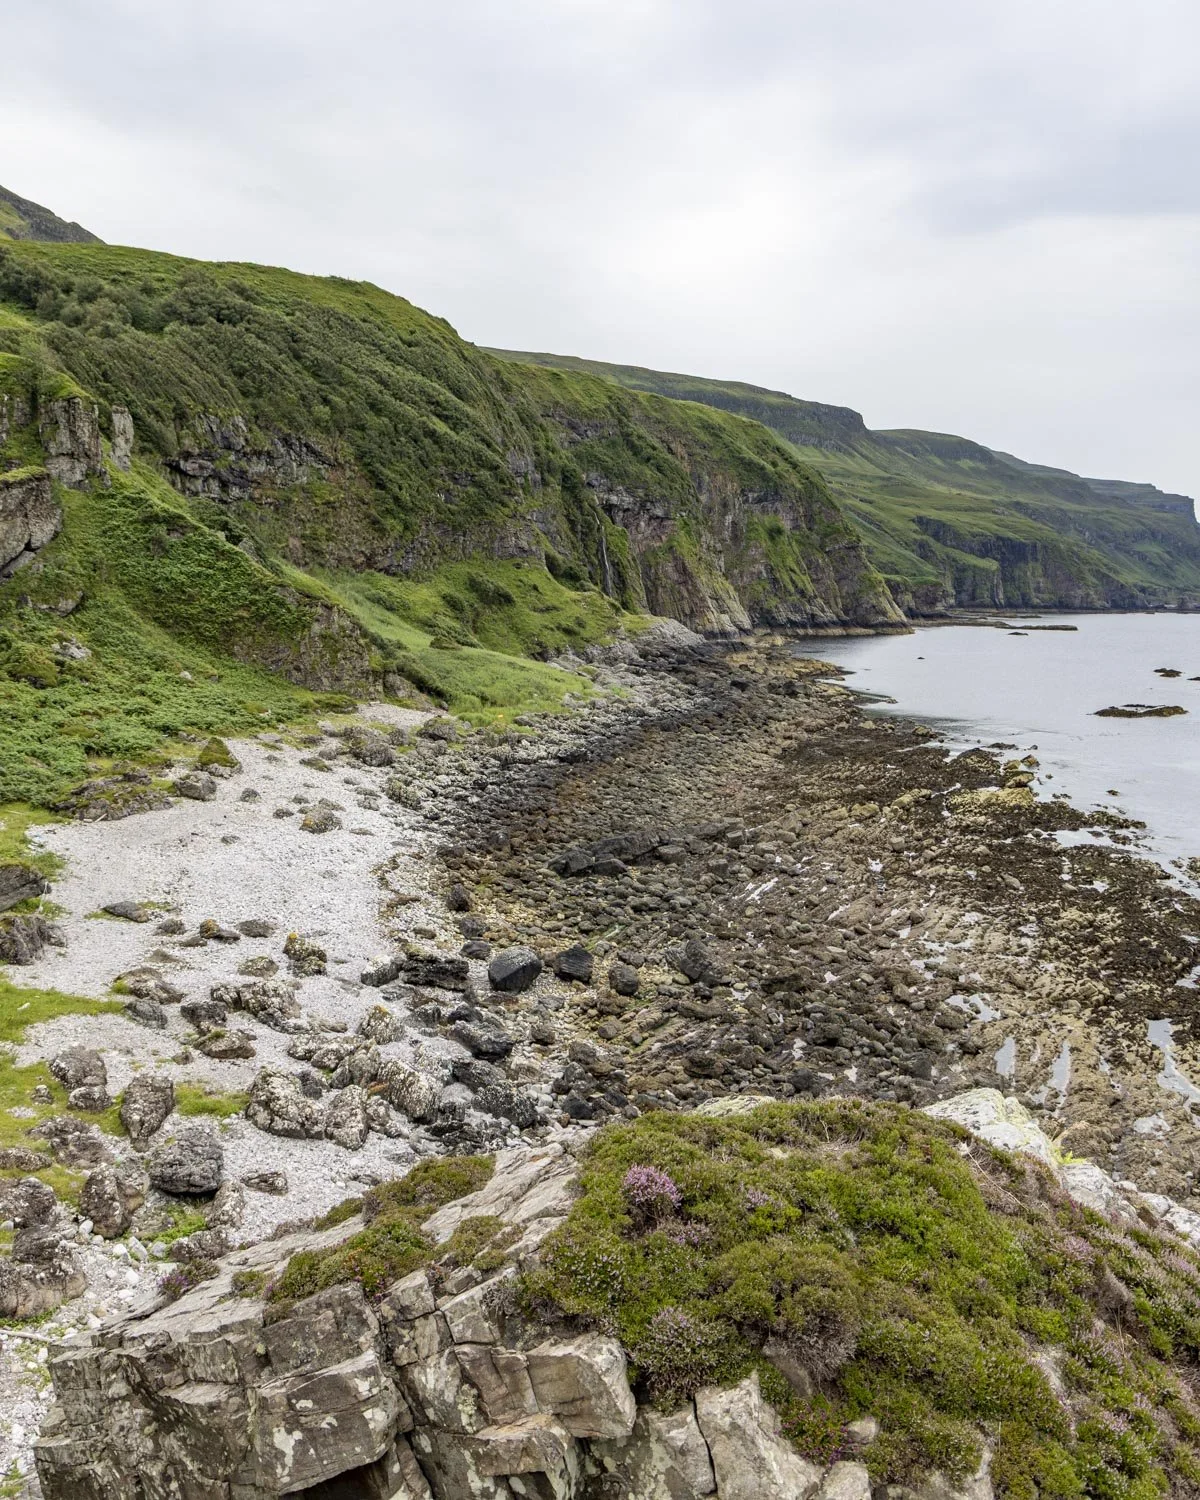
After walking down the hill the path curves left and you’ll walk along the worn path for a couple of minutes before reaching a great view over the cliffs and beach.
It’s a good overview of what you need to cross to reach the cave (which is not yet in sight).
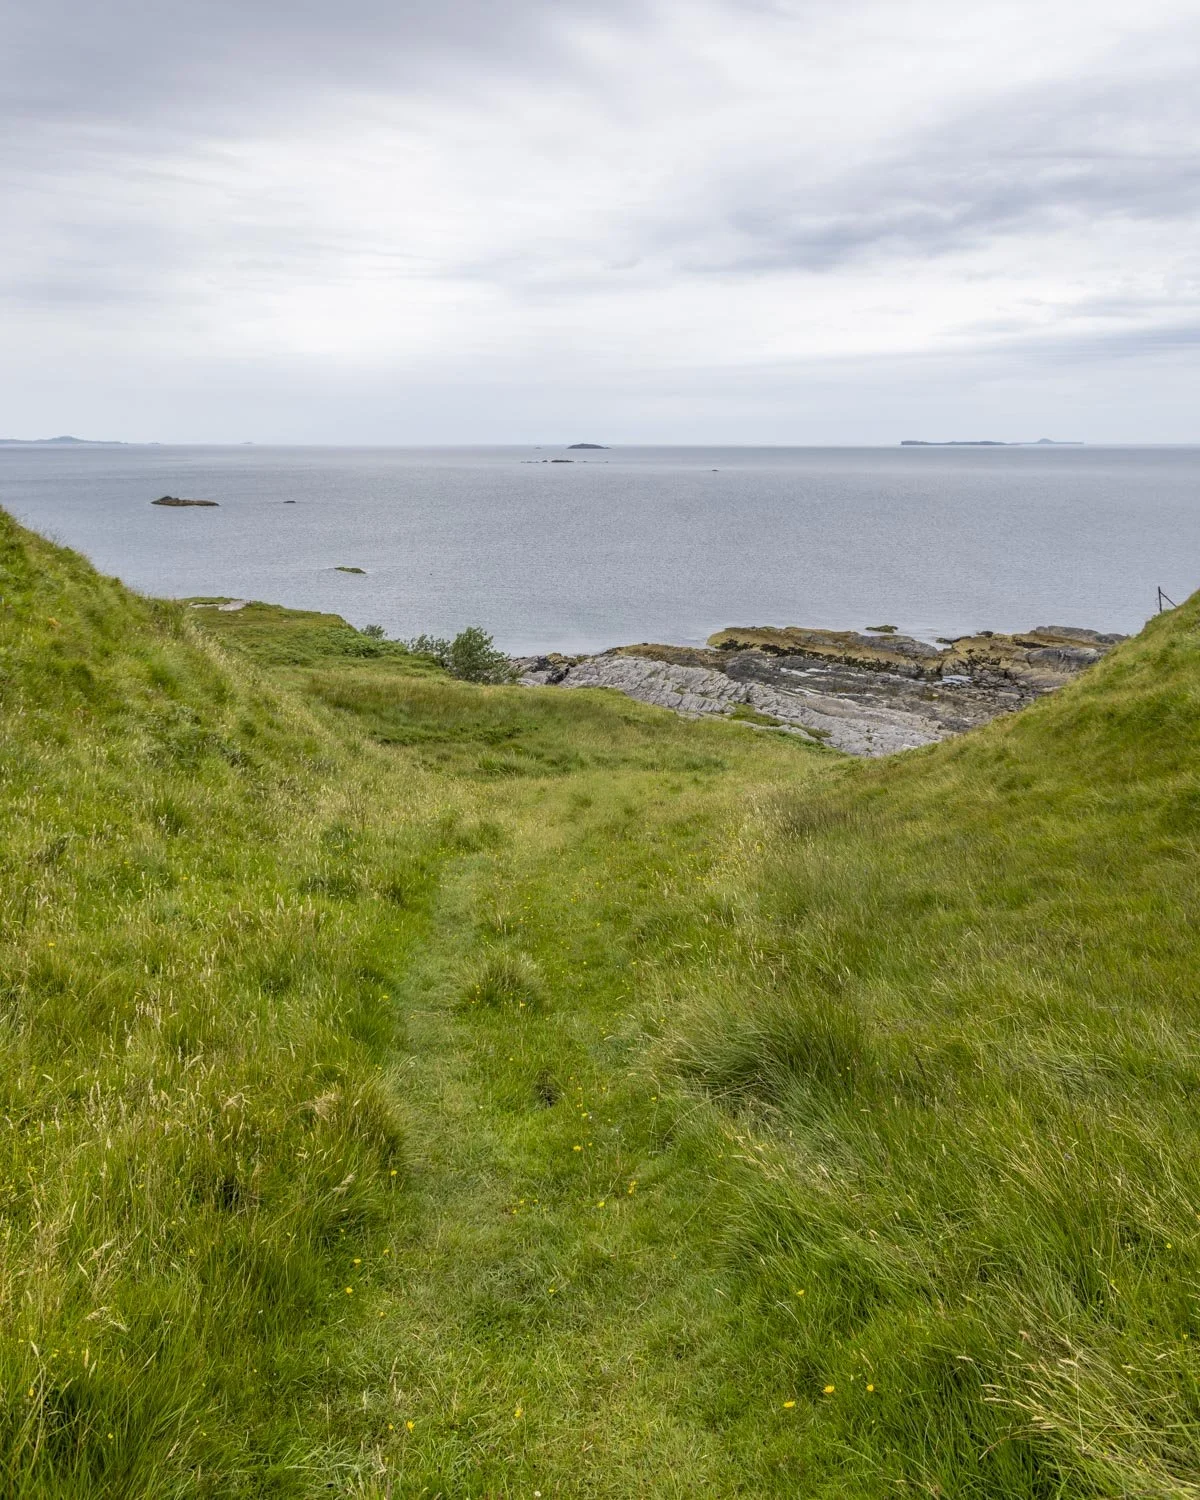
The route down to the beach is steep but easier than it looks. The path is narrow and I thought it would be a bit sketchy. It’s definitely better than it looks and wasn’t particularly slippery despite being wet.
The first couple of metres is on a steep rock slope and after that it’s a dirt path, but there are rocks which help you get down without it feeling too loose.
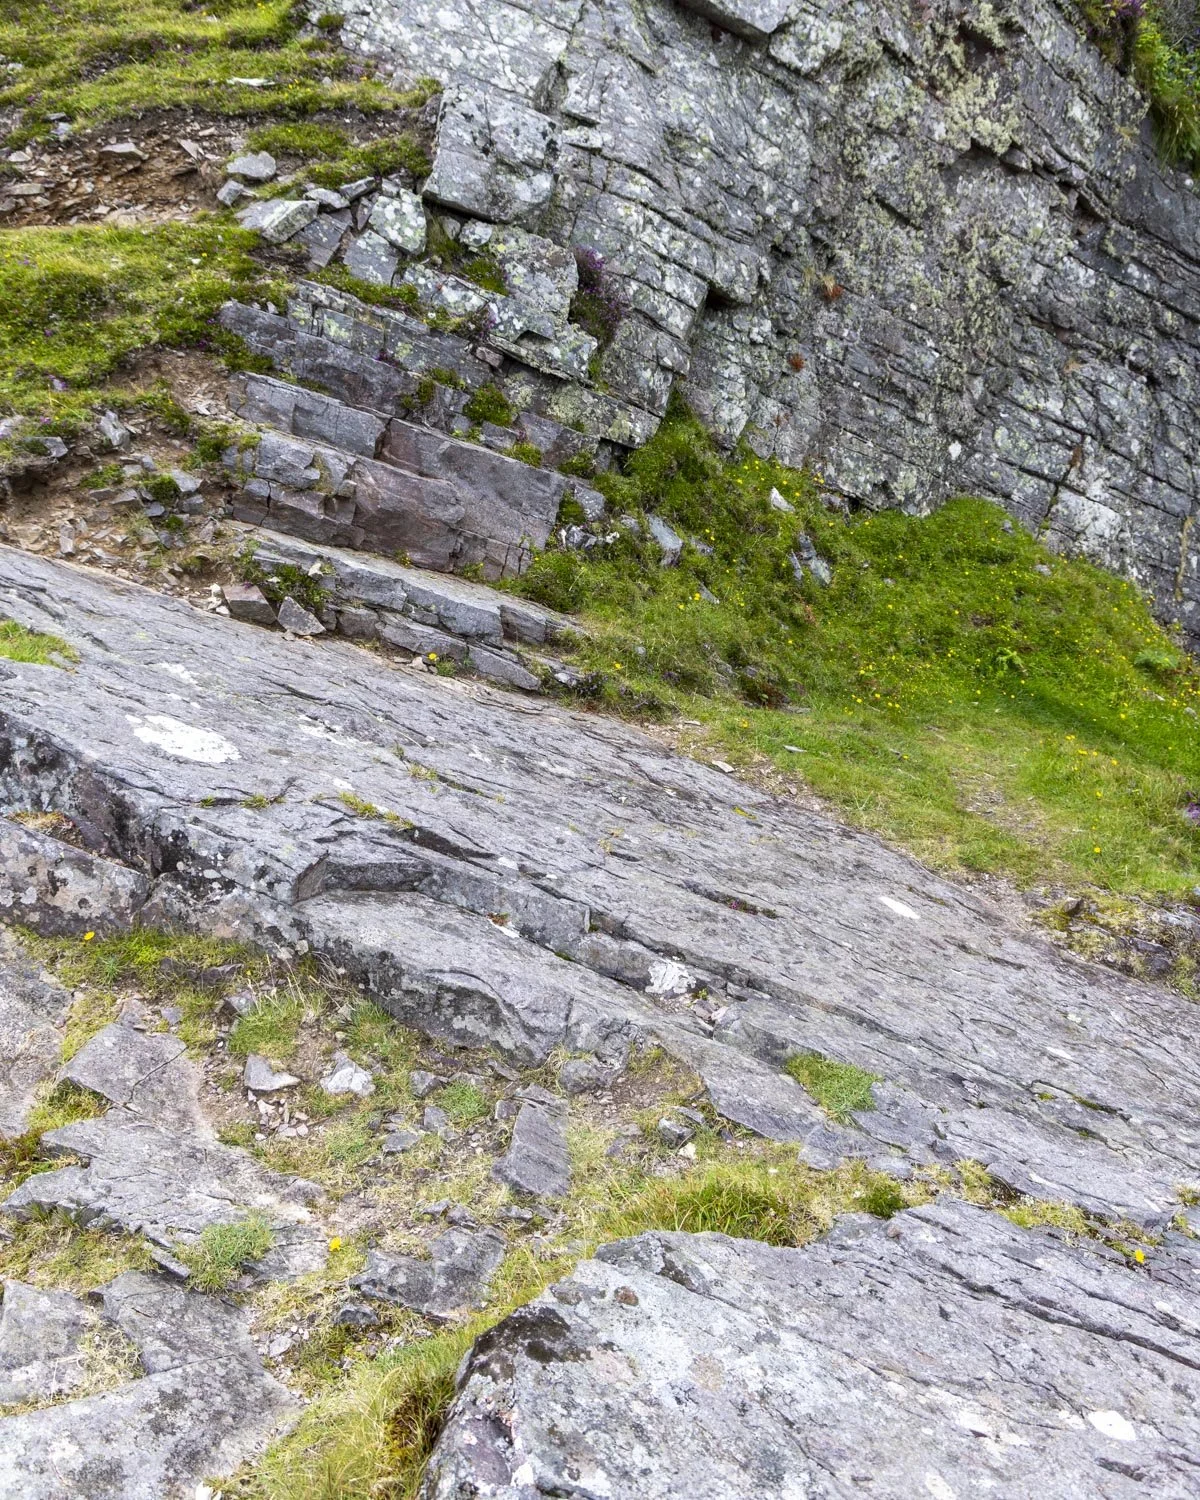
The descent is 100m in total and the final bit has quite a few stinging nettles so you might not want shorts on for this!
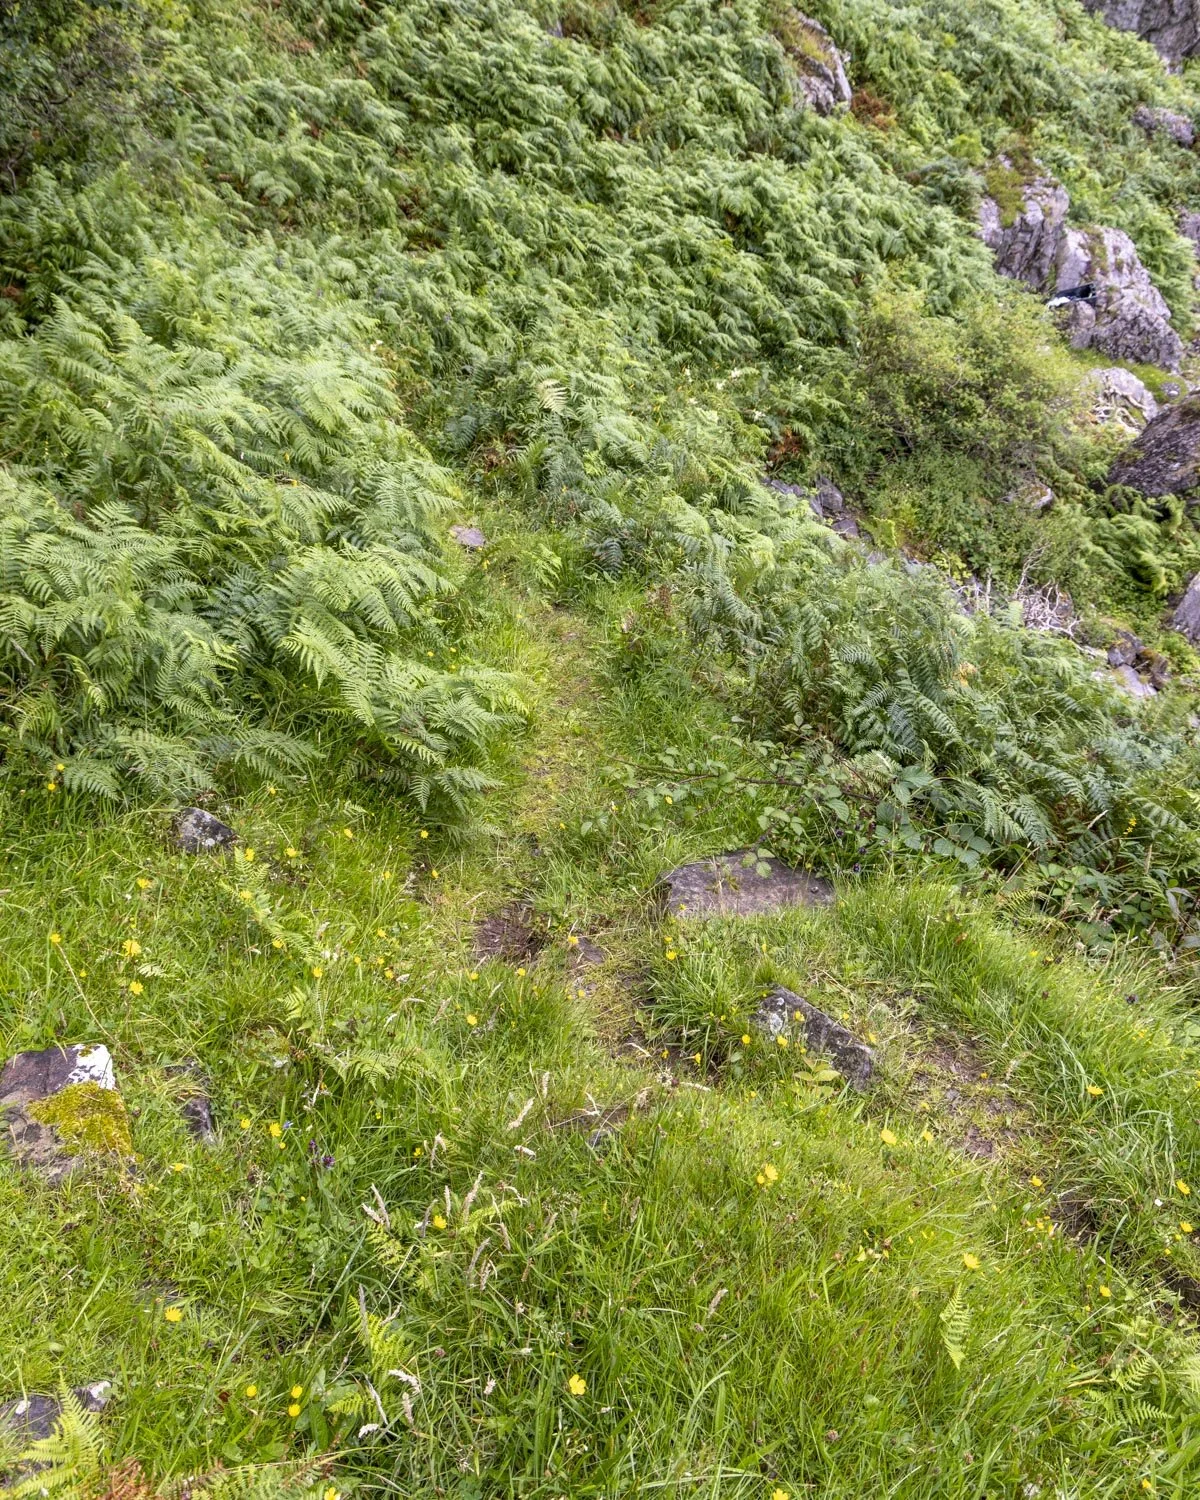
To be honest I wouldn’t recommend shorts anyway because as soon as you get down to the beach the infamous midges will be after you.
They aren’t in the huge clouds you get in the highlands, but they were numerous on our visit in August (July and August are the worst times for them, but they’ll be around between May and September, especially after rain).
I did find that using a healthy application of Smidge meant that my arms and face were covered in dead ones but I didn’t get any bites - apart from a few on my legs as they managed to bite through my trousers and I hadn’t Smidged my legs!
Crossing the rocks
The beach has a wild windswept air and there’s a cute little homemade swing tied to one of the rocks for little ones!
The first part of the beach traverse just involves walking across a normal rocky bay which is easy. You’ll then reach a 50m section of muddy bog with some more planks to help you over the worst of it.
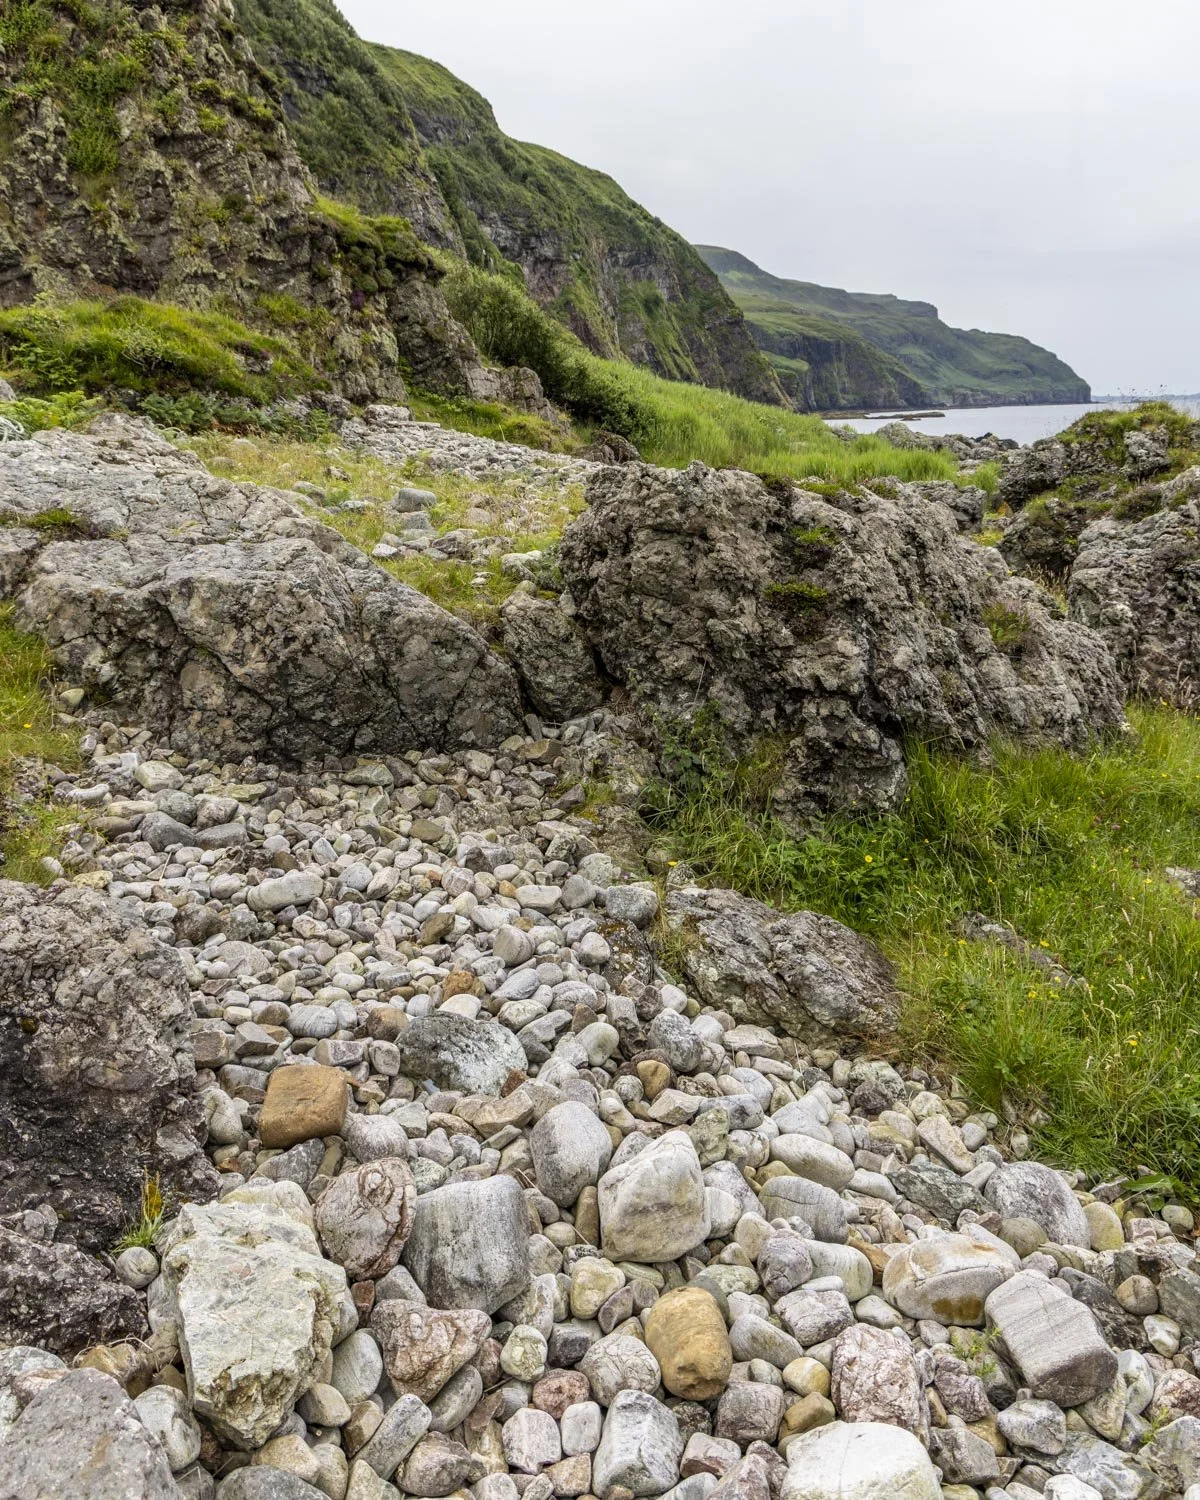
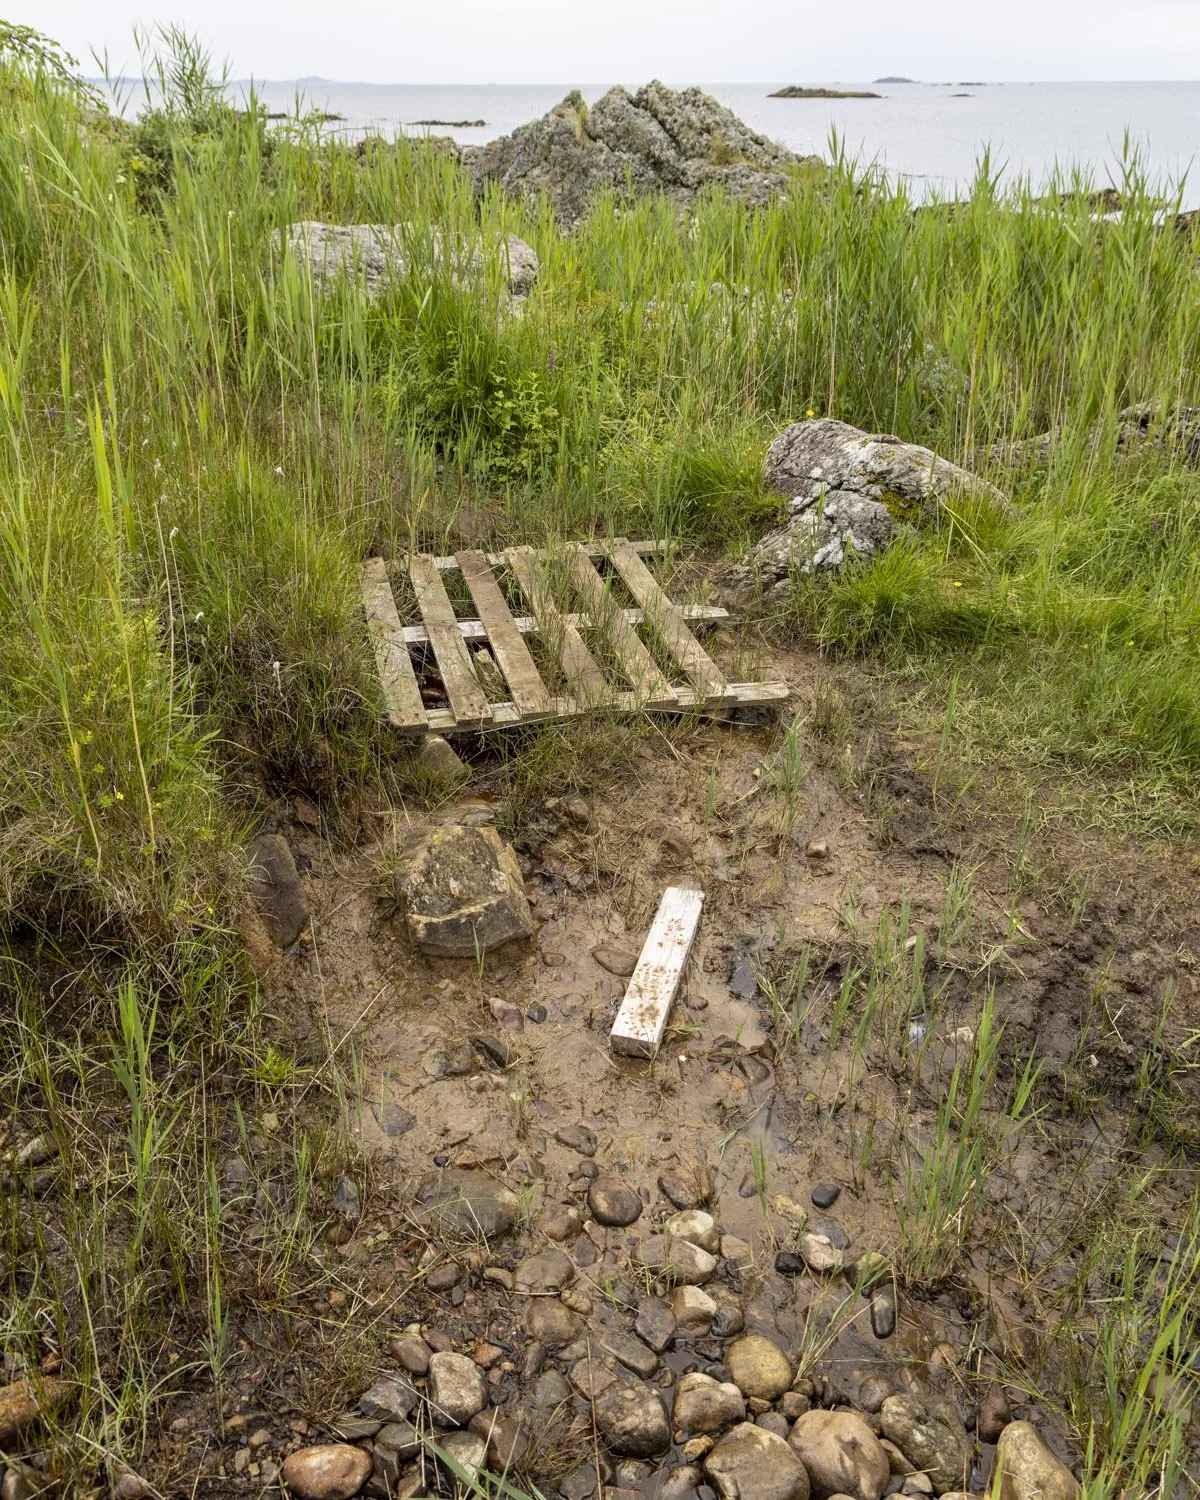
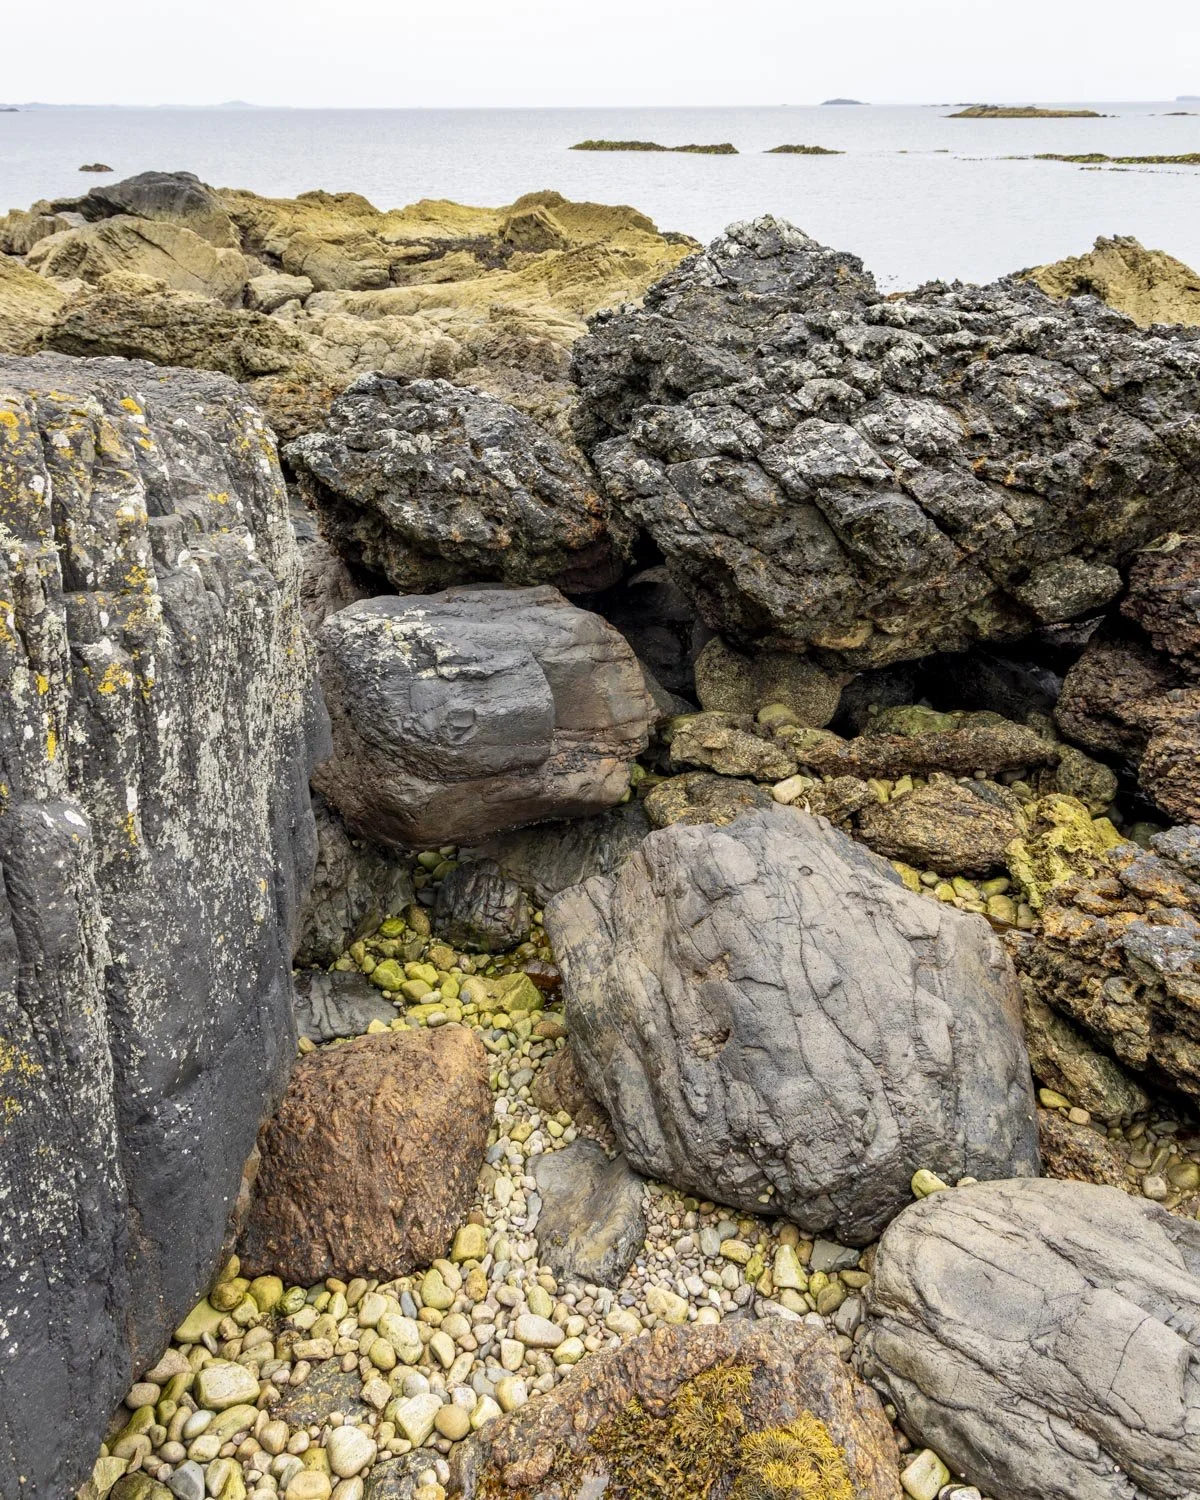
You’ll then reach another beach and this marks the start of the harder traverse. It’s rubbly at first which isn’t too bad, but it quickly gives way to rocks and boulders. There were also huge kelp piles dotted around and these can be very slick.
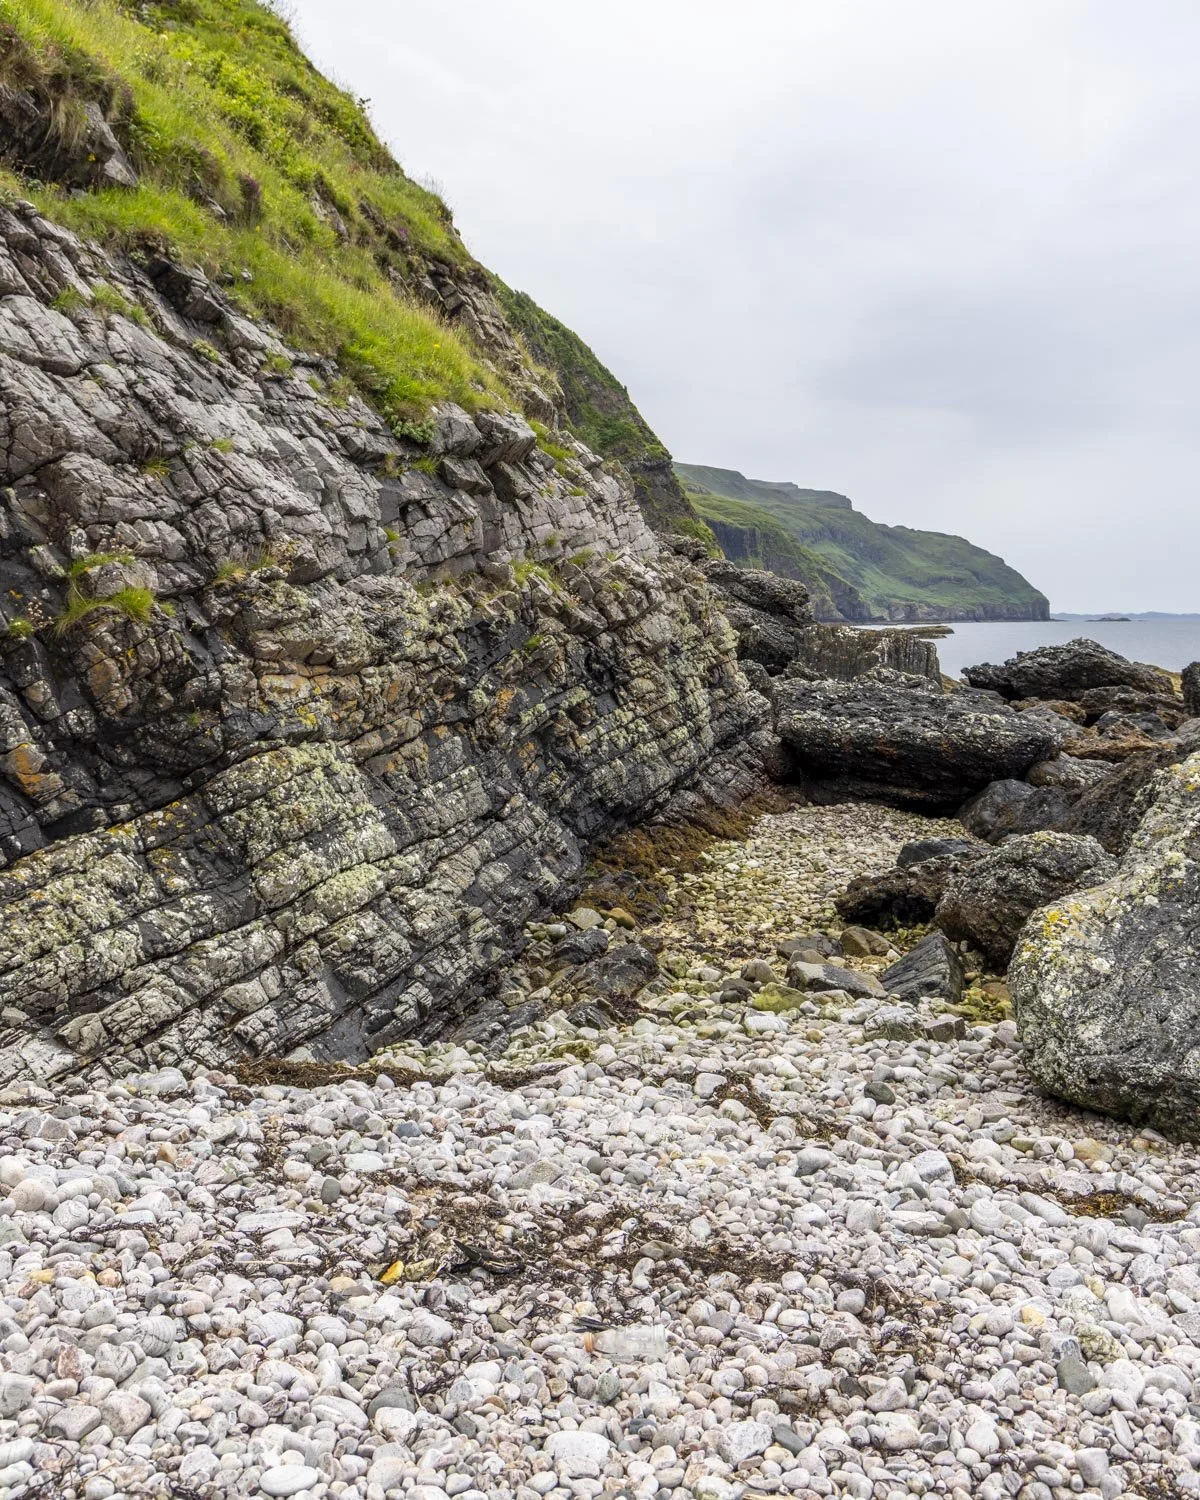
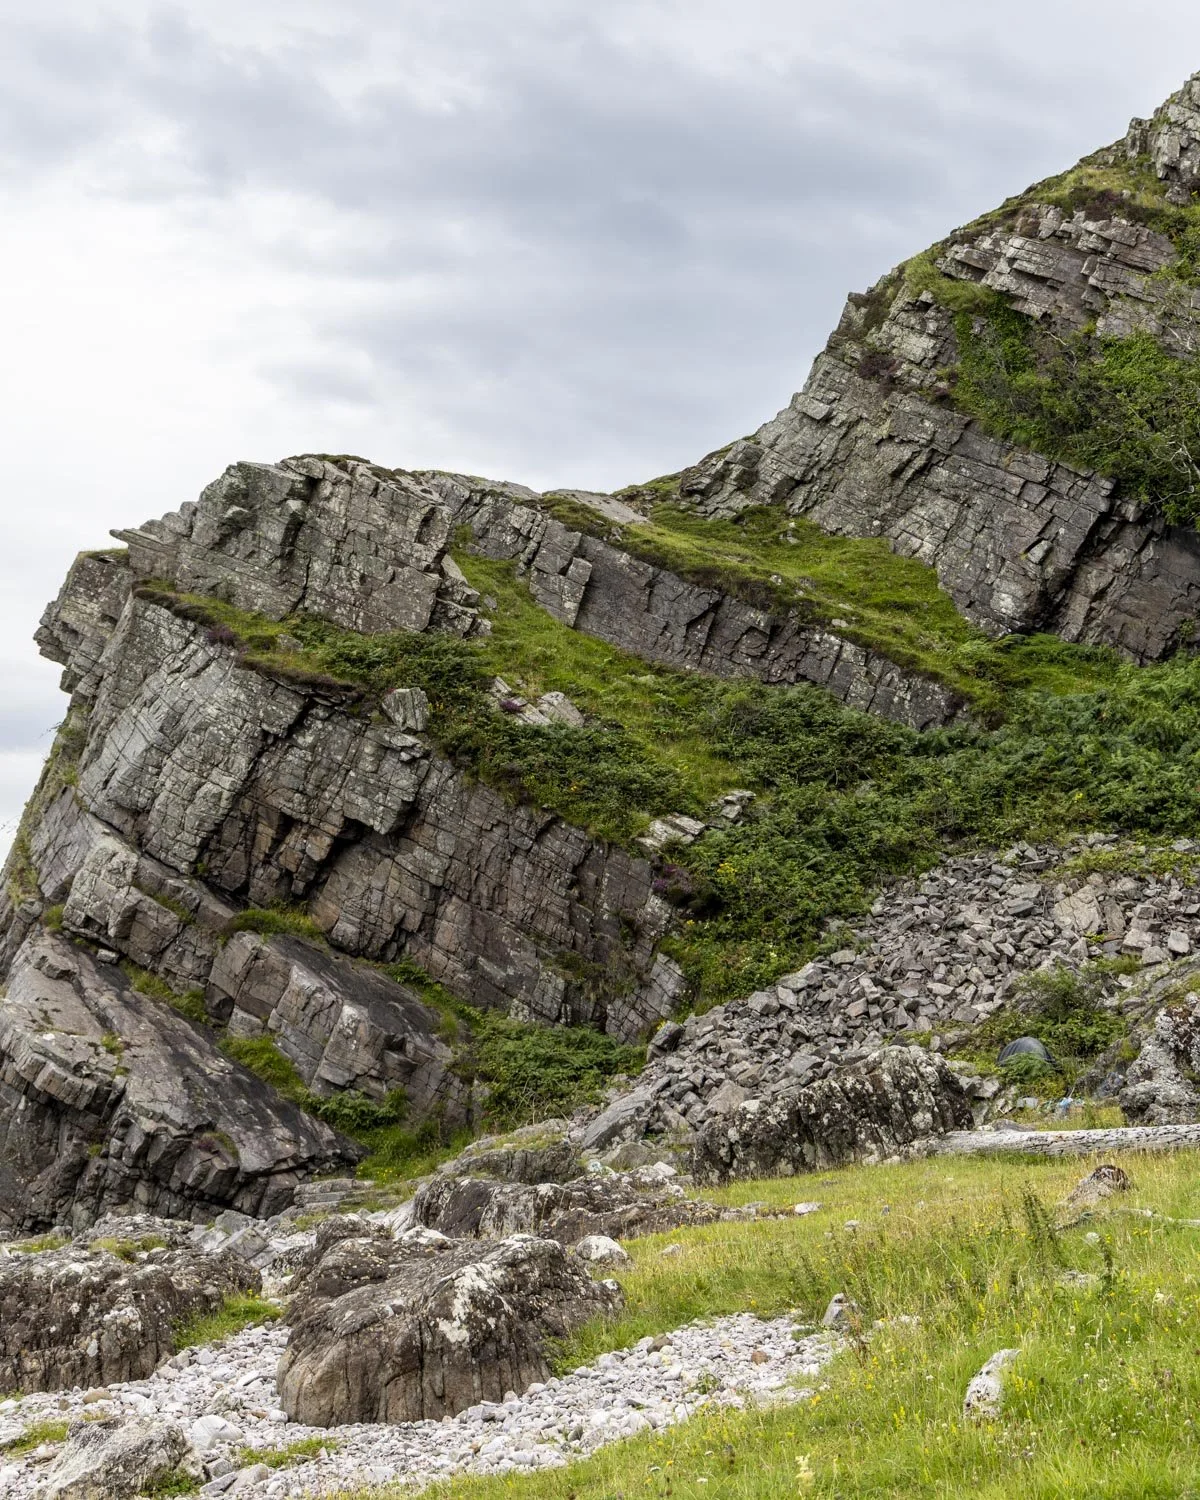
You are only 300m away from the cave, but this part of the walk is difficult. You have a choice of navigating slippery, kelp laden rocks all the way, or climbing up the slanted cliff and traversing around the slippery rocks.
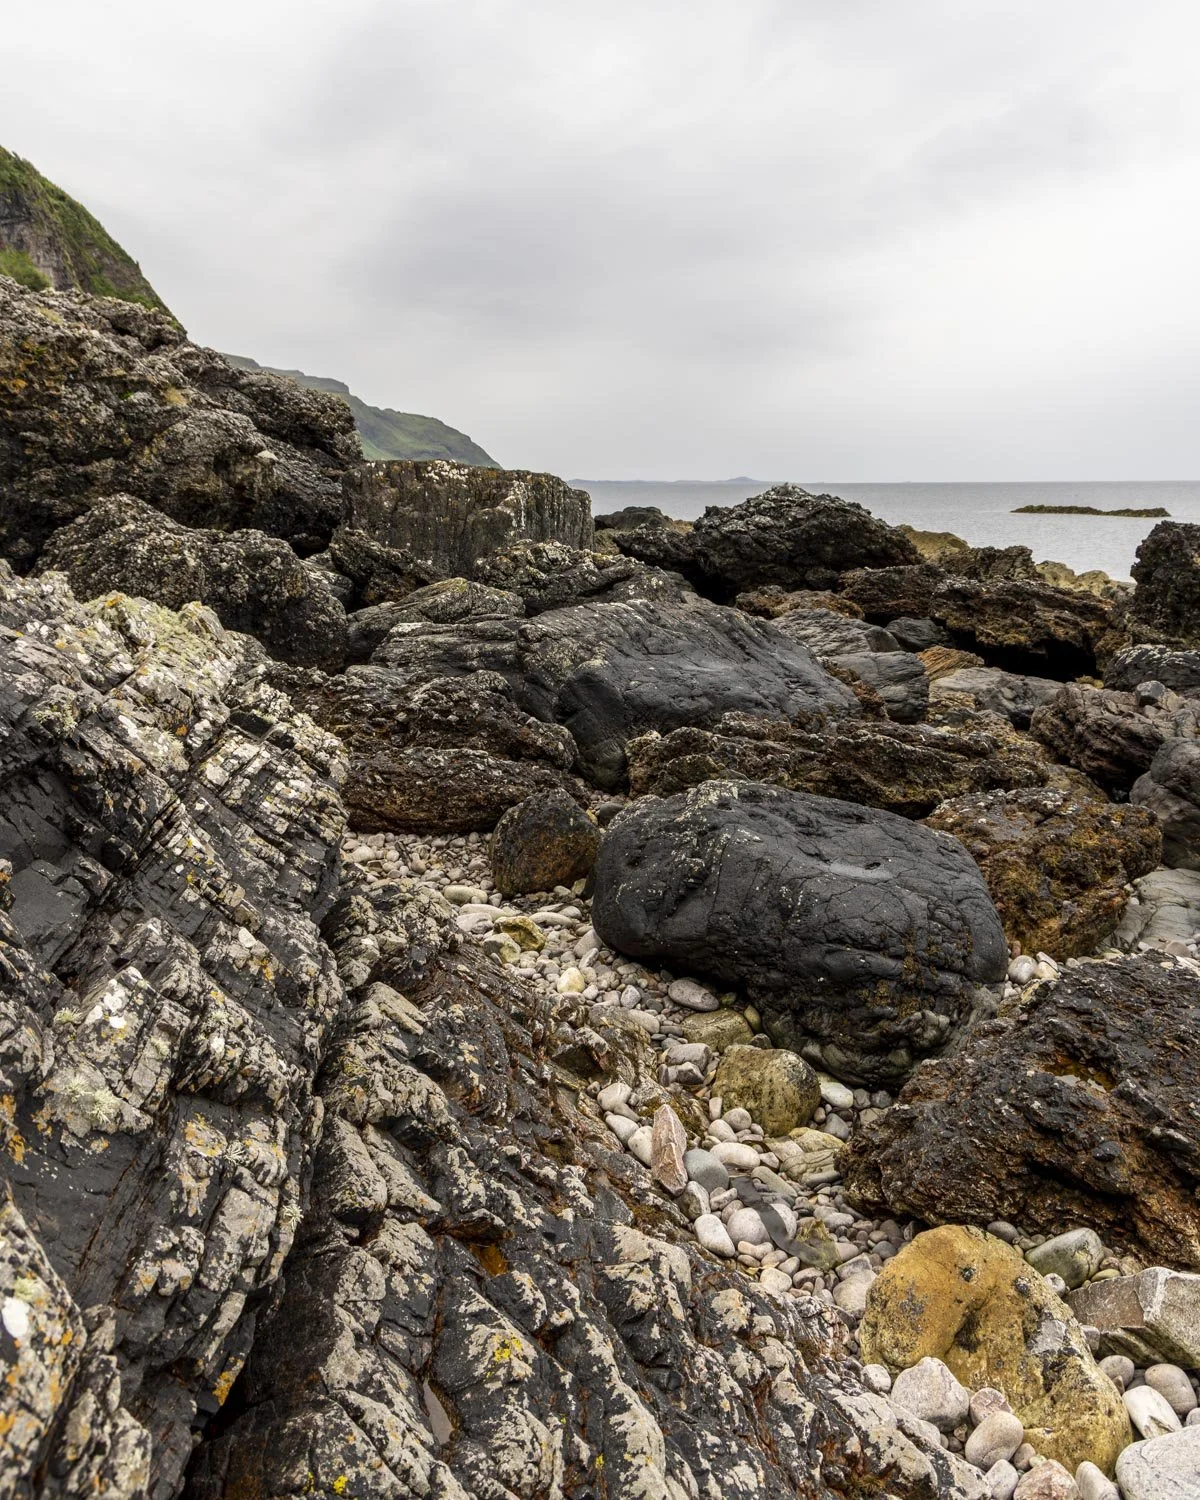
The low route
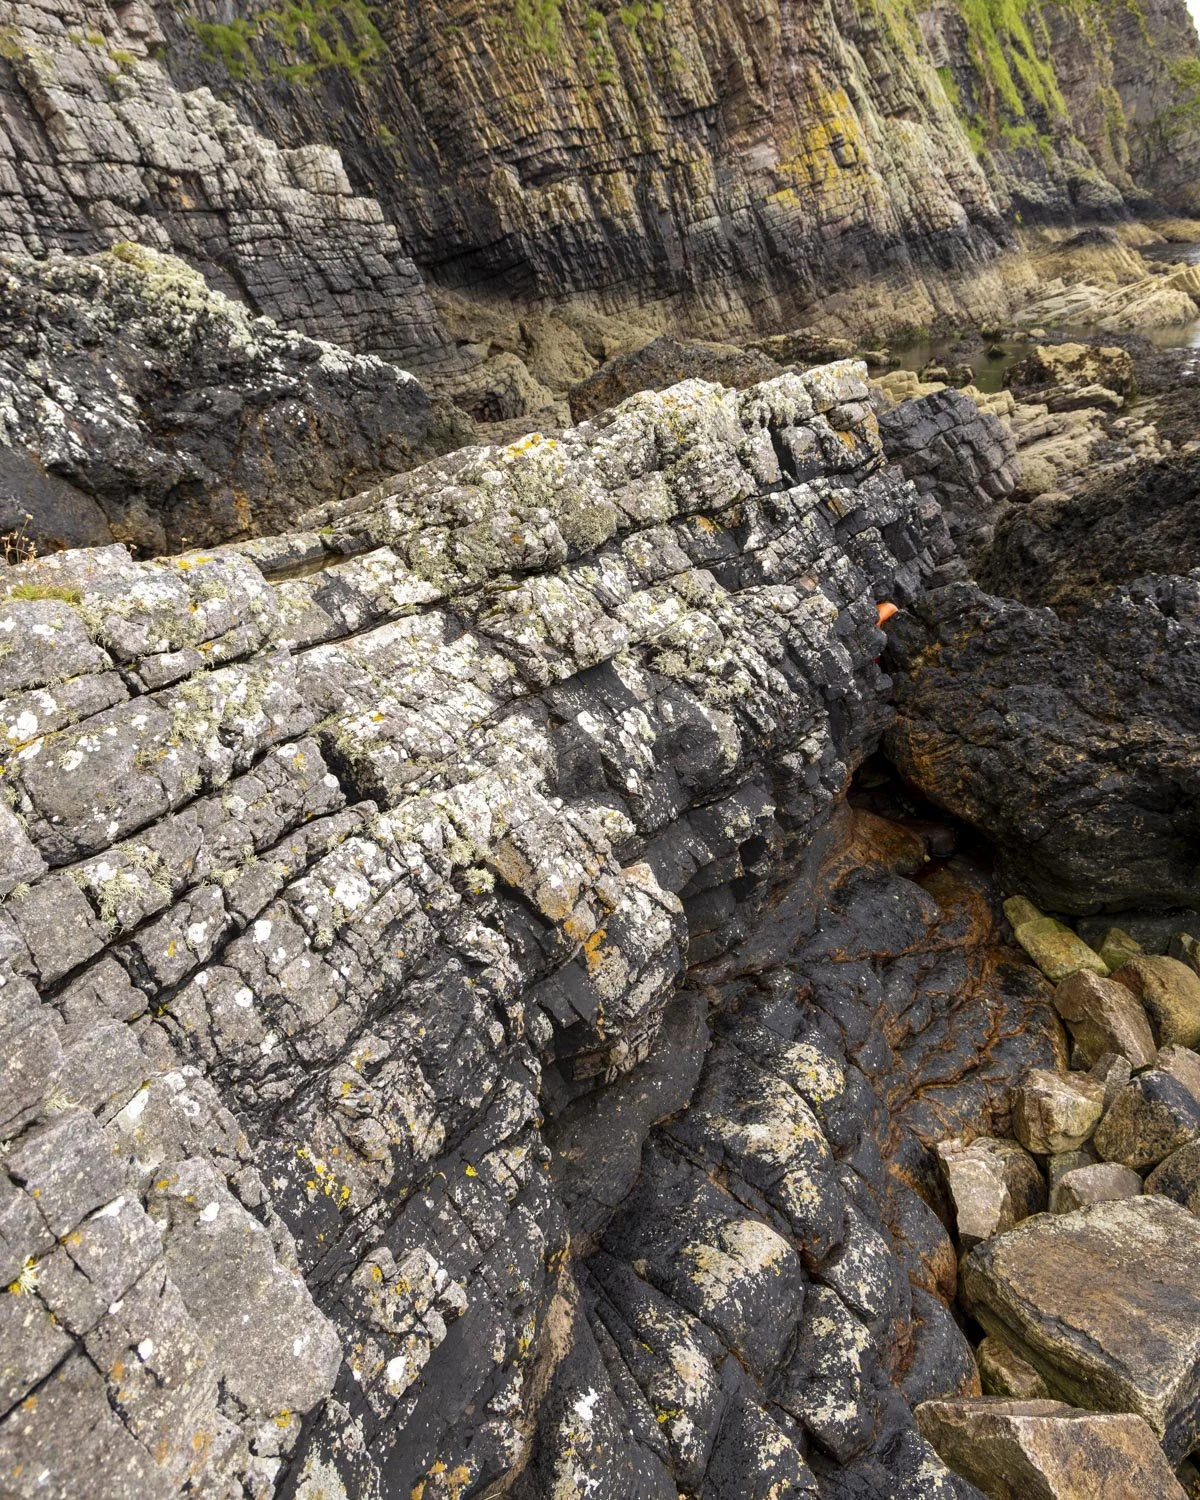
The high route
We preferred to climb up the cliff, as the rock was grippy and dry. It wasn’t flat and the slant was a little disconcerting, but we did see someone take a nasty slip on the rocks below, so for us at least, it felt the better option. We did part of the lower route on the way and the higher route on the way back, so we can tell you what to expect on both.
The lower route
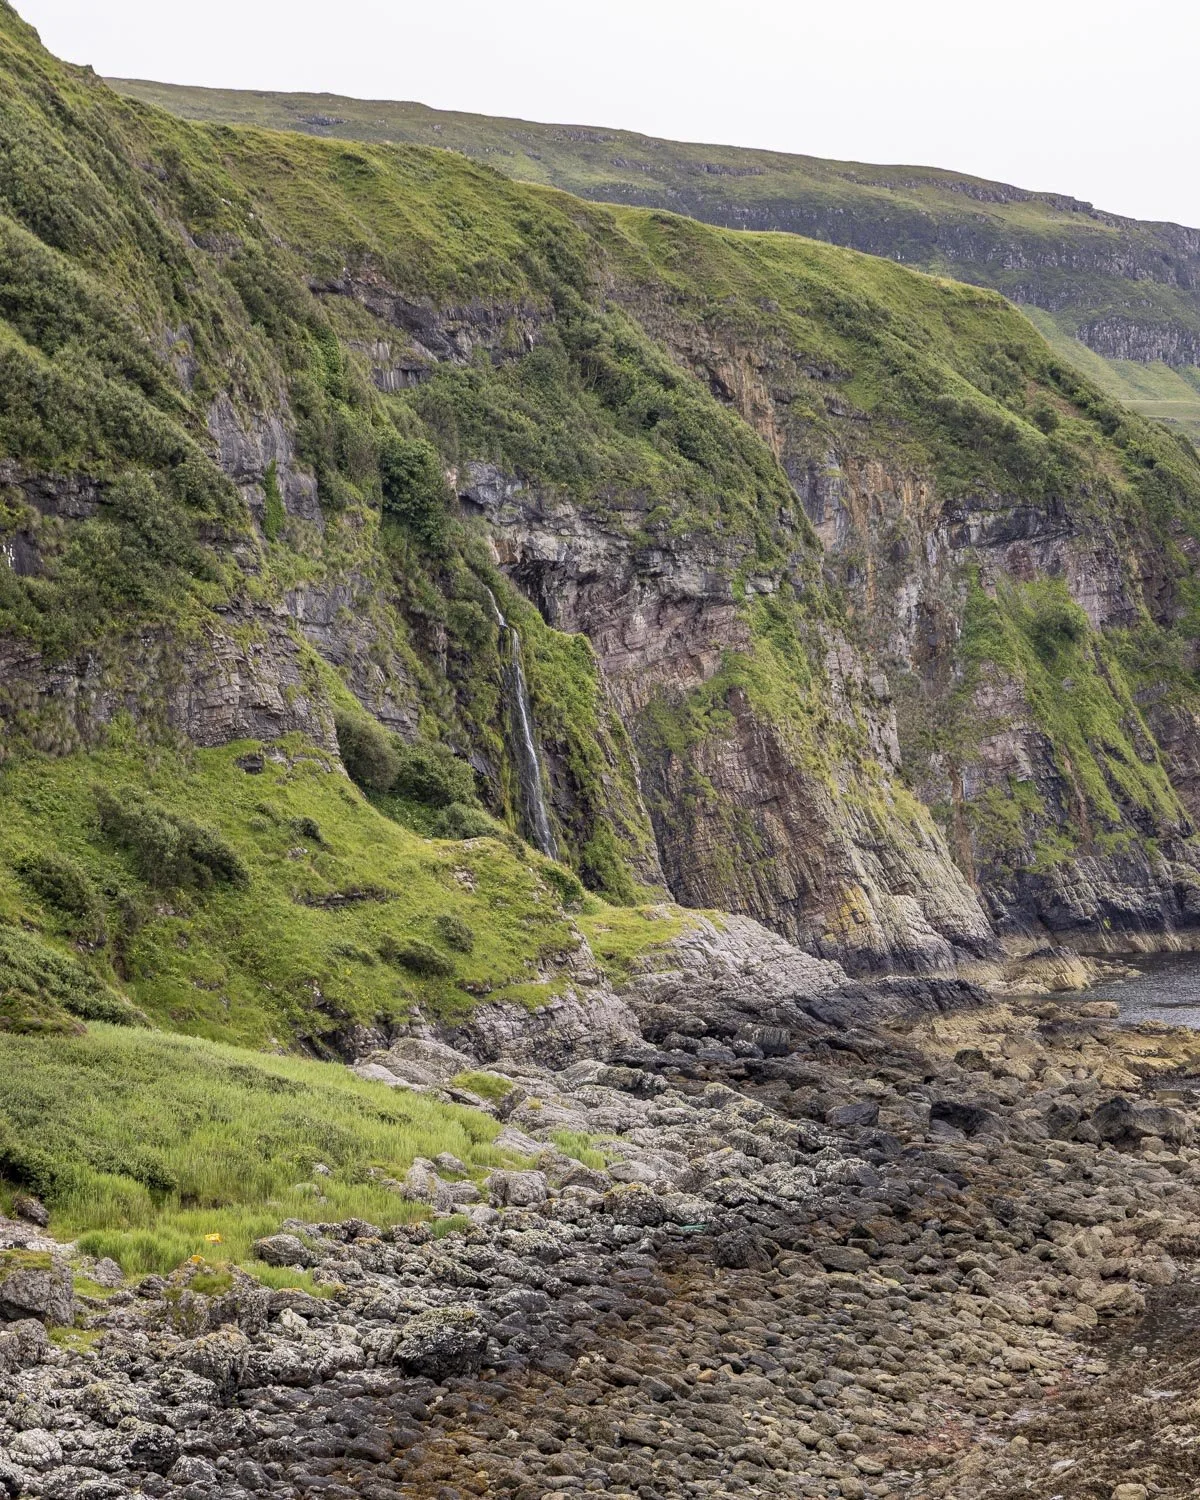
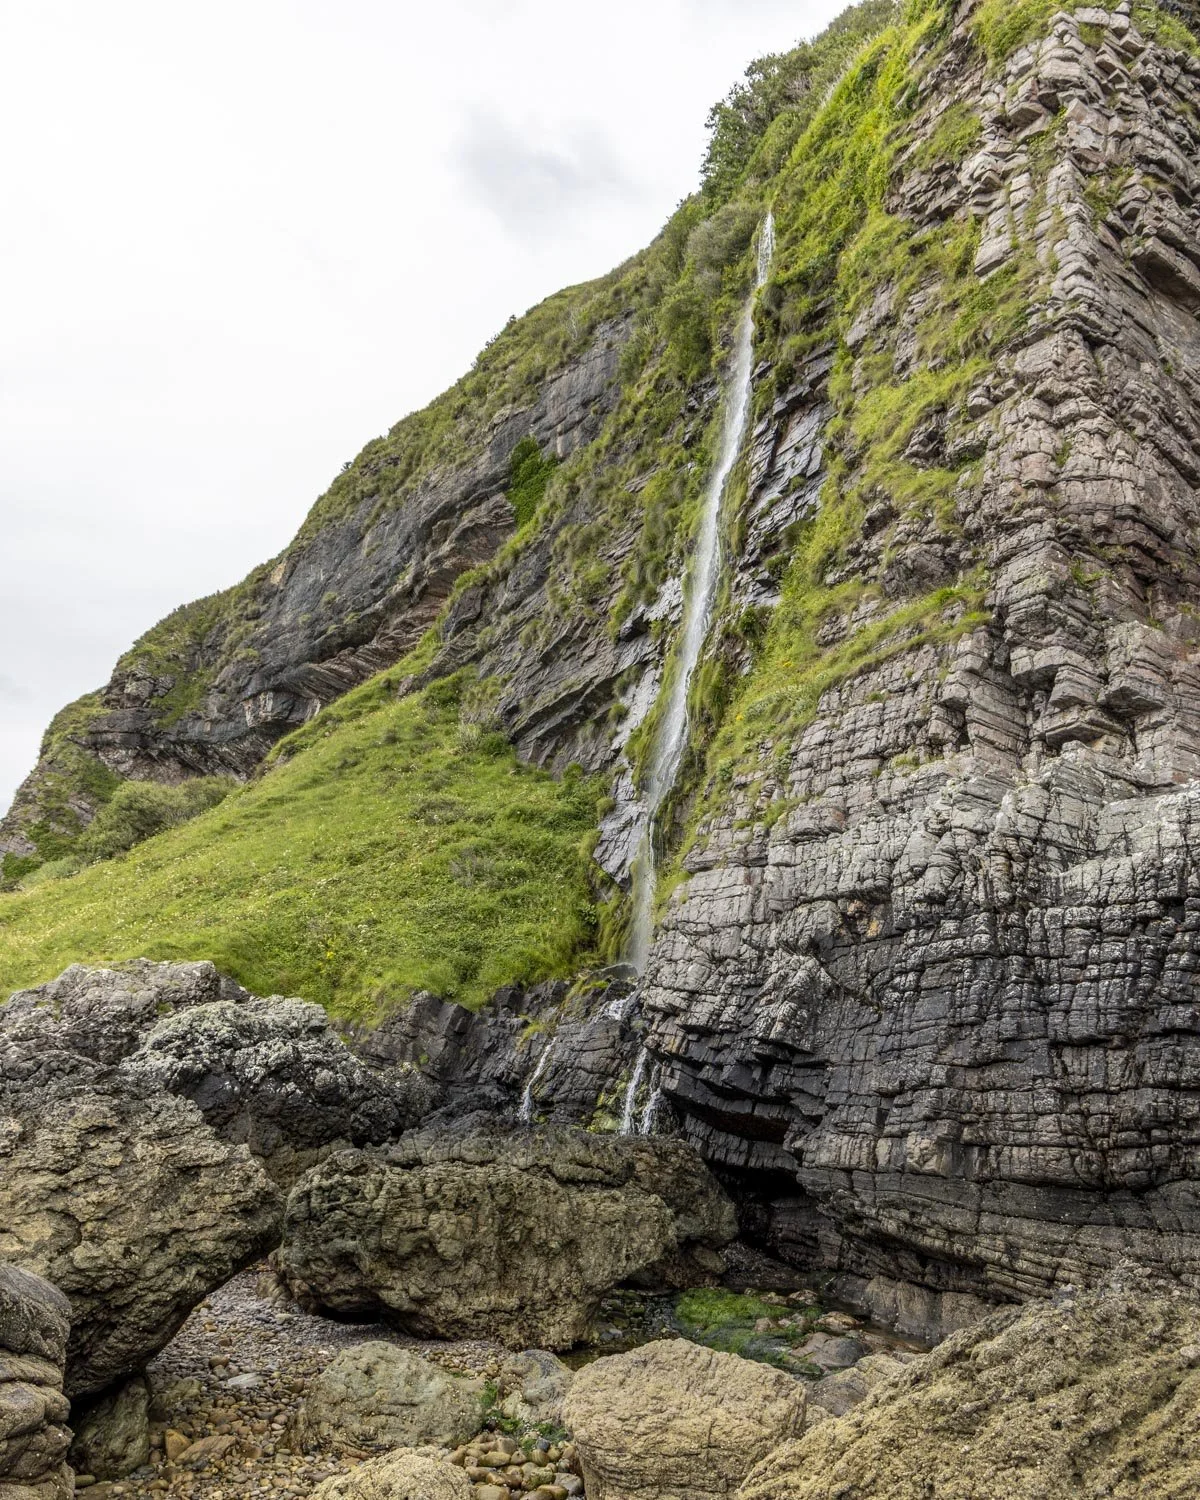
On the way to the cave we traversed the slippery rocks and boulders for about 200m until we reached the waterfall.
The waterfall was pretty cool as it thundered down onto the rocks, but we didn’t appreciate it quite as much as we would have if it hadn’t been pouring with rain and any stop meant additional time for the midges to swarm.
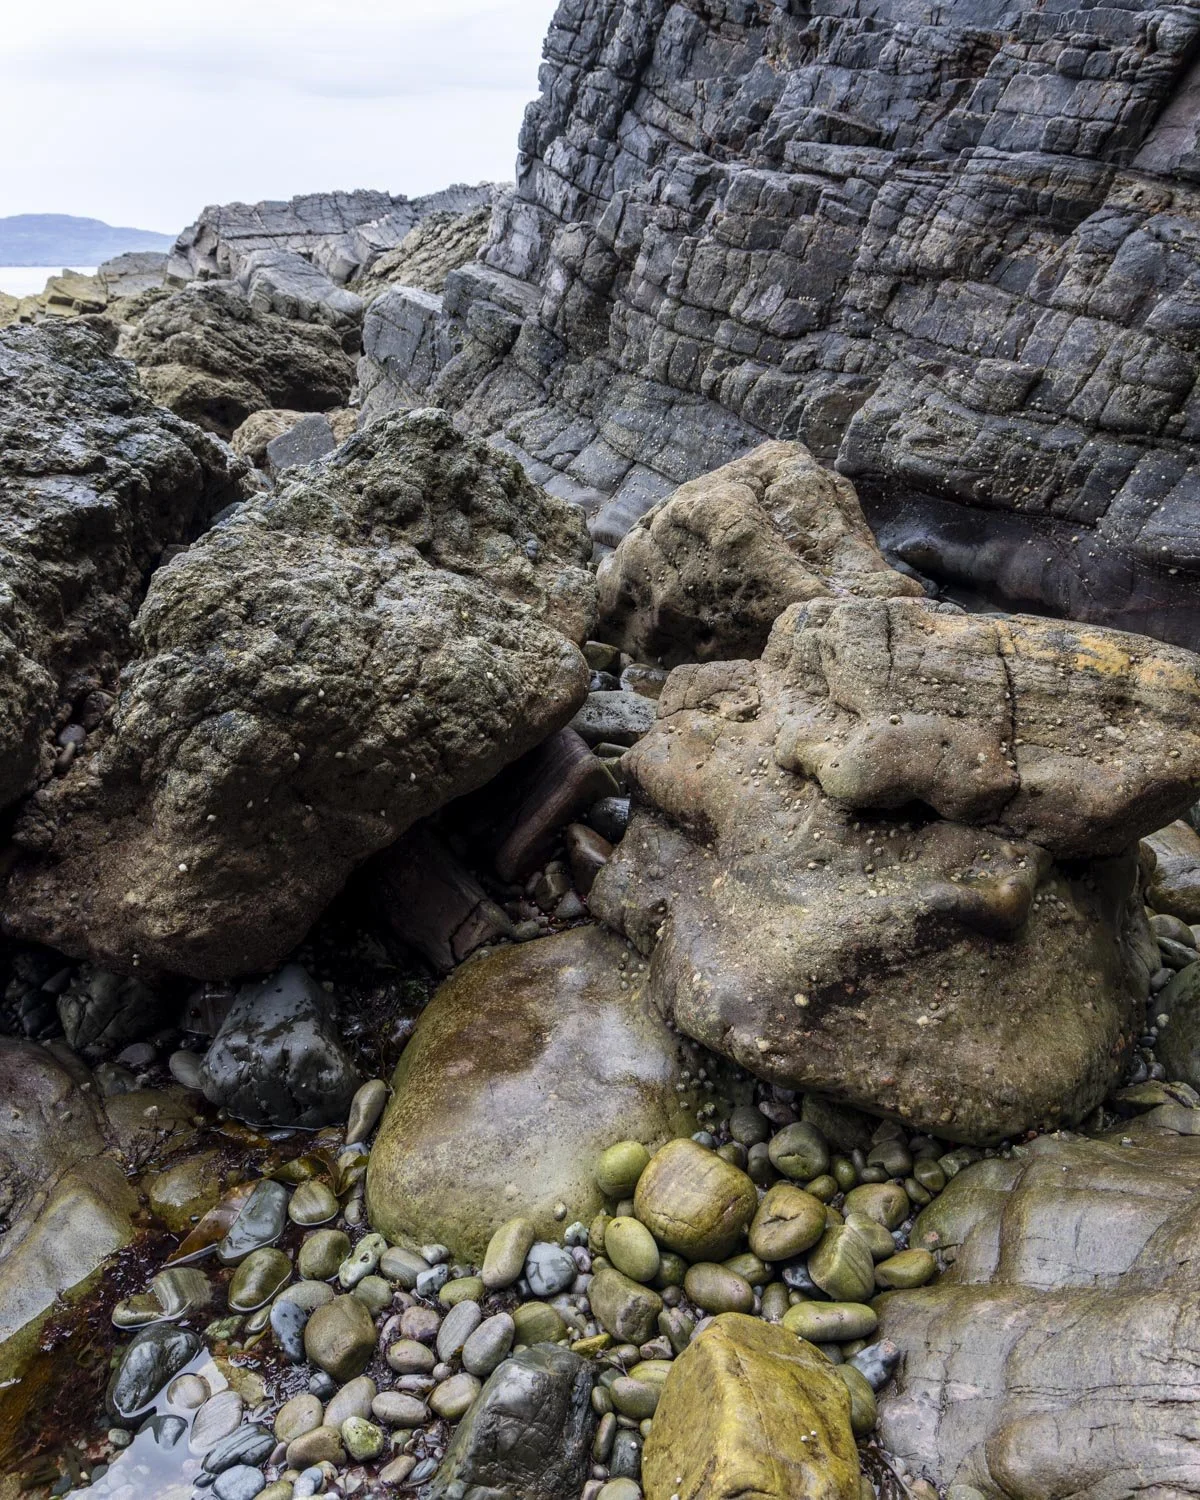
The rocks around the waterfall and beyond are extra slippery and extreme caution is advised. It was so bad that we decided scrambling up the cliff and traversing the narrow ledge above the beach was preferable.
If you do carry on past the waterfall on the lower route, it’s more of the same but on increasingly slippery boulders and rocks. You’ll need to climb up, over and around several before you reach the small stones at the entrance to the cave. It’s only around 130m but it requires a lot of care.
The high route
If you’re going to take the higher route, then it’s better to start as early as possible. The first entry point is when you’ve walked past all the mud and reached the pebbles.
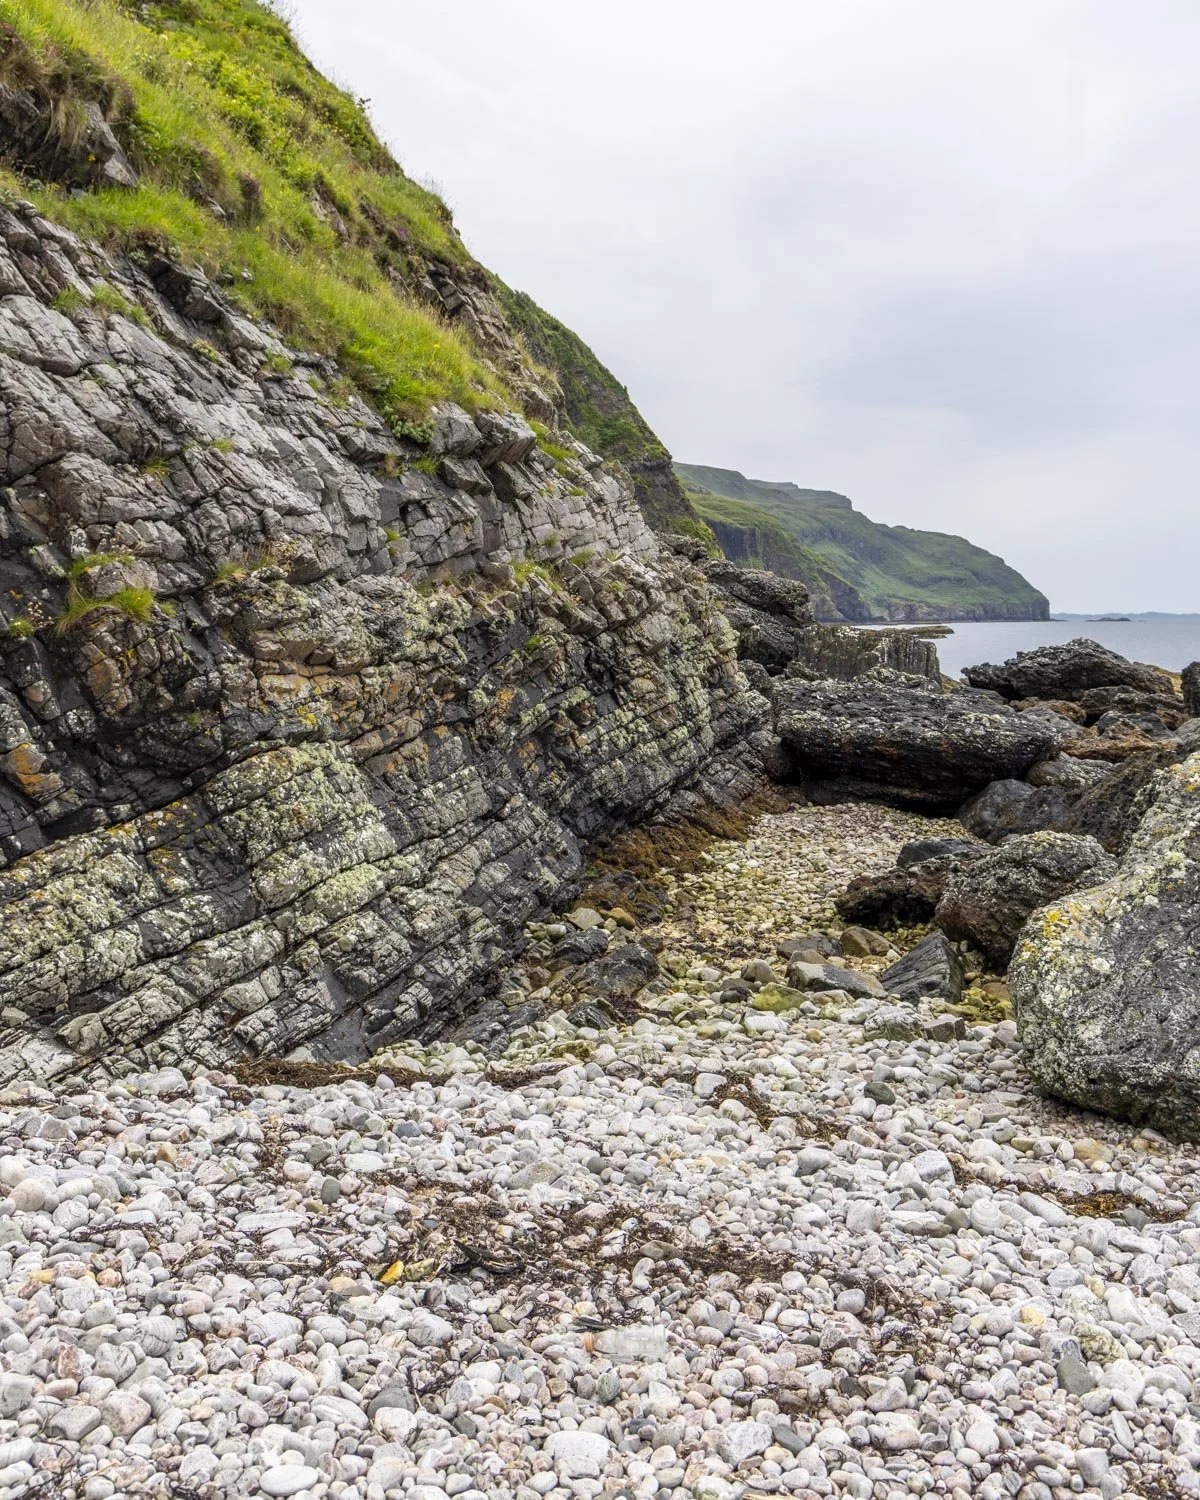
The beach narrows significantly (which you can see in the photo above) and then the path squeezes between two rocks. Once through here you’ll see the grassy ledge to the left above you. You should be able to climb up to the grassy verge relatively easily. From here, you make your way to the slanted ridge.
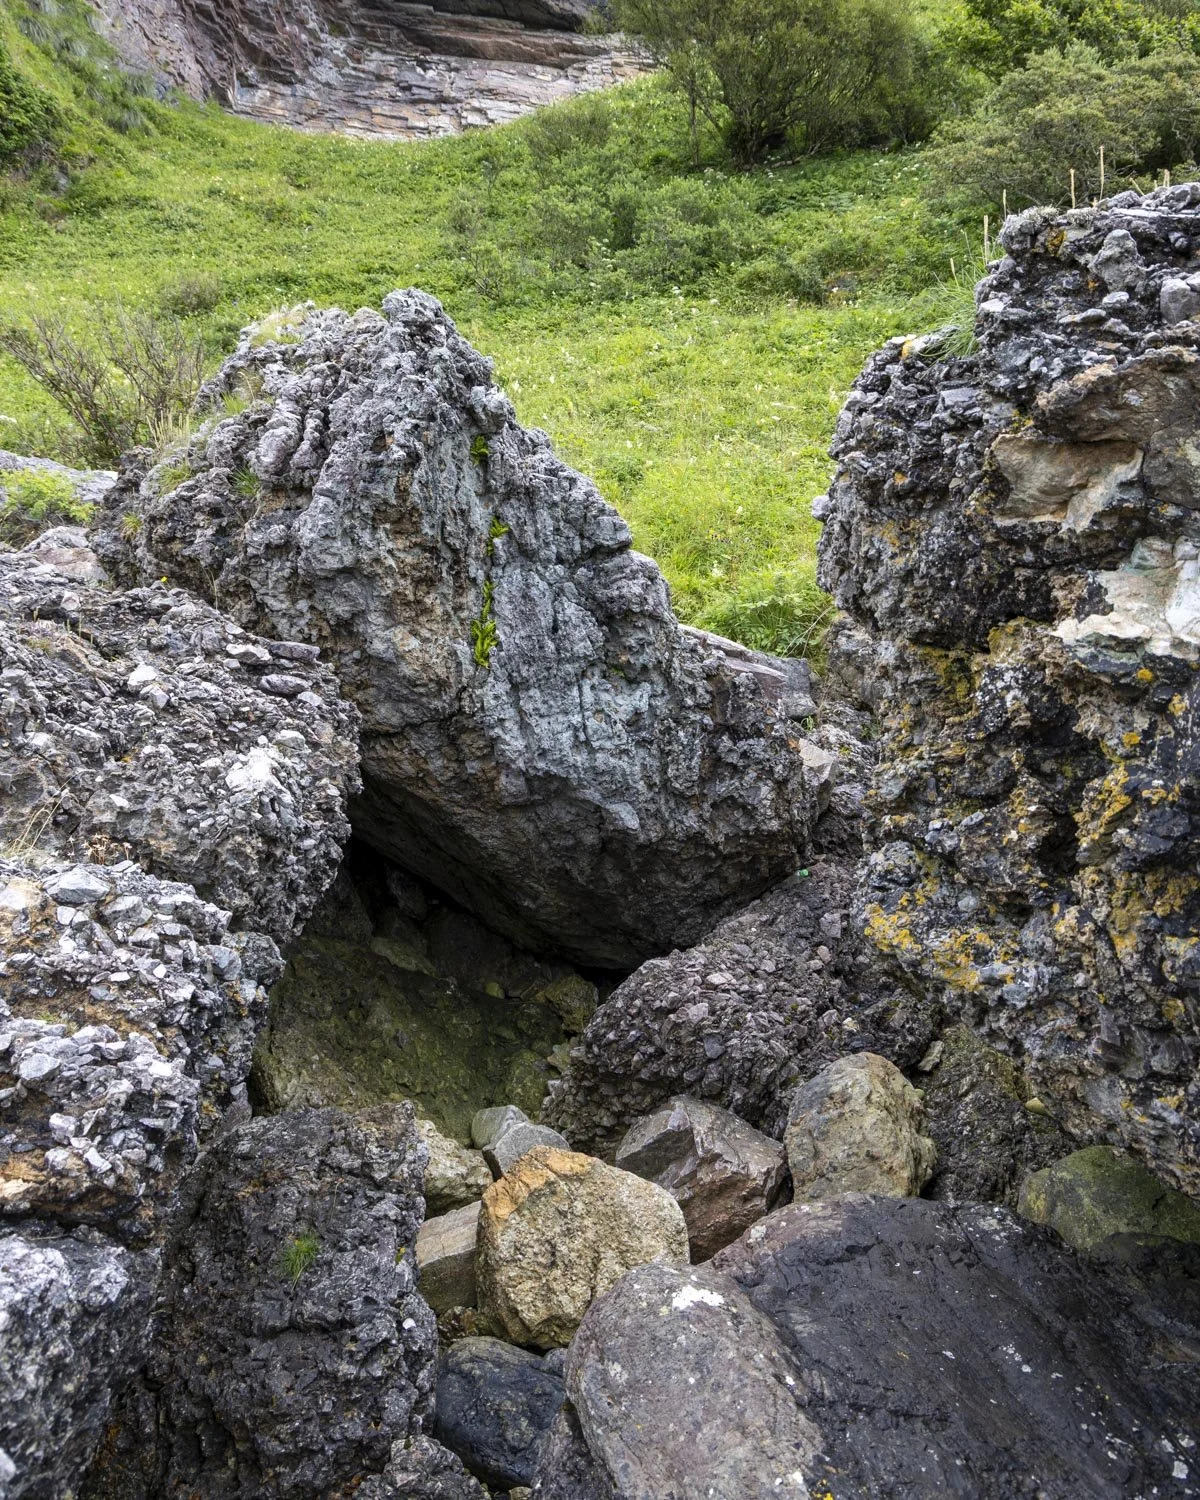
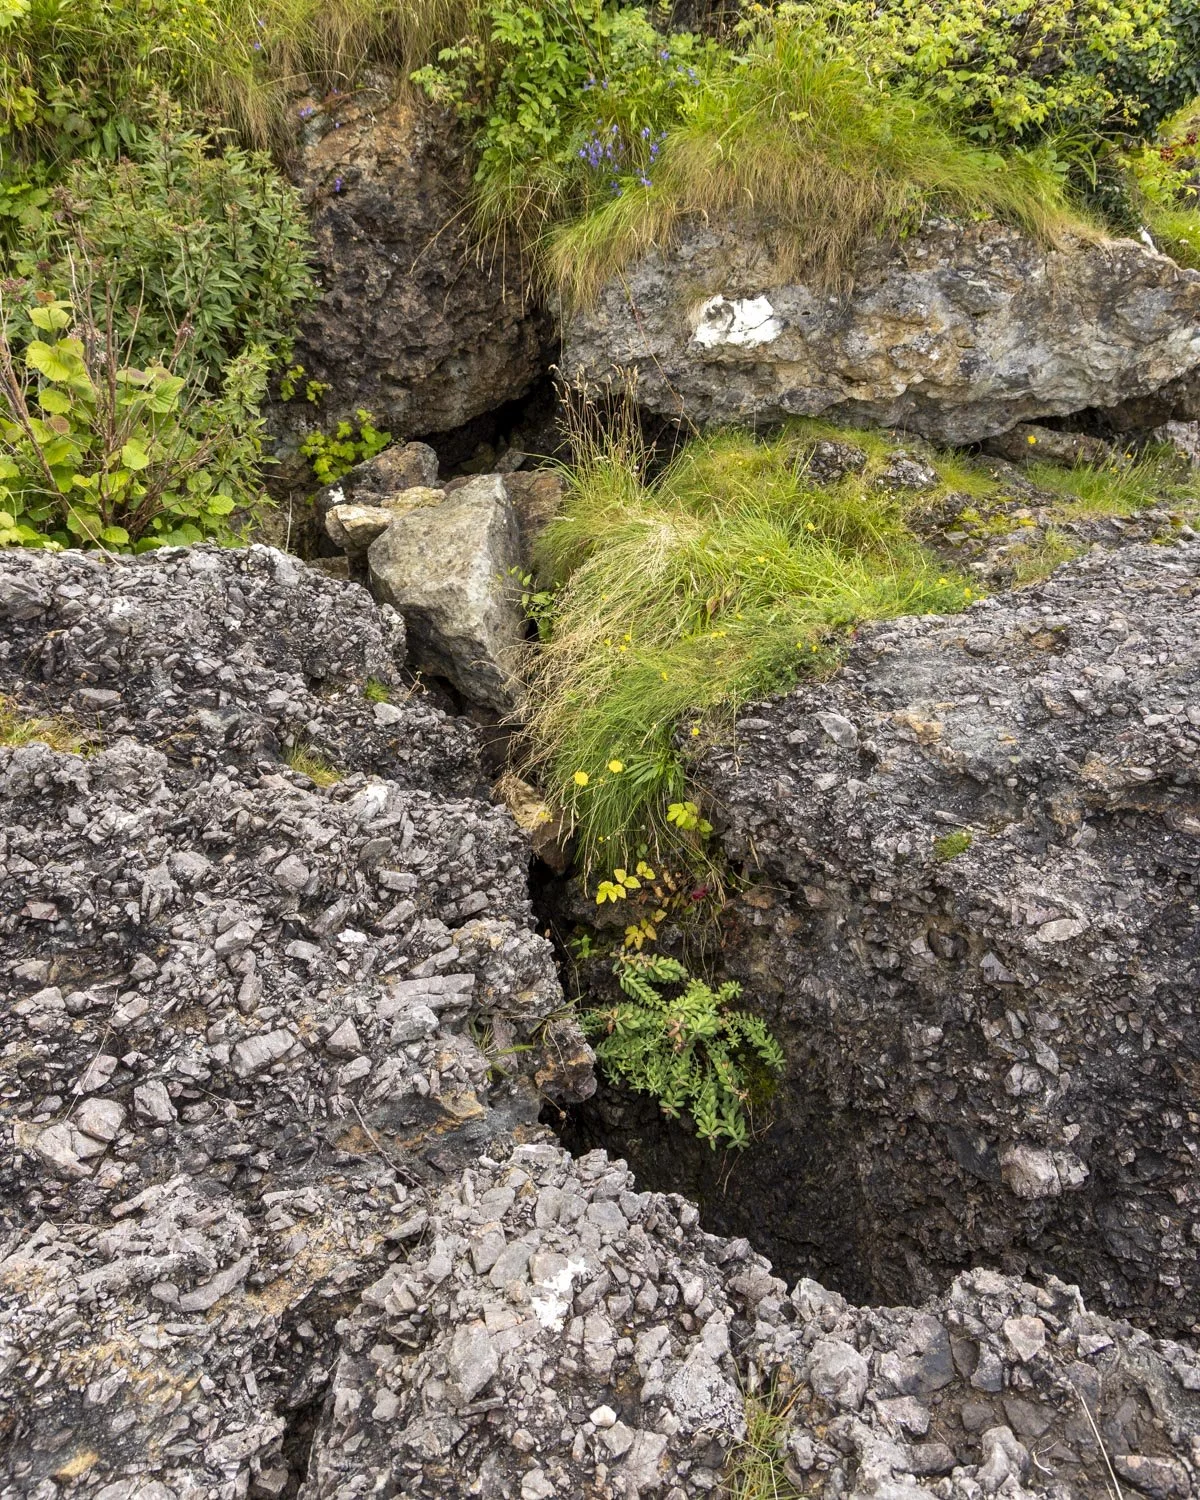
The bit where you have to step between two sections of cliff
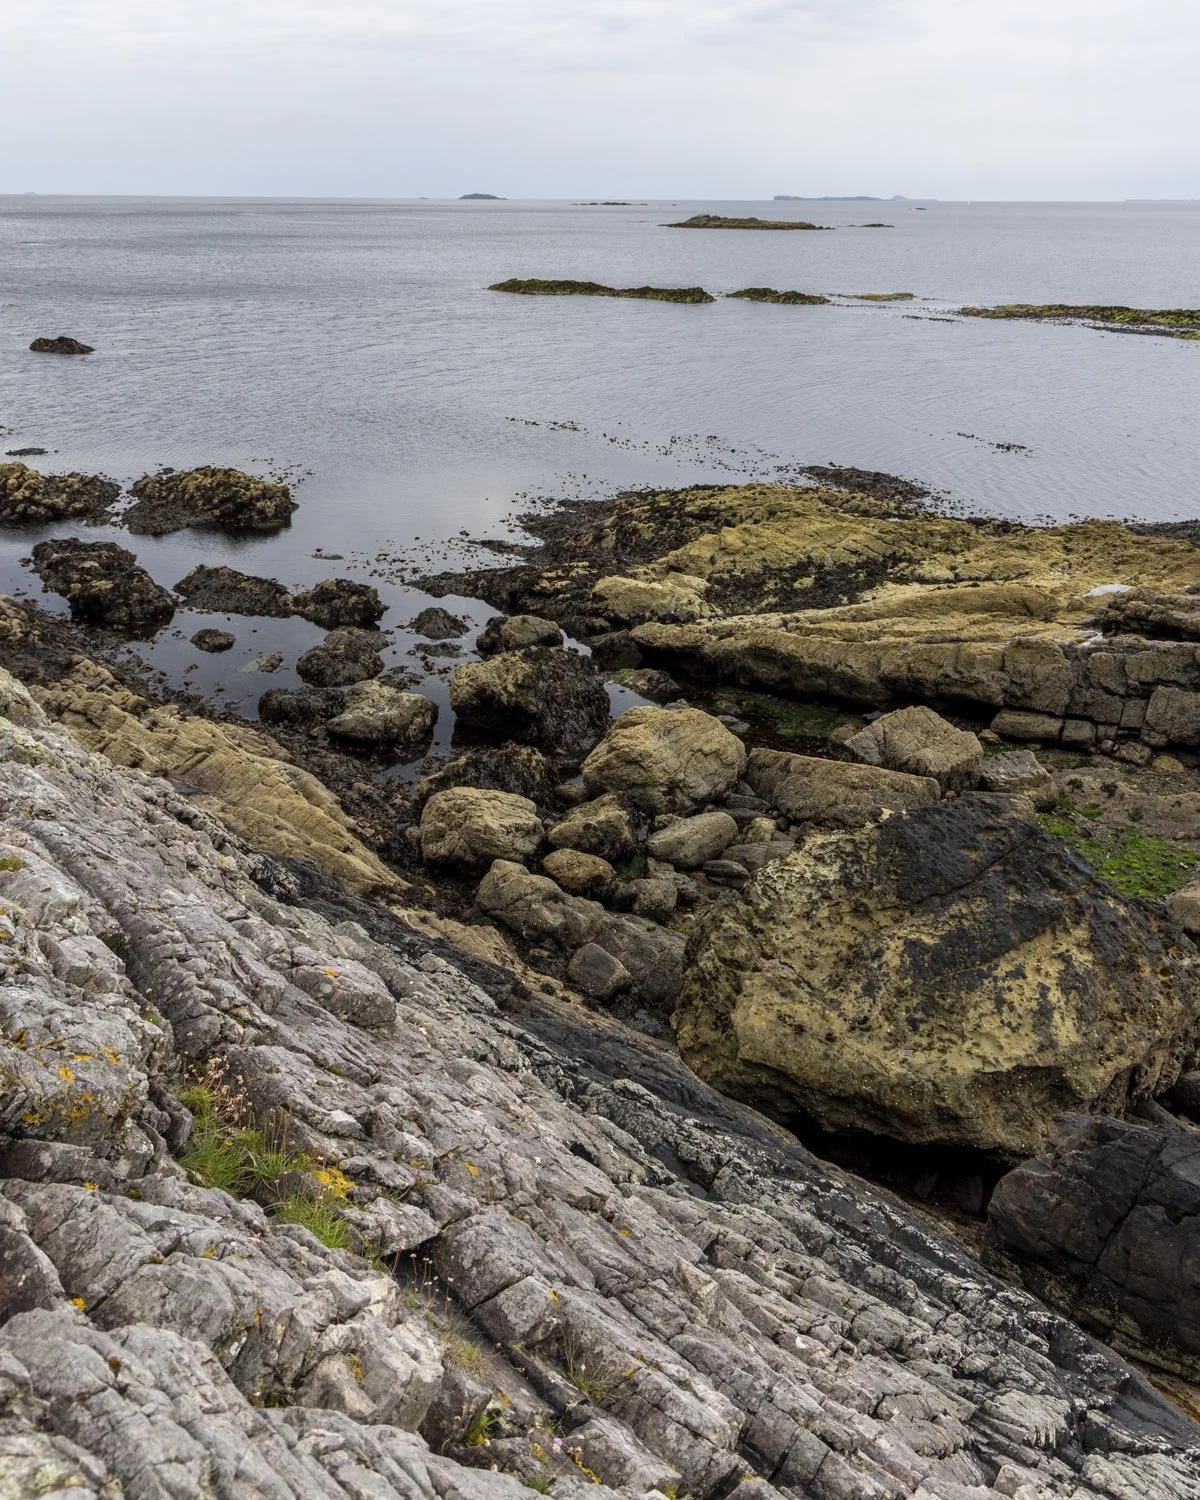
Once up, it’s not too bad and though the ridge can be very narrow at times and there is a drop to the right, there was always ample good placements for your feet. It was a touch unnerving in the rain with the drop below but it was easy really, especially by UK scrambling standards.
The only part I would say that was a bit more sketchy was when you have to cross from one bit of wall to another and there’s a drop down onto rocks below. It’s only two steps across but I’m not sure I would have done it without Joe offering me a hand.
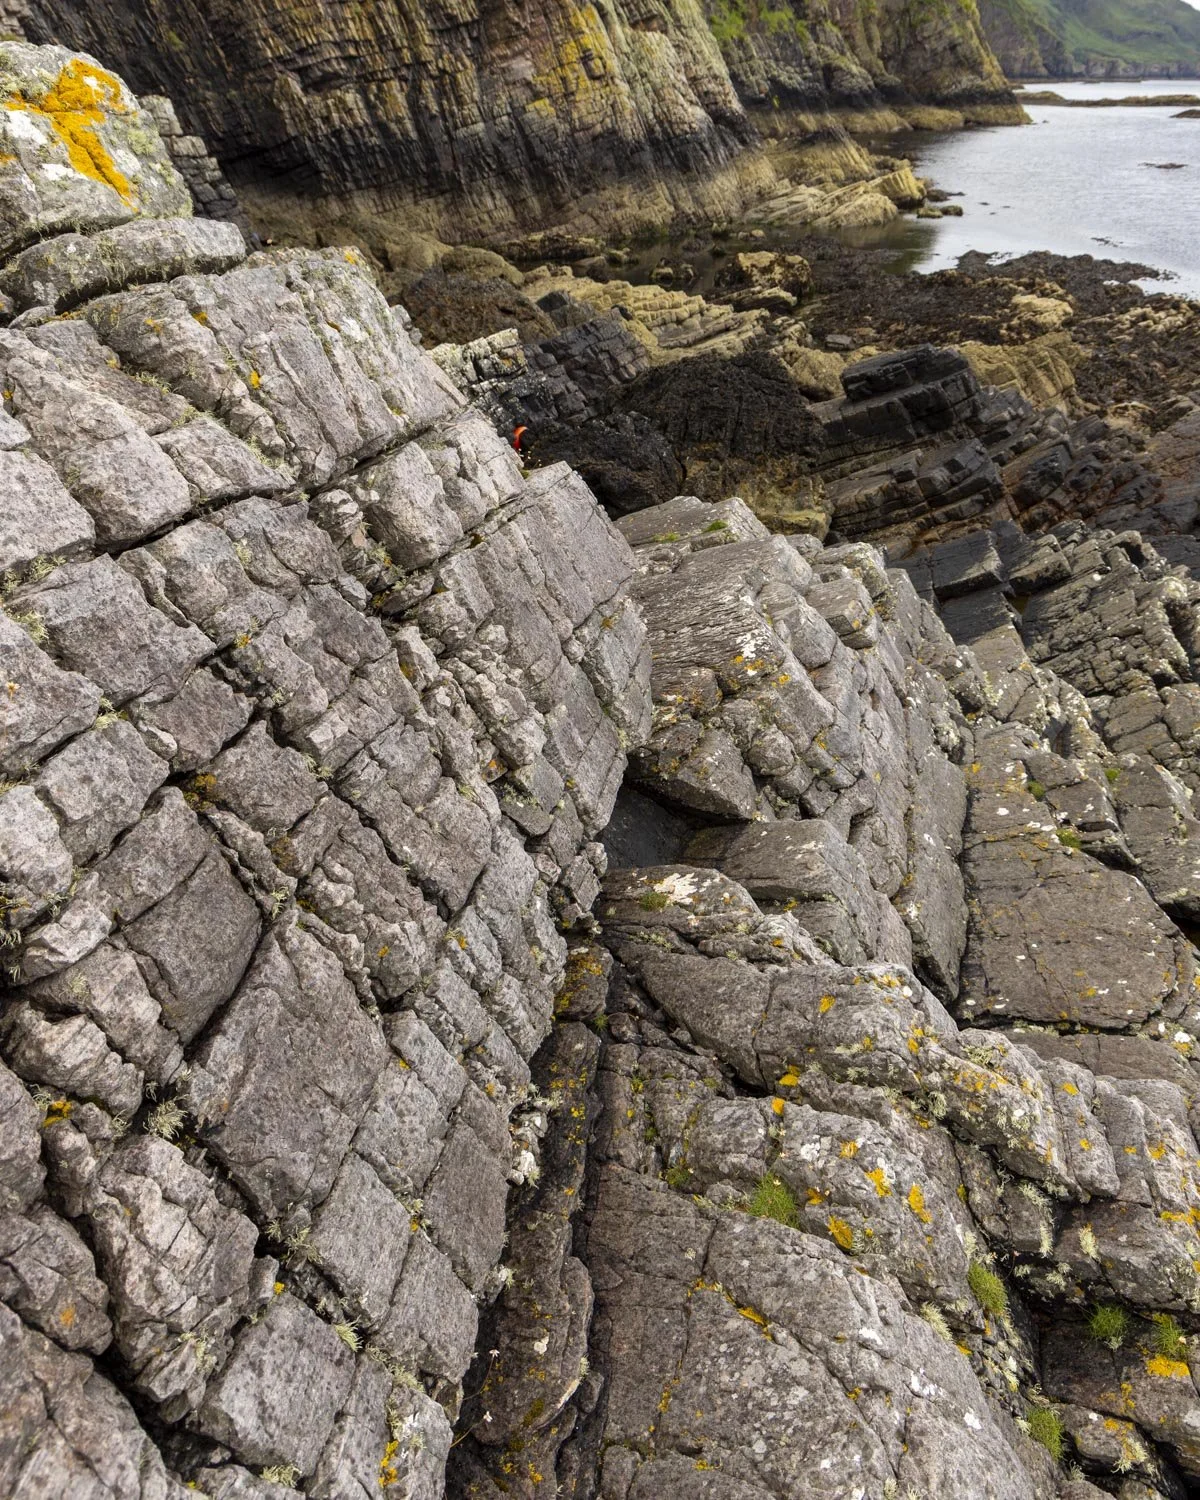
The width of the ridge on the higher route
Overall I still think the scramble is much easier than the slippery boulder fest below and I am not very good at scrambling.
I know in the UK it’s a national past time for many, so some people will consider this one child’s play - however, if narrow ledges or drops unnerve you then it may be more challenging.
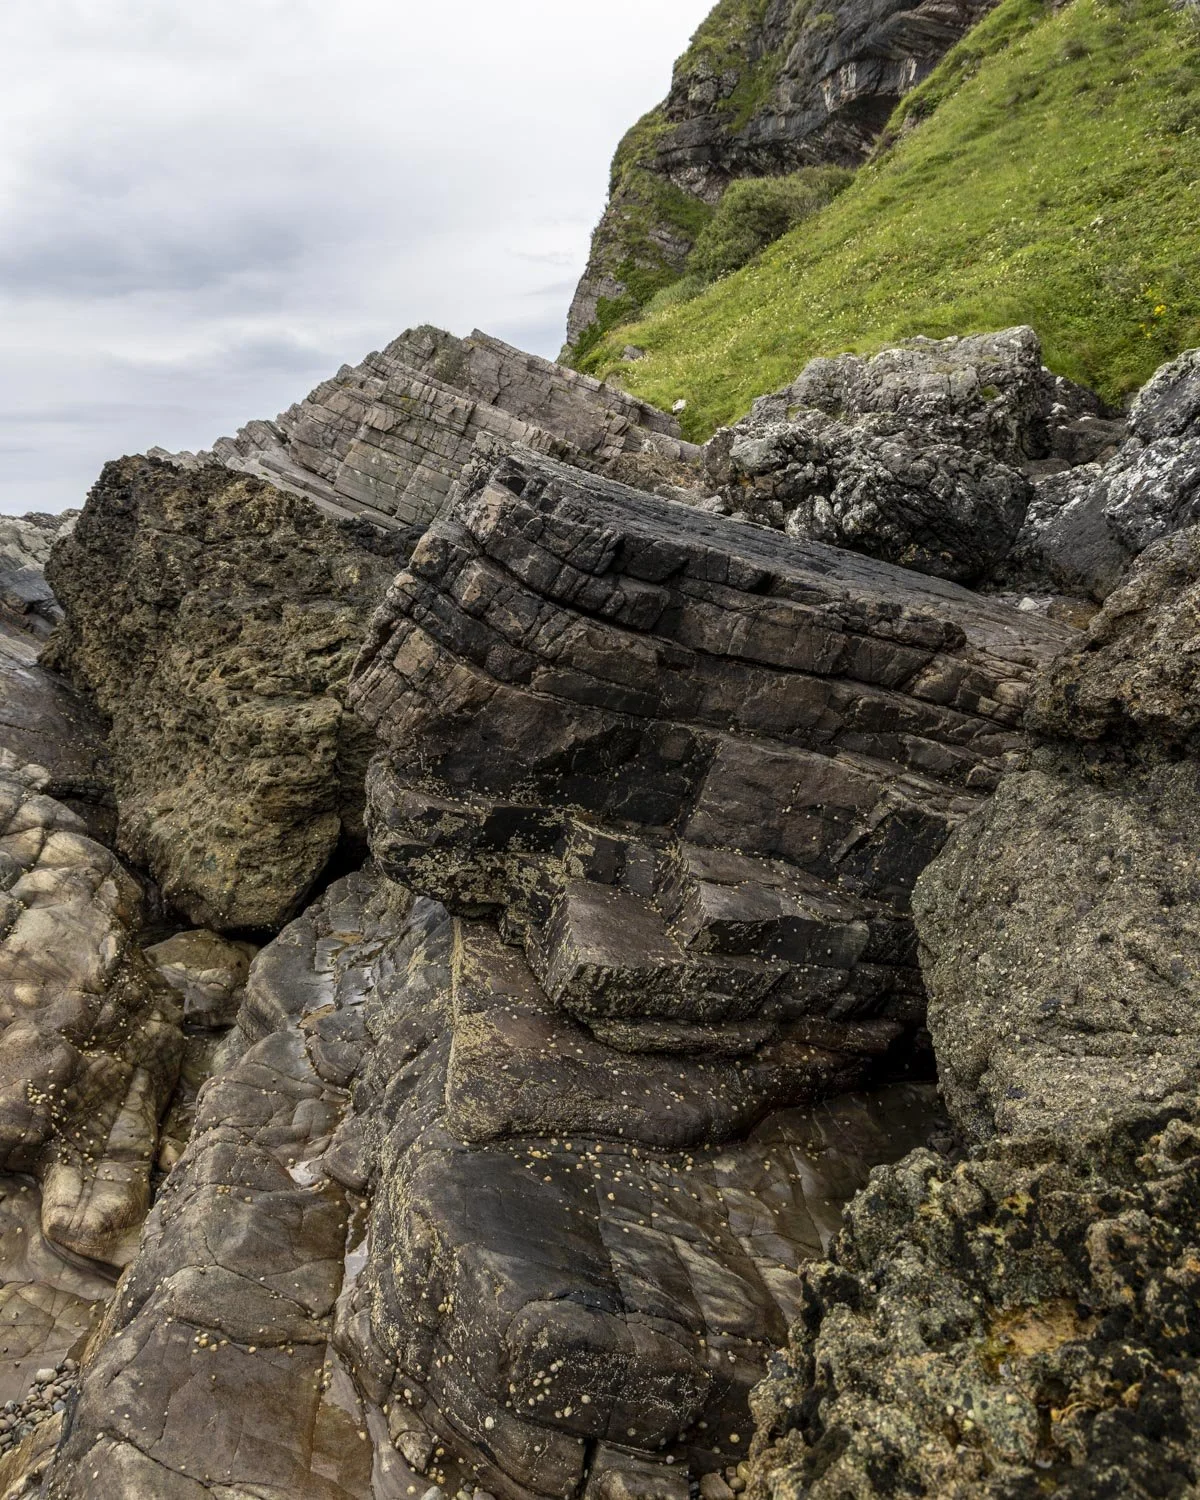
The few people we saw on route to the cave all used the boulder route below, but almost everyone turned back and of the two people that did it, one fell, so I would say most people will prefer the upper route.
Entering Mackinnon’s Cave
The final 30ish metres to the cave is back to an easy rock crossing, still a little slippery, but way better than what comes before it.
Just watch your step all the way into the cave as there are stones and kelp leading right up to the entrance.
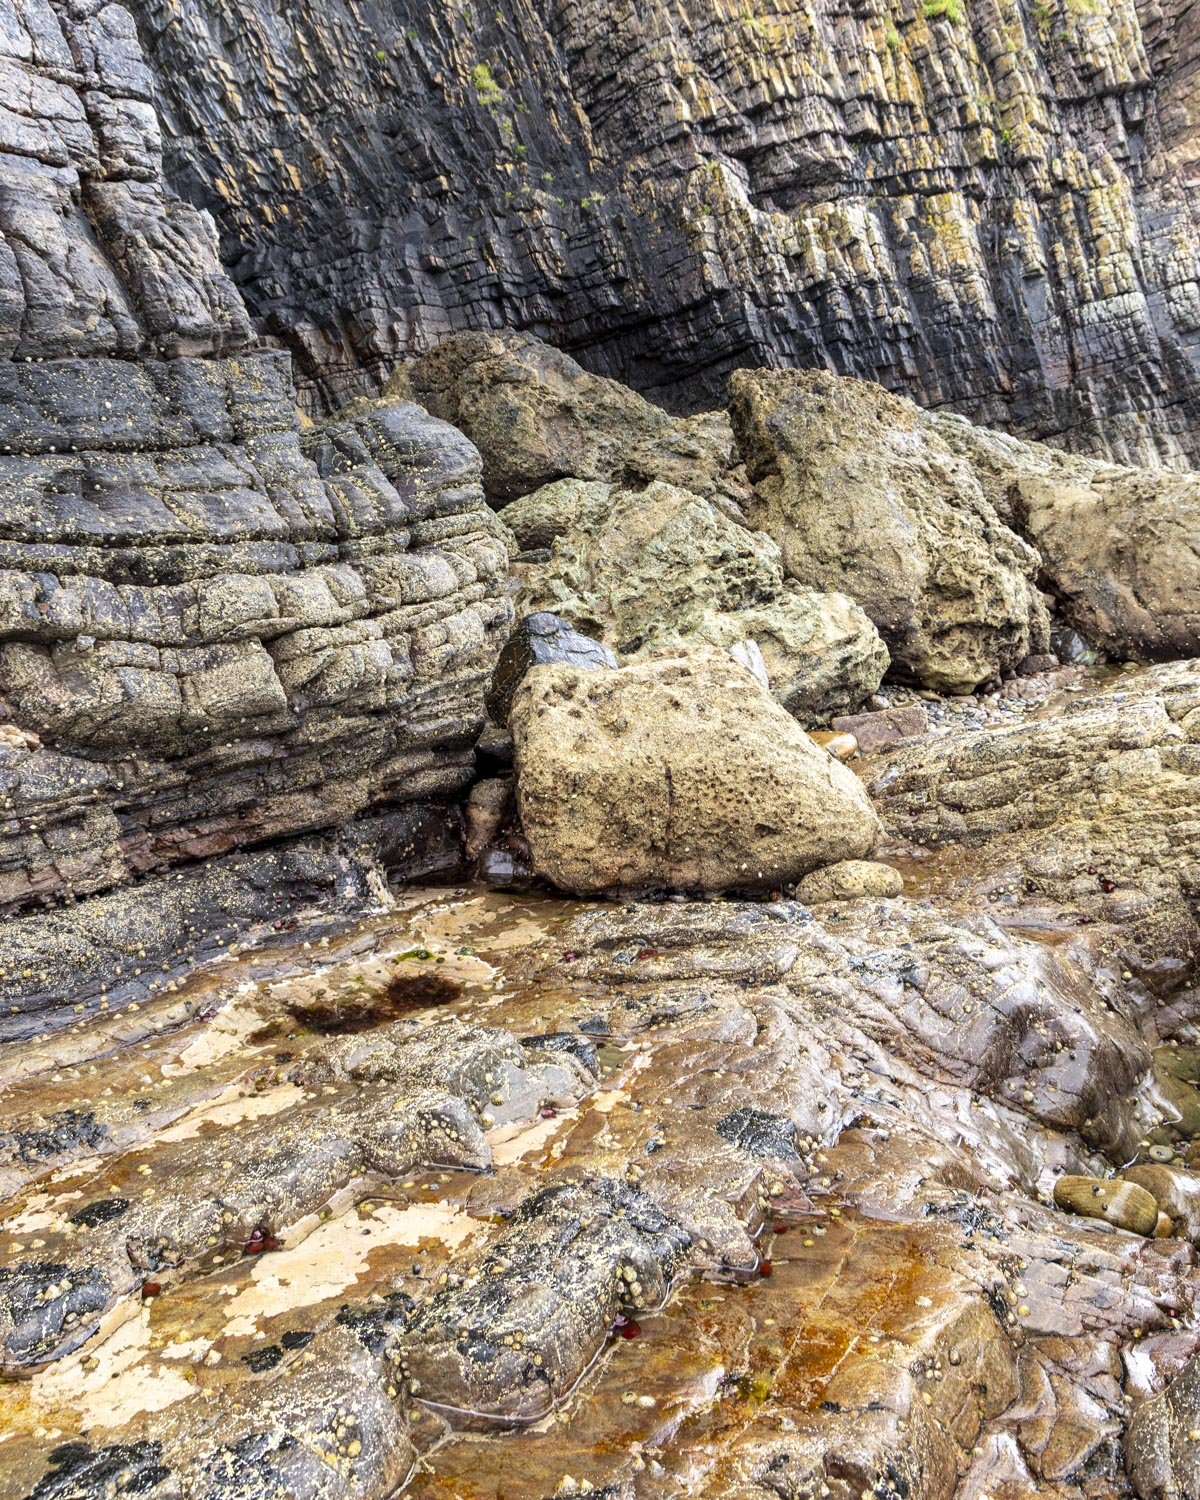
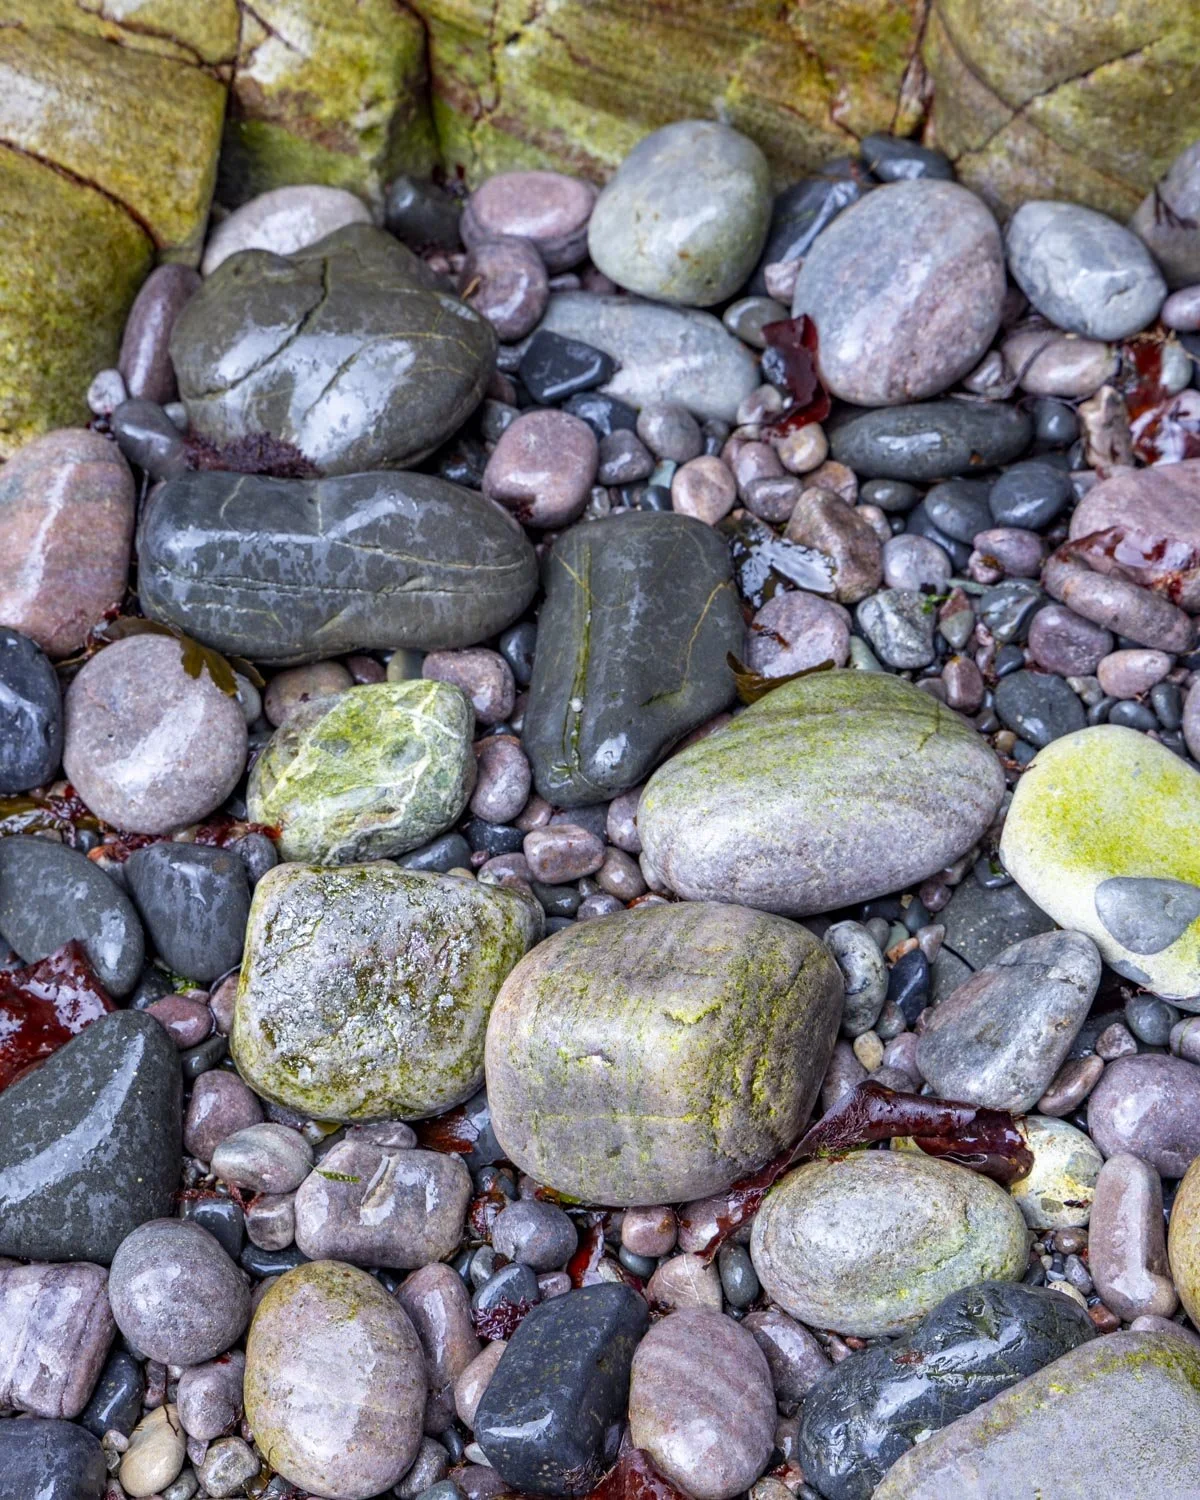
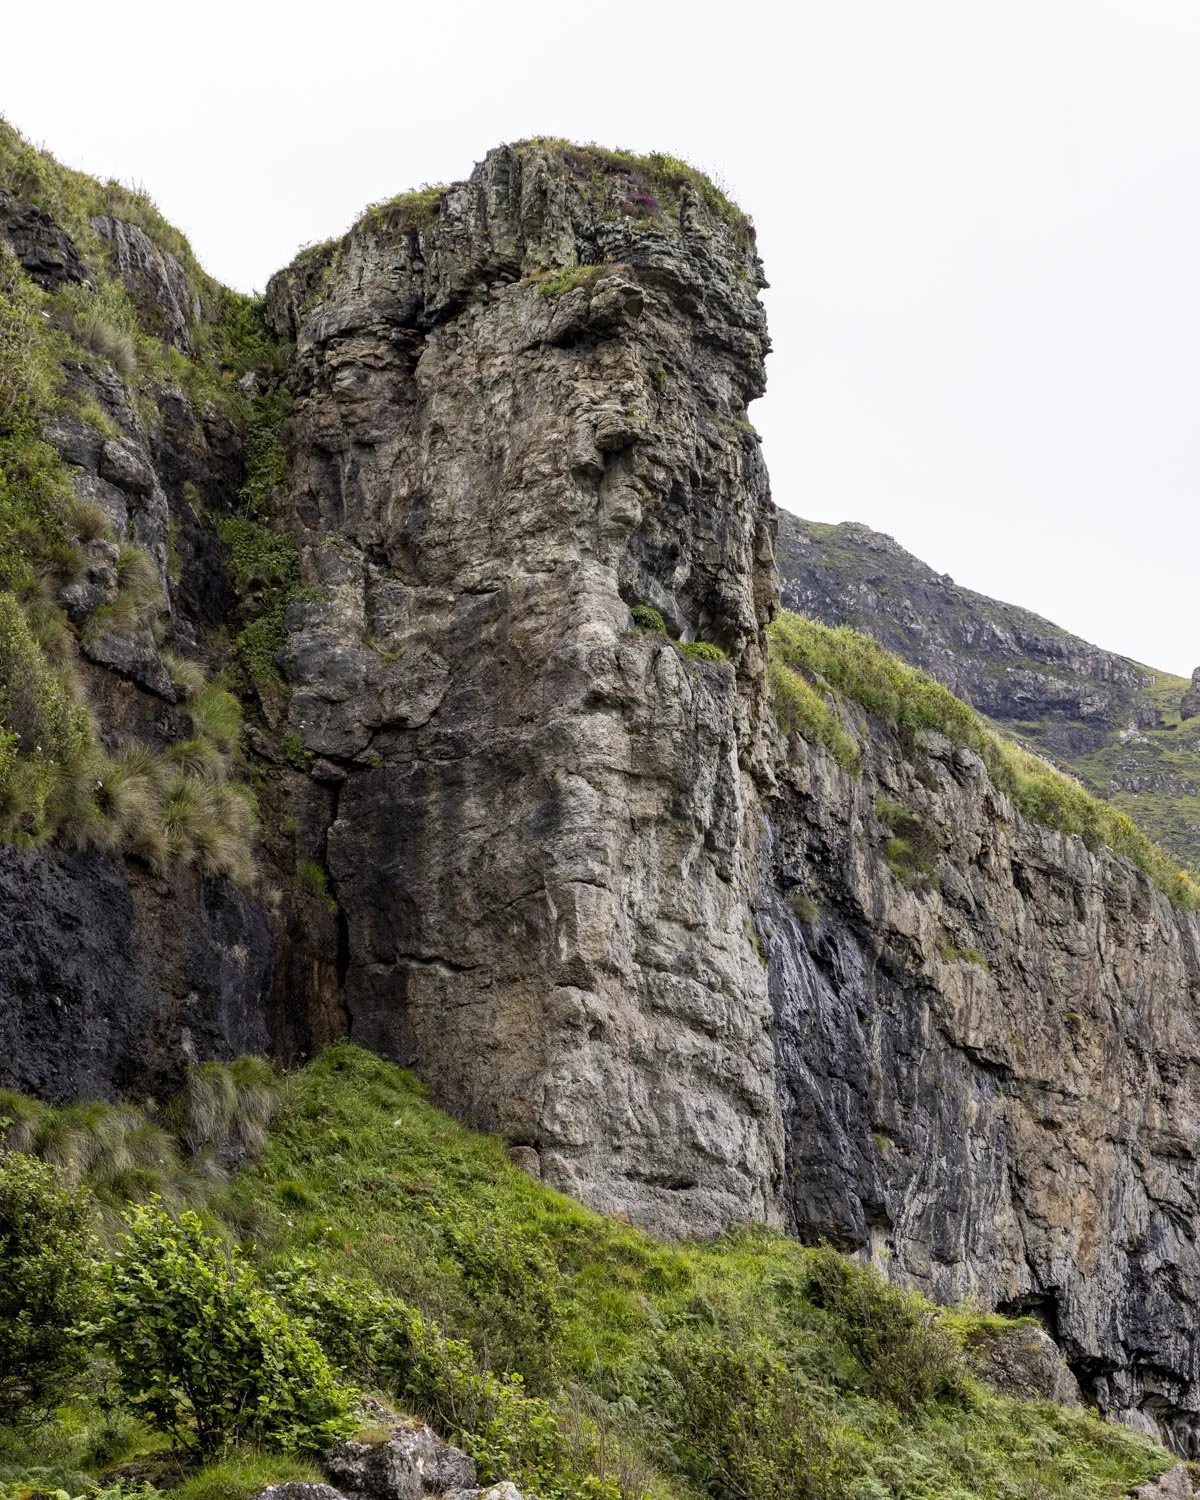
It is, however, incredibly atmospheric, with a long gaping mouth between towering walls that you had to crane your neck to see the top of.
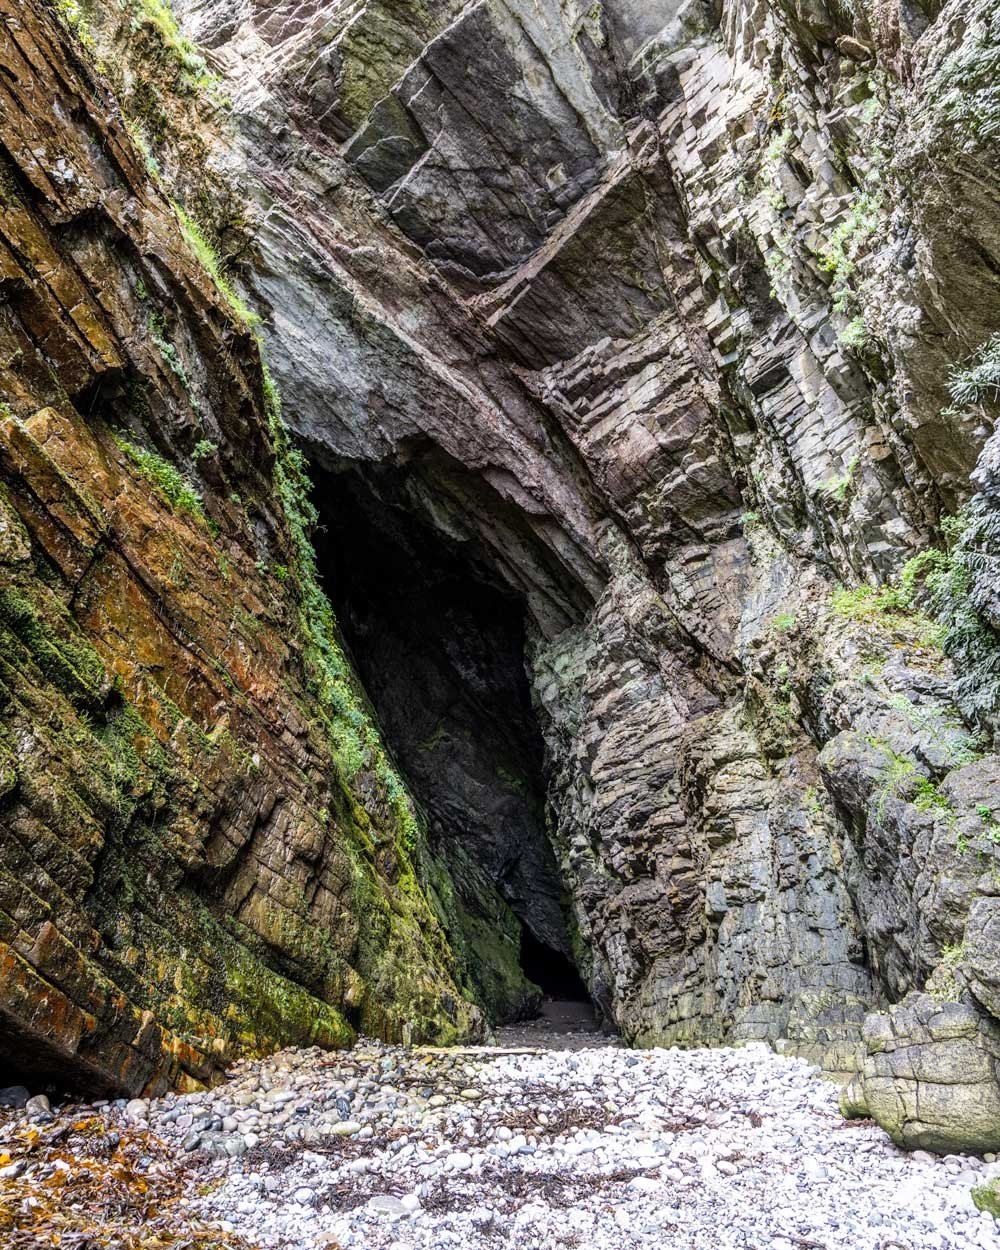
I would shudder to see the spiders that spun the giant webs that decorate the lower reaches of the cliffs, even a horror movie set designer couldn’t do it better!
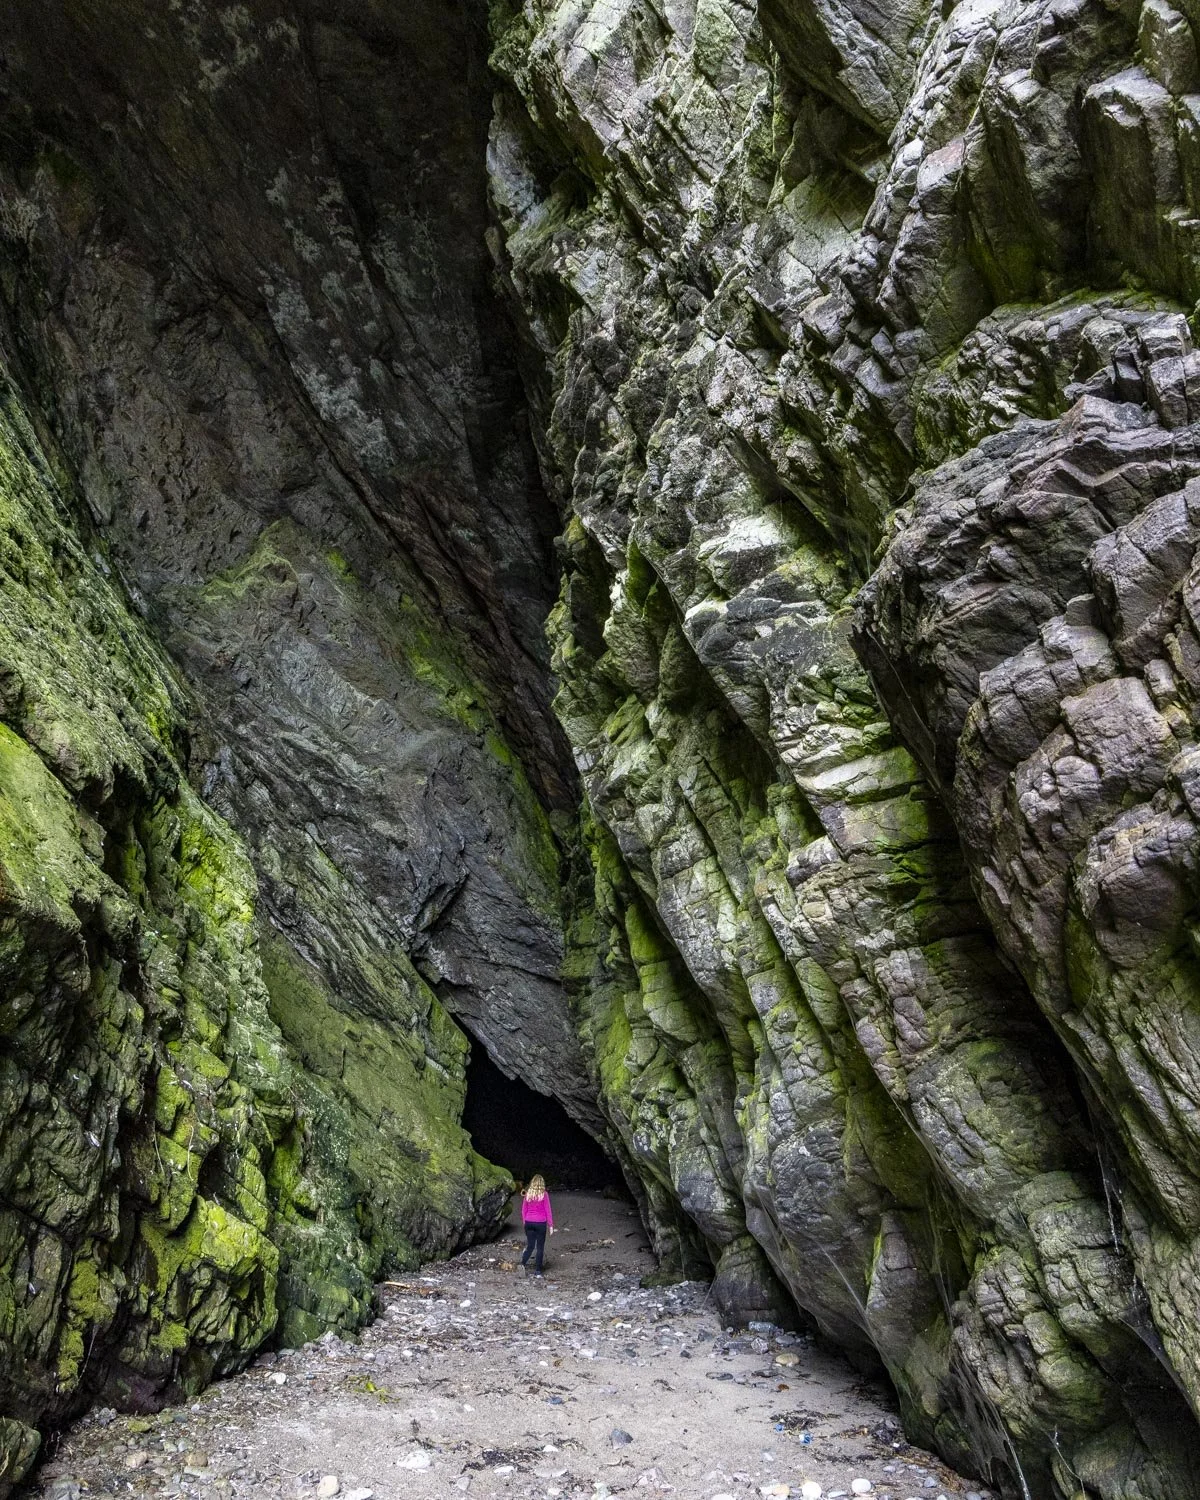
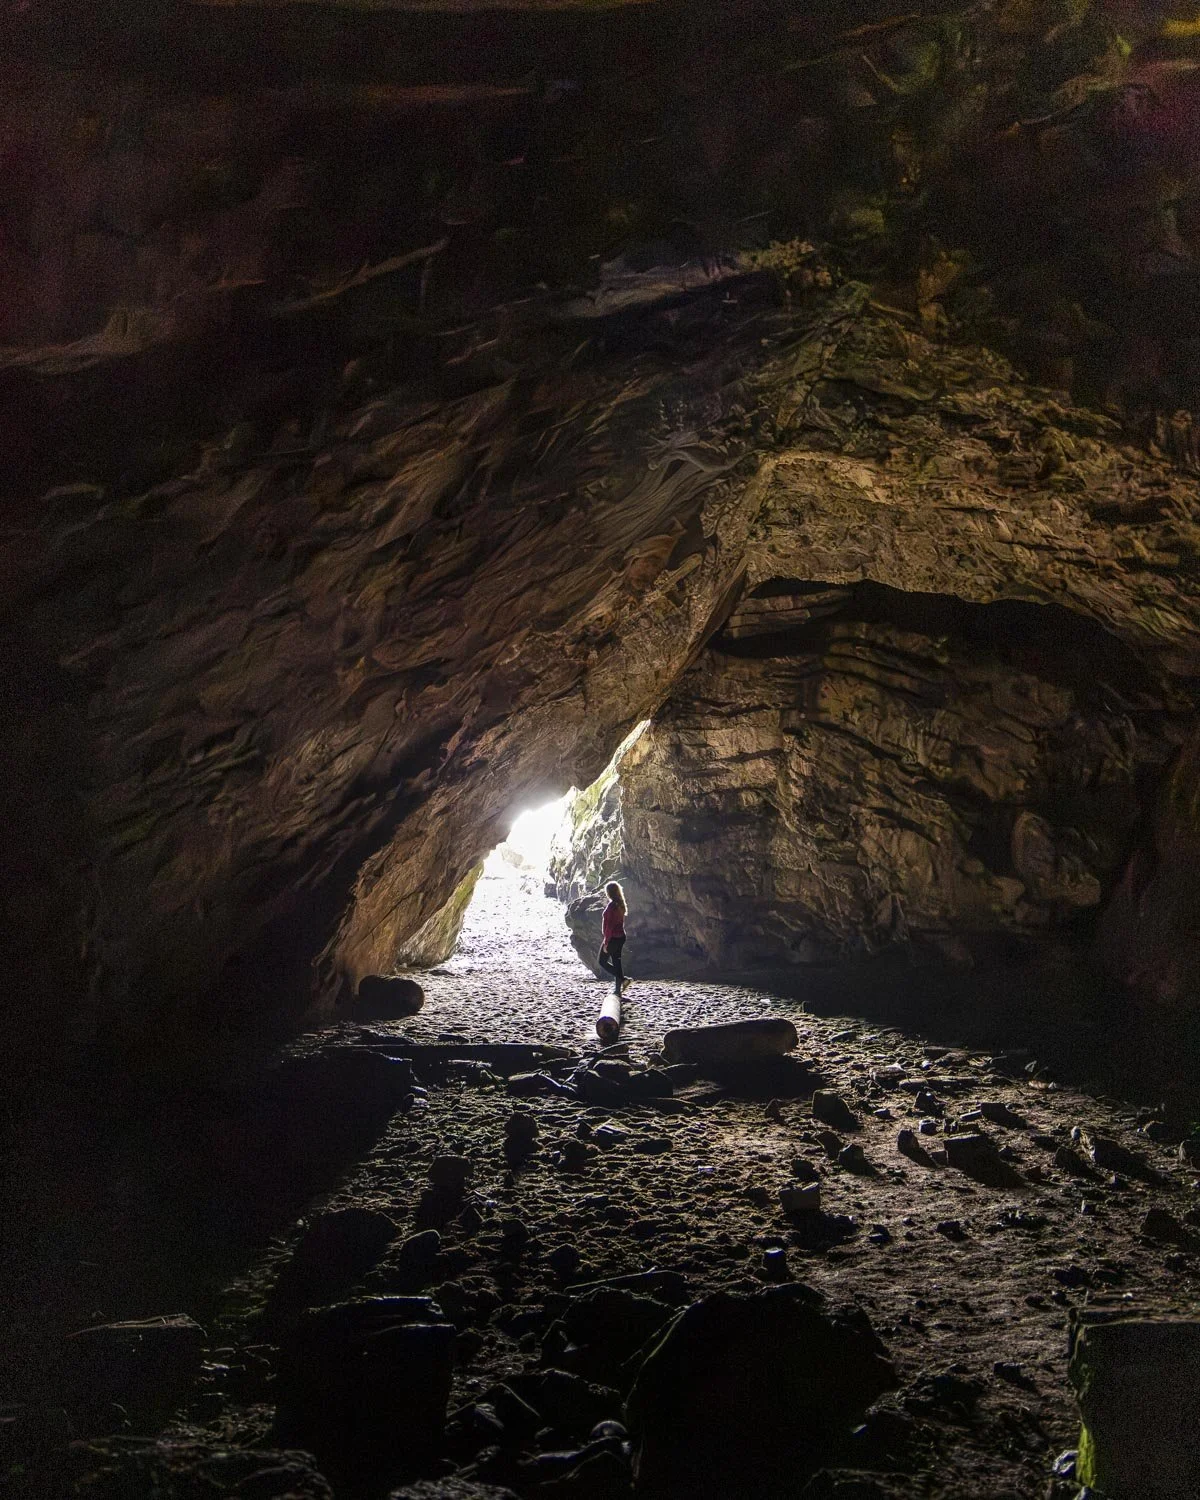
Once you’ve walked into the cave the floor is sandy dirt for the majority of the way which makes exploring easier (there are a few rocks to climb, but it’s no longer difficult).
The first part of the cave has the remains of an old campfire and log seating which I have to say you’d have to be very brave to use! This first chamber is the last point you can explore without a torch, on leaving here it gets darker and darker until the black is absolute.
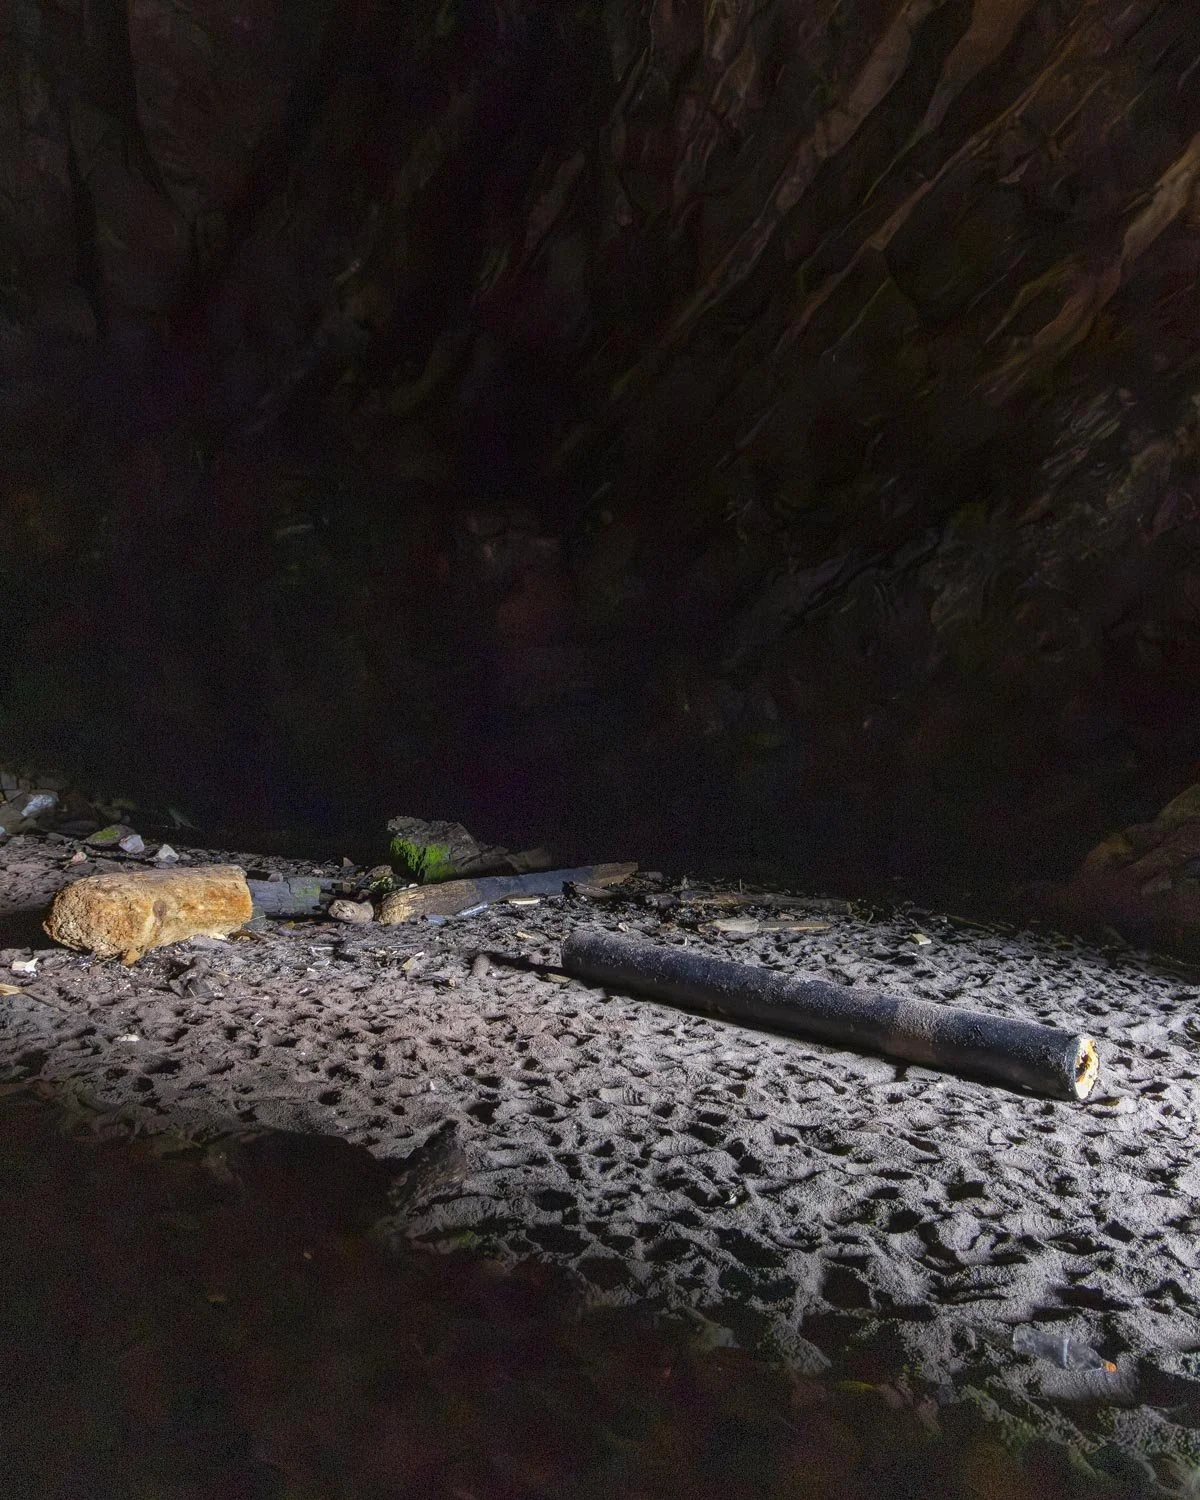
There’s a brief narrow passage before the cave widens again and there are a few giant rock slabs, one of which is reputed to be the altar used by early christian monks! Which one was the rock slab, I can’t be sure, but it added an air of mystery to our explorations.
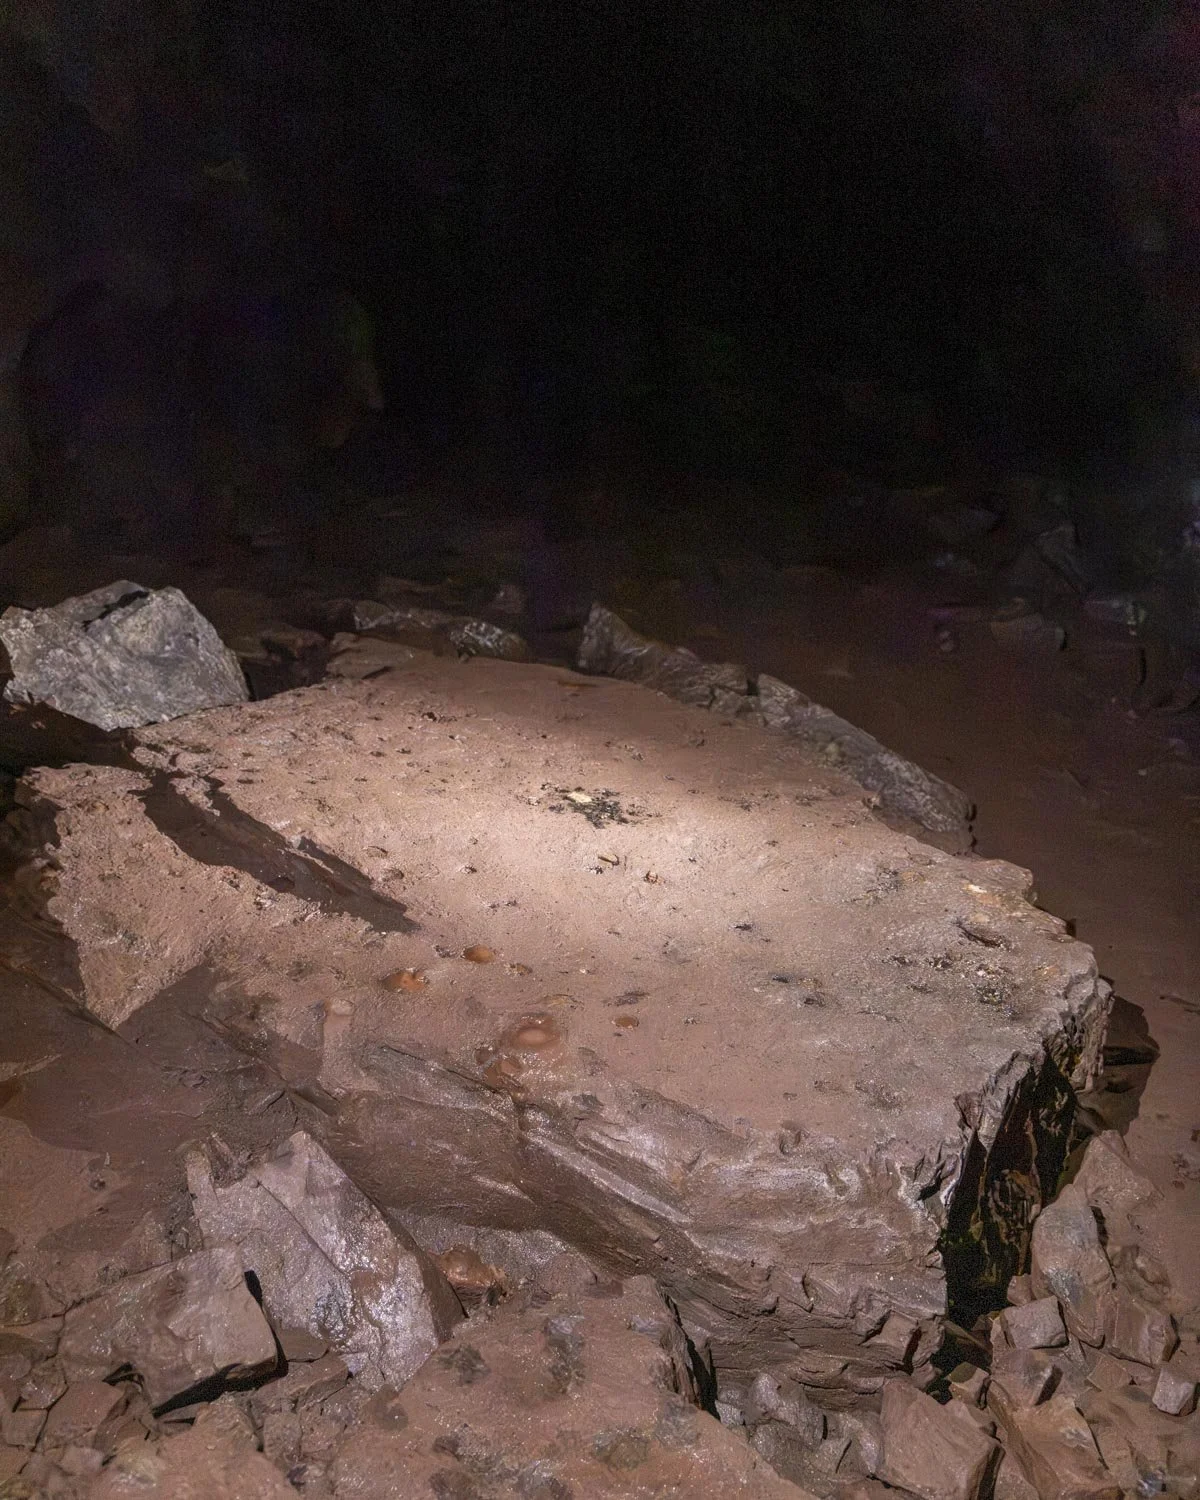
As you get further into the cave and all sounds fade away, start to look up and you’ll see a vibrant array of colours and lots of tiny little stalactites hanging from the ceiling which I hadn’t been expecting at all in a sea cave.
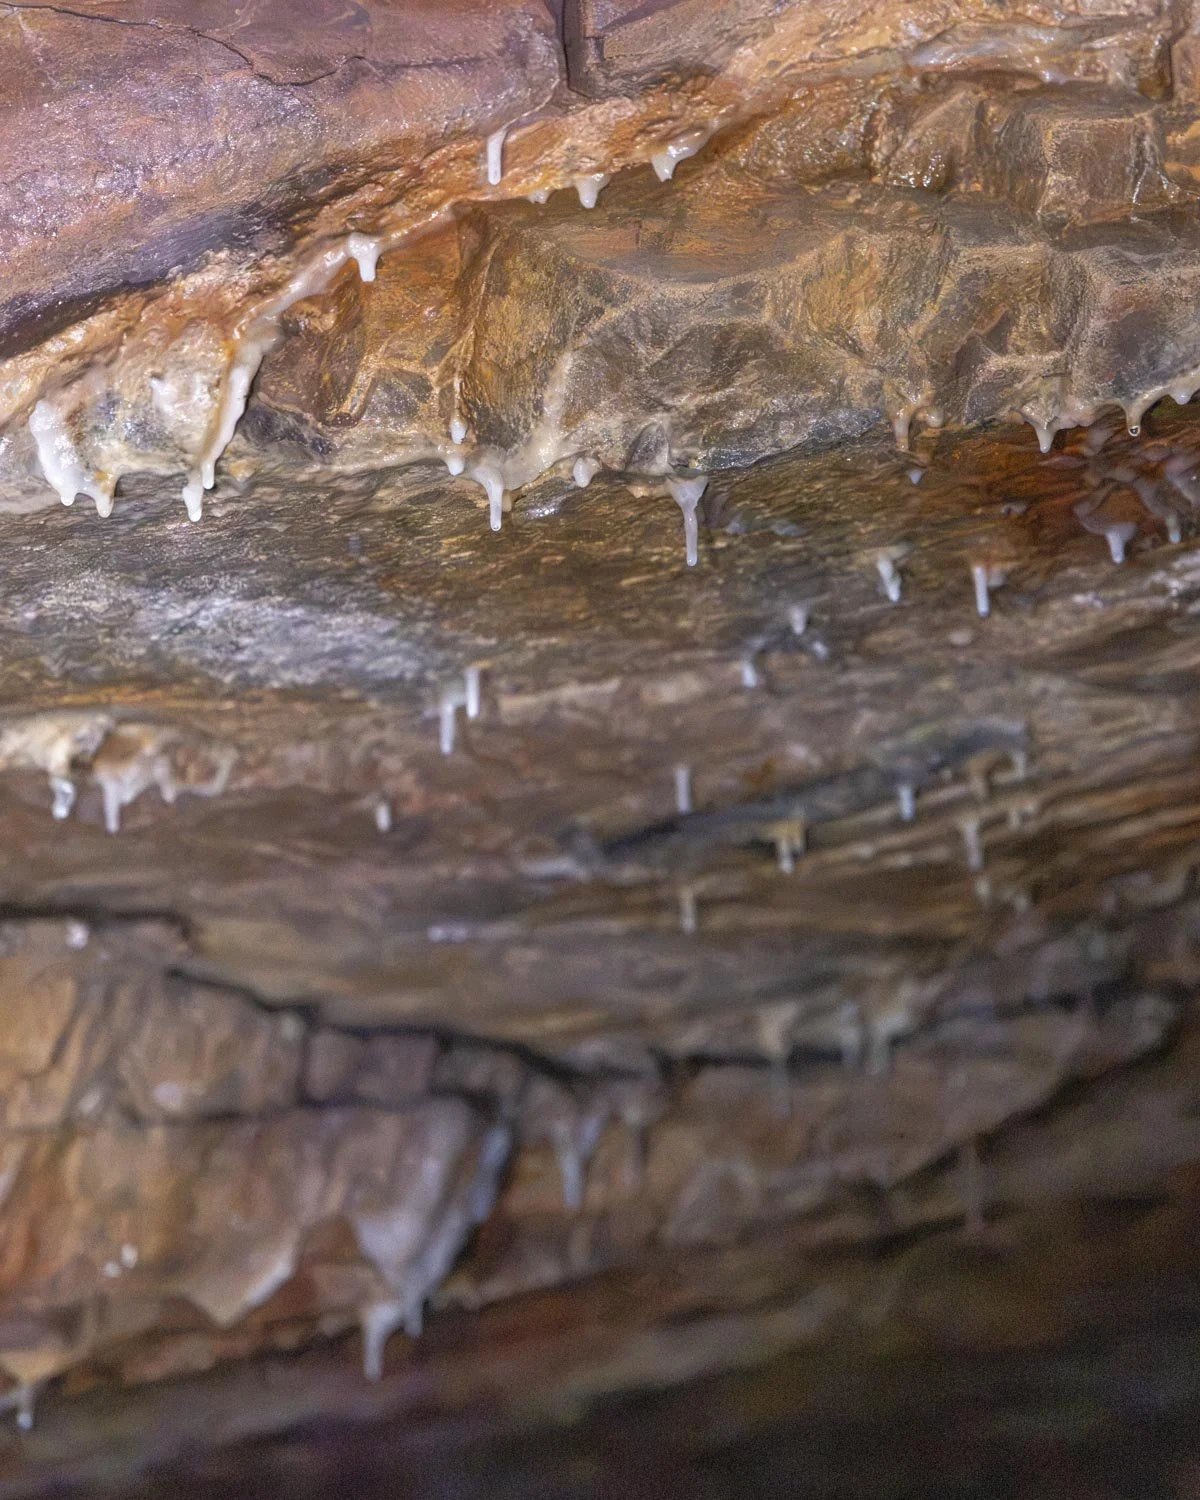
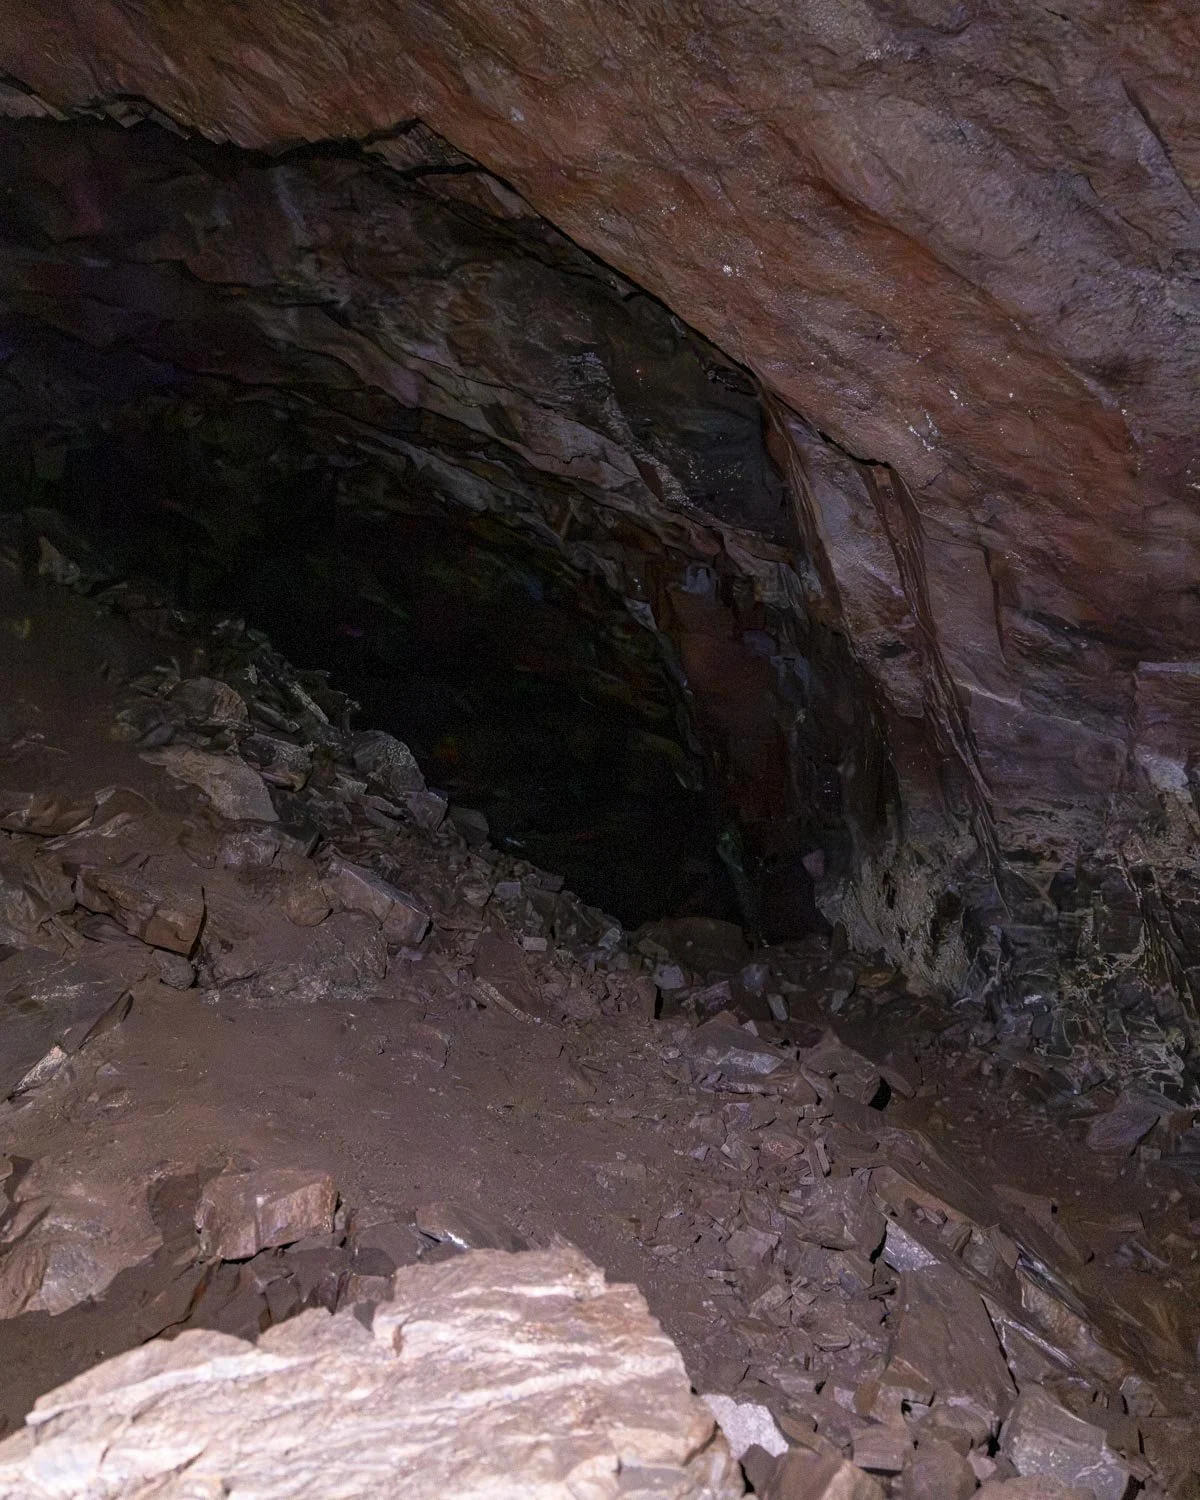
It was amazing to see, especially as we were here totally alone, and on that note, the whole feel of the cave would be different with voices and additional torch light, so try and allow enough time for your visit that if someone is already inside you can wait and go in alone.
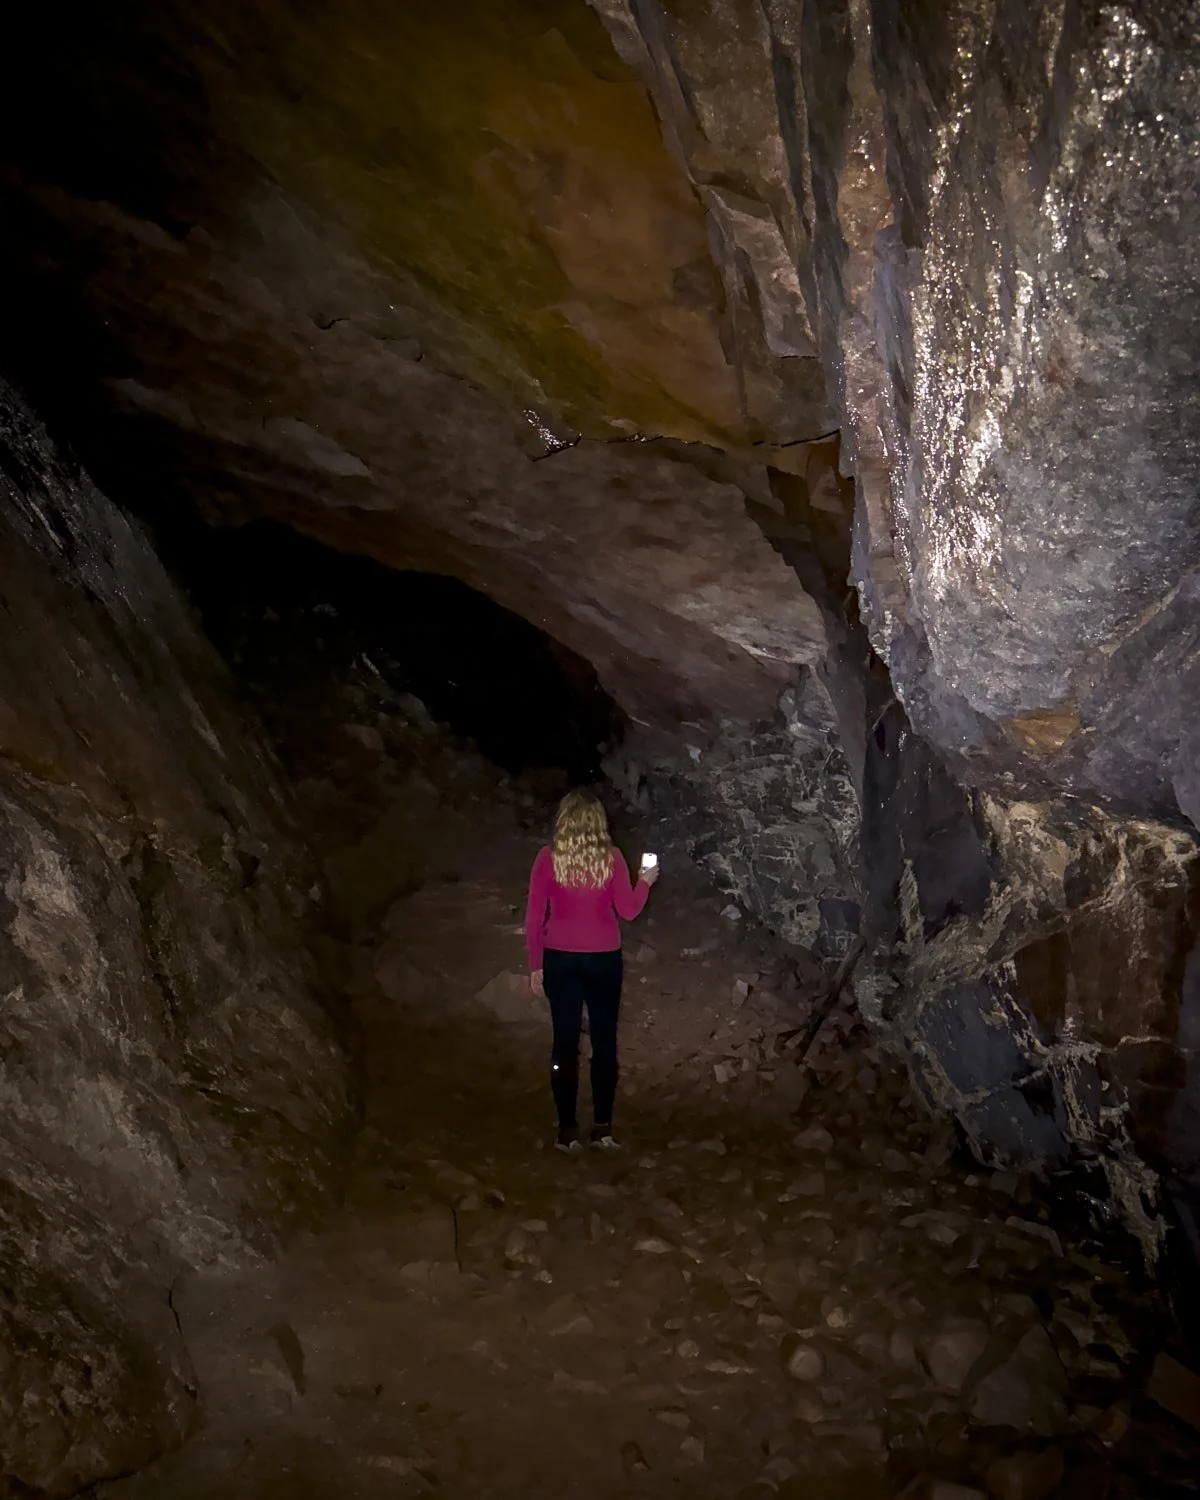
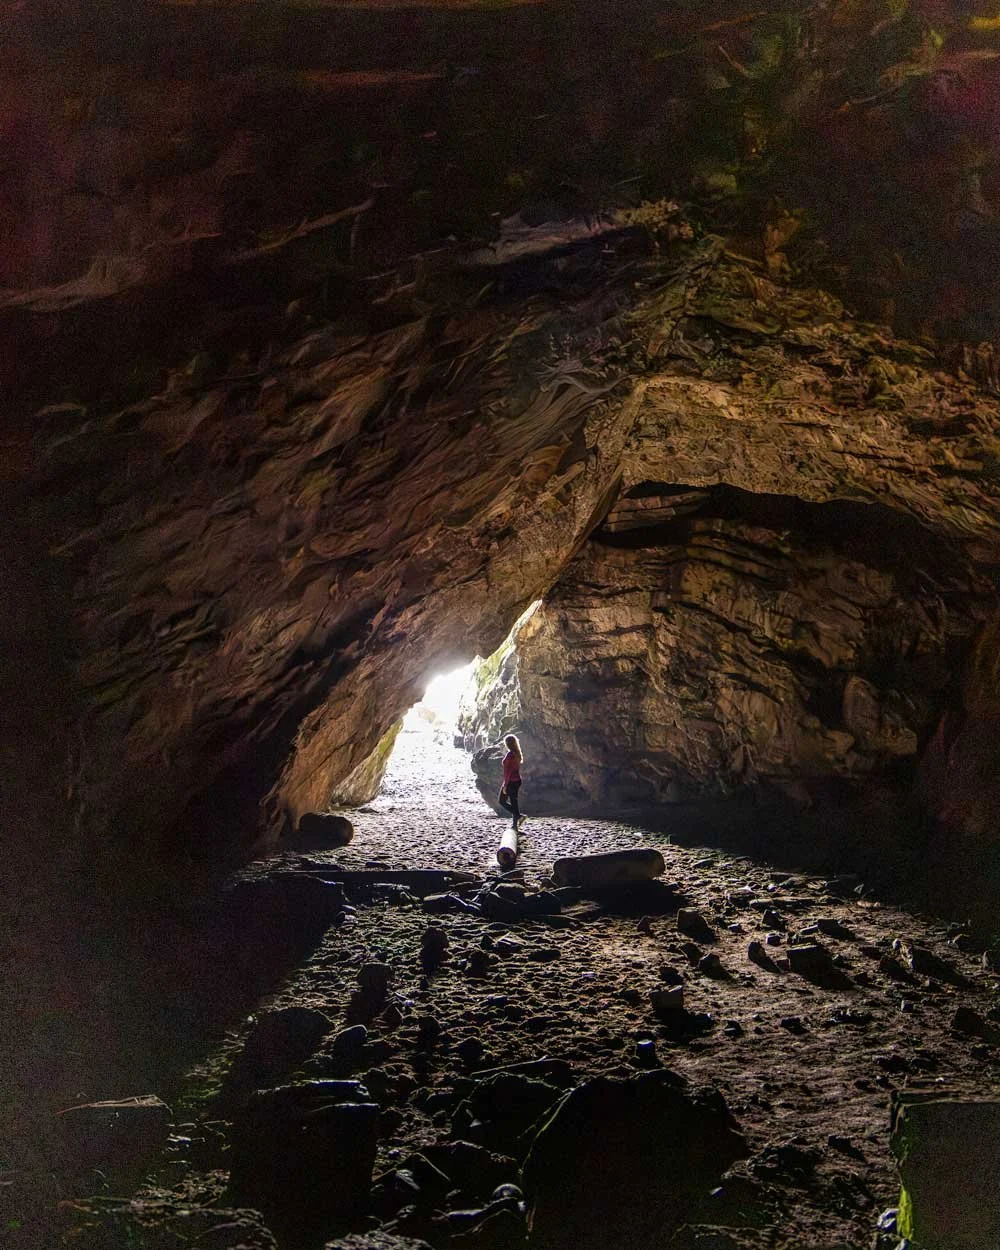
The cave is said to be 150m deep (the deepest in the Hebrides), our watch measured just over 100m, but the final passage got a bit low so we didn’t go all the way to check. While we have been in more elaborately decorated sea caves in Cornwall, none have been as deep as Mackinnon’s and it definitely has a unique feel.
Heading back
The walk back does have more uphill stretches, but it’s not too strenuous and it feels a bit easier in reverse as you know where you’re going and what to expect. This is especially true for the first section, either along the rocks or across the cliff wall. Just make sure you allow enough time before the tides comes in to cross over the bays.
Where to park for Mackinnon’s Cave
Mackinnon’s Cave has a dedicated parking area, which is basically a lay-by off the B8035 road, postcode PA68 6EH. It’s marked as “Parking for Mackinnon’s Cave” on Google Maps and you can see the exact spot here.
There aren’t a lot of spaces, but even on our visit in August it was almost empty so you’d be unlucky not to get a spot. The car park is free of charge.
It’s located around 1.5 hours from Tobermory and 55 minutes from Craignure.
This post may contain affiliate links, meaning at no additional cost to you, that we will earn a small commission if you click through and decide to make a purchase. This helps towards the costs of running our website. Thanks for your support.
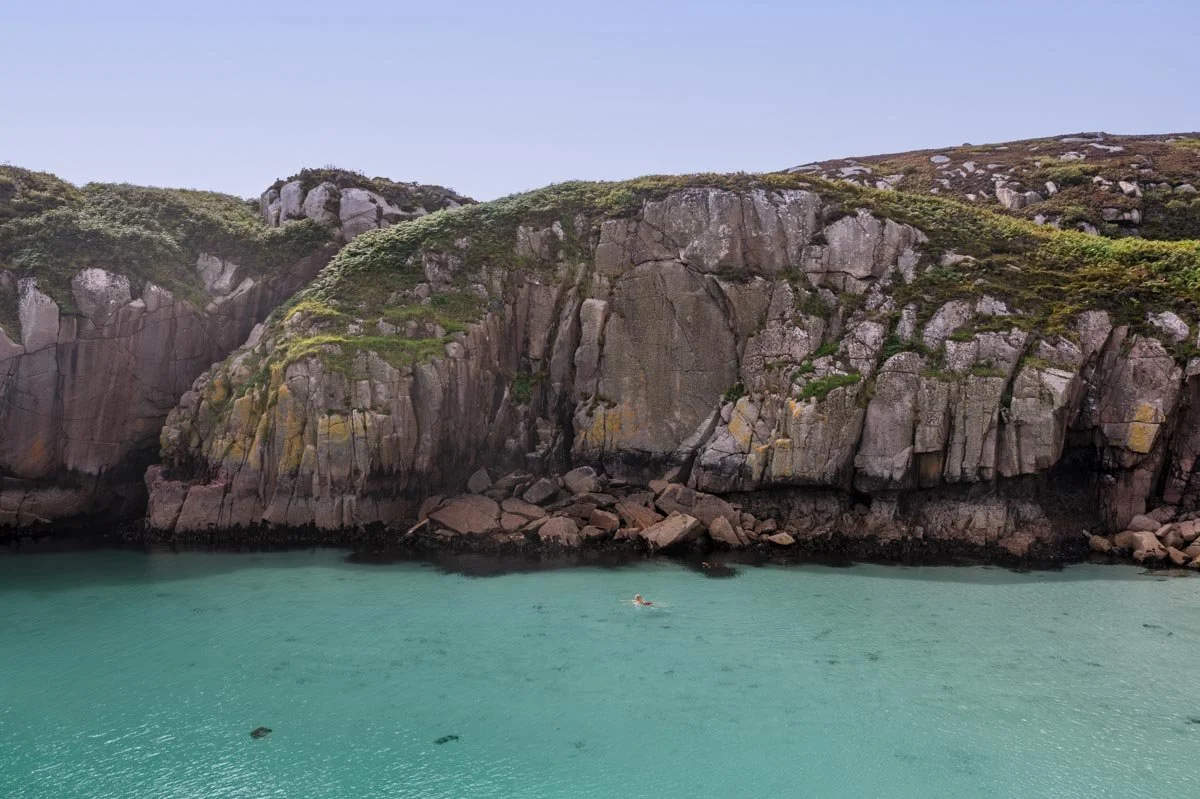
Mackinnon’s Cave is deep, dark and mysterious with huge webs strung along the sides of the cliff walls which look like someone has come to decorate for Halloween! Access to the cave is dictated by the tides and there is a rocky scrambly section. We’re sharing directions, difficulty level and what to expect when exploring the cave.