Mega Cave truly lives up to its name and it’s one of the most fun spots we’ve visited on the Central Coast so far. It’s not just the size of the cave that’s impressive, but also the vibrant colours and swirling pattens on the weathered sandstone rock.
Bookended by two huge weeping walls (which would be waterfalls after very heavy rain), it looks out onto dense bushland. It would feel totally wild, but for one slightly unfortunate fact: it’s in range of all the noise from the Pacific Highway. However, don’t let that put you off because the cave is incredible, we just wouldn’t necessarily recommend camping there overnight….
Reaching the cave does require navigating an unsignposted and unmaintained trail, but we have you covered on directions below.
Here’s how to find Mega Cave on the Central Coast.

The Mega Cave Walk
The stats
Distance: 4km loop (optional 670m return to an Aboriginal engraving site)
Elevation gain: 145m
Difficulty: Moderate
Summary: There are a couple of ways of getting to the Mega Cave - you can either do a return walk, or a circuit. We chose to walk the longer circuit route (which also visits an excellent Aboriginal rock art site) but will advise on where to start the shorter track at the end of the post (the shorter track also requires walking for a few hundred metres along the highway, which is not ideal).
The circuit track is best walked in an anticlockwise direction, this is because there are a lot of markers that will guide you to Mega Cave on the southern section of the loop. The northern section of the loop has less markers and is more overgrown.
Once you leave the fire trail, the path is rough in places, but not too tricky terrain-wise.
It’s also fairly well beaten down on the southern section and much less so in the northern section. There are some ups and downs along the track, but no long sustained climbs.

Starting the trail
We began the walk on Myoora Road just off the Old Pacific Highway at these coordinates: -33.423561, 151.269846, which is 20m from the gated fire trail.
There is room for a few cars to pull fully off the road. Walk around the side of the gate and head along the fire trail for 205m. From here, bear left and the trail will head gently uphill.

Roughly 75m later you will reach another junction and this is where you can make a brief detour to see the Indigenous engraving site.
If you want to see the art you would turn left here (280m into the walk), or continue straight to head directly to the cave. The fire trail to the art site is flat and easy, and it’s well worth the short detour.

Optional detour: the Mooney Mooney Indigenous rock art site
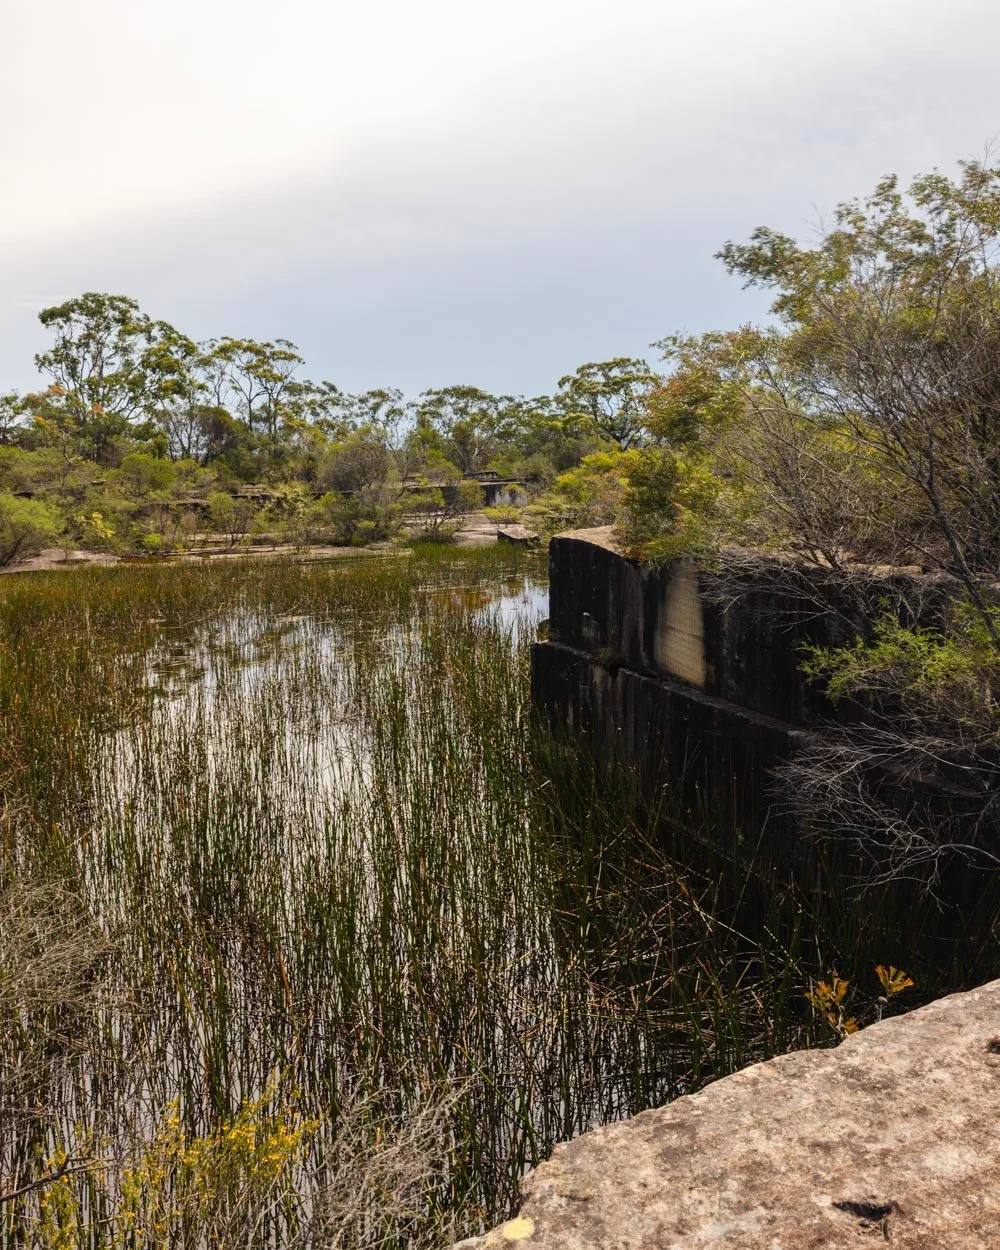
The return detour to the Mooney Mooney rock art site is just 670m (return) and flat. After 80m along the fire trail you can also make a quick detour along the obvious path to the right, which leads to an abandoned quarry (this is included in the 670m detour).
To be honest, there’s not much of interest to see here for the average person and I wasn’t overly fussed, but perhaps if you know anything of its history it would be worth a look. Either way, it’s only a minute’s detour so worth a peek to see what you think.

Once back on the main trail you have a further 110m to go before you reach the Mooney Mooney Indigenous site. You will have passed a sign mentioning it’s an Aboriginal area just beforehand.
There’s no marker or information board for the site, but turn right onto the rock platform, walking around the stone that stops anyone driving onto the site.

The rock platform is large and has a number of wonderfully well preserved engravings. There are many of the more common artworks, including kangaroos and fish, as well as a few that are more rare. The most unusual being a person with a headdress.

It’s a very impressive site with the majority of the engravings being on the southern side of the platform. You do have to be careful not to walk over them as there are so many! As with all Indigenous sites, please leave it exactly as you found it.
I always try to include details on which nation made the engravings, but I sadly couldn’t find this information online.


Leaving the fire trails
On leaving the Mooney Mooney art site you retrace your steps back to the junction and then turn left. Just 100m later you will come to a powerline and see a small pink ribbon. Turn left, following the now rocky fire trail downhill (following the powerlines).
This next section mainly takes you downhill, with a few flat bits inbetween. One short section of the track was a bit waterlogged, but you could just about get round it without soaking your boots (and it had been quite wet prior to our visit).

Roughly 600m beyond the turning marked with a ribbon you’ll see another fire trail branching off to the left. We think this is where you would join the track if you’ve opted for the shorter walk. Approximately 150m later the path continues heading straight, into an overgrown bushy area.

There is now a 20m stretch of scratchy overgrown track. You have to climb down a couple of rocks, but it’s straightforward and after a couple of minutes you’ll be out on a fire trail again.
Continue heading downhill on the fire trail for a further 180m and you will see another pink ribbon by the gas works sign. You are now 50m from another ribbon which marks your righthand turn into the off track portion of the walk.


Through the dense bush
From the turn off you are just under 500m from Mega Cave. Using this route, it is well marked with ribbons (both pink and orange) and also nicely worn down. The first 150m is not too dissimilar from your average bush track, with a decent path.

You will then come to a couple of rocks you need to climb down which are marked by a cairn. From here it does get a touch more overgrown, and 100m later you have to make your way through a short stretch of tall scratchy plants.

Trousers are ideal for this bit, but the path is still easy to follow.
Roughly 100m beyond this very overgrown section you’ll reach a tree that’s fallen down and has an orange ribbon tied to it.
It could look like from the ribbon placement that you turn left here, but the correct path is on the right, and you’ll soon spot another orange tag for reassurance. You can take the rocky lower path, or the dirt track slightly above the rocks.


You’ll then cross a very short section of rocks which wobble, so watch your footing. Almost immediately after crossing the rocks you want to turn right and go uphill, the natural feel would be to go straight on instead, so watch out for this turning.
You’ll see another ribbon and come to a path between two white gum trees. From here you can see Mega Cave above you on the left. You need to climb up the rocky track for a few metres and then you’ll be standing inside the cave.


Exploring Mega Cave
Mega Cave is covered in sand which I thought might be slippery when climbing into the cave, but it’s actually totally fine. The cave is a giant overhang and bigger and more impressive than I was expecting. It’s hard to capture the true scale in photos, especially without a really wide angle lens!

There’s a small campfire to the left of the cave, though as mentioned this would be a pretty noisy place to camp!


The cave has really striking weathered rock and happily the dense bushland blocks out almost all evidence of the busy highway beyond. It’s such an amazing spot and one you can definitely imagine people using as a shelter in the past.

The small cave nearby
It can’t compare to Mega Cave of course, but you can also explore a small additional cave which is only a five minute walk away. Head out of Mega Cave the way you came in and follow the narrow path along the weeping wall to the two white gum trees. To get into the cave you need to climb up the rocks that will take you to the southern side of the cave.

There’s no sign of any path, so the only way in is to climb over the rocks and carefully make your way up. It should only take a couple of minutes. There’s a third cave next to this one, but all routes in looked very slippery and we didn’t attempt it.
The mini cave is a fun little spot, but perhaps best visited before Mega Cave because once you’ve seen that one it feels a lot smaller!


Continuing the circuit via the waterfall
At this point you can retrace your steps along the same trail back to your car, or complete the circuit walk by continuing north. The circuit at time of writing is much harder to follow and more overgrown, but around 400m shorter. We will do our best to outline the route for you.
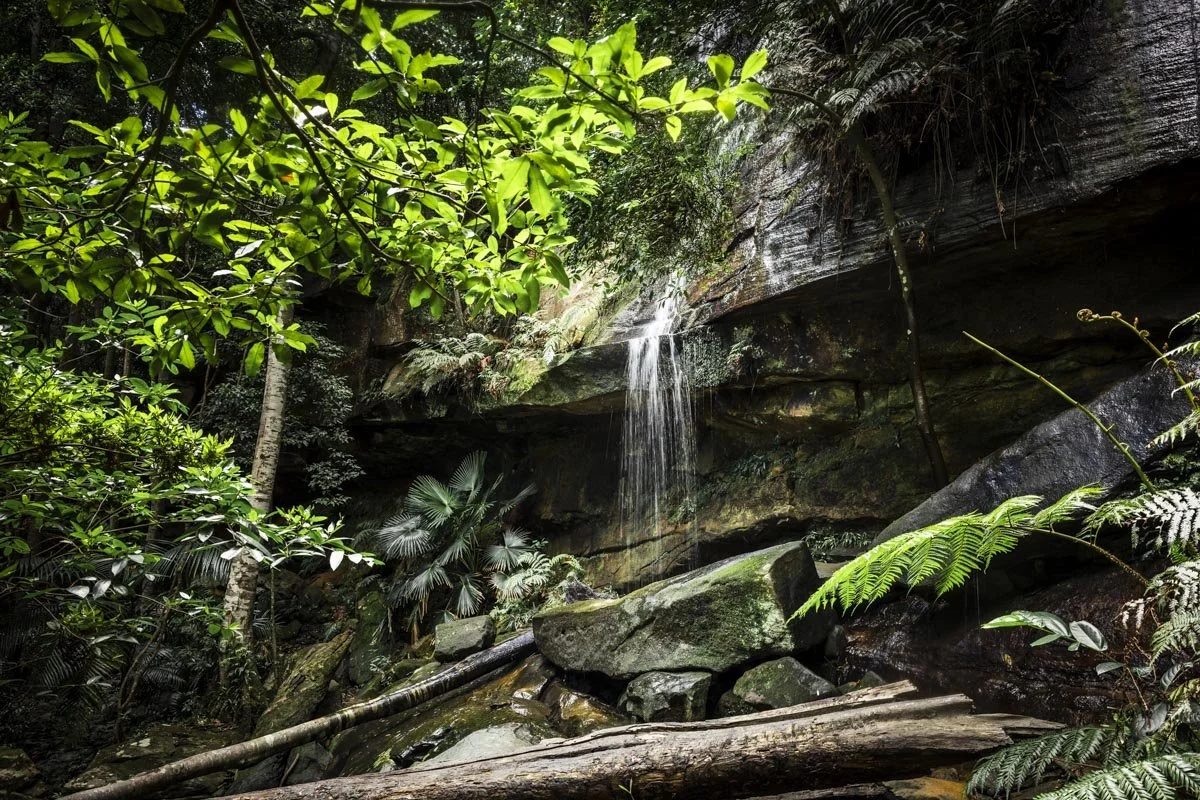
Even if you want to return on the same track, it’s worth continuing a minute past Mega Cave, along the circuit track, to see if the waterfall is running. To do this exit Mega Cave at the opposite end to the way you came in (heading north) and follow the next overhang for 70m.

This is another impressive place and is damp and therefore quite ferny and green. The path is slightly slanted and therefore a touch trickier than the easy one in Mega Cave, but I think it looked more slippery than it actually was.


Once you’ve passed this overhang you’re a couple of metres from the waterfall, or weeping rock depending on recent rainfall. For us it was more of a weeping rock, but I can imagine it’s pretty fantastic after heavy rain.

It gets rougher and completing the circuit
On leaving the waterfall, you’ll need to climb up a couple of damp slippery rocks and then begin traversing the narrow trail, which largely hugs the cliff wall.

It’s narrow but easy enough and there is no exposure. Roughly 11m after leaving the falls you need to turn right, heading uphill.

Then climb over the downed tree. Follow the worn trail as it curves left. The forest will dry out and for a while the path heads north and is relatively obvious at this point.
It will head uphill and become slightly less obvious at times before you come to a ribbon tied to a tree and you know you’re still on track (270m after you turned right to go uphill from the narrow track).


The trail continues uphill to the left of the tree. You’ll notice another ribbon very shortly after. Just 50m beyond the tree you’ll come to a rocky outcrop. Now for us this led to disaster because a ribbon was tied to a branch that had fallen down.

We didn’t realise it wasn’t in place and followed it up onto the rocks and up a gully. This is wrong and led to more cuts and scratches than we’ve ever got on a trail before!
We’ve since moved the ribbon so it doesn’t throw you off, but you want to keep to the left of this outcrop. It pains me to say we were only 10m from the fire trail at this point. Keep to the left of the rocks and follow the path for 10m, you’ll see a cairn and then the fire trail.


From here you have a straightforward walk on fire trail back to your car. It’s a mix of uphill and flat track and though at first it is rocky, it does smooth out in time.
After 750m you’ll come to a junction and you want to keep straight. Just 350m later you’ll come to the fire trail you’ve walked on before and see a small pink ribbon. Head left here and you will be back on the original trail back to your car, which should be roughly 400m away.

Where to park and getting to the Mega Cave Walk
The Mega Cave is located not far from Somersby on the Central Coast. We parked on Myoora Road at these coordinates: -33.423561, 151.269846. This was 20m from the trailhead.
It’s roughly 80km and a 1 hour drive from Sydney (that’s if you’re willing to pay the enormous toll road fees, otherwise it will be more like 1.5 hours or more) and 95km and a 1 hr 15 minute drive from Newcastle. The last couple of minutes to the coordinates for the longer route are on a gravel road, but it’s suitable for any vehicle at time of writing.
There is a second shorter route to the cave, but no parking at the trailhead as it’s right on the highway. You can park in a large lay-by at these coordinates: -33.432997, 151.263238 (it’s also called “The Slab” on Google Maps).
This does require walking for 350m along the highway. Not ideal, but it is a quiet part of the highway. The walk using this route is 1.35km each way (so about 1.3km shorter in total, taking into account you can’t park right beside the trail). The extra bit before you reach the point where the long and short trails merge is all on fire trail.
This post may contain affiliate links, meaning at no additional cost to you, that we will earn a small commission if you click through and decide to make a purchase. This helps towards the costs of running our website. Thanks for your support.