
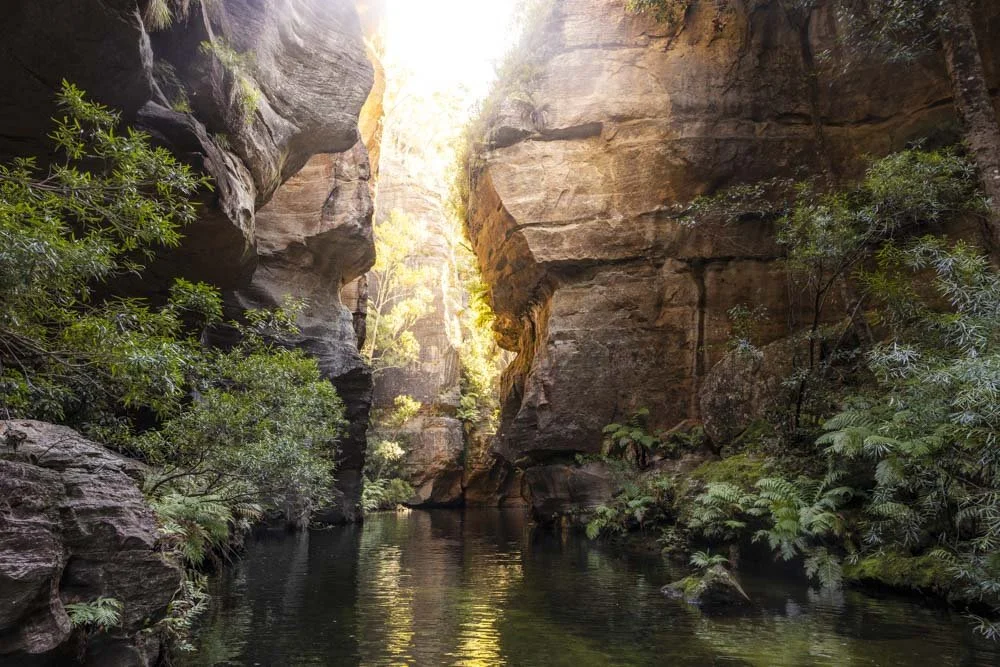
I first heard about Wollangambe Canyon many years ago. It was a tale of epic adventure: swimming, floating and scrambling your way between narrow canyon walls in a spectacular, untouched landscape. A wild place, both magnificent and if I’m honest, a little scary. It felt way out of my comfort zone, but little by little our own adventures became more remote and more challenging, and that put the Wollangambe top of my wish list.
It was worth the wait.
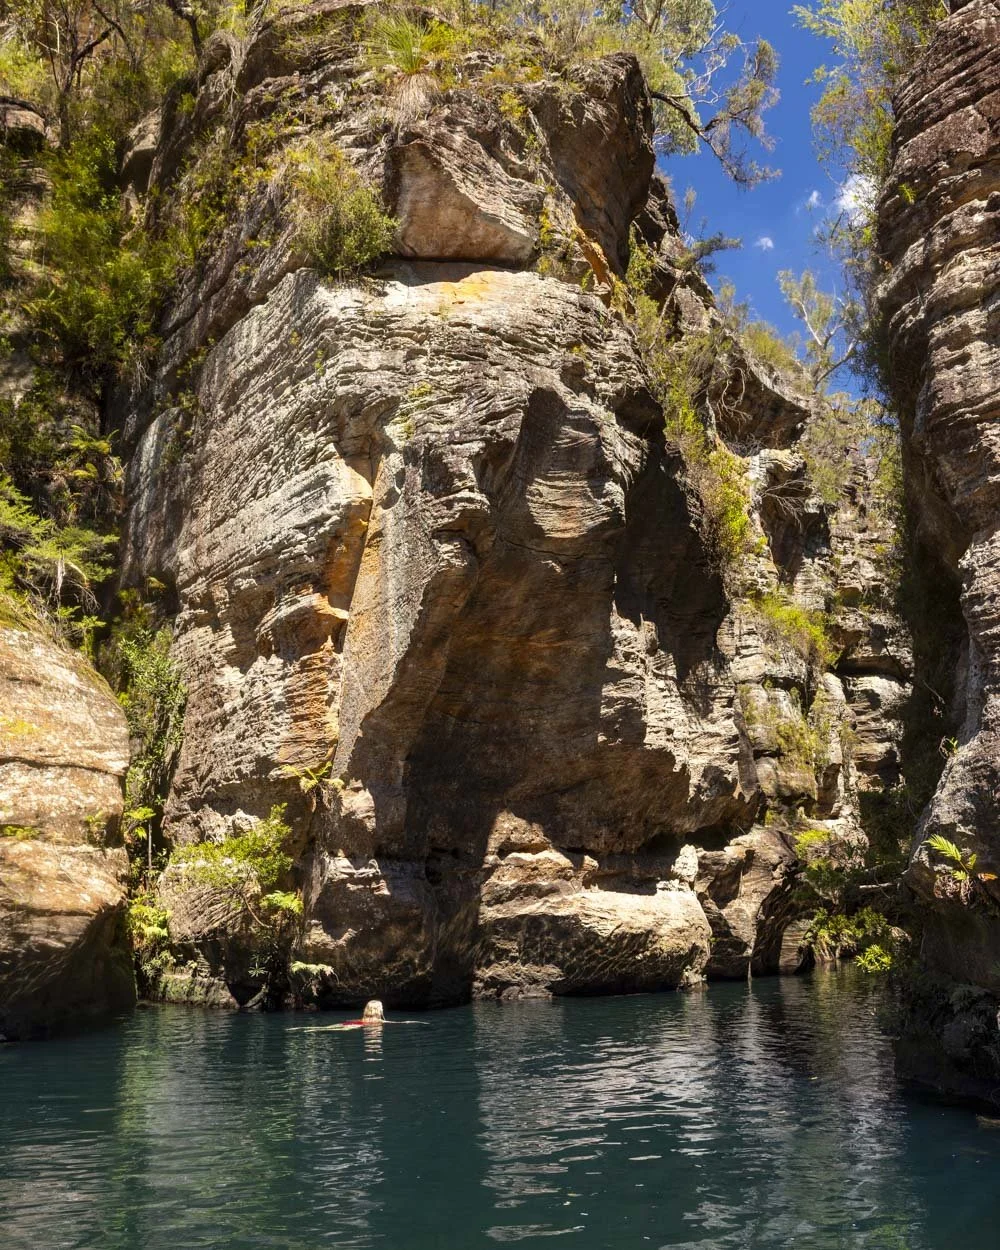
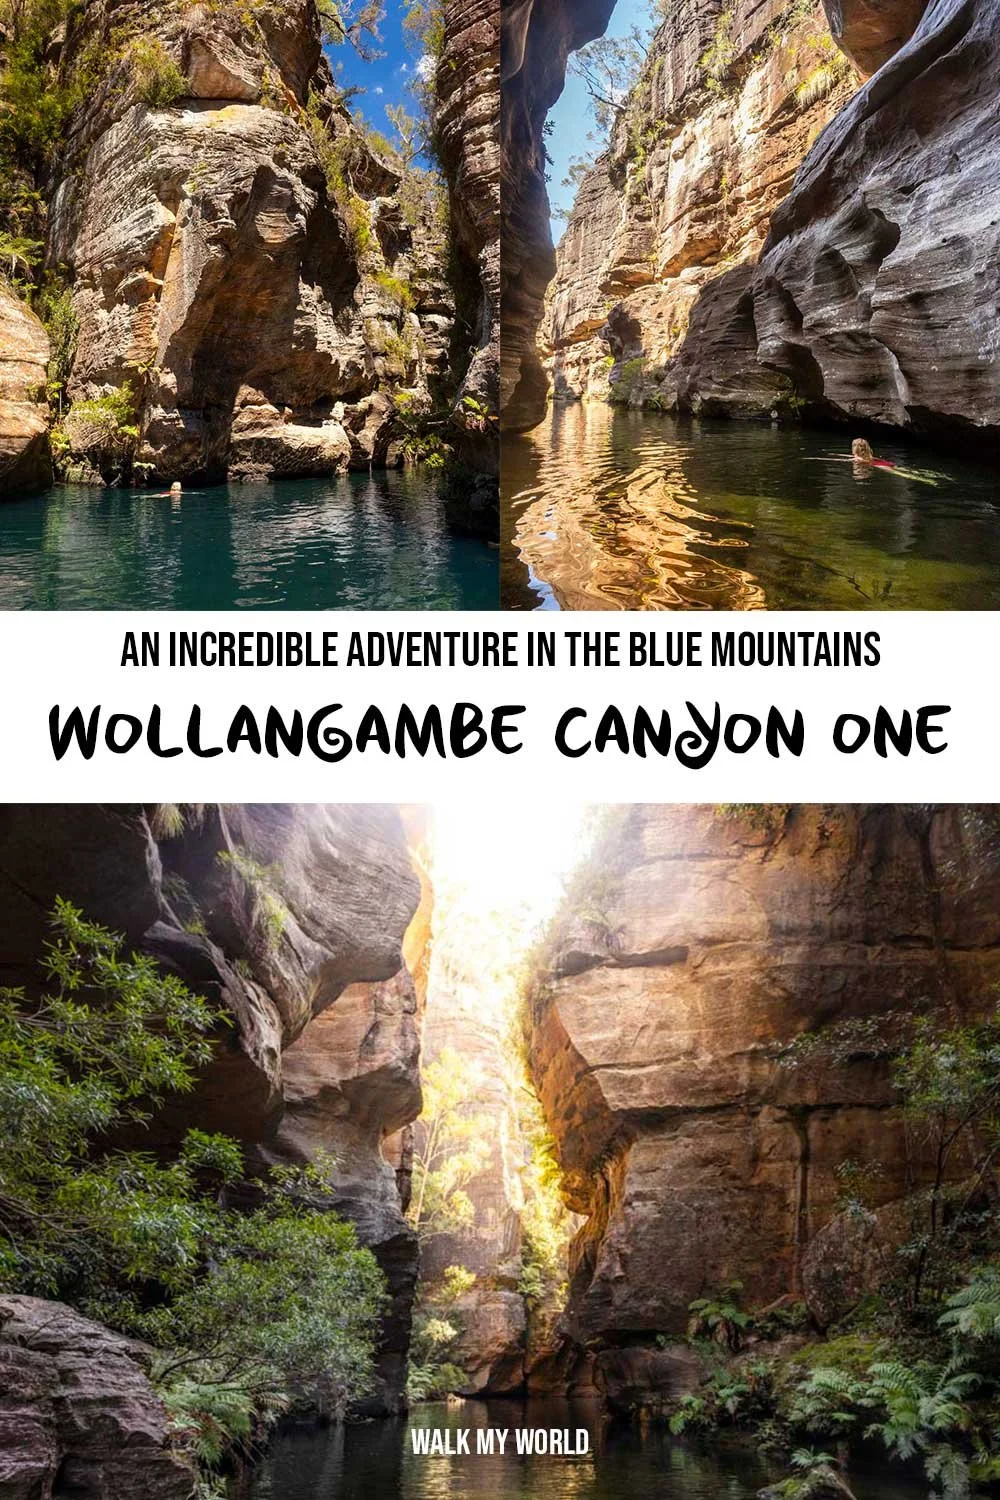
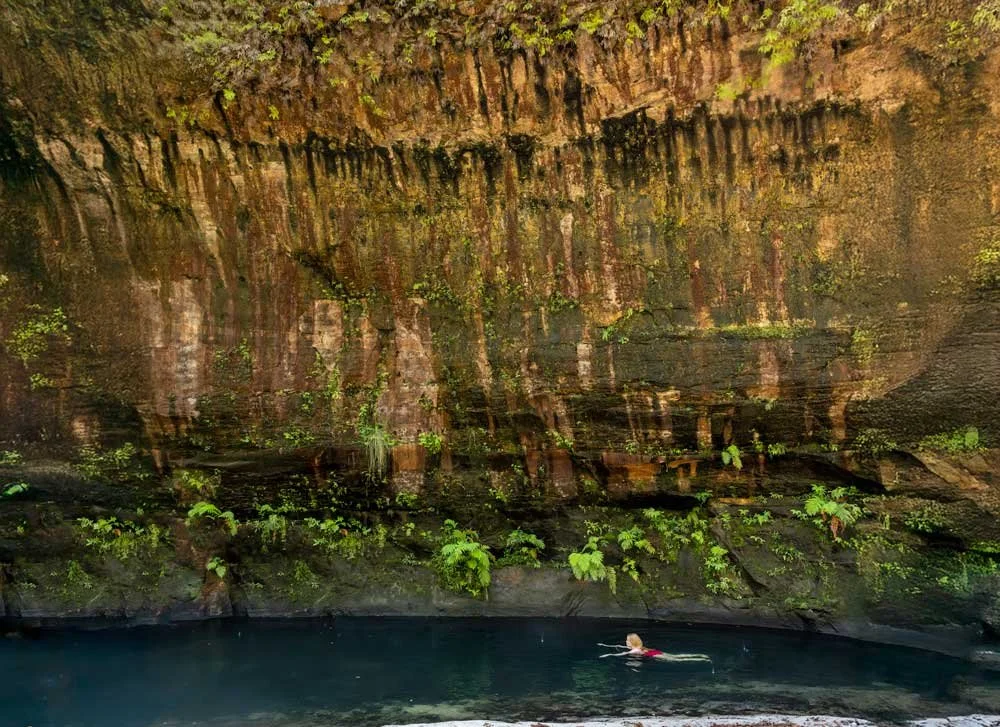
Floating or swimming your way through the shimmering blue green water of the Wollangambe River is one of the most enchanting adventures the Blue Mountains has to offer. At times the river is relatively open and you can bask on warm sandy beaches; at other points the narrow canyon walls are so tall that little light will reach you. It’s easy to imagine you are a million miles away from civilisation and there is no more alluring feeling than that.
While the Wollangambe One (upper tourist section) is not a technical canyon, it’s no walk in the park either and does require care and preparation.
Here’s what to expect.
What’s involved in visiting the Wollangambe One Canyon
An overview of what to expect
A day spent in the Wollangambe is fun and exciting, but there are a few things you’ll want to know before you set off. Don’t let this next section put a downer on your trip, but a bit of planning can make a huge difference to how much you’ll enjoy your day!
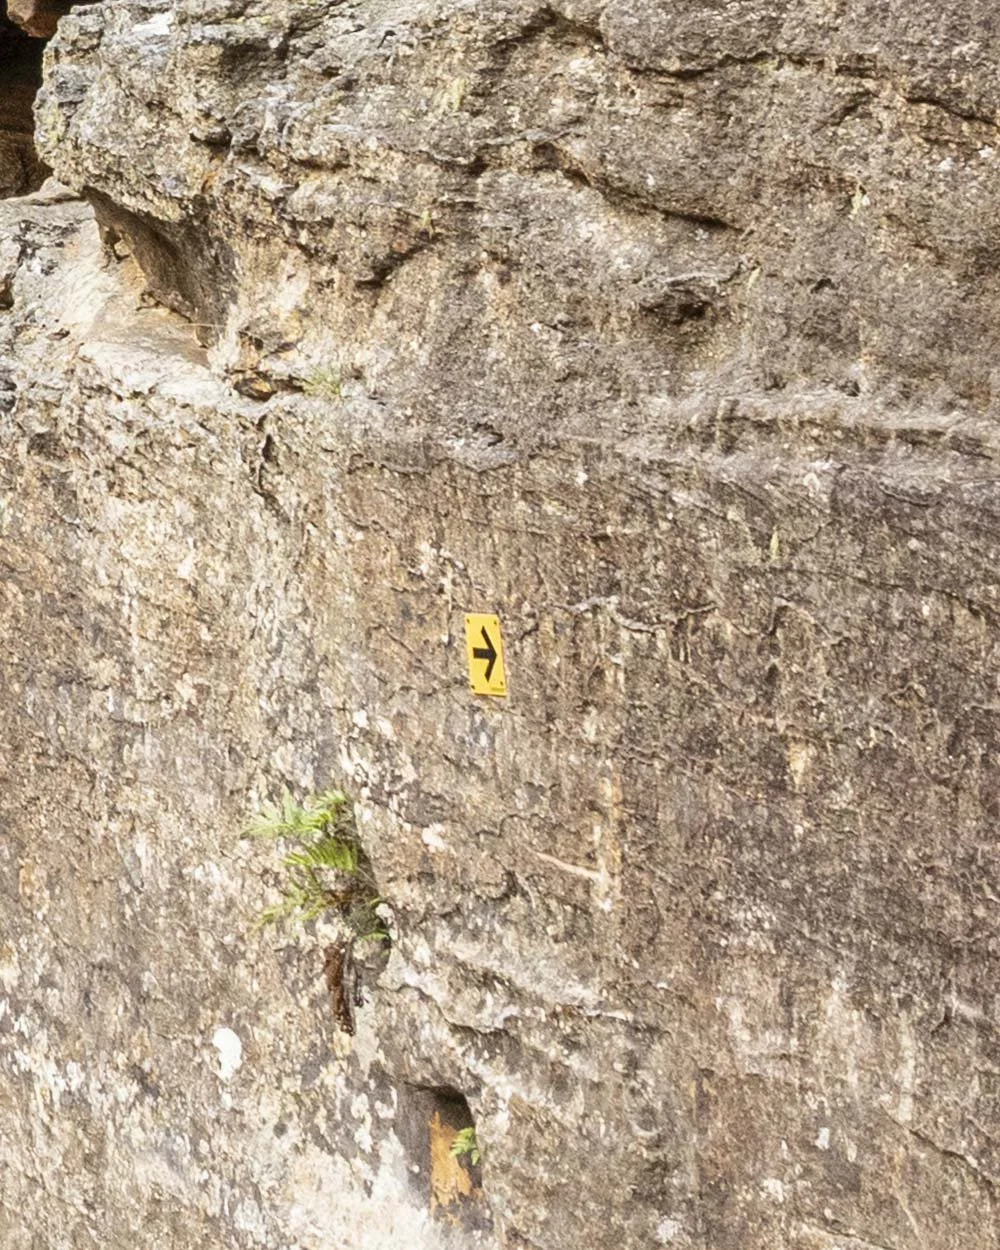
The walk into the canyon is all on a formed track and it’s well signposted; there is quite a sizeable descent involved and one easy scramble. As soon as you enter the canyon it’s a wilderness adventure. The only infrastructure you’ll see is a small yellow arrow marking the exit route (that’s so small it’s easy to miss).
The distance you need to walk, wade, float (or swim) and scramble through the canyon is approximately 2.2km (our watch read it as a lot longer, but this is what the National Parks Service records it as). I would estimate that for more than half this distance the water is of swimmable depth. There is some debris inside the canyon and multiple boulder scrambles.
The scrambles are all on damp rock and can be slippery, though some can be avoided by pushing through the scrub to the right or left of the boulders, which was always my preferred option when available.
There is no guidance as to the best route to take, so though it is usually obvious, at times you may find yourself needing to backtrack to find a safer/easier route around any obstacles. This can be tedious at times, especially if you are carrying a cumbersome lilo.
The exit route involves two roped sections. The first is easy but the second is longer and more exposed. The footholds are relatively small and you feel high enough that a fall would be scary. I will cover the exit climb in detail in our track notes below.
Once you’ve negotiated the scramble the rest of the walk out is on a good track, it involves a significant amount of uphill, but it’s not challenging in any other way.
Swimming vs liloing
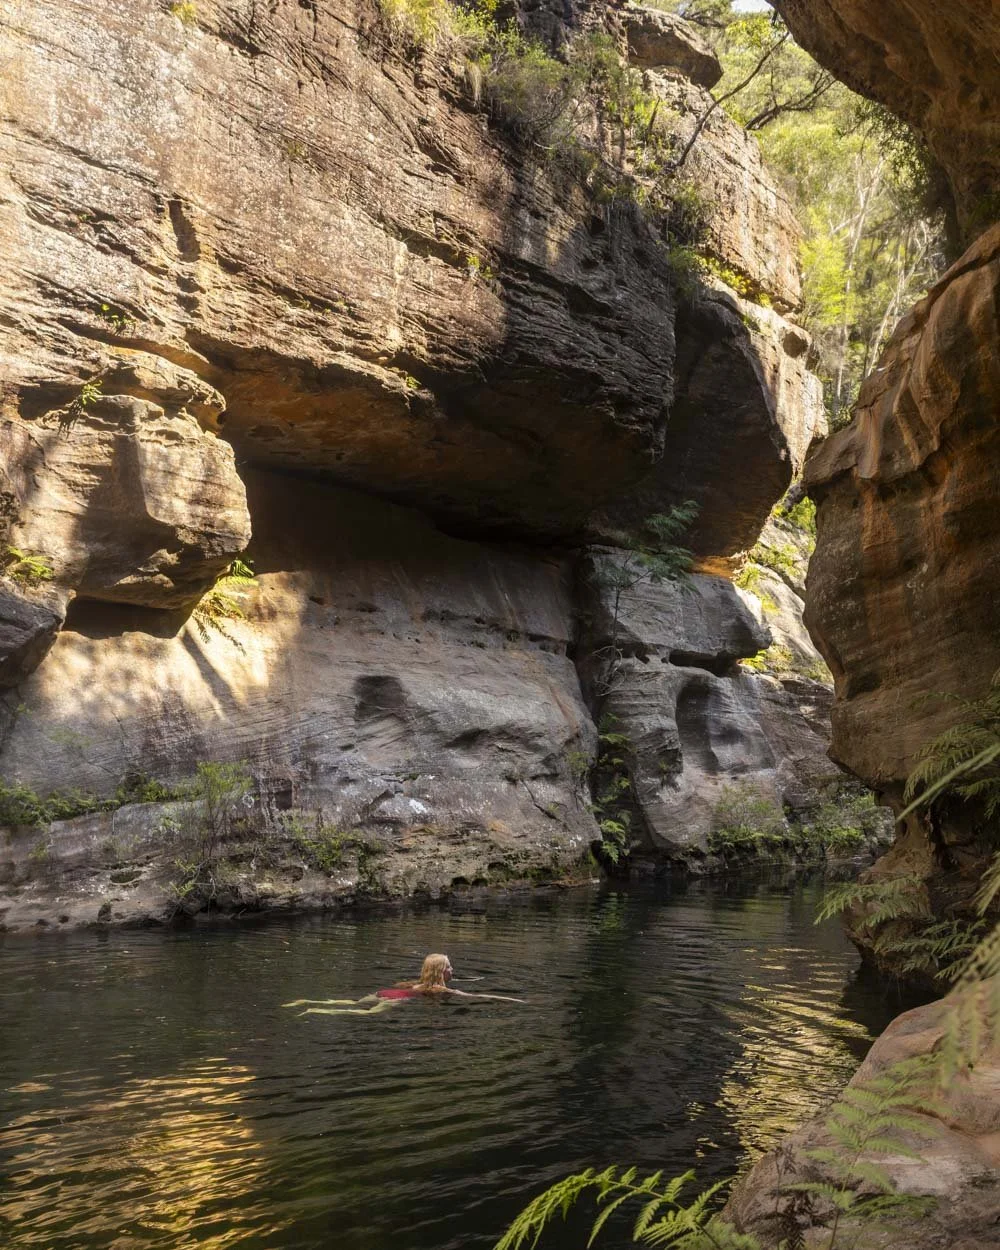
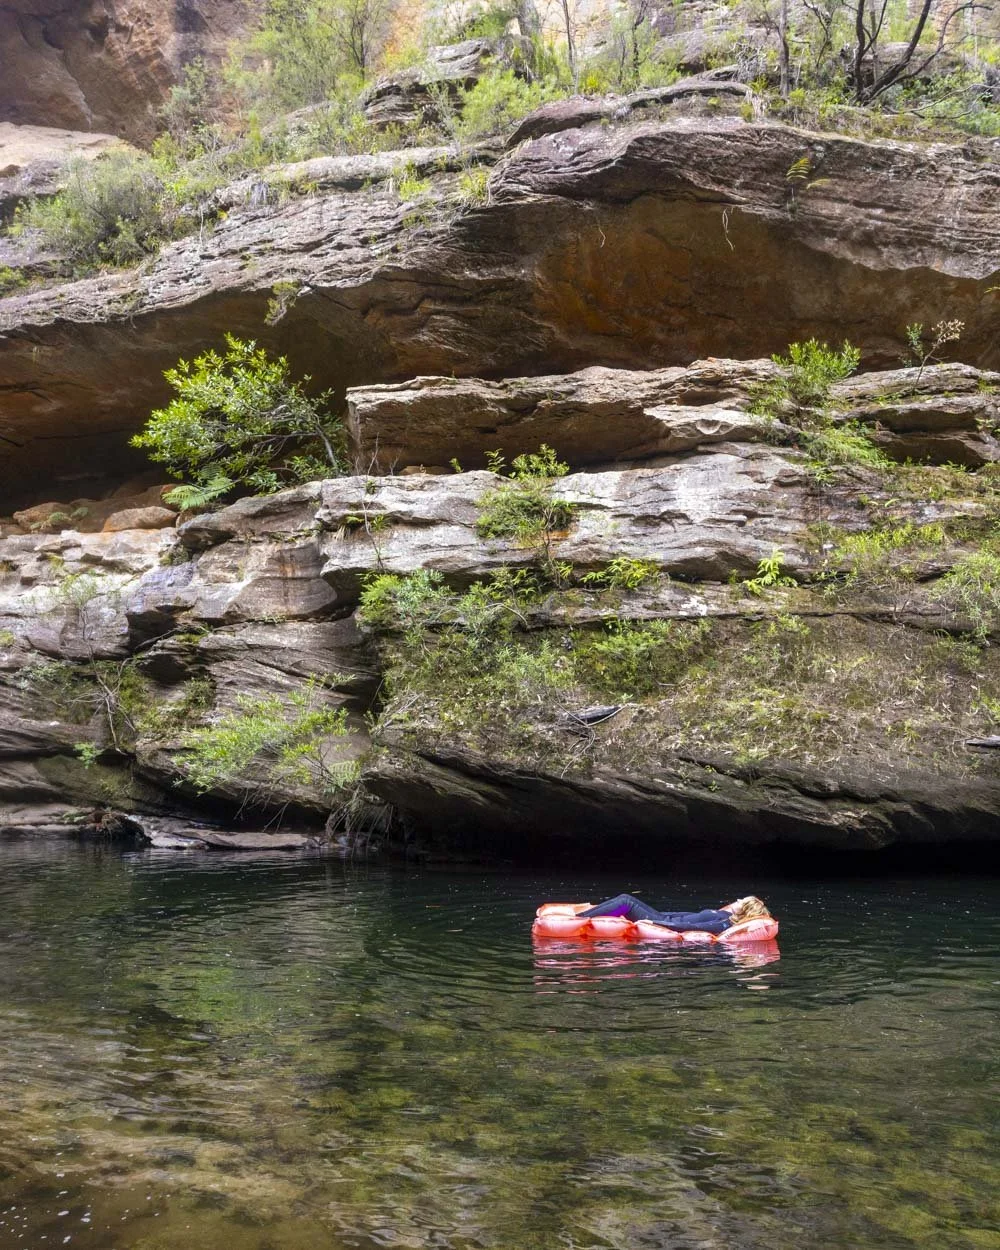
The vast majority of people will choose to lilo the route, primarily due to the long swims in cool water and because floating through the canyon is half the fun for many.
Our watch never tracks well in canyons, but I would estimate there to be around 1.5km of the route that is of swimmable depth. Which in cold canyon water is quite a lot!
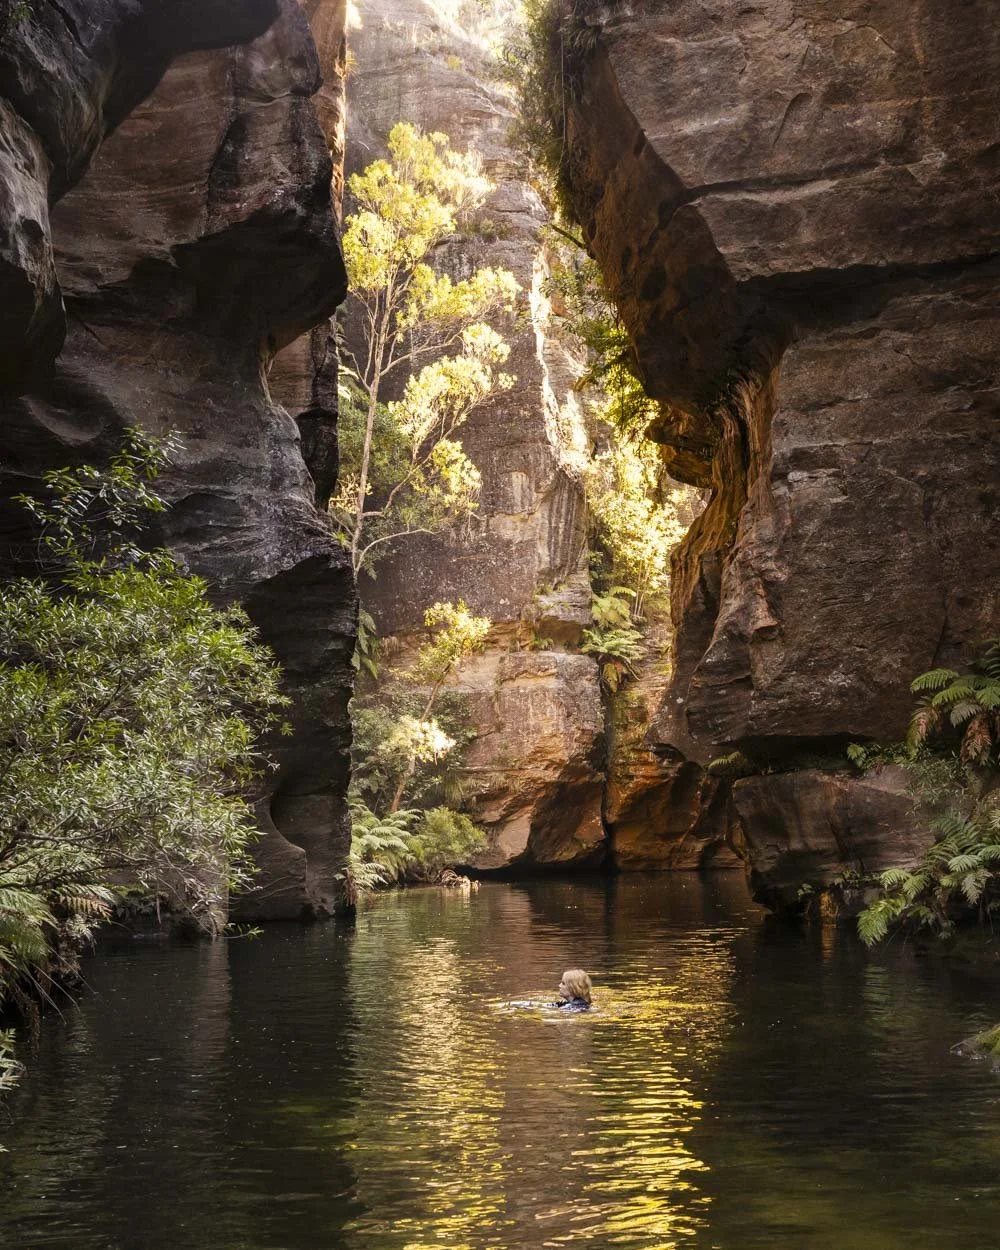
I chose to swim because canyon swims are magical and I don’t get to do them nearly enough, however, I had a lilo with me just incase.
Even if you are a strong swimmer, I would highly recommend taking a lilo as you shouldn’t underestimate how long the swims are. A lilo will give you breaks and as the water inside the canyon is relatively cold year round, it will also minimise your exposure, I loved the swim, but I was glad to have the lilo as a backup and wouldn’t have attempted it without.
Safety info
Make sure you have some experience
Although this section of the Wollangambe is not technical, I would not recommend it as your first wet canyon ‘hike’. The easier Joe’s Canyon loop, is an excellent one to start with (but even then, I would recommend having some off-track hiking experience).
Though they are similar in nature, we felt Joe’s Canyon had less scrambling and an easier exit, so it makes sense to see what you think of that one first; it’s also exceptionally beautiful. You could also try the off-track section of the Grand Canyon which is again much easier than both the Wollangambe One and Joe’s Canyon Loop.
If you’ve already done Clatterteeth Canyon then I think you will find the Wollangambe One easier.
Weather & wetsuits
To complete the canyon safely, you need a dry day where no rain is predicted and you don’t want to visit after heavy rain as the water level in the river will be up.
Very high water levels can be dangerous and accidents have sadly happened here. You will pass a poignant reminder to this early on in the canyon at the location of a very sad accident involving two people getting stuck in a siphon, the site is now marked by a memorial plaque.
This was during La Nina times (2021) and having heard about this tragic accident I was nervous about this section. However, when water levels are low it is an unremarkable part of the canyon and very easy to pass through, which made knowing what happened there all the more sad.
If you are unsure about water levels, it is worth giving the National Parks Service a call as they were really helpful when we called (we called the Oberon office, though you could also try the Blackheath visitor centre).
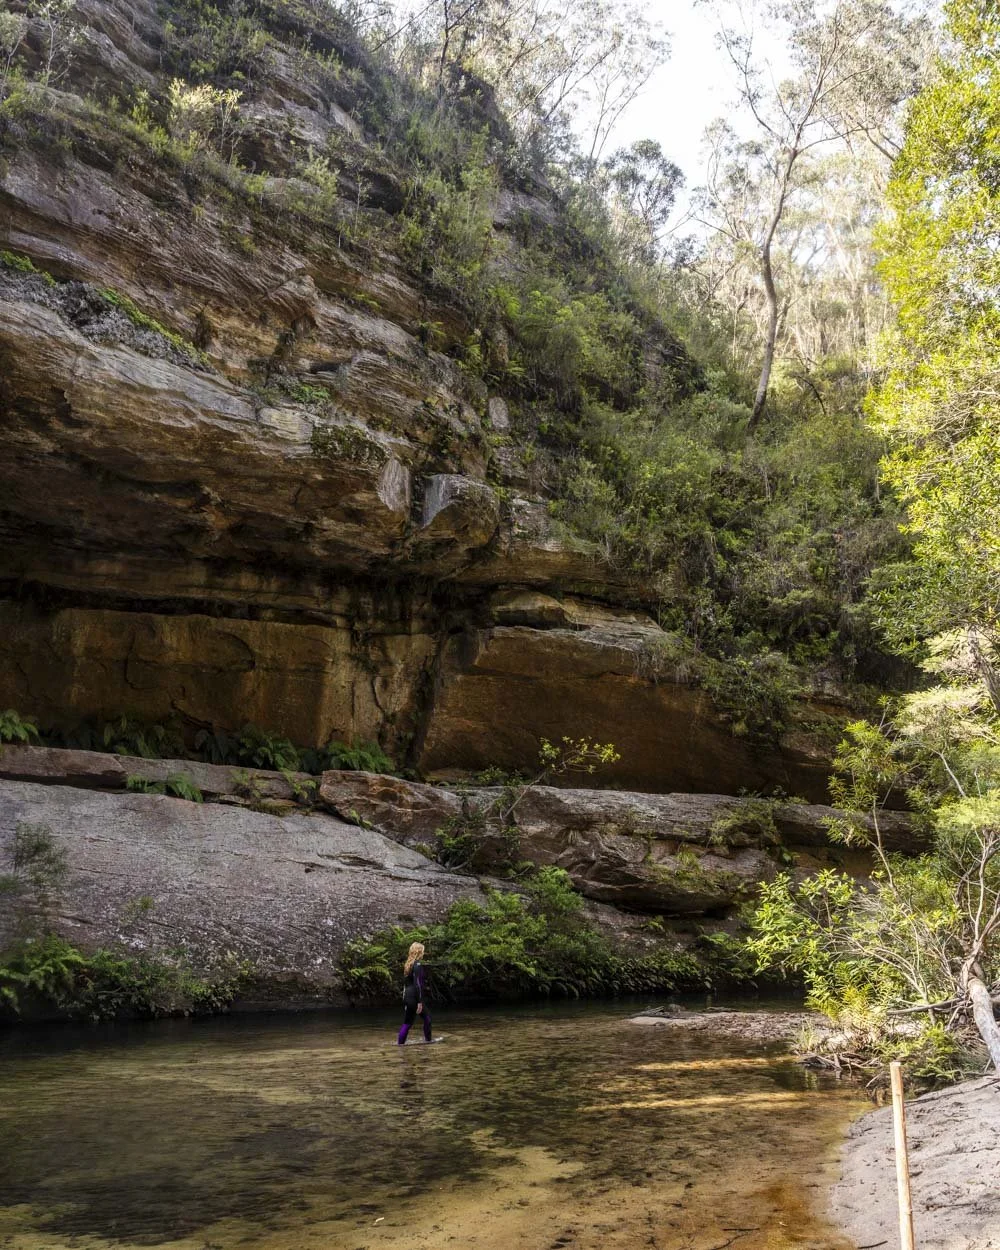
Ideally you want to pick a nice sunny day to help keep warm and it doesn’t hurt that the water colour will be especially beautiful in the sunshine.
The water can be very cold, so you should always carry a wetsuit even if you think you may not need it.
Although, by my standards, the water was not exceptionally cold, it’s the amount of time you are in the water that makes carrying a wetsuit with you mandatory. Granted, we didn’t go on a hot day (25C) but even so, I think not having a wetsuit with you on this one is a risk. There are many long swims and even on a sunny day oftentimes the canyon walls block the sun from reaching you. The worst that can happen if you don’t need the wetsuit is that you carried it for nothing, the worst that could happen if you don’t have it when you need it is hypothermia.
I used a wetsuit for the final third of the canyon and though I think in summer I could have gone without for the full distance, I would always have one with me as a backup. Having said that it’s probably much more sensible to wear one throughout to have a bit of protection from the scrub and log jams!
Bring the right safety equipment
As always, make sure people know of your plans - tell them where you’re heading and the route. There will be limited to no phone signal along the way, so we highly recommend carrying a PLB. If something goes wrong, you need to be able to call for help and not rely on anyone passing by.
You should also have a physical or offline map with you and a way of charging your device if you run out of battery.
It is recommended to wear a helmet and shoes with good grip for the scrambling sections. A change of clothes for the hike out is always a bonus and you’ll want a good dry bag for your belongings.
We also recommend being careful with the amount of equipment you bring. Don’t skip the essentials or safety gear, but you also want to be mindful of the weight in your pack. There are several scrambles in the canyon as well as the exit climb, and after a long day in the canyon it’s an uphill hike back to the car. Remember, you’ll have the weight of wetsuits, floaties and everything else to carry back!
Allow plenty of time
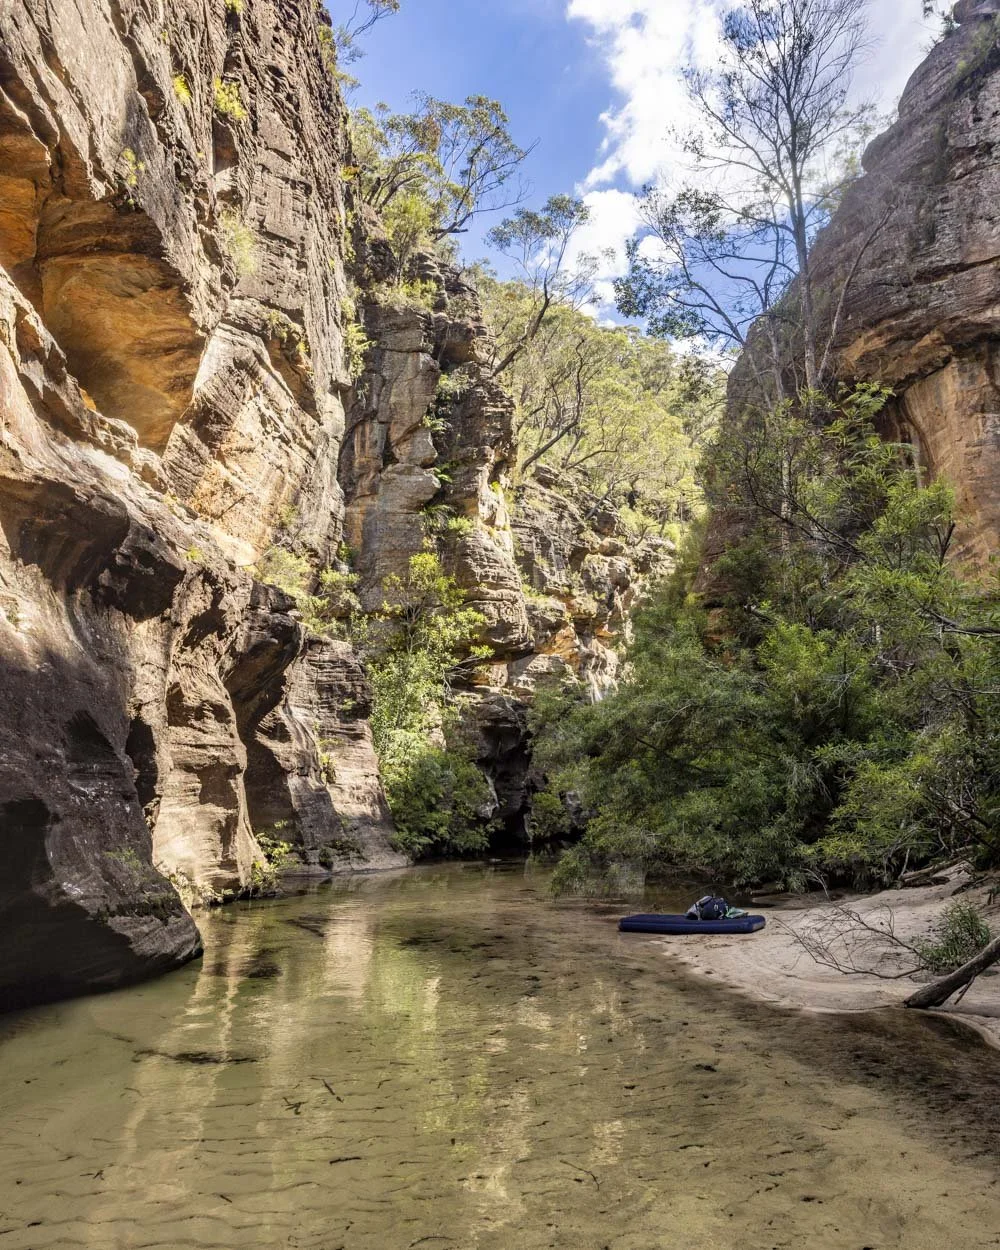
Assuming it’s your first time, you should allow a full day to make your way through the Wollangambe One. It will likely take somewhere between 5.5 - 8 hours and you don’t want to feel rushed by losing the light, especially when the scenery is so spectacular that you may find yourself wanting to stop often.
And now onto the fun stuff!
Wollangambe One - the route
The stats
Distance: 8.7km circuit
Elevation gain: 430m
Difficulty: Hard in the context of bushwalking, but not technical
Trailhead: Mt Wilson Fire Station Car Park
The walk in
Distance to the start of the canyon: 2.7km
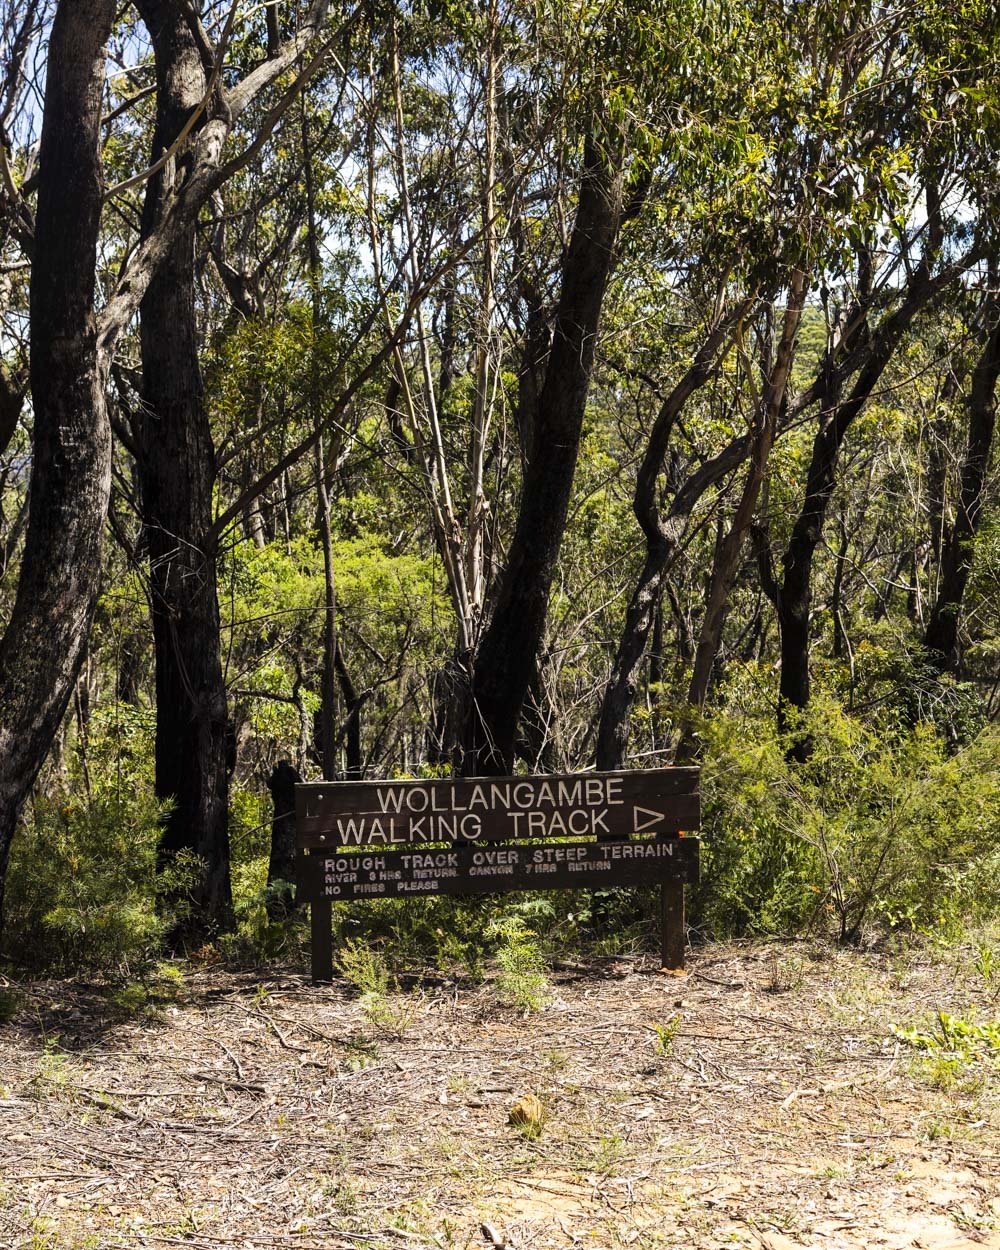
From the Mount Wilson Fire Station (full parking details below) you will head onto the Wollangambe Walking Track (which is signposted) and bear right.
After 250m you will reach a fire trail and turn left. The track heads uphill for the next 400m passing a series of warning signs about canyoning in the area.
Most of these relate to the dangers of underestimating the Wollangambe One, but given you are reading this guide, there should be no issues there : )
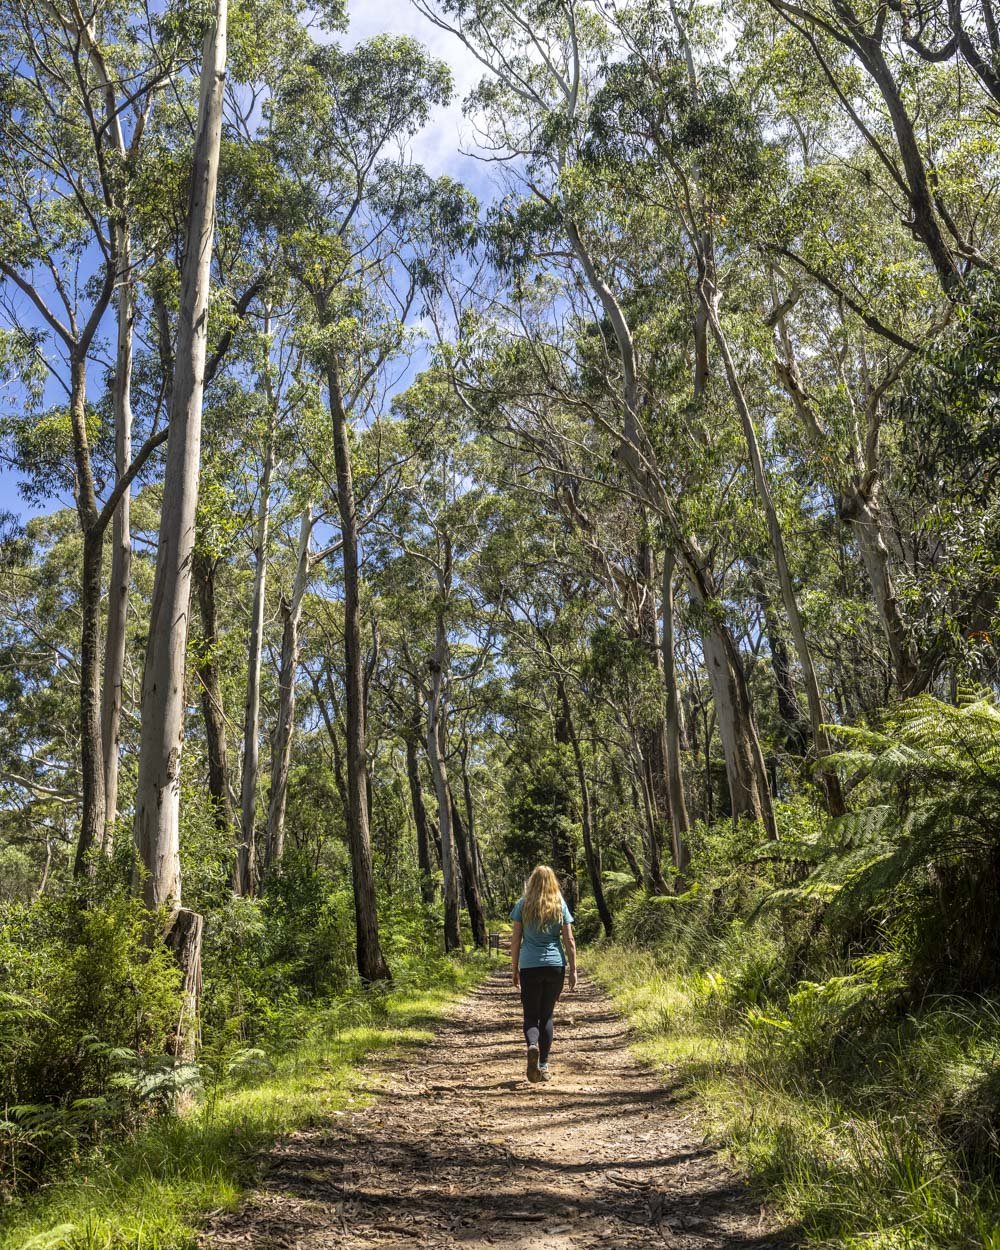
At the 700m mark the track begins descending and you’ll soon head right and then left 60m later, following signs for the Wollangambe.
At first you can follow any signs marked as the Wollangambe, but later at the 2km mark you need to follow the path right, signposted as Wollangambe Canyon.
The route marked as the Wollangambe River will also get you to the Wollangambe One section, but it’s a longer route that fewer people opt for.
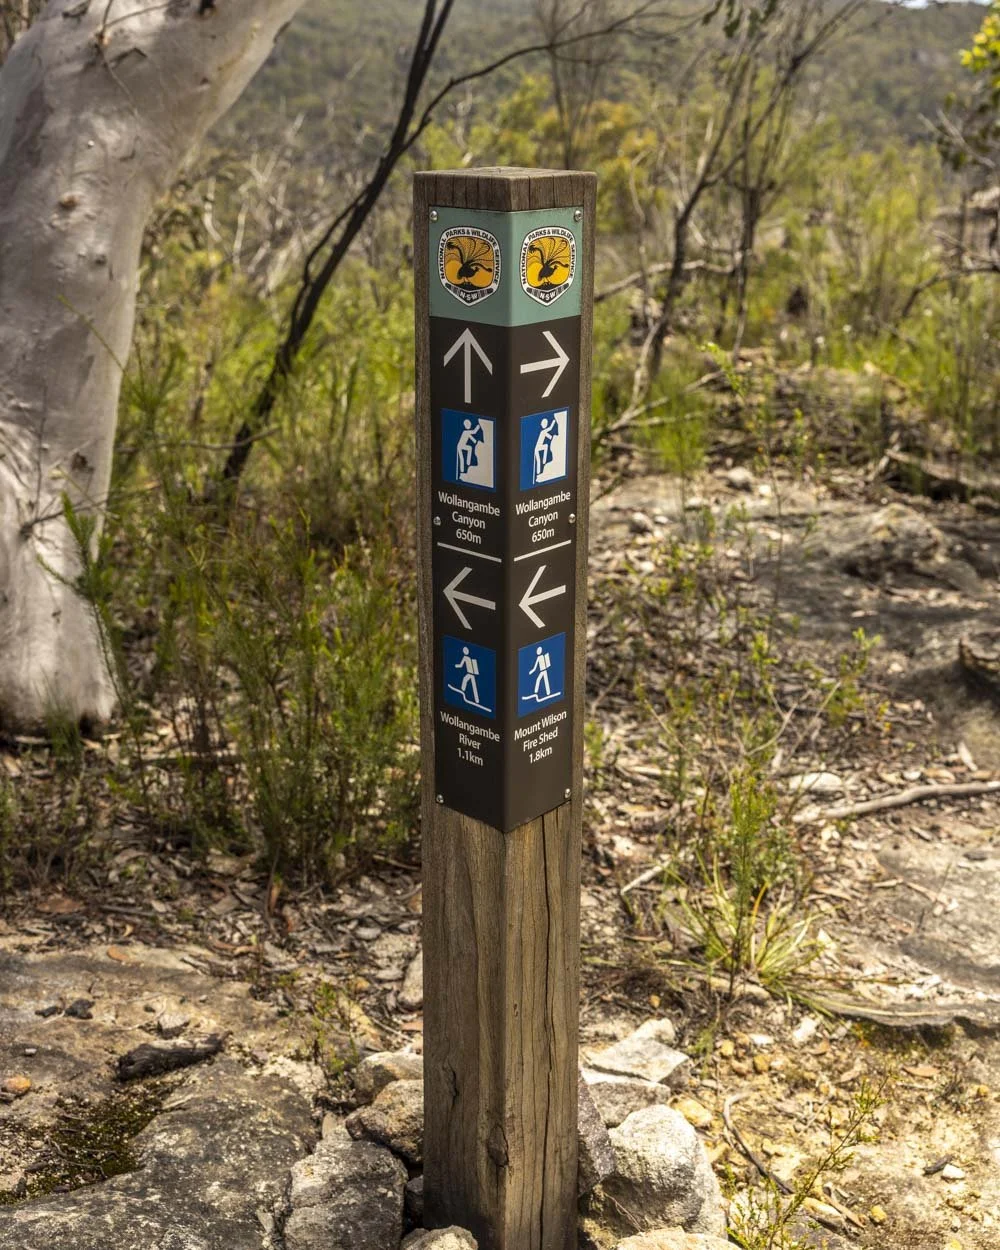
As you leave the fire trail and head onto the bush track it is a touch overgrown in places, but always easy to follow.
You will descend almost the entire way to the river, but it’s a good path (mainly stairs) and rarely overly steep.
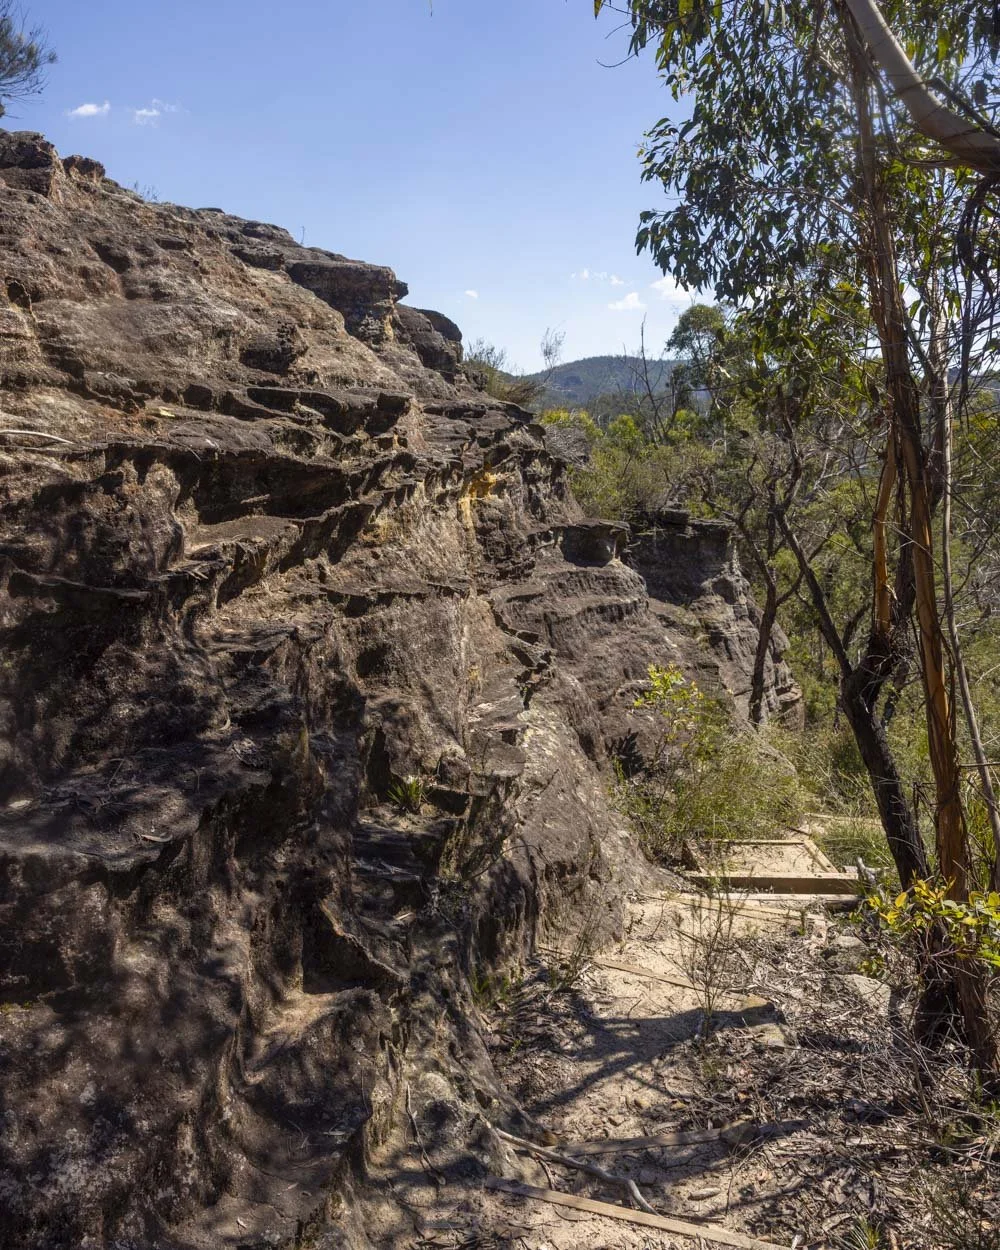
At the 2.2km mark it gets a little rougher and steeper, but it’s still in pretty good condition. The scenery also starts to feel wilder, with more dense foliage and large cliff walls.
There’s a short easy scramble just over 2.4km into the track where you need to climb down a few tree roots, but it’s just a few steps and well tiered, so it’s not challenging.
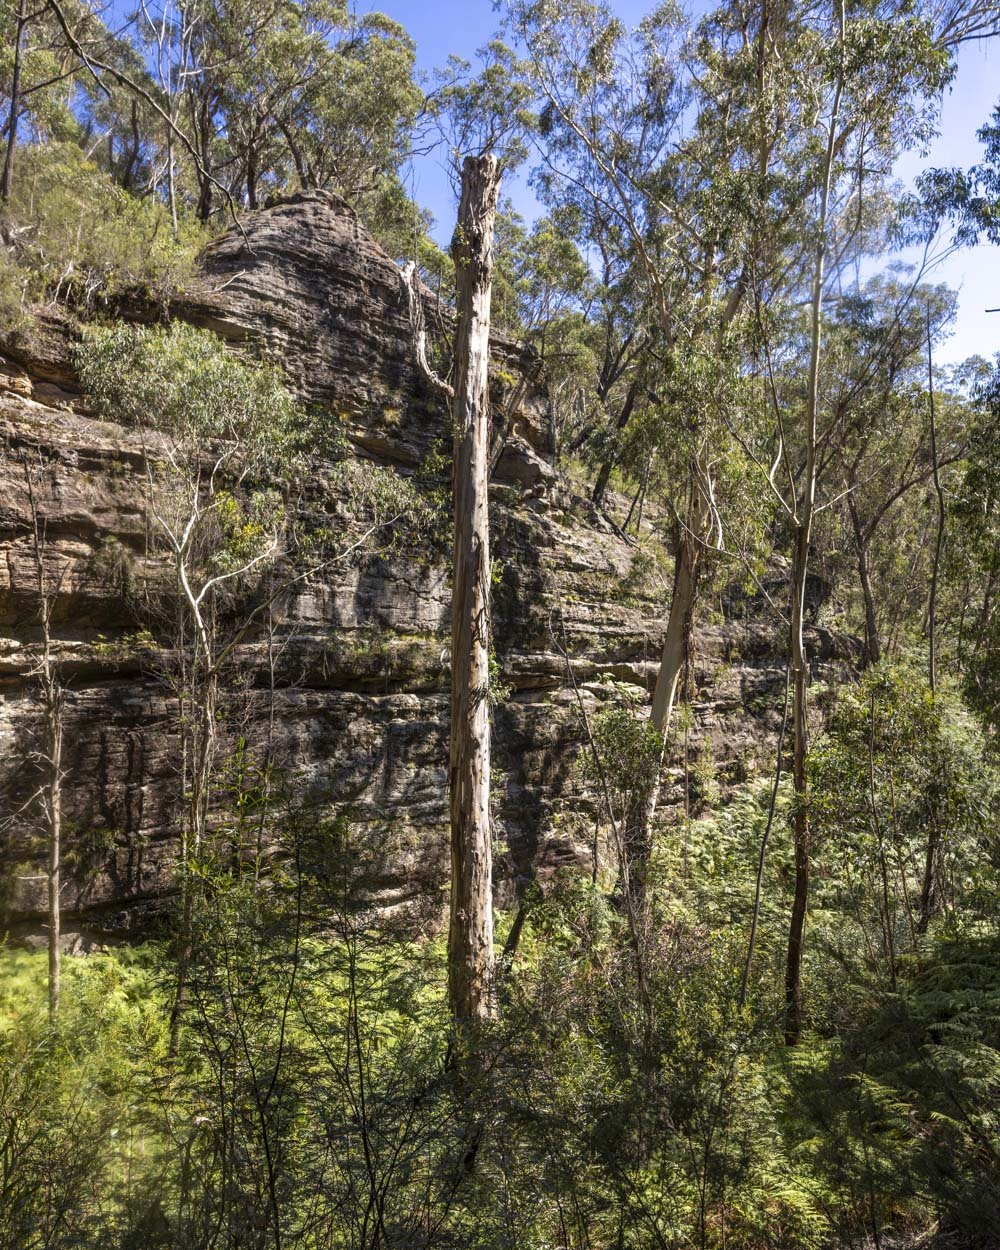
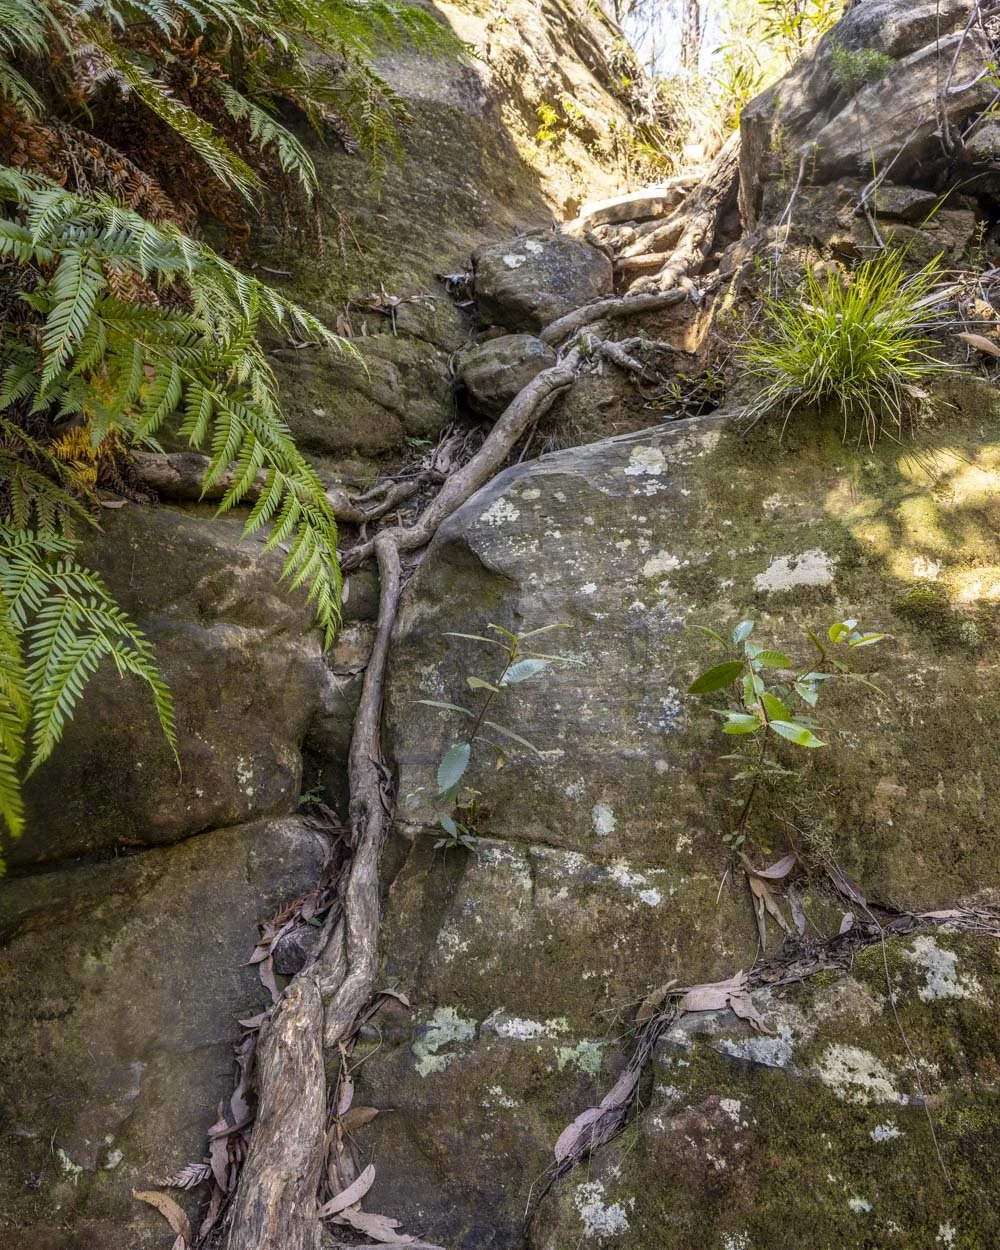
There’s a little more overgrown track as you make your final descent to the river on a dirt path before you reach some stairs which take you down to the water’s edge.
From here you’re going to get wet and most people will choose to inflate their lilos at this point.
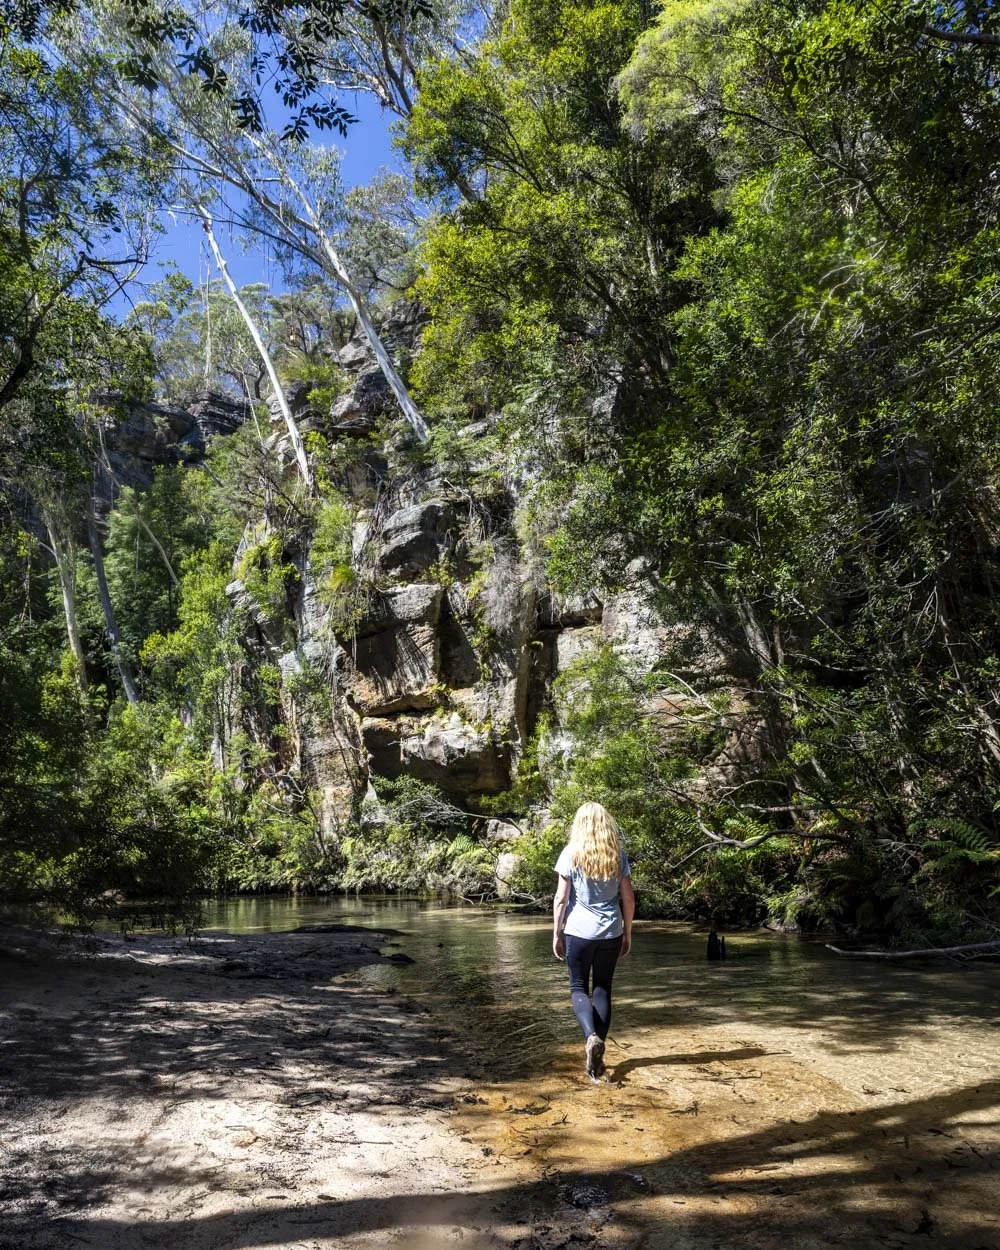
The start of the wet section: the best area for sunny swims and cliff jumping
Unless the river is in flood, in which case you would abort, the water at the start of the wet section will be very shallow. It’s around ankle height, but you will quickly reach a cascade to climb down or manoeuvre around and then the water gets much deeper.
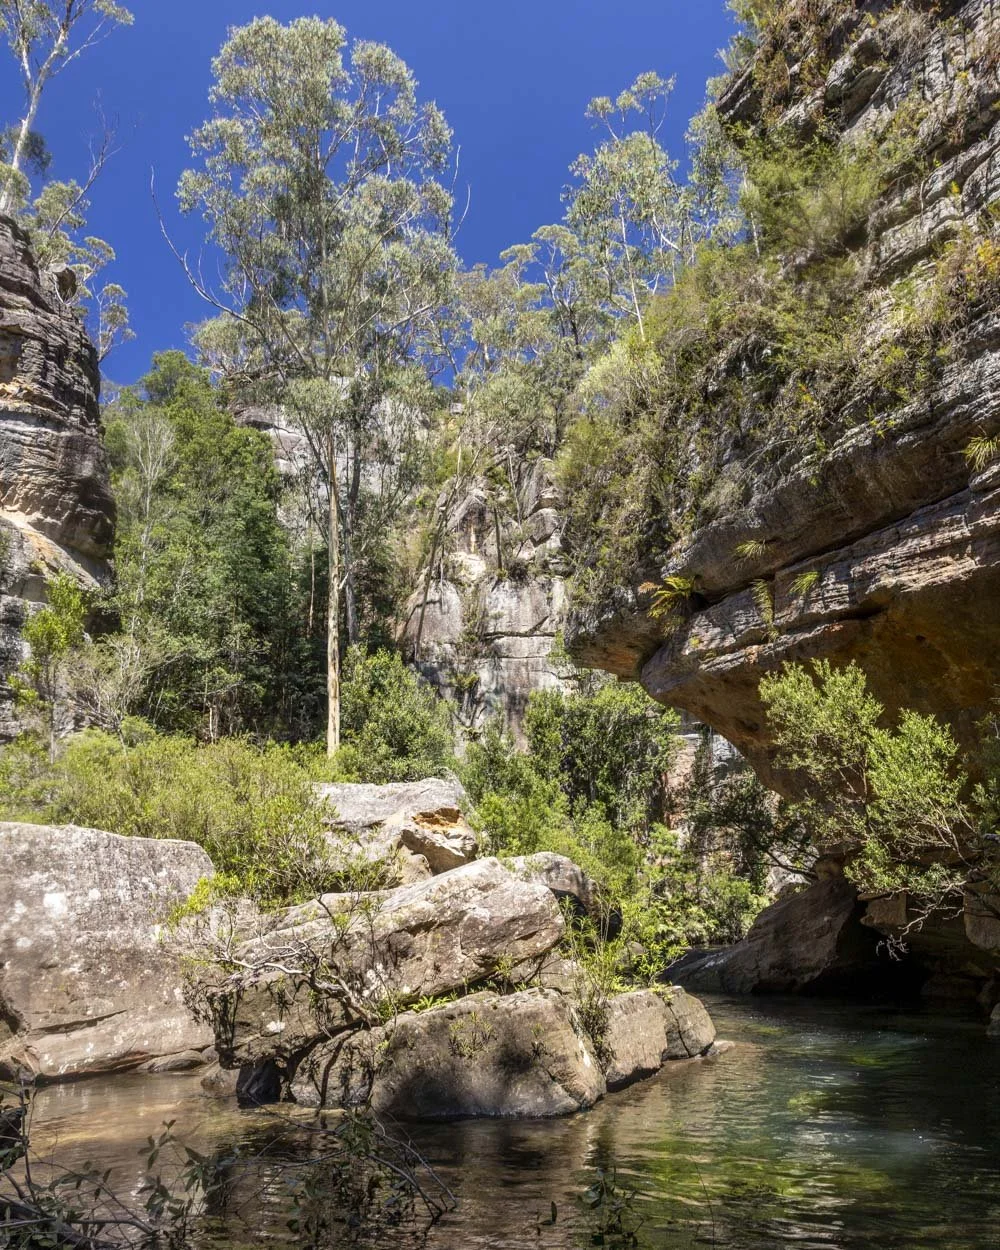
The first deep section begins a couple of minutes from when you enter the shallow water, and it’s a stunning start. If you fancy doing a little swimming, you could opt to swim this first section and inflate your lilo at one of the beaches a little way along - there are many places you could easily inflate it over the first 400m or so.
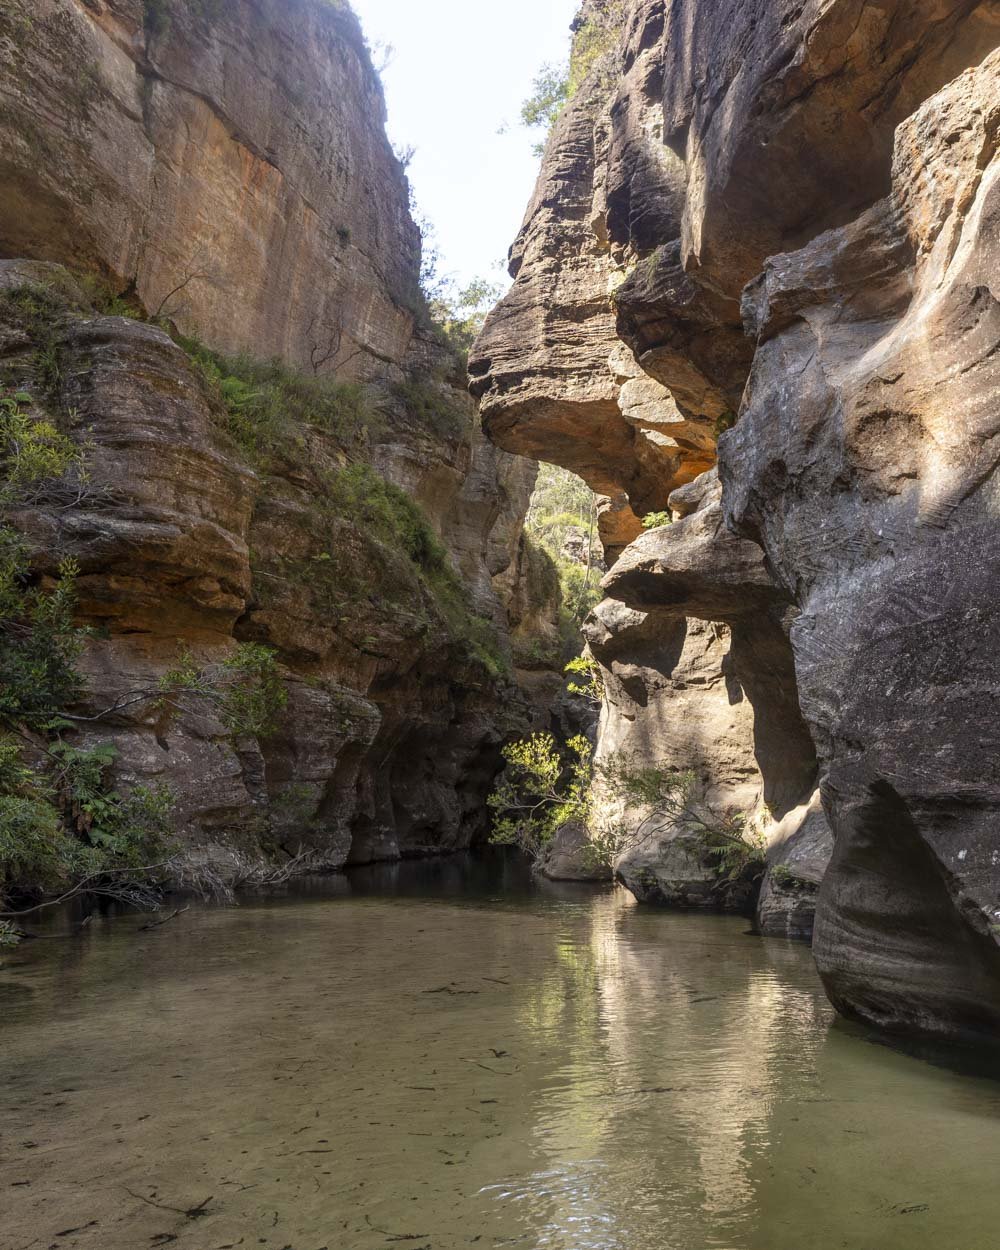
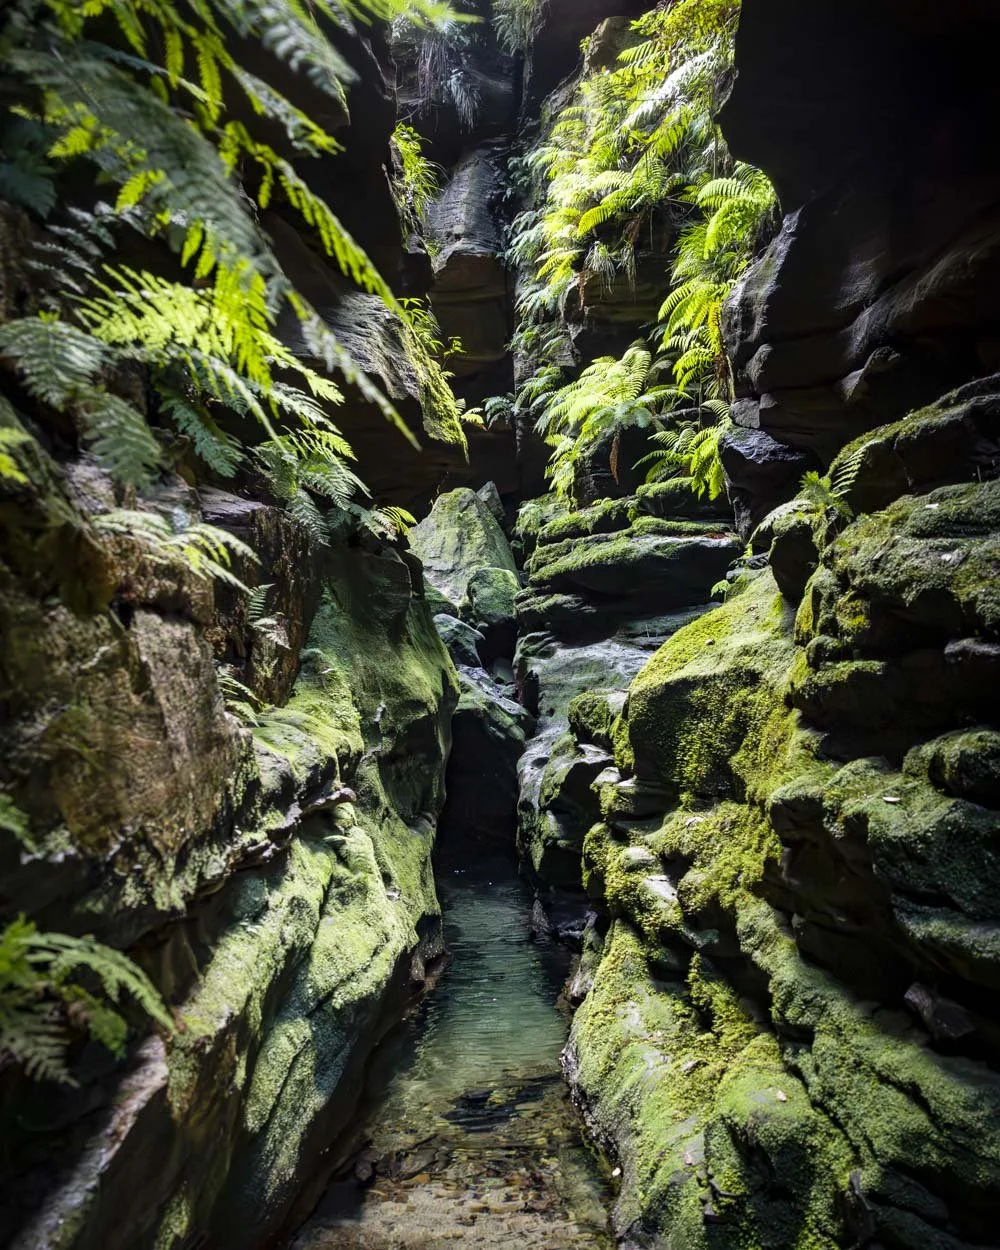
You’ll begin by swimming or floating through a narrow slot with dazzling emerald water. It really is a sensational canyon and as you continue swimming there are multiple small beaches where you can bask in the sunshine.
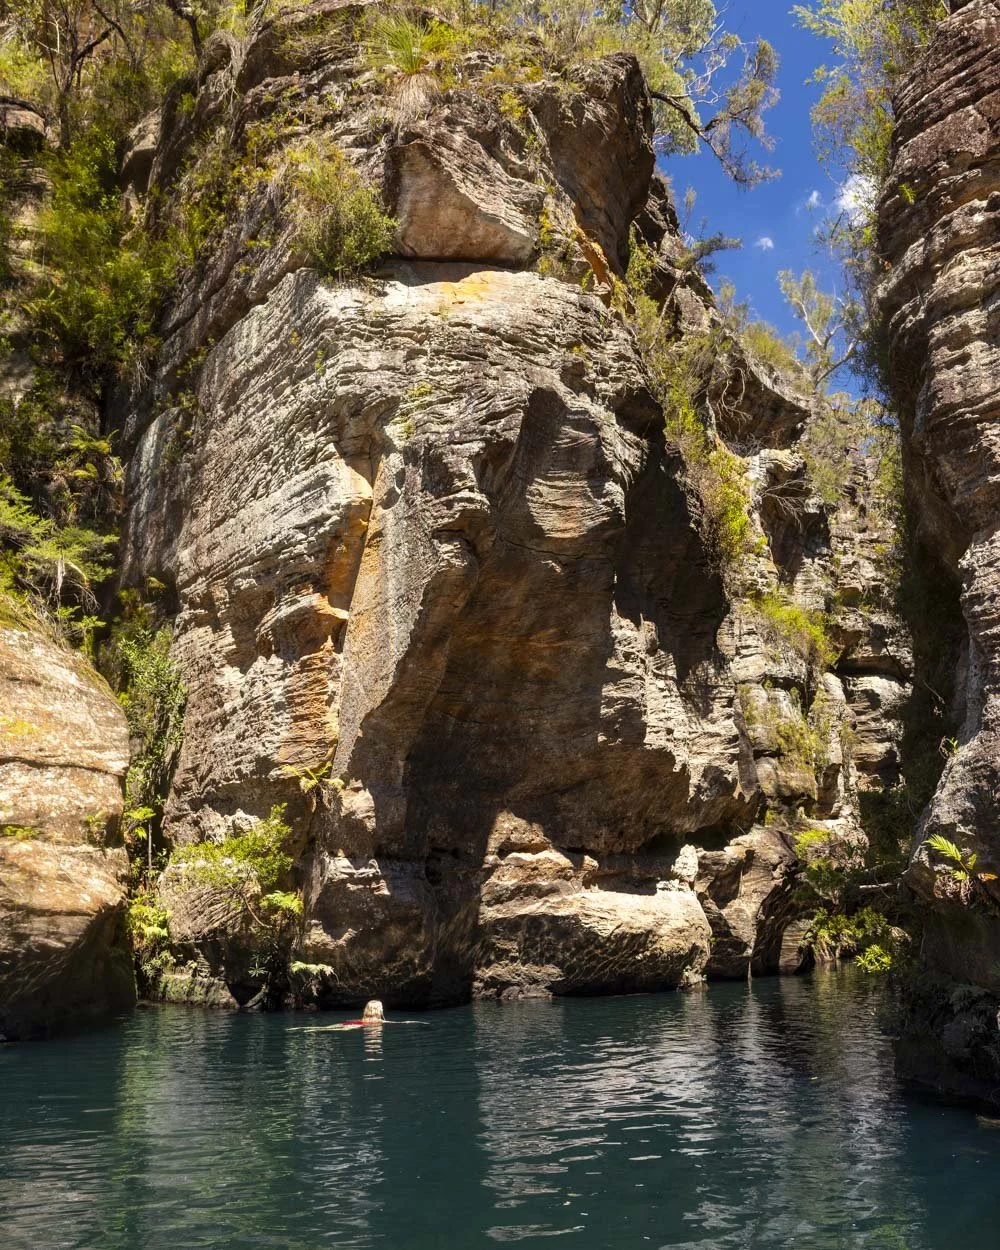
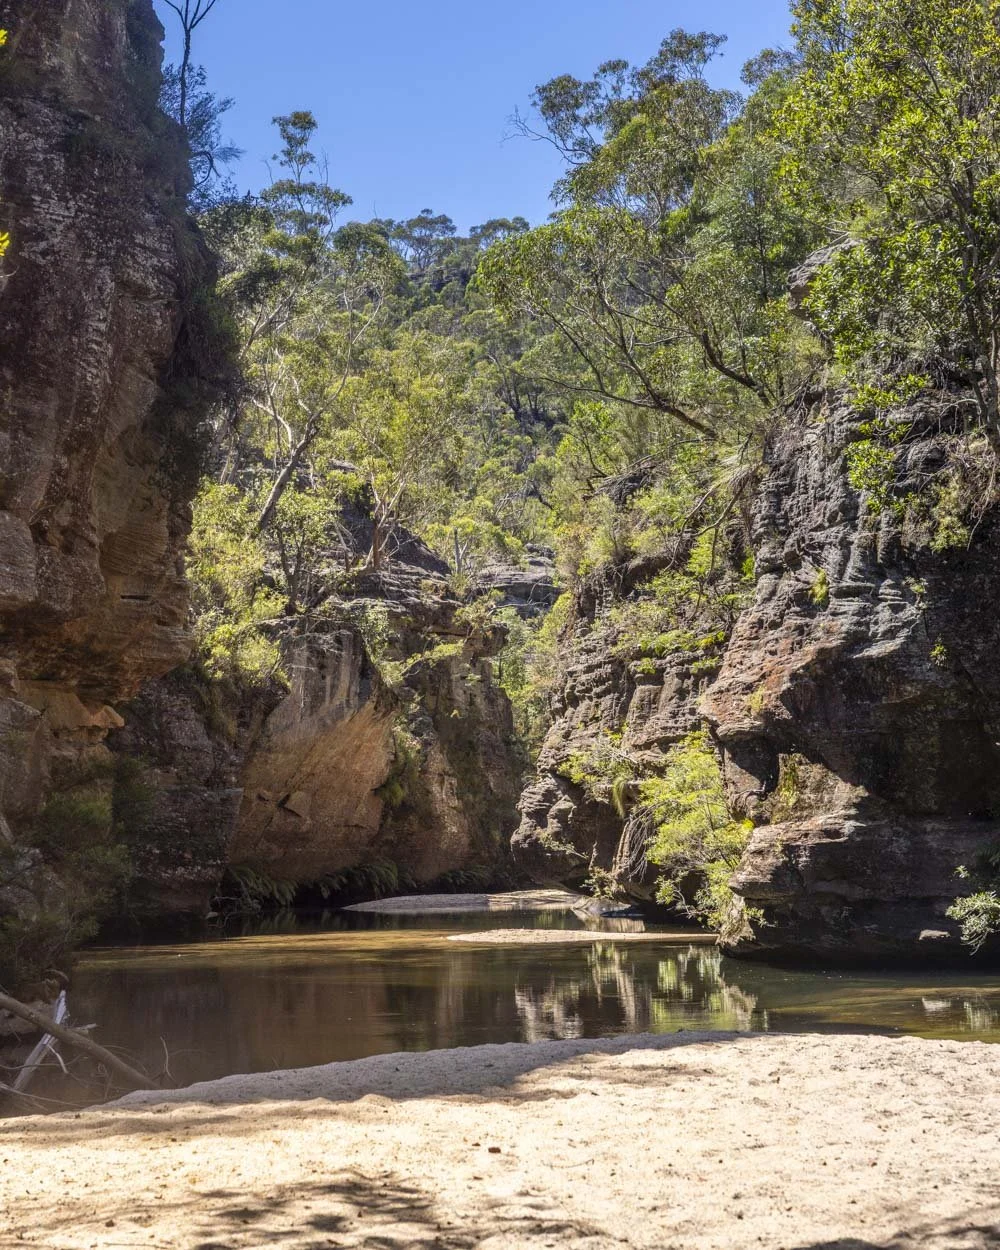
We were visiting in late March and though the weather was warm, it was far from scorching. However, the sand radiated the heat and felt like a little sauna between cool dips.
In fact this first part of the canyon is so special that if you didn’t want to take on the full Wollangambe One route, you could simply hike down to the river and swim for around 500m, or until you reach the first section of boulders which would make a good turnaround point.
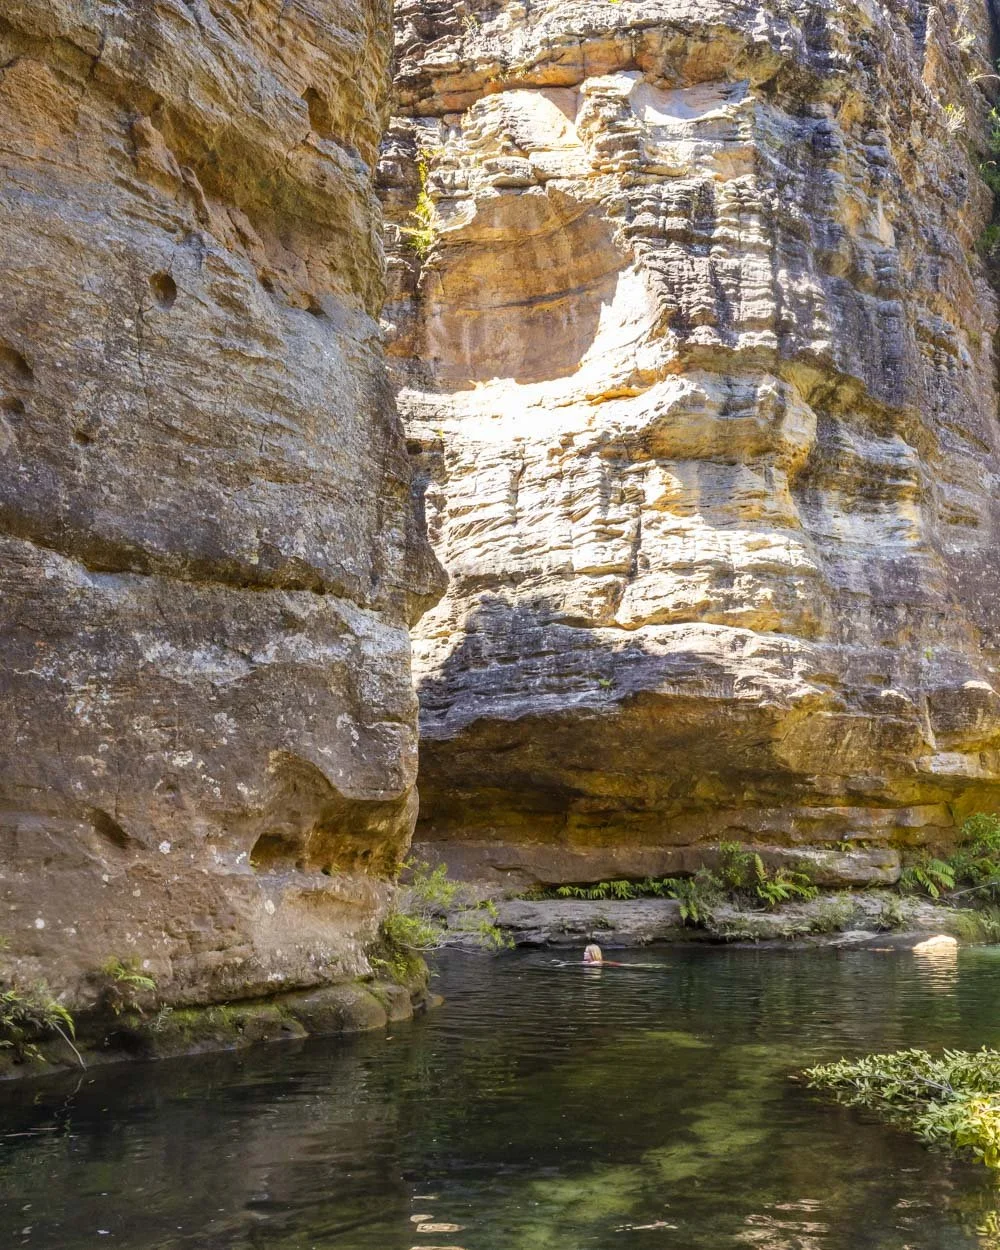
This early part of the canyon is also popular for cliff jumping, though as always, depth check the water first and be careful to look for any obstacles in the water as logs etc may be washed down river during heavy rain.
Once you have gone through the first slot, the canyon walls are much wider creating a more open landscape, though it is still utterly majestic.
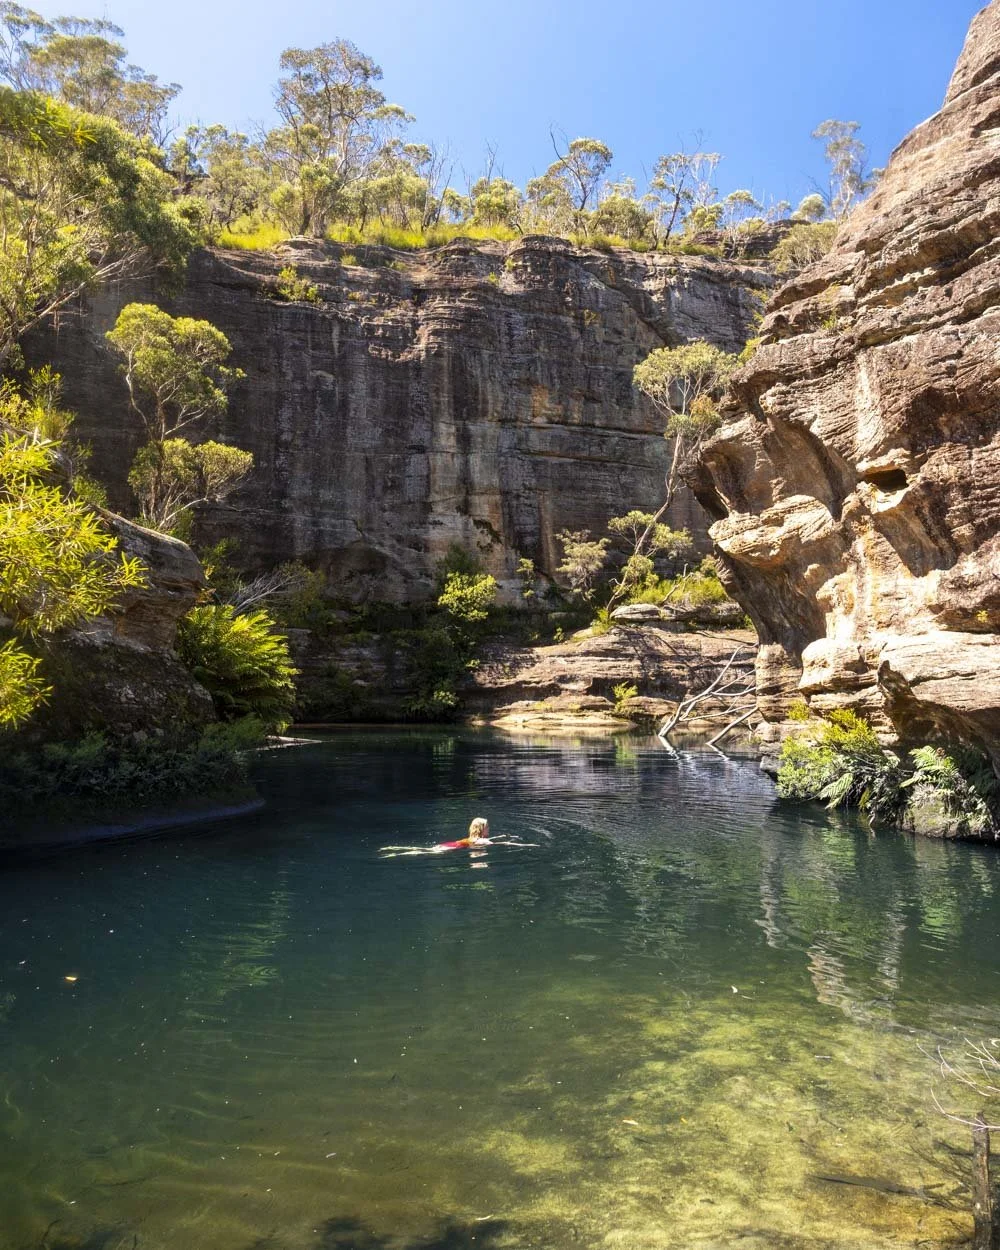
The first boulder section begins around 500-700m from the start of the wet section - it’s a rough estimate due to the issues with our watch over-tracking our progress when inside the canyon (our watch tracked it as 800m, but considering the whole canyon section is 2.2km, we estimate it is much less).
Narrow slots and boulder scrambles
During your time inside the canyon you will encounter five significant boulder sections, with other rocky patches inbetween.
At times you can bypass most of the boulder scrambling by using worn trails in the bush to the right or left of the boulders, but sometimes you do have to scramble.
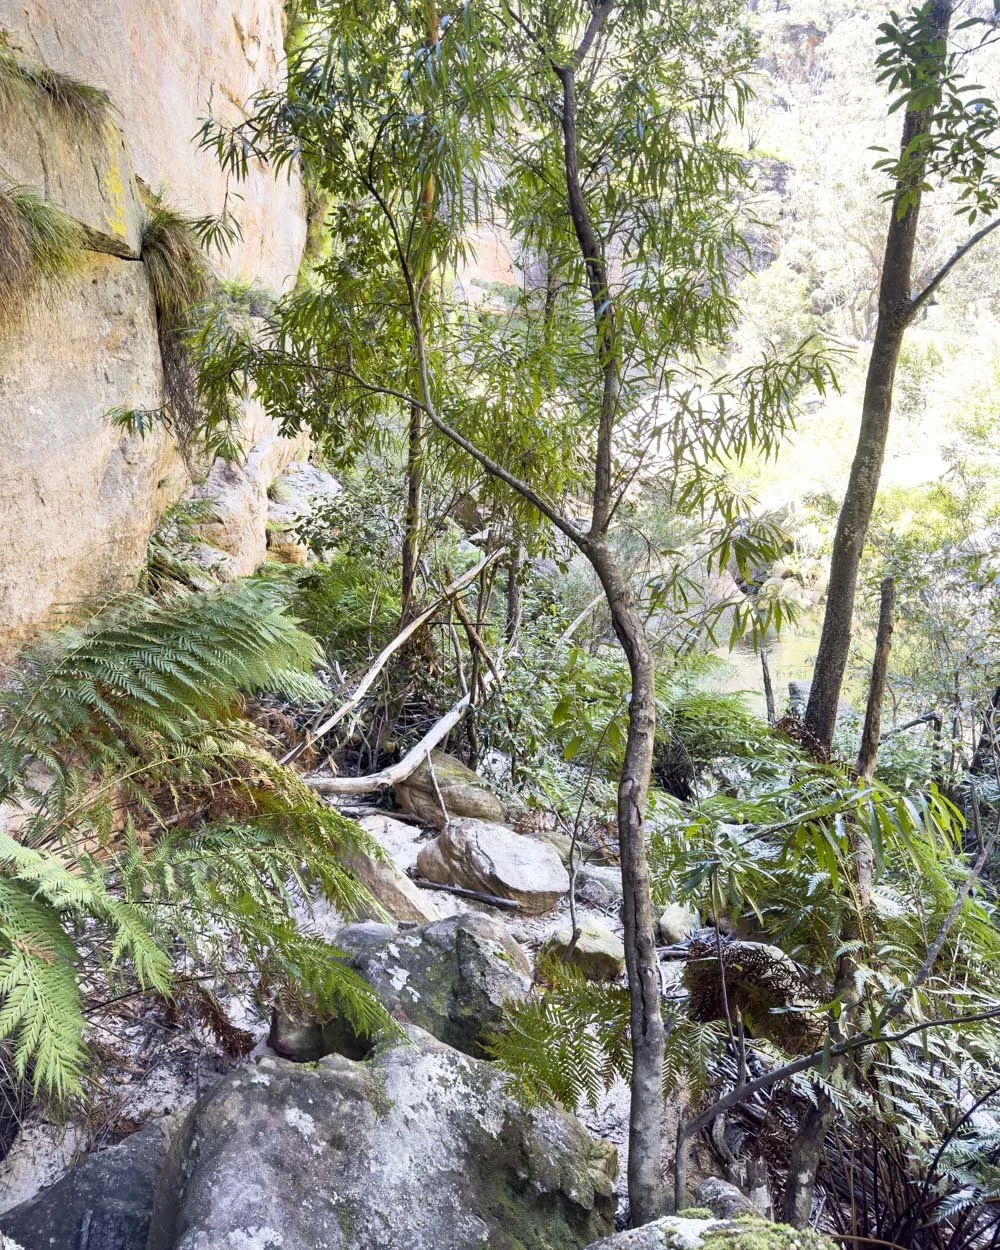
If you aren’t keen on boulder scrambling, always check the side trails because it is quite dense in places and at first it may seem like there is no way through, but when there is, it is very helpful.
The bypasses can be a bit scratchy, but they are generally easier than scrambling on the wet rocks - though you will find getting your lilo through will be tedious, which was something I was grateful not to experience.
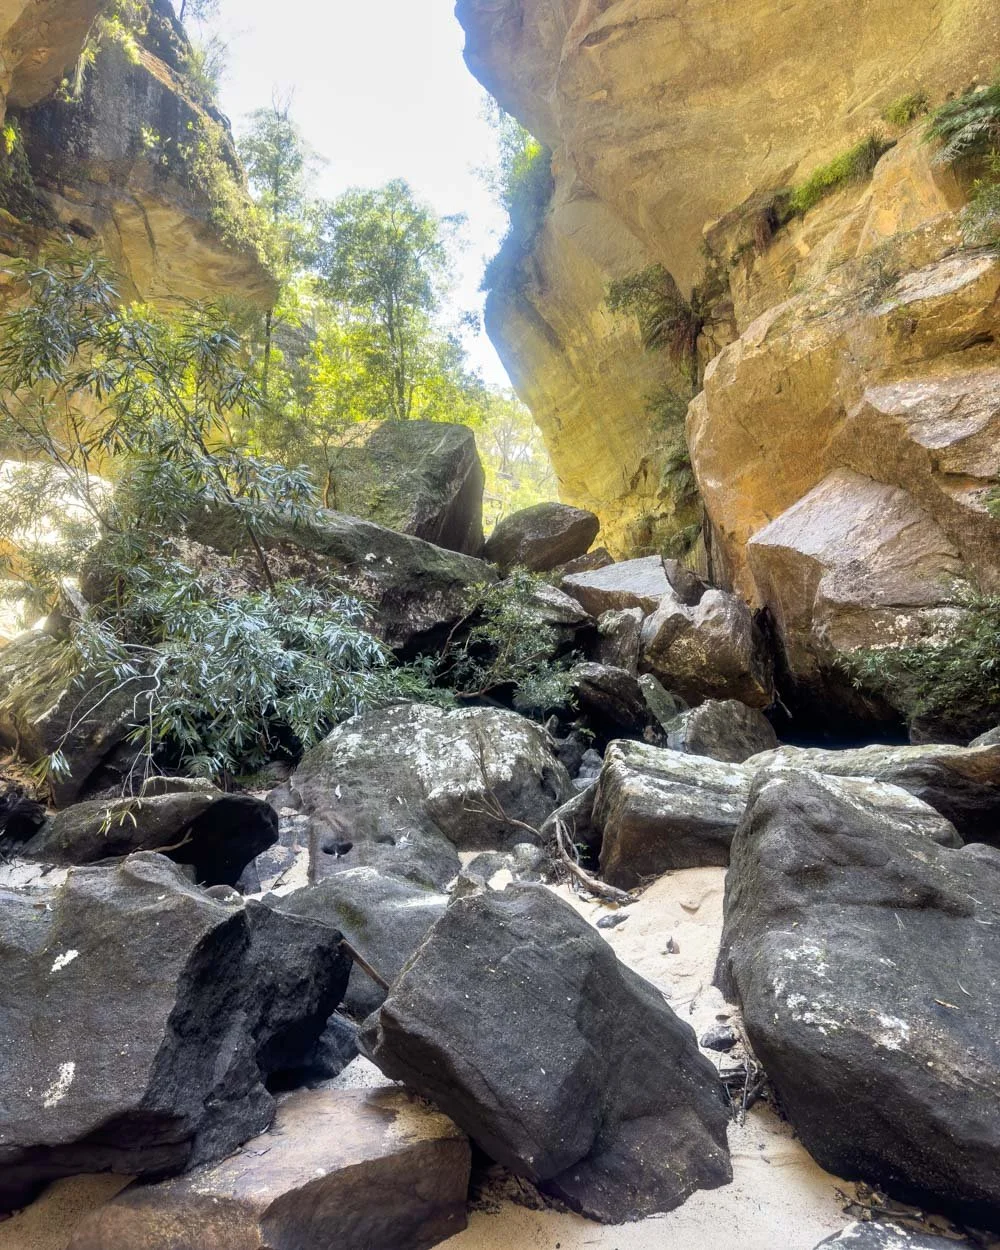
The first and second set of ‘major’ boulders (to differentiate from the smaller rocks) can be avoided using an obvious path to the left and wherever there was a work around I took it, whereas Joe who had a lilo often opted for the boulders as the debris and scrub on the side trails was often quite thick.
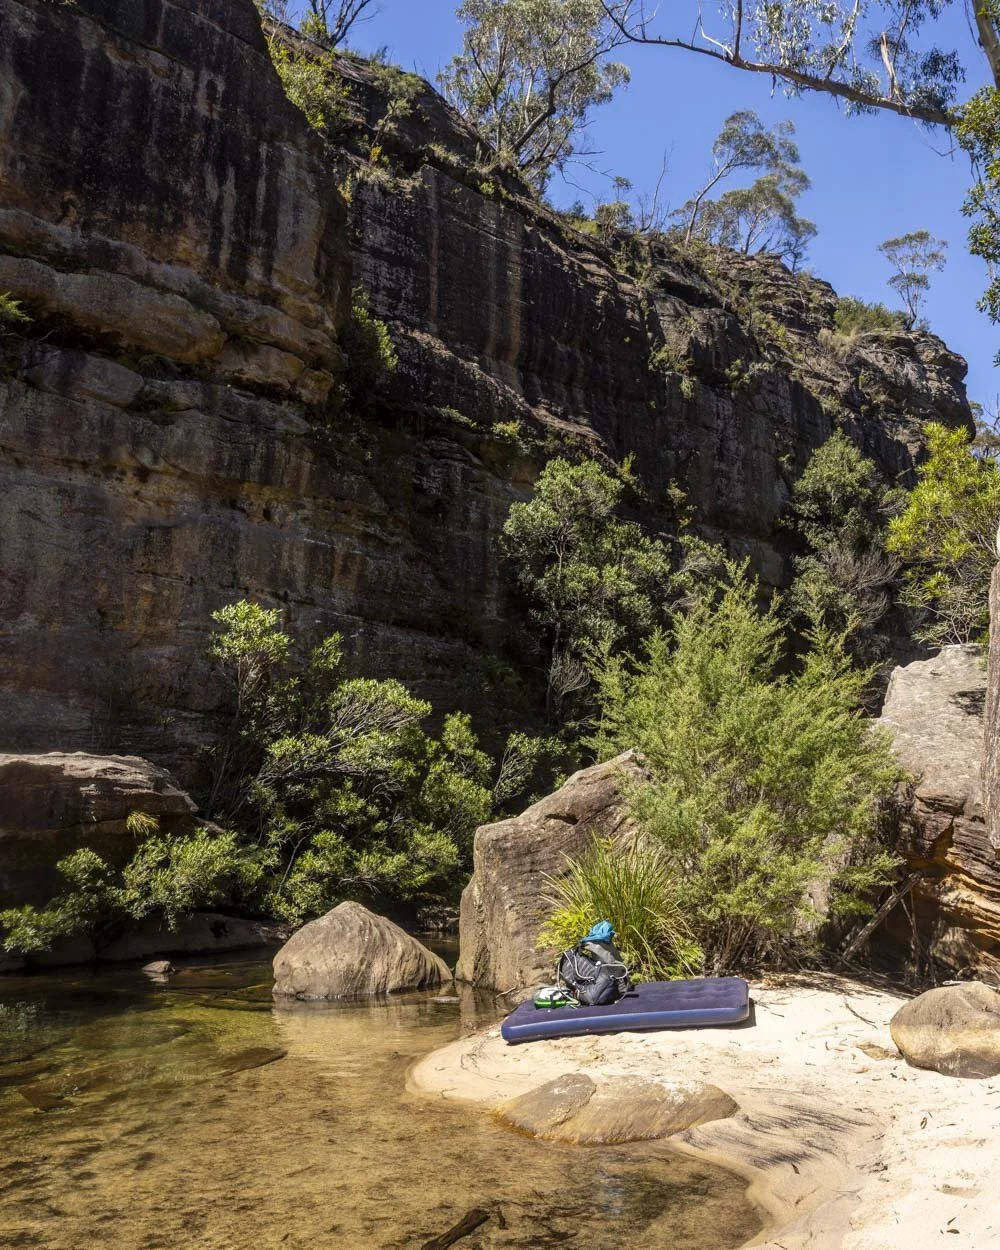
Inbetween the boulders there are many deep pools, some short and some long sustained stretches between narrow walls.
It is these long interrupted stretches of deep water with exquisitely sculpted walls and wild scenery that give the Wollangambe such allure.
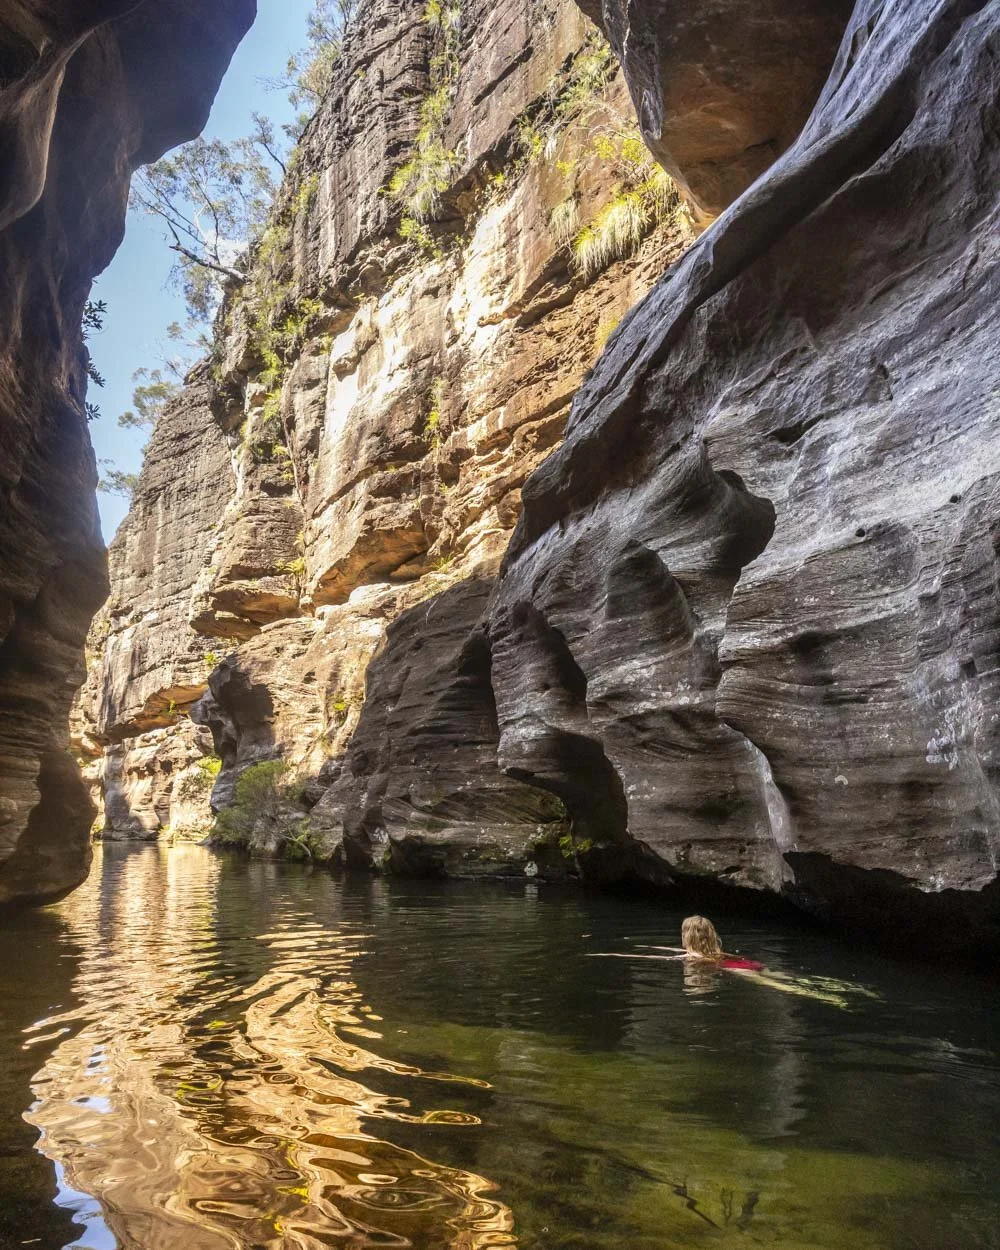
Swimming or liloing through these narrow sections and past ferny overhangs which would be destinations in their own right on other tracks, is simply unforgettable. And happily there are a lot of long, deep sections which really allow you to soak up the pristine environment.
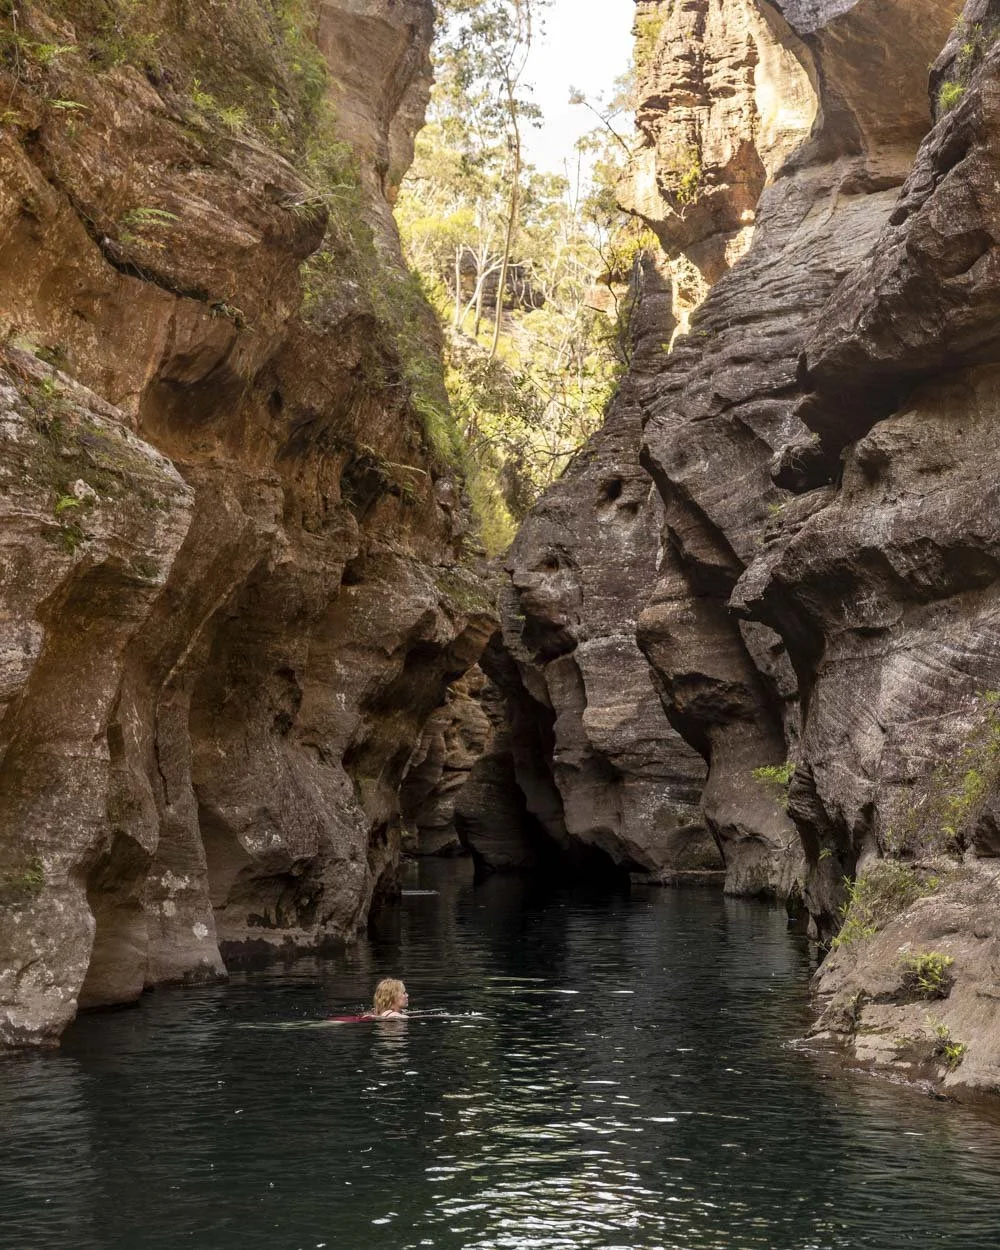
Though I know it can get busy in peak season, we saw no footsteps in the sand and heard no other voices during our trip and it was easy to feel transported to a whole other world. It’s a captivating and fully immersive experience.
At times the water is shallow enough to walk through and there are a number of small beaches to take a break on if needed.
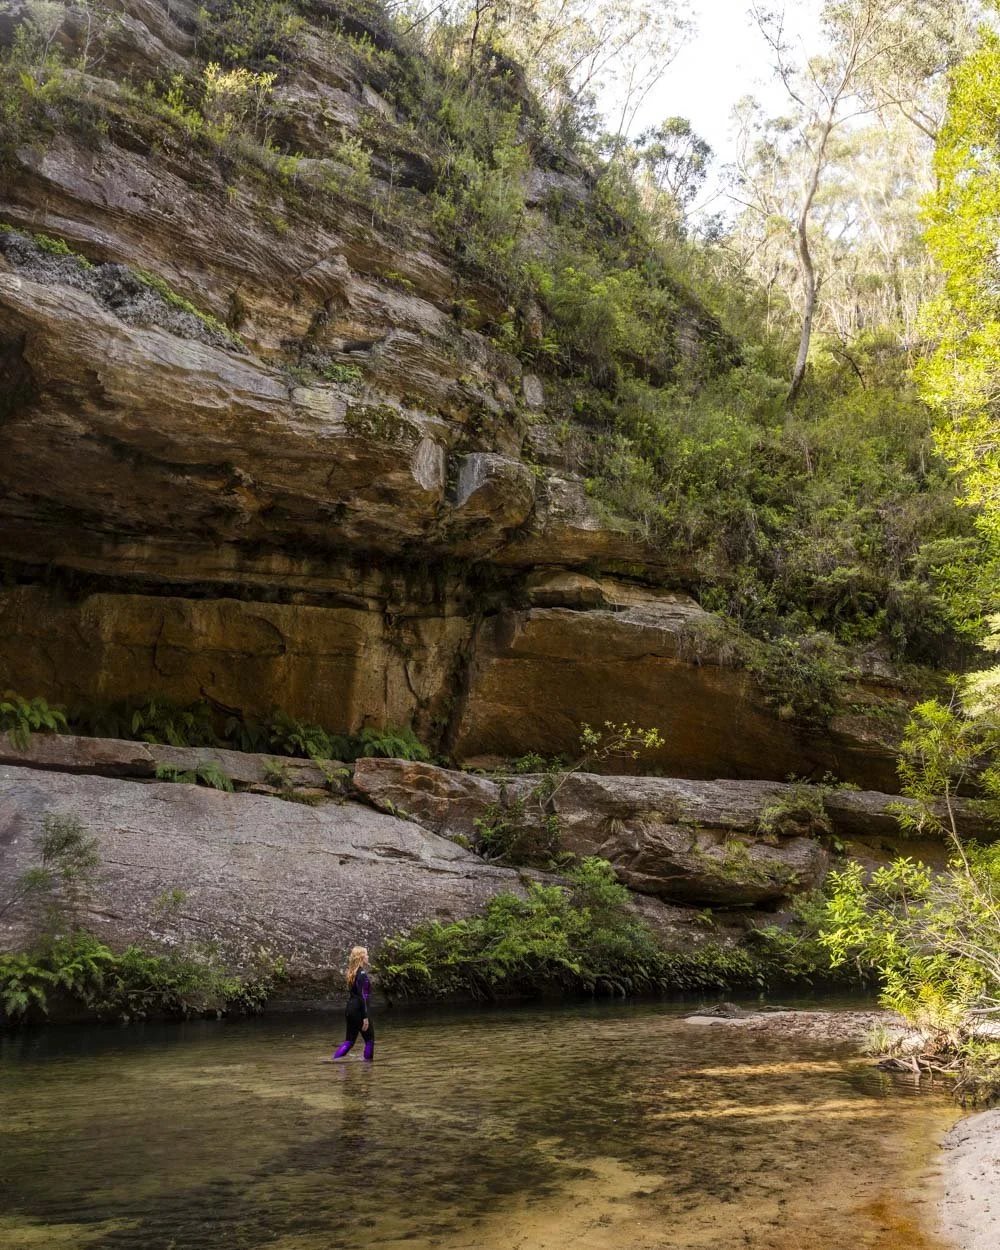
When you do need to scramble directly through the boulders, they can be slippery and require care. Most involve simply climbing up and over damp rocks, often interspersed with cascades - the cascades can be quite powerful even during times of low flow and debris often builds up around the rocks.
However, generally speaking they are not too difficult, but there were more rocky patches than I was expecting overall.
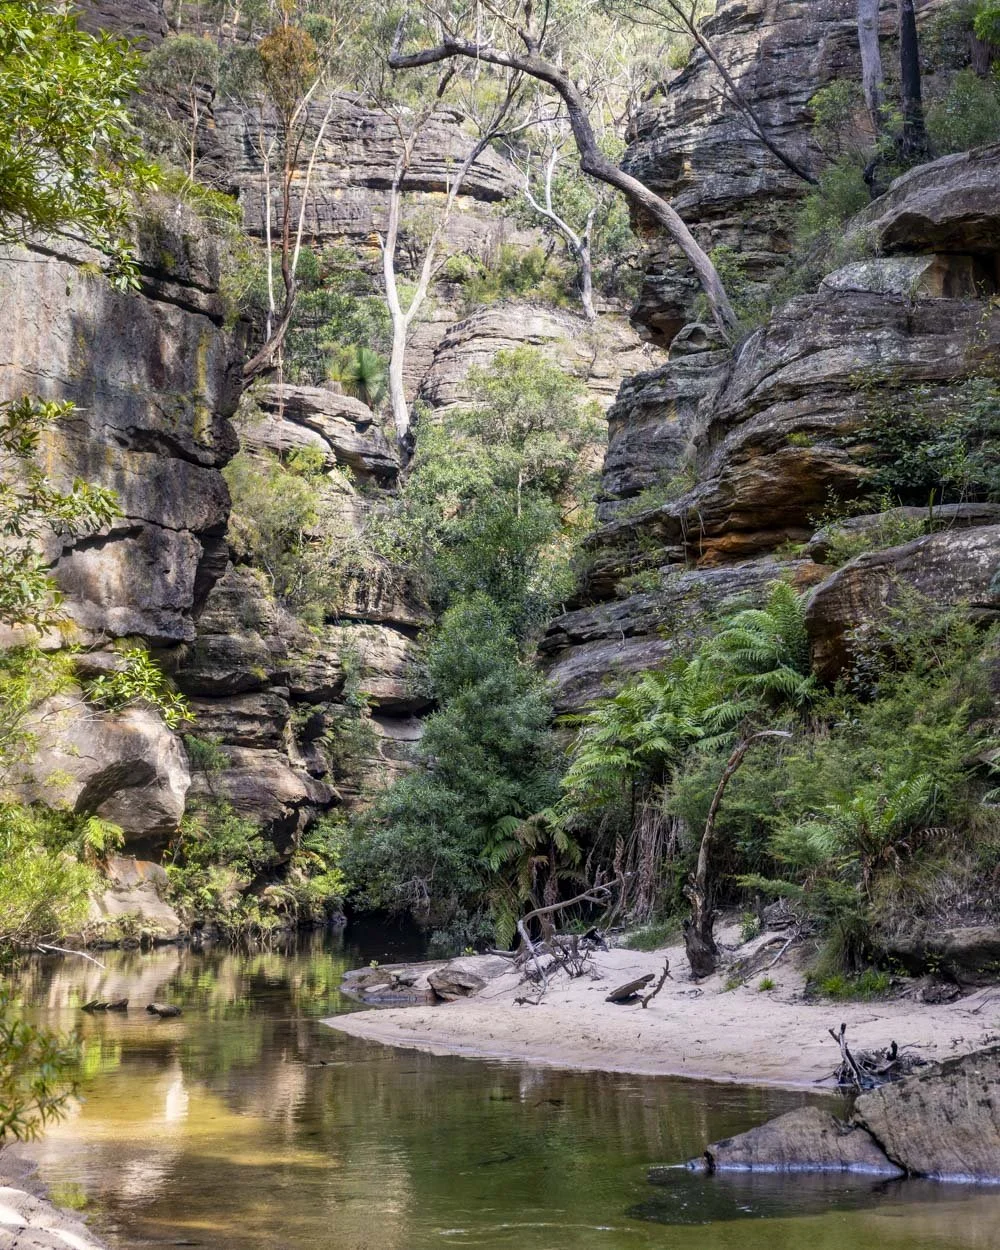
I had a vision before starting the ‘hike’ that it was mainly swimming, whereas the reality is that while there are many long deep pools and shallow canyon-y sections, there are also a whole lot of rocks!
There is one more notable section of boulders, which our watch estimated was around half way through the canyon and these were more tricky than any of the others. I tried to bypass them on the left, but the drop was too big for me, though others may not think so.
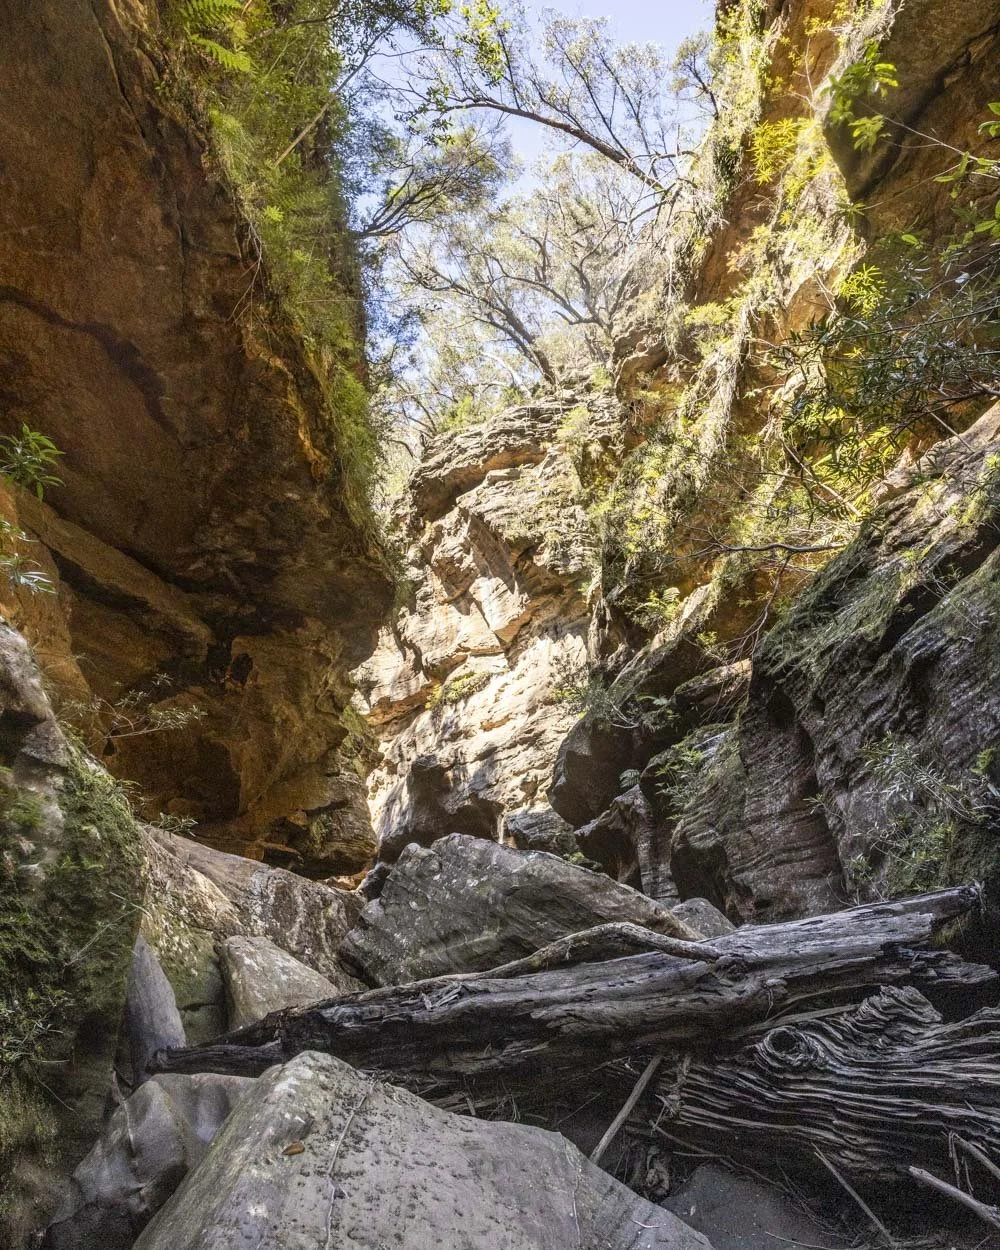
In the end we clambered through the boulders, but they were particularly slippery and the force of the water was quite strong in places. This section requires care and some manoeuvring to get through and around the hefty sized boulders. There are no big drops, but it was slow going.
If you aren’t sure about the sound of the boulders, I would definitely recommend doing the full Joes Canyon Loop before the Wollangambe, the boulder section on Bell Creek will give you an idea of what to expect, but it’s easier than the worst boulder sections on the Wollangambe. The loop has more debris, but only one notable boulder scramble.
Back to the Wollangame One and the other notable boulder section comes right at the end of the route, just before the exit. It’s an easier one overall, but the very last few metres are a little trickier. You either need to scramble across some slippery boulders at river level or traverse a somewhat narrow overhanging ledge.
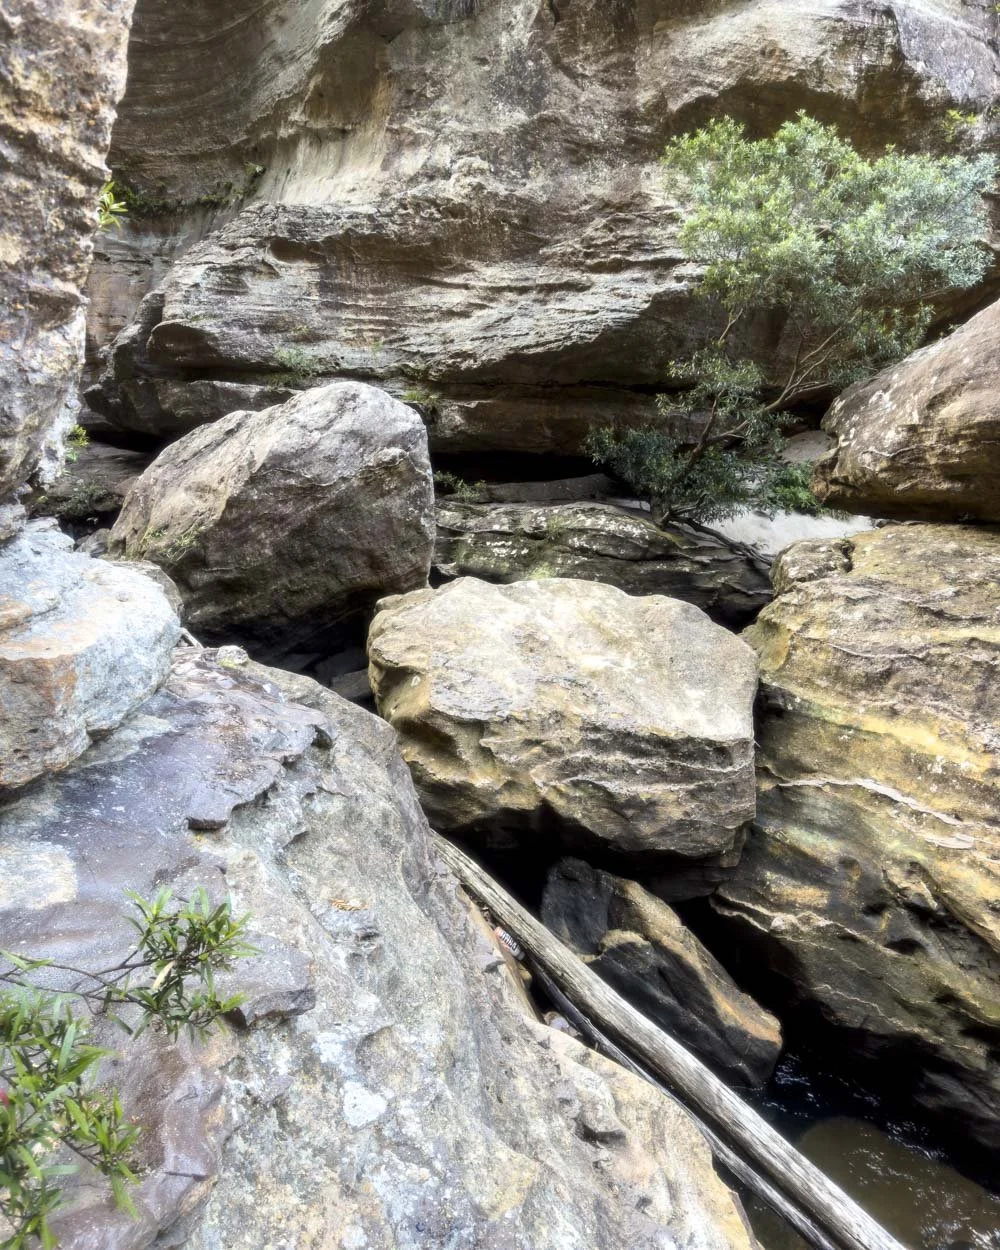
Joe did the boulders and did slip here, I did the overhang and all but a couple of steps across the narrower section were easy.
The narrow bit wouldn’t normally phase me on a dry hike, but as the rock and my boots were wet, I took it very slowly.
Once you’ve crossed the narrow section it’s an easy few metres to the tiny beach and yellow arrow sign pointing you towards the exit track (you can see how tiny the arrow is in the photo below).
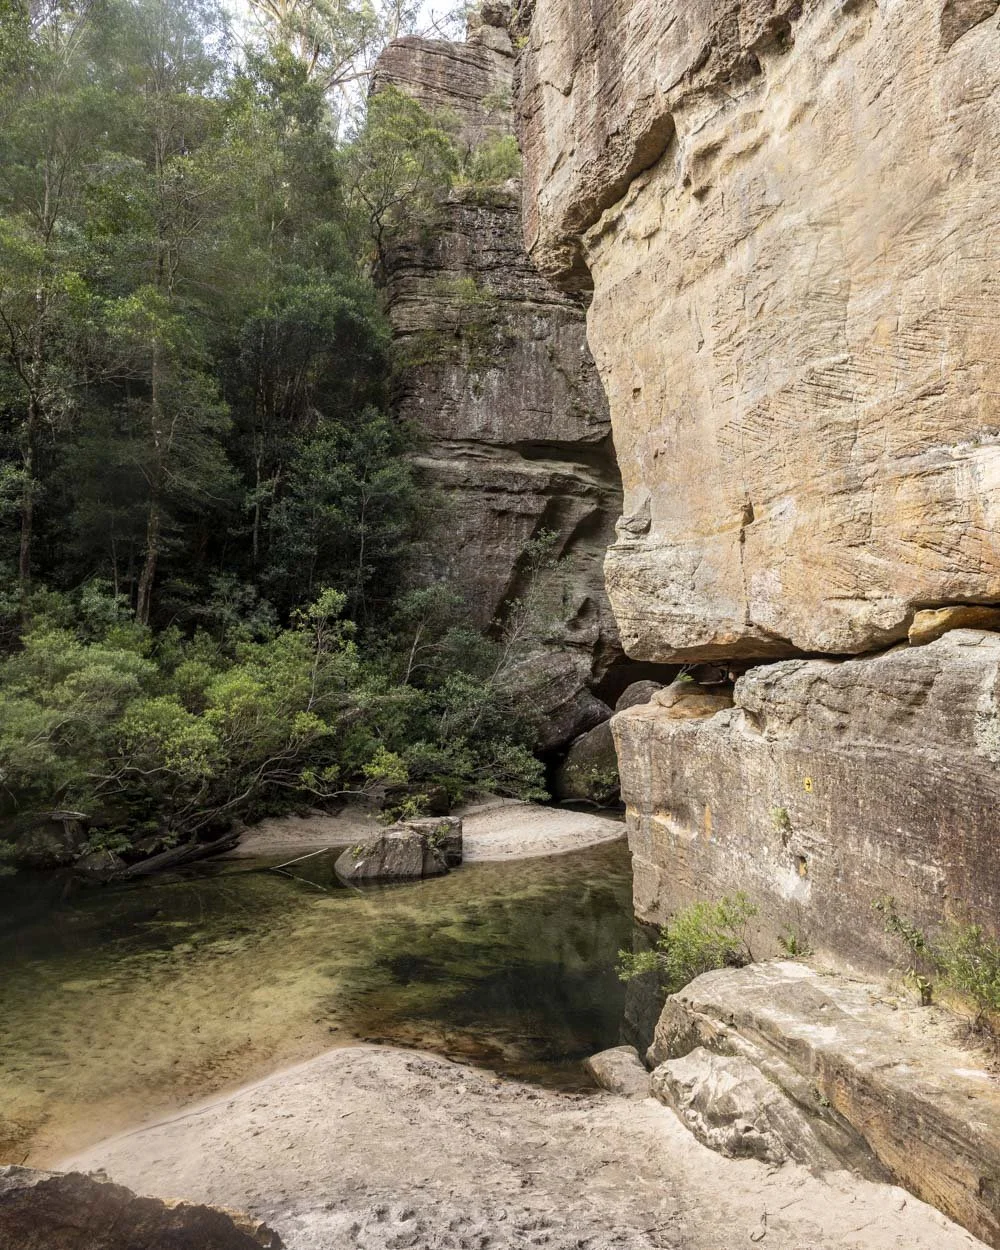
A possible side trip - Water Dragon Canyon
There is the opportunity to make a side trip to the lower part of Water Dragon Canyon which comes in on the left at these coordinates: -33.48744, 150.36951
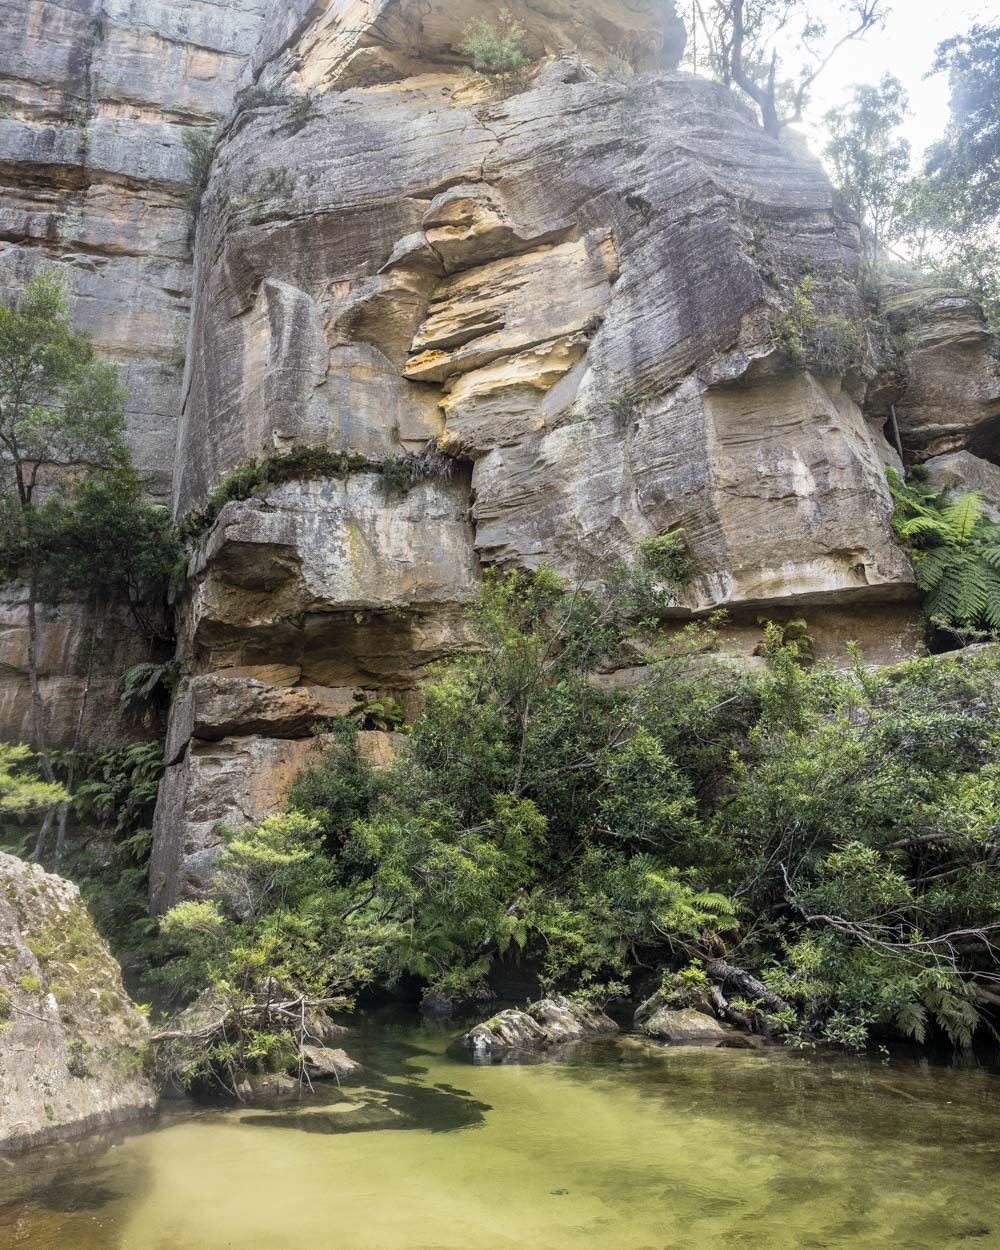
Our watch estimates this to be around 1km from the end of the canyon, but I think it’s much closer. Either that or that last kilometre is much quicker and easier than the rest of the canyon!
I would say that after the turn off for Water Dragon Canyon there are far less boulders and blockages and more long swims. I absolutely loved this section.
But back to Water Dragon, it’s very ferny and bushy, but you can still clearly see the turn into the start of the canyon from the Wollangambe.
There’s a big log jam to climb up or you can use a worn path to the right of that, but it has loose soil, so I went for the log jam. Test them before putting your full weight on as they may soften and become more unstable over time.
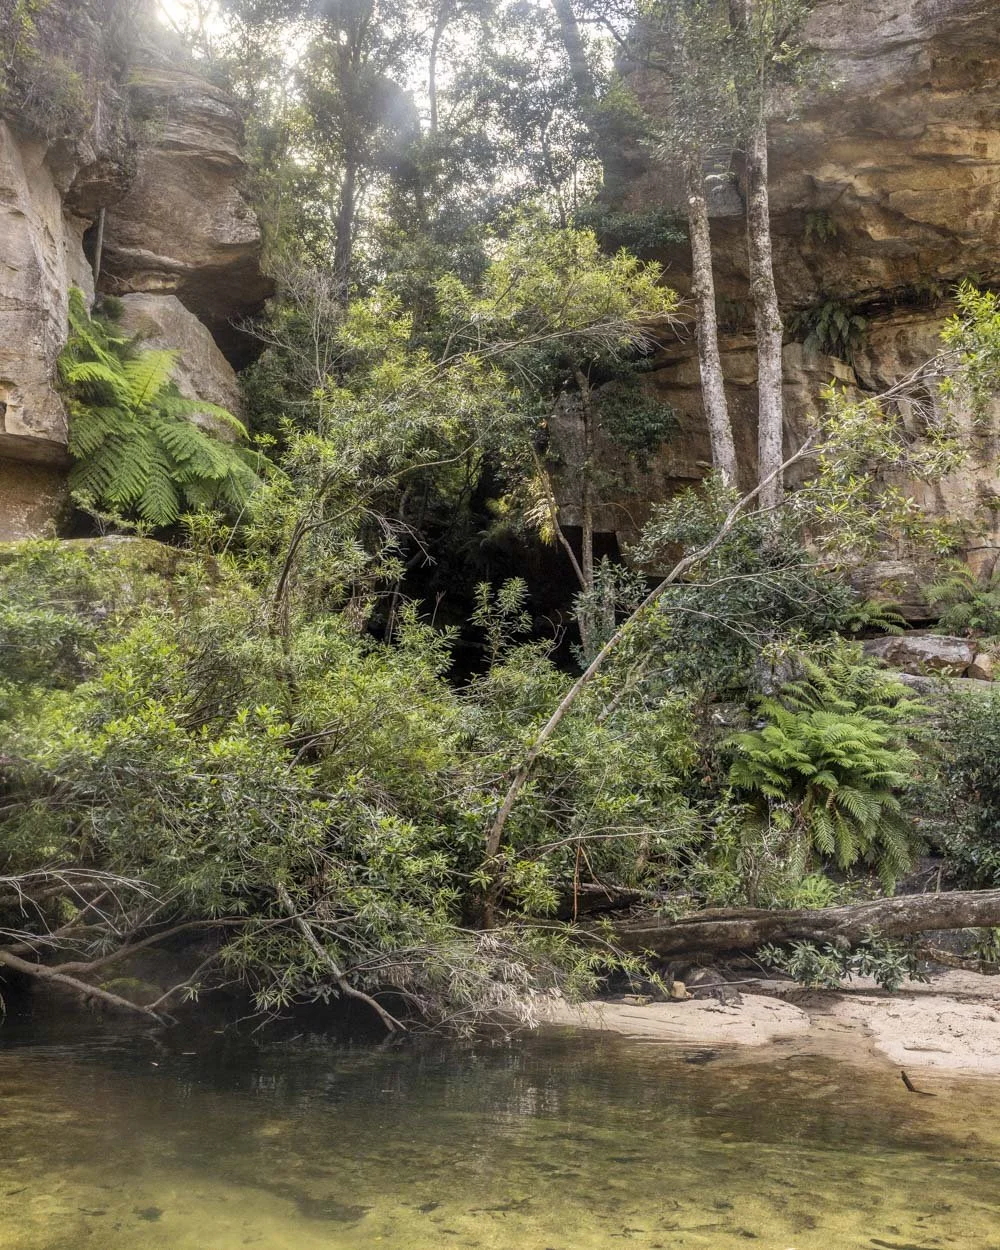
You will then reach the narrow ferny green slot marking the start of the canyon. We only went 100m in sadly as the temperature was pretty cold at this point (if you can do the Wollangambe in summer, that is much preferable to March!) but even that first little mossy section was incredible to see.
You could carefully climb up the damp rock to go further into the canyon before a waterfall would block your path. One for a second visit for us and hopefully on a hotter day!
The exit climb
Distance to the Mount Wilson Fire Station: 3.5km
As mentioned earlier, the exit route is marked by a small yellow sign with a black arrow on the cliff wall and comes in directly after a set of large boulders.
I thought it might be hard to spot, but it did stand out fairly well, though maybe because I was keeping a close eye out for it. This is the spot to deflate your lilo and get some dry clothes on before making the roughly one hour climb back up to the fire station.
The first 110m is a steady but easy climb up a rough track before you reach the first rope. This first rope climb is very easy and really doesn’t require the rope!
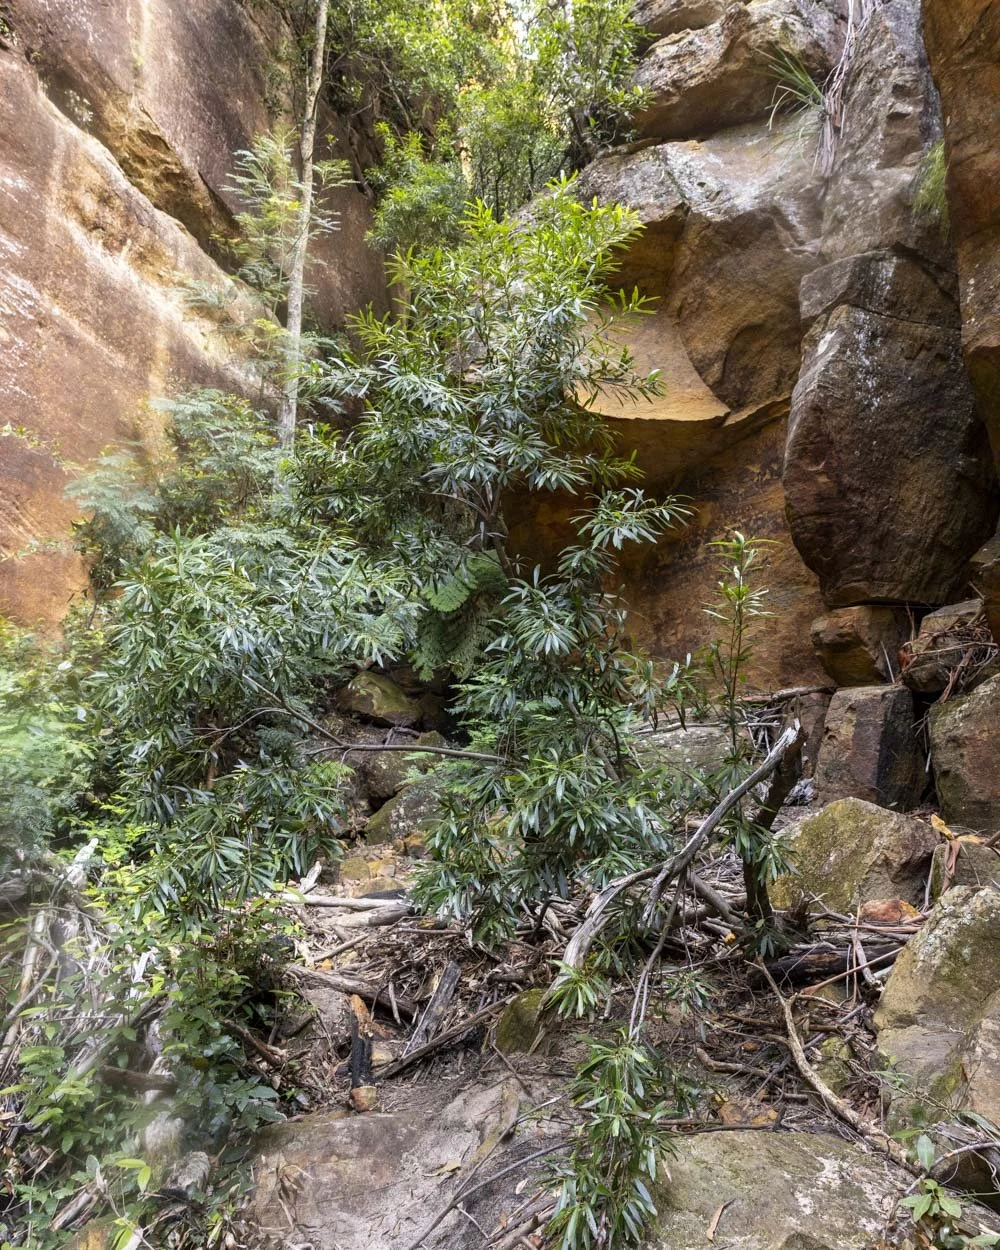
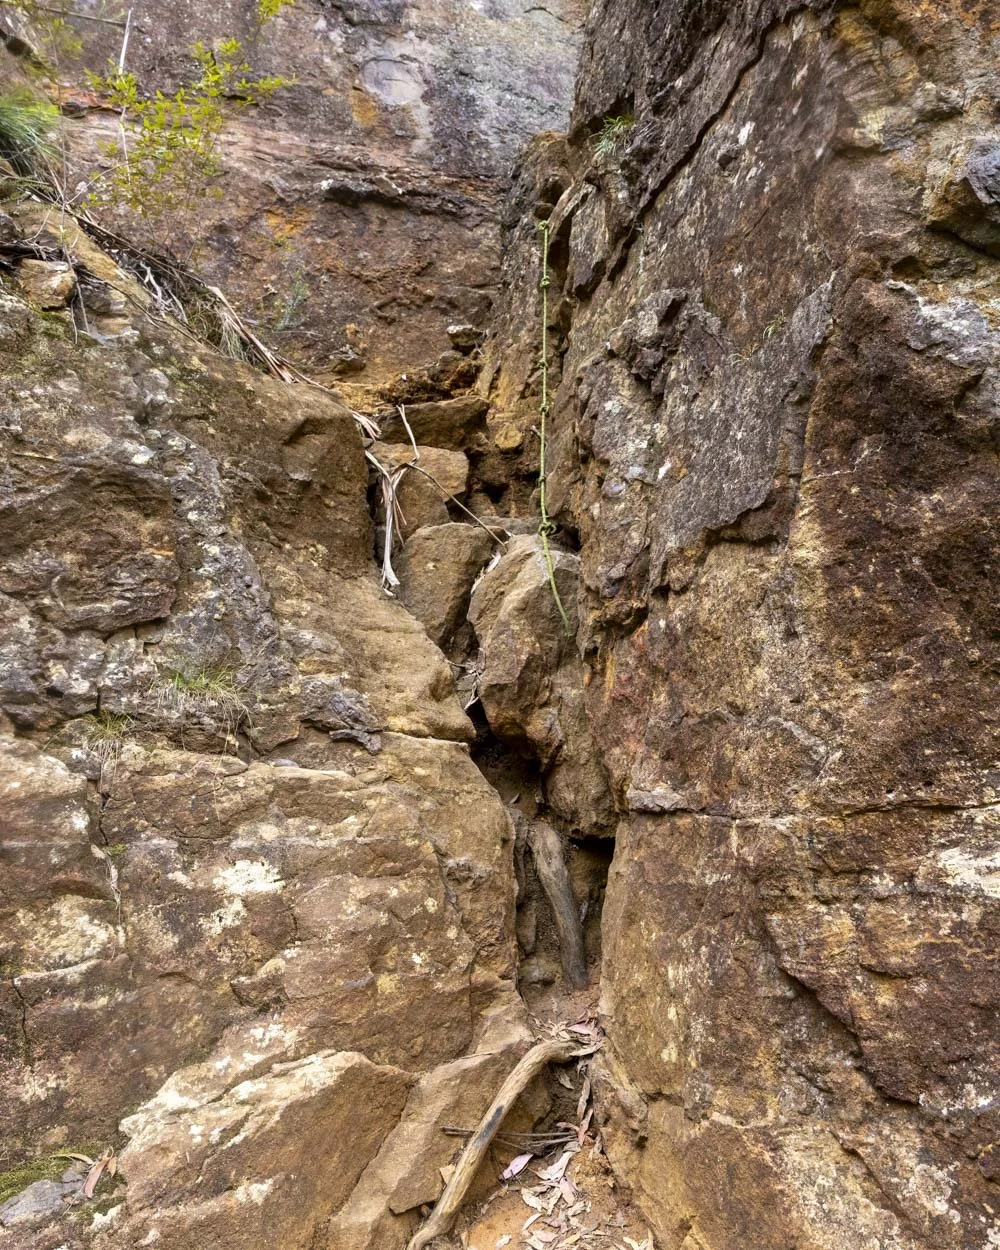
It’s basically a few steps up some rock with good hand and foot holds and no exposure. You’ll then traverse a narrow, but straightforward -non scary - ledge for 25m to the second rope climb.
Now this one is quite different. It’s probably only a couple of metres up, but it’s a couple of metres which feel very steep and exposed. You can think of it in two halves.
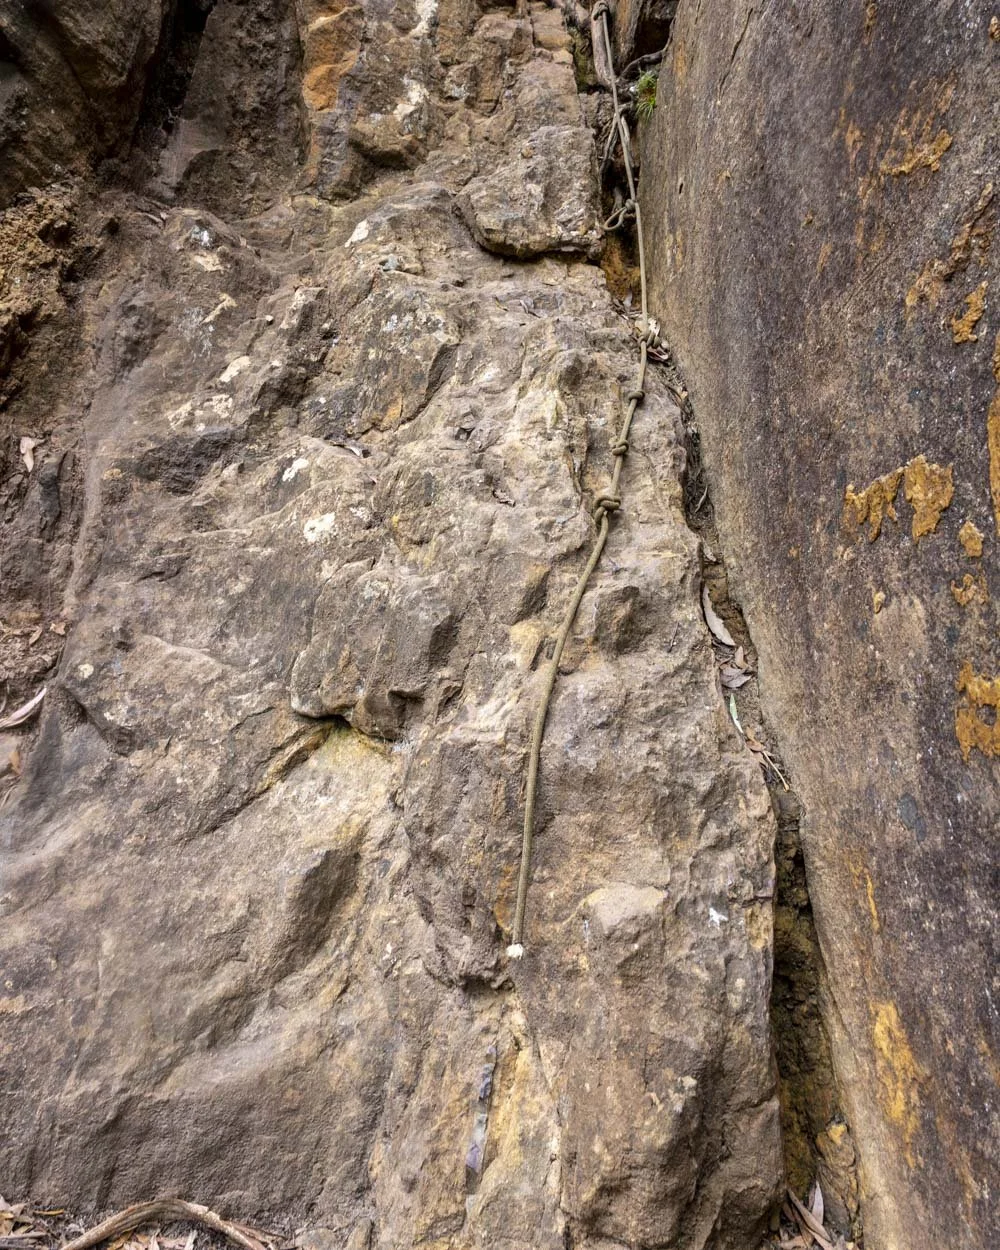
The first is up a bit of cliff with small footholds and I was grateful for the rope on this bit. It’s a bit like the Gerringong Falls chimney in many ways, but without the security offered by the enclosed walls.
It probably would have been on par difficulty-wise for me, though we had a rope here, and not at Gerringong, so it was actually easier.
The second section requires you to move to the left but the footholds are very small. I stood looking at this bit for a while thinking that a slip here could be quite nasty.
There is a long rope covering the full ‘traverse’ - it’s not long but I don’t know how else to describe it!
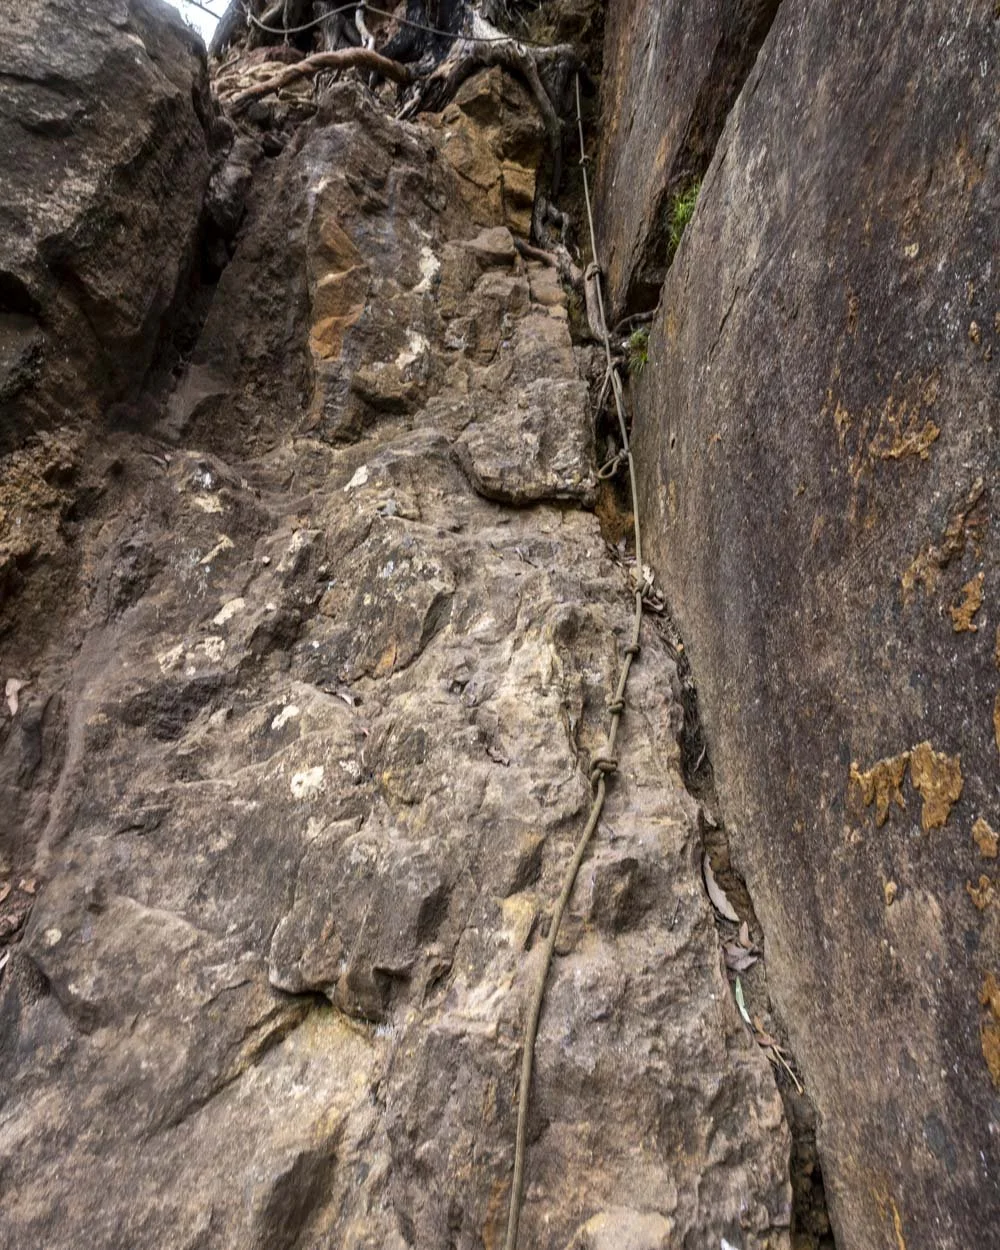
In the end I realised that the slightly awkward nature of holding the rope was putting me off and I actually preferred holding the sturdy tree roots instead which felt at a more natural hand placement for me.
Then I could manage it without issue, though it does require one long leg stretch to your left which is where the feeling of exposure comes in. After that it’s easy to climb the few steps up to the main track.
Once you’ve made it up this second rope climb the rest of the track is all well maintained. It’s either good stairs or fire trail.
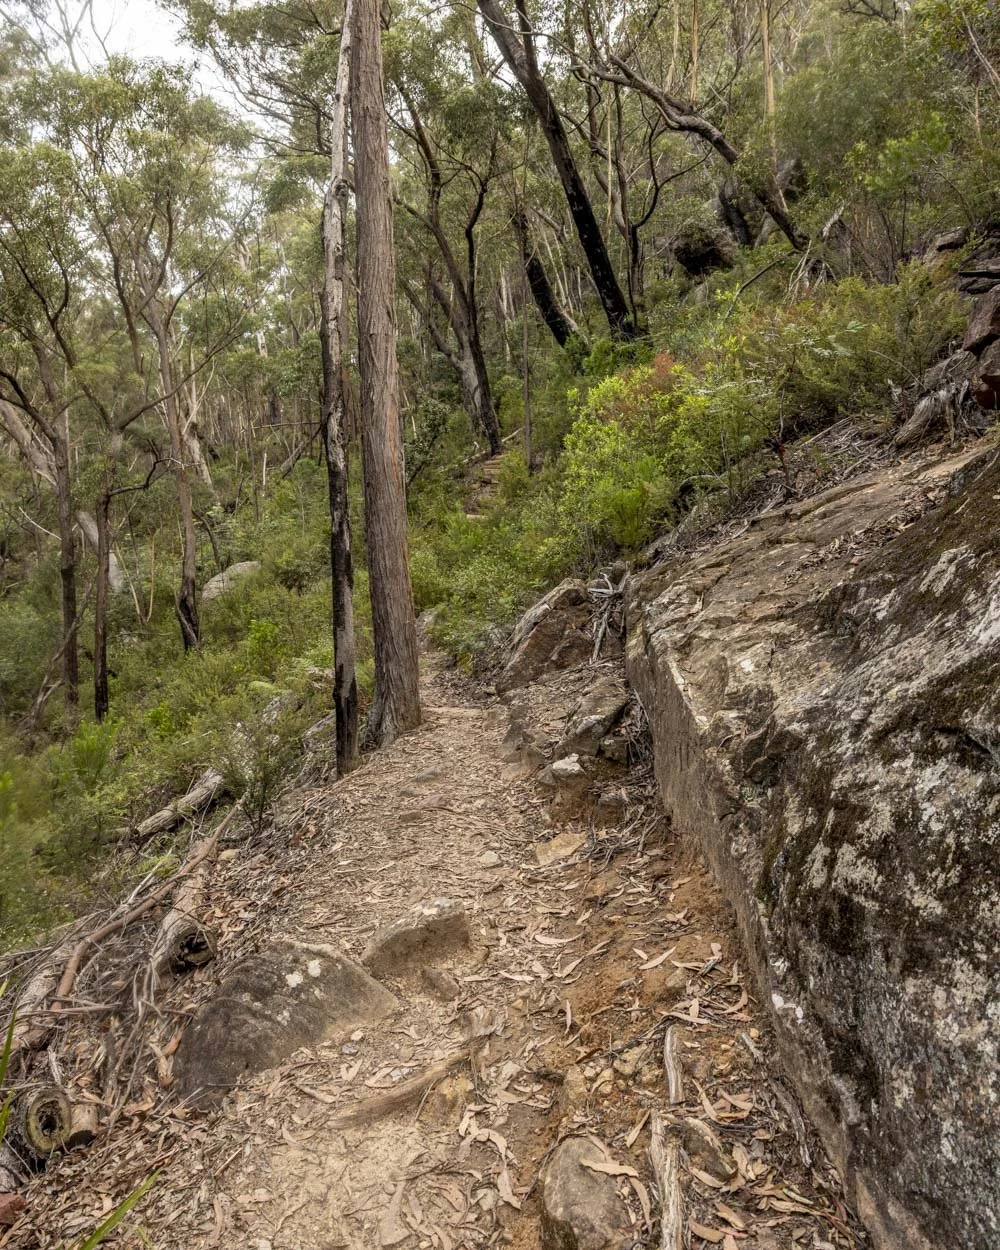
There is one minor flat section around 500m into the stair climb, but it’s pretty minimal. The majority of the track is uphill. Roughly 1.2km from the second rope, you’ll reach a junction and head right, the fire station is signposted.
Roughly 400m later you can make another right and follow the fire trails all the way back to the fire station, roughly another 1.8km away. There’s a bit more uphill to go but then the final few hundred metres are either flat or downhill.
Keep them wild
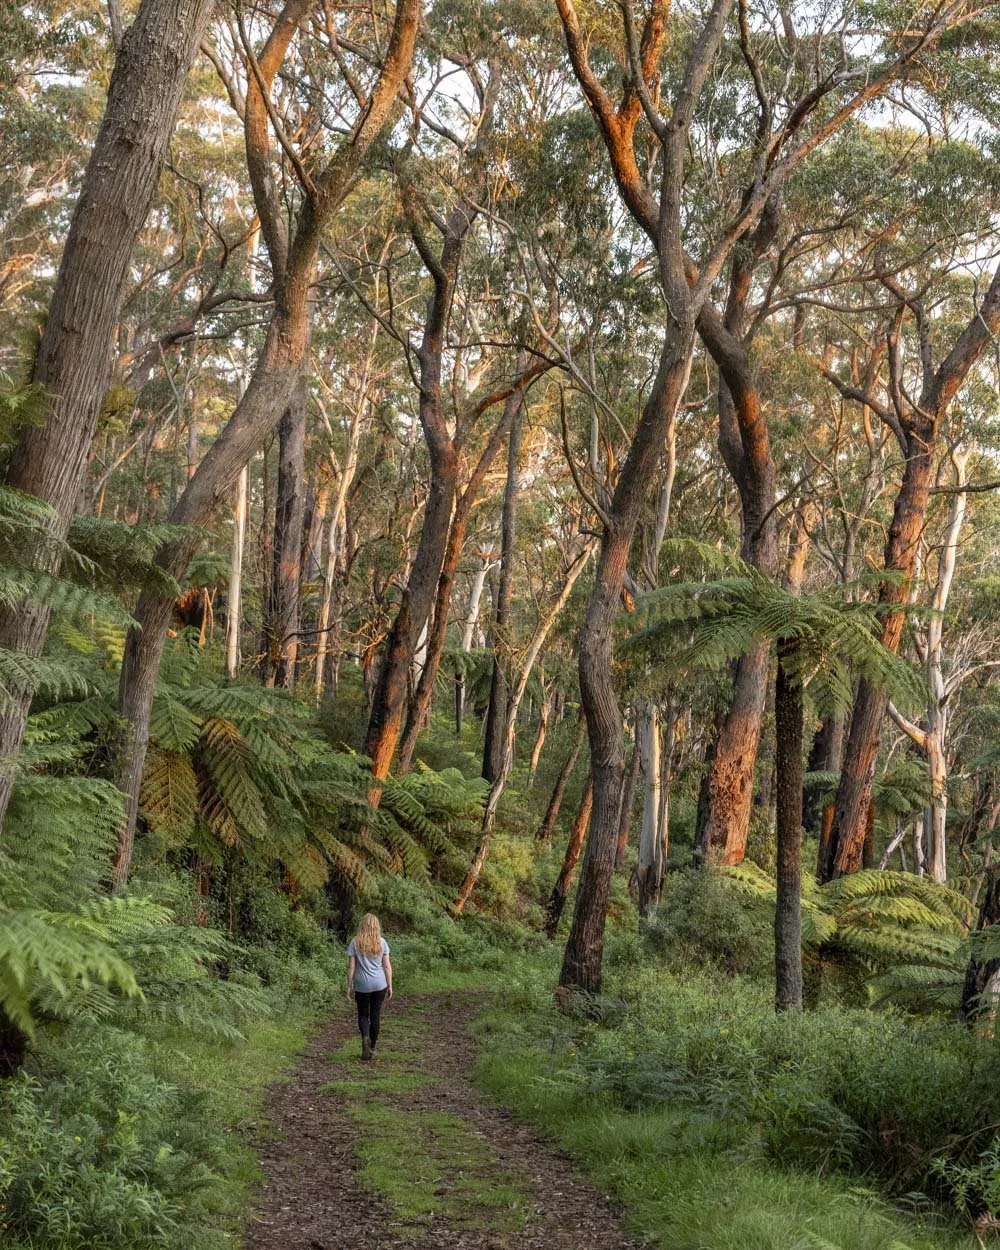
Please remember to take all rubbish with you and keep these places wild and pristine - as with anywhere in the outdoors. It’s important to leave them exactly as you found them so they will remain beautiful for generations to come.
Litter tends to breed litter, so if you do spot any and are able to pick it up and dispose of it outside the national park, it will go a long way to keeping the area clean.
Getting to the trailhead for Wollangambe Canyon
The walk to Wollangambe Canyon One begins at the Wollangambe parking area beside the Fire Station in Mount Wilson, you can see it here on Google maps. You’ll find plenty of free parking in the designated car park. It’s around 40km and a 40 minute drive from Katoomba, 32km and a 30 minute drive from Bilpin and 122km and a 2 hour drive from Sydney.
There is a public toilet at the fire station, but nowhere else along the trail, please plan accordingly.
This post may contain affiliate links, meaning at no additional cost to you, that we will earn a small commission if you click through and decide to make a purchase. This helps towards the costs of running our website. Thanks for your support.


How to find the incredible Acoustic Chamber and what the fun walk inside the canyon involves, including directions and difficulty level.