
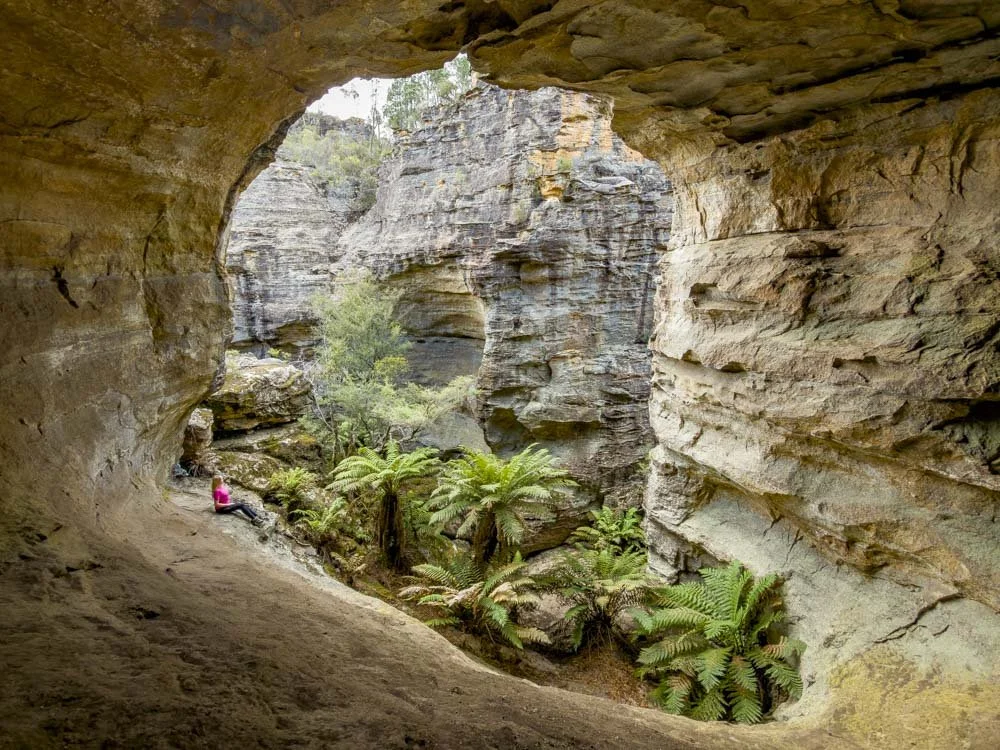
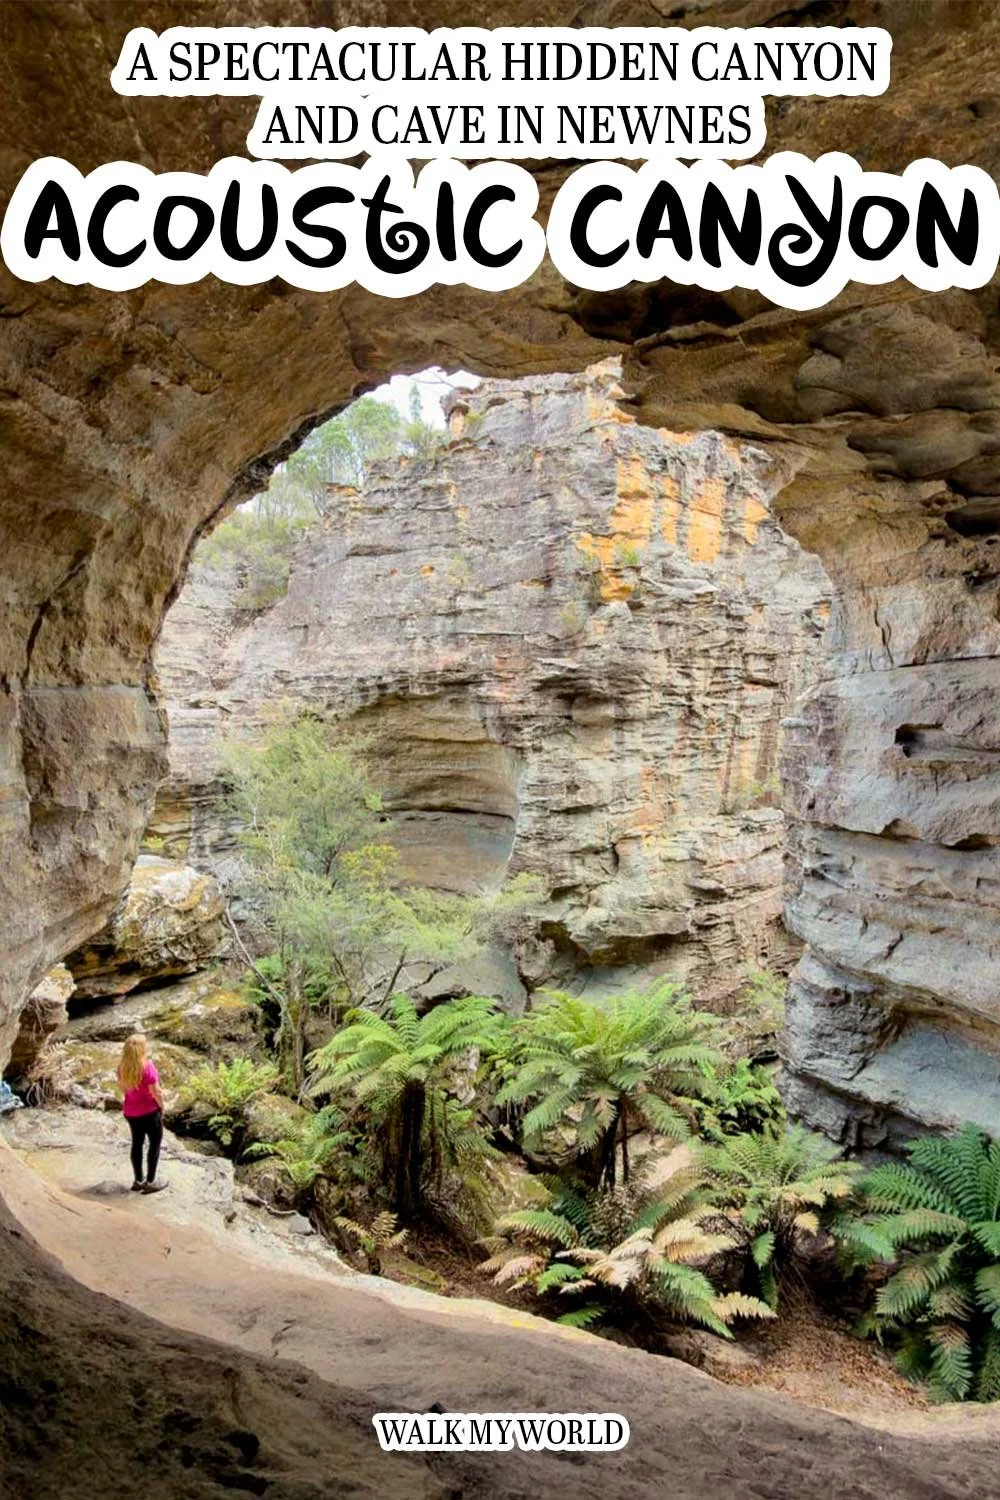
One of the coolest caves we’ve visited in the region can be found inside the pretty walls of Acoustic Canyon. The chamber produces the perfect echo, which pretty much mandates a rendition of your favourite song!
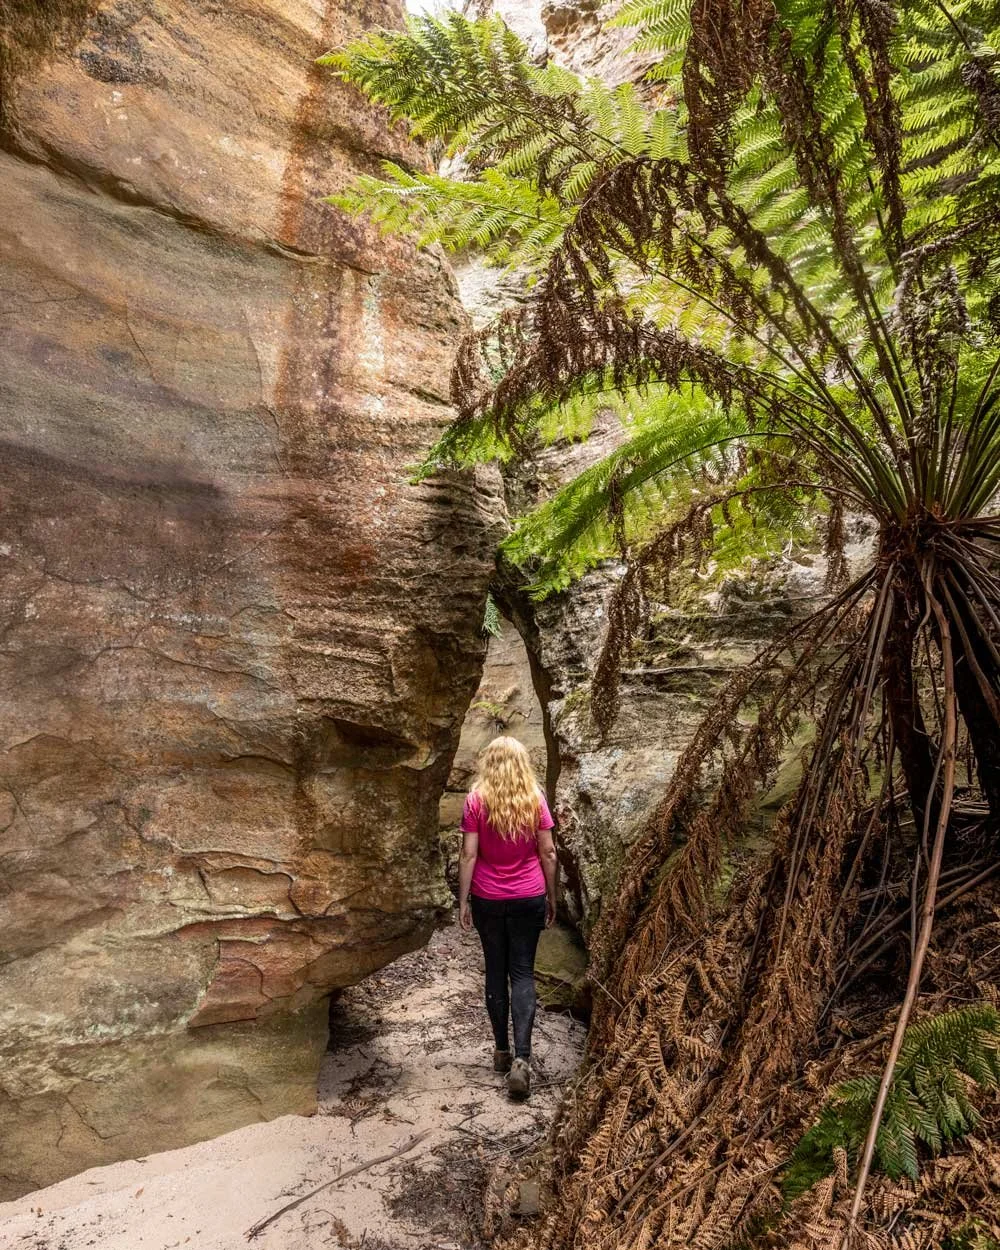
We came for the chamber, but were thrilled with the whole canyon, which was lined with more caves as well as some picturesque sections of swirling cliff walls.
There is no track and no signposts and while a lot of the walk is easy, some sections feel like an adults adventure playground! You’ll be ducking over and under boulders, bridging a bit of narrow canyon wall to avoid a murky puddle and climbing up into the dusty belly of the giant chamber.
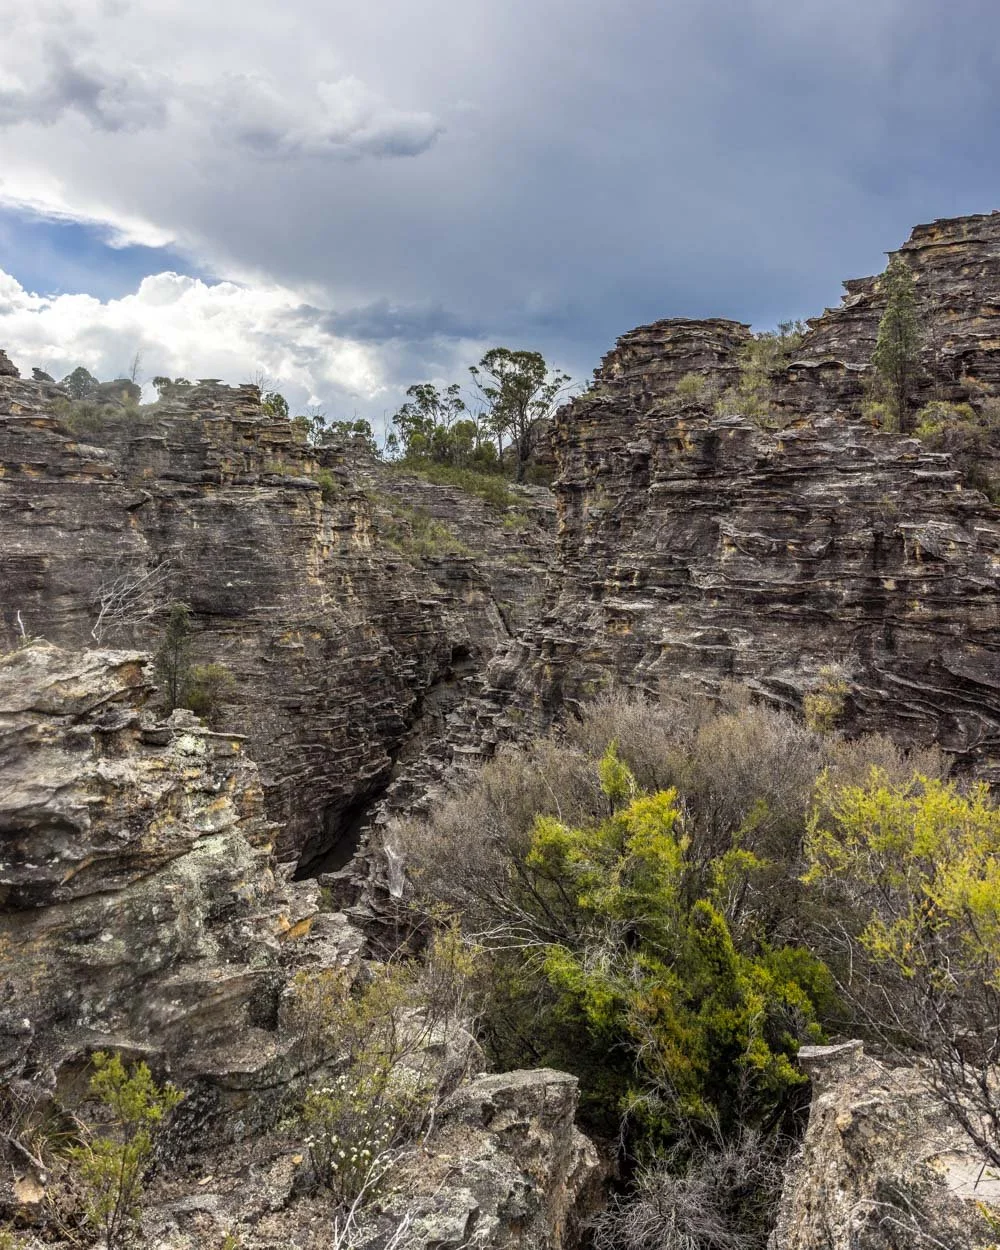
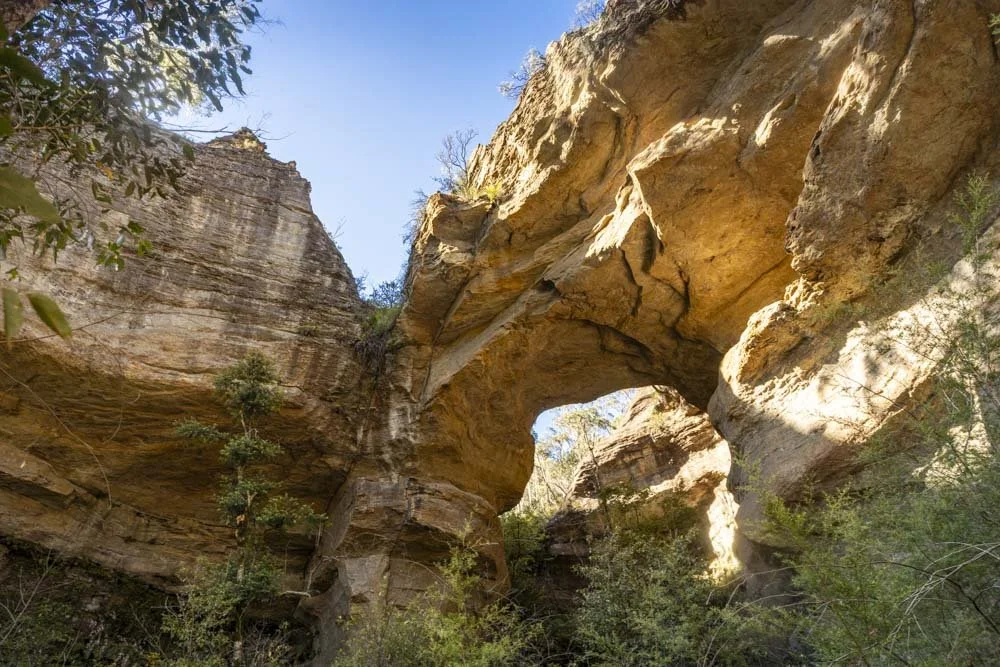
It’s not too challenging an adventure though and the pay off is great, with some seriously stunning pagoda scenery and of course the many caves and cracks of the canyon itself.
Here’s what to expect from the route.
Before we get started: the safety info
Acoustic Canyon is located in a remote part of Newnes which has no phone signal and little foot traffic. We would not walk here without a PLB and you should download an offline map of the area before you embark. As with all remote trips, bring ample supplies of food and water, safety equipment and make sure friends and family know where you’re going.
The canyon is mainly dry, but you shouldn’t walk here if rain (unless it’s a drizzle) is forecast due to the risk of flash flooding. We did experience an un-forecasted storm inside the canyon, luckily the rain was minimal so it wasn’t an issue, but it’s always something to be mindful of when it comes to canyons.
As there is no phone signal or signposting for this walk, as soon as you leave the fire trail it’s an off-track adventure, so you should have an offline map to help you navigate through the bush.
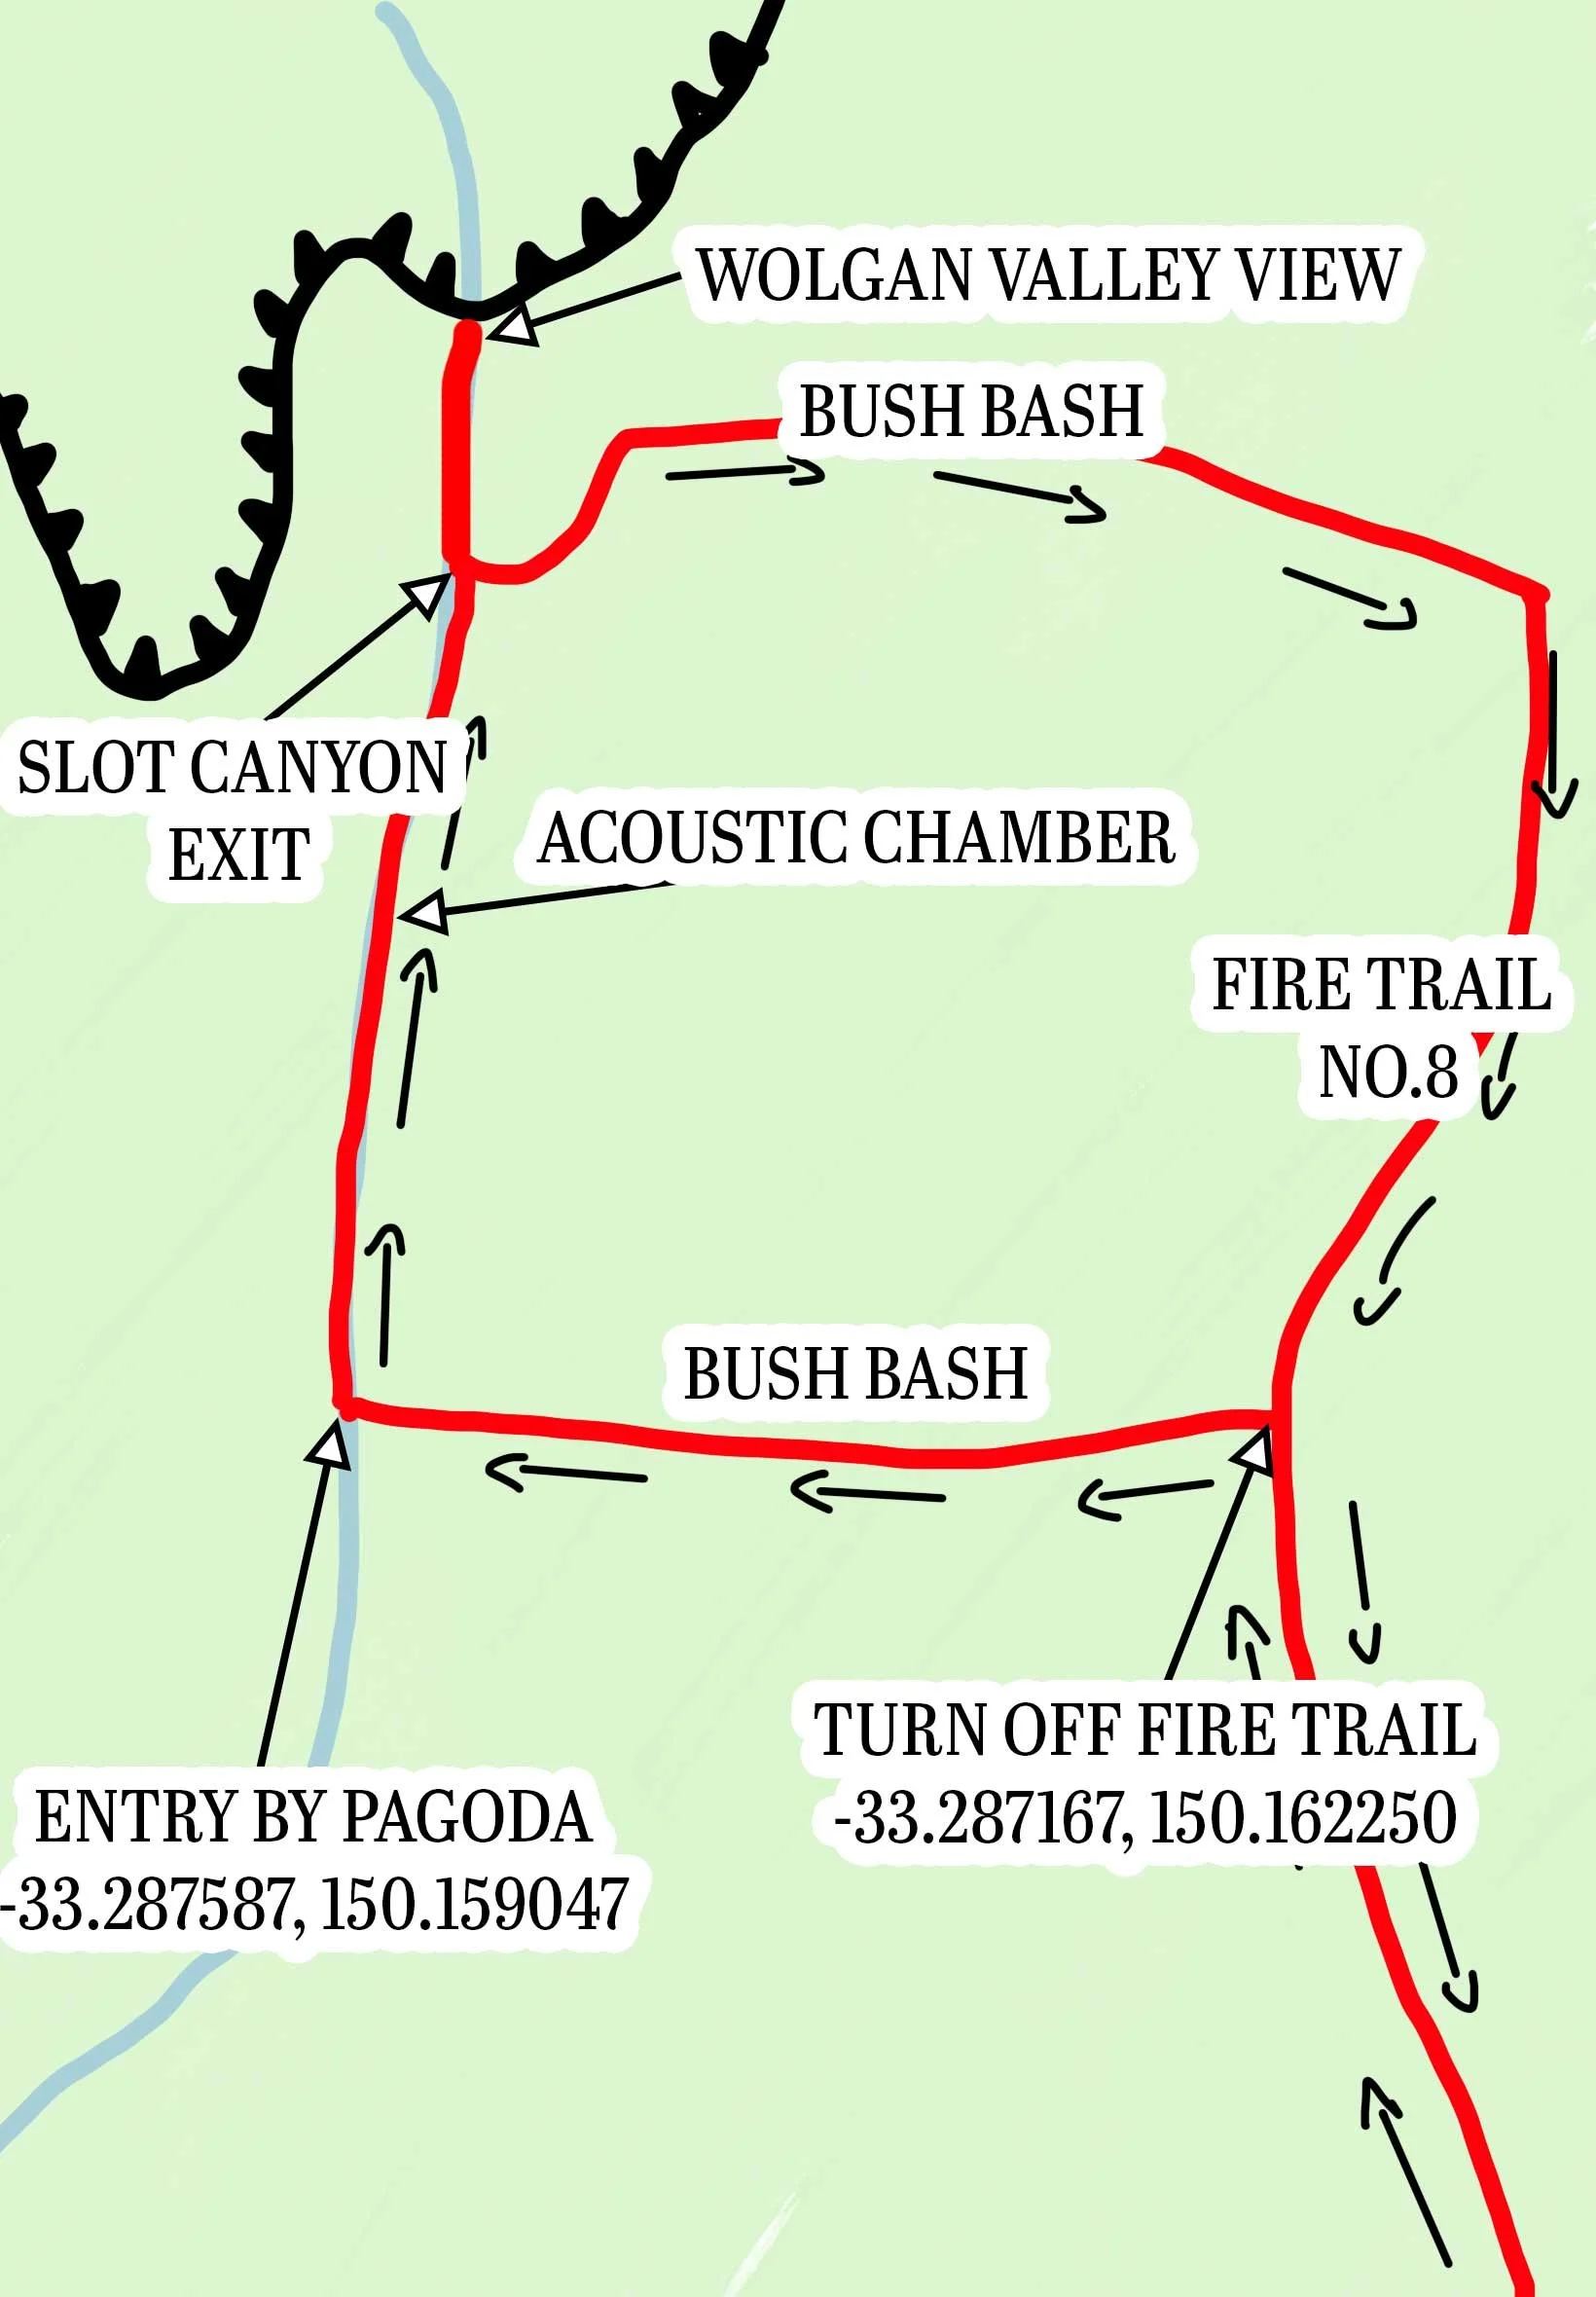
We’ve given coordinates for the entry to the canyon, which will make it easier, but the bush bash between the fire trail and the canyon (for both the entry and exit) will be walked slightly differently by everyone.
Keep an eye on the ground for snags and expect to get a few scratches in the denser sections.
The Acoustic Canyon Walk
The stats
Distance: 7.7km return
Elevation gain: 275m
Difficulty: Moderate
Trailhead: No.8 Firetrail, just off Sunnyside Ridge Road
Summary: The adventure begins on the No.8 Firetrail, which is somewhat overgrown, but easy enough to walk on, it’s mainly a gentle descent on the way.
When you turn off the fire trail to reach the canyon entry point, you have several hundred metres of bush to get through with no set path.
The entry to the canyon is easy, as is the majority of the walk through, but there are two scrambles inside the canyon which are slightly trickier.
The first requires sliding down a boulder and the second requires bridging the two canyon walls to avoid a deep murky puddle (more details on both these sections in the notes below).
Other than that, there is some climbing up and over rocks and a bit of a heave up required to reach the exit slot. Our exit route also involved climbing a metre or so up a pagoda.
It’s worth noting we are simply sharing our route, which was manageable for me as a non-confident scrambler. There are no doubt other entry points and exit points that we didn’t see.
Starting the trail: the fire trail and finding the bush turn-off
From the parking point (full details below, including what to expect from the road) you begin the track by walking the no 8 Firetrail.
I think technically you could drive it, but it’s overgrown and rutted in places and I wouldn’t dare take a car down it personally (unless you are happy to scratch up your paintwork).
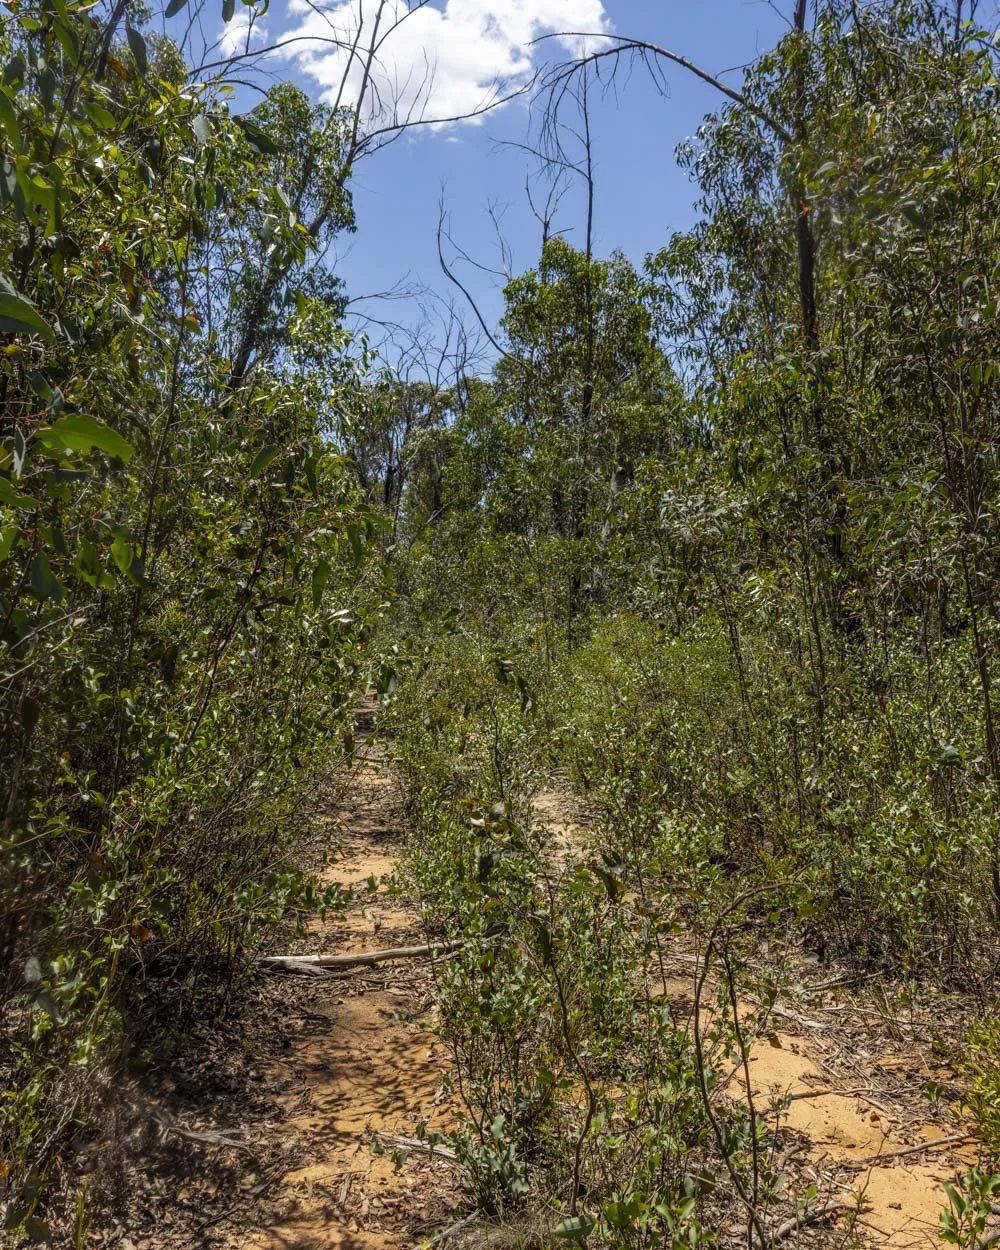
There are bollards 2.2km from the turnoff, so that would be the furthest point you could go in a vehicle. That does mean you have just under 2.7km of fire trail walking from the parking spot we recommend to reach the turn off into the bush.
It’s generally either flat or a gentle descent and scratchy at the arm and face level in places, but not too bad. At the 2.2km mark you reach the bollards and just beyond this there is a Gardens of Stone NP signpost.
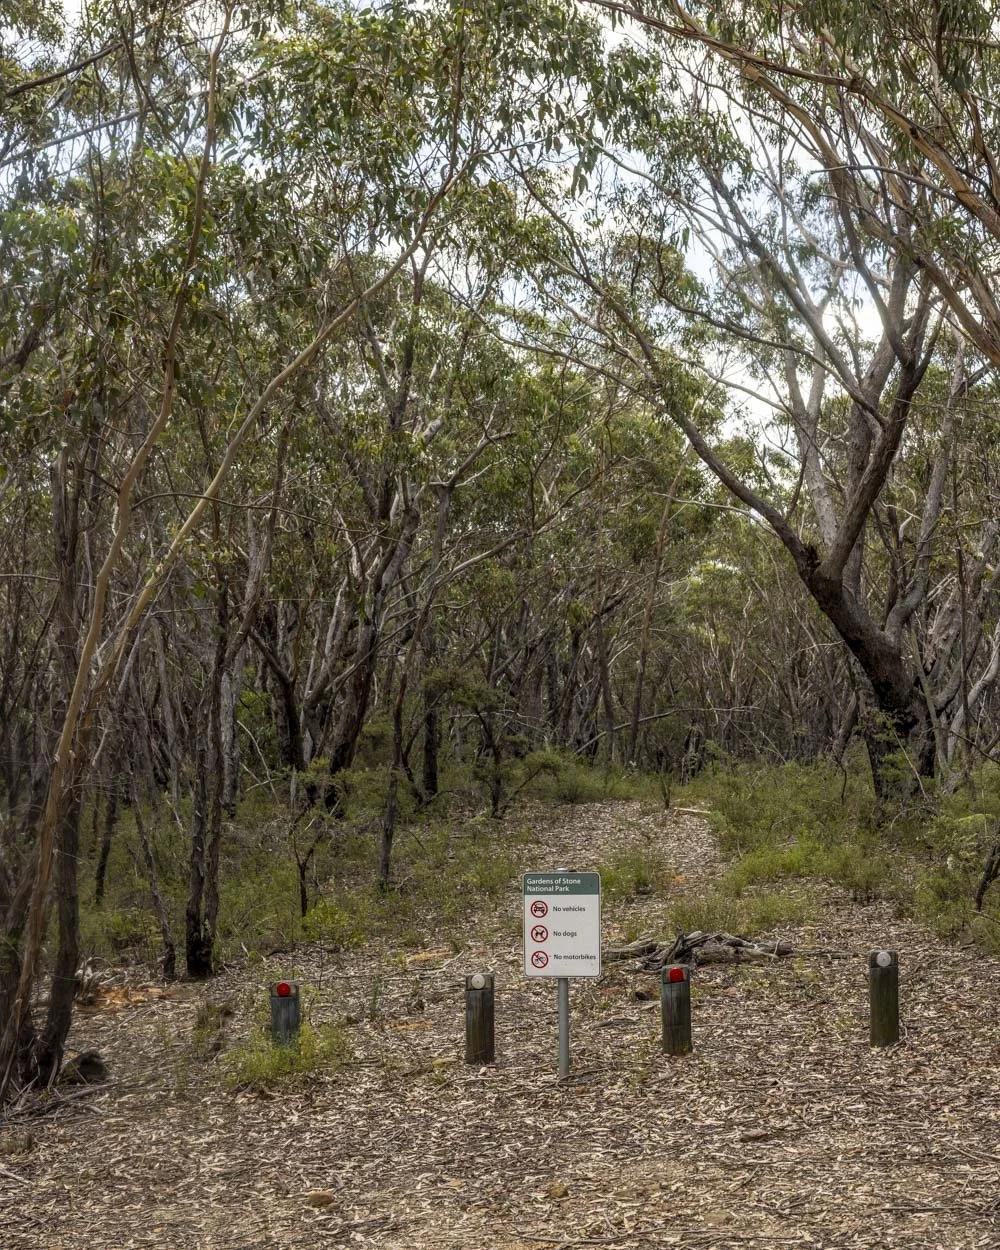
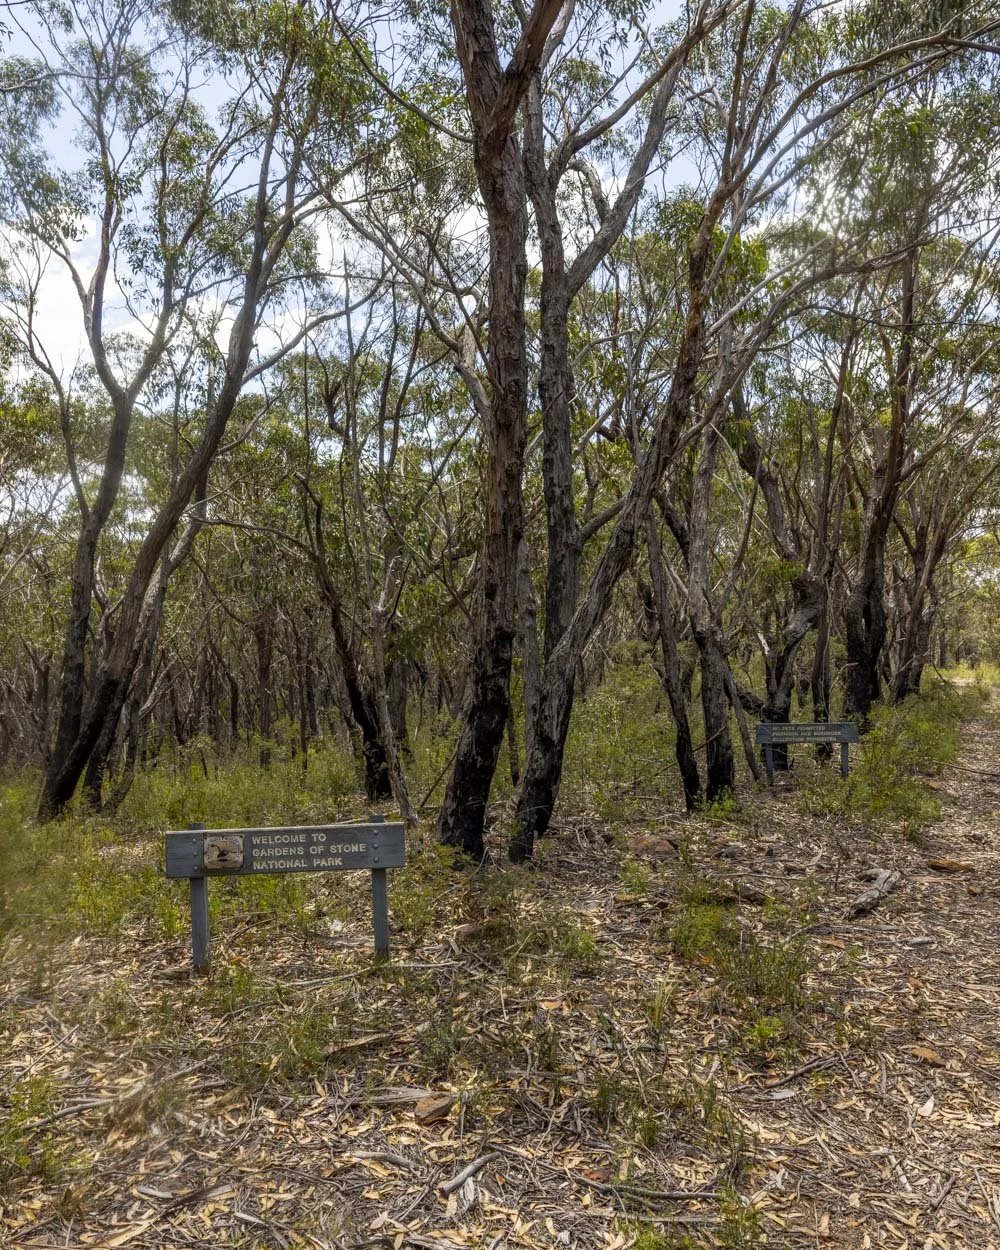
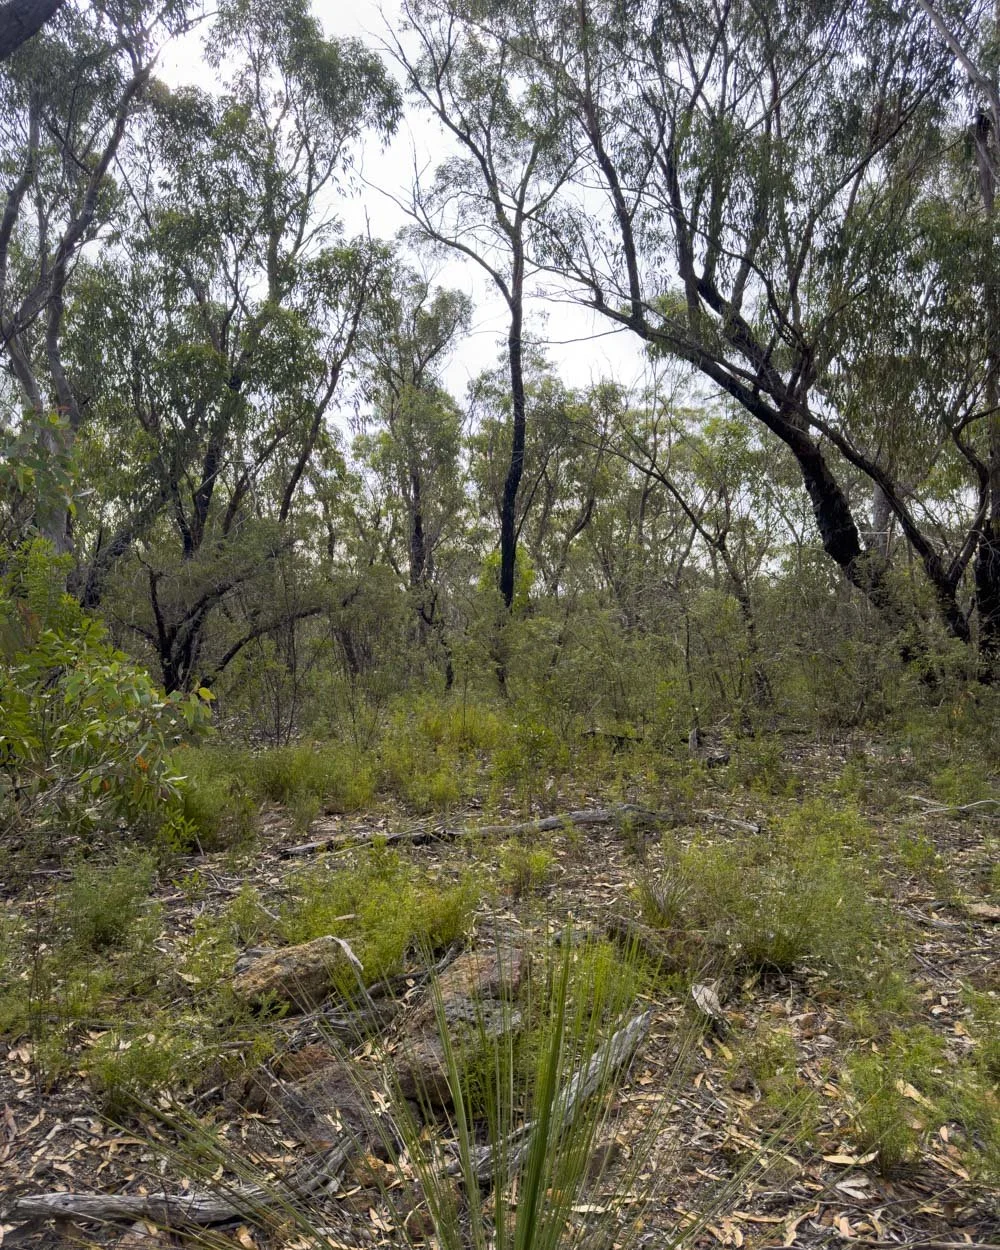
Continue walking straight from the signpost. The track will get bushier and has some tree fall to step over. It’s still easy enough, but it’s clear you’re not on a maintained fire trail anymore.
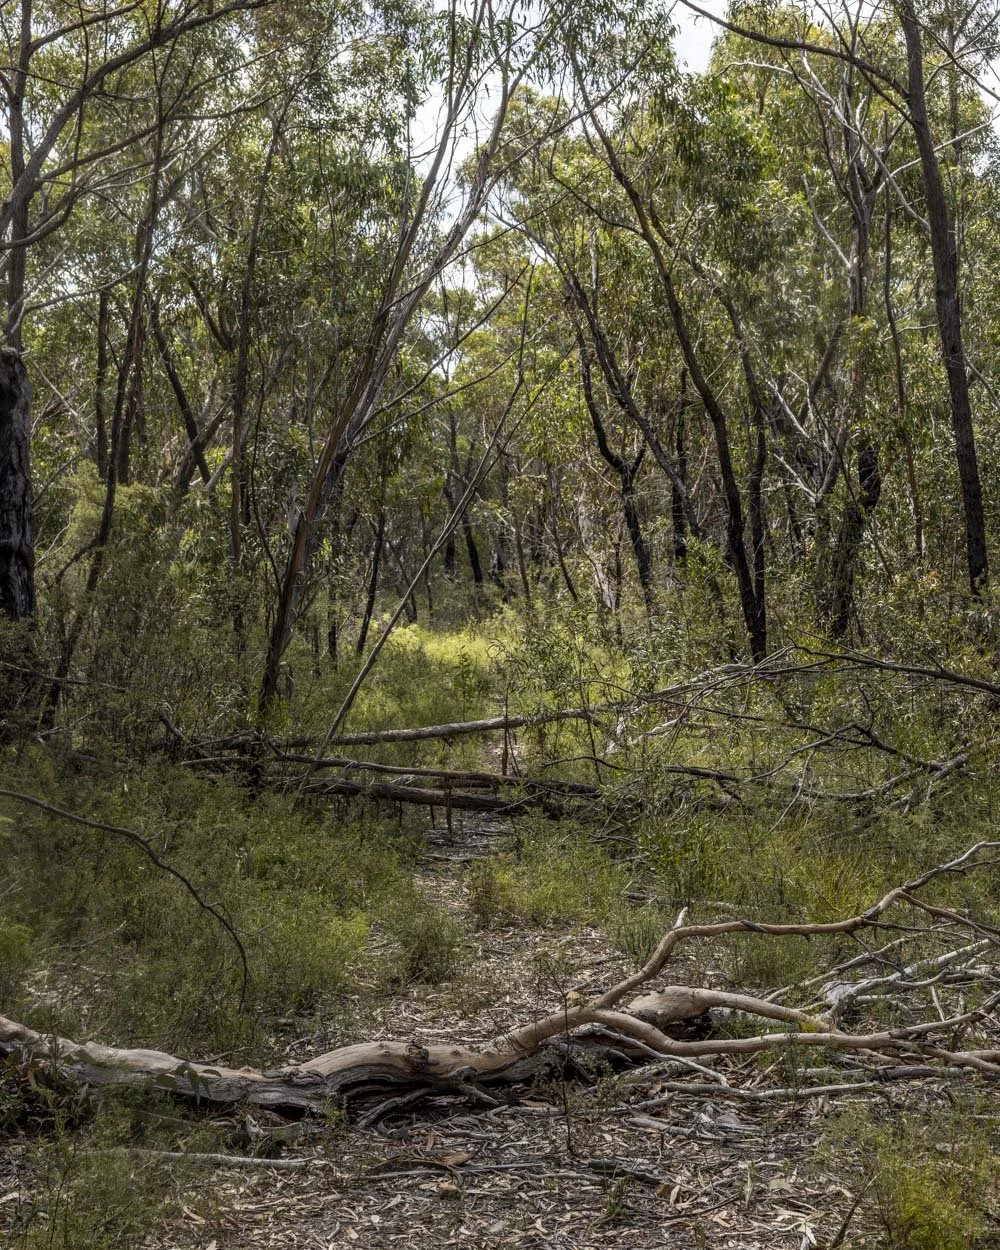
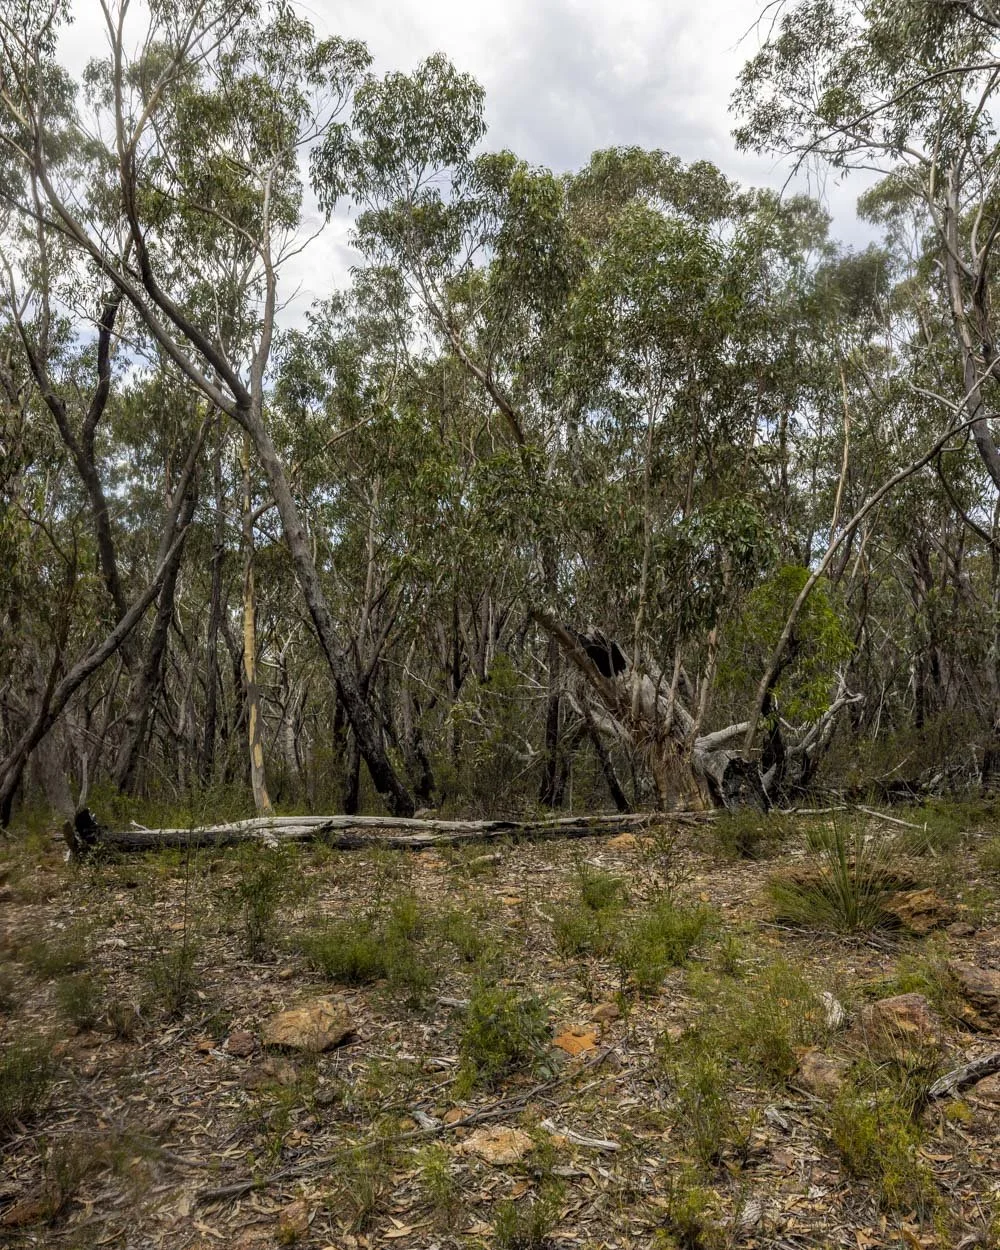
Just under 2.7km into the walk you need to turn off into the bush. It’s at a small clearing, with some large logs which you can see in the photo below, but for more accuracy the turning is at these coordinates: -33.287167, 150.162250.
The bush bash to find the canyon entry
Co-ordinates for the canyon entry: -33.287587, 150.159047
One you’ve reached the turnoff, enter the co-ordinates above to navigate to the canyon entry. You have approximately 500m of bush bashing in a westerly direction, that will take you to a big rock platform with pagodas and a gentle entry point to the canyon.
It’s probably less than 500m but you’re sort of weaving between the trees trying to find the ‘path’ of least resistance which will mean you’re walking more steps than you would for the same distance on a clear track.
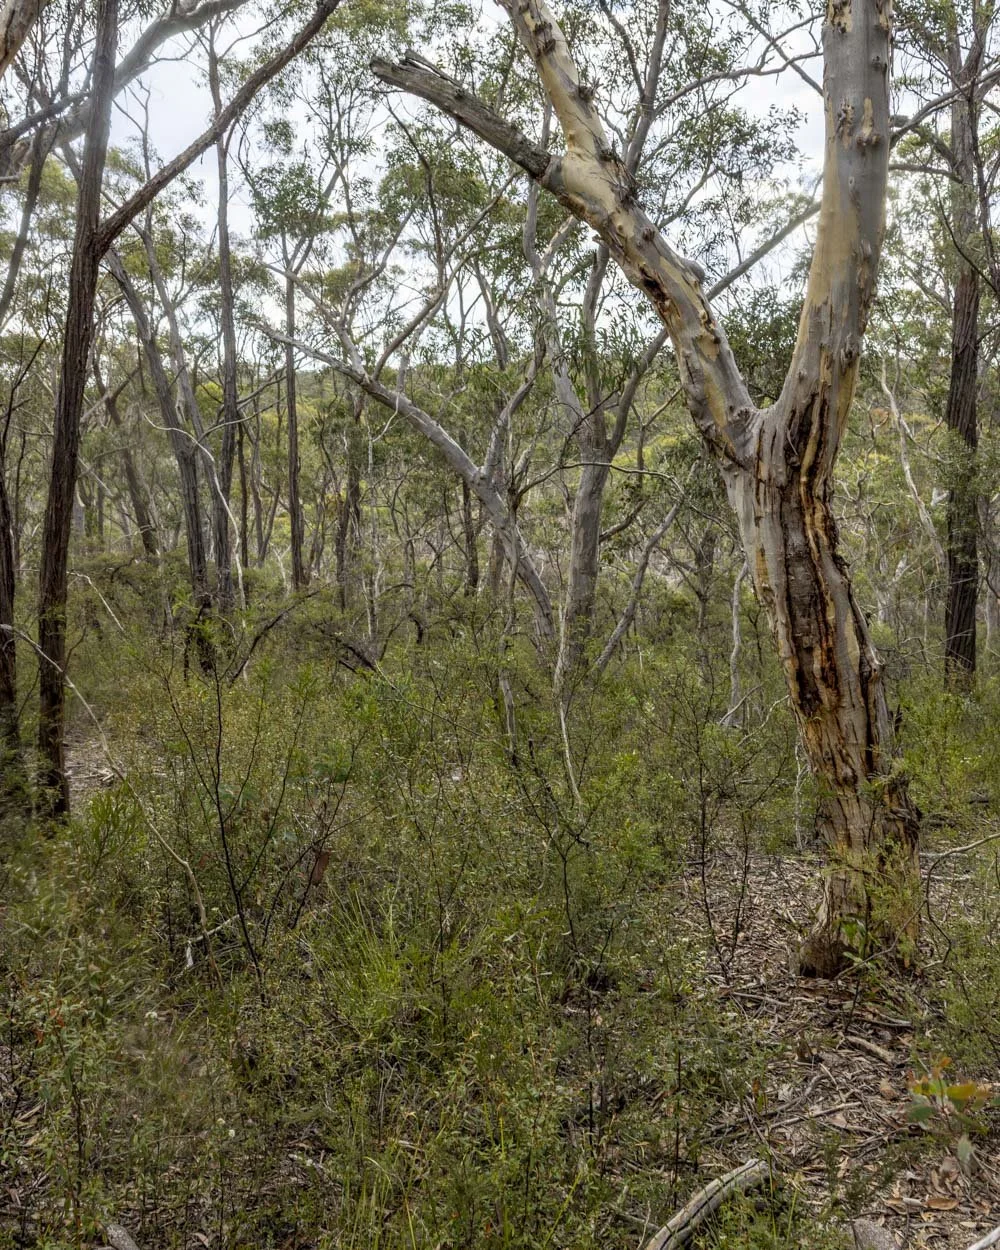
You will descend through the bush but it’s never steep. The bush is dense, but not horribly so. It’s not exactly pleasant, but if you take it slowly you can avoid getting too many scratches.
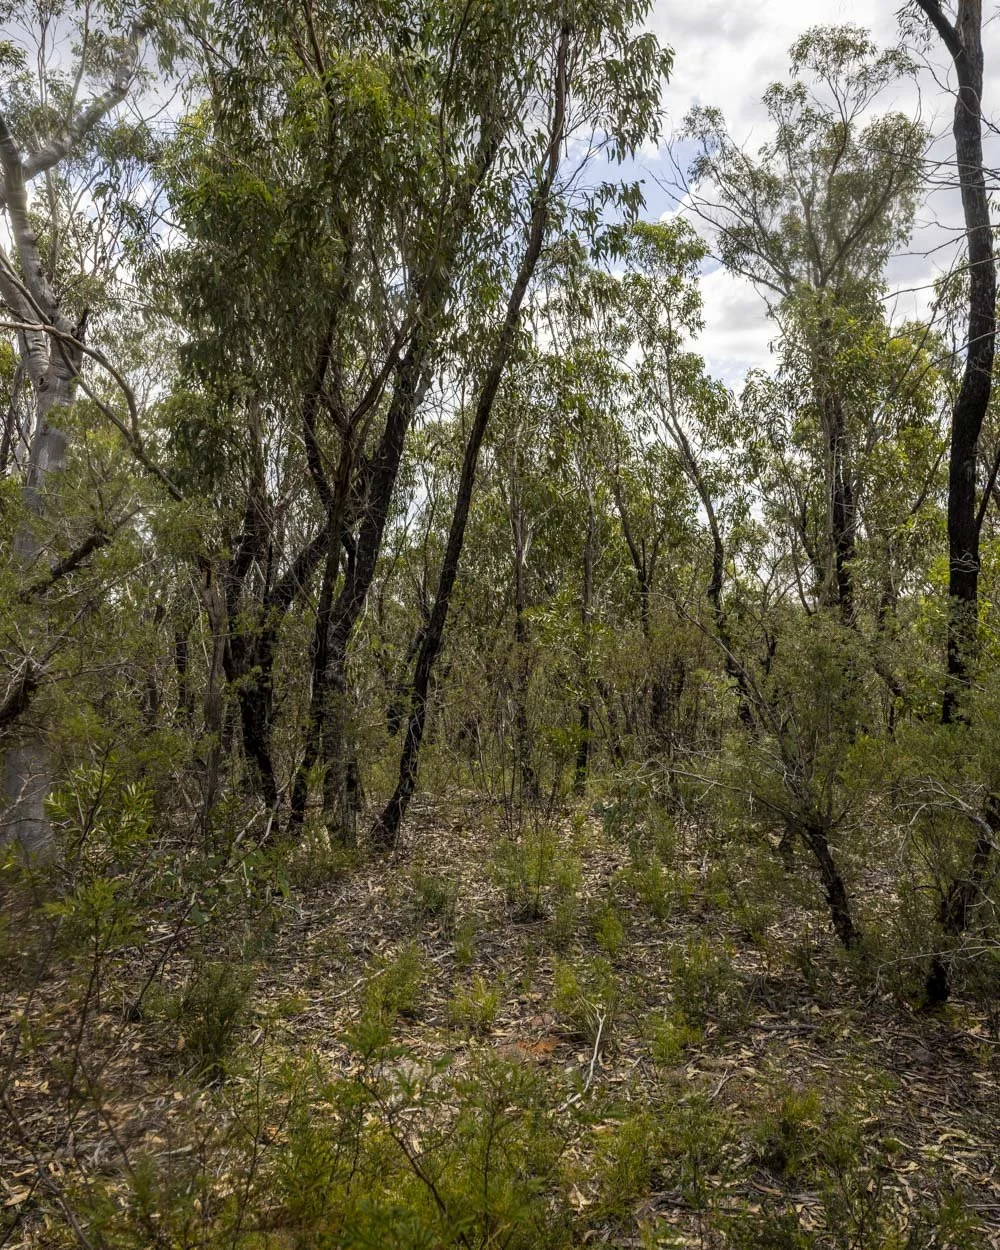
Your biggest issue is snags at foot level - of which there are many - so you want to go carefully to avoid tripping.
Joe and I both walked different routes and I could almost never see him, but we still came out not too far apart.
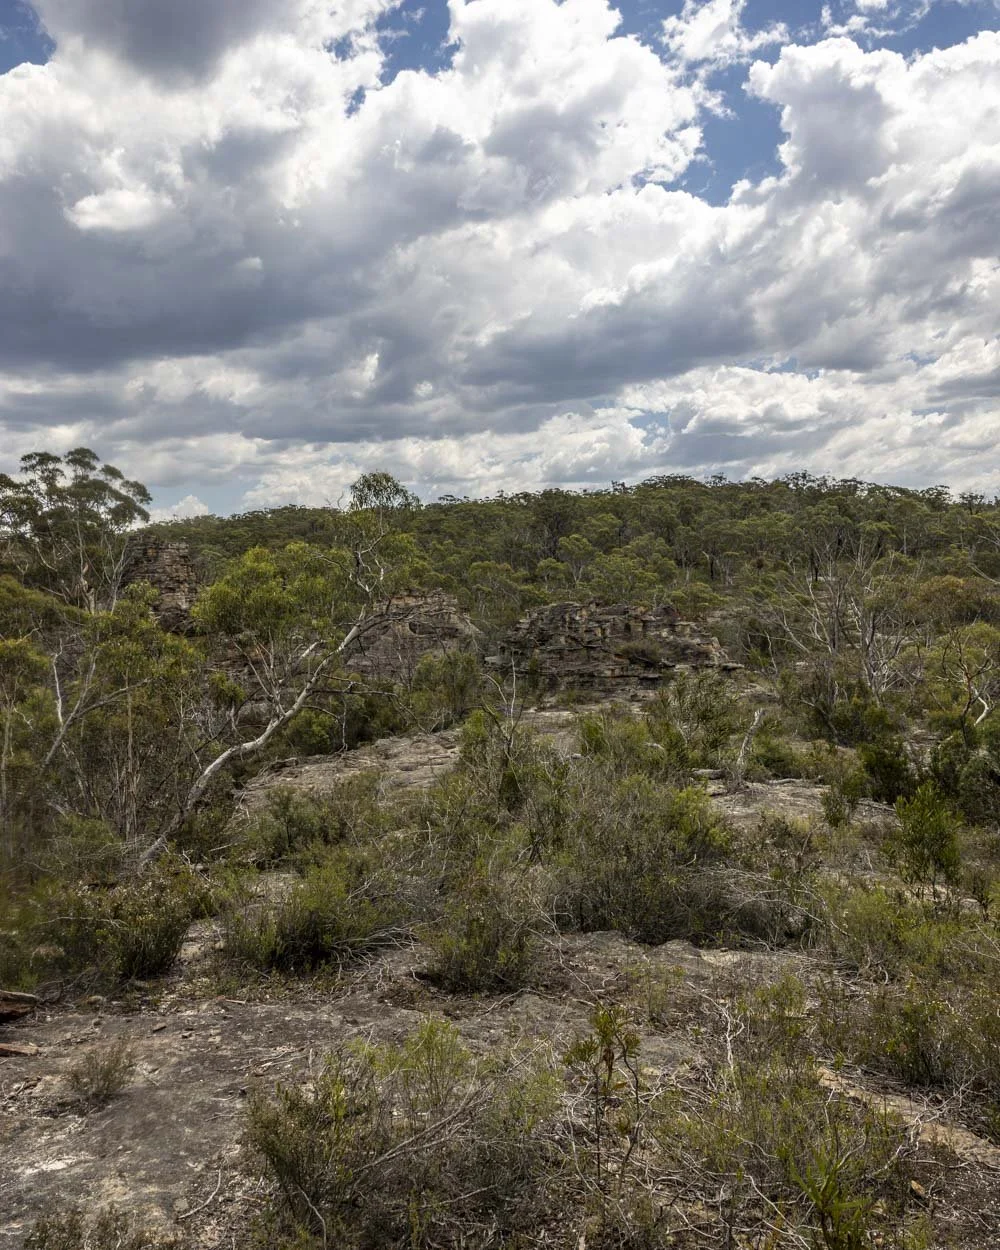
We weren’t even sure how to get into the canyon, but after a bit of scouting we found an easy entry point.
No matter what happens if you use the co-ordinates, you are going to come out at a rocky clearing with pagodas around you and the canyon in front of you. Keep an eye out for the pagoda in the photo below (it’s on the southern side of the platform, at -33.287587, 150.159047).
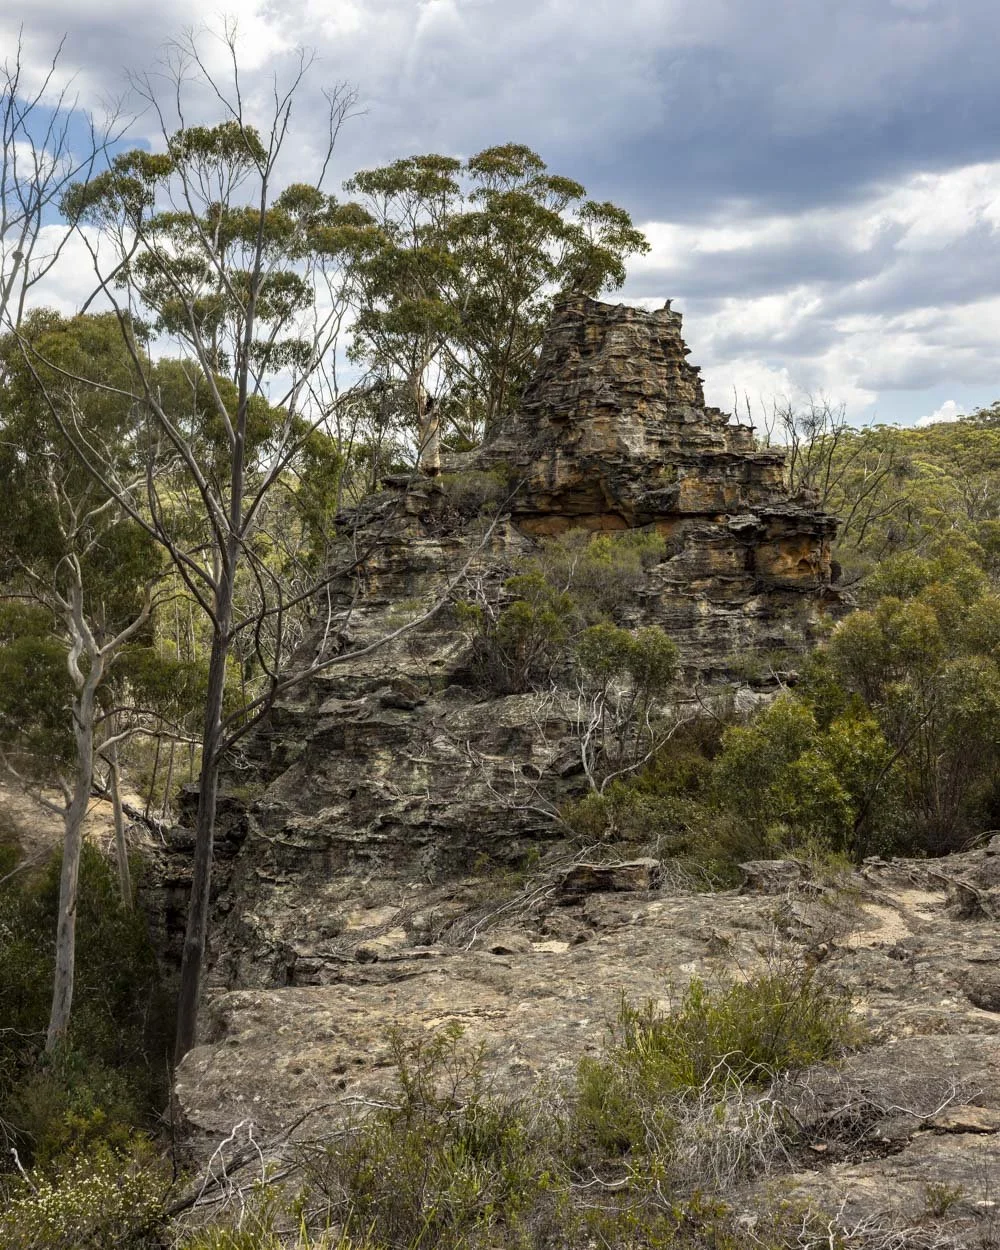
Before descending, we recommend walking across to the western side of the platform to view the canyon from above as the view is pretty amazing.
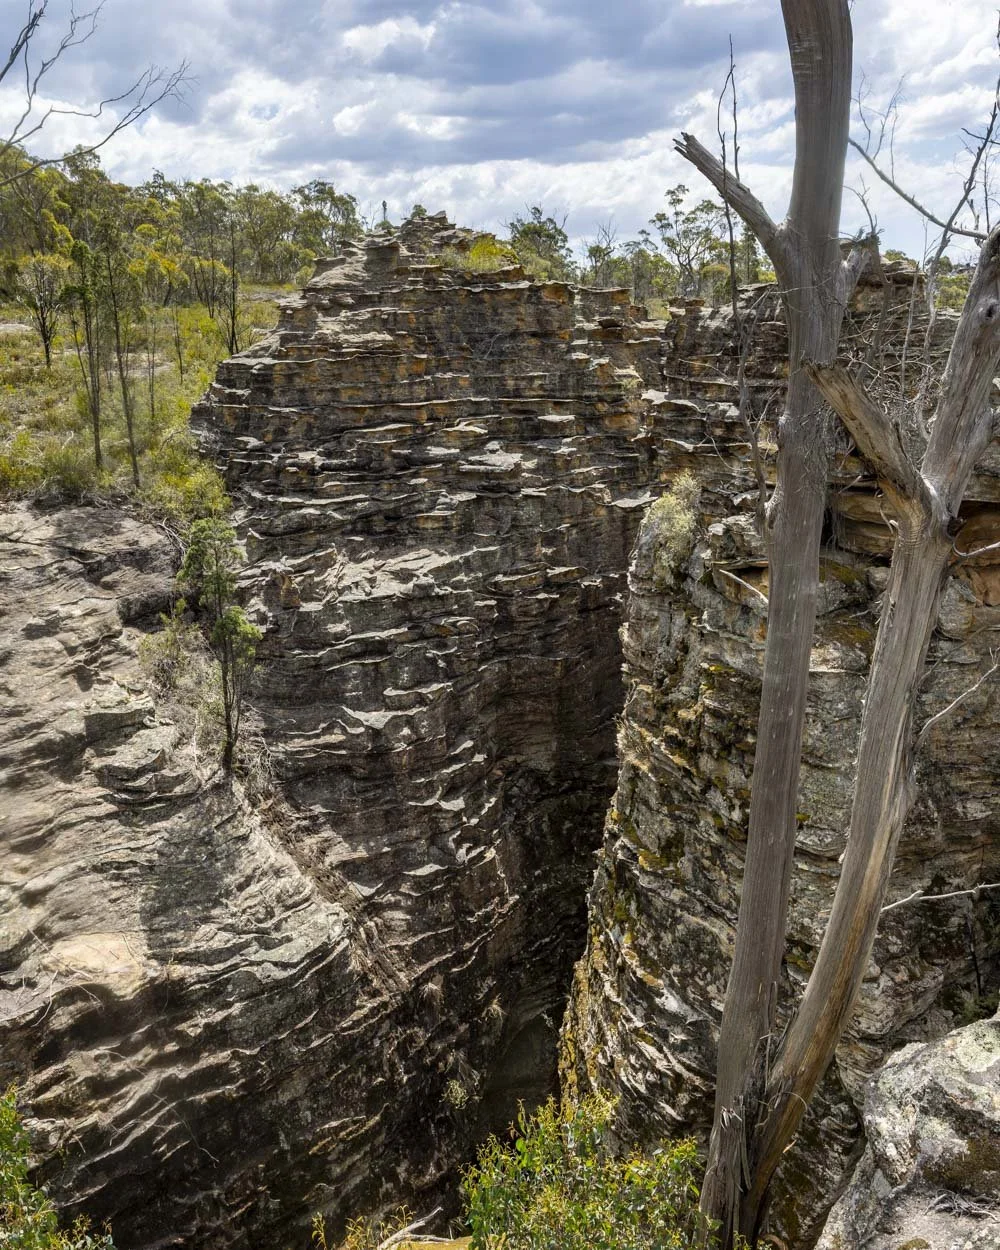
Looking into the canyon from above
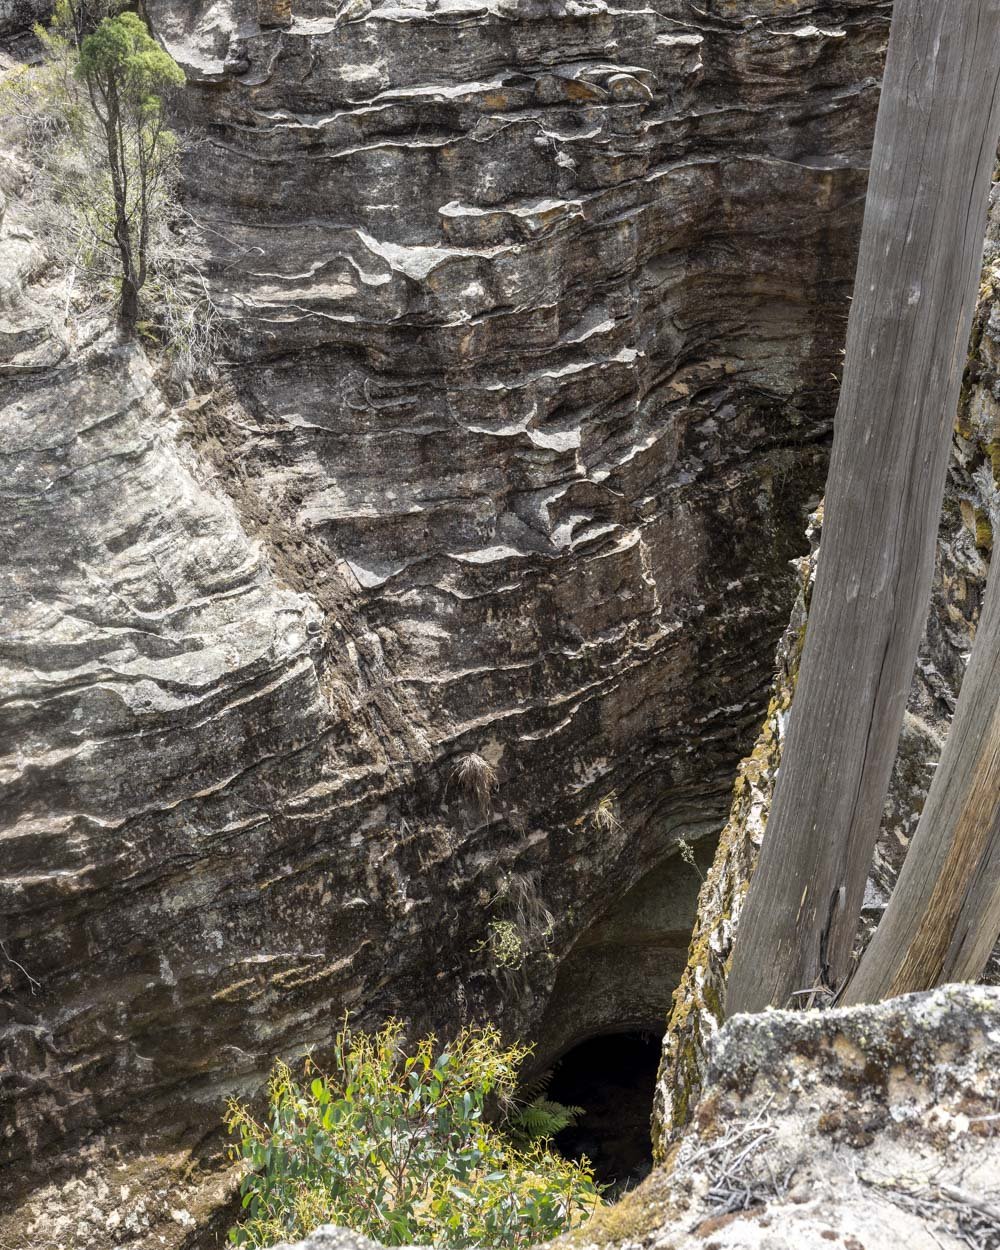
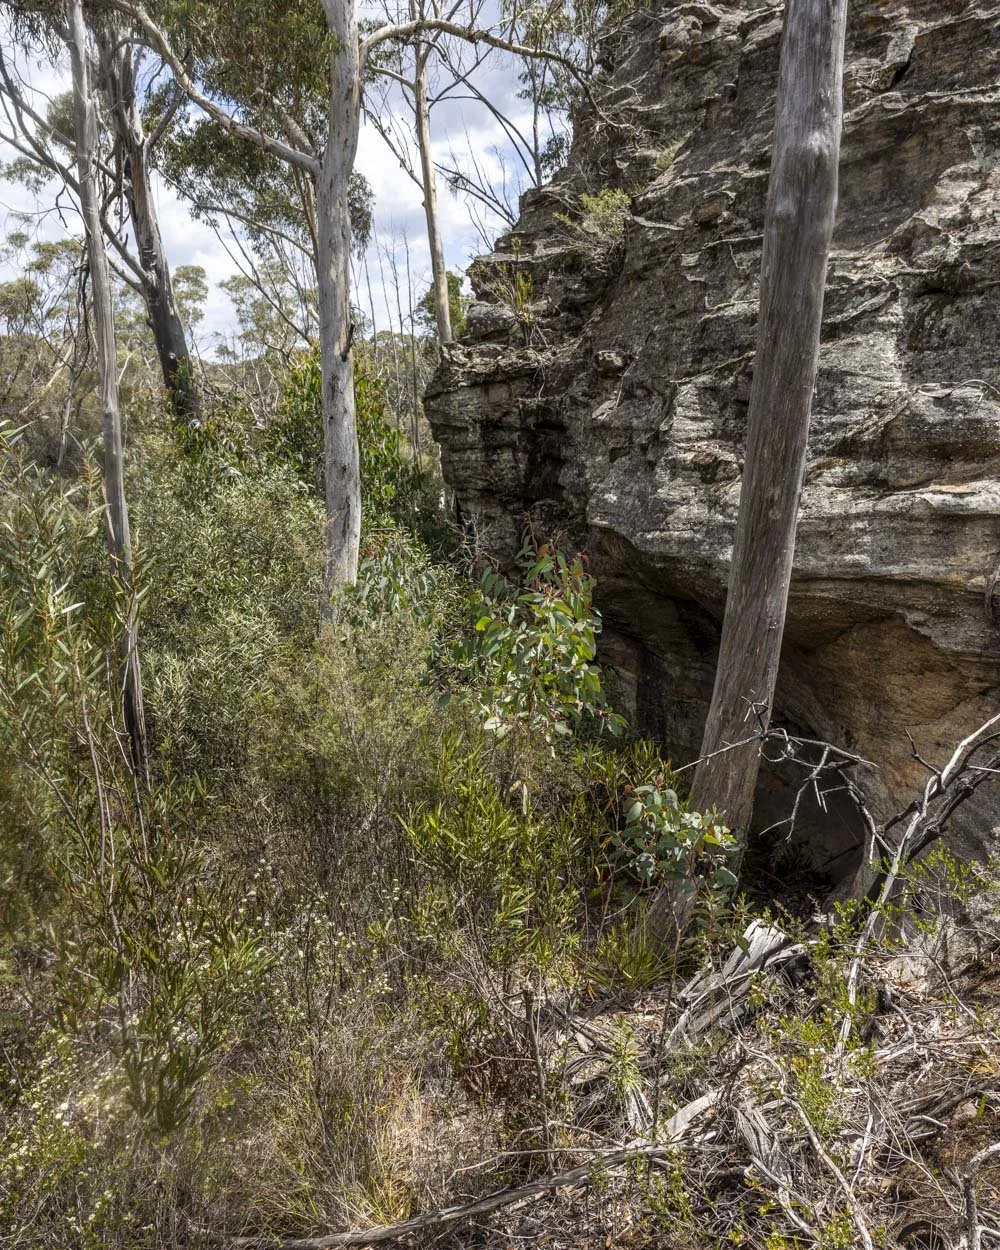
Back to the canyon entry: it’s a gentle slope down from the pagoda we mentioned and then you will want to hug the wall on the right side of the gully.
At this point the route should be obvious as the rest of the gully is pretty overgrown.
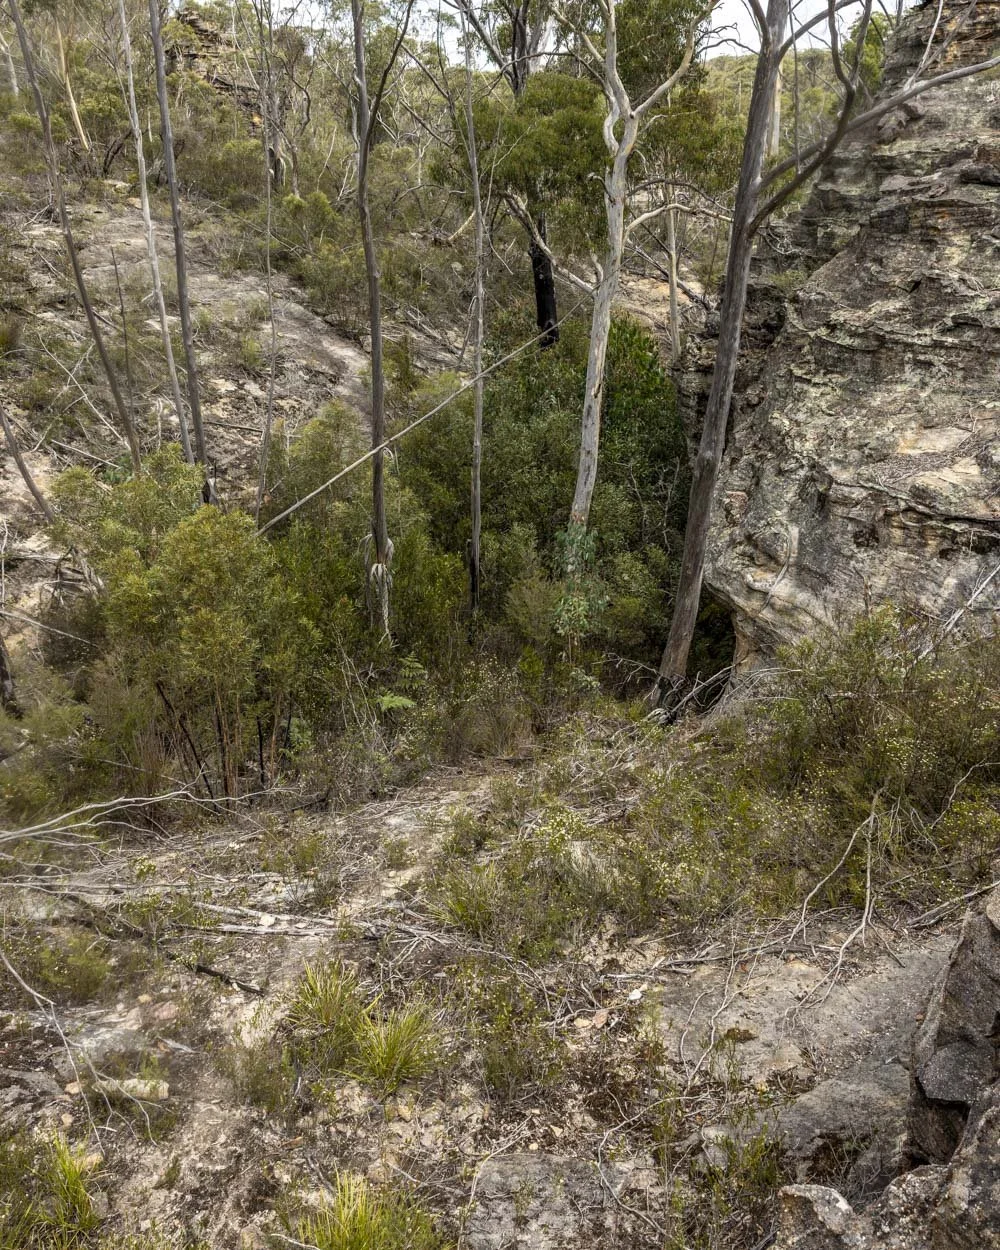
The gully leading into the canyon
The scrambles
As you hug the cliff wall, it will curve round and pass some overhangs. It’s quite ferny in places but it’s always easy to walk on the dirt ‘path’.
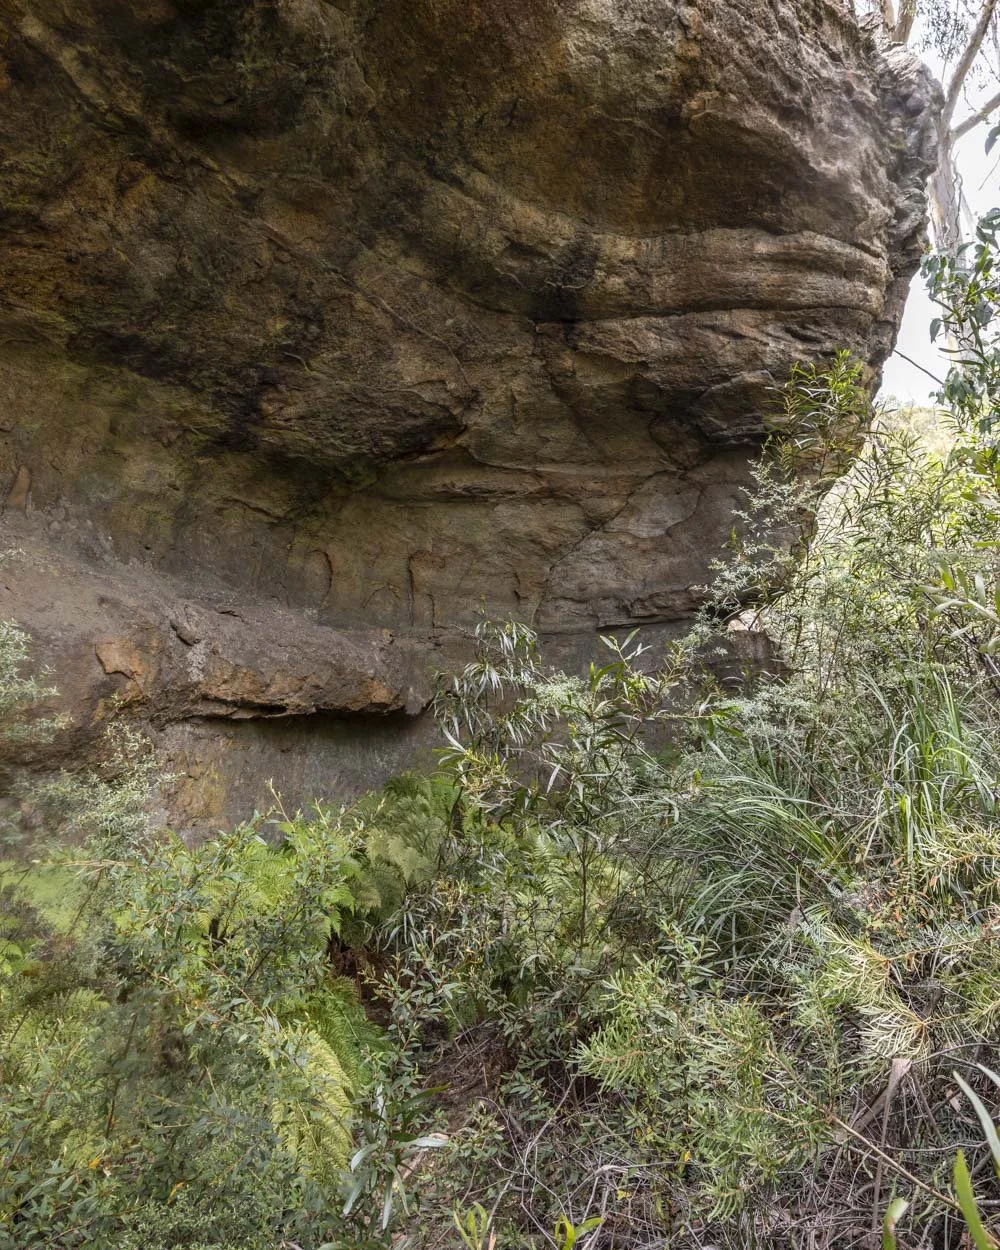
It’s probably about 100m in when it starts to feel like a canyon and 50m later you’ll reach the first scramble.
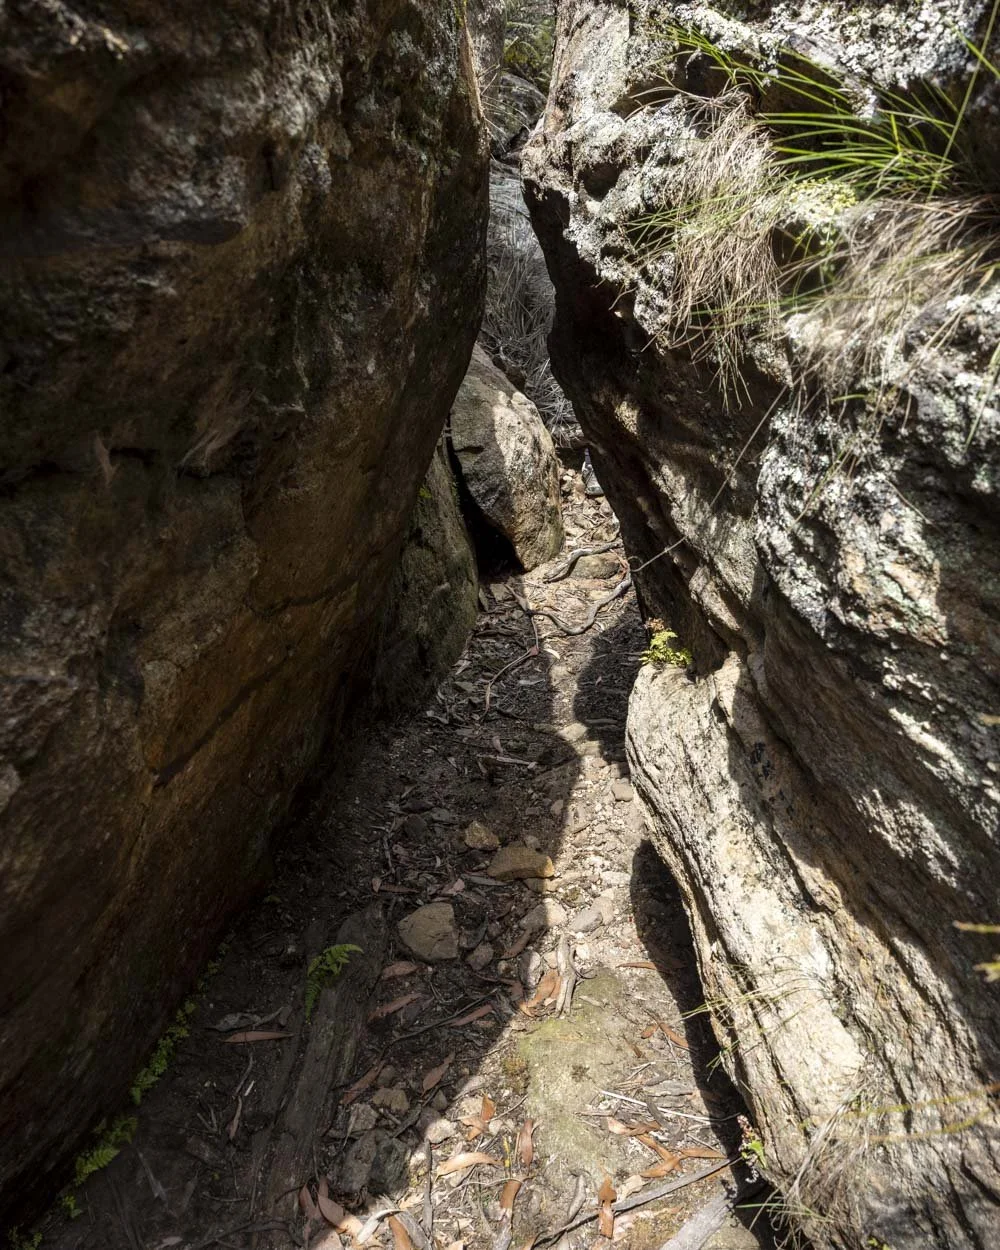
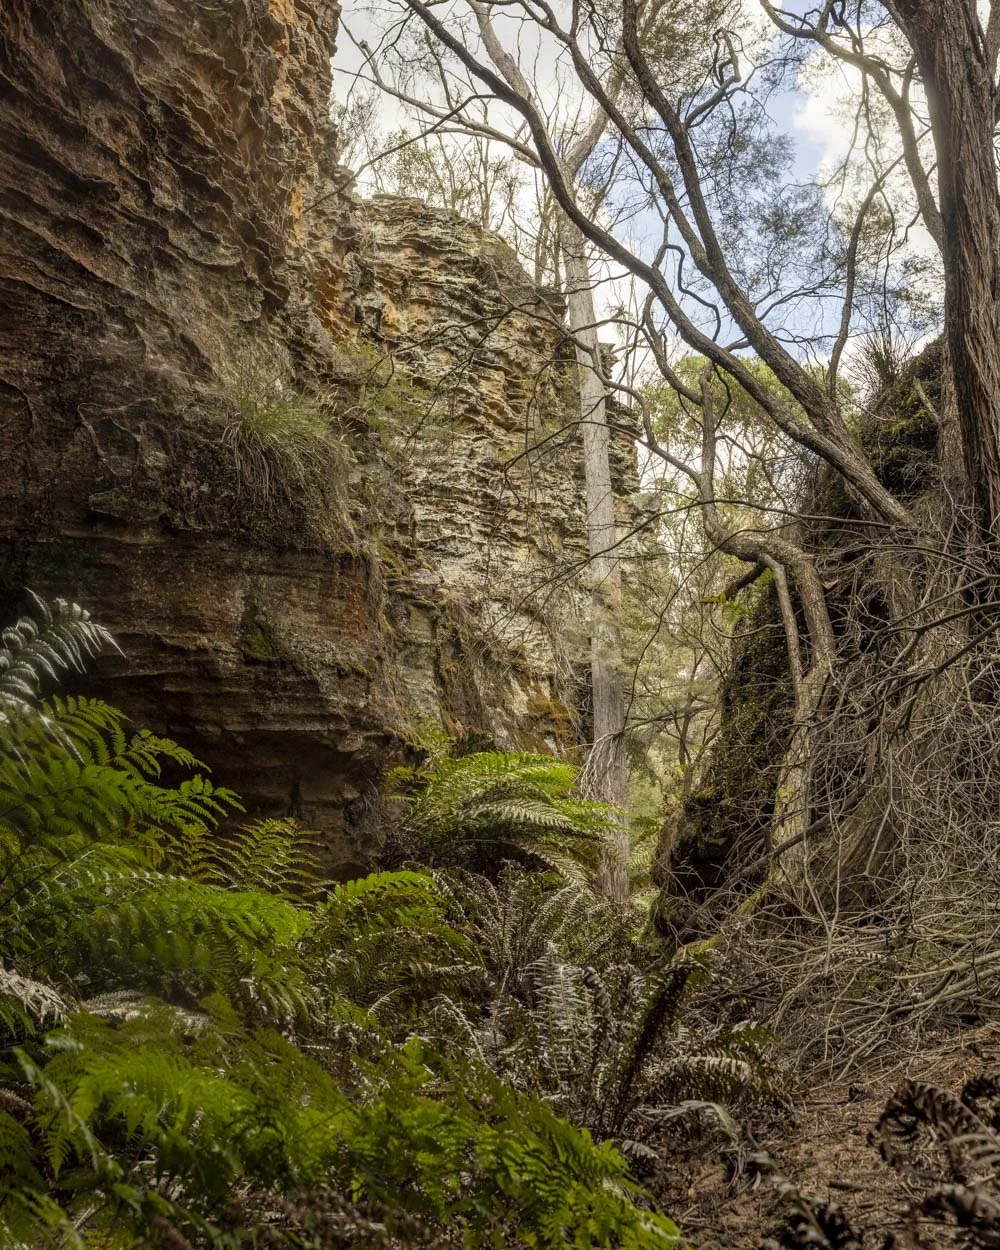
This scramble is short, but slightly awkward as it involves going through a gap and down a large boulder to ground level. To do this requires sliding down the boulder to reach the cliff wall, which you can then easily climb down from.
Most people will do this without hesitation, as I am not most people and have a fear of slipping, I had a bit of nerves about it, but as is usually the case when I actually did it, it wasn’t too bad!
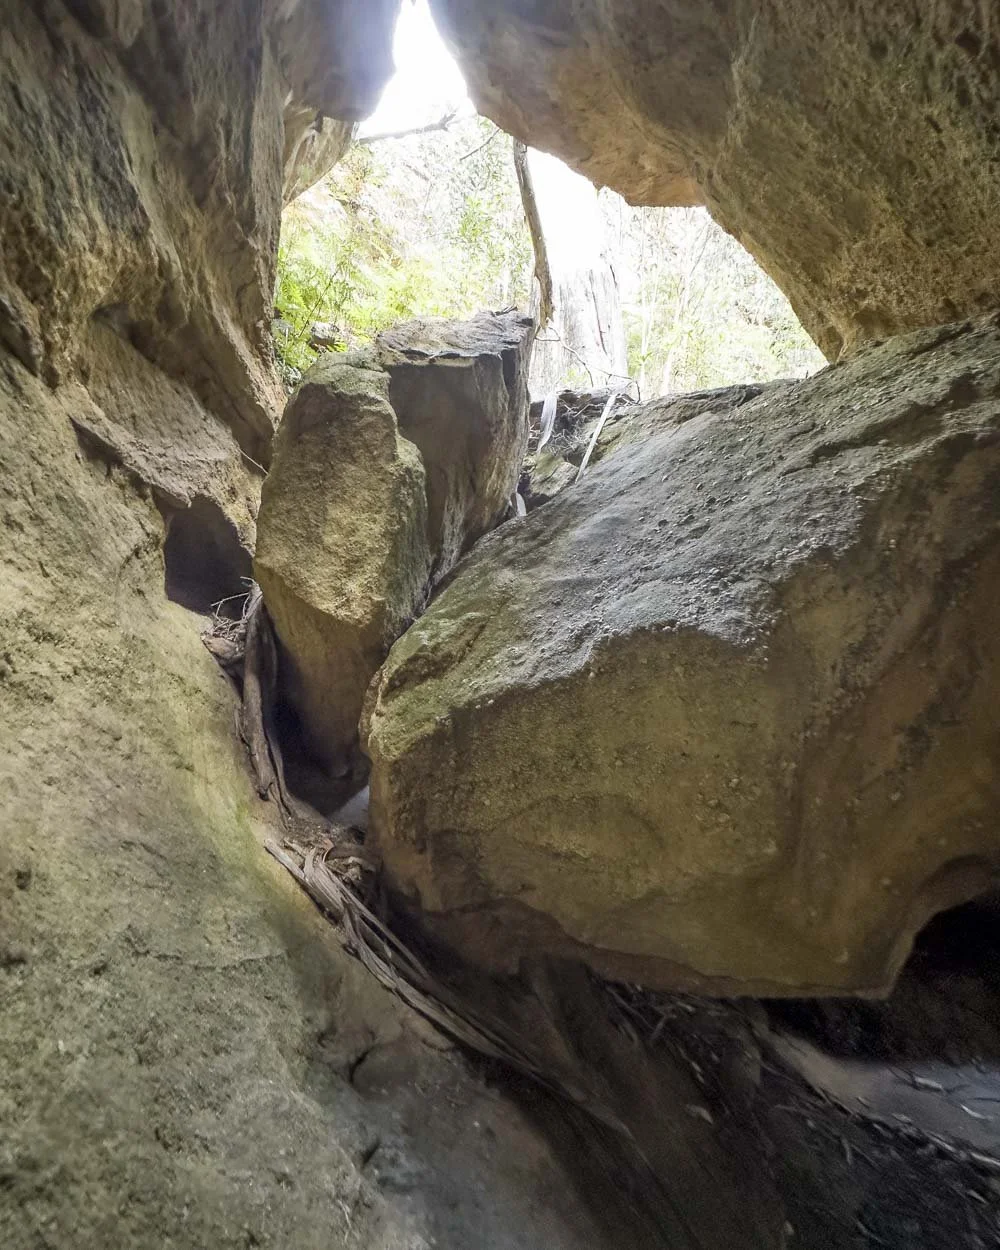
The boulder you need to slide down
What follows is a nice walk through a ferny slot before you need to clamber over a few logs and some debris, and the canyon walls begin to constrict.
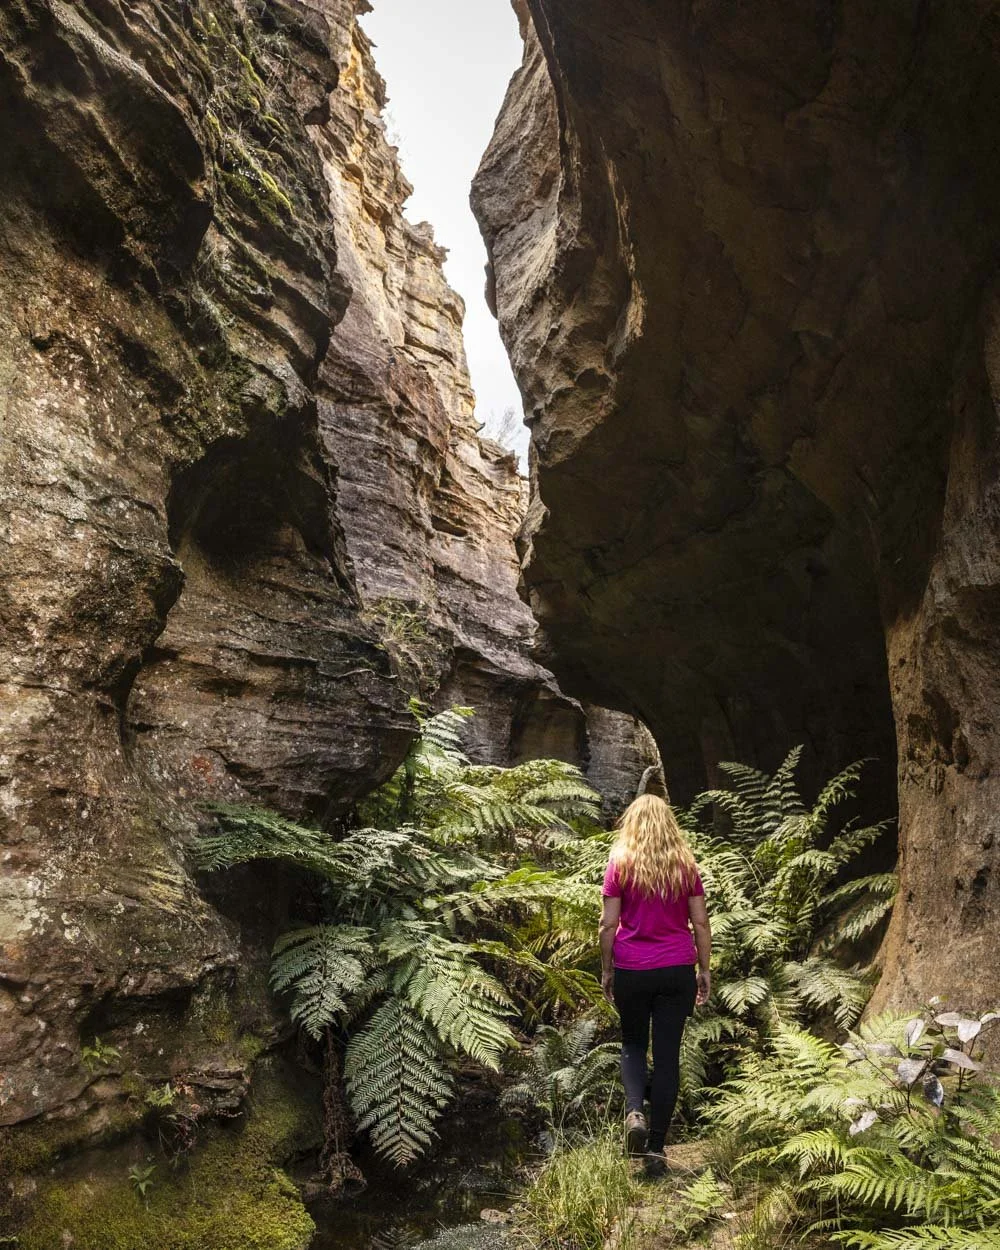
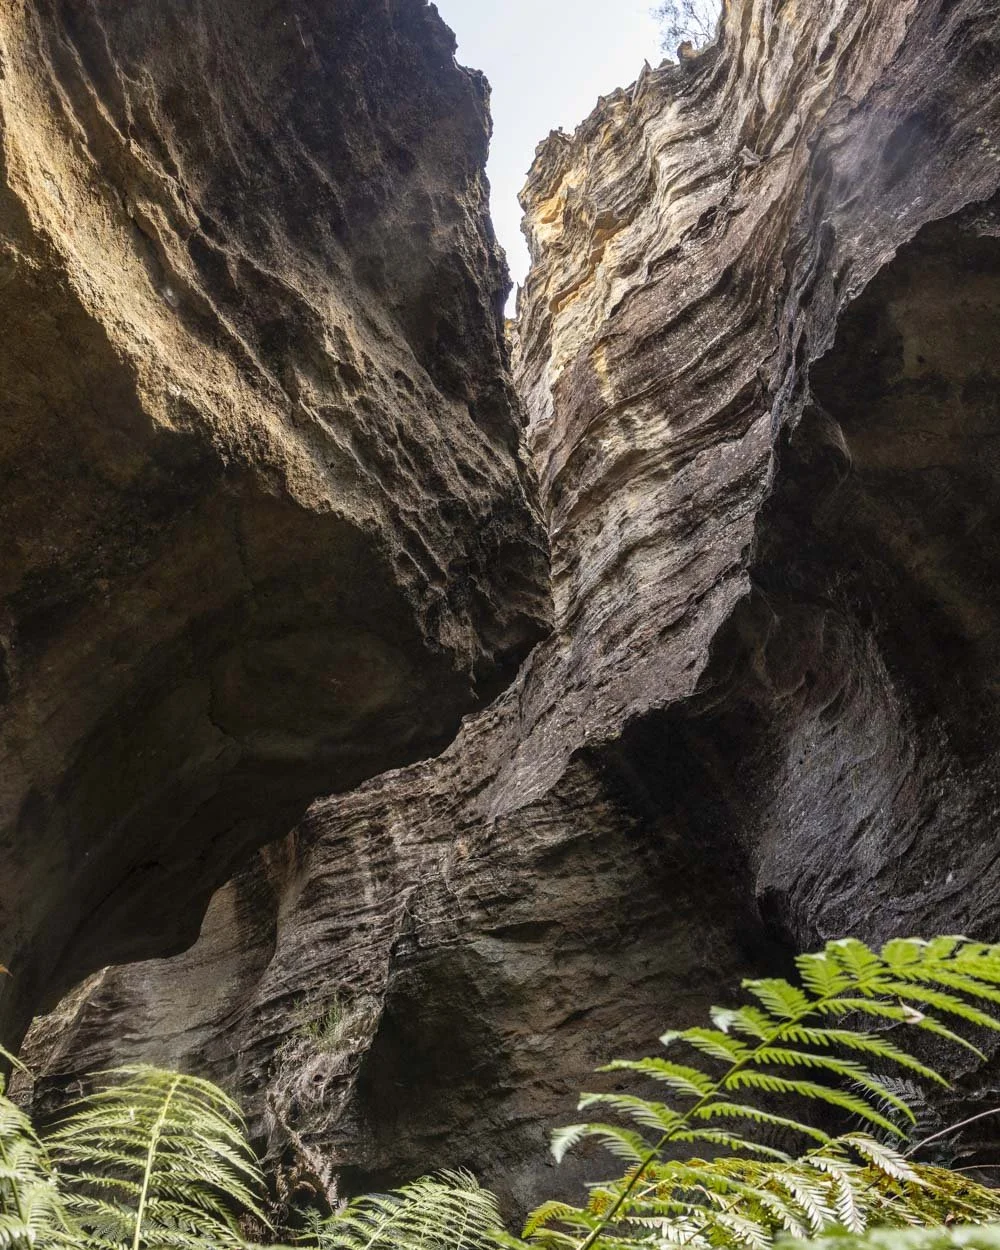
Next comes the fun sections which feel a bit like an adults adventure playground!
The most notable ‘scramble’ - if you can call it that - is when you need to pass a really narrow bit of canyon that drops down a trickling cascade to a deep murky pool at the bottom.
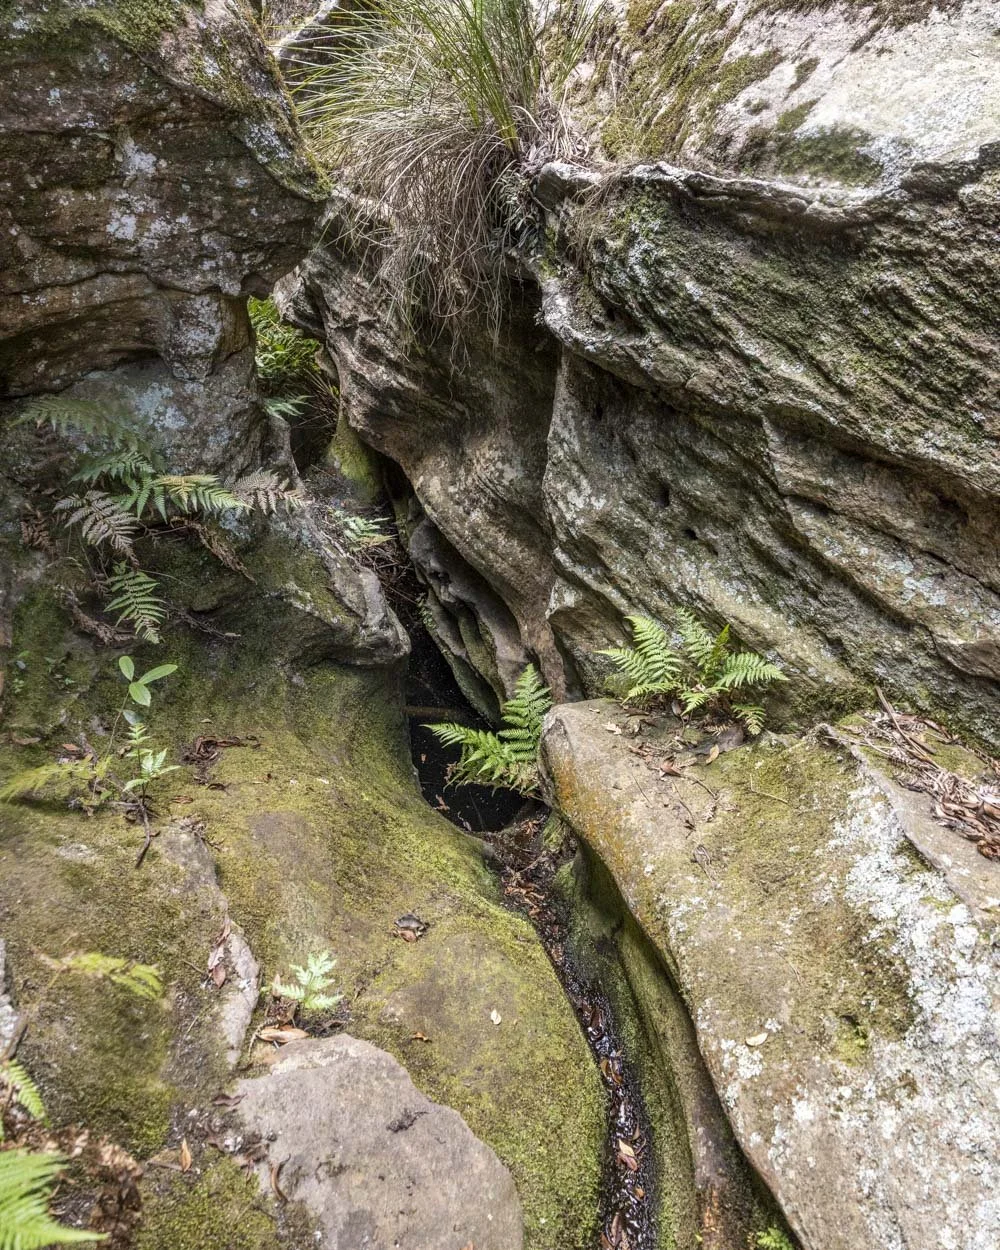
To get down requires using the ledges on both walls (yes, its so narrow that you can touch both walls at once) so that you can bridge the deep pool and get to the wider path beyond.
It’s easy when you get onto the ledges, but the first step off the wall is a little higher than the ledges, so it necessitates a step down onto narrow footholds.
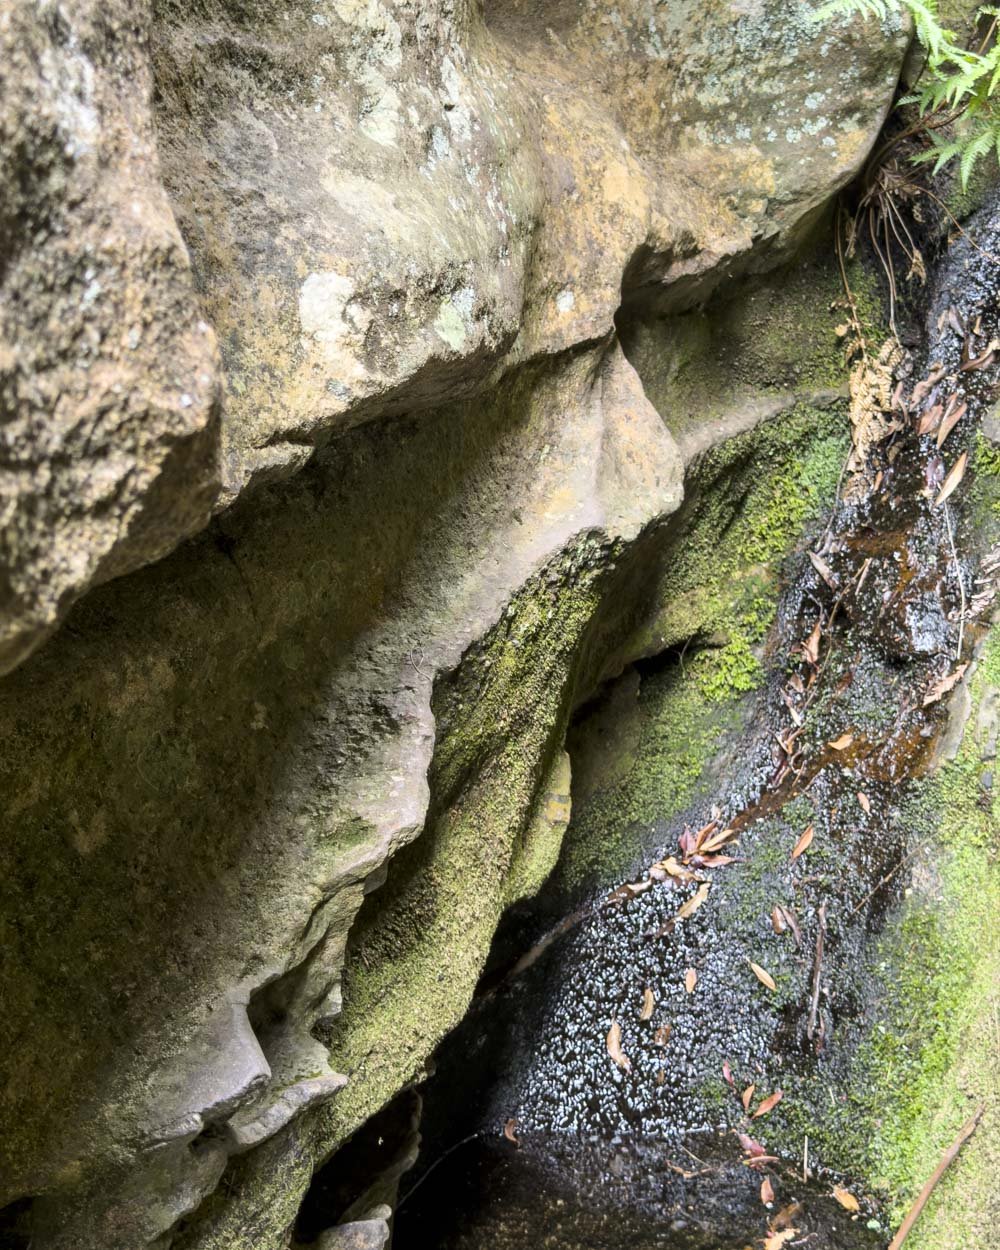
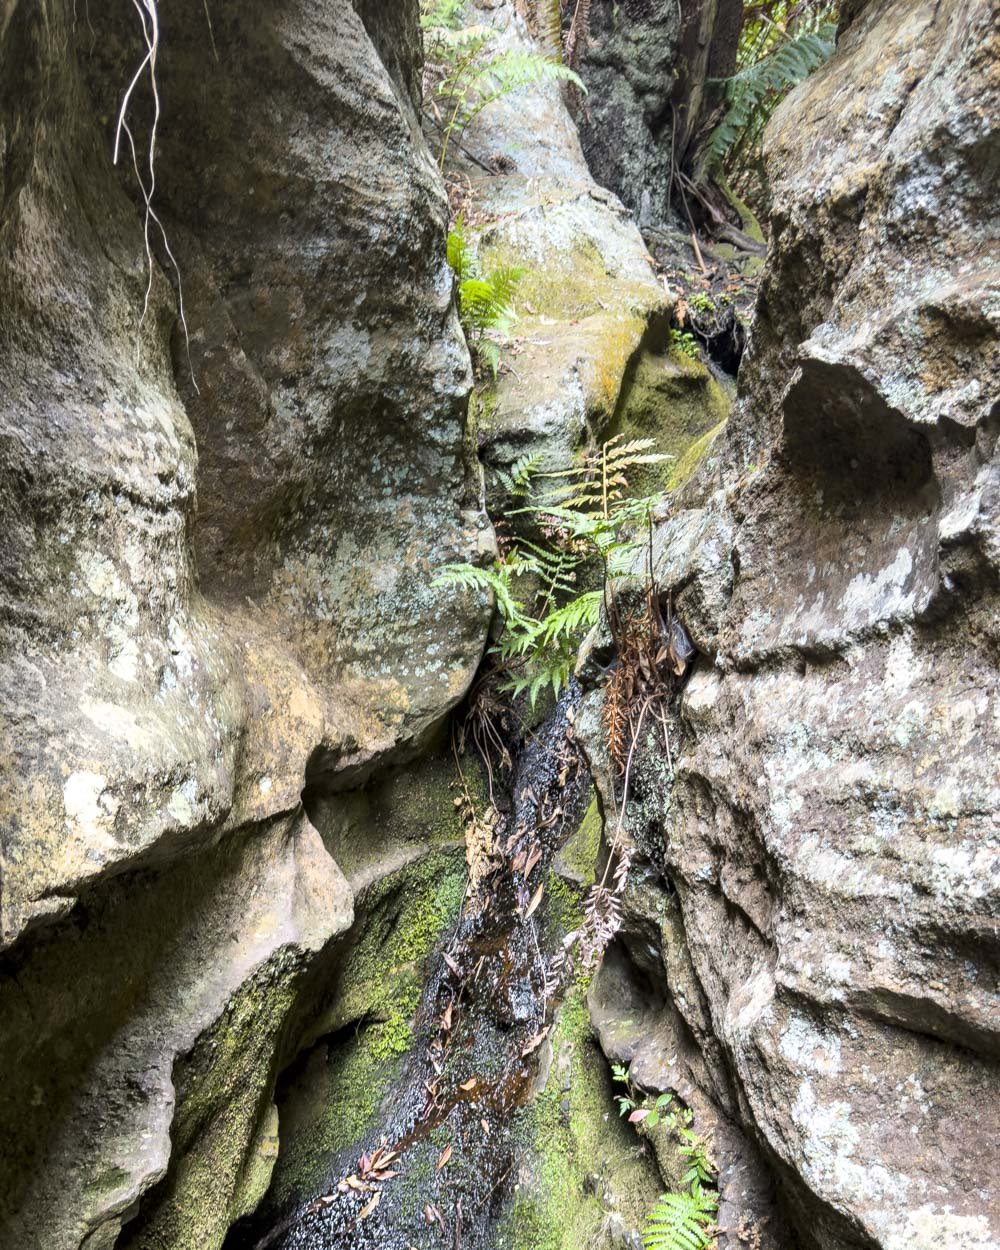
My feet always feel clunky in hiking boots on this kind of thing so I chose to go barefoot as I always think the narrow footholds feel so much more spacious with my bare feet.
Pretty sure no one else would do it barefoot but hey, it worked for me!
After this you traverse a bit more narrow canyon wall. It’s a touch above a shallower and less murky pool, but this is done on the left side so no bridging is involved and it feels much easier as in the unlikely event you slipped you aren’t going into a nasty pool!
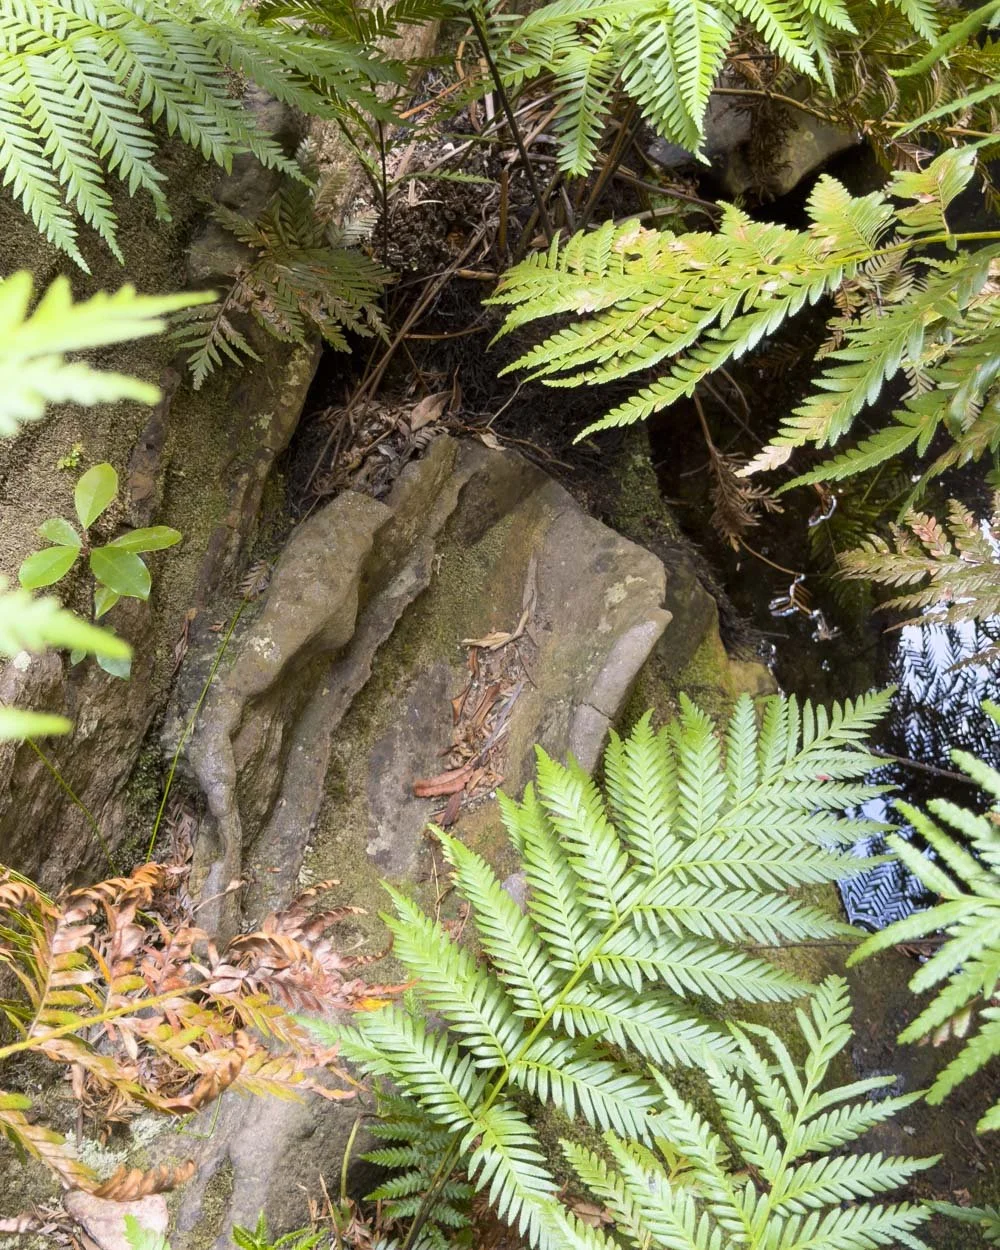
Shortly after this there’s a sort of boulder cave which you could probably walk through crouched over, but we went left, squeezing between the rocks (which is easy) as it looked like the cave route was quite wet.
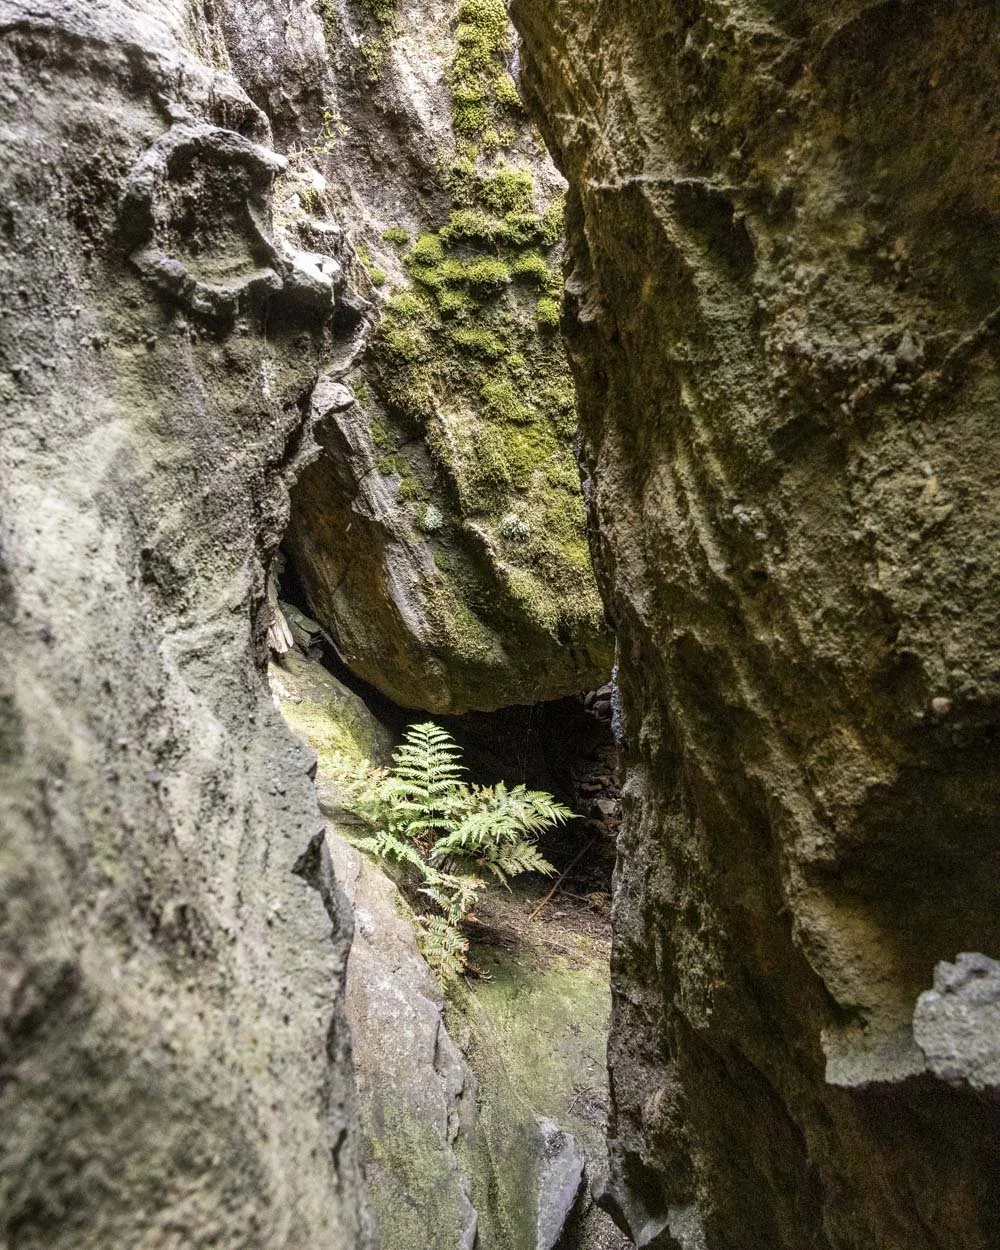
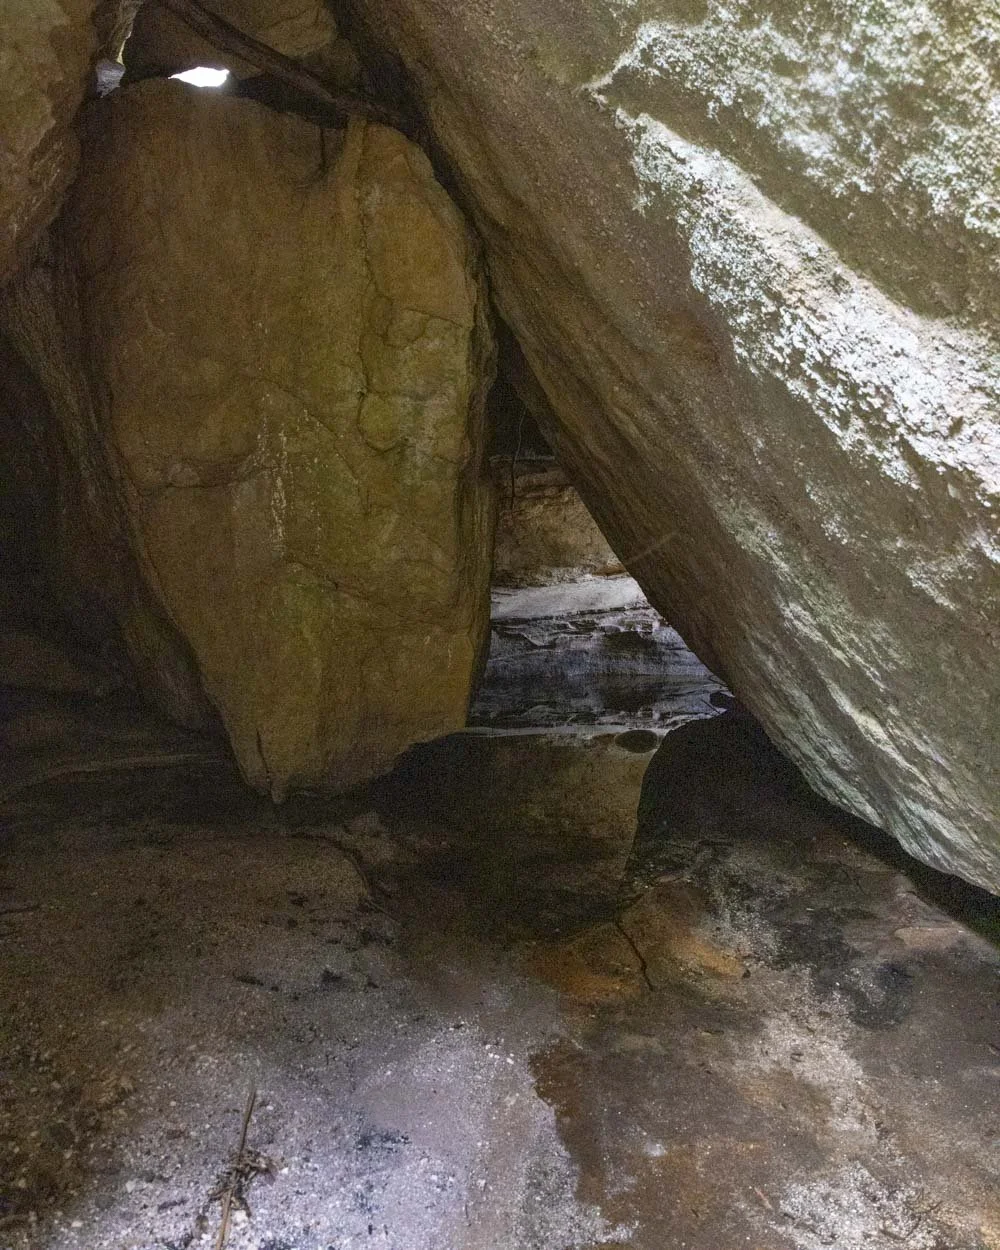
Next up you need to pass under the gap between some giant boulders. It’s slightly awkward as you need to go on your knees, not difficult, but low enough that most people will have to commando crawl.
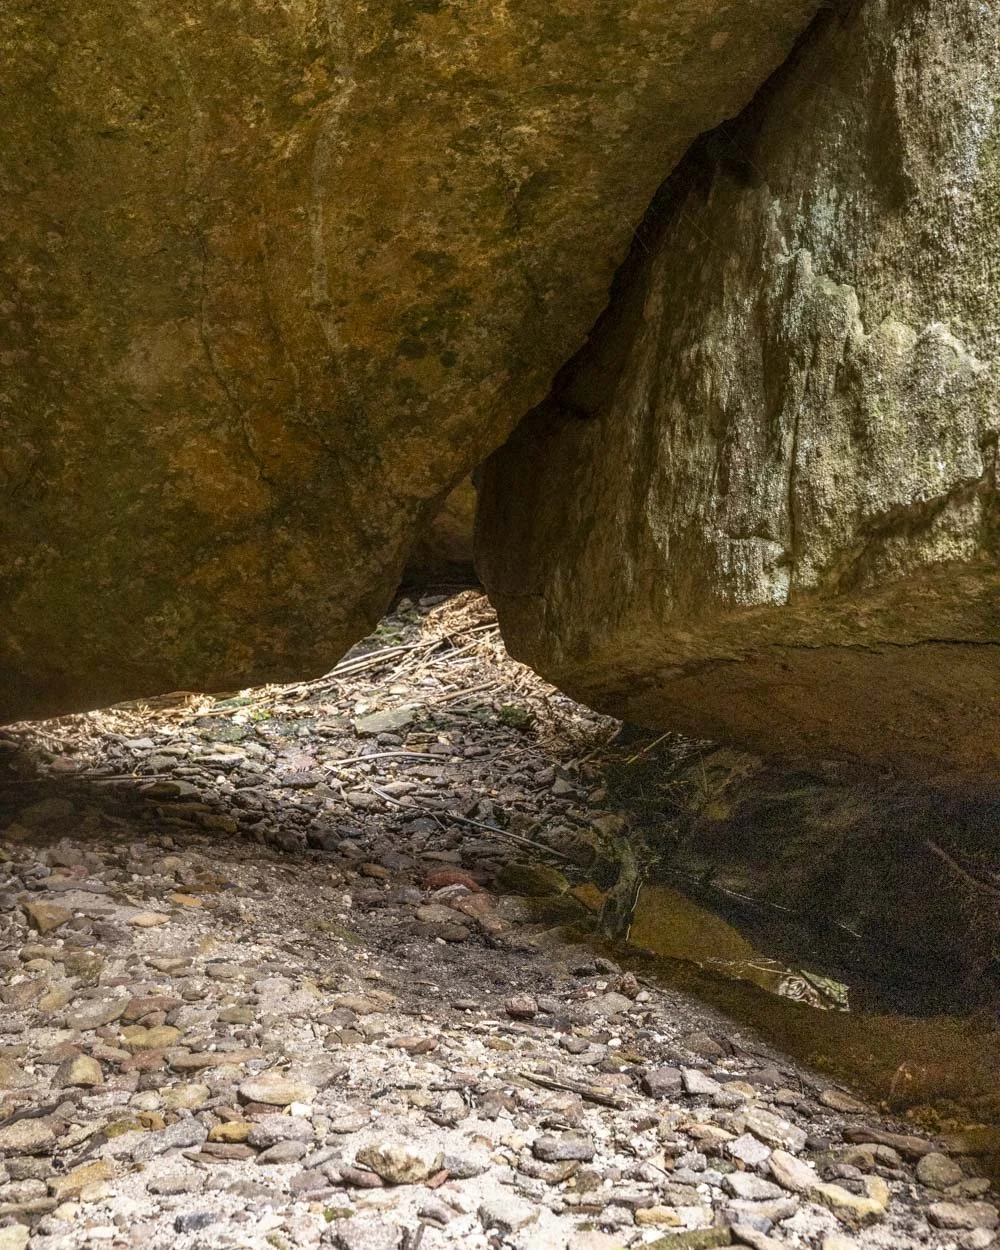
After this it’s a 50m easy walk through to the bottom of Acoustic Chamber, which you’ll reach roughly 3.6km after leaving the parking point.
Acoustic Chamber
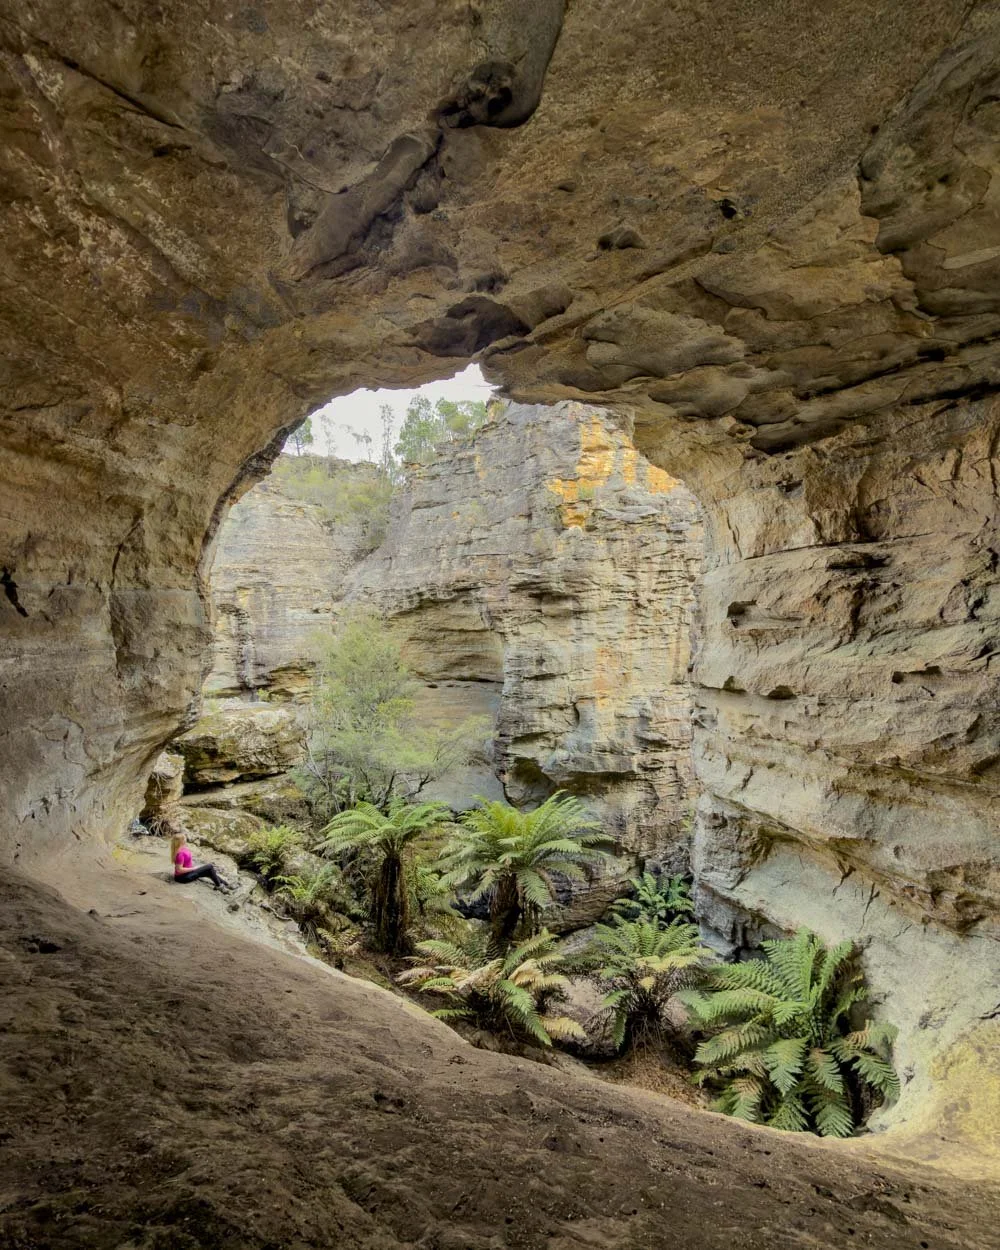
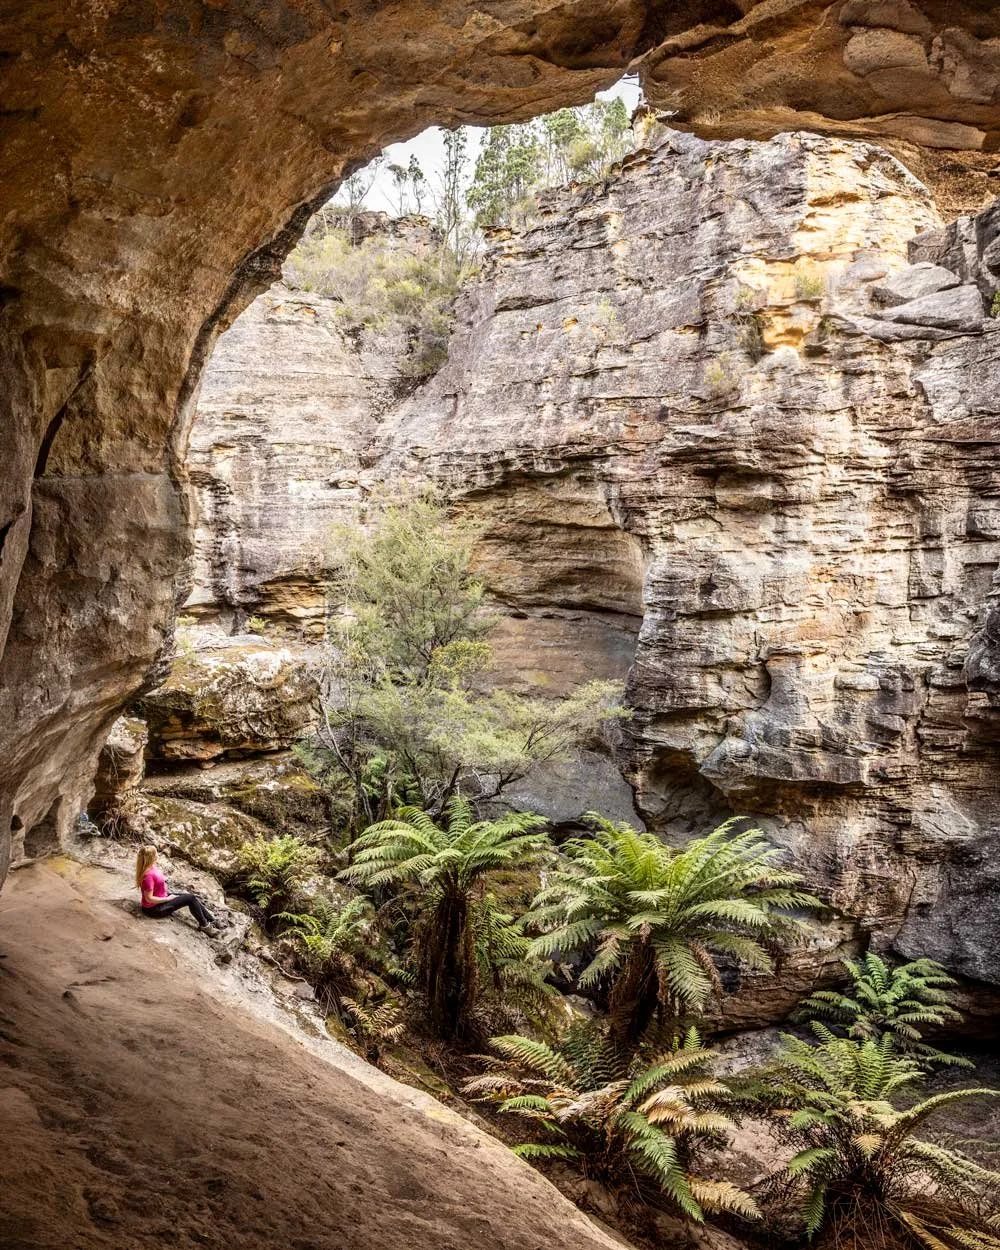
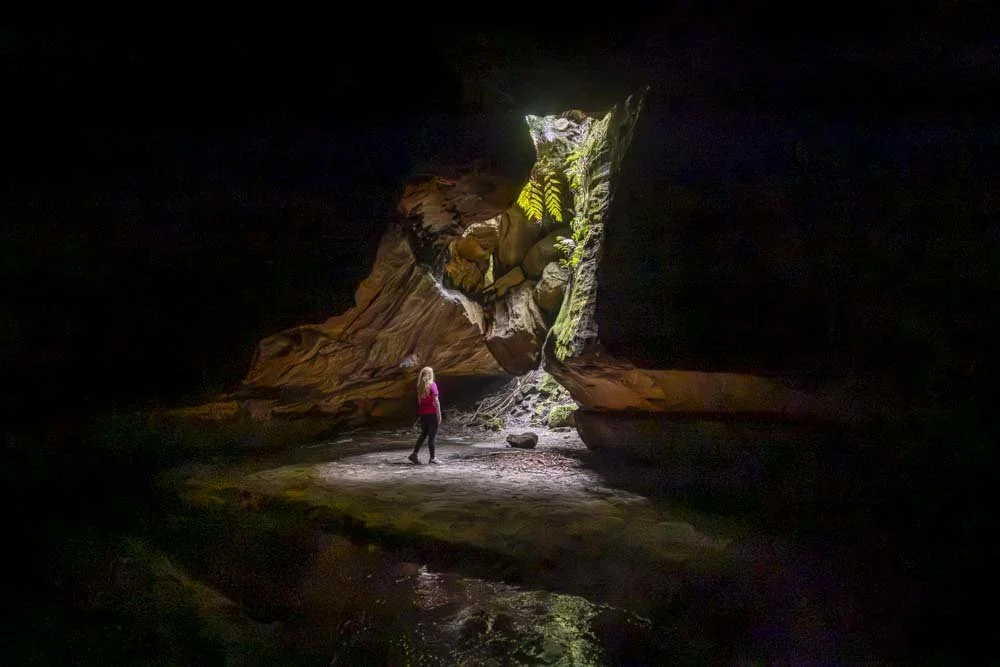
Acoustic Chamber is a giant and it lives up to its name with a really cool reverberating sound that I defy anyone to visit and not feel the need to burst out in song (thank goodness there was no one else in the canyon for this one!).
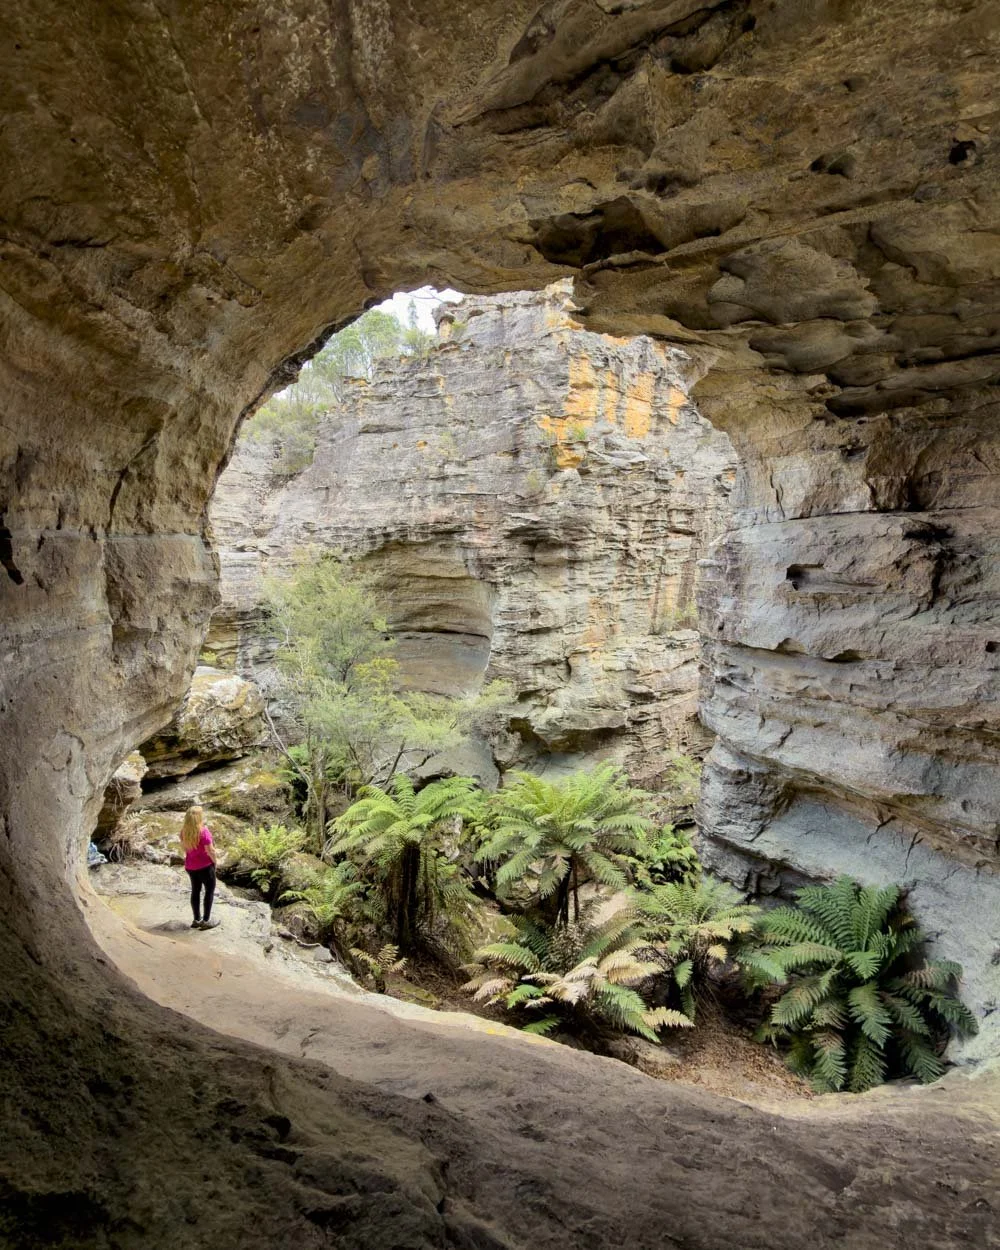
The tree ferns and pagodas you can see through the cave mouth are very picturesque and it’s a fun spot to sit and really contemplate where you are.
I can’t imagine how wild it would look if you started to zoom out and see the huge swathes of bush and pagodas surrounding you.
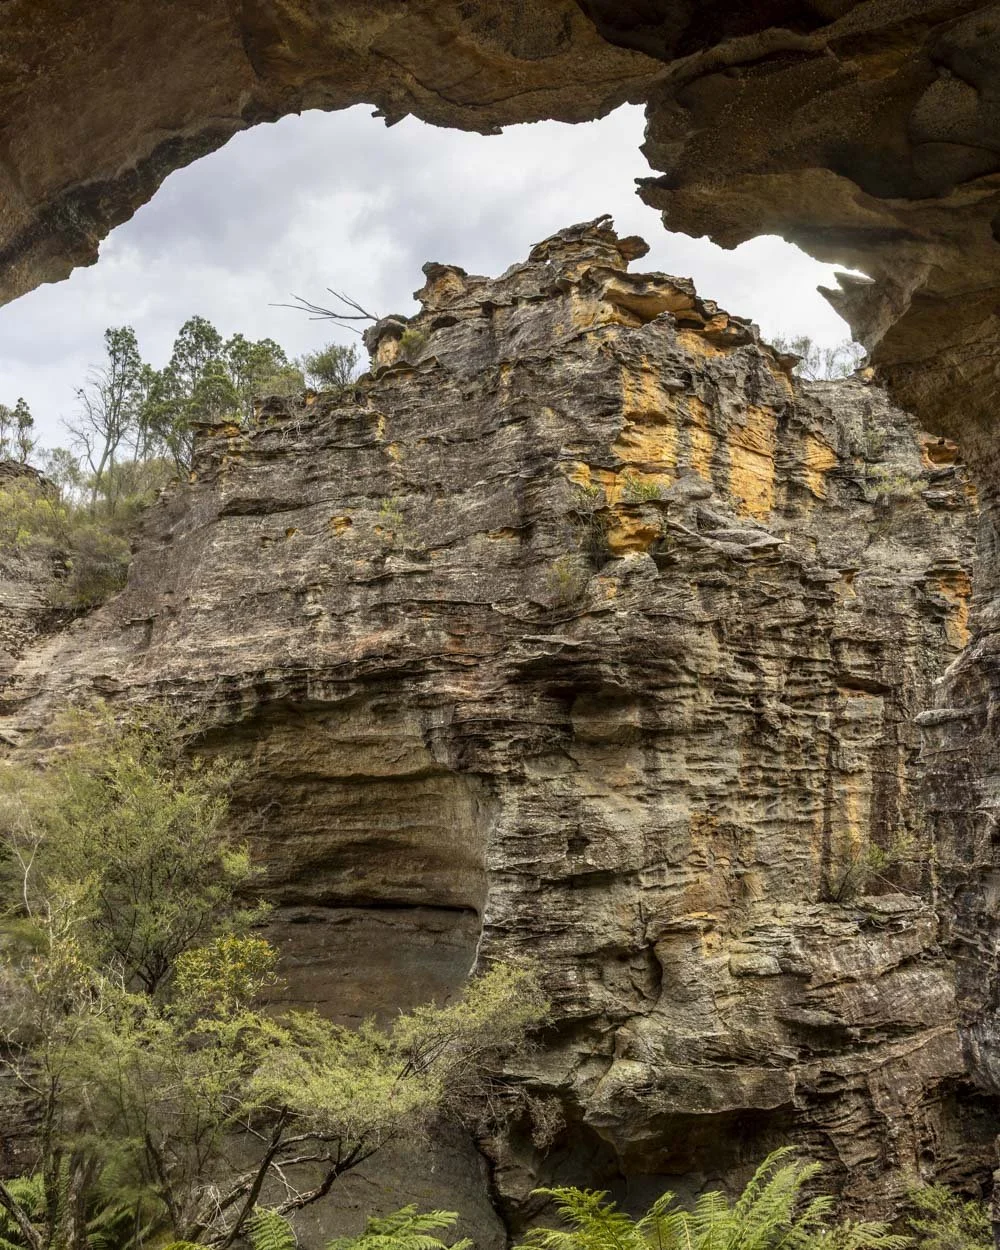
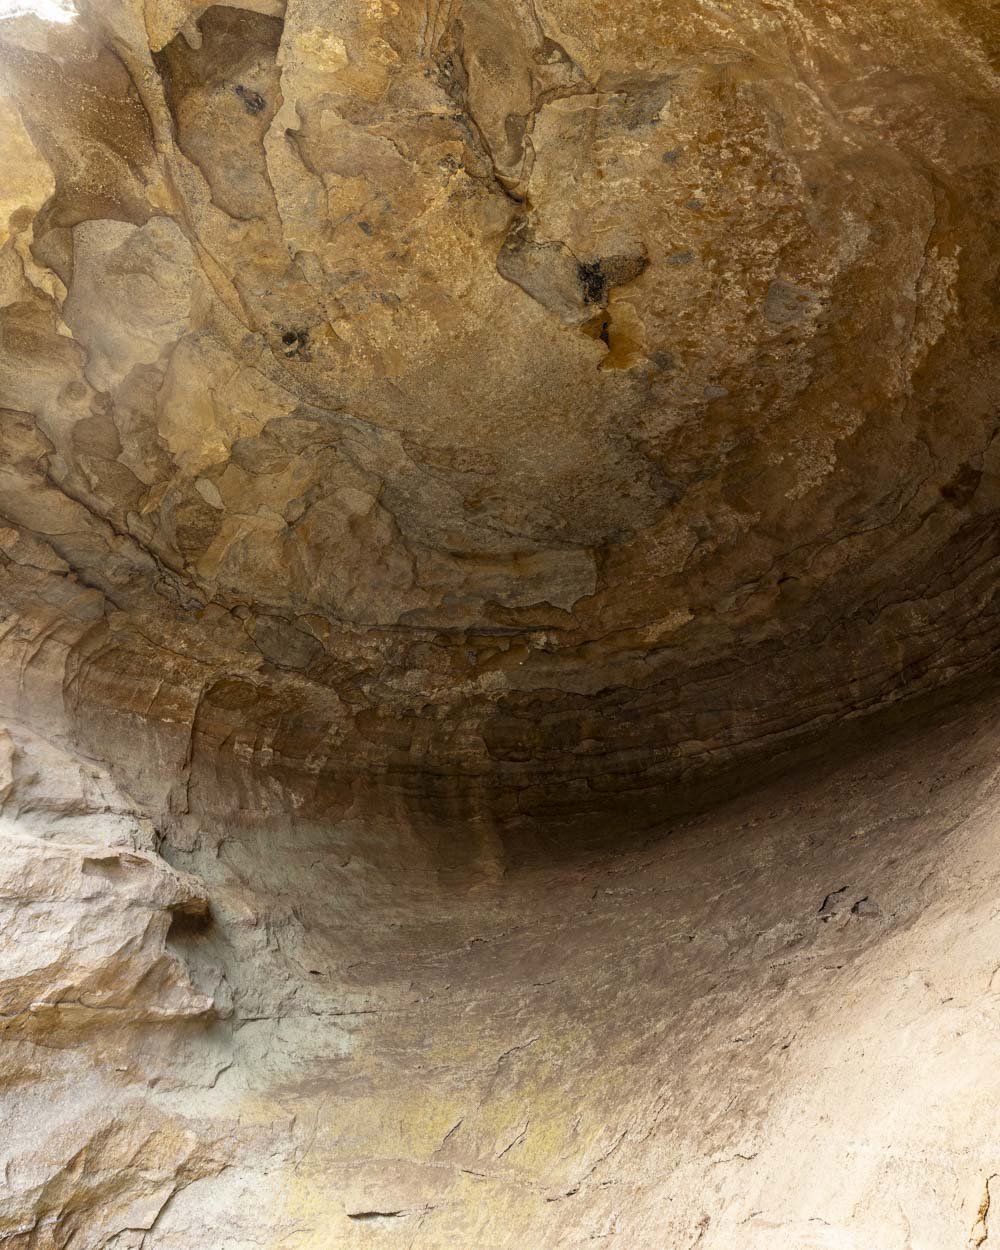
Climbing into the chamber can be thought of in two separate parts. Getting to the mid level is tiered nicely with good foot placements and no feeling of exposure.
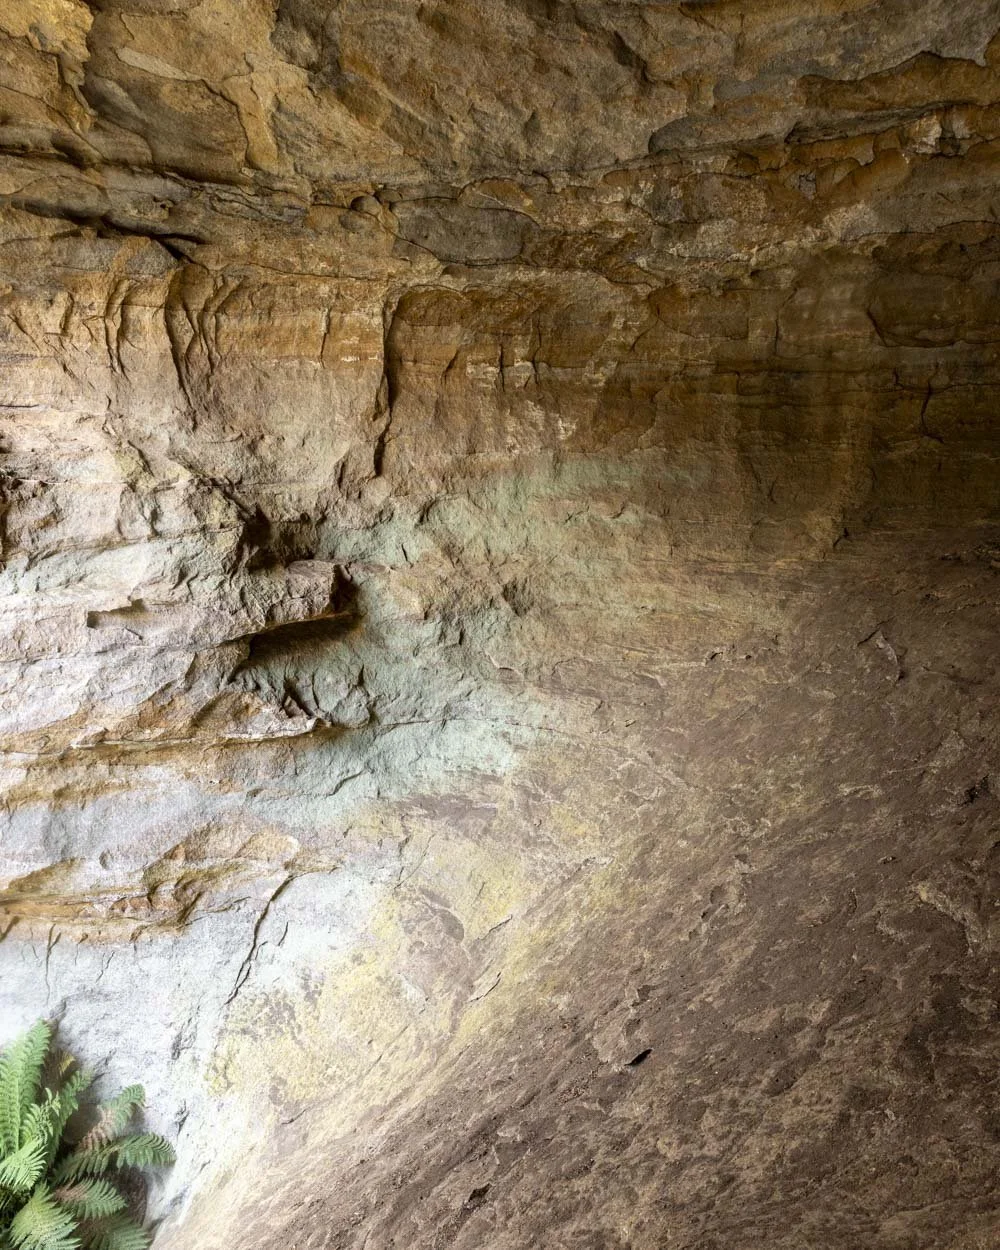
Getting to the higher reaches requires negotiating steeper tiers with narrower foot placements and a fine layer of sand making it feel a touch slippery.
However, you don’t need to go beyond the mid level to experience the acoustics and get a great view both into and back out of the cave.
Continuing through the canyon
Some of the prettiest parts of the canyon come directly after you leave Acoustic Chamber. There are some short narrow sections and more caves.
There is some debris round but nothing that’s too challenging to navigate.
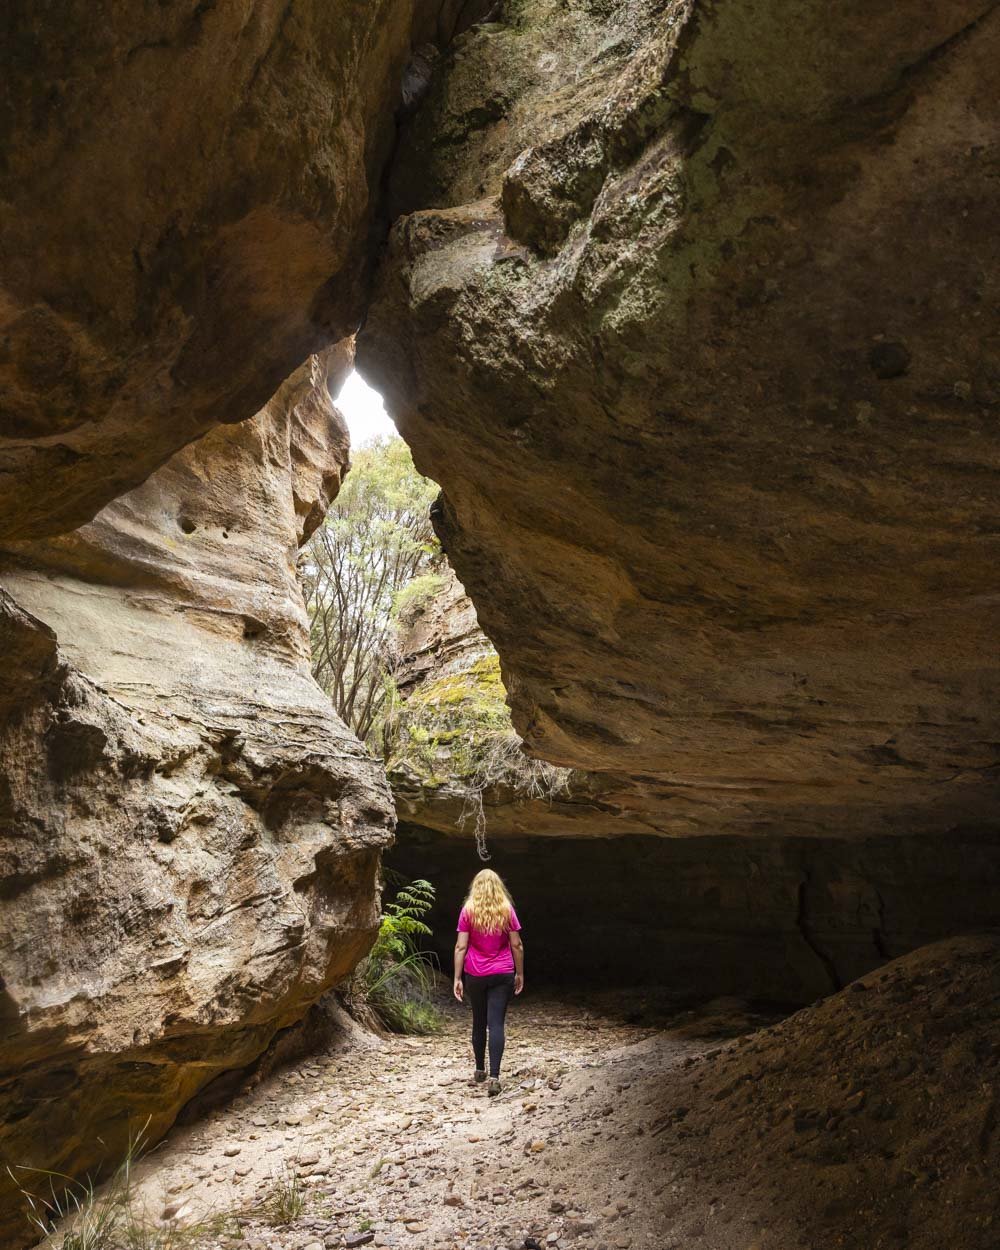
Roughly 100m after the main cave you’ll come to a mini Acoustic Chamber.
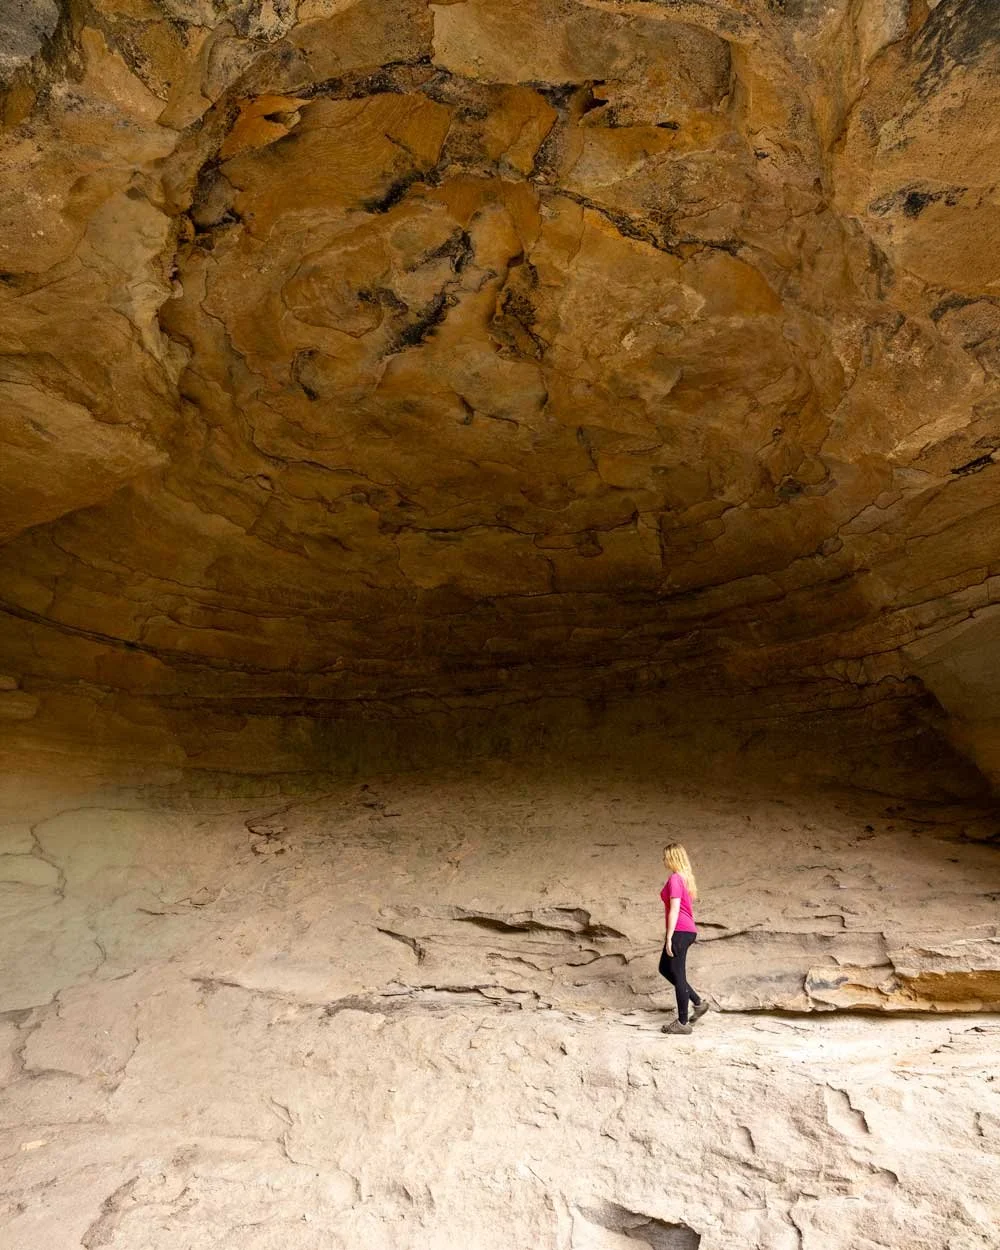
This one is easy to climb into and much easier to traverse as it’s pretty much flat. You pass along the middle of the cave and then climb back down into the canyon just past the rock pile.
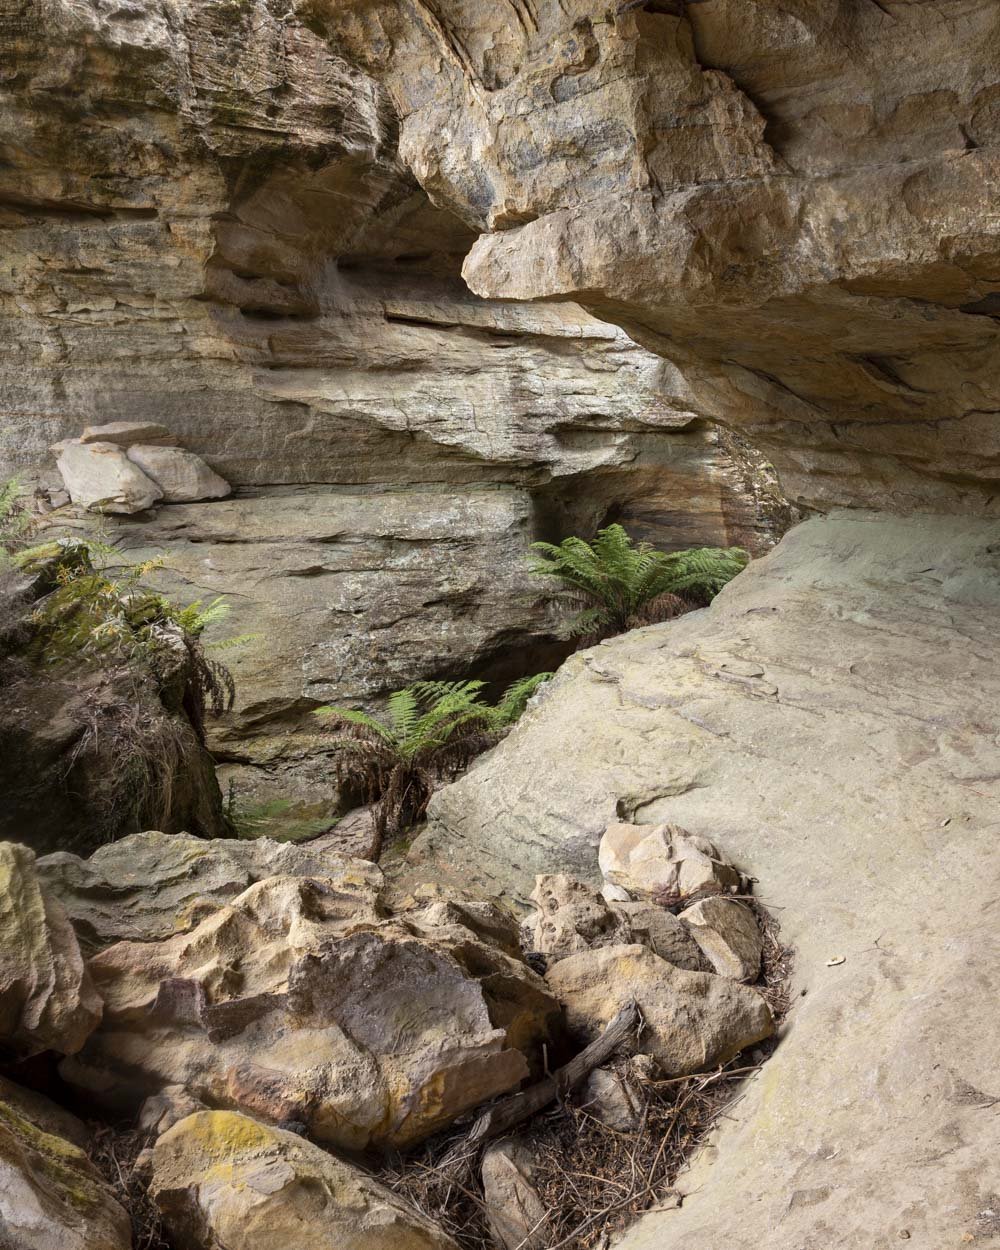
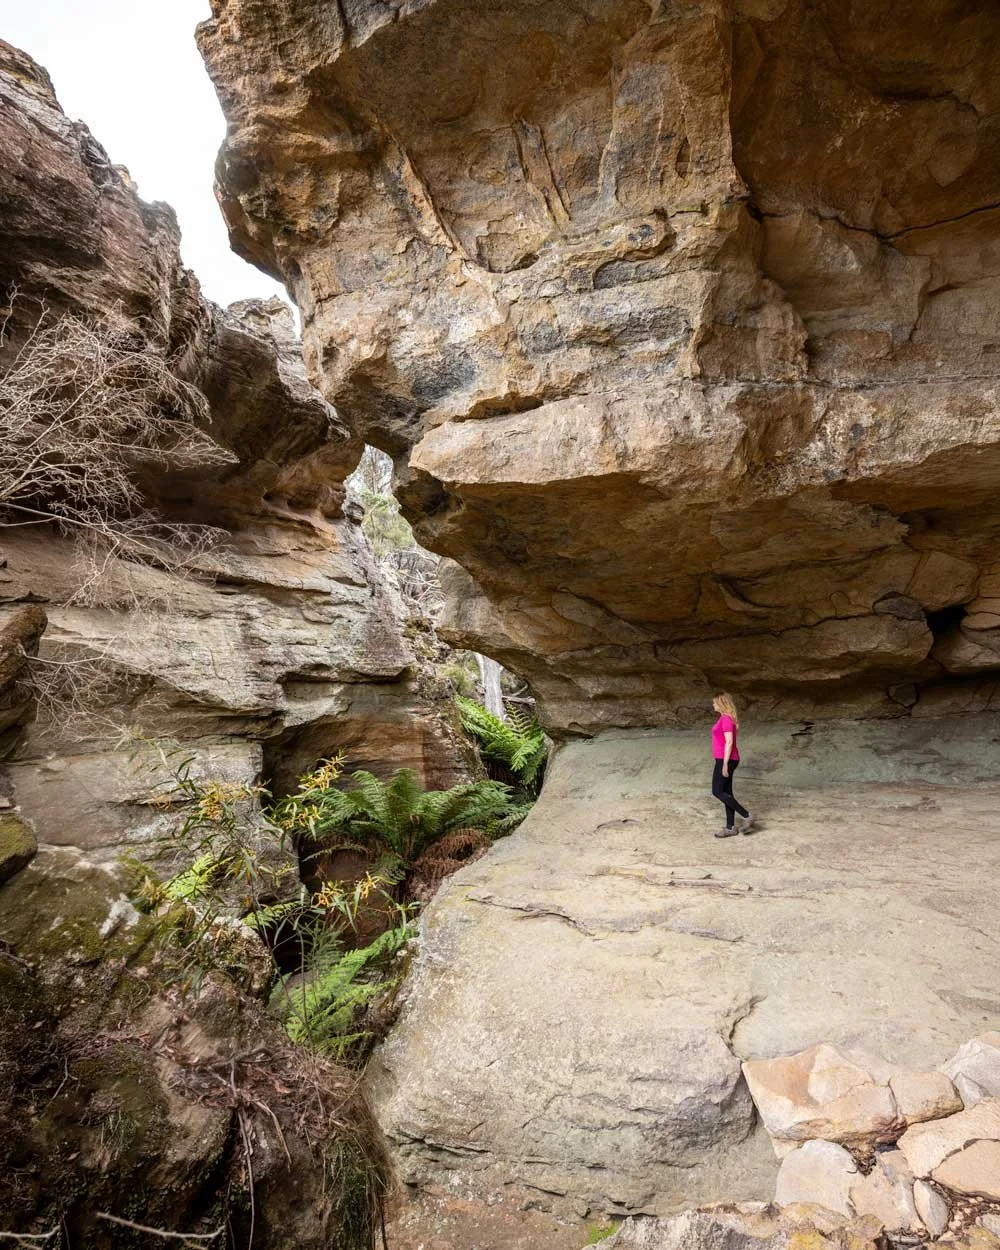
There’s another gorgeous narrow section and then it gets bushier.
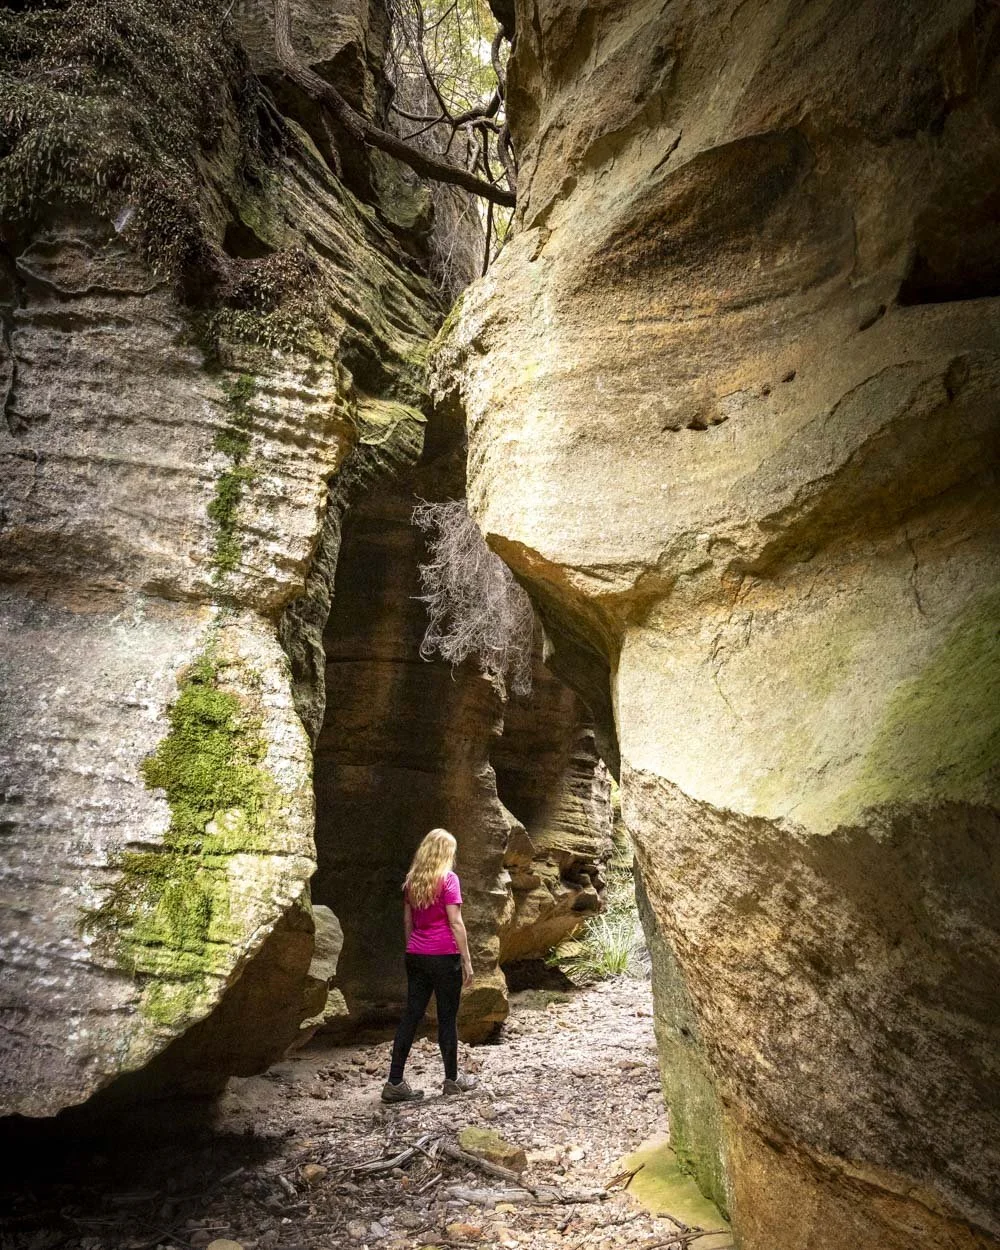
You’ll come to a bit of a rock clamber on the right where you need to climb up onto and then traverse some huge rock slabs, but it’s easy to get onto them and they are grippy when dry.
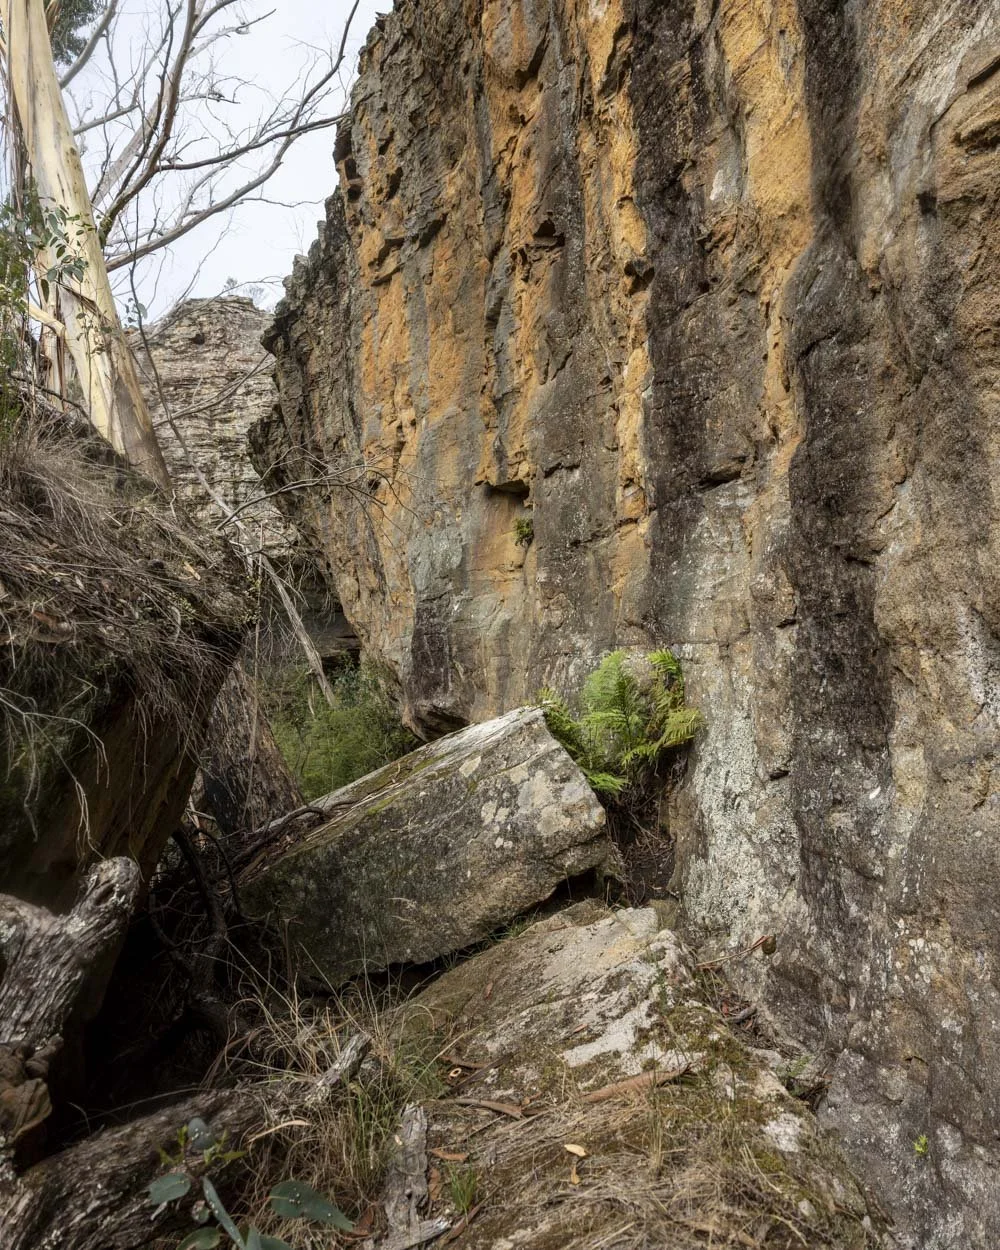
Shortly after you’ll come to the exit crack. The canyon opens up and there is a huge gum tree, the exit is hidden on the eastern side.
It isn’t obvious, so it’s worth keeping an eye out for it.
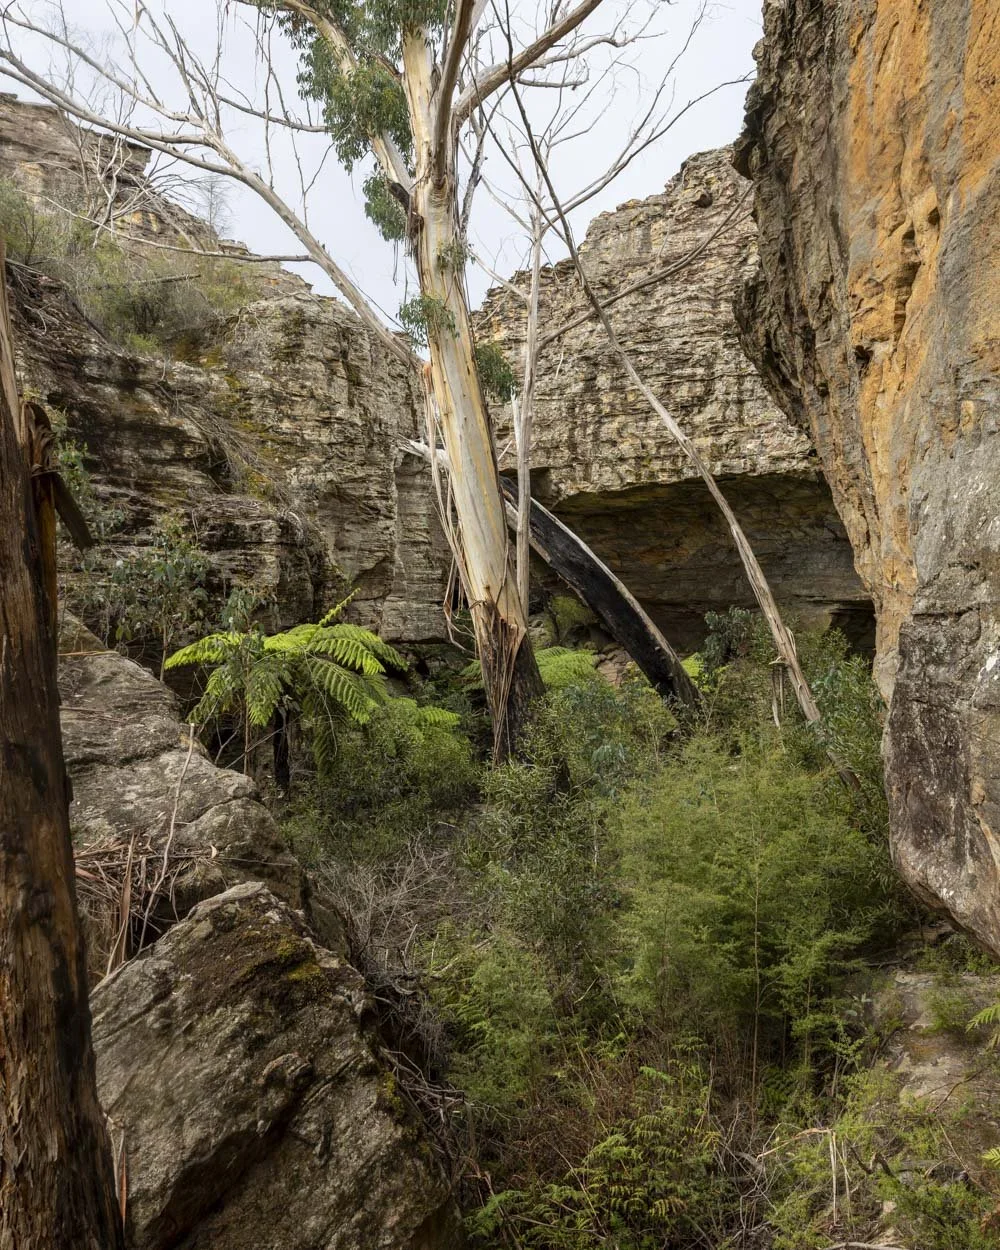
The gum tree by the exit
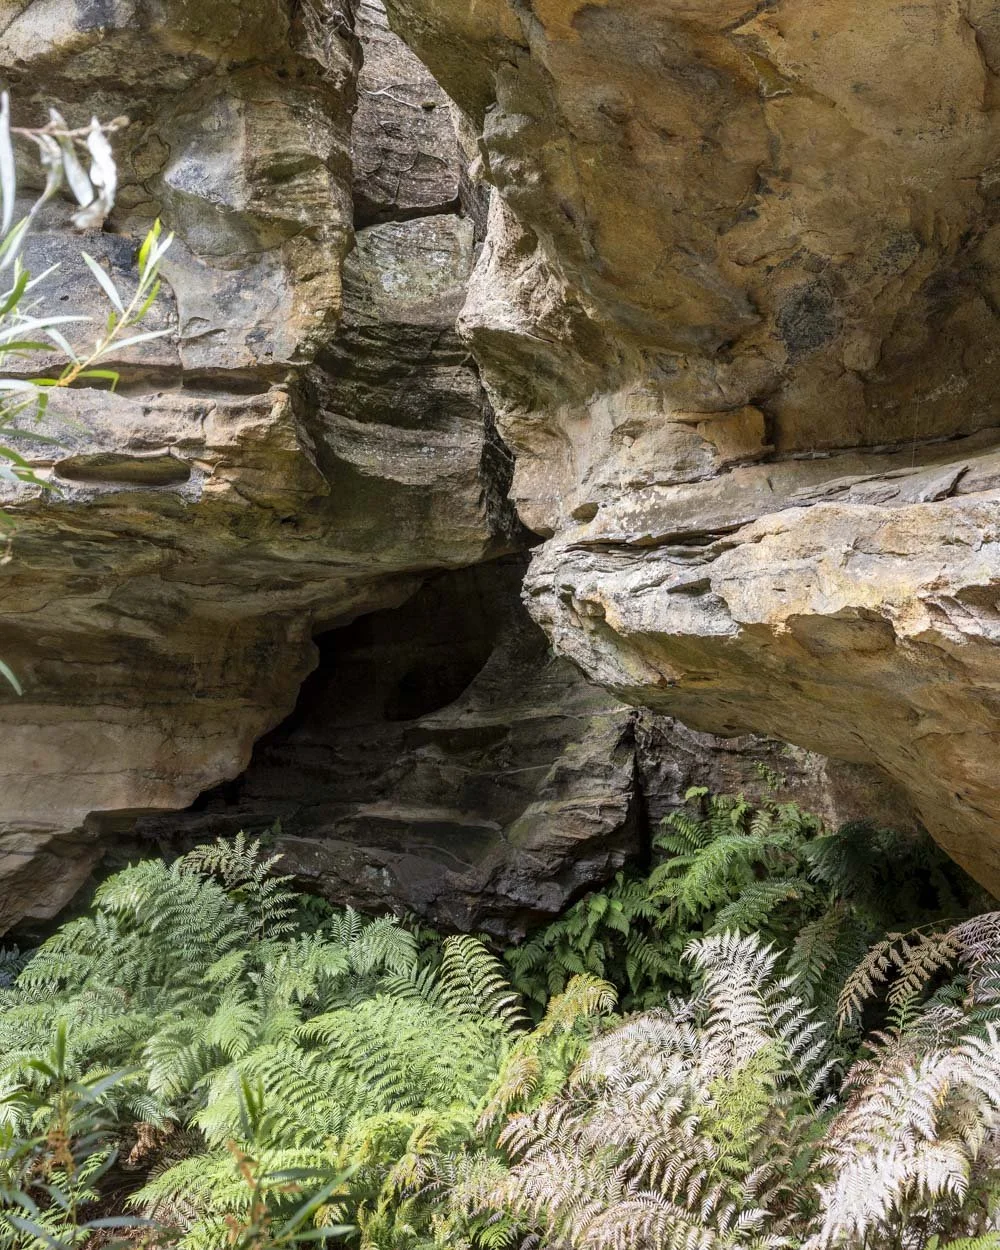
The gap for the exit on the eastern wall
However, before you leave the canyon it’s worth continuing for a further 80m to the view at the end of the ledge.
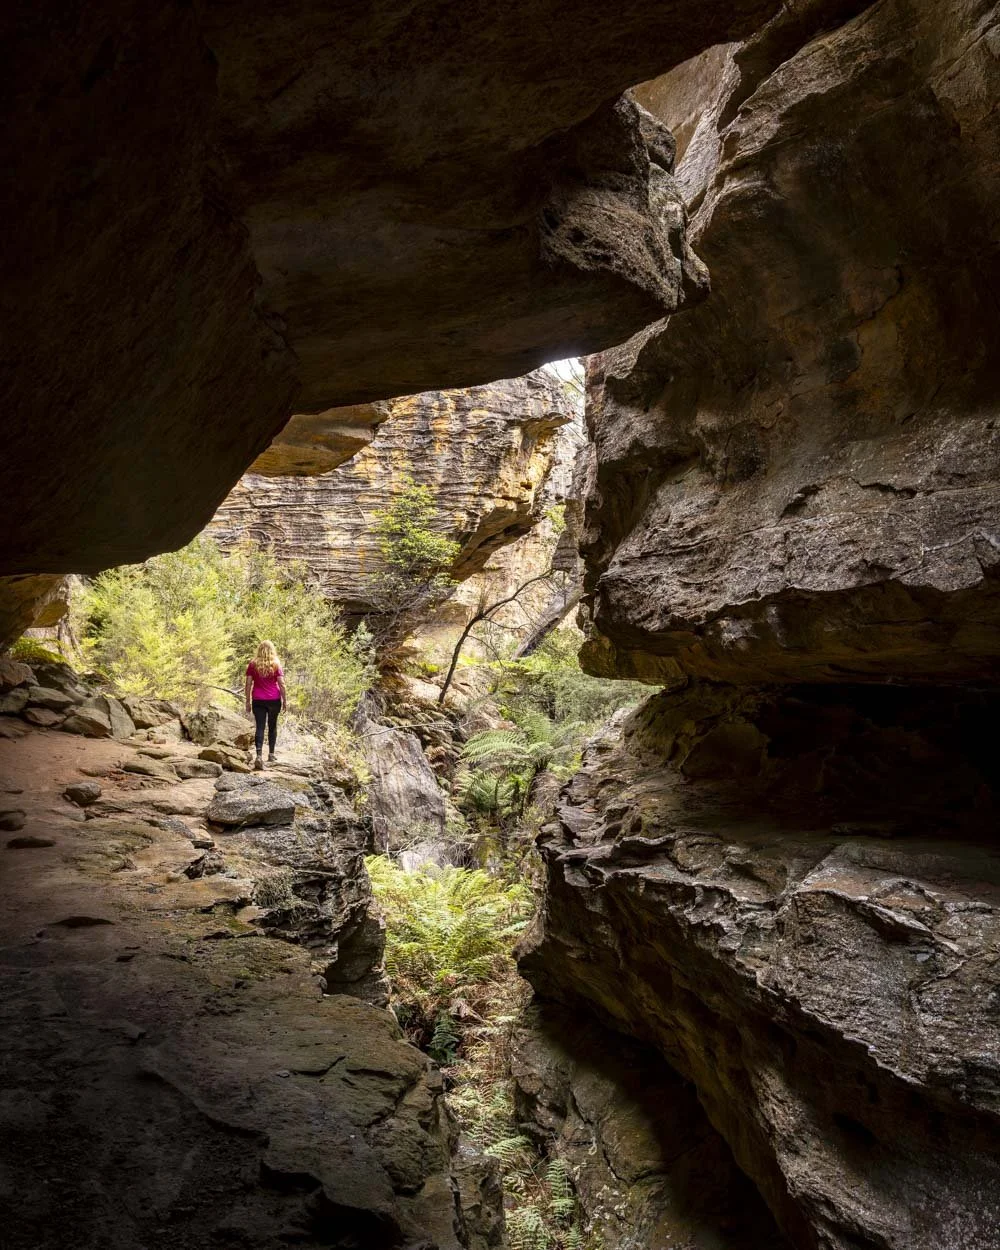
Walking along the ledge is straightforward and you only need to hunch a little bit for a brief moment as you pass under a low section of the overhang.
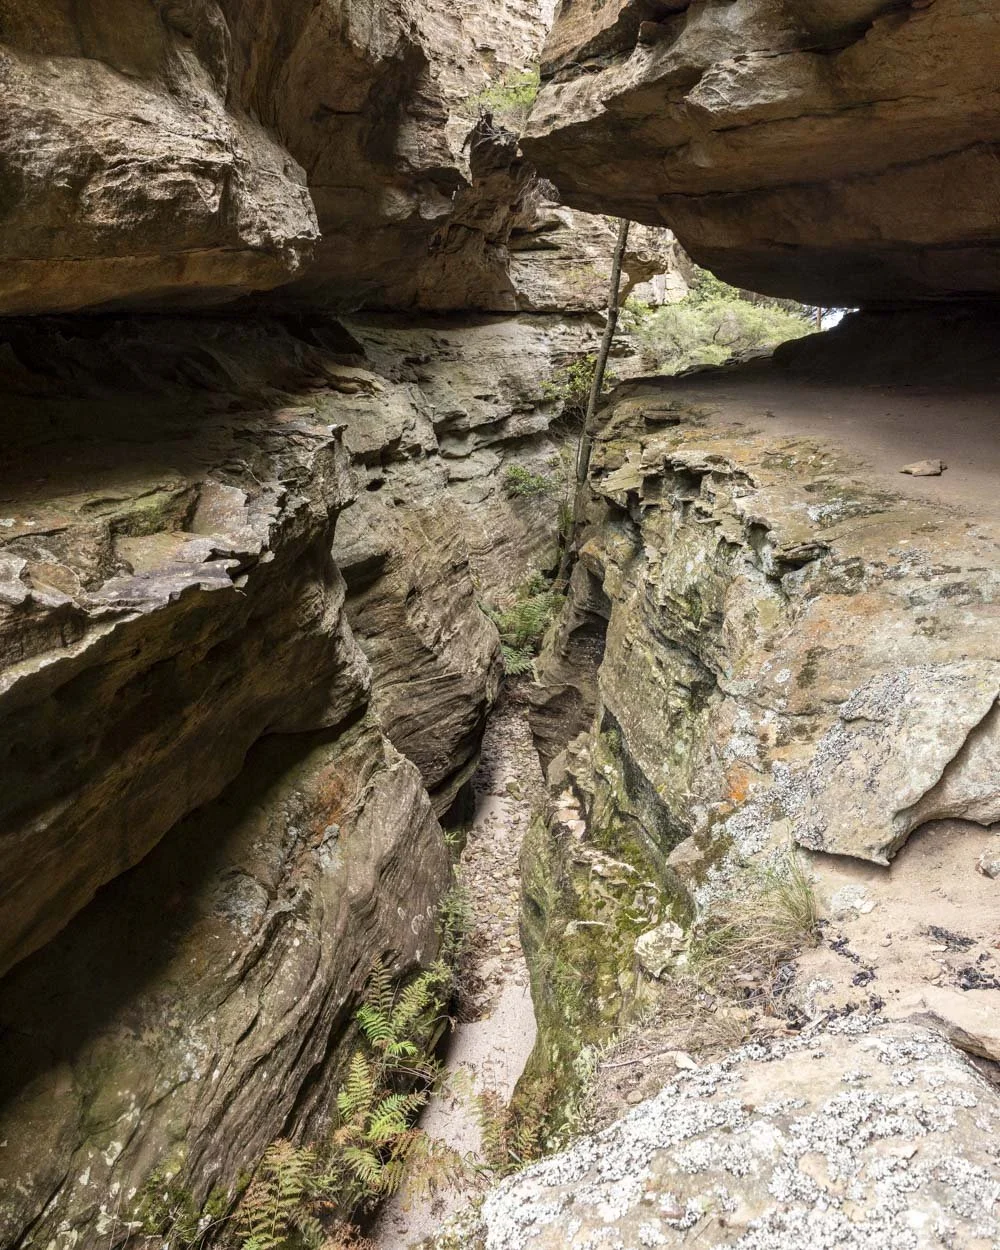
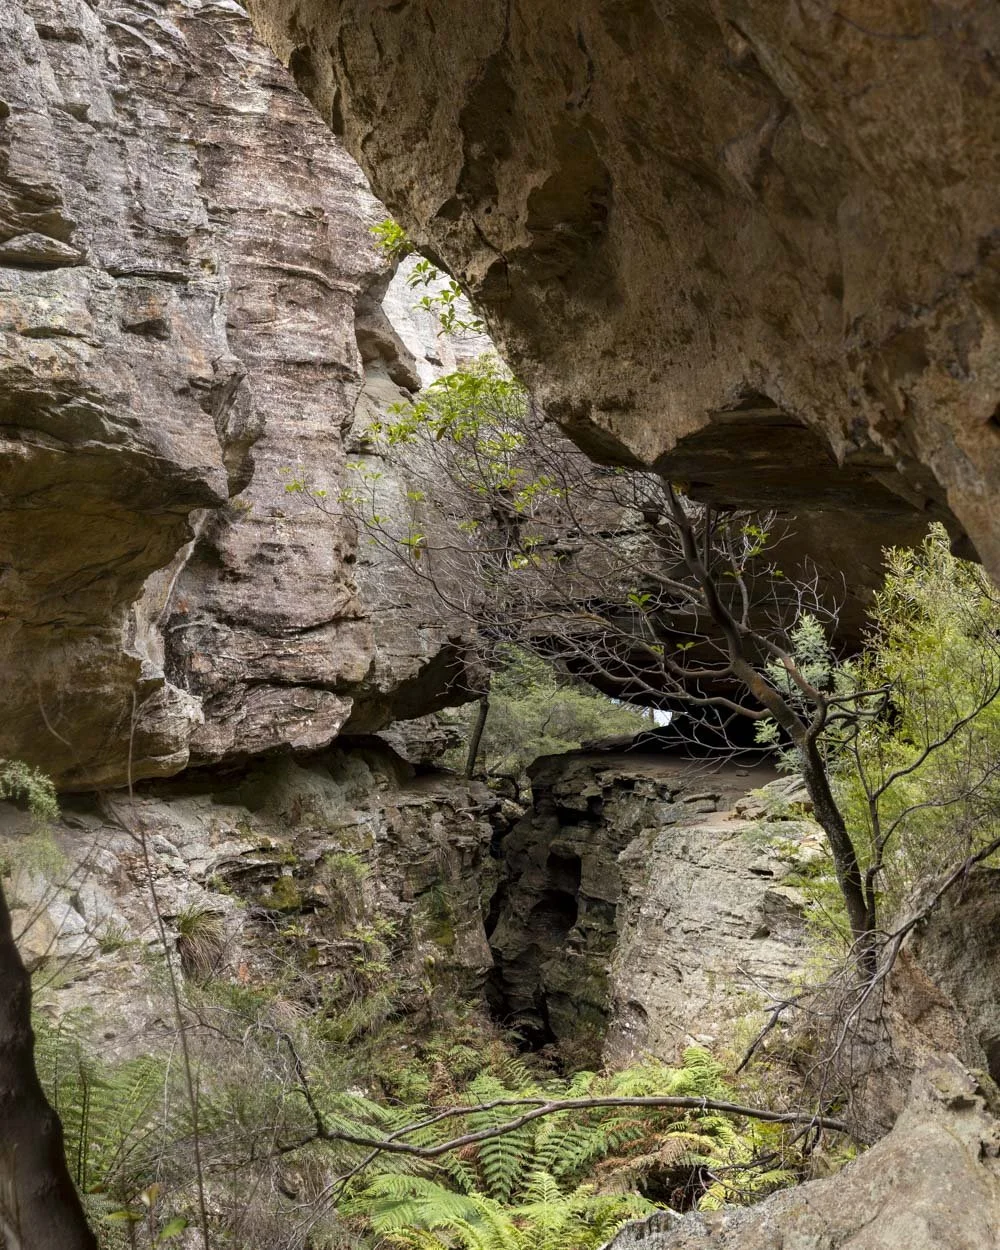
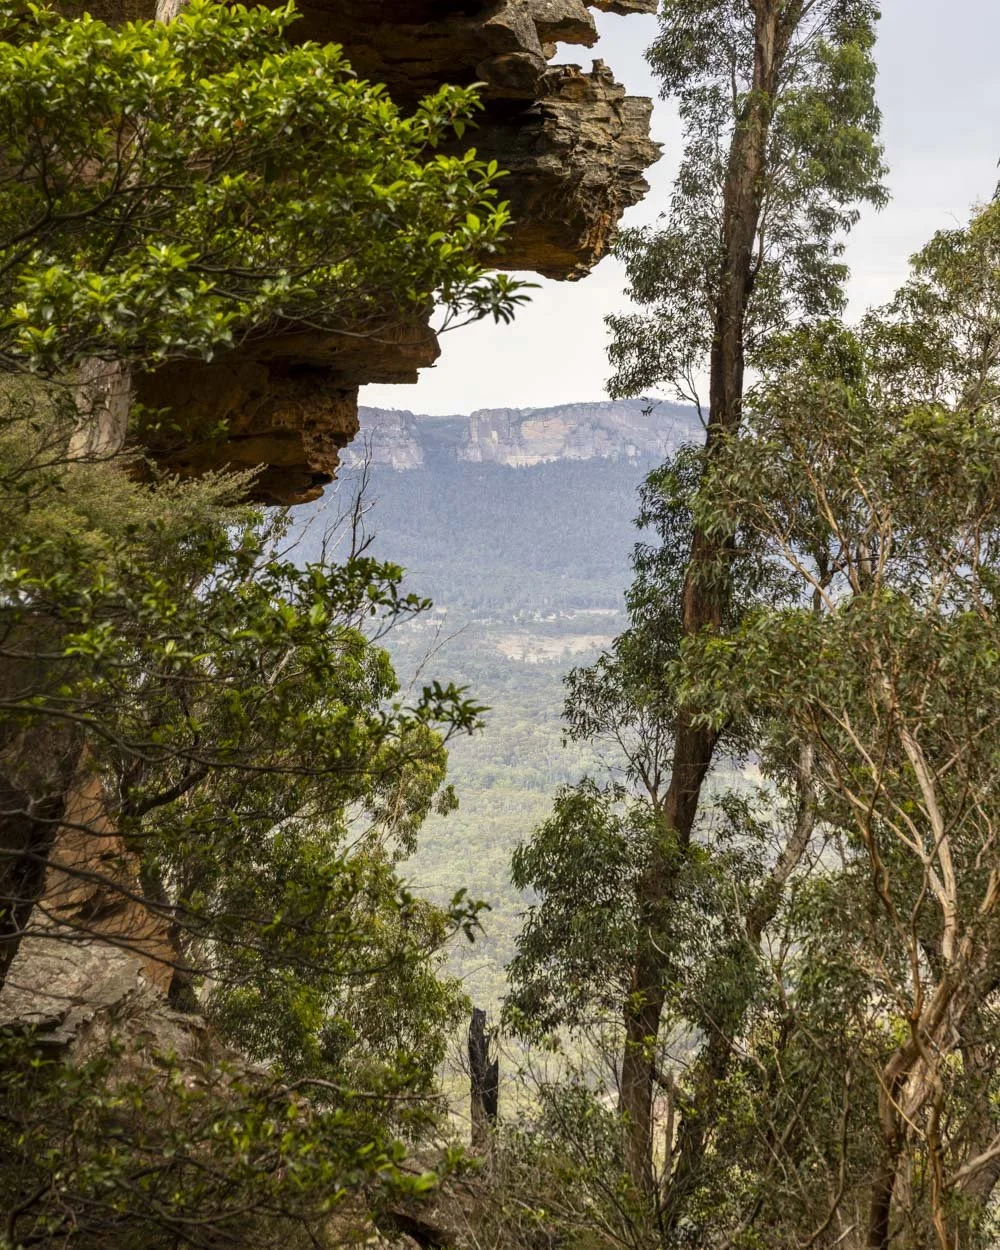
The view at the end, over Wolgan Valley, is somewhat obscured by trees but gorgeous none the less. You then need to retrace your steps for around 80ish metres to look for the exit crack.
The exit climb
I reckon this is the most fun exit climb we’ve done in the mountains yet. You climb up through a narrow slot which is easy but for the very first move.
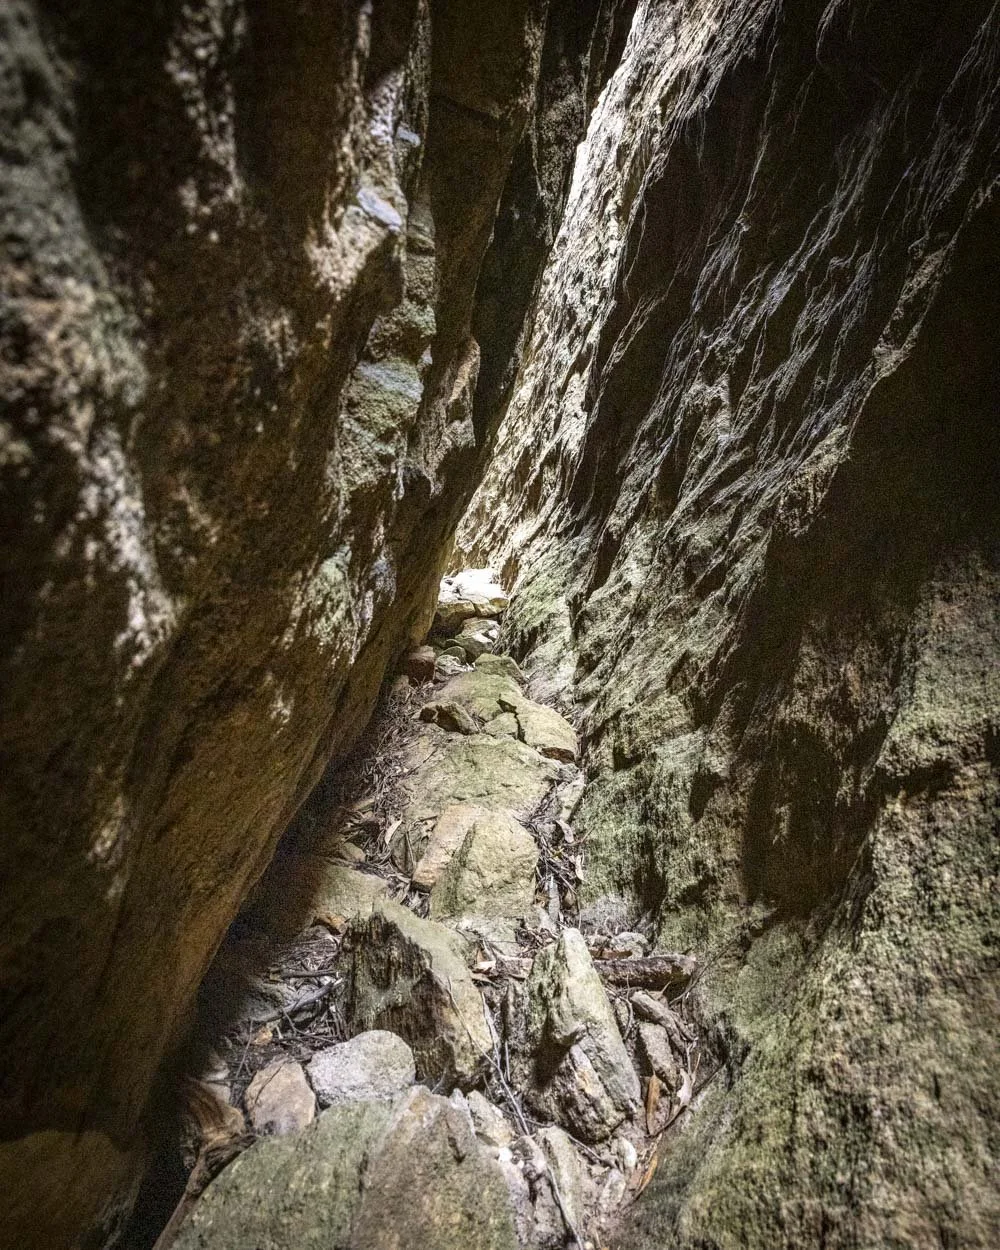
You need to climb up into the crack which is a bit of a stretch.
There is a little (unstable) rock pile to give you a boost but I personally found it easier to go on my bum and hoist up backwards.
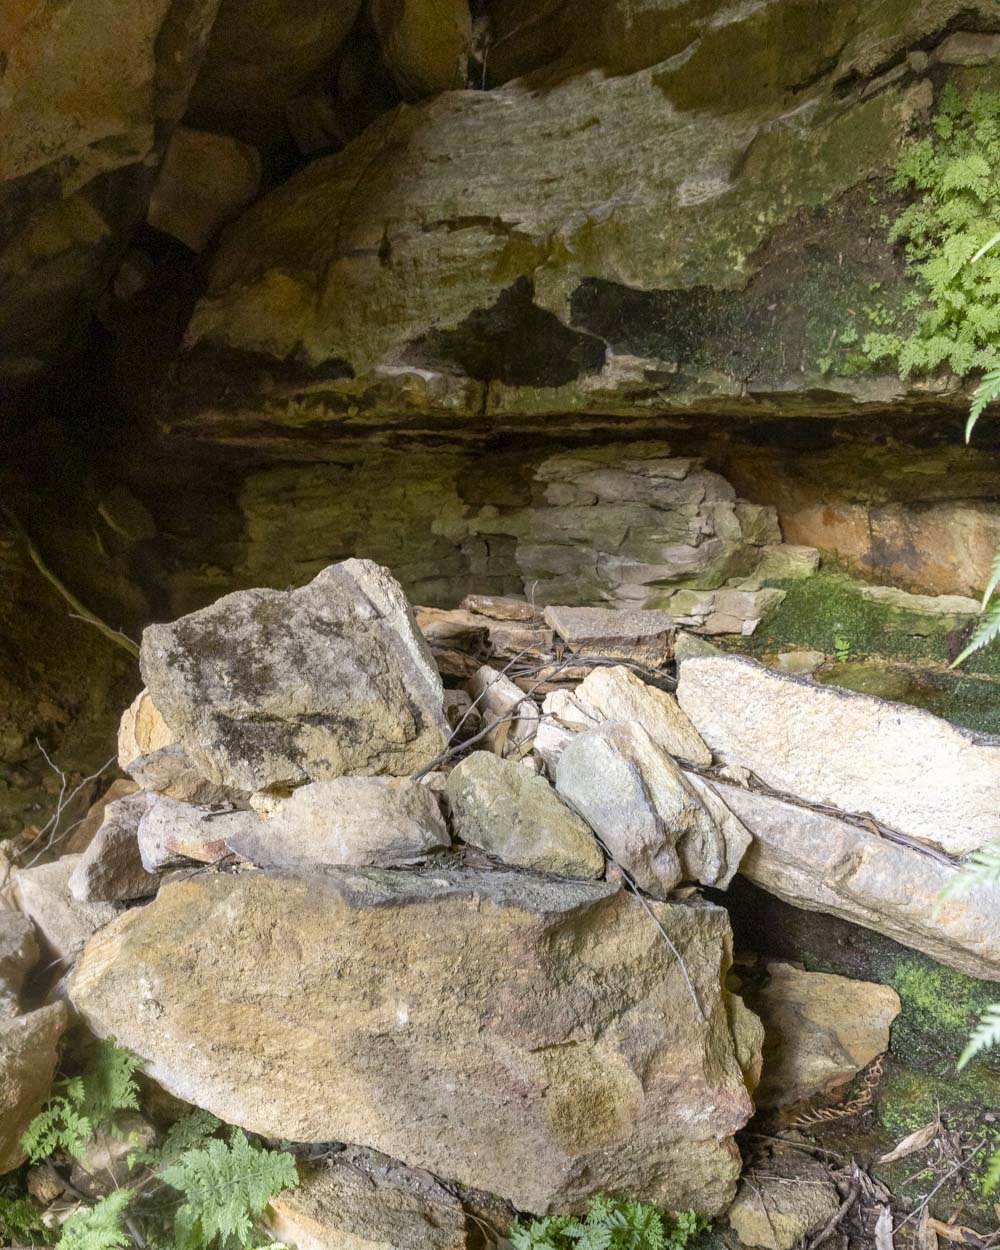
The rock pile to help you boost up into the exit crack
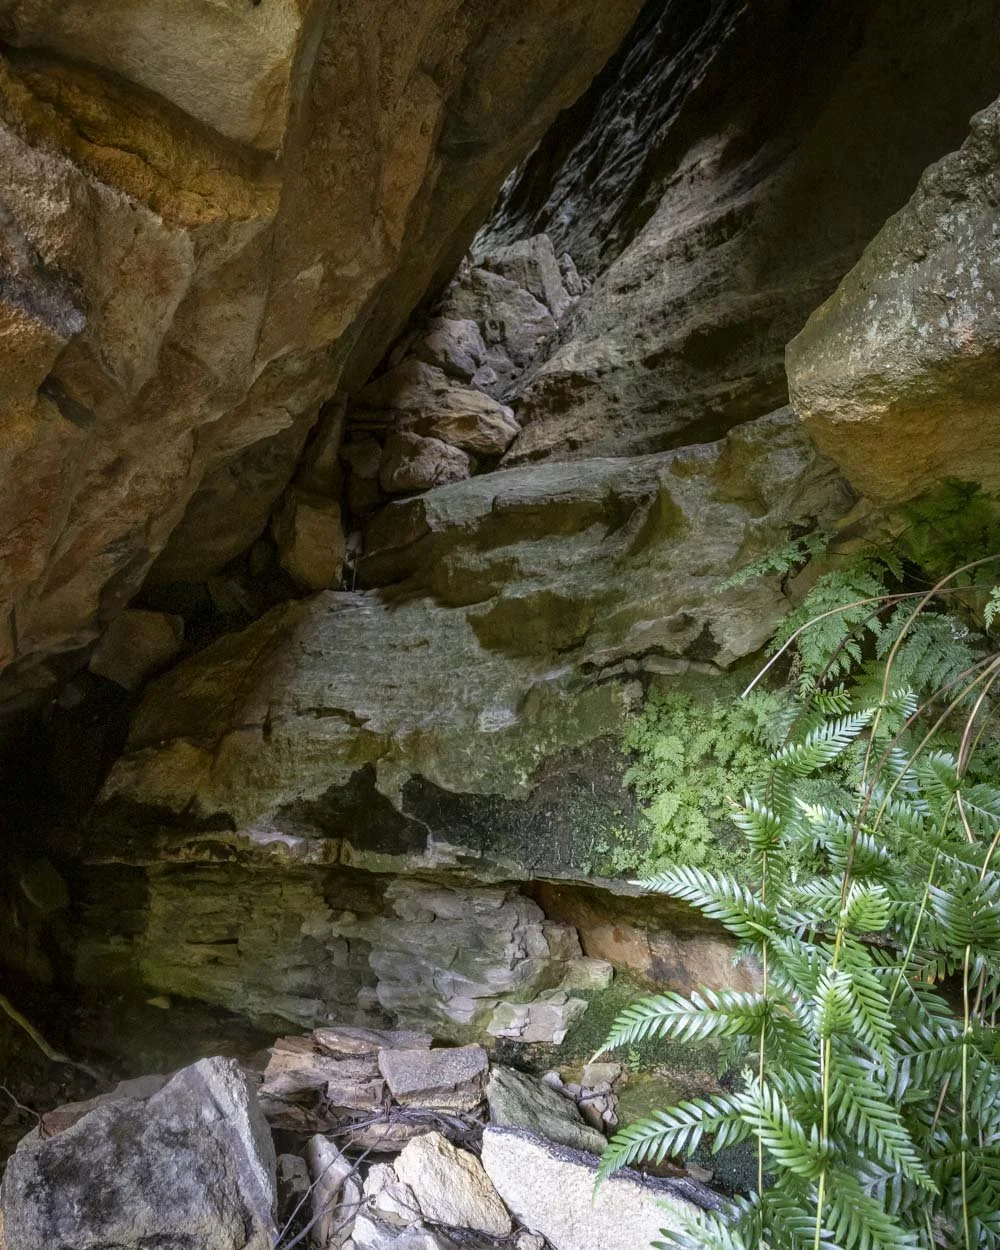
The scramble up into the exit crack
There are two excellent footholds and if you’re nimble and have a little upper body strength you can go forwards no problem, but for me backwards was the much easier option.
Once you’re in the crack, it’s a straightforward walk up the rocks through the narrow gap in the cliffs which goes for about 100m.
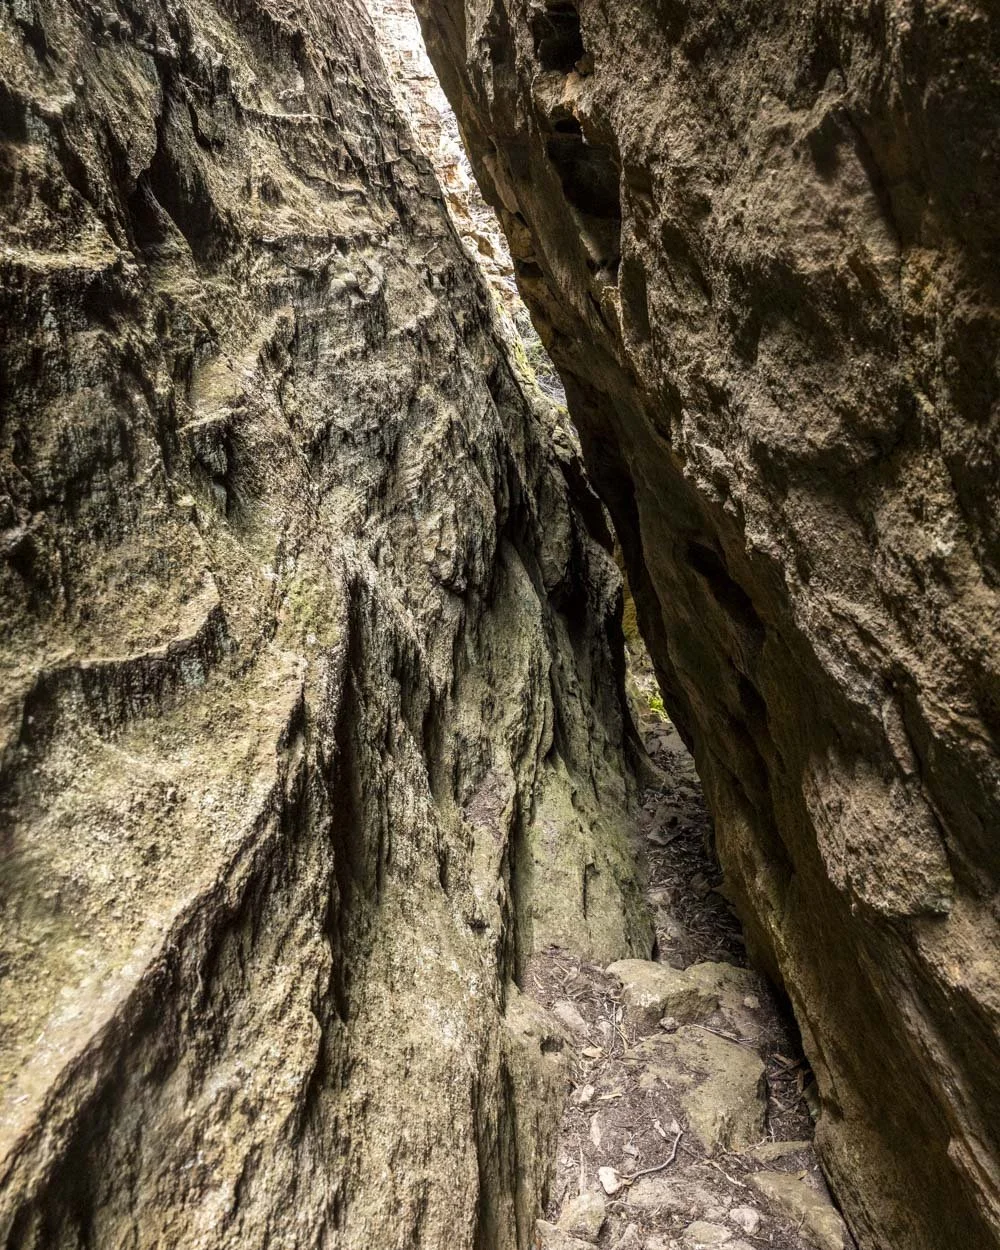
Once you’re out the slot, you’ve pretty much exited the canyon. You need to head east to get back onto No.8 Firetrail and walk back to your car.
There is unavoidable thick bush at first, with a bit of a path, albeit overgrown. After approximately 100m in the bush it gets more thick and there is some significant debris.
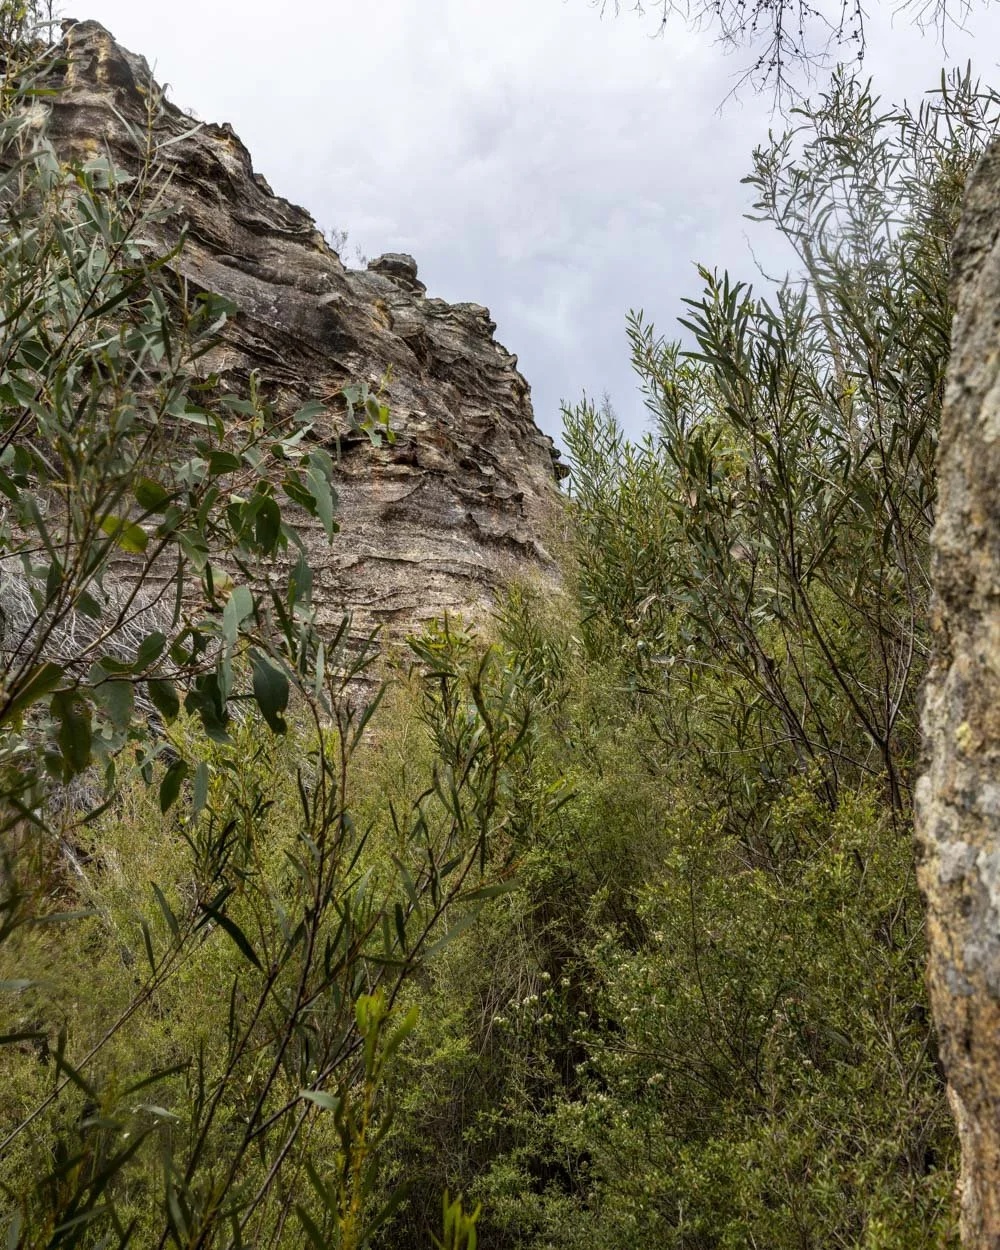
You could choose to keep ploughing through, but we opted to exit at this point by climbing the pagoda. Our hope was that we could walk along rock for as much as possible to avoid the worst of the thick scrub. The co-ordinates for the pagoda are -33.2842042, 150.1591162
The climb up the pagoda is probably a couple of metres and quite steep, but very grippy with good ledges.
I found it easy, though you should take care as even though it’s not too far off the ground you wouldn’t want to slip.
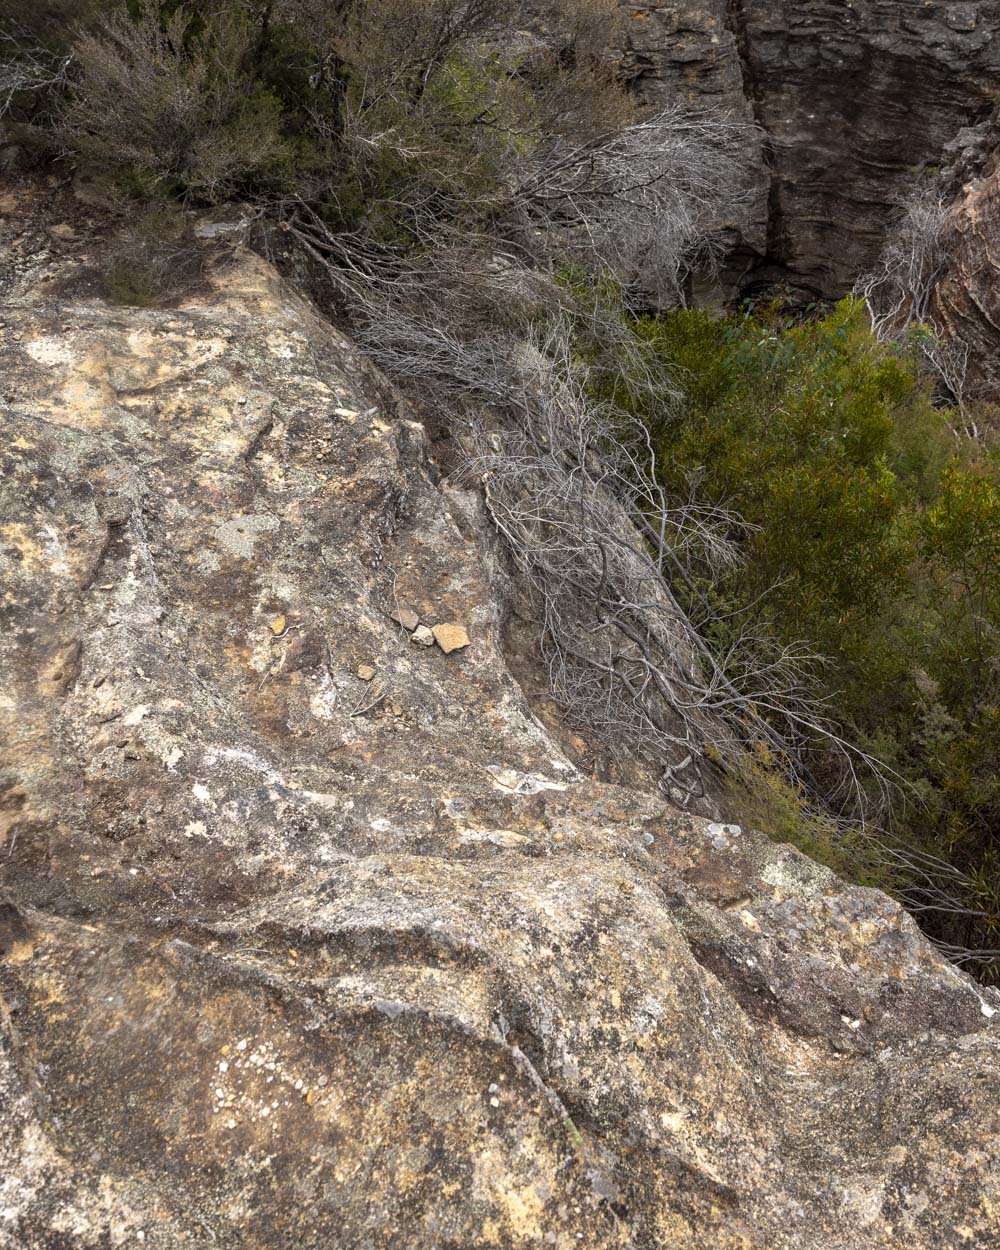
Finding the fire trail and completing the walk
The views from the rock platform are spectacular and there’s plenty of flat rock to sit and relax on before you tackle the bush bash back to the fire trail.
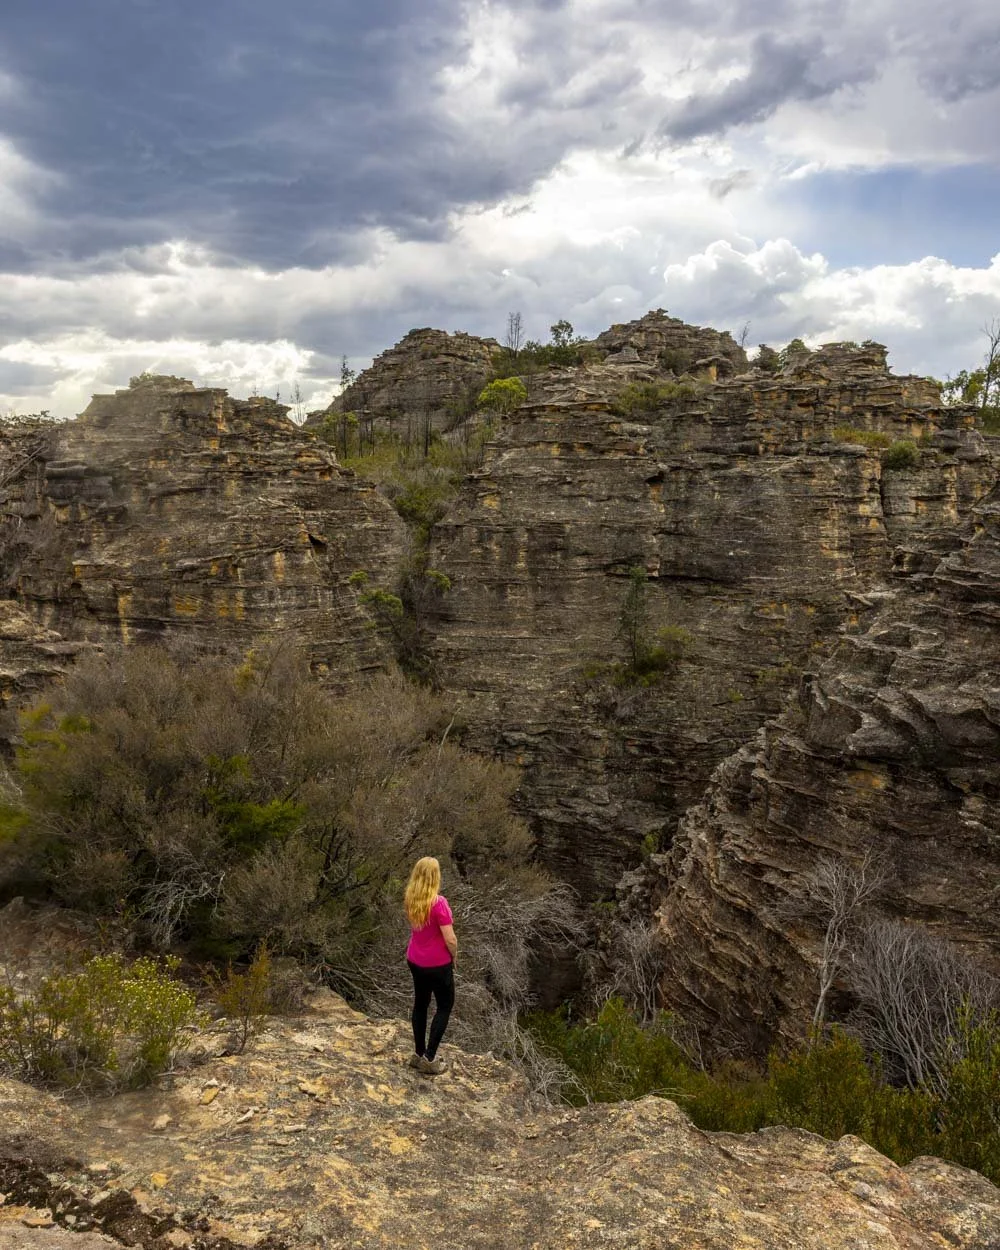
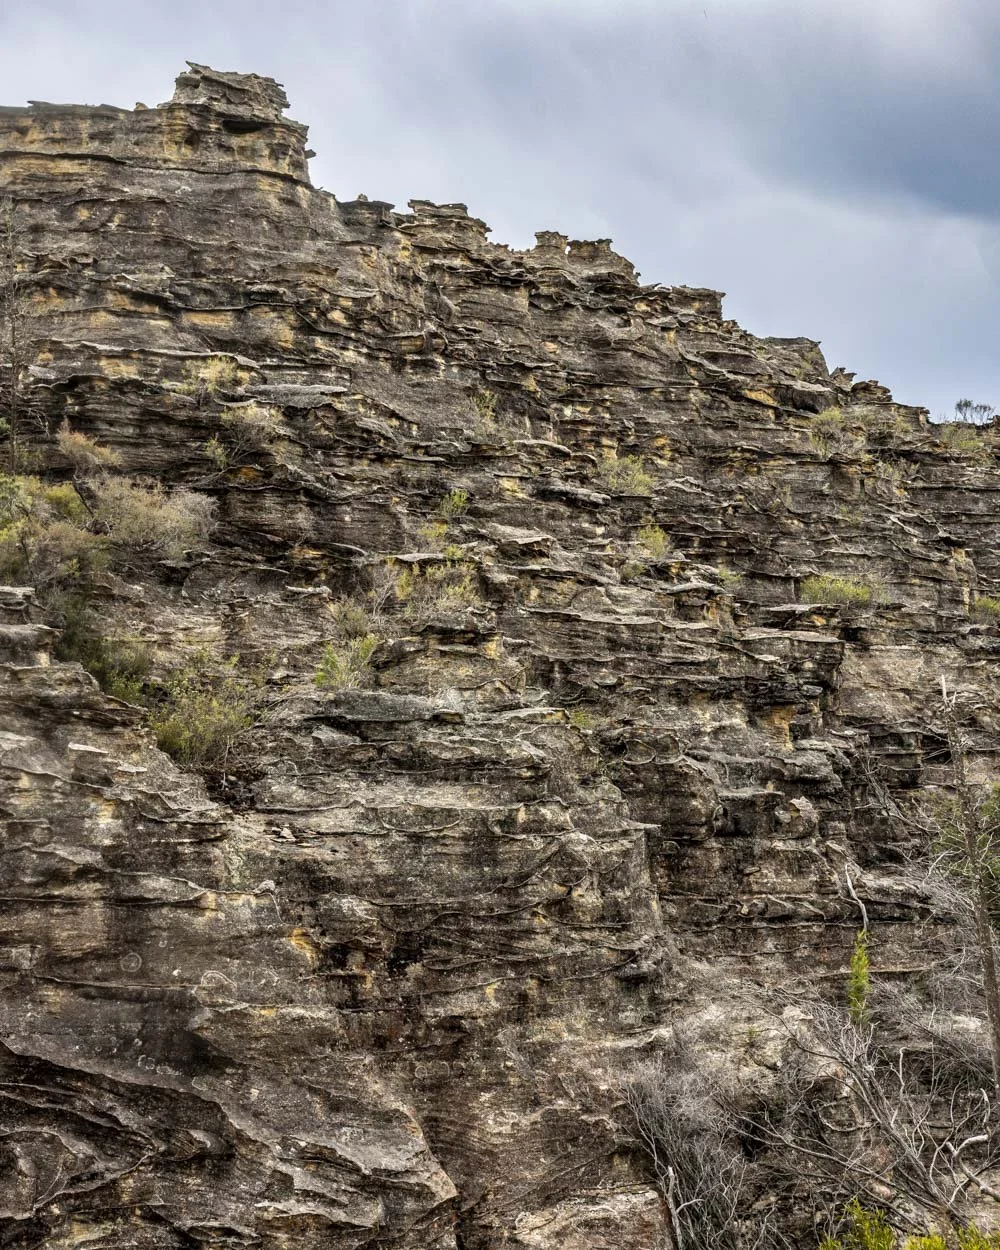
Before you go it’s worth peering down over the exit crack from above, it’s so fun to think you were down there moments ago!
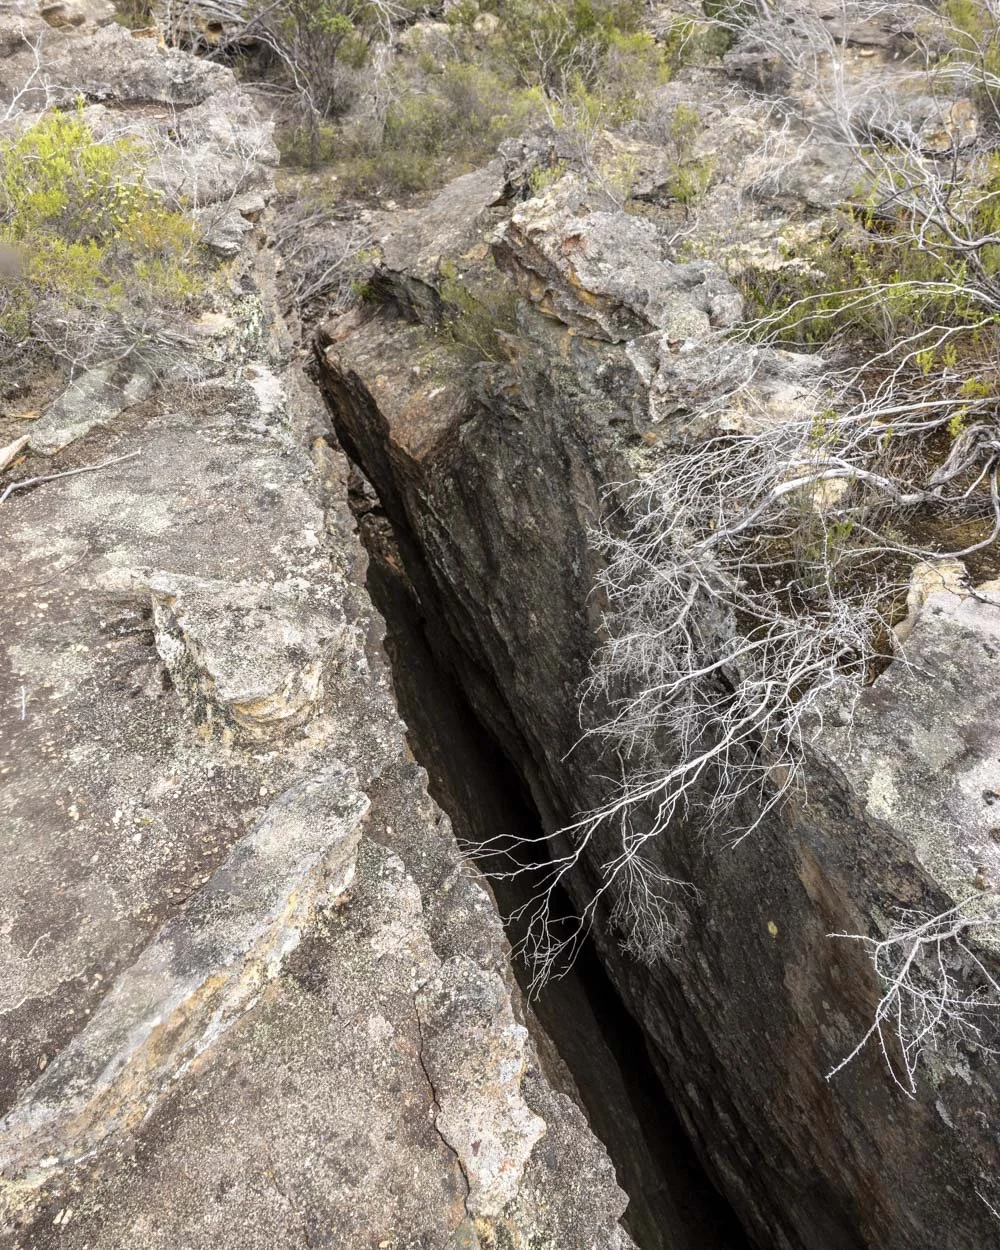
Now, as with the bush bash on the way in, you’ll be making your own path here. However, for the first 100m or so you can follow the pagodas uphill, which is much easier than walking in the bush.
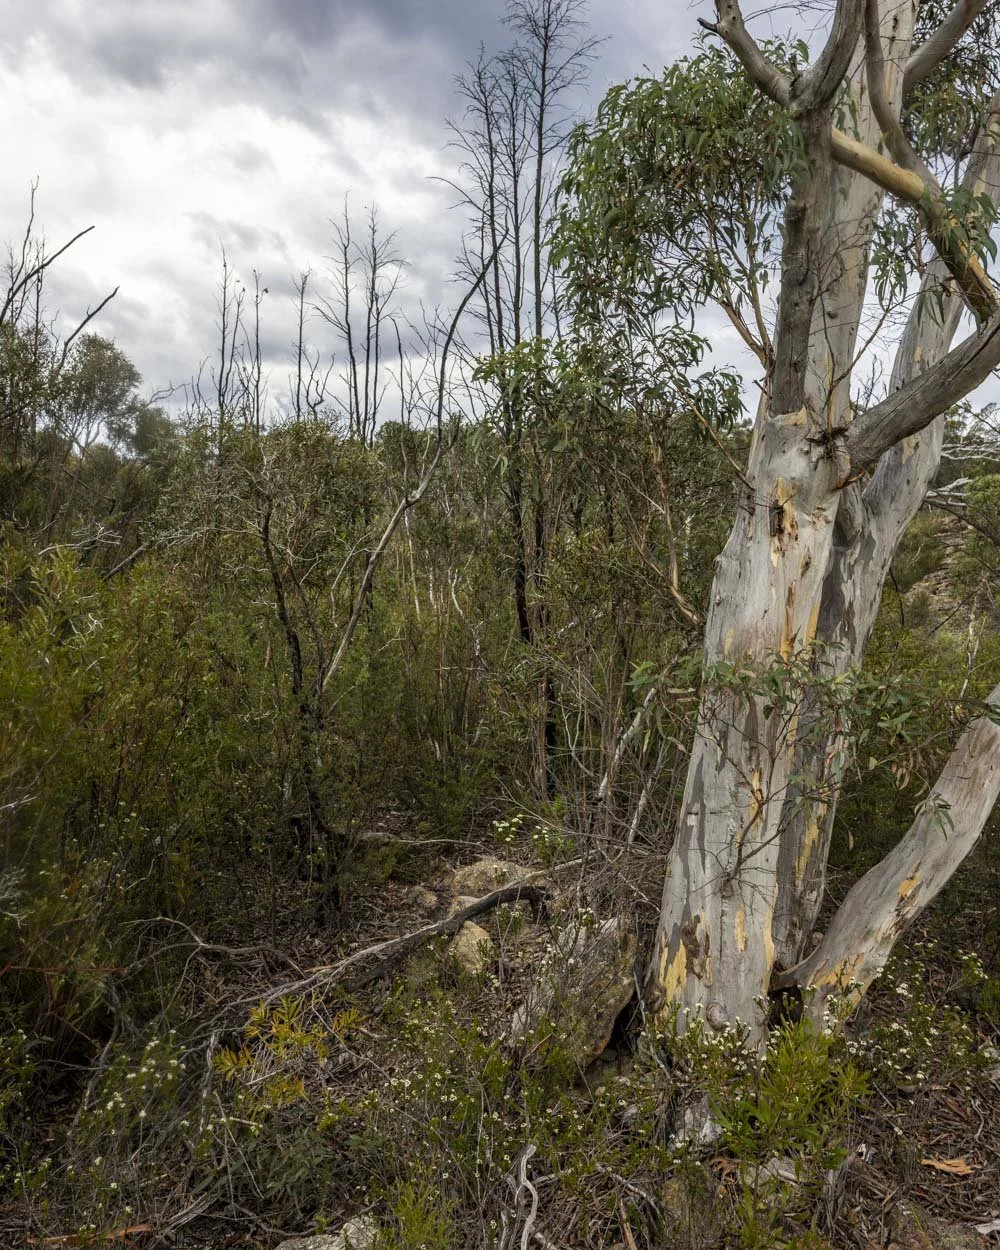
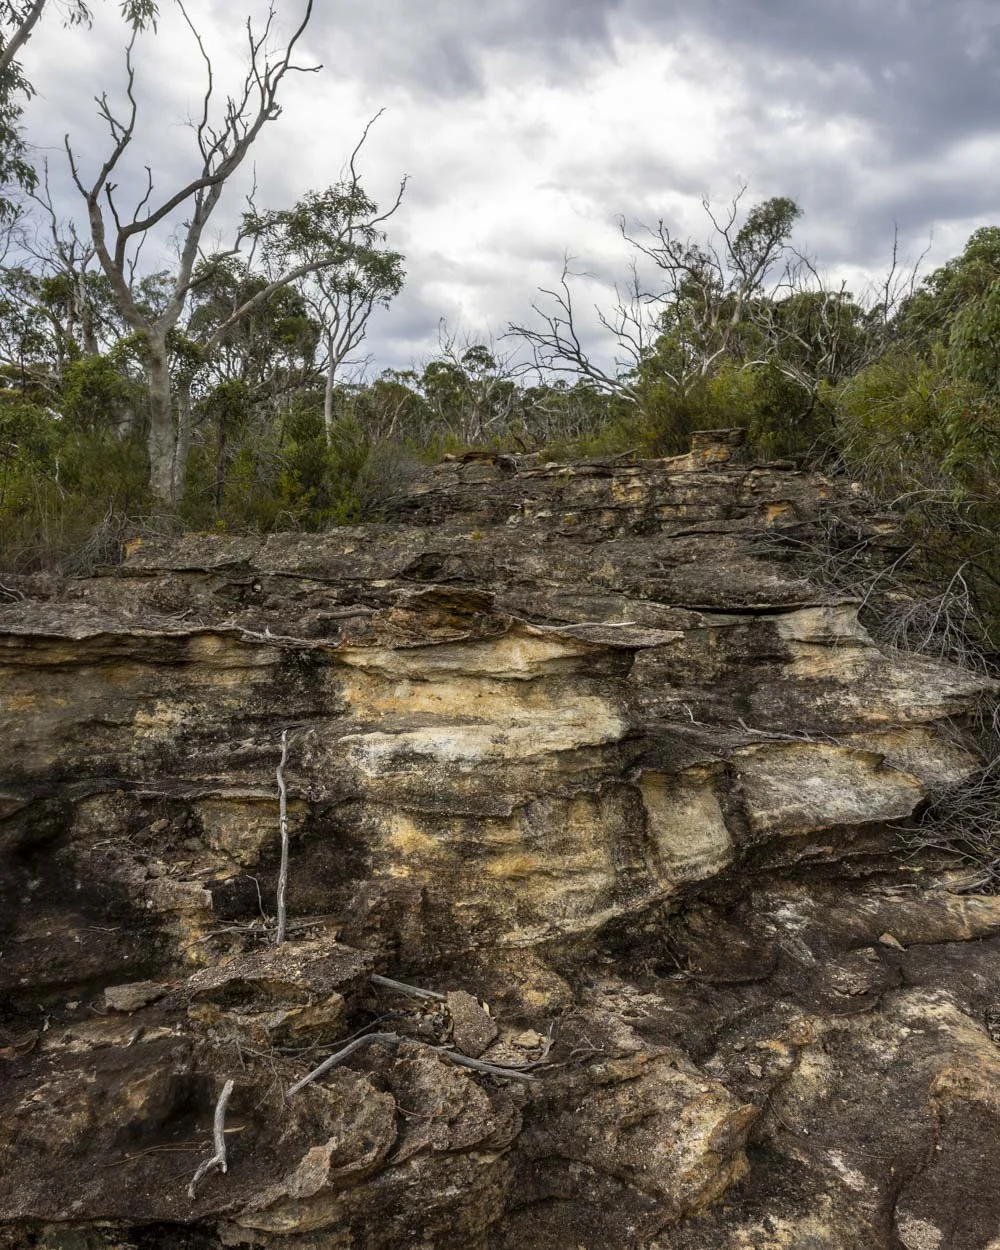
If they lasted up to the fire trail it would be glorious, but alas they run out and you have to bush bash for around 400m.
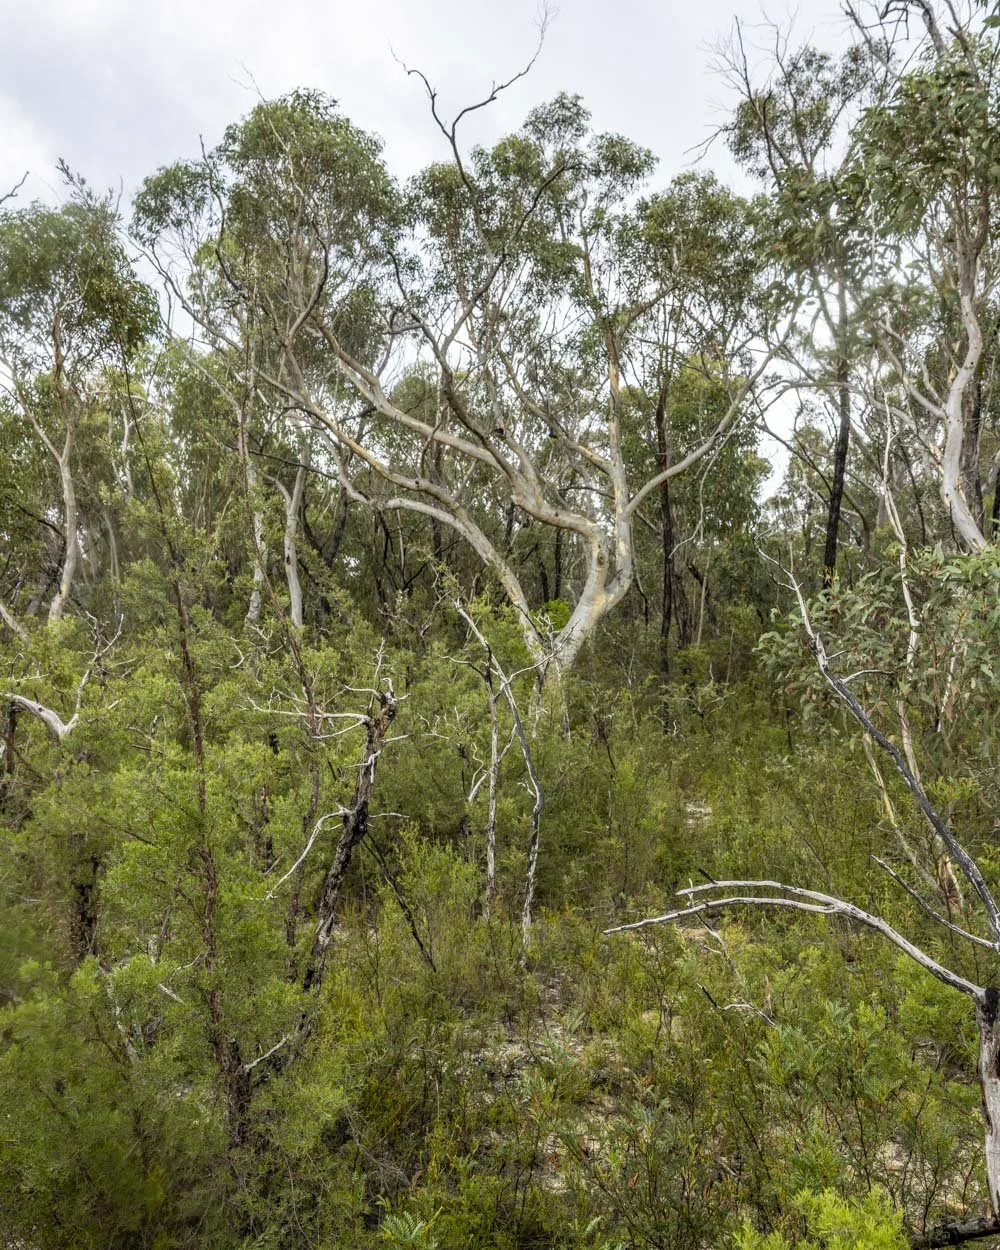
You’ll be heading gently uphill again looking for the path of least resistance. As with the way out, Joe and I picked different routes and came out at the fire trail within metres of each other.
After that you have that 2.7km walk back along the fire trail, but this time heading gradually uphill.
Downloading a free offline map
The trail to Acoustic Canyon begins in the Gardens of Stone Conservation Area in Newnes. Before driving here, make sure you have downloaded an offline map for the Newnes/Garden of Stone area as there is rarely any phone signal.
You can do this on the Google Maps App on your phone by clicking on your profile and selecting “Offline Maps” from the menu that appears (you can also follow these instructions).
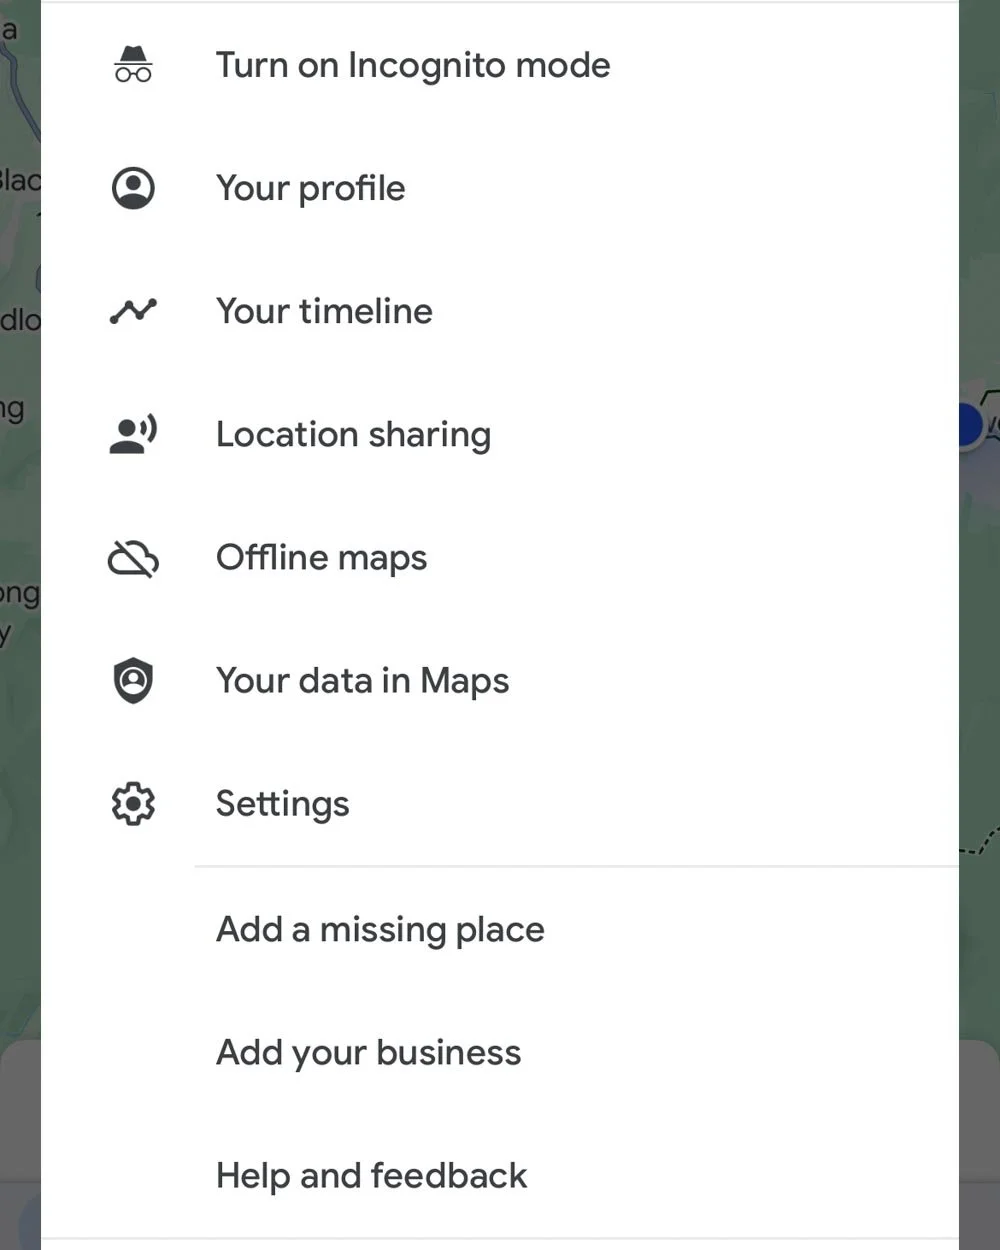
This is important as the route to Acoustic Canyon has no signposts and the roads aren’t marked, which means it would be easy to get lost. Having a GPS that works without data/internet connection will help you navigate out of the area safely.
The Acoustic Canyon access road
What to expect
The route to Acoustic Canyon involves approximately 25km of driving on unsealed roads, and whilst it isn’t a wild 4WD track, it can be a bit bumpy and uneven the closer you get.
The road is pretty good up until the Bird Rock turn off, but then becomes more rustic. There are some stony sections, and muddy puddles form after rain. I would say after the Bird Rock turn off you need a AWD or 4WD, or at least some clearance and dry conditions if you don’t have a 4WD.
Roughly 2.5km before the parking point there is a significant muddy puddle and even the workaround to the right is muddy (though it may dry out over time).
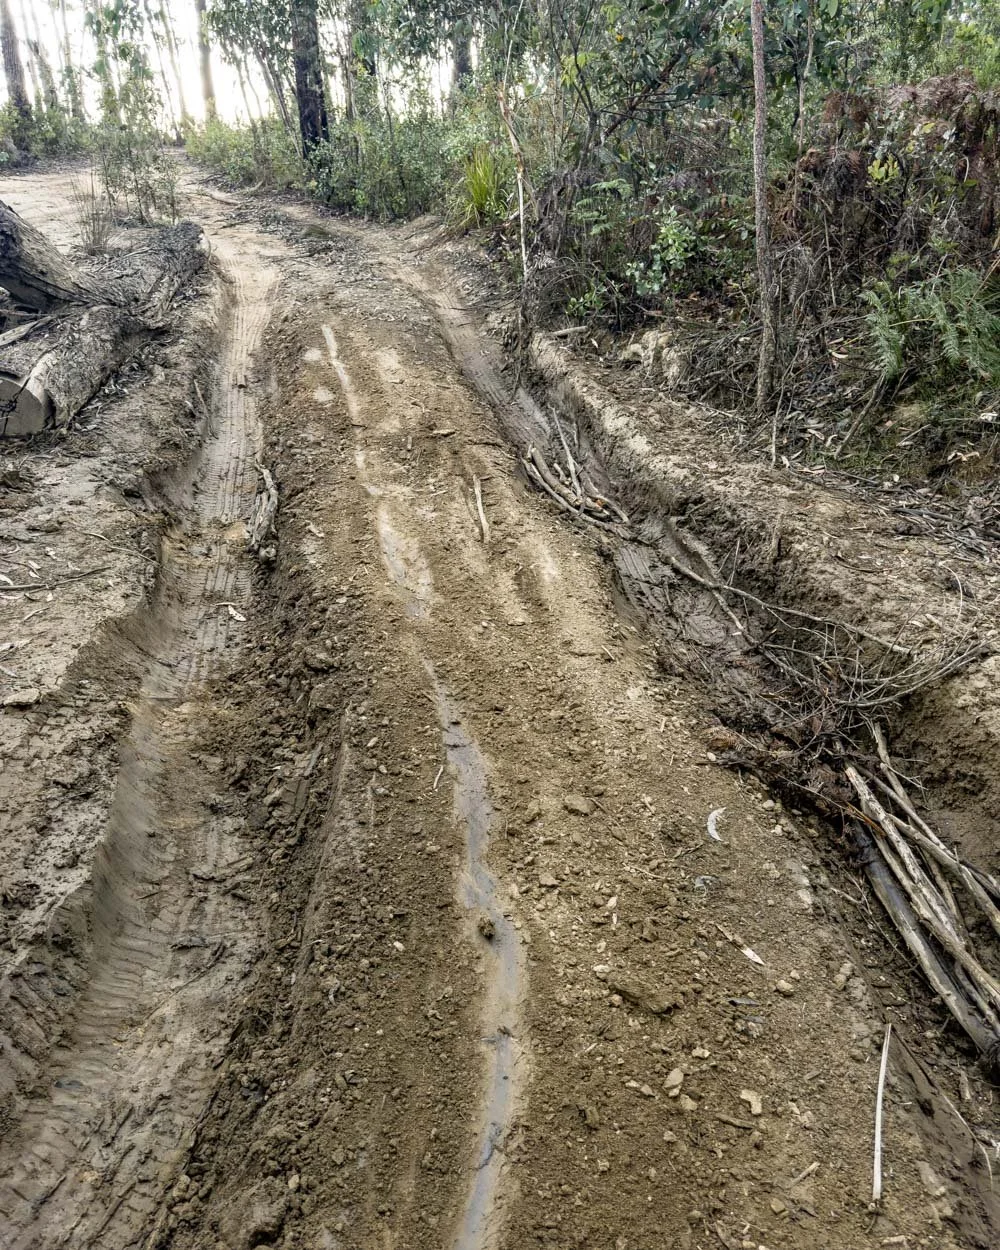
In our low clearance 4WD we did bottom out a little bit, but got through it. After heavy rain we wouldn’t even attempt it.
If you’re a confident 4WD driver you will have no trouble, but if that’s not you then pick a dry period (the first time we attempted this canyon it had been very wet and we aborted the drive when we got to this puddle).
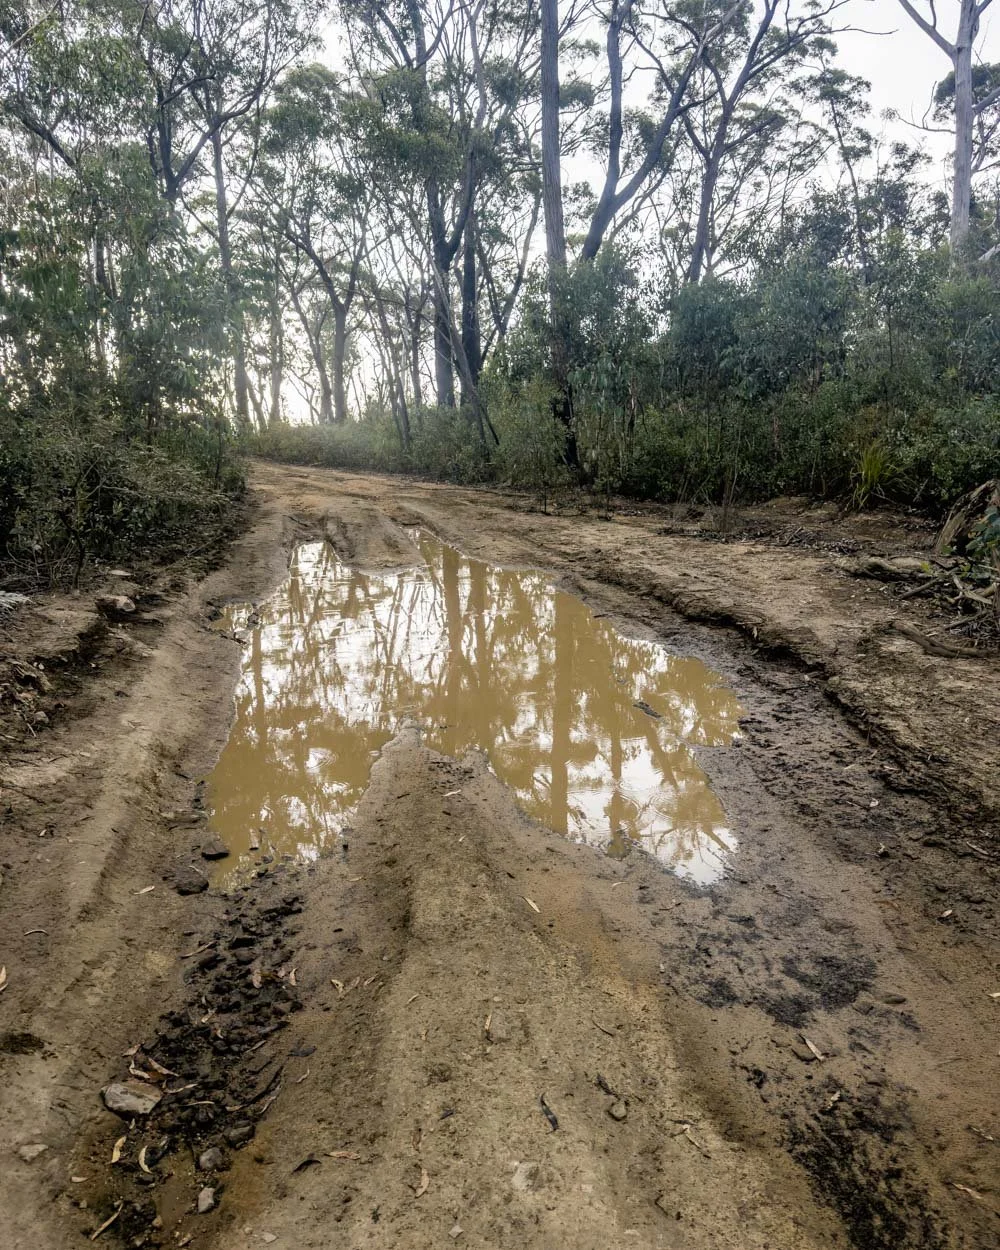
You could park near here and walk, but it would add another 5km onto the walk, making it over 12km long - the vast majority being on uninteresting fire trail.
Once you’re past the puddle there is nothing of note on the rest of Sunnyside Ridge Road, there’s another puddle but a perfectly dry workaround has been formed to pass it.
We decided to park at the junction of No.8 Firetrail and Sunnyside Ridge Road as Fire Trail No.8 was pretty overgrown. However, those wanting to cut 2.2km each way of walking (and don’t mind scratching up their car, going through some bumps and taking on a few minor ruts) can continue to the bollards.
The Route
The drive to Acoustic Canyon starts along the main thoroughfare in Newnes: Glow Worm Tunnel Road. This road is normally pretty good, but even at the best of times it has some corrugations and potholes.
Take this road to the Bungleboori Picnic Area where you’ll see a turning for Sunnyside Ridge Road on your left. Sunnyside Ridge Road was closed for many years but to our delight it reopened allowing access to this canyon again (possibly because of the new Bird Rock walk!).
From here you’ll need to drive along Sunnyside Ridge Road for 14.2km to No.8 Firetrail (which is unmarked). When it comes to parking there is no set car park, you need to pull fully off the road at these coordinates -33.306589, 150.158382. Please remember never to block the fire trail.
The drive will take roughly 1.5 hours from Katoomba or 50 mins from Lithgow.
This post may contain affiliate links, meaning at no additional cost to you, that we will earn a small commission if you click through and decide to make a purchase. This helps towards the costs of running our website. Thanks for your support.
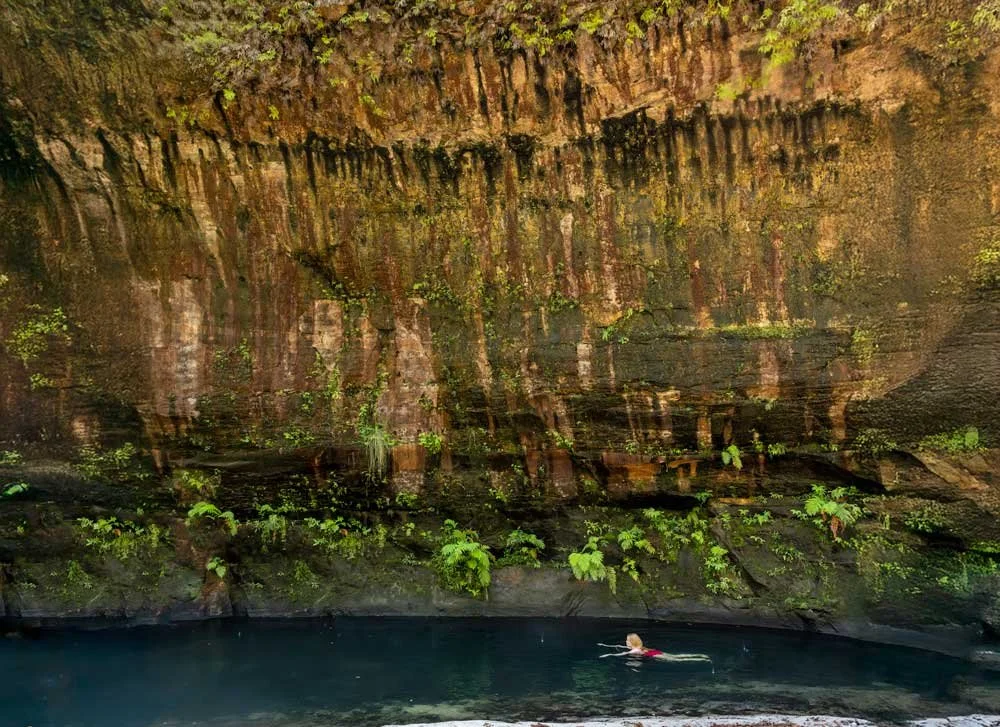


How to find the incredible Acoustic Chamber and what the fun walk inside the canyon involves, including directions and difficulty level.