

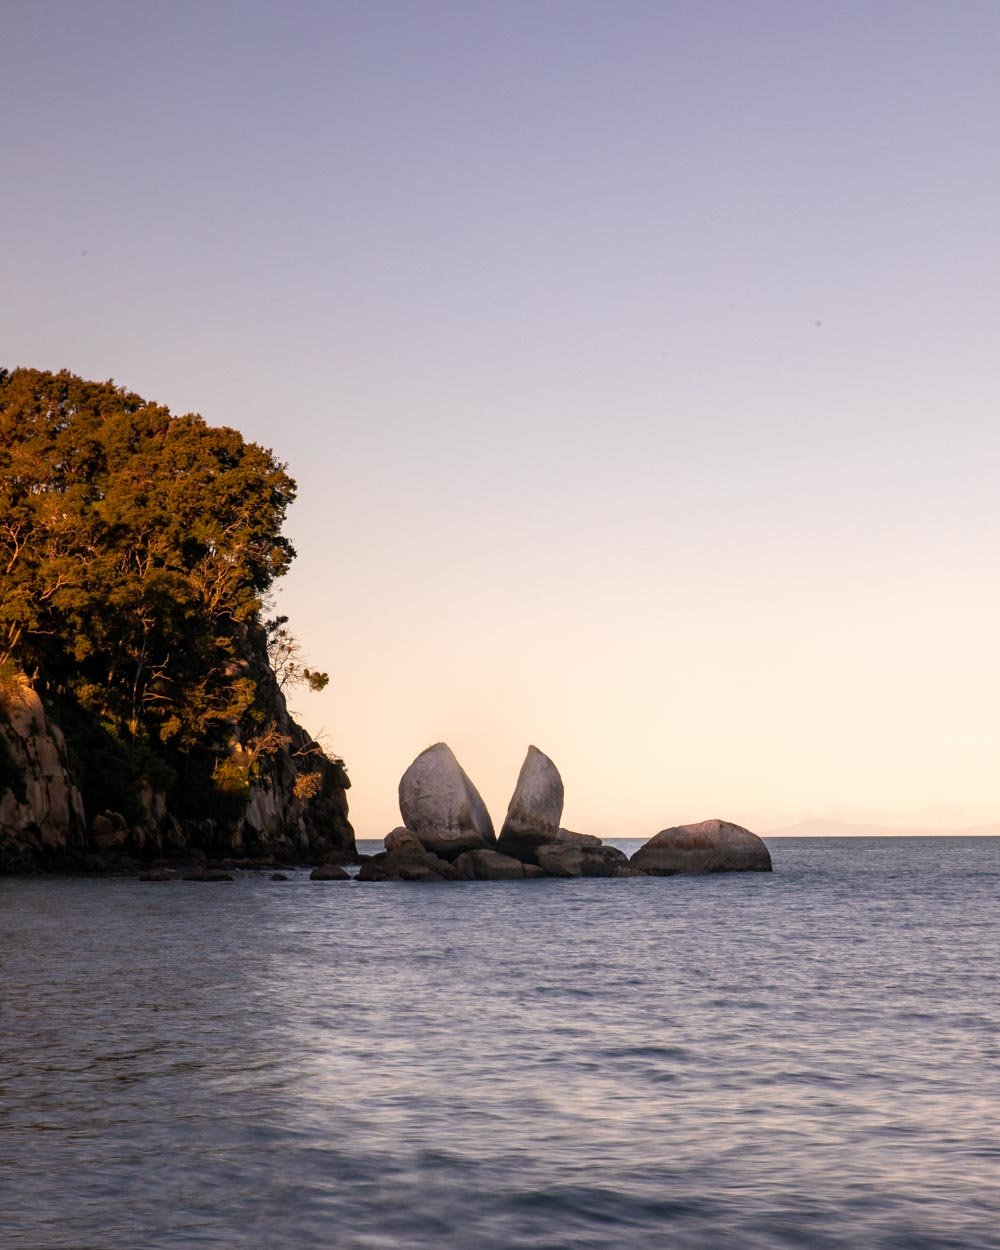
Split Apple Rock is an Abel Tasman icon; an unusual giant granite boulder that has been cleaved almost in half but for the very bottom. It’s incredibly striking and sits just a short distance from the shore of one of the most beautiful beaches in the area. It’s a fantastic spot for photography, but it’s well worth factoring in more time to explore the stunning beach and sea caves.
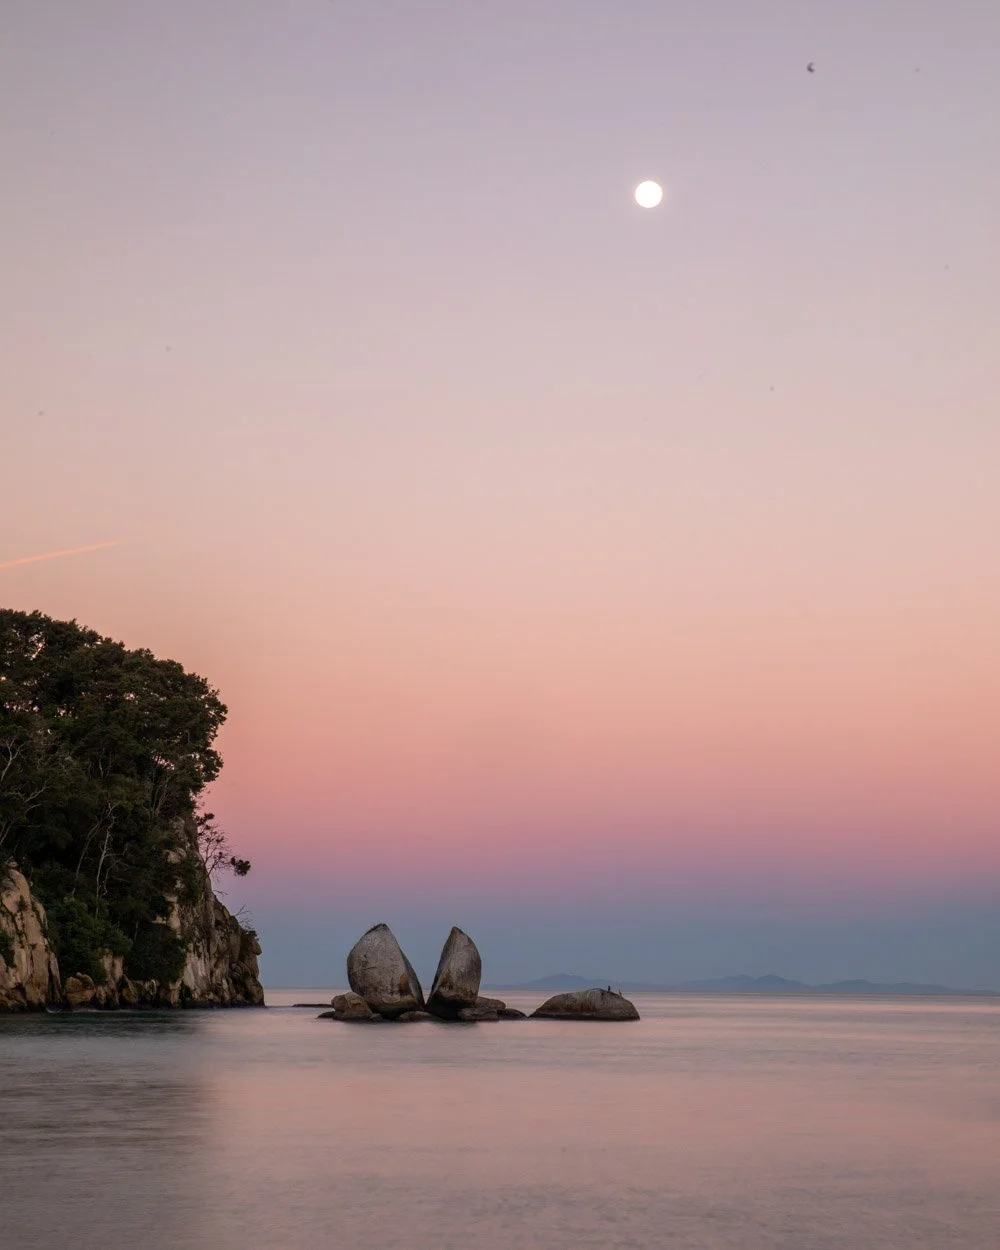
It’s easy to access by kayak, boat cruise or on foot. We opted for the latter which meant we could visit at sunset which was a spectacular time to be there.
Here’s everything you need to know about visiting Split Apple Rock.

Tips for visiting Split Apple Rock (Toka Ngawhā)
Split Apple Rock tides - the most important factor
I’ll start with the tides because this is the most important factor to consider when planning your trip to Split Apple Rock. The best times vary slightly depending on what you’re looking to do, but I would say going within a couple of hours of low tide comes close to covering all bases.

Split Apple Rock itself is best photographed on a mid-tide when it looks completely suspended in the ocean.
At low tide there are many more rocks to the left, it still looks great but it looks less like a lonely rock completely cut off from the shore.
However, the sea caves start to become cut off with a rising tide and are totally inaccessible from around two hours before high tide. We visited two hours after low tide and that was perfect, but over the next two hours we were there, they became completely cut off.
I would aim to visit the caves at low tide or a couple of hours after, exploring those first and then moving on to taking in Split Apple Rock itself.

If you want to swim out and stand in-between the rock for that classic photo, then low tide is easiest because you can get part way out there by rock hopping, only having to swim the last little bit.
At higher tide you will have to swim the whole thing. It’s not far and the waves were very slight on our visit, but I personally didn’t do it so can’t comment on current etc.

With regards to beach access we ended up leaving an hour before high tide and the section of beach that best shows off Split Apple Rock (and the angle all our photos are taken from) was beginning to get cut off. You could still get round, but another hour may have seen it cut off entirely.
That’s another reason I would go for a mid tide when visiting the rock, if you can’t get far enough around the beach you won’t actually be able to see the split in the rock as it’s only visible from a certain angle.

The walk to get Split Apple Rock
The easiest route to reach Split Apple Rock Beach is just 750m return, and begins at the end of Moonraker Way in Kaiteriteri.
You can’t actually park at the trailhead as it’s just a turning circle, so you need to park a few minutes further up the road in the lay by.

The walk is easy and on a well maintained path which takes you through a pretty patch of bushland, keeping it nice and shady.
The track is mainly downhill or flat on the way, it’s a mix of sloped path and steps. There is one short section in the middle which seems to retain water and gets quite muddy, but otherwise it’s a breeze.

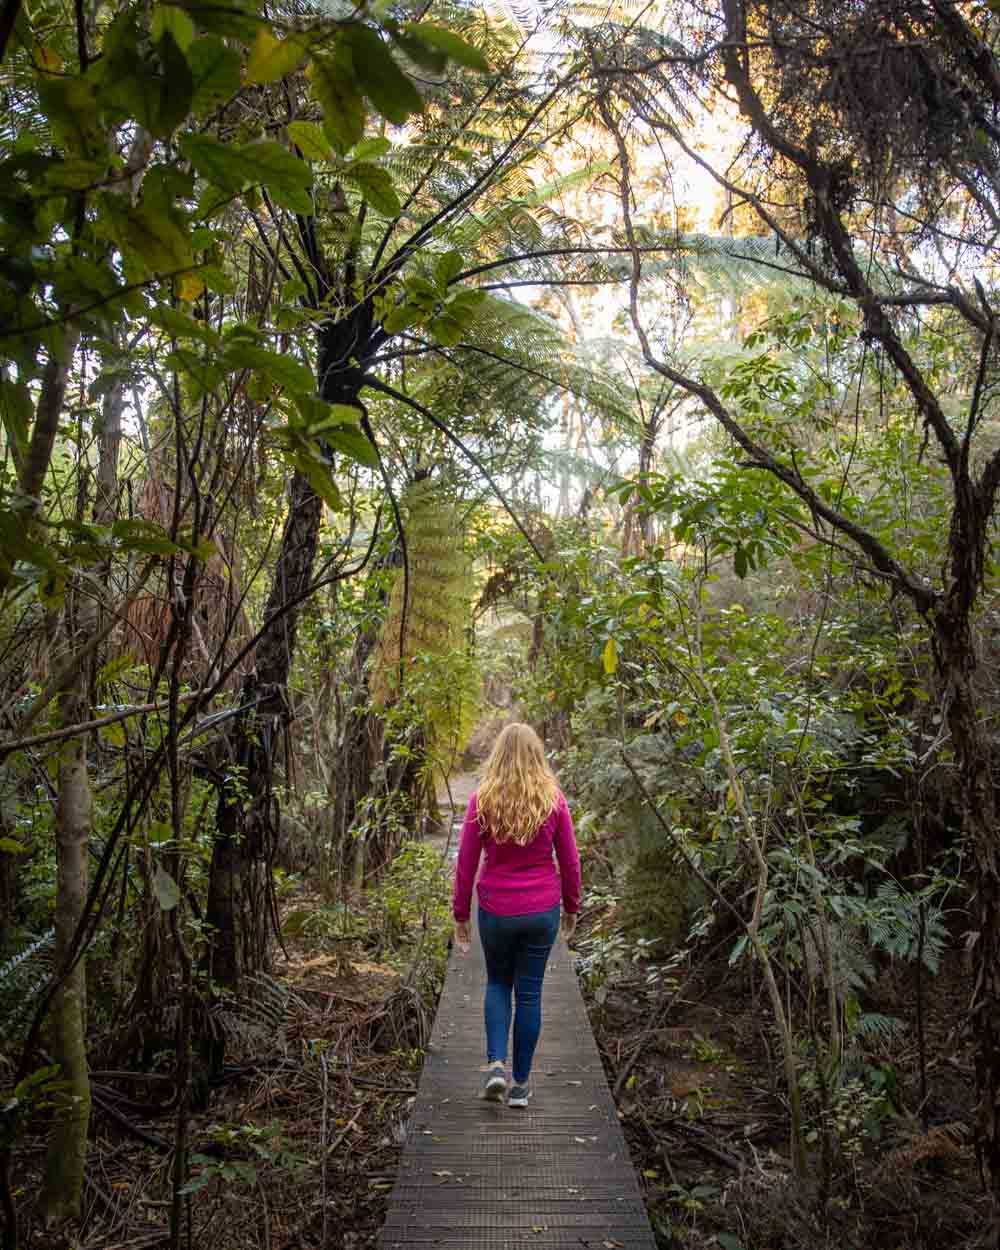
It took us just seven minutes to reach the beach at a leisurely pace. When you head back, it’s gradually uphill but nothing steep or strenuous by any means.
The sea caves and their hidden secret
As mentioned the sea caves are best visited within two hours either side of low tide as they become totally cut off somewhere between mid and high tide. We visited two hours after low tide and that worked perfectly, there was a little water in parts of the caves, but very low levels and exploring was safe and easy.
The first cave is just a minute to the left of the main staircase down to the beach and it’s a long tunnel. There are quite a few logs washed up in there though, so watch out if you’re going in bare foot. My favourite bit was actually turning around to exit the cave, and seeing the tunnel opening perfectly framing the stunning beach.

The other interesting thing about the tunnel is that it’s home to a hidden glow worm colony! You can’t see them in the day but at sunset we popped back in and saw quite a few on the ceiling. It was still far too light to truly see how many were there, so it may be that there are a lot more if you come back in true darkness.


The rest of the caves were already cut off by then so I couldn’t see inside, although I’ve never heard of glow worms living in a sea cave before so I would guess it’s just that first tunnel.
If you’re staying in the area and pop back at night, I’d love to know how many there really are inside the tunnel!

A couple of minutes further along are the rest of the sea caves which can be accessed by walking over a couple of rocks. These are a lot more exciting with natural arches, some pink and green rocks and generally lots of nooks and crannies to explore.
They aren’t massive but they’re very pretty and there are lots of lovely photo ops because of the way that the walls frame the beach.


Although the caves don’t take long to explore I would definitely recommend coming at a time you can check them out (ie the right tides) as it’s a lot of fun and adds to the whole experience of exploring Split Apple Rock Beach.
The beach and photographing the rock
Most people visit to check out the rock formation, but the beach itself is absolutely gorgeous and would be well worth a trip in its own right.
As well as the rock there is a pretty offshore island and the whole beach has that wild Jurassic Park feel due to the huge boulders and steep cliffs covered in dense forest. The water was nice and calm and would make a good place for a dip.

The rocks at one end of the beach make for a great spot to relax and take it all in and I ended up sitting there for well over an hour just soaking up the scene.
Beyond the rocks there are more beaches. At mid tide I could rock hop (which only took two minutes) to the next small beach along, but beyond that it was cut off. It’s possible at low tide you might be able to get further, but I can’t say that for sure.

As mentioned Split Apple Rock is best viewed from the southern end of the beach as you can’t see the split in the rock from the northern end.
We stayed for sunset which gave the whole beach a beautiful soft glow and was a lovely time to photograph the rock.
Getting to Split Apple Rock
Split Apple Rock is located inside the Abel Tasman National Park, 7km and 15 minute drive from Kaiteriteri, 18km and a 25 minute drive from Motueka and 60km and a one hour drive from Nelson.
The road is always sealed but as mentioned there is no dedicated parking at the trailhead. You need to park in the lay by a few minutes up the hill from the start of the trail.
You can also visit as part of a guided boat tour, or hire a kayak and paddle out there yourself. We always check BookMe, as it offers discounted rates on kayaking in Abel Tasman. Click below to see availability and the latest prices.
This post may contain affiliate links, meaning at no additional cost to you, that we will earn a small commission if you click through and decide to make a purchase. This helps towards the costs of running our website. Thanks for your support.


