There are few things more frustrating than seeing something as magical as a glow worm dell, only to find later that your photos really didn’t do it justice. You were surrounded by hundreds of twinkling blue lights, but when you look over your photos, you’re lucky to see even one blue dot….. it’s disappointing and we’ve all been there!
However, with a little preparation, you should be able to get incredible photos that truly represent the experience.

How to get that glow worm photo
Photographing glow worms has become a bit of a project of mine, complementing Cat’s real passion for finding glow worm dells all across the Blue Mountains, New South Wales and New Zealand.
It isn’t always easy, but with practice and patience, you’ll find yourself coming away with photos you are happy with.
Here’s what you’ll need to do before you shoot:

1. Bring the right gear
A solid tripod
As with any low-light photography, having the right gear is essential. The most important of which is a good tripod. You don’t need to spend thousands of dollars, but you want something better than a flimsy bargain basement tripod, or gorilla pod.
To get a really nice crisp image, you’ll want a tripod that can hold your camera’s weight for 30 seconds without any shake.
Last year I purchased a Sirui A-1205 and it has been brilliant. It’s sturdy in different environments and terrain, whilst not being too heavy to cart around on hiking trails.

It also has a ball head, which makes moving your camera around very easy - this really helps when you find yourself having to use unusual angles to get the shot!
Sirui have an Australian based store with local warranty, so you can get help locally if you need it. You can check out the product on their store by clicking below.
A lens with a wide aperture - preferably f2.8 or more
Unless you plan on taking 1-2 minute exposures, having a lens with a wide aperture is essential. If your lens only goes to f.5.6, it simply won’t be able to capture enough light to get the shot. I’d also recommend a lens with a variable focal length, as it will make your life a lot easier.

I’m a canon user, and my go to lens for glow worms is the 24-70mm f2.8 lens. It’s a great all round lens for general photography, but for glow worms it marries multiple focal lengths with a wide aperture. You may choose to go even wider if you want a big landscape photo.
Headtorch or red torch
Having a head torch will make your life a lot easier when trying to see and set up your camera! I recently bought this head torch from Boruit on Amazon. It’s really bright for night hiking, but also has a red light for use around glow worms, so it won’t distress them.

So far I’m impressed. It is a lot better than any handheld torch or iPhone that we’ve previously used and it stays in my pack for all hikes now.
You can check it out on Amazon by clicking below.
2. Understanding the conditions
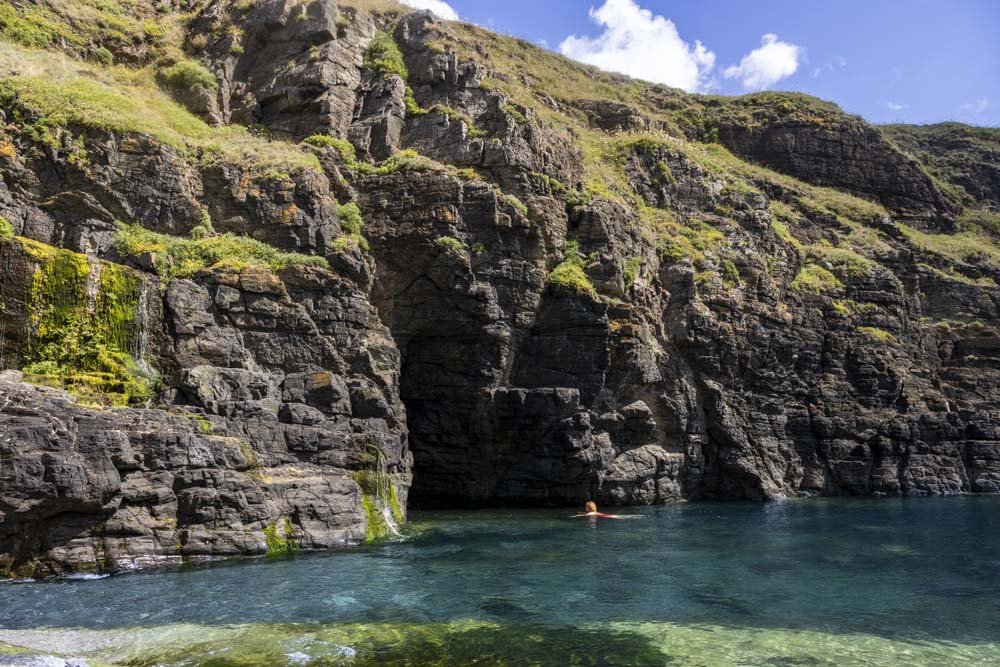
There are two places you will see glow worms - in caves/tunnels, or on a cliff/open air landscape, and the former is a lot easier to work with! The great thing about glow worm caves is that you will find almost pitch black conditions (providing they are deep enough), which will make the light emitting from the glow worms appear much brighter.
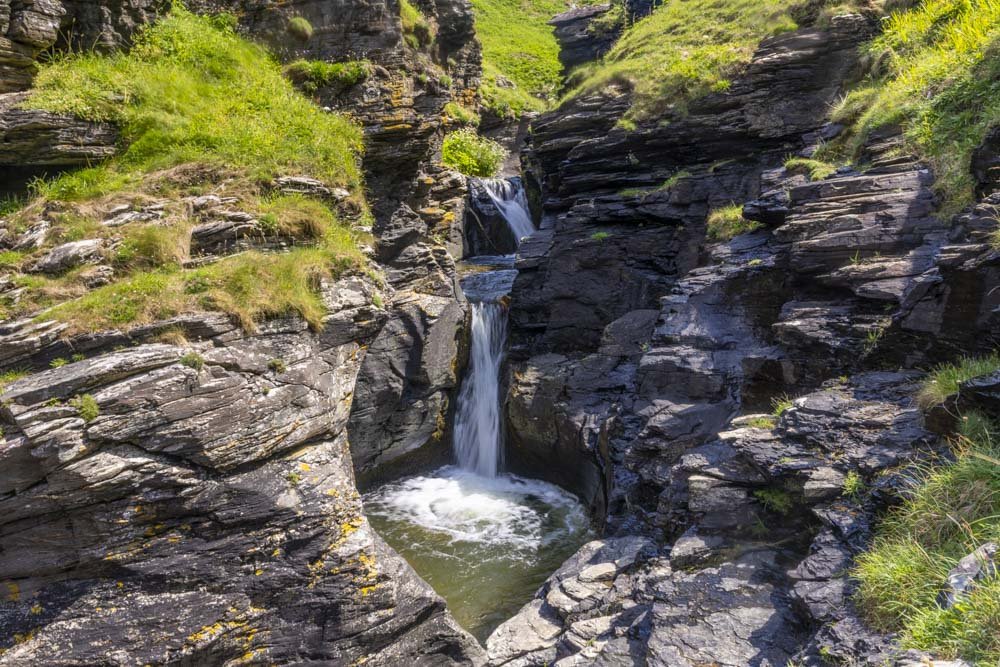
However, if you are going to see glow worms at a waterfall, canyon or even a forest, then you will want to plan around the conditions. The best time to shoot is when it’s really dark, enabling the light from the glow worms to shine brightly.
Firstly, you’ll want to plan around the moon. A full moon when shooting glow worms can be extremely challenging, so the less moonlight you have the better!
Secondly, you’ll want to leave at least 1.5 hours after sunset to begin to get optimal darkness. You want as close to pitch black conditions as you can get.

3. Do a reccy before you go
It’s not essential, but scoping out the location in the daytime before you go at night can help you plan the photo you may want to take.
It’s a lot easier knowing where you’re going when you come back after dark, especially as some glow worm dells can be down steep and rough trails.

How to get that perfect glow worm photo
Step 1: Set yourself up
Now that you’ve done the reccy and know what you’re in for, it’s time to set up…. in the dark! Get your camera out, set up your tripod and find an angle you’re happy with.
It’s worth playing with the focal length as sometimes you’ll start by thinking you want hundreds of glow worms in a single photo and realise that it isn’t practical. I am guilty of thinking I’ll always come away with a photo of a million blue dots, and then decide I quite like the close-ups.
Once you’re set up and have your composition, it’s time to get on with your camera settings.
Step 2: The settings
First things first: make sure you’re shooting in raw! This will make getting that perfect photo much easier as it is much higher quality than JPEG.
No matter what type of shot you’re taking (whether it’s a close up or a wider landscape), the settings will be pretty similar for a photo in the dark. Essentially, you’ll want to take the same approach to photographing glow worms as you would to astro-photography: a long exposure with a wide aperture to let in as much light as possible.
Turn your camera to manual mode and use the following settings:
2-10 second countdown (to reduce camera shake)
Aperture: 2.8
Shutter Speed: 30 seconds
ISO: 6,400
10 second countdown timer or shutter release cable
If you find that your shots are still too dark using these settings, then I’d recommend looking at either taking a longer exposure (you will probably need to use a shutter release remote and bulb mode) or bumping up the ISO. A word of warning though - increasing the ISO much more than 6,400 is likely to make your photos grainy, so be careful with this.
I would also recommend checking and adjusting after every photo - it’s a fine line between blowing out a glow worm photo and getting it just right.

Step 3: Getting the focus right
Focusing is the hardest part when taking glow worm photos, as the majority of cameras will struggle with autofocusing in really low light. If you are planning on taking a close up of a glow worm, then you shouldn’t have a problem using auto focus, but for those wider landscape photos you will need to use manual focus.
When using manual focus, the best way to ensure the photo is sharp is to use the LCD screen on the back of your camera, and zoom in on an individual glow worm as much as you can. Then adjust the focus until it becomes the smallest possible dot before disappearing - this tends to be best way to get a sharp image.
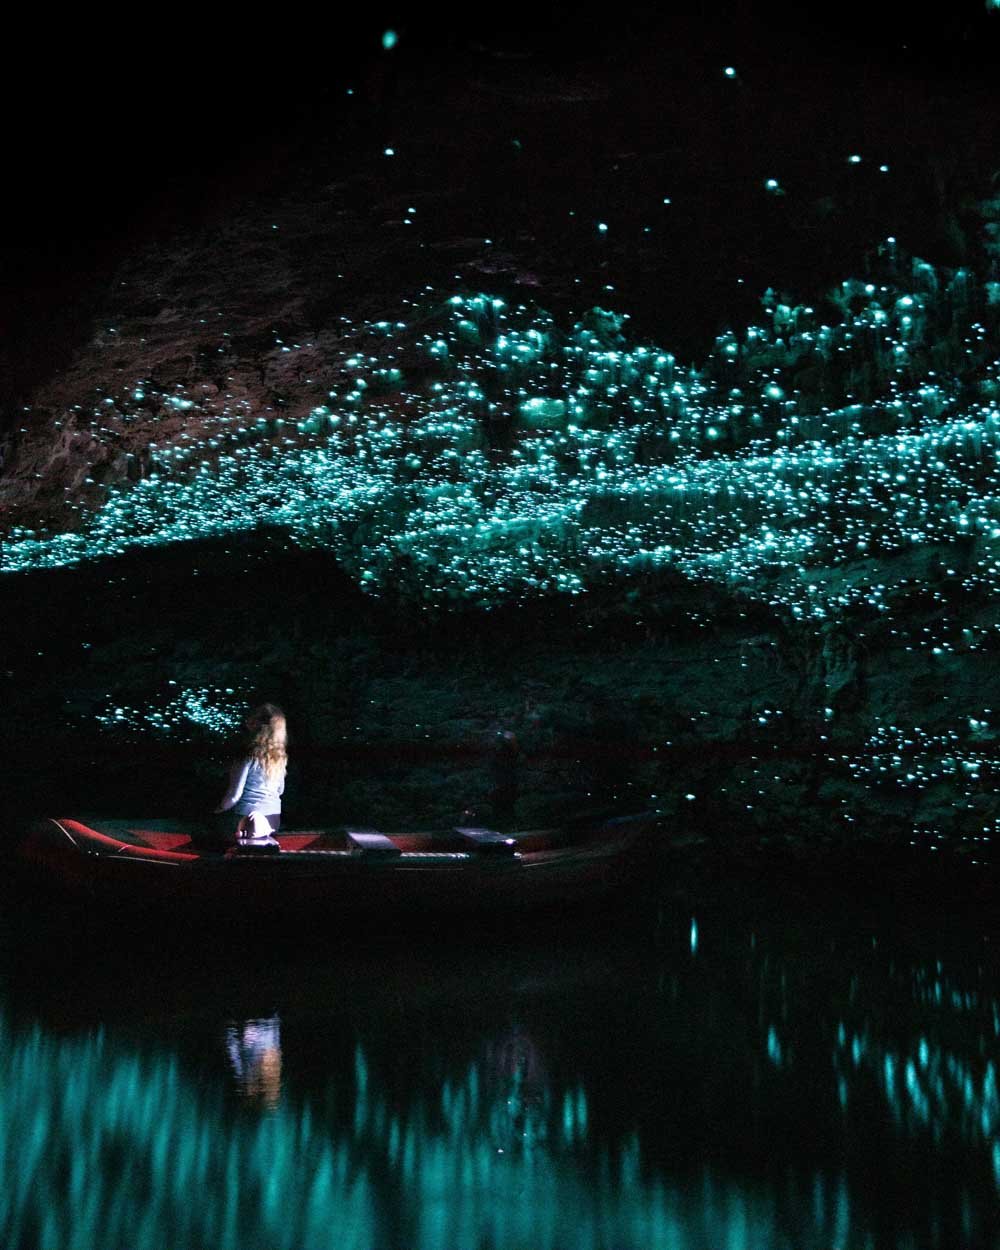
Step 4: Getting creative
If you’re looking to get creative and have a person in the photo, then you will need to use some form of lighting. There are two ways to achieve this: 1) get a minimal or brief light source that can light up your subject but not blow the photo out or 2) take two separate photos - one of the subject and one of the glow worms - and blend in Photoshop.
I’ll be honest, I’m not great at this and I find it tricky to find the balance between getting Cat nicely lit without making it too bright so the glow worms disappear. Whilst I am getting better at Photoshop, I haven’t been able to master blending two photos like this and make it look like it wasn’t photoshopped!

Step 5: The edit
If you’ve managed to get the exposure right, then the edit isn’t too difficult. Here’s a few actions I take with virtually all glow worm photos I edit:
Drag the white balance until it appears bluer (glow worms always look green in photos for some reason)
Use the luminance slider just under “noise reduction” in the detail section
Adjust the whites and highlights to ensure it’s not blown out. Darken the blacks slightly.
Reduce clarity by 10 and see if dehaze helps or not.
Hopefully after all that you should be left with a great glow worm photo!
Examples of Glow Worm Photos with settings
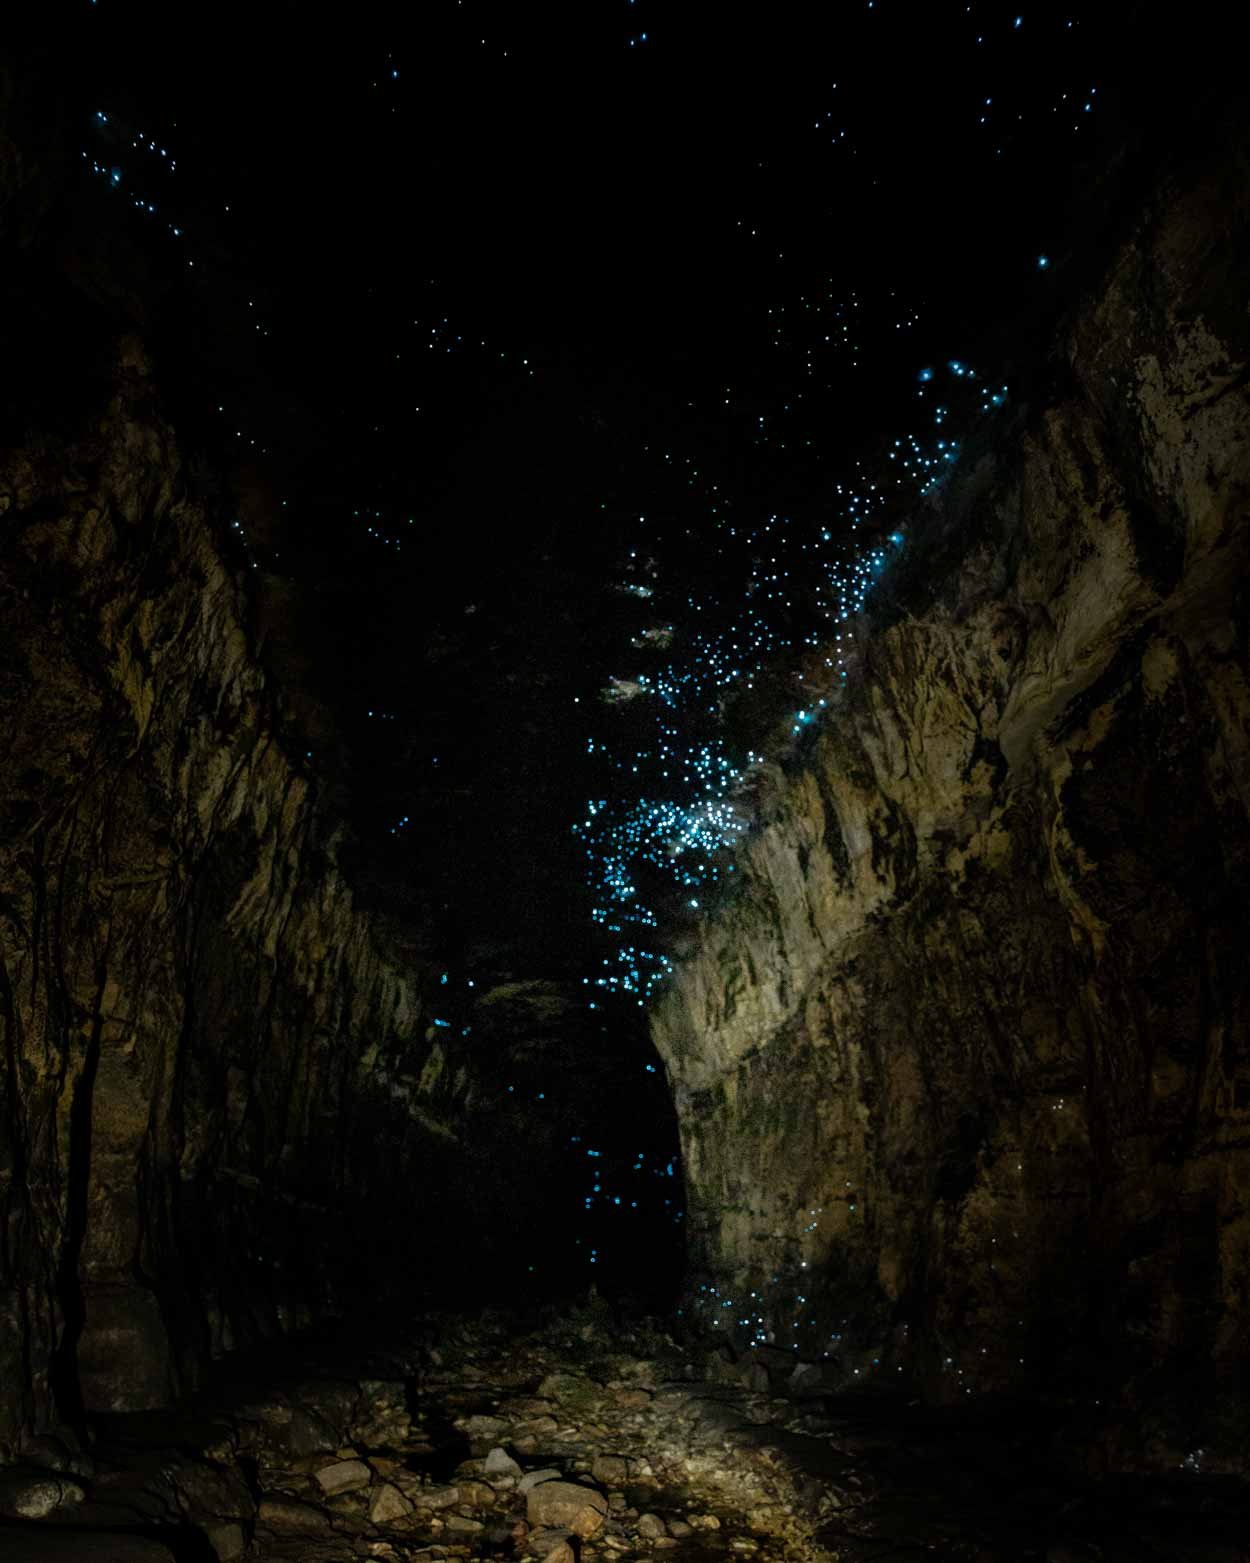
Shot at 24mm, f2.8, 30 seconds, ISO 32,000
Shot at 33mm, f.2.8, 30 seconds, ISO 6,400

Shot at 400mm, f.4.5, 30 seconds, 6,400 ISO

Shot at 70mm, f2.8, 30 seconds, ISO 6,400
Taking care of the glow worms
Please don’t shine direct light on the glow worms and never use flares or special effects near them. This is how the glow worm colony at the Helensburgh Tunnel was almost wiped out, which led to its closure.
Shining a little light at the pathway (away from the glow worms) is usually enough to show some of the setting. When you are close to glow worms it is best to use red light as this effects them less.
Conclusion
Taking any kind of photo at night presents a challenge, but a fun one that can be overcome with patience and practice! Once you get the knack, taking photos of glow worms is not only fun, but allows you to get really creative.
So good luck and feel free to share the photos you take - we’d love to see them! If you have any questions please drop them in the comments.
This post may contain affiliate links, meaning at no additional cost to you, that we will earn a small commission if you click through and decide to make a purchase. This helps towards the costs of running our website. Thanks for your support.