
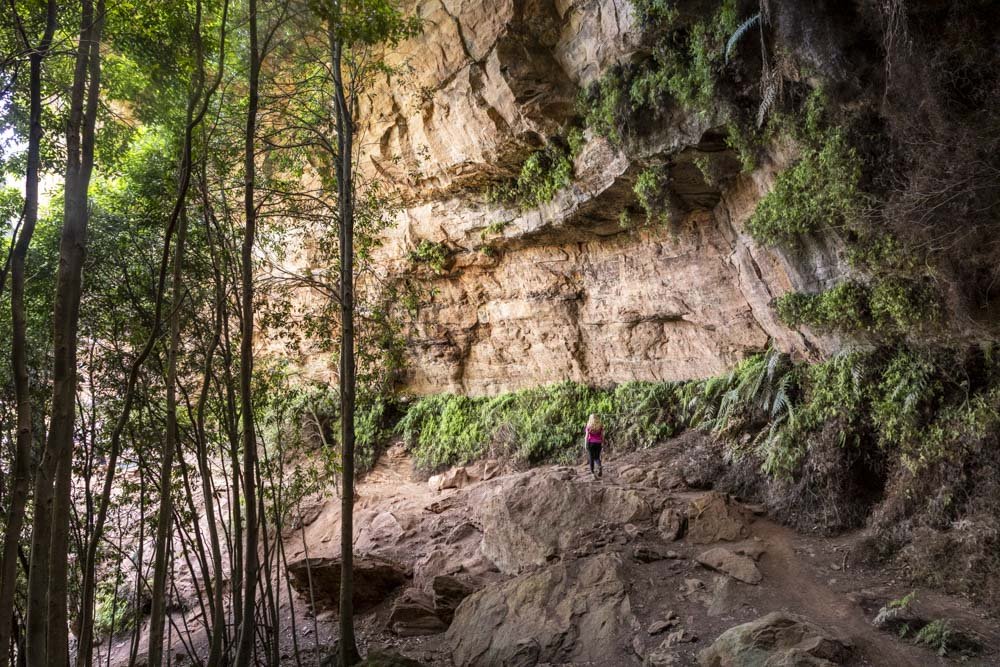
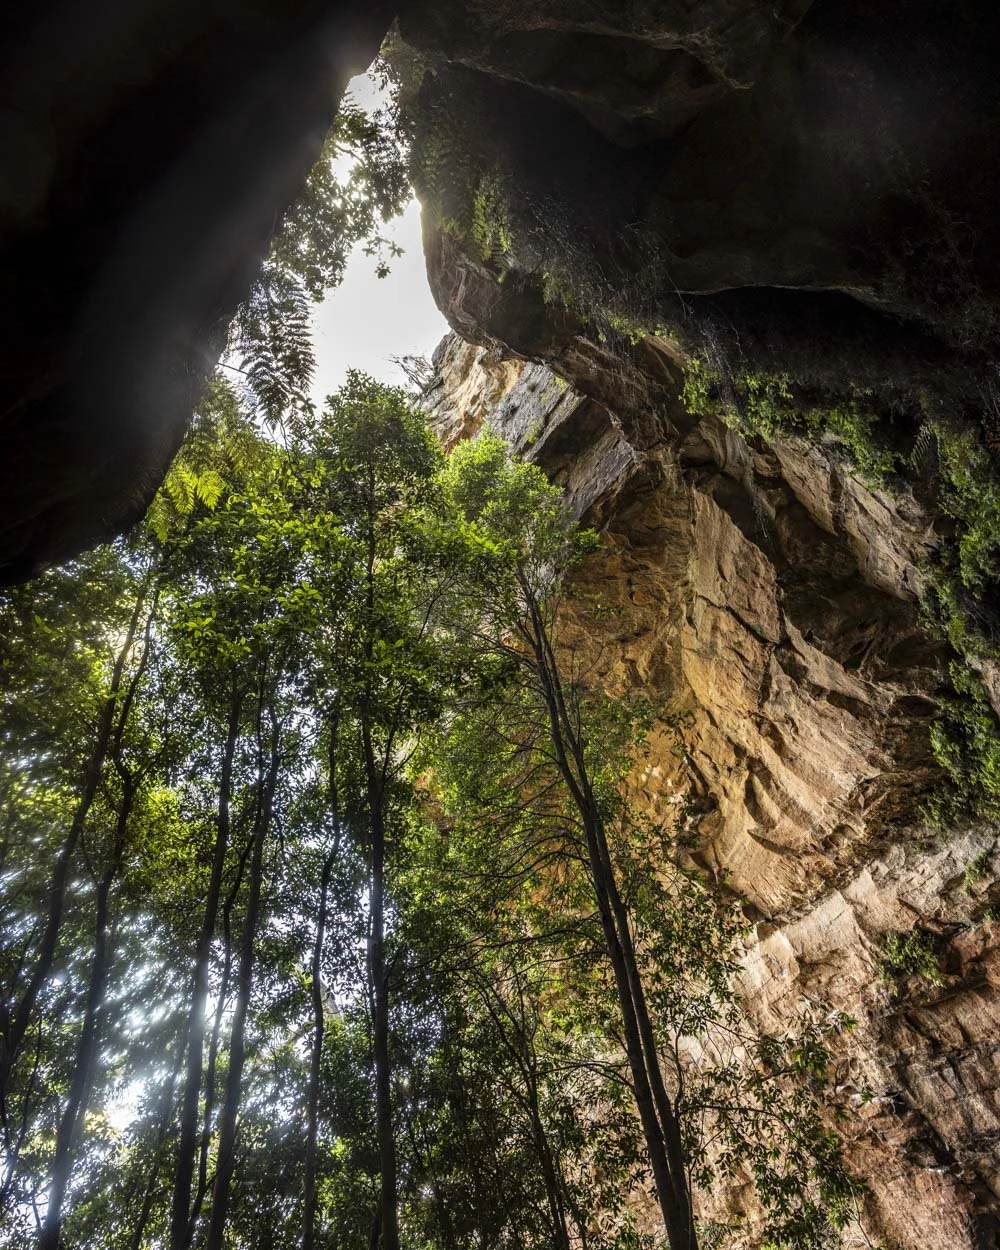
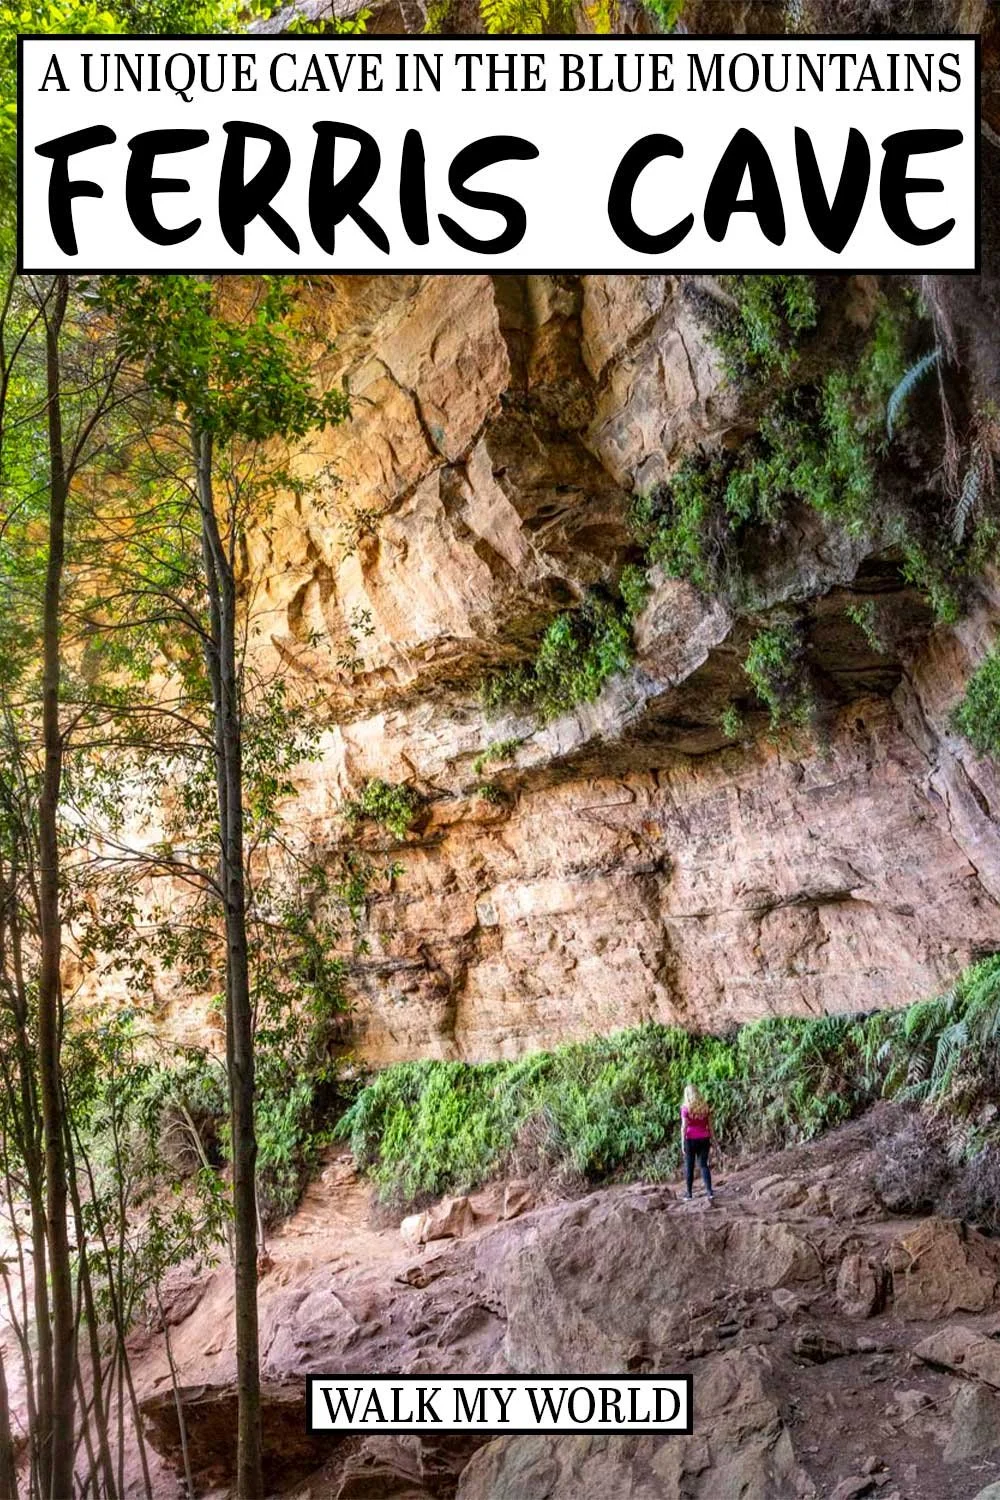
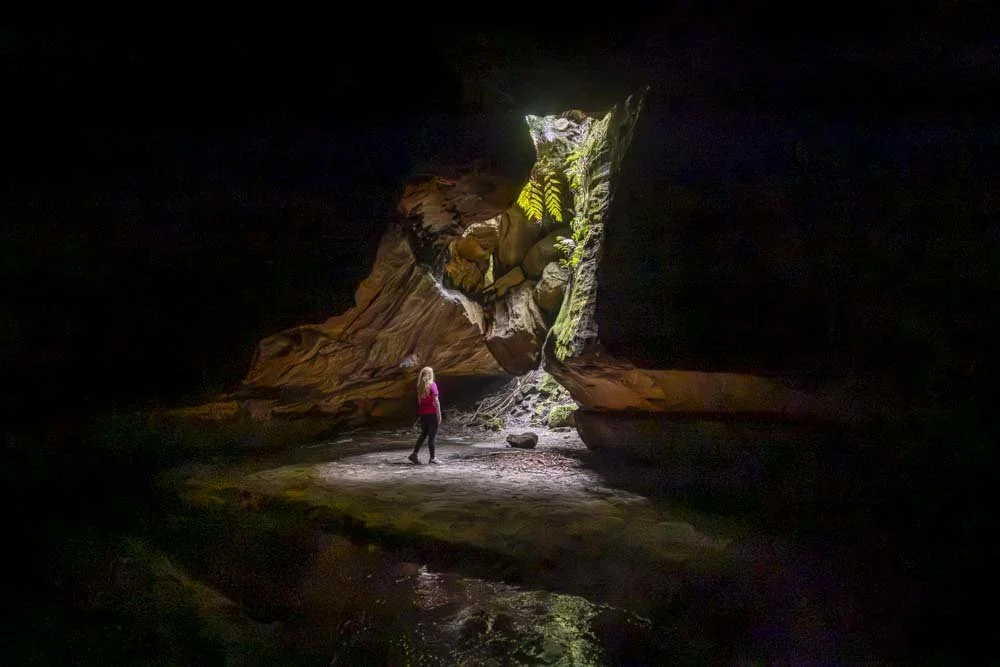
Less a cave and more of a huge overhang, Ferris Cave is very impressive. The walls soar above you and the dark ferny interior blocks out the light even on the sunniest of days. The walk to it takes you along narrow tracks with deep orange dirt and stupendous views of the Megalong Valley.
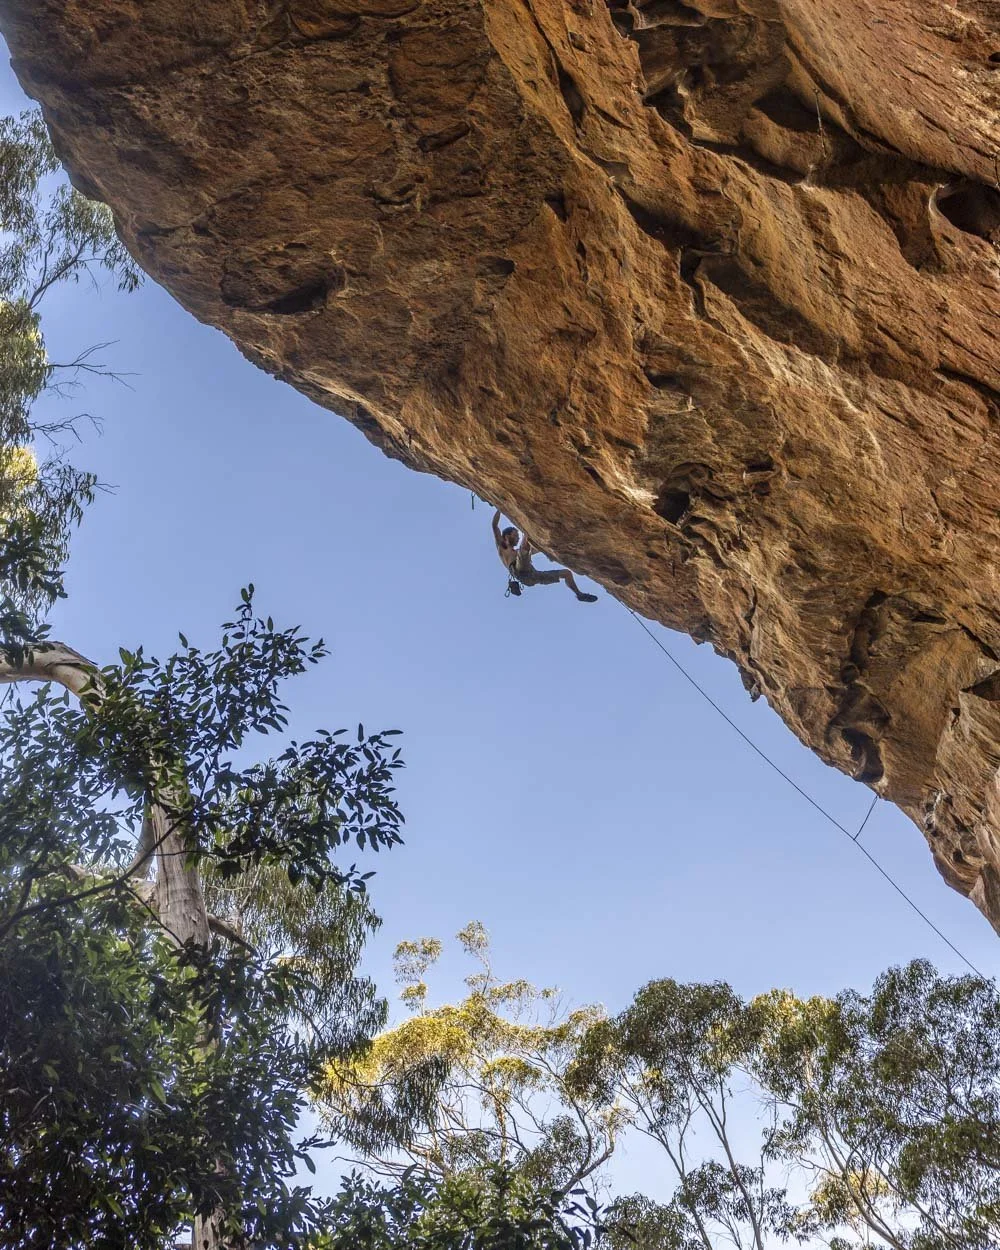
You can lengthen the walk by including several more superb viewpoints as well as another fun cave, and it’s unlikely you’ll encounter another soul. That is unless you come on a hot sunny day in January, as we did, when the rock climbers are out in force.
Here’s everything you need to know about the walk to Ferris Cave, one of the best dog friendly tracks in the Blue Mountains.
The Ferris Cave Walk
The stats
Distance: 1.1km return, or 3.7km circuit
Elevation gain: 70m or 220m if doing the full loop
Difficulty: Easy - moderate
Trailhead: Ferris Cave Circuit, Mount Piddington
Summary: The walk to Ferris Cave directly is very short, though it’s predominantly downhill on the way, so there’s a bit of a climb back up to the car park afterwards.
The path is in decent-ish condition but does have some rubbly sections. If you continue past the cave it’s partly on a similar track to the walk down from the car park, but a mix of flat and uphill, followed by a wide well maintained fire trail. This circuit route is suitable for dogs and would be approximately 3.1km in length.
If you want to make a longer circuit (3.7km) you can follow a very narrow track, which at times is very close to the cliff edge. It’s not too bad, but definitely not one for vertigo sufferers or dogs! We’ll outline both routes in the notes below.
Starting the trail: downhill to Ferris Cave
From the parking area at Mount Piddington (full parking details below) you will follow the track leading from the left hand side of the road (the southern side of the road that loops around the summit of Mount Piddington) and Ferris Cave is signposted. You head straight into the bush and begin descending on stone steps.
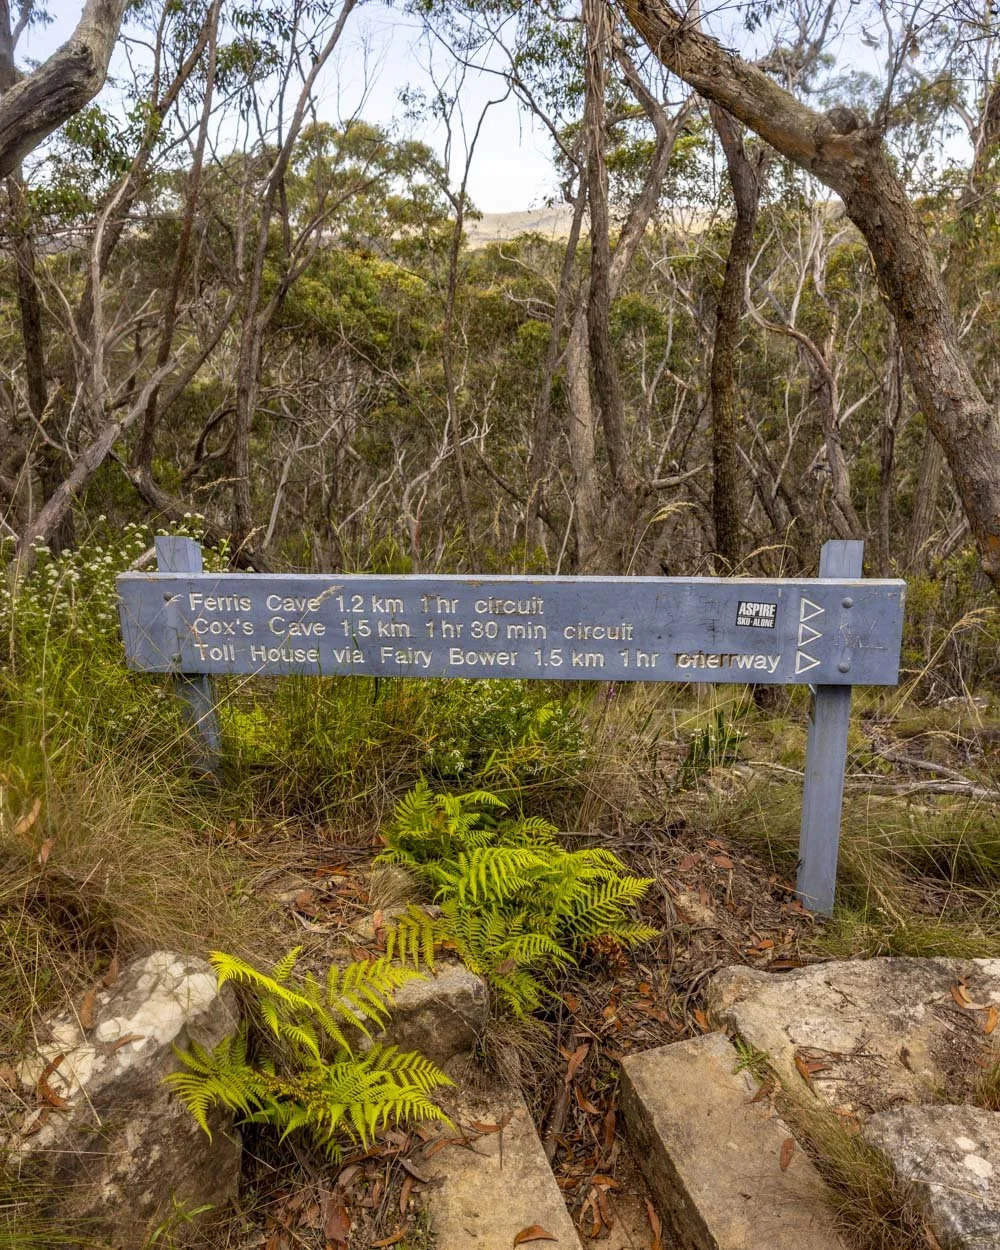
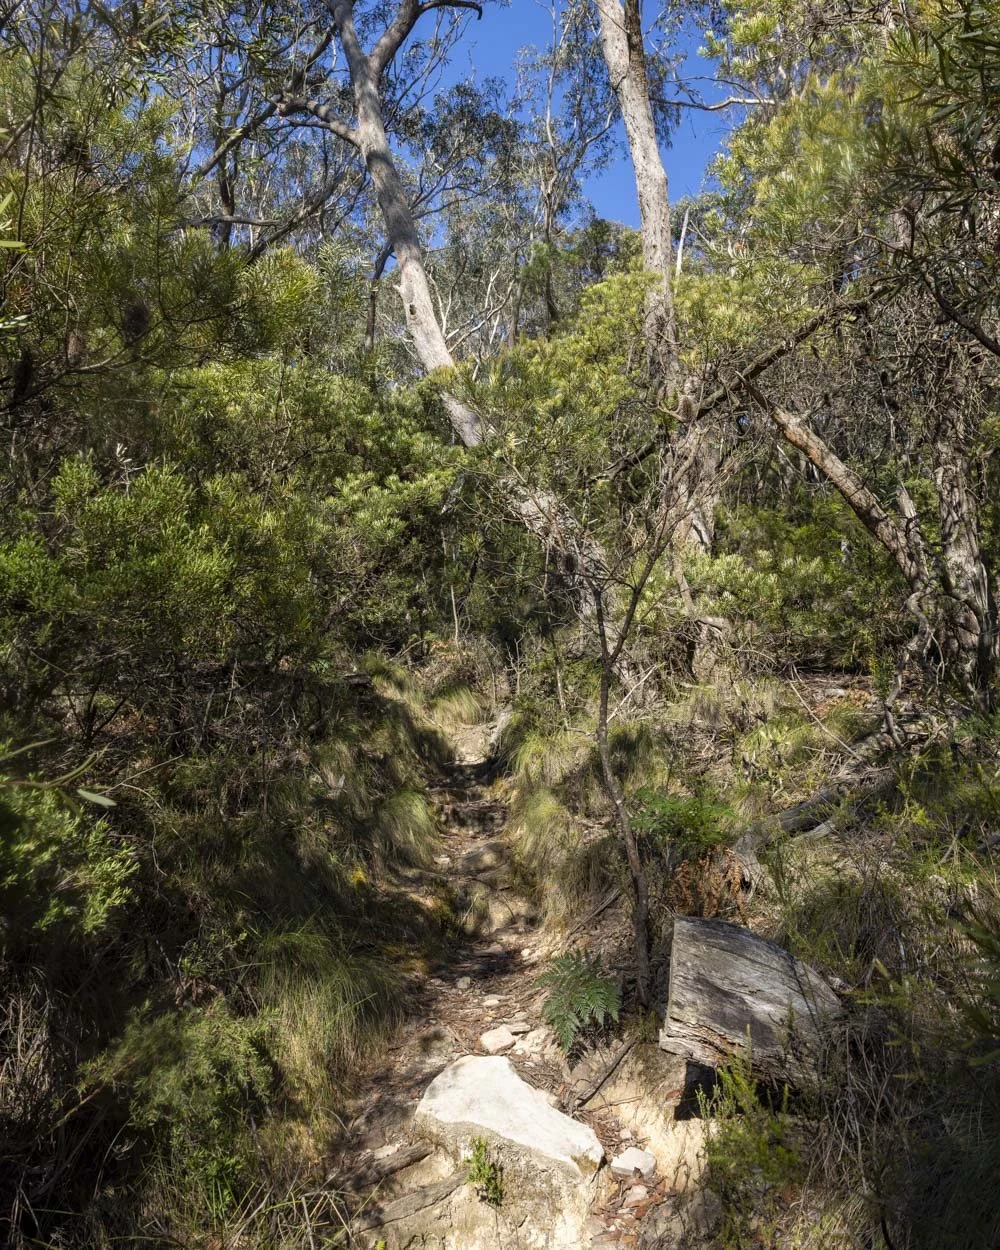
There’s a second signpost after 40m and again Ferris Cave is signposted. After following the track on the right you will continue descending, but the path is now rougher, with some rocky sections.
It’s not slippery, but it is the kind of terrain where you need to watch your footing.
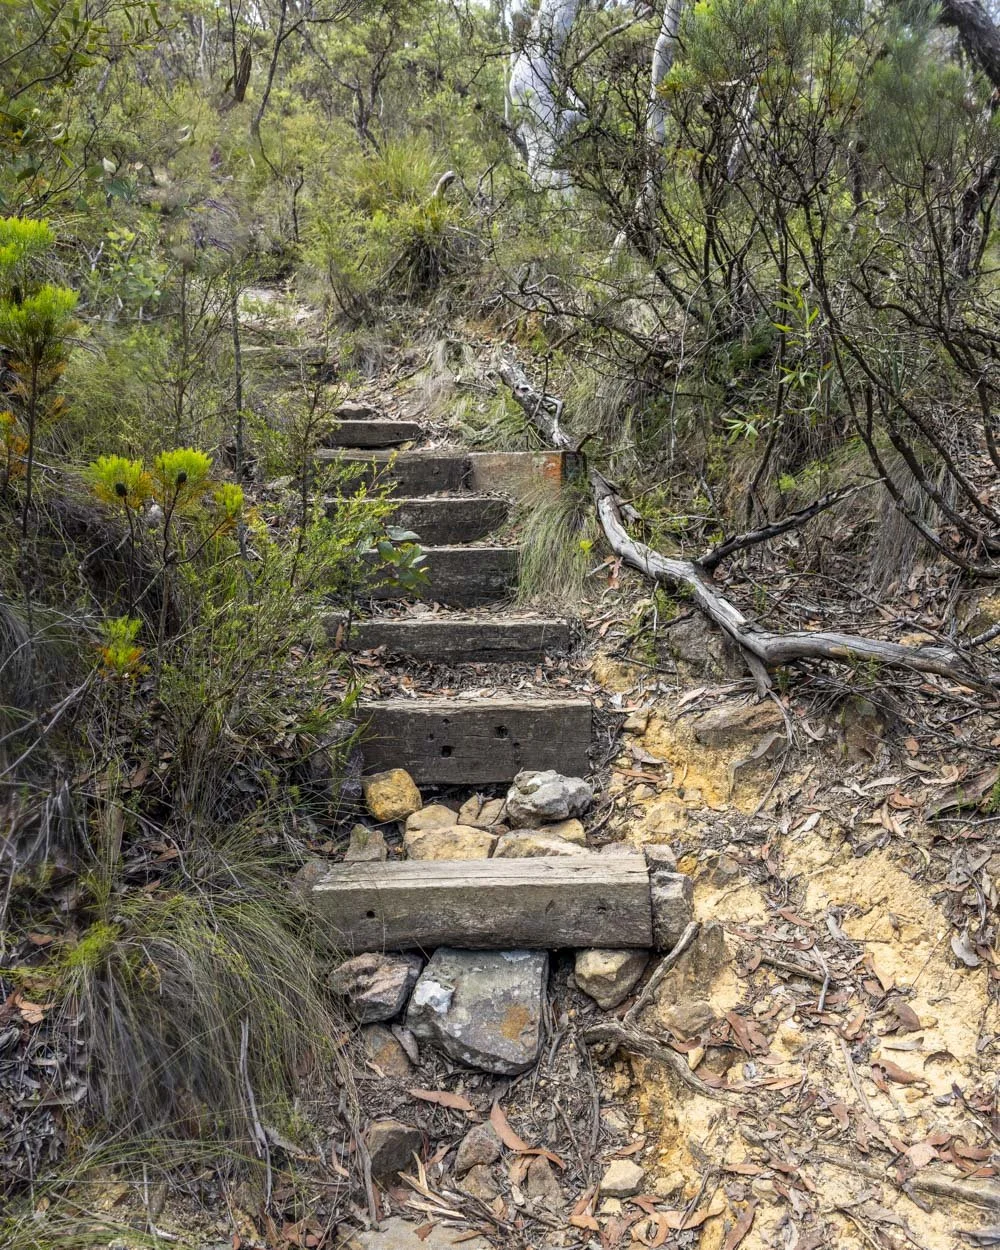
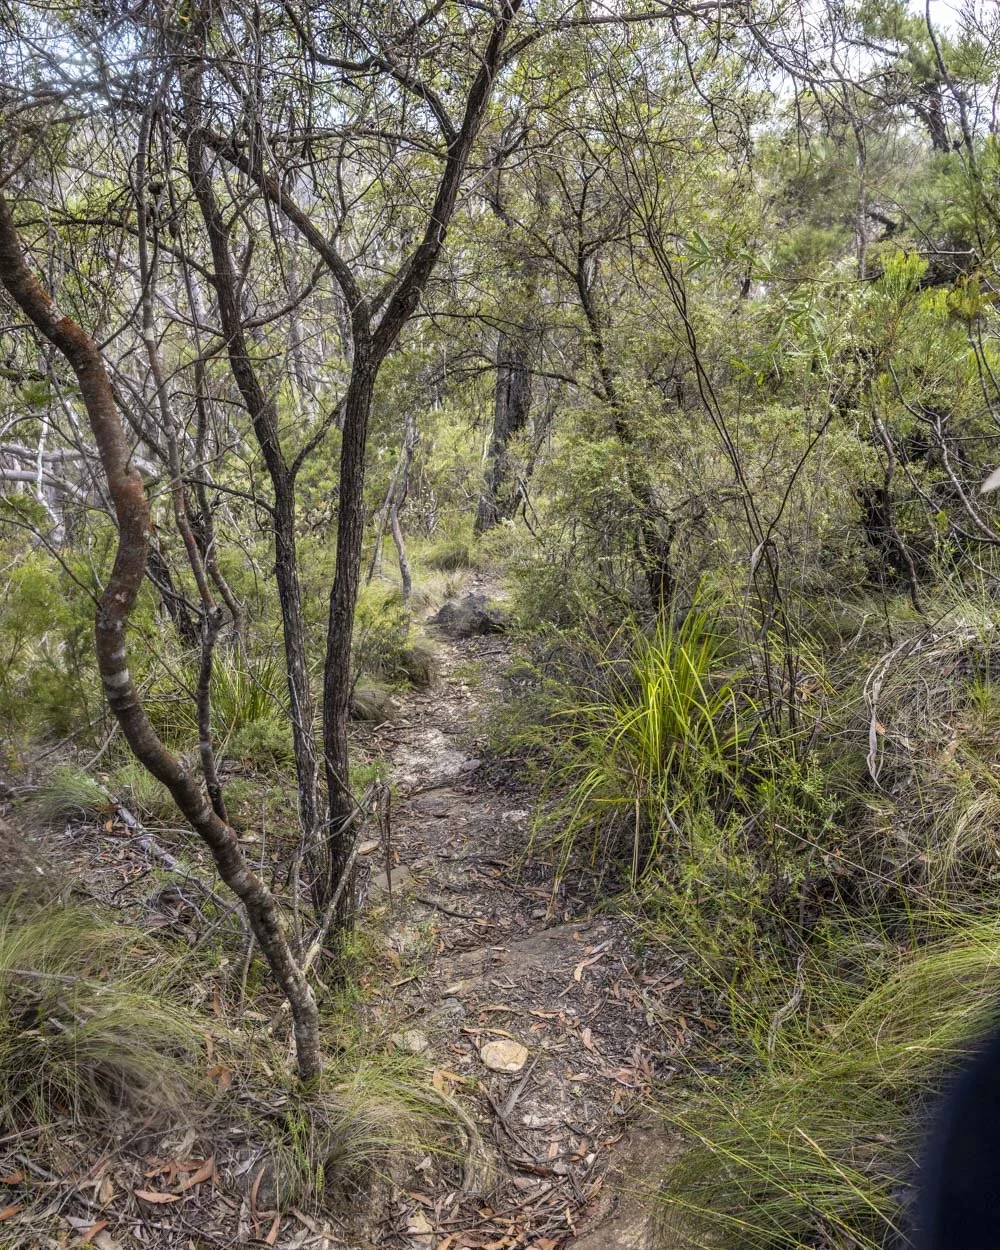
There are a few steps inbetween but most of this next section is a bit rubbly. After 240m the gradient will slacken and you’ll soon reach a lovely ferny section.
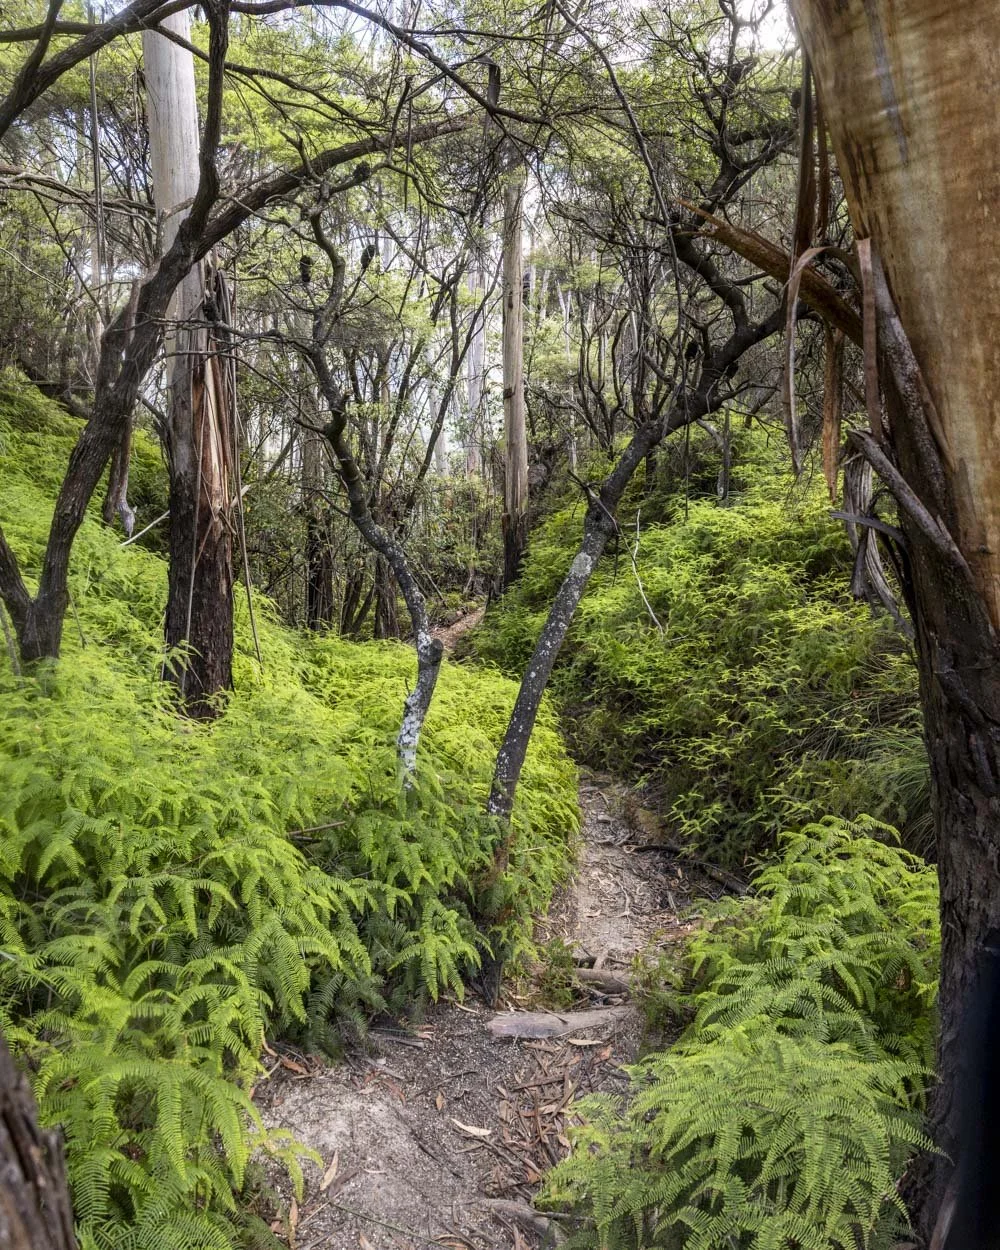
There’s a little overhang on the left at the 450m mark, though it’s nothing on what’s to come.
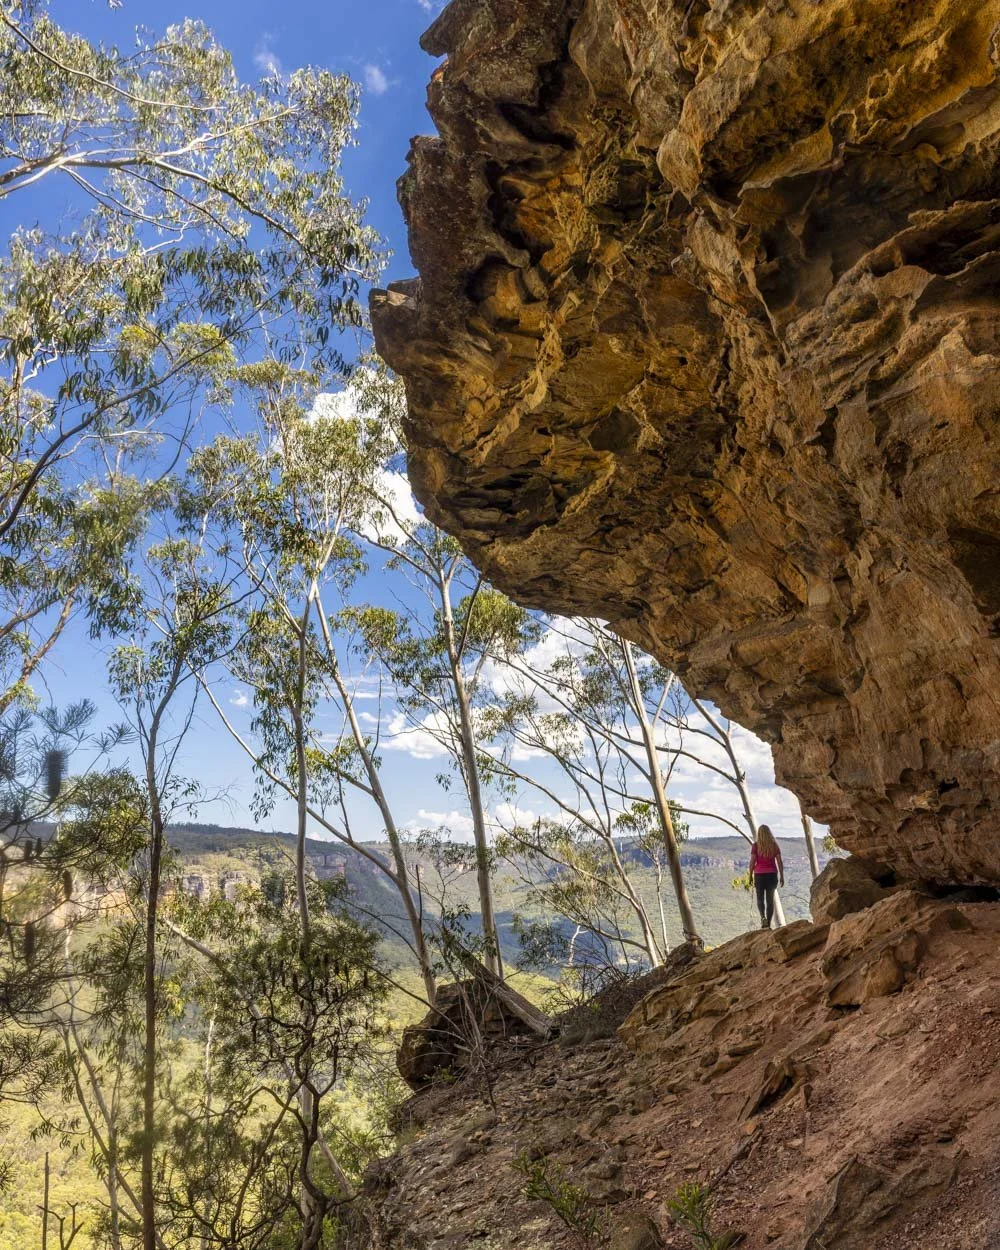
After another 50m you’ll reach a pretty fab overhanging ledge and the orange sandy path beneath it is very picturesque.
You will also start to get your first views of the Megalong Valley, although it’s through the trees at this point.
Reaching Ferris Cave
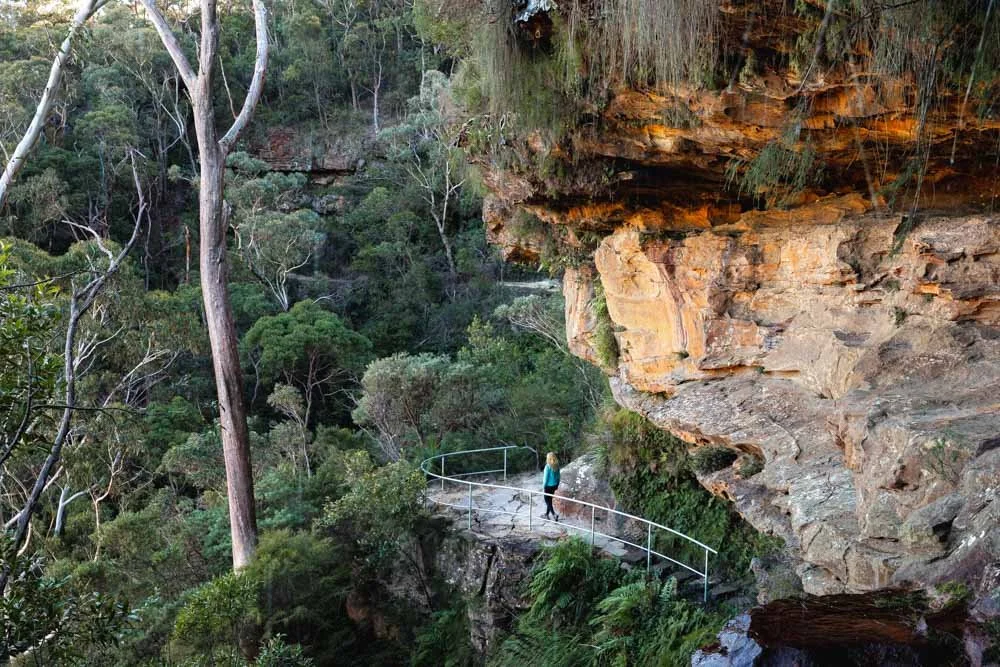
The path soon narrows and follows the cliff side round to Ferris Cave.
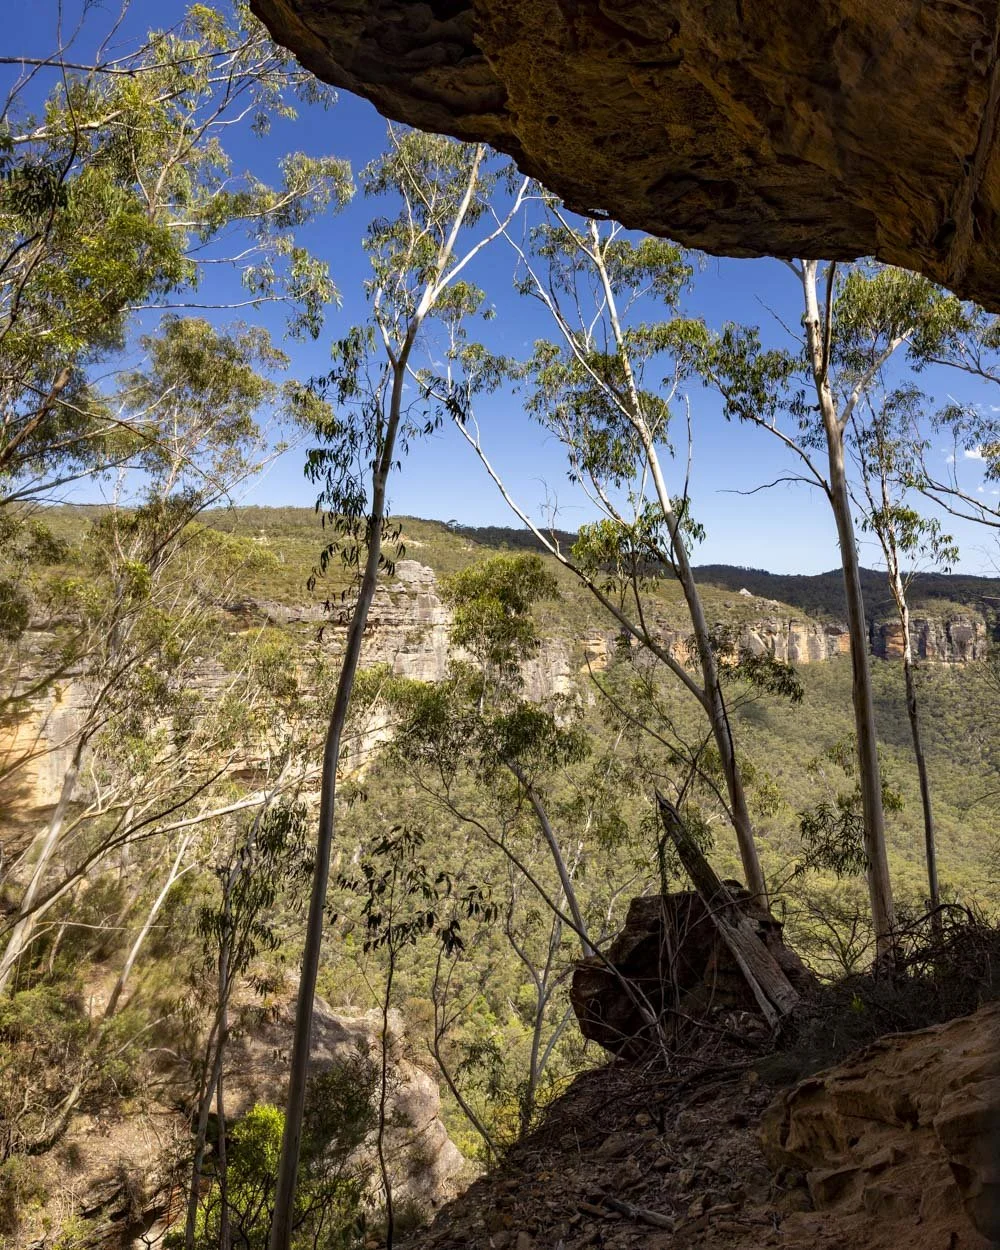
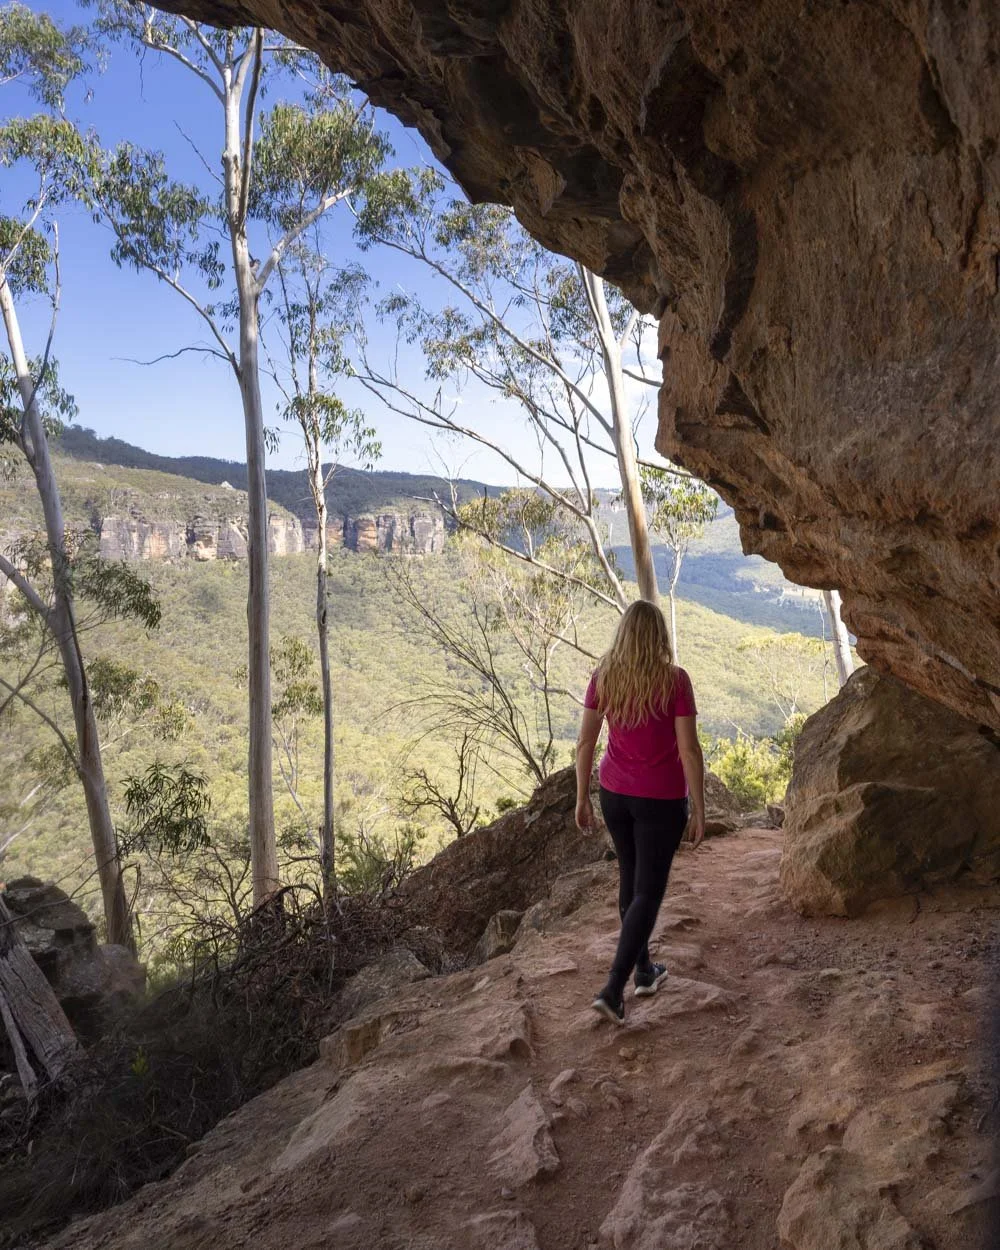
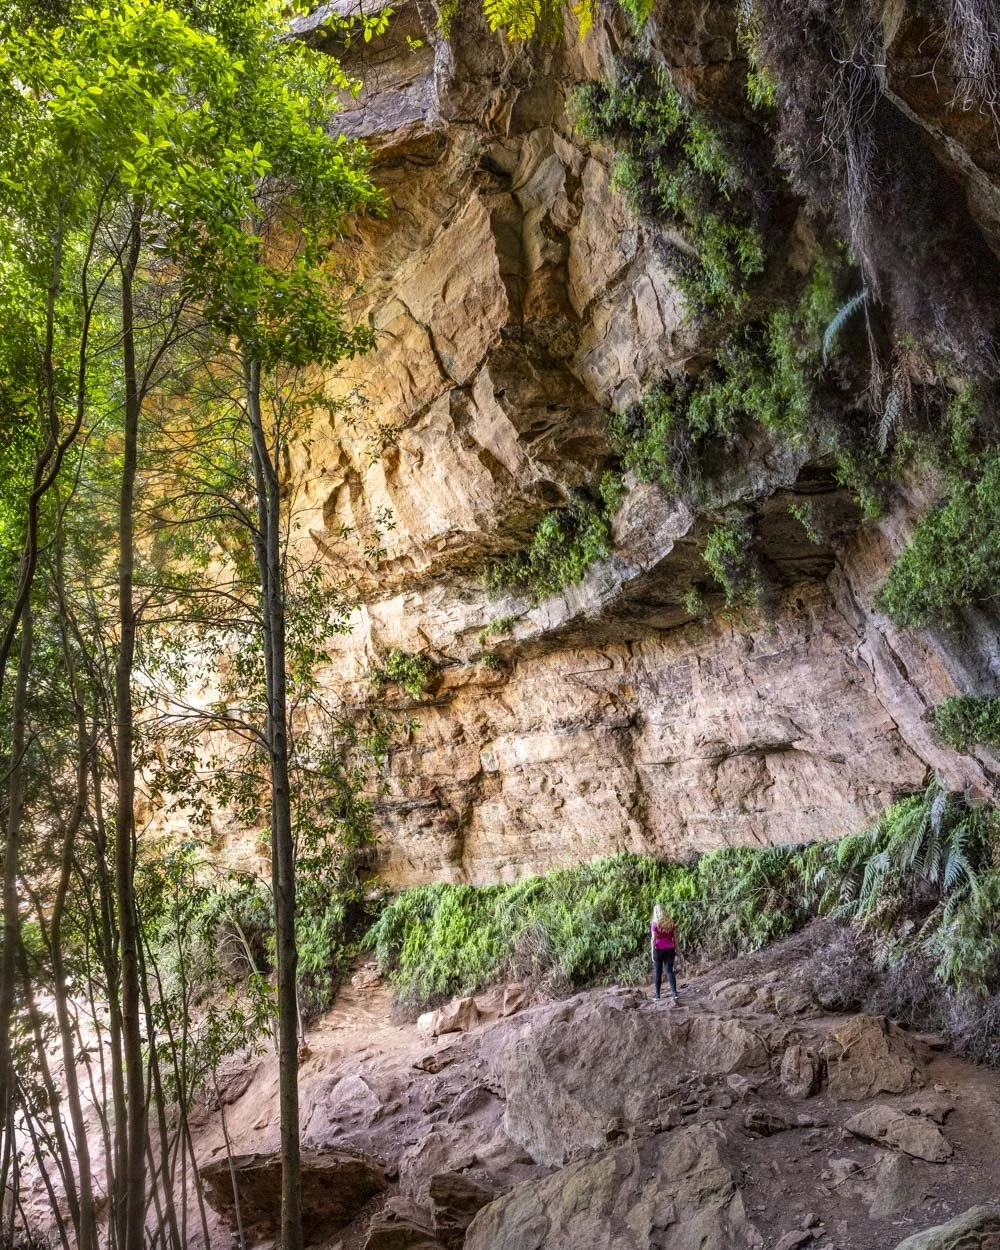
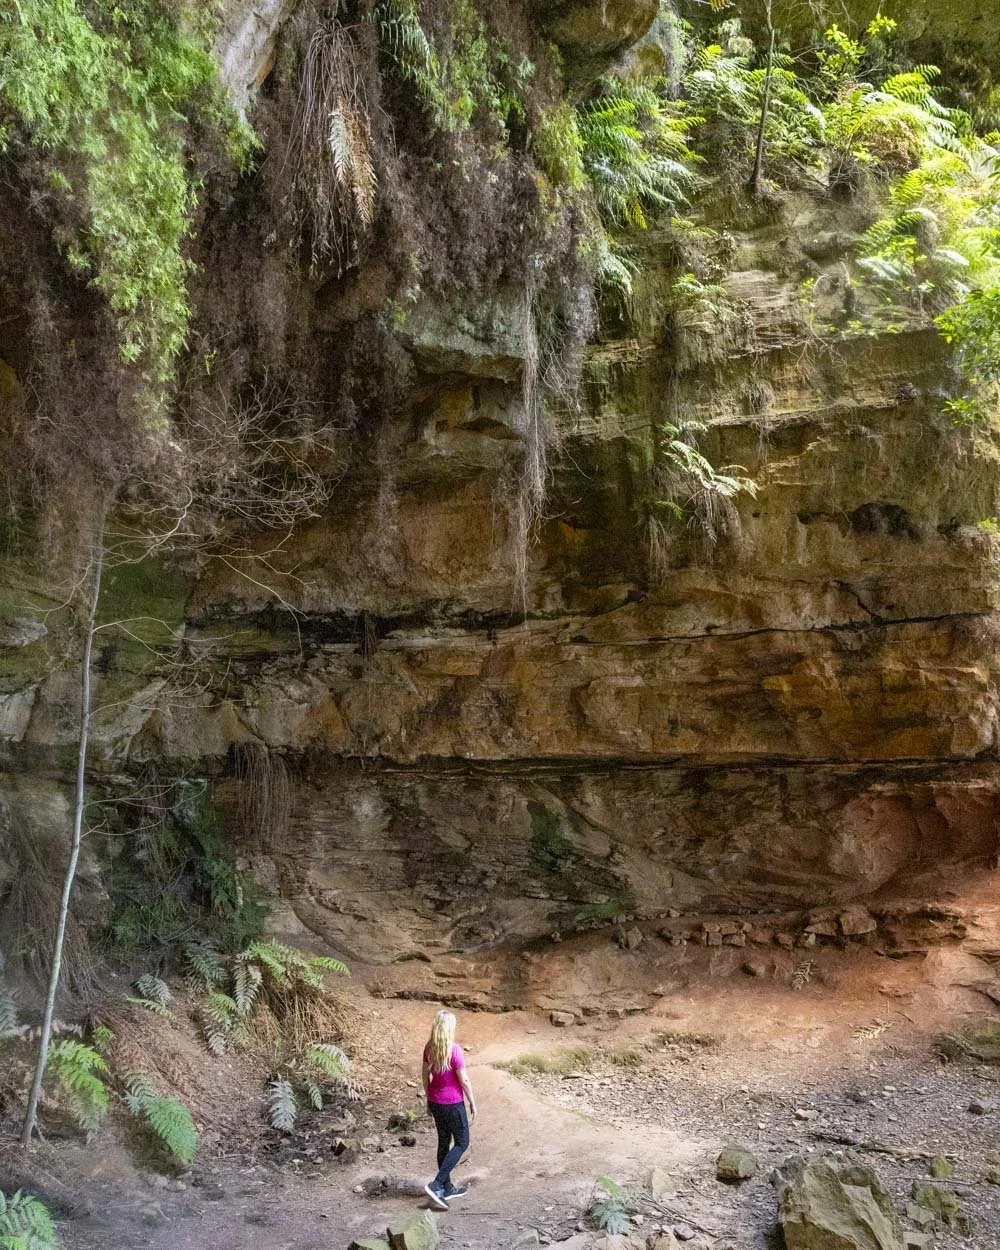
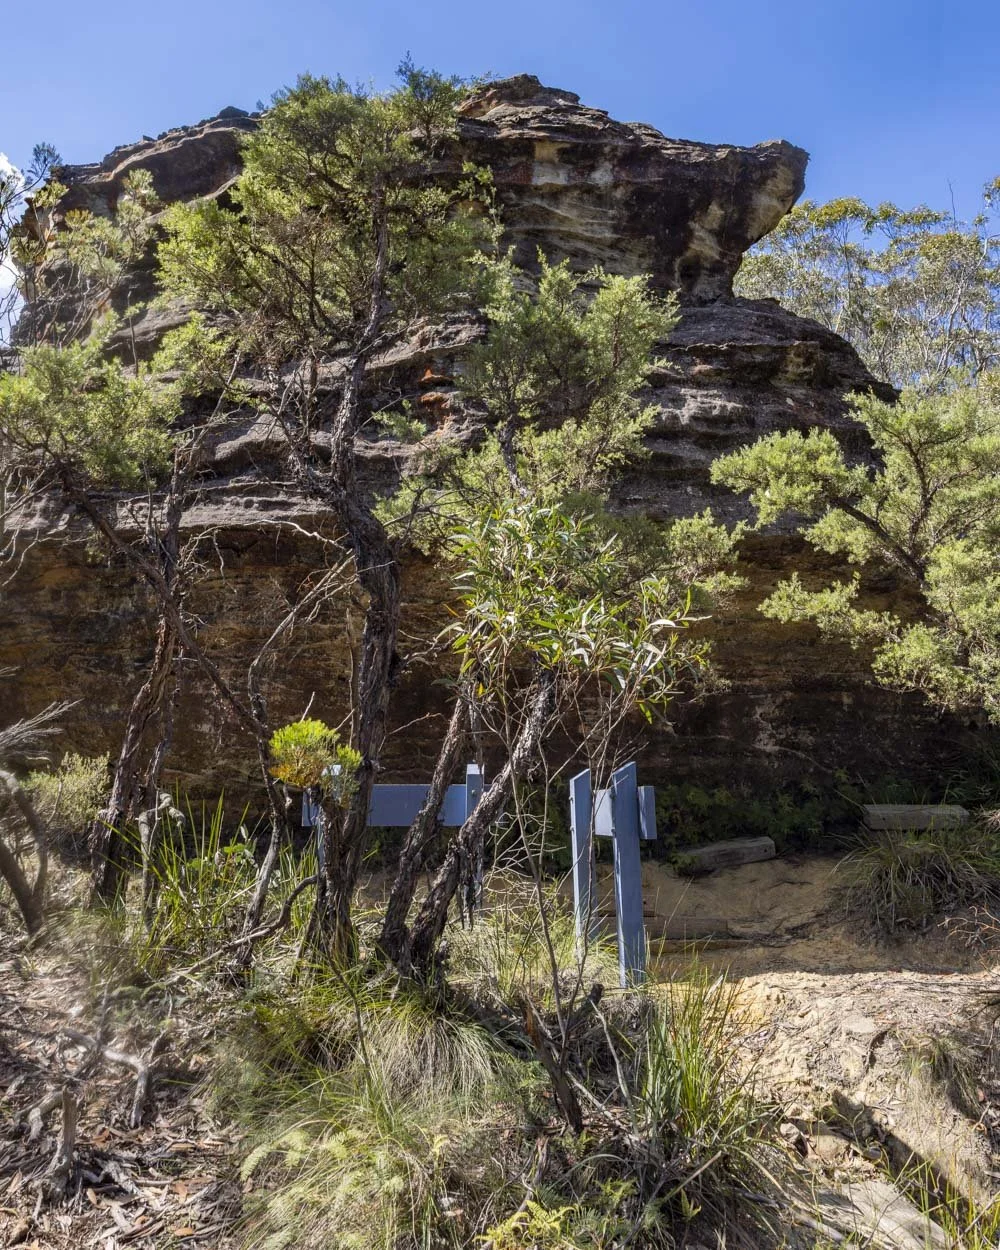
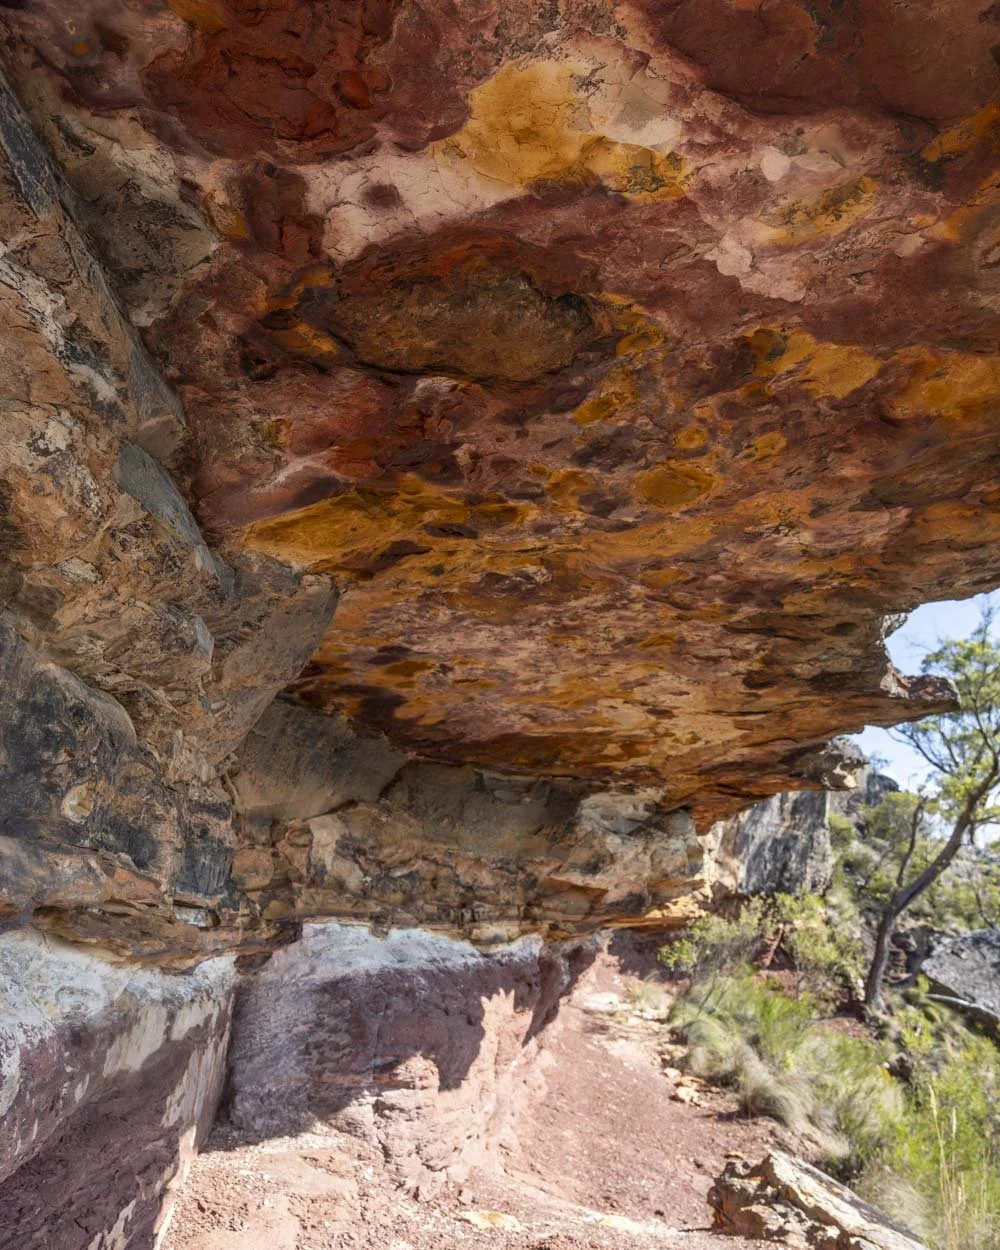
The dirt track becomes almost outback orange in colour, making for a stunning entrance to the cave. It’s narrow but not precarious - those bits come later! You’ll reach Ferris Cave 550m after leaving the car park.
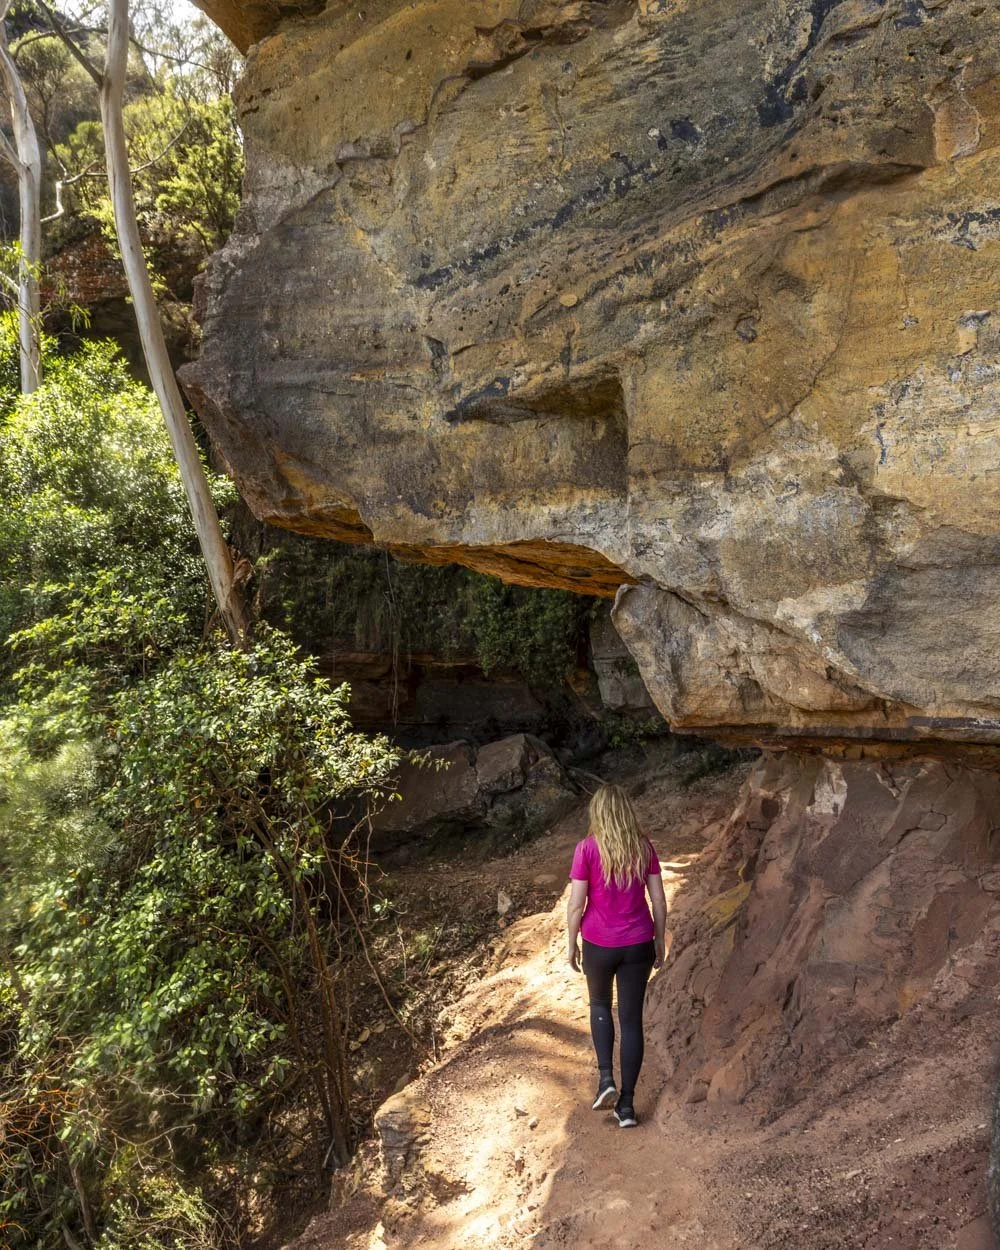
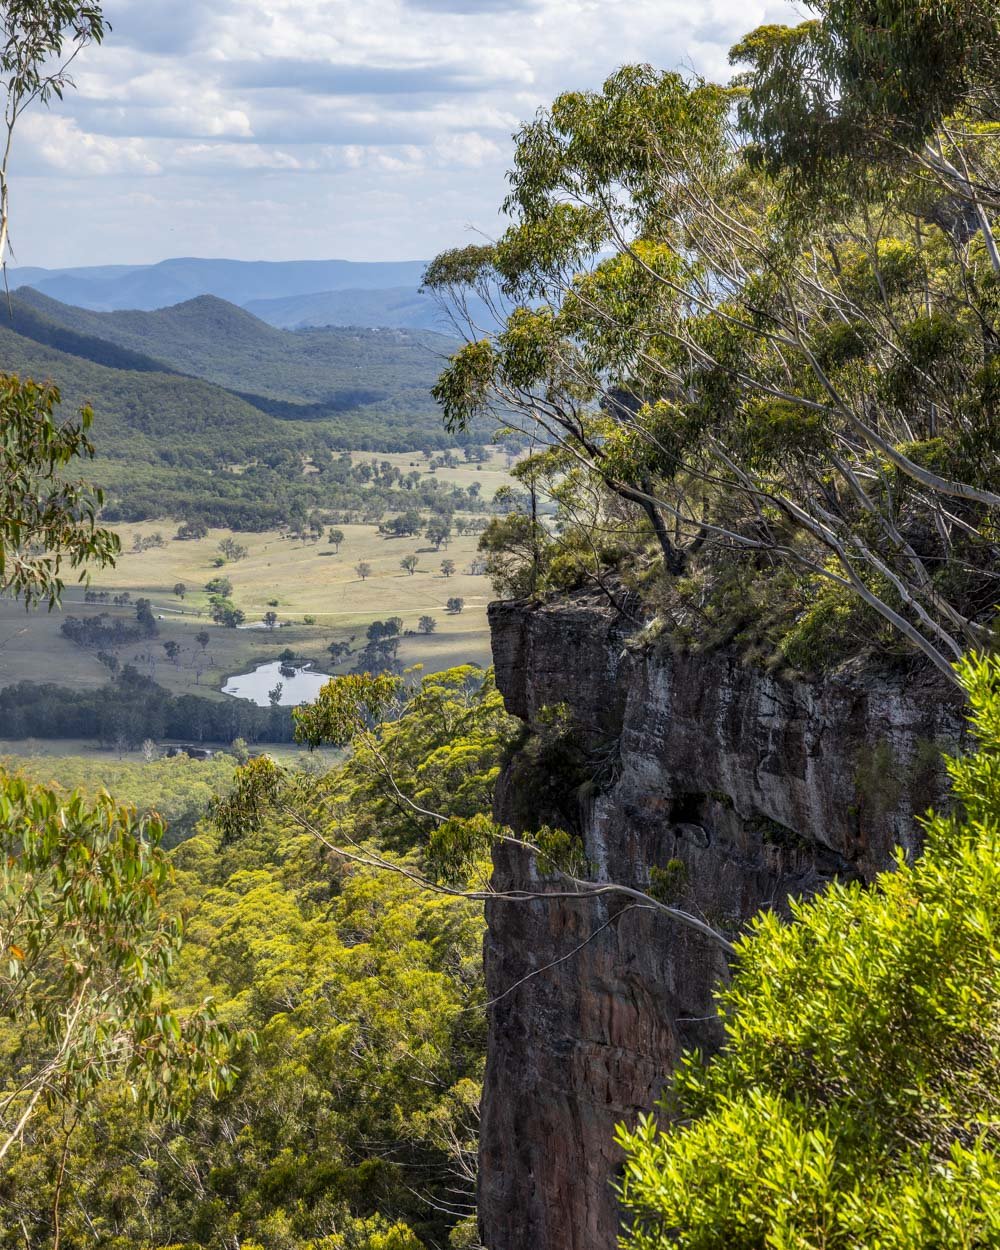
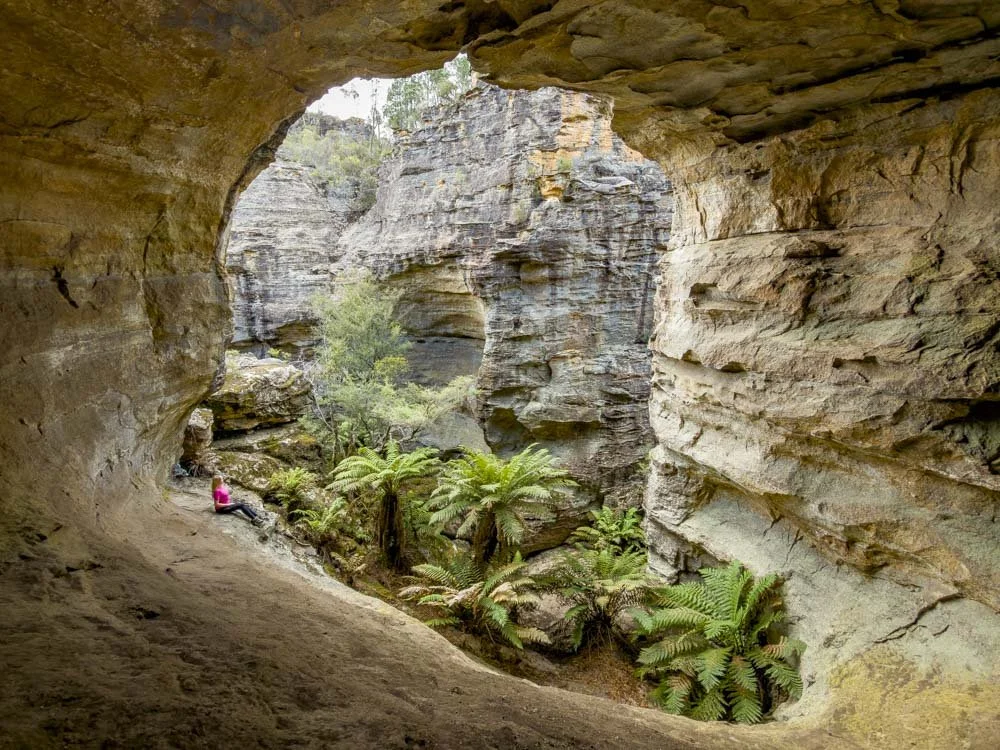
It’s quite different to the other caves at Mount Piddington, less enclosed, but very grand in scale. We visited on a steaming hot day in January when the sun was at its brightest and no light penetrated the chasm.
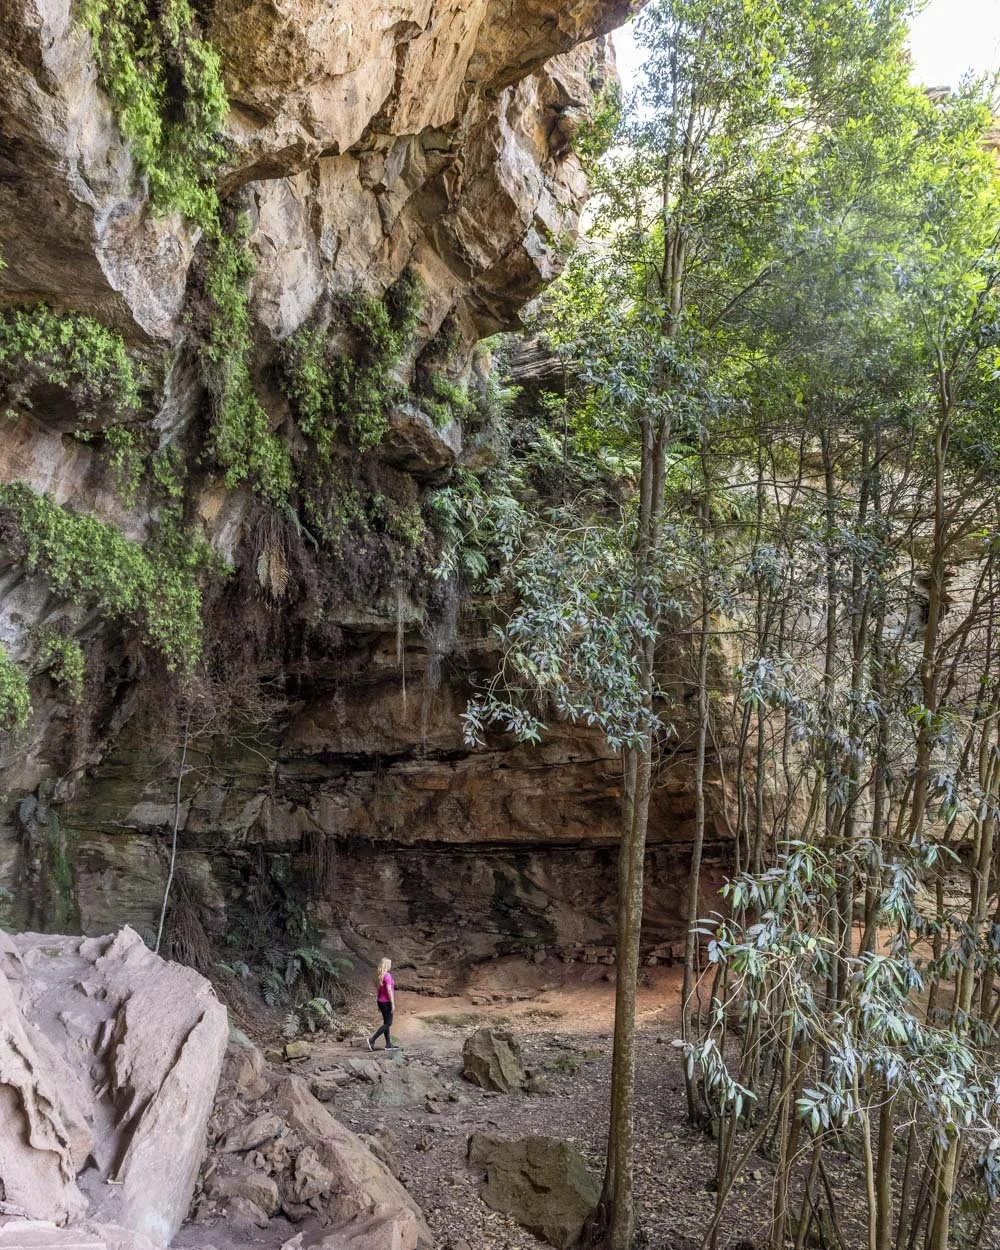
It’s basically a huge depression in the cliffs and feels almost canyon-like.
The walls tower above you and are lined with pretty ferns making the whole place incredibly photogenic. It was much more impressive than I’d been expecting, despite the fact it’s not really what I would call a cave.
It’s a popular spot for climbers and it was fun to watch them dangle from the ceiling as we passed by.
To the viewpoints
If you’re up for a longer walk it is very much worth continuing on to the viewpoints. There’s a little more traversing around the cliff and then you will begin heading uphill.
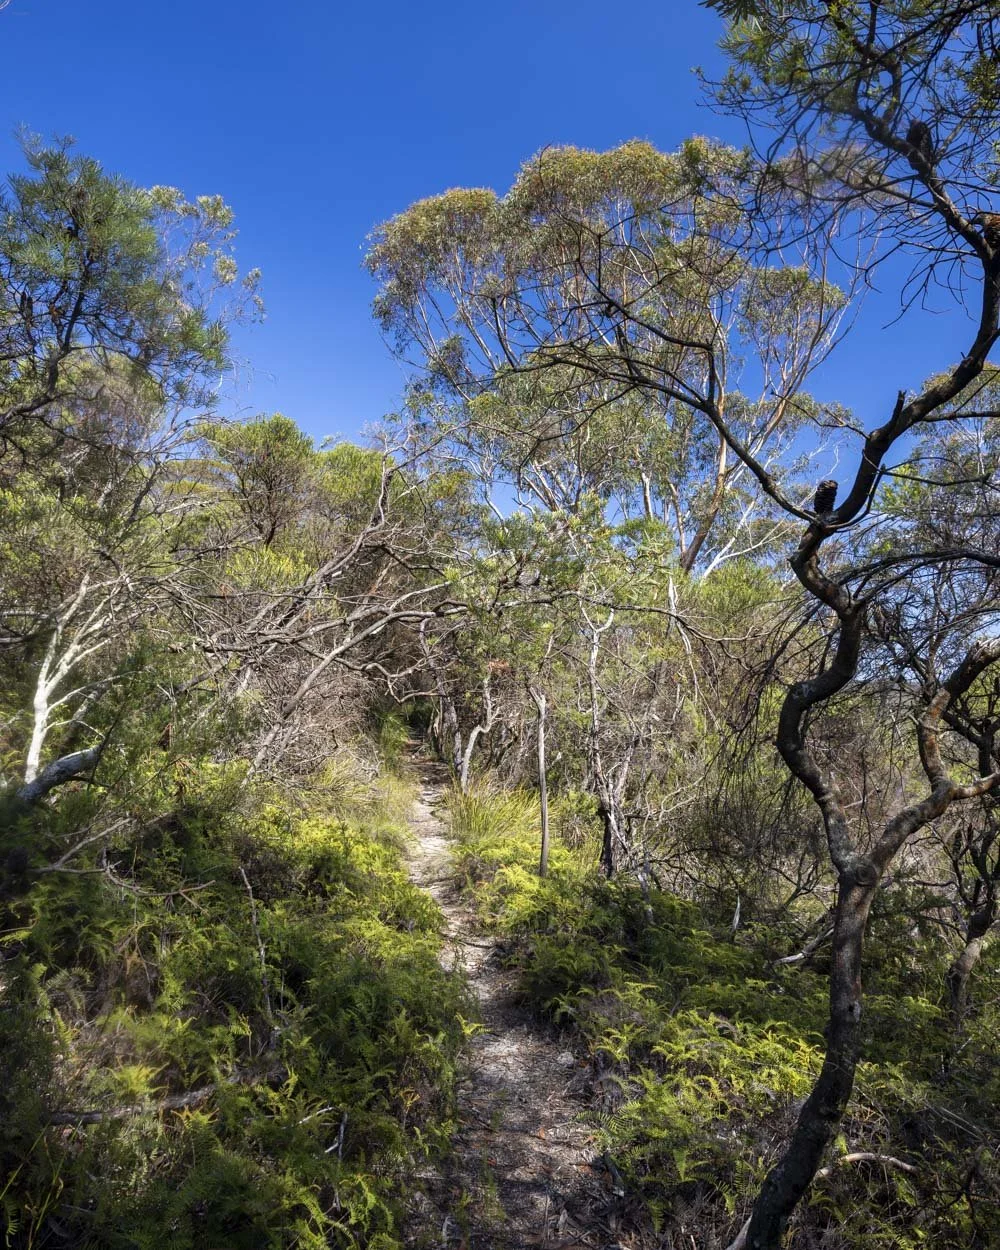
The track is a little rough in places, but again, it’s not slippery, so it’s more a case of watching your feet. There are always good foot placements as you ascend and the scenery is still gorgeous, with a few pagodas dotted amongst the bush.
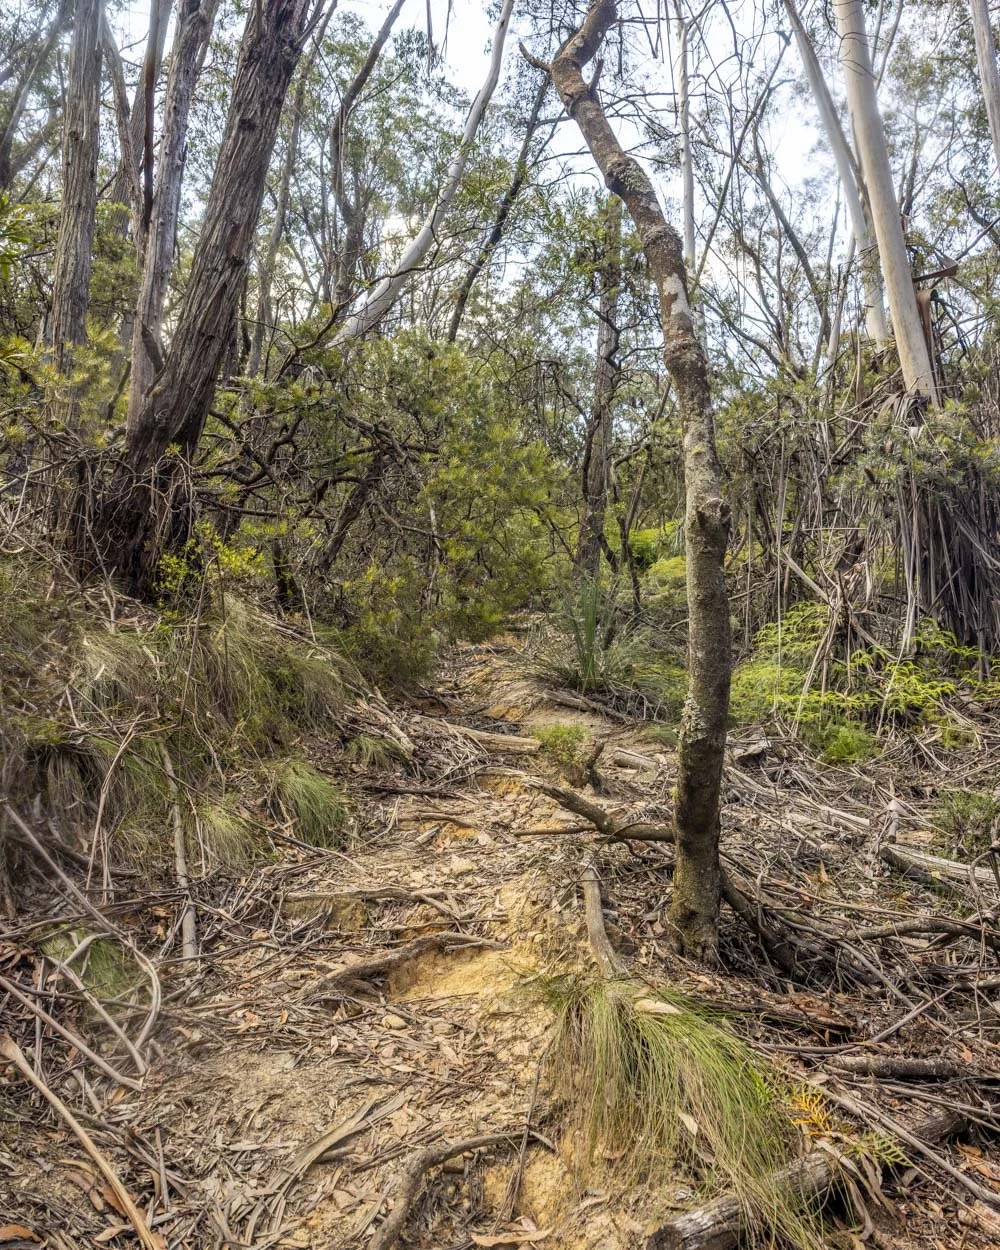
A couple of hundred metres after leaving Ferris Cave, or around 840m into the track, you’ll see a little worn side trail on the left.
This leads to a rusted out car (it’s a 30 second detour). We have no idea how it got there, but it looked like many of its parts had been put to good use elsewhere!

The actual trail is to the right and continues heading uphill for another 160m at which point you’ll reach a signposted junction. Heading right will take you to Boronia Point.
Boronia Point and Hornes Point Lookouts
Boronia Point is just 220m (each way) from the junction and the path is mainly flat. It’s a good dirt track and though a touch scratchy in parts, it’s an easy side trail. Roughly 150m from the junction the path splits, the left fork takes you to the lookout which you’ll arrive at 70m later.
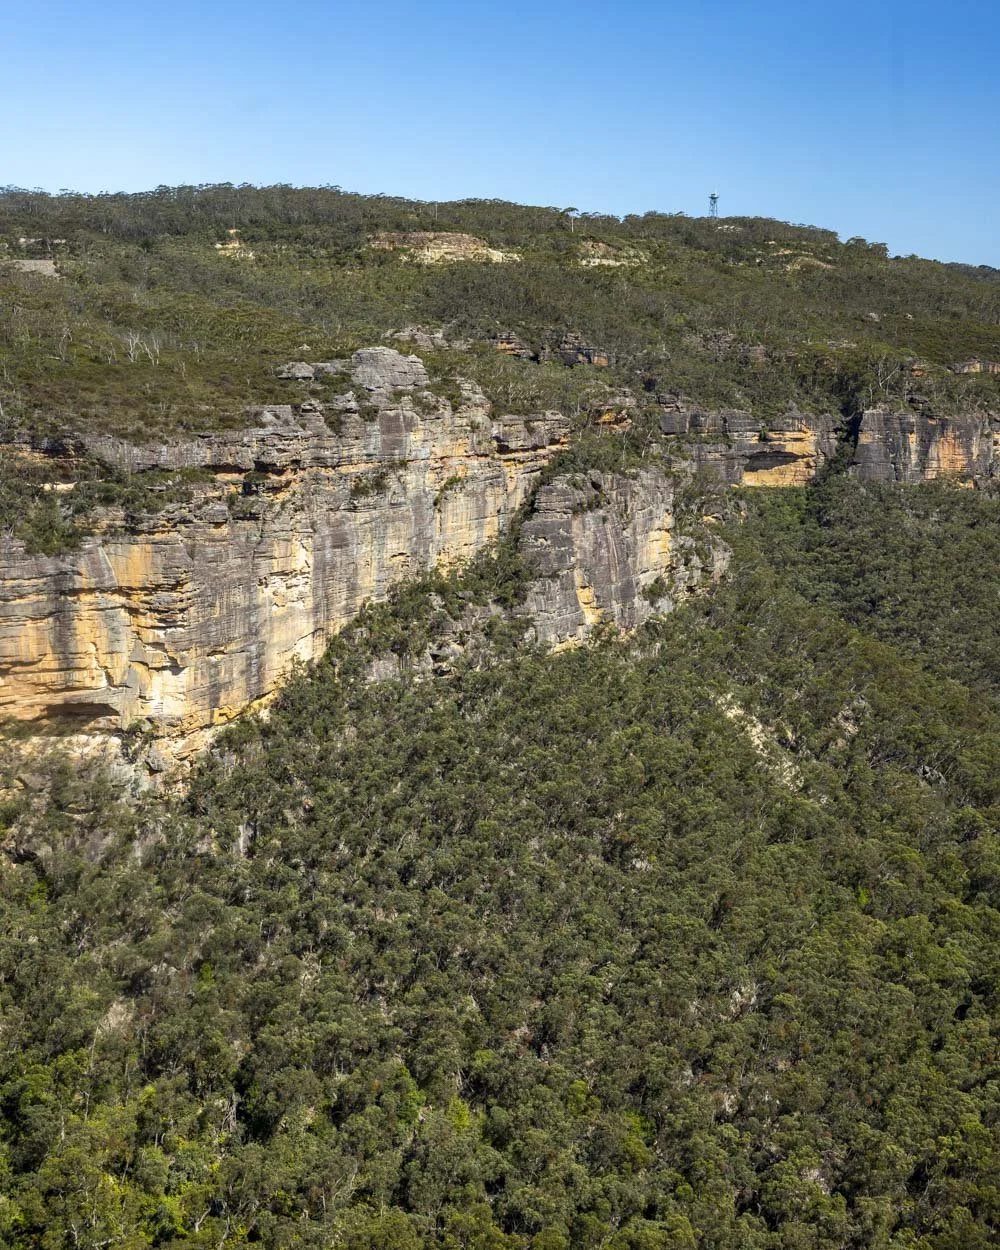
It’s an expansive unfenced cliff edge with glorious views over the Megalong Valley. In fact it’s so good that’s it’s hard to believe it’s located along a little frequented council track in Mount Piddington!
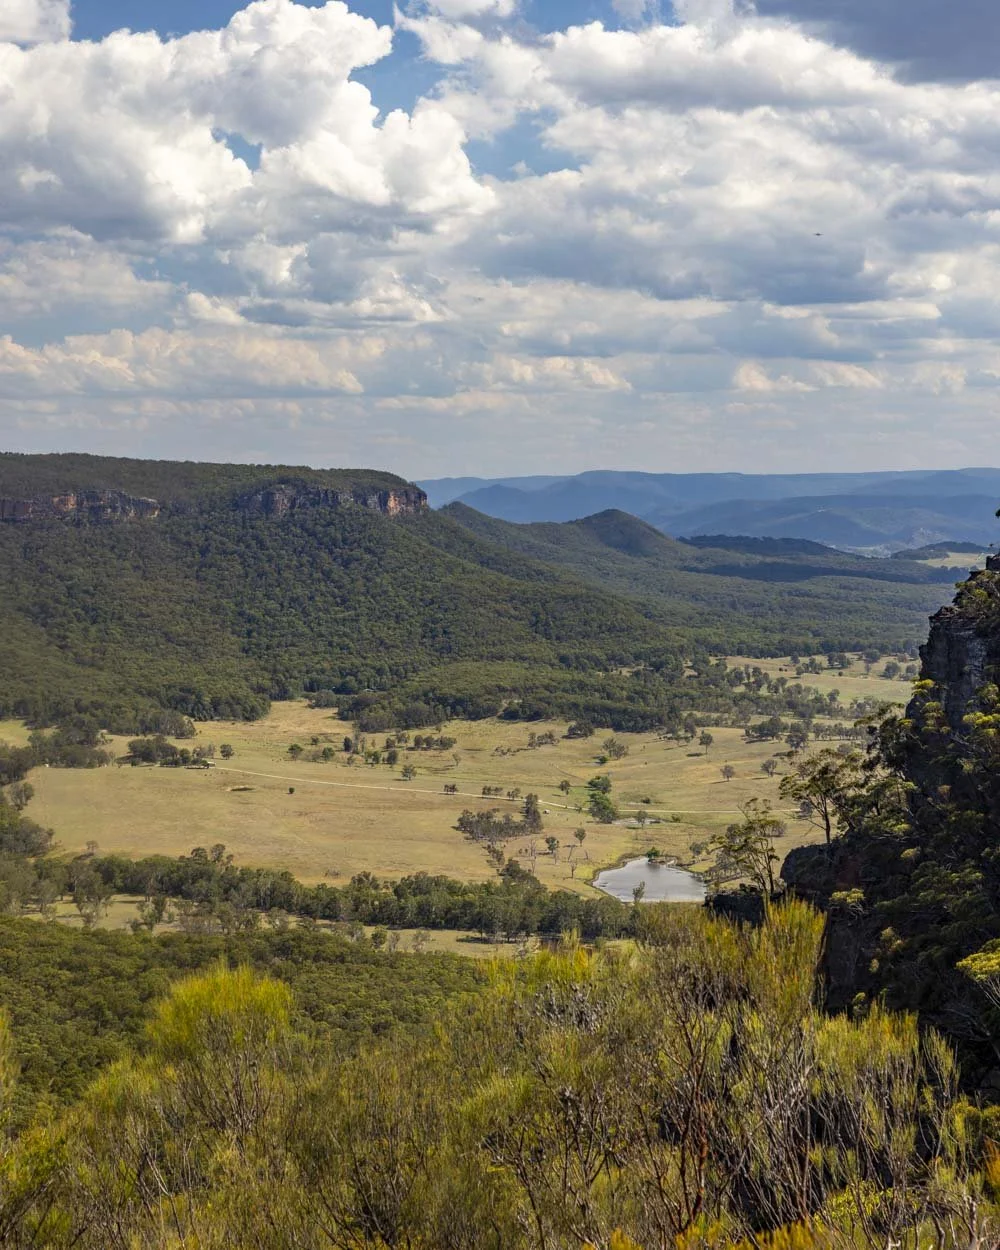
What’s even more hard to believe is that the next lookout, Hornes Point, is even better. You’ll return to the junction and then follow the alternative path. After 120m you will reach a fire trail and head left. The viewpoint is 730m away and the wide well maintained fire trail is either flat or a gentle descent.
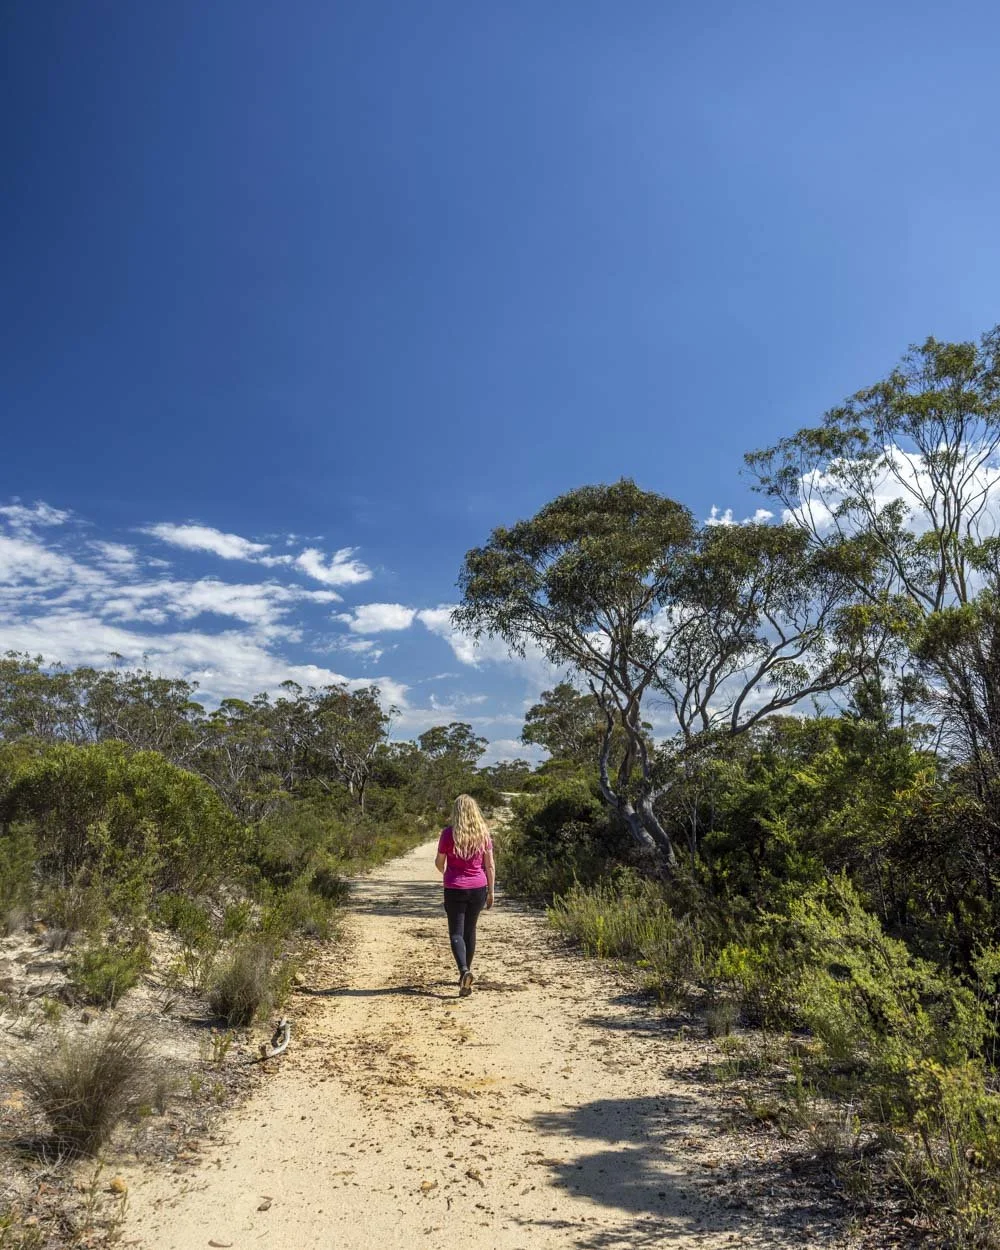
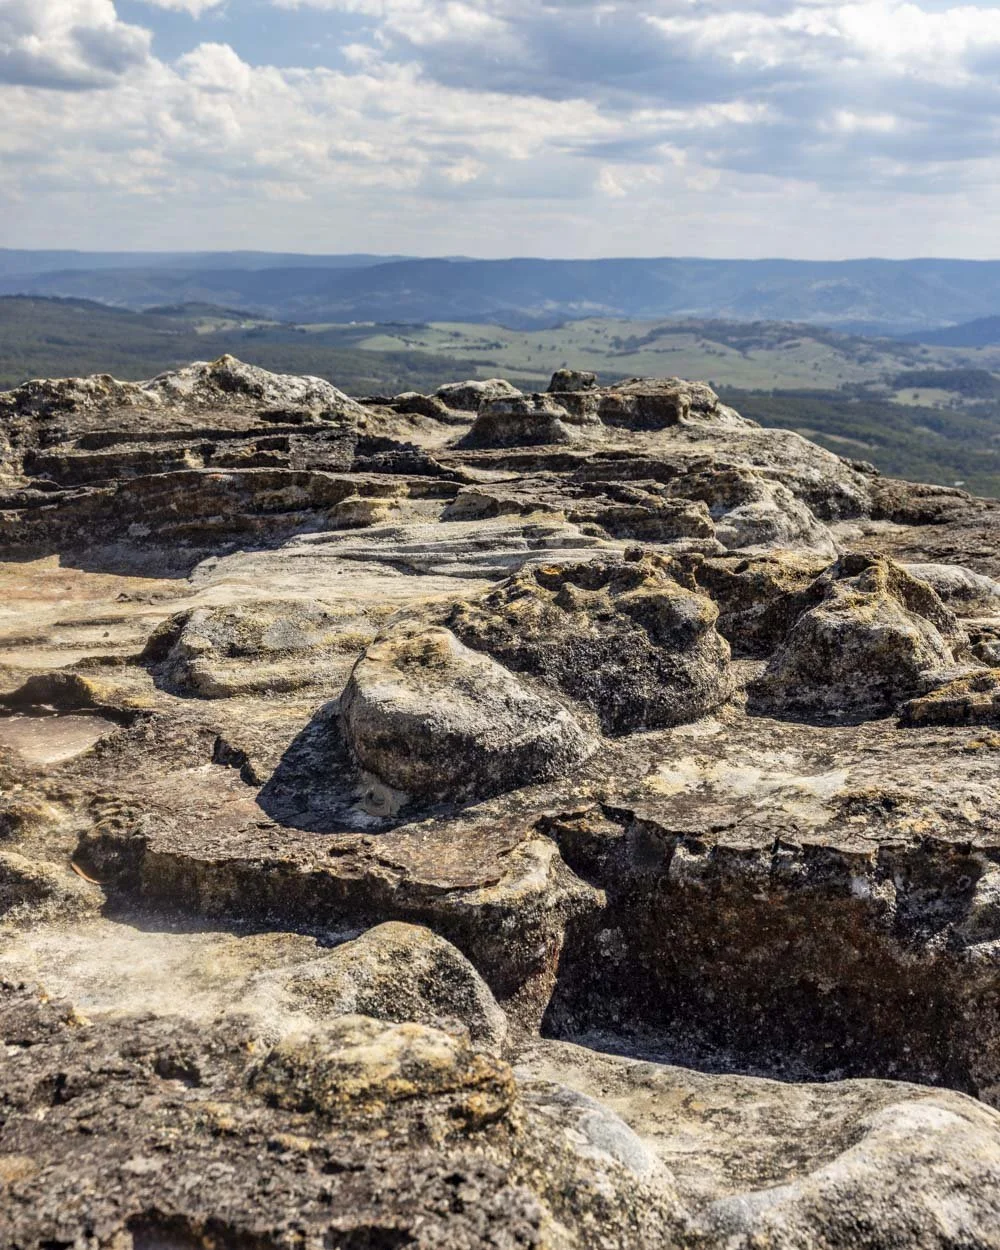
You’ll reach Hornes Point just over 2.2km into the walk, and what a view! You walk out on to the weathered sandstone outcrop and the vista is panoramic.
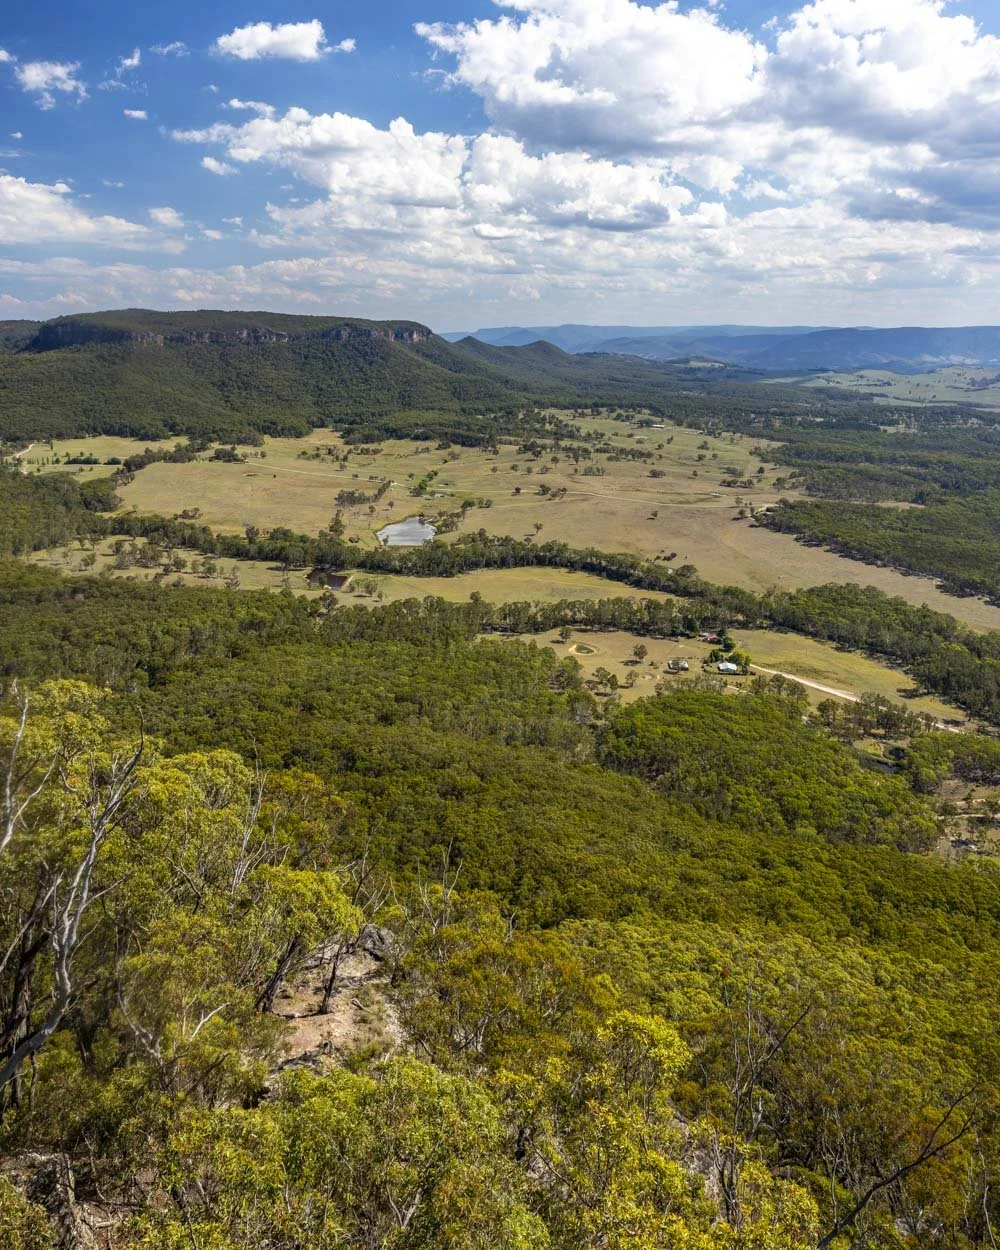
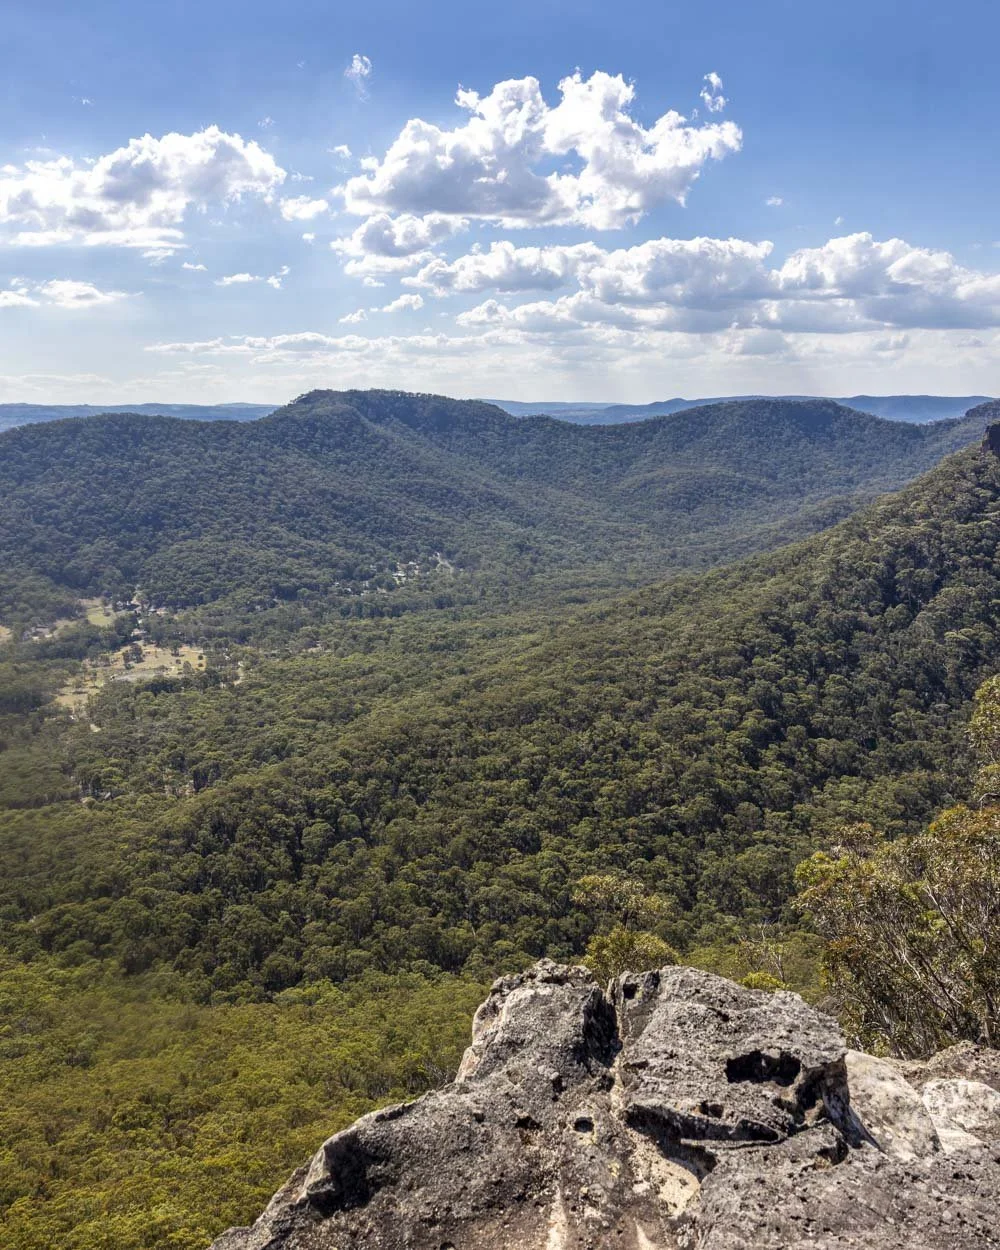
As the rock juts out a little over the valley you feel like you are part of the scene, with the valley far below you and the mountains surrounding you. The rock is wide with plenty of room to spread out and relax. It would make for a beautiful picnic spot.
If you’re walking with a dog or you don’t like the sound of a narrow path beside a big drop, from Hornes Point you sould make your way back along the fire trail, past where you entered it, and on to the car park, roughly 850m away.
Completing the circuit: the narrow ledges and Swaggies Cave
If you’re unperturbed by the narrow path, read on. To continue the circuit you need to look for the path to the left of Hornes Point when facing the valley (it’s before the rock itself, in the little bushy section between the outcrop and the end of the fire trail). It’s actually not obvious unless you know to look for it.
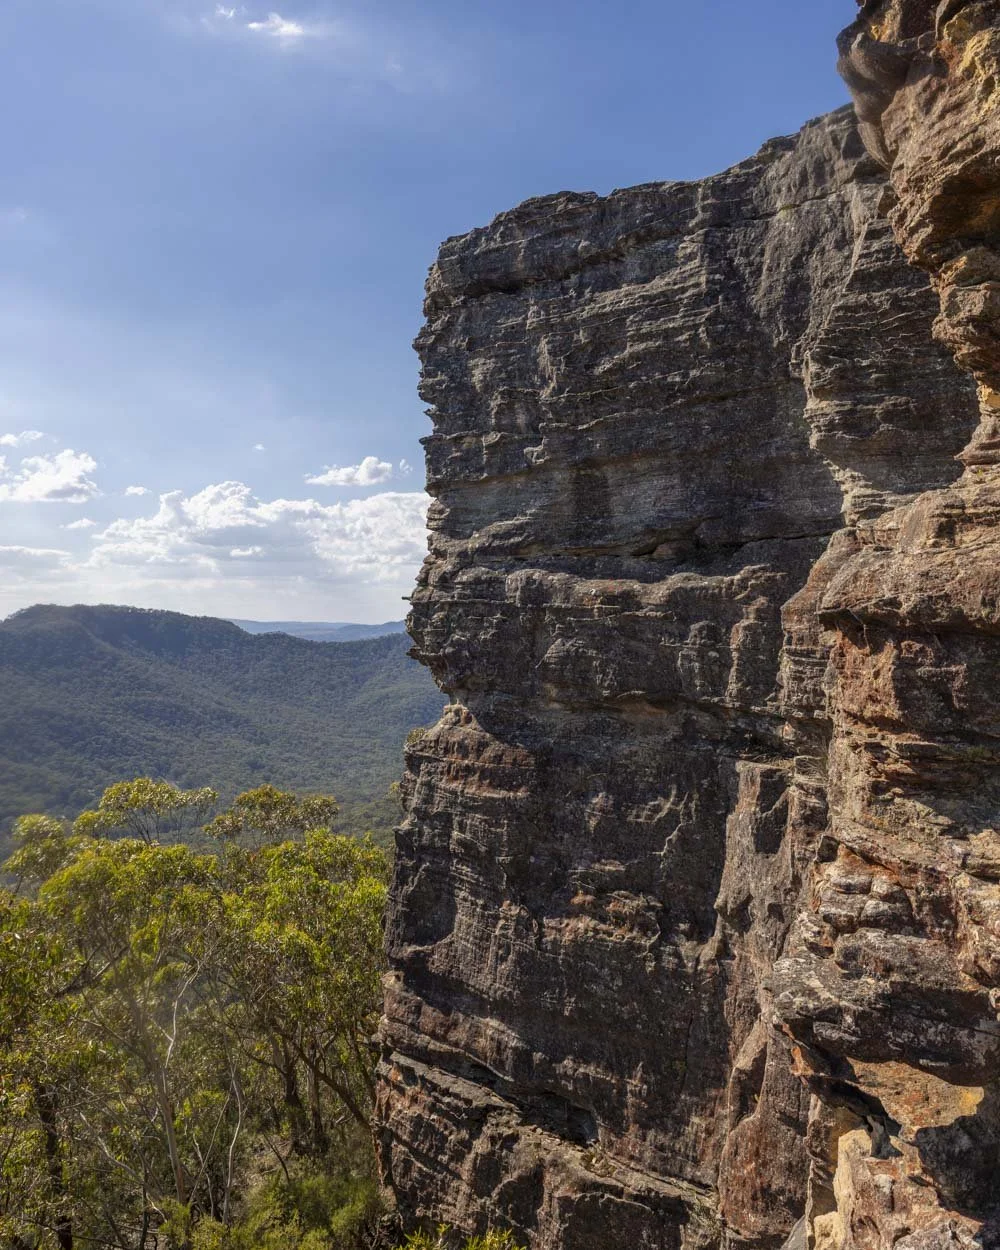
It curves around the rock and then leads downhill on stairs before you reach a rocky section. It’s not really a scramble but it is a little rocky down climb, which is grippy when dry. After this there is one very short steep few metres on a dirt track which looks a little loose.
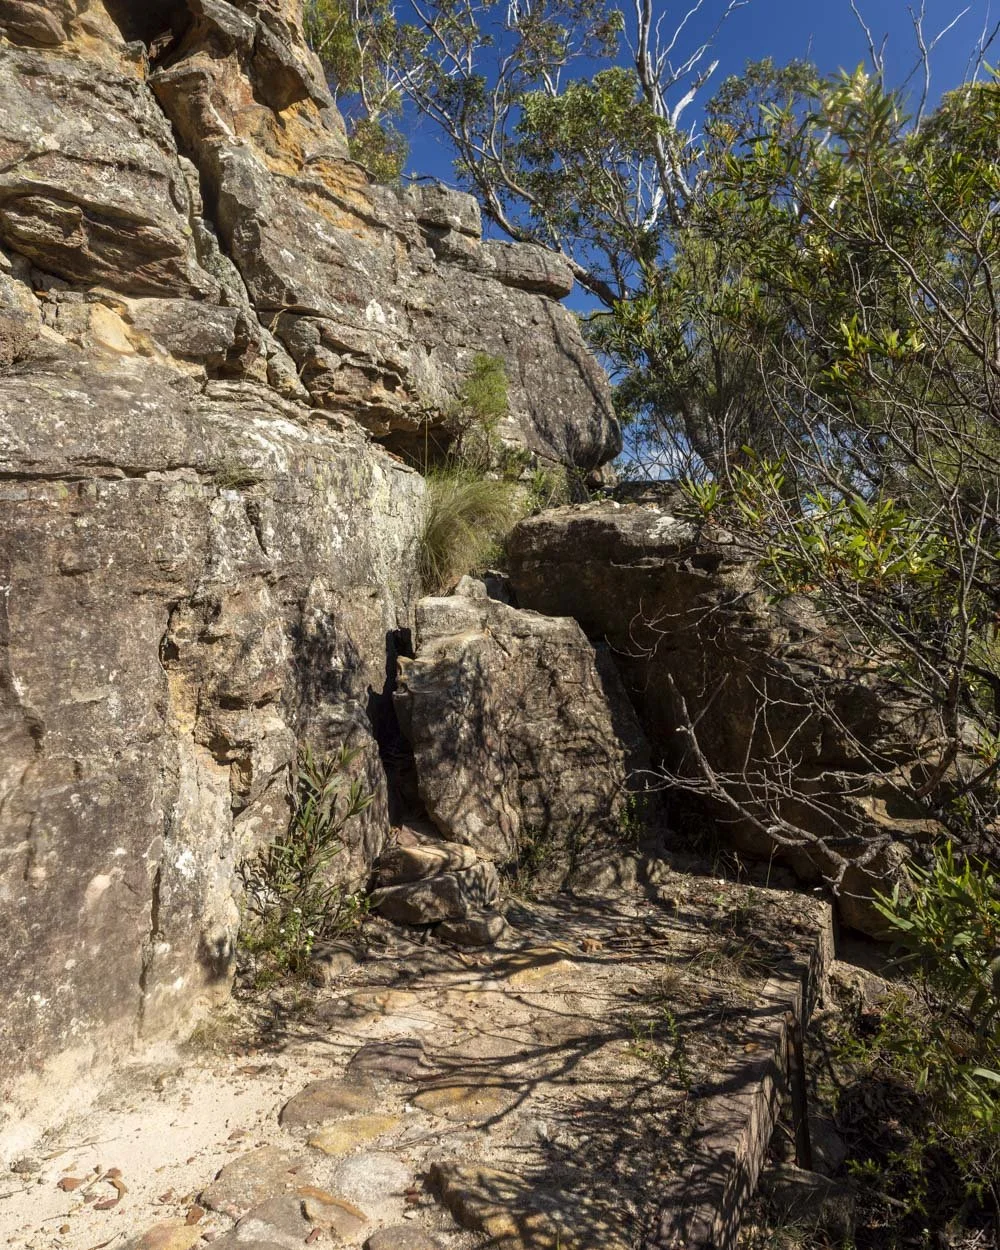
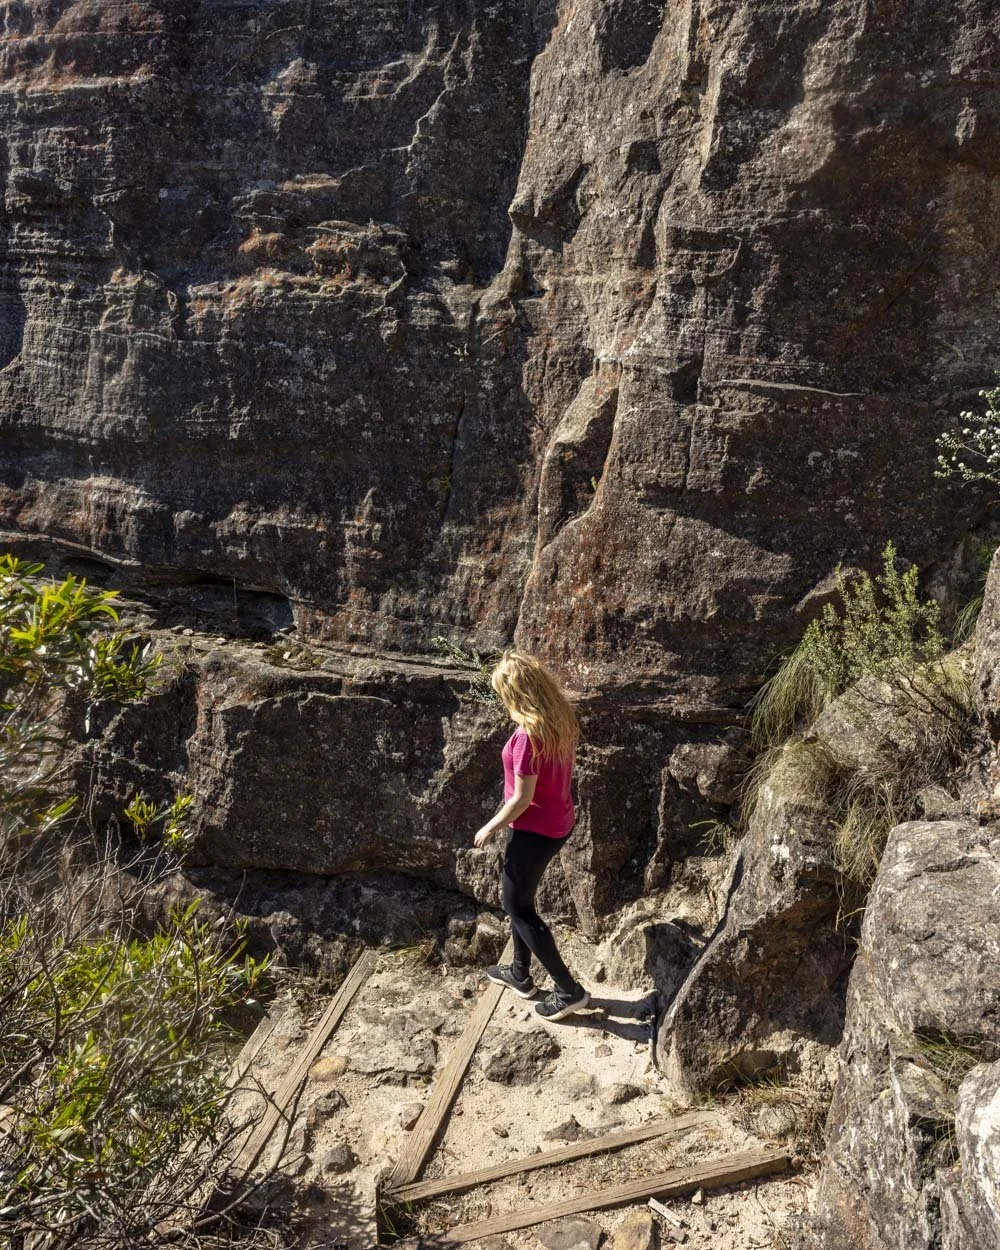
The drop off in front of you is disconcerting, but there are trees to hold on to for that extra bit of security, so I found it ok. It wasn’t slippery, but if the rest of the track had been like these few steps I would have turned back as I am just not a fan! Happily, it’s not, though there is some exposure at times.
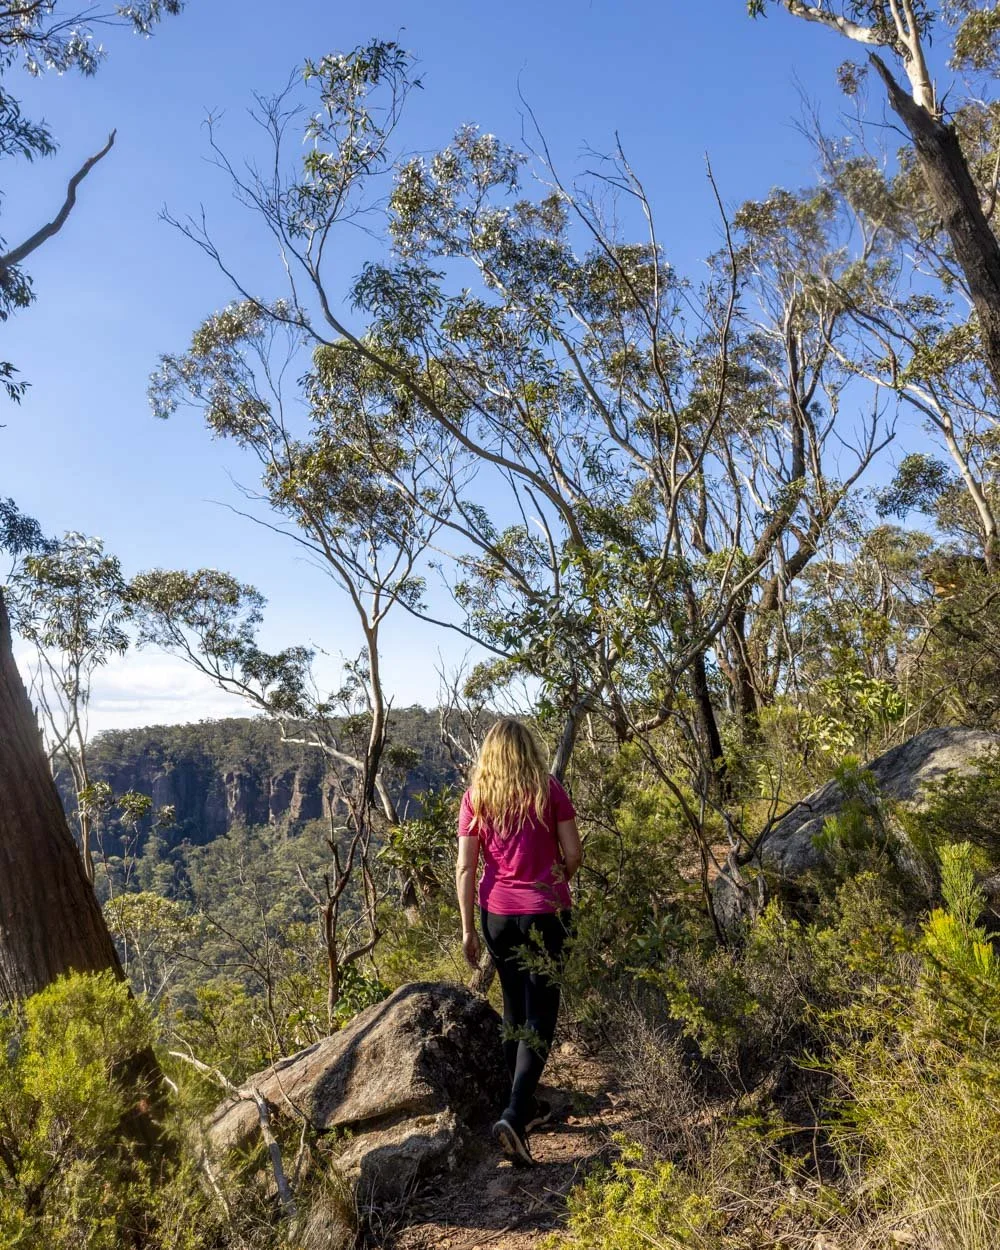
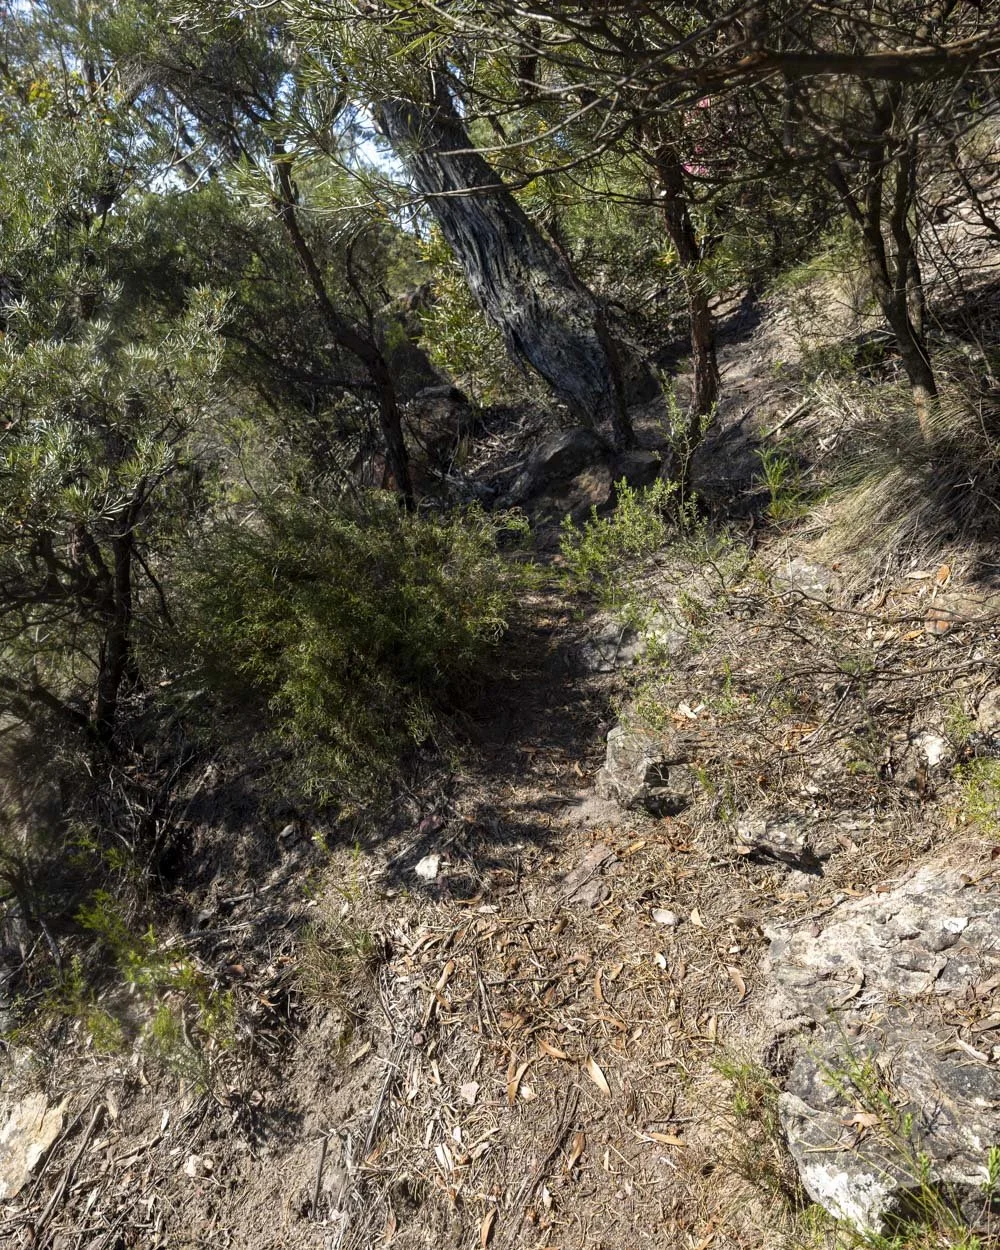
The path is very narrow and sits right beside the cliff edge. What makes it feel much less daunting is that the cliff side is very bushy, so you don’t have the shock factor of a huge sheer drop.
For the most part you are on a relatively flat path as it winds it way around the cliffs with intermittent views of the valley.
The terrain is not slippery when dry, but deserves a healthy dose of caution due to its narrowness. Roughly 250m from Hornes Point there’s a small rocky ledge on the left which has a little worn path leading to it.
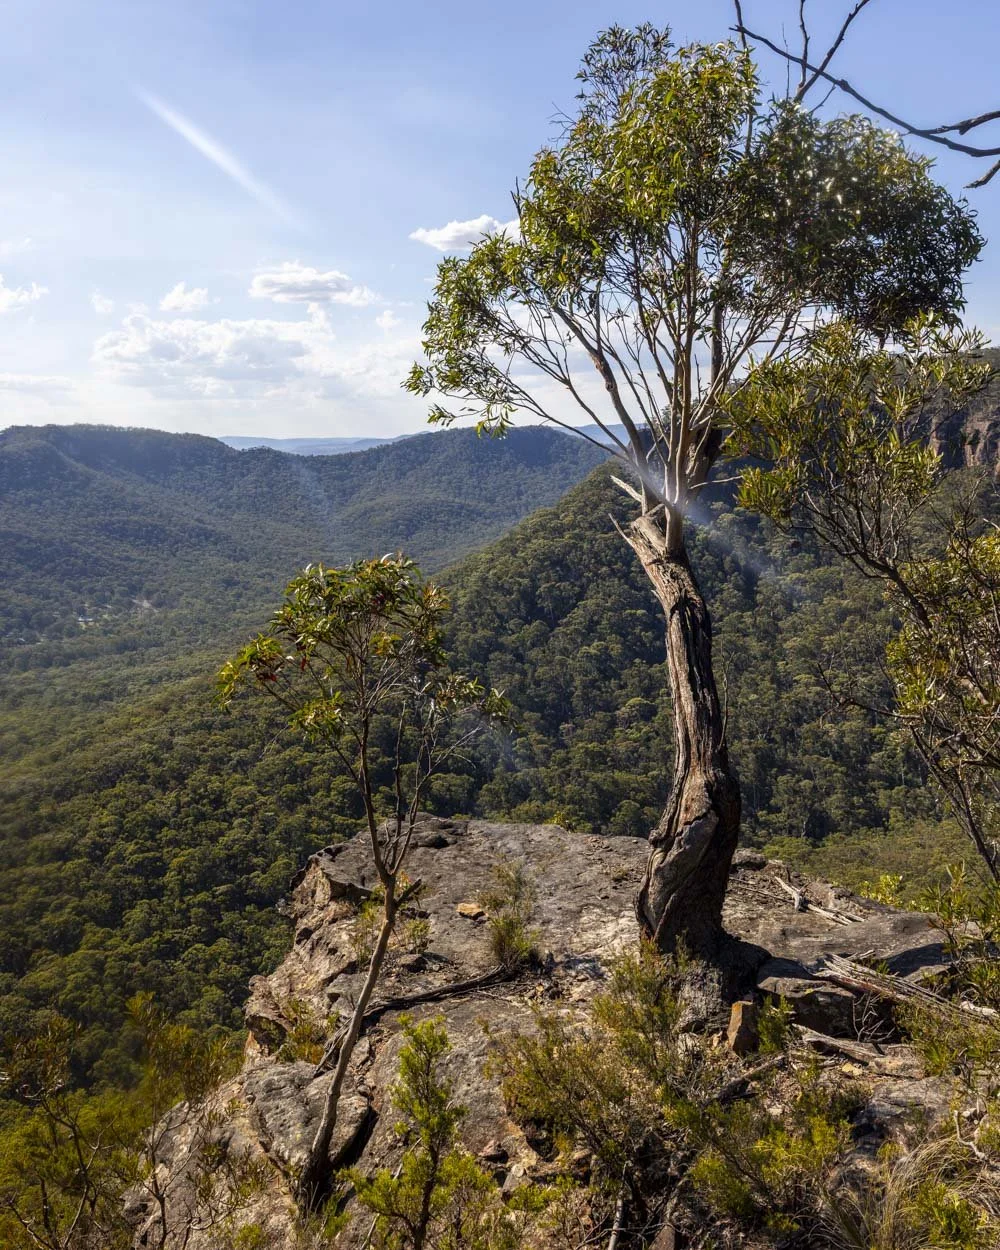
The view is unobstructed here, but to be honest you don’t really have to walk out to it as the views have already been so good to this point.
As you continue on the main track the path is in pretty decent condition and veers away from the edge for the next 400m before you reach what I thought was going to be an intimidating ledge traverse.
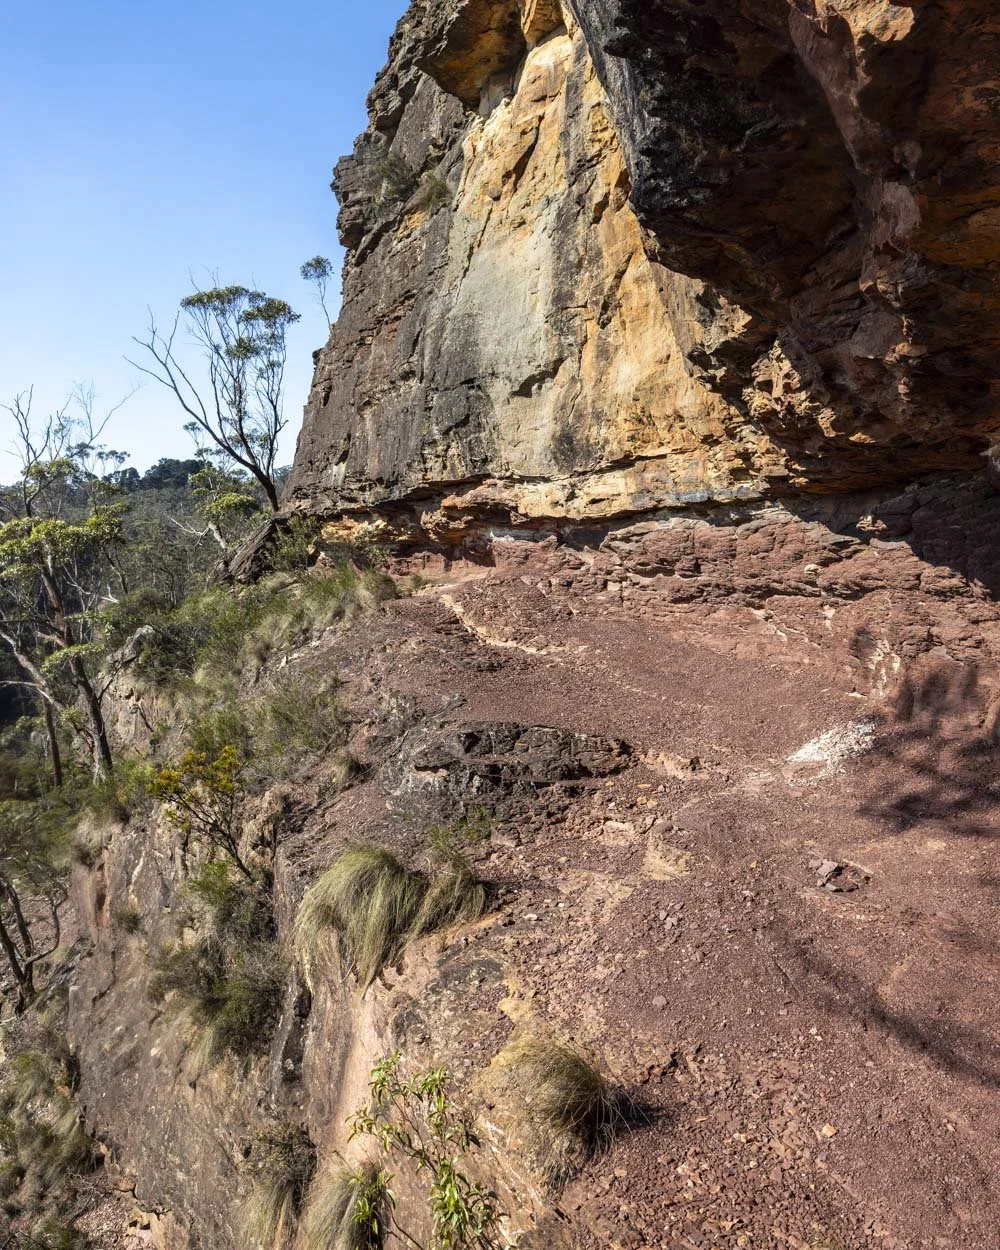
You’ll know it when you see it because the dirt is dark purple and it looks slanted from a distance.
I was prepared to turn back at this point, but on closer inspection it was actually wider, less slanted and easier than expected. In fact crossing it wasn’t scary at all if you don’t have vertigo!
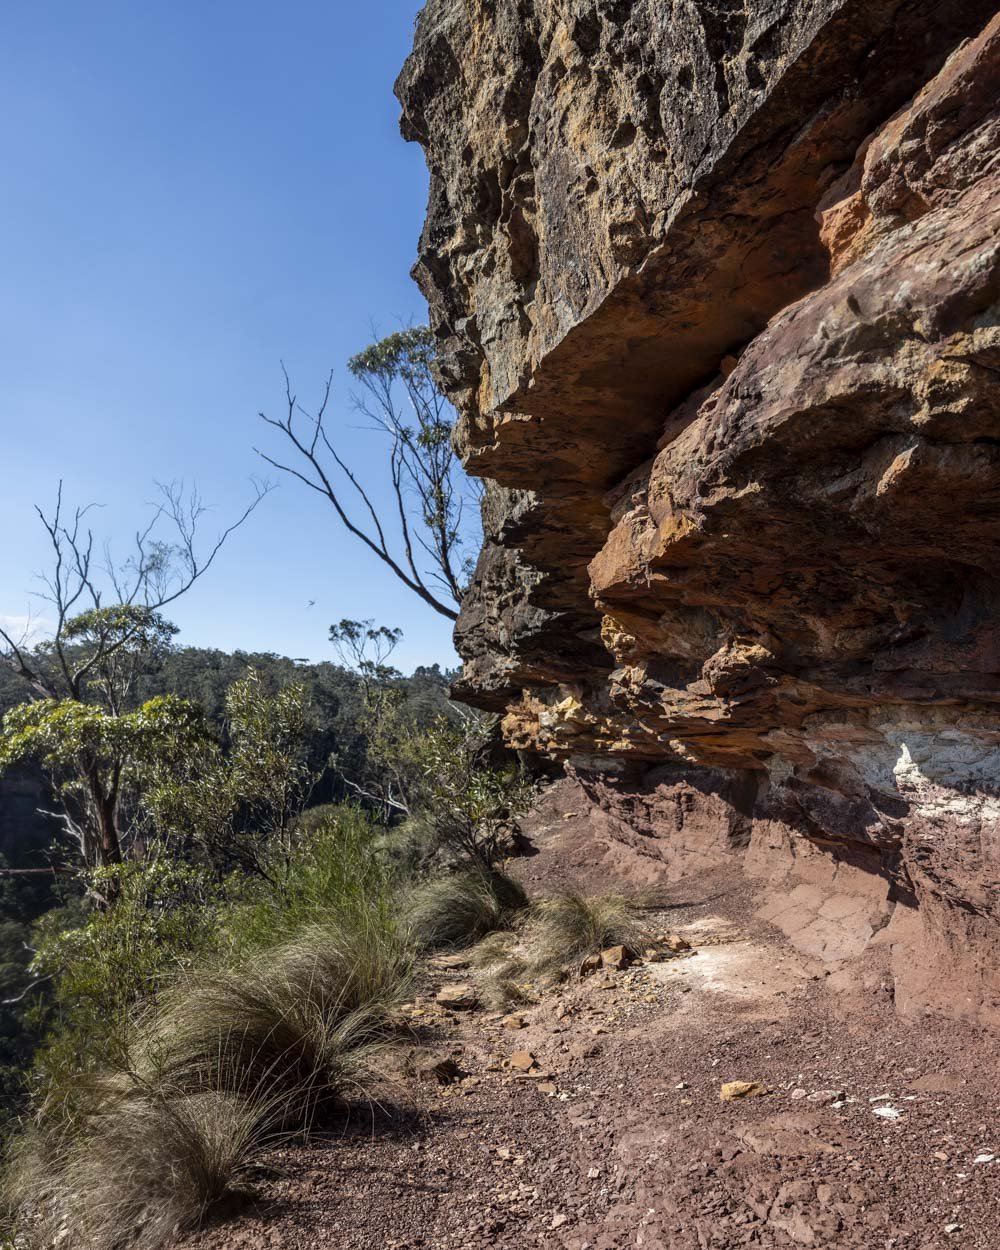
The second part of this traverse looks like it has an overhanging ledge that might make you think you need to duck, which would be awkward on a narrow path, but it’s not actually that low when you reach it, so again, it’s fine.
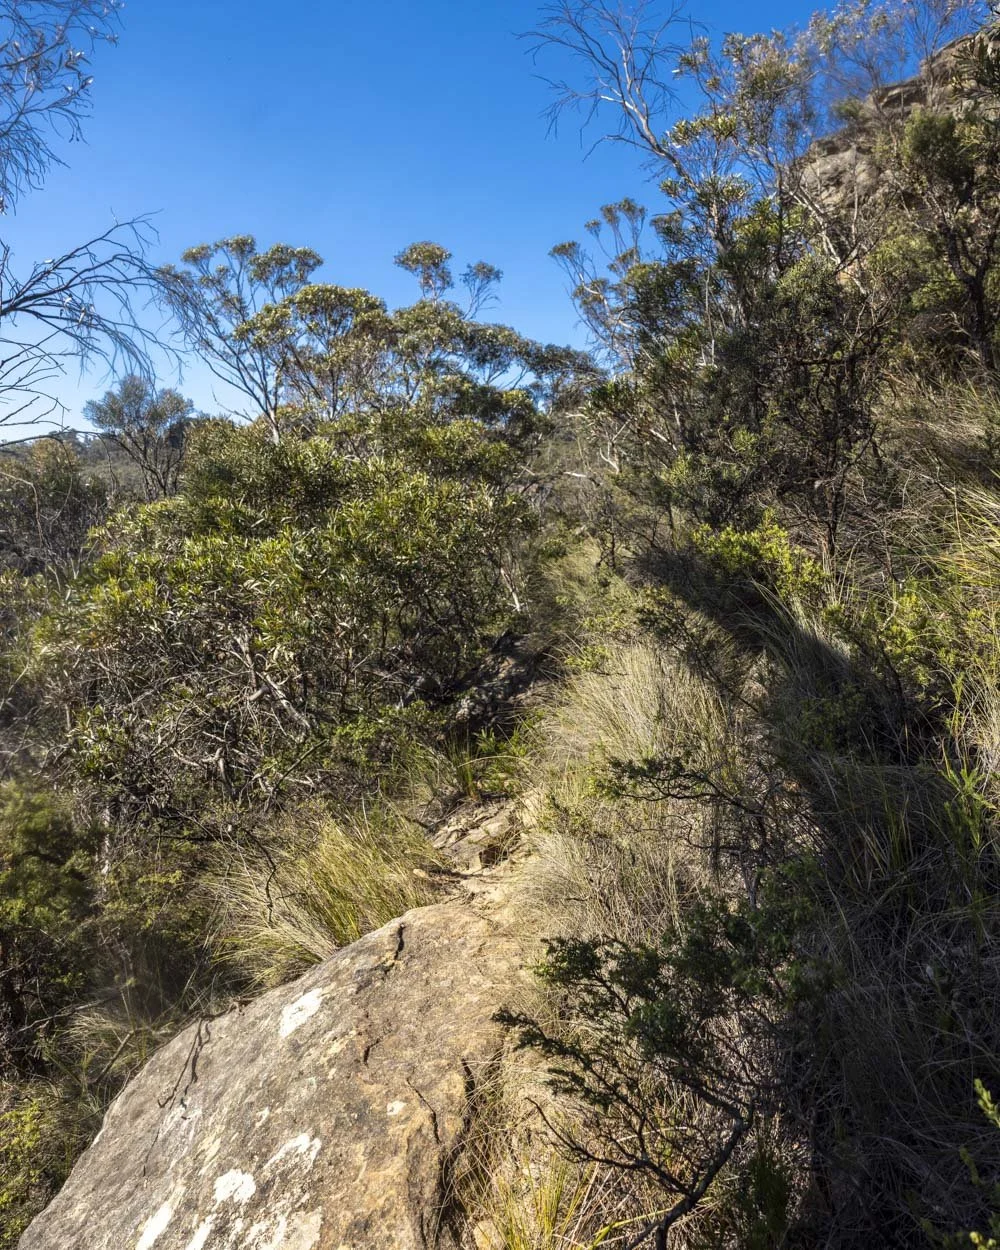
This section is 70m long and after that the trail continues downhill (on first glance it looks like the trail goes uphill and that might be your inclination to stay away from the drop). The lower track is narrow, but again, you have trees around as well as the bush which takes away from what would otherwise feel extremely exposed.
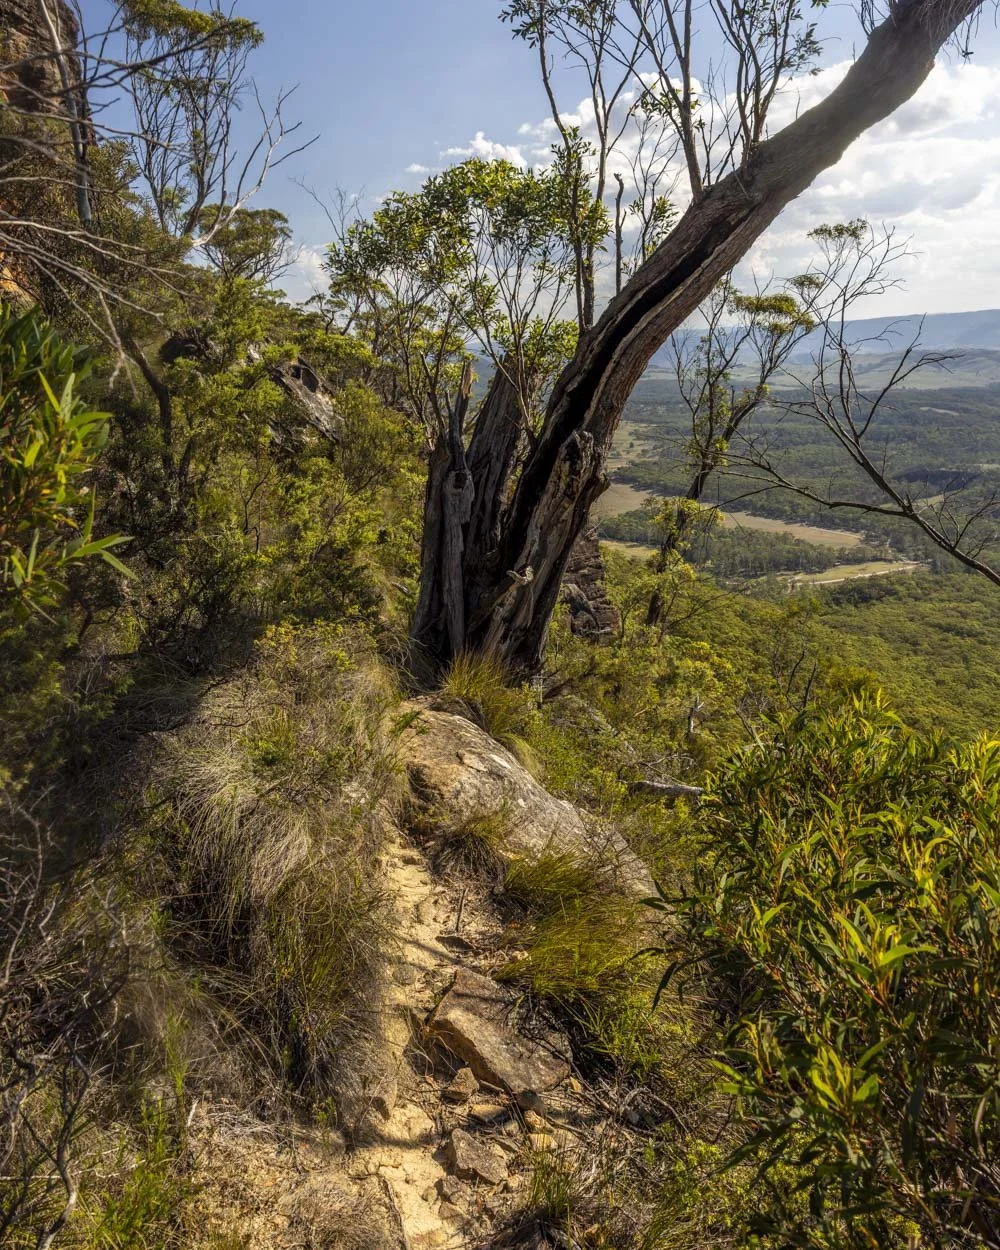
To try and put it in context I was unsure looking at some of these sections, but walking them felt fine as I took it slow and steady. Many people will not think much of it, but it would be remiss if we didn’t outline the unusually narrow nature of the path.
Just 50m beyond this downhill narrow section you will leave all exposure behind. You’ll pass another small overhang and enter a lush forest.
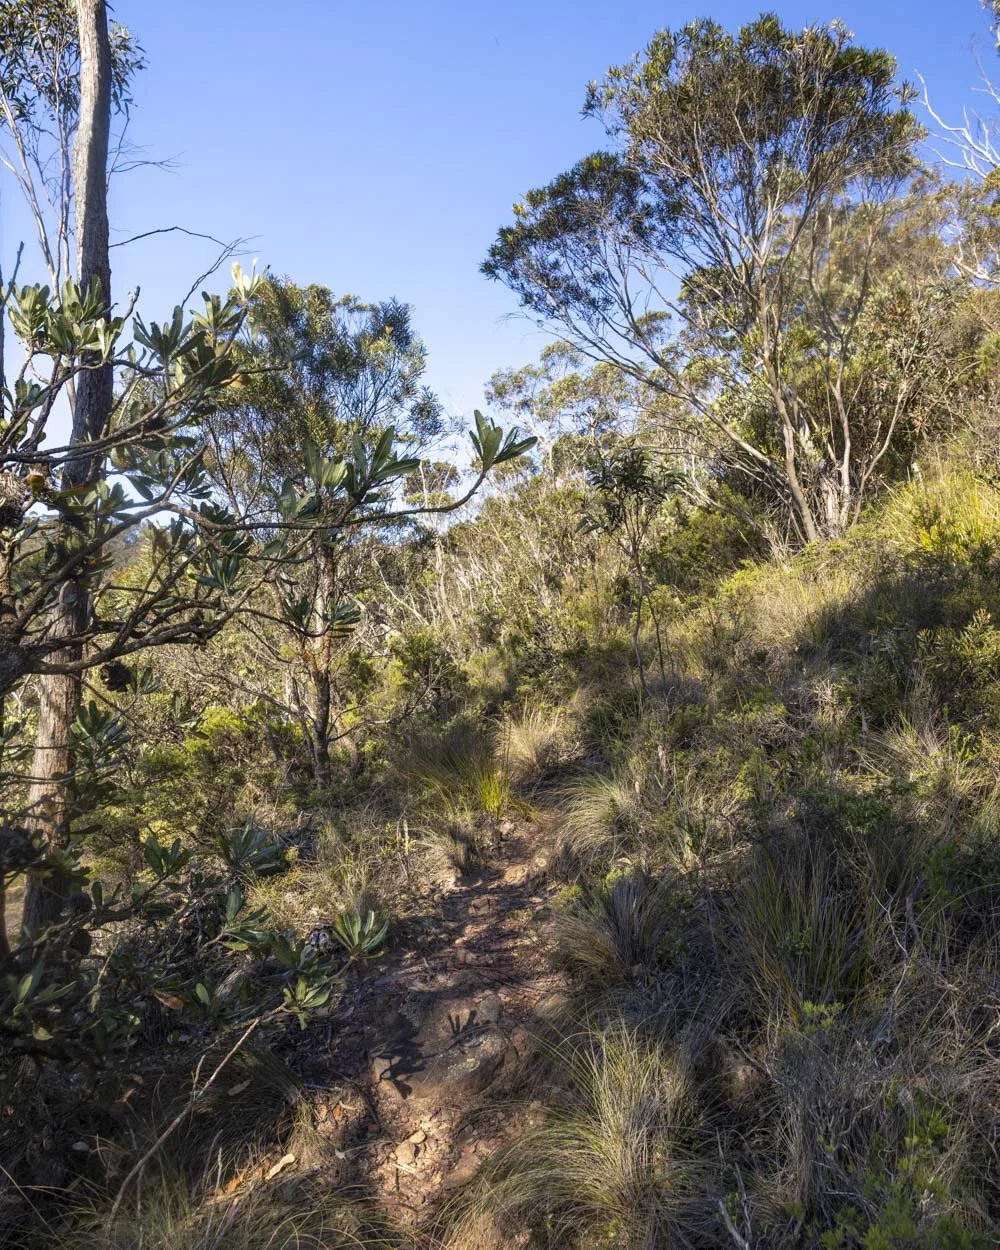
Approximately 50m beyond the overhang you will reach a junction. It’s well continuing left for 20m where you will see some stairs leading up into Swaggies Cave. It’s a fun overhanging ledge with a burnt out fireplace and some old pots and pans.
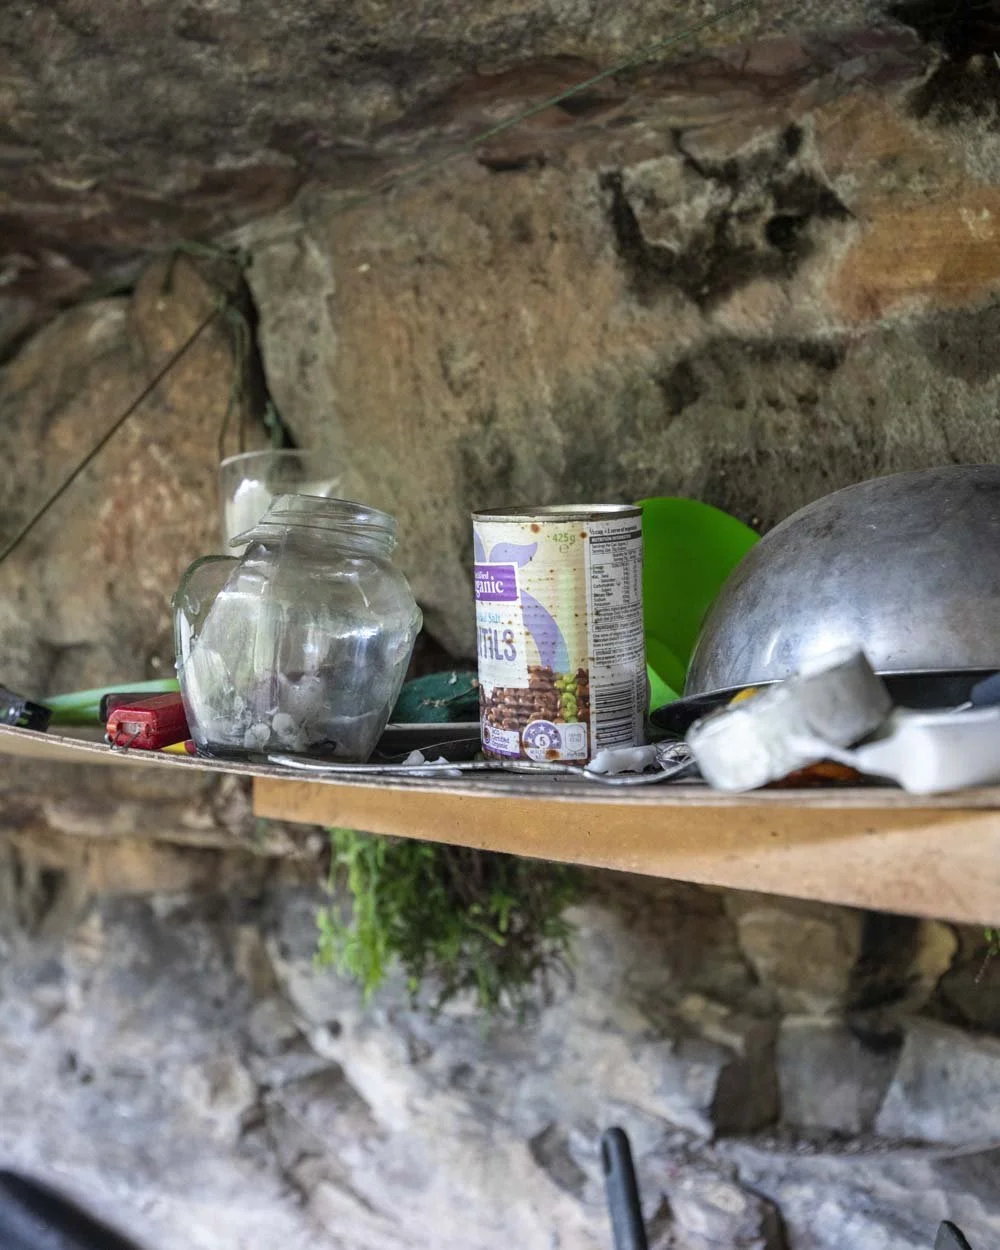
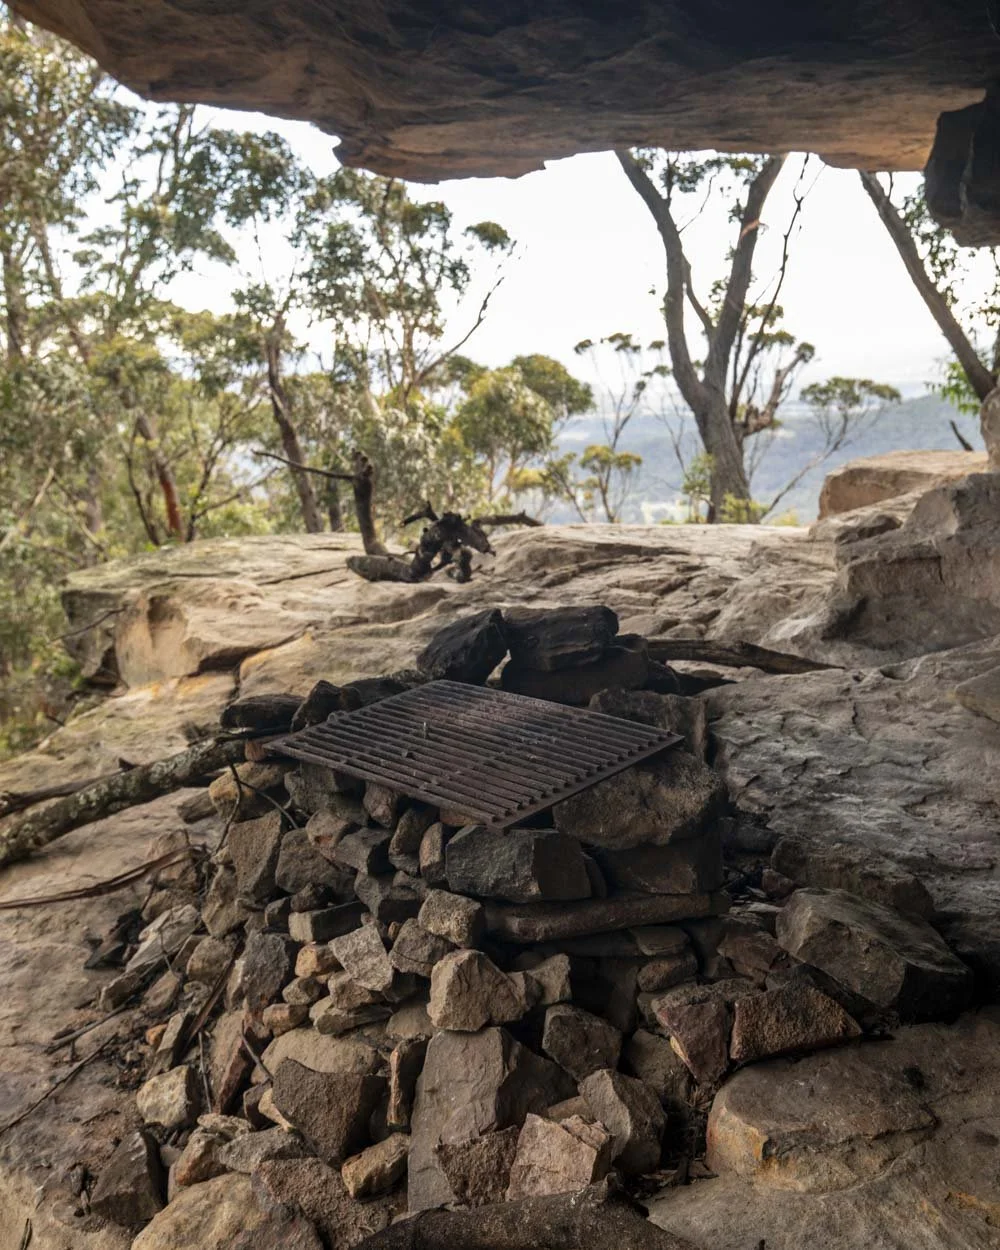
If you continued on this trail it would eventually lead to Bushrangers Cave which is fab if you haven’t seen it before.
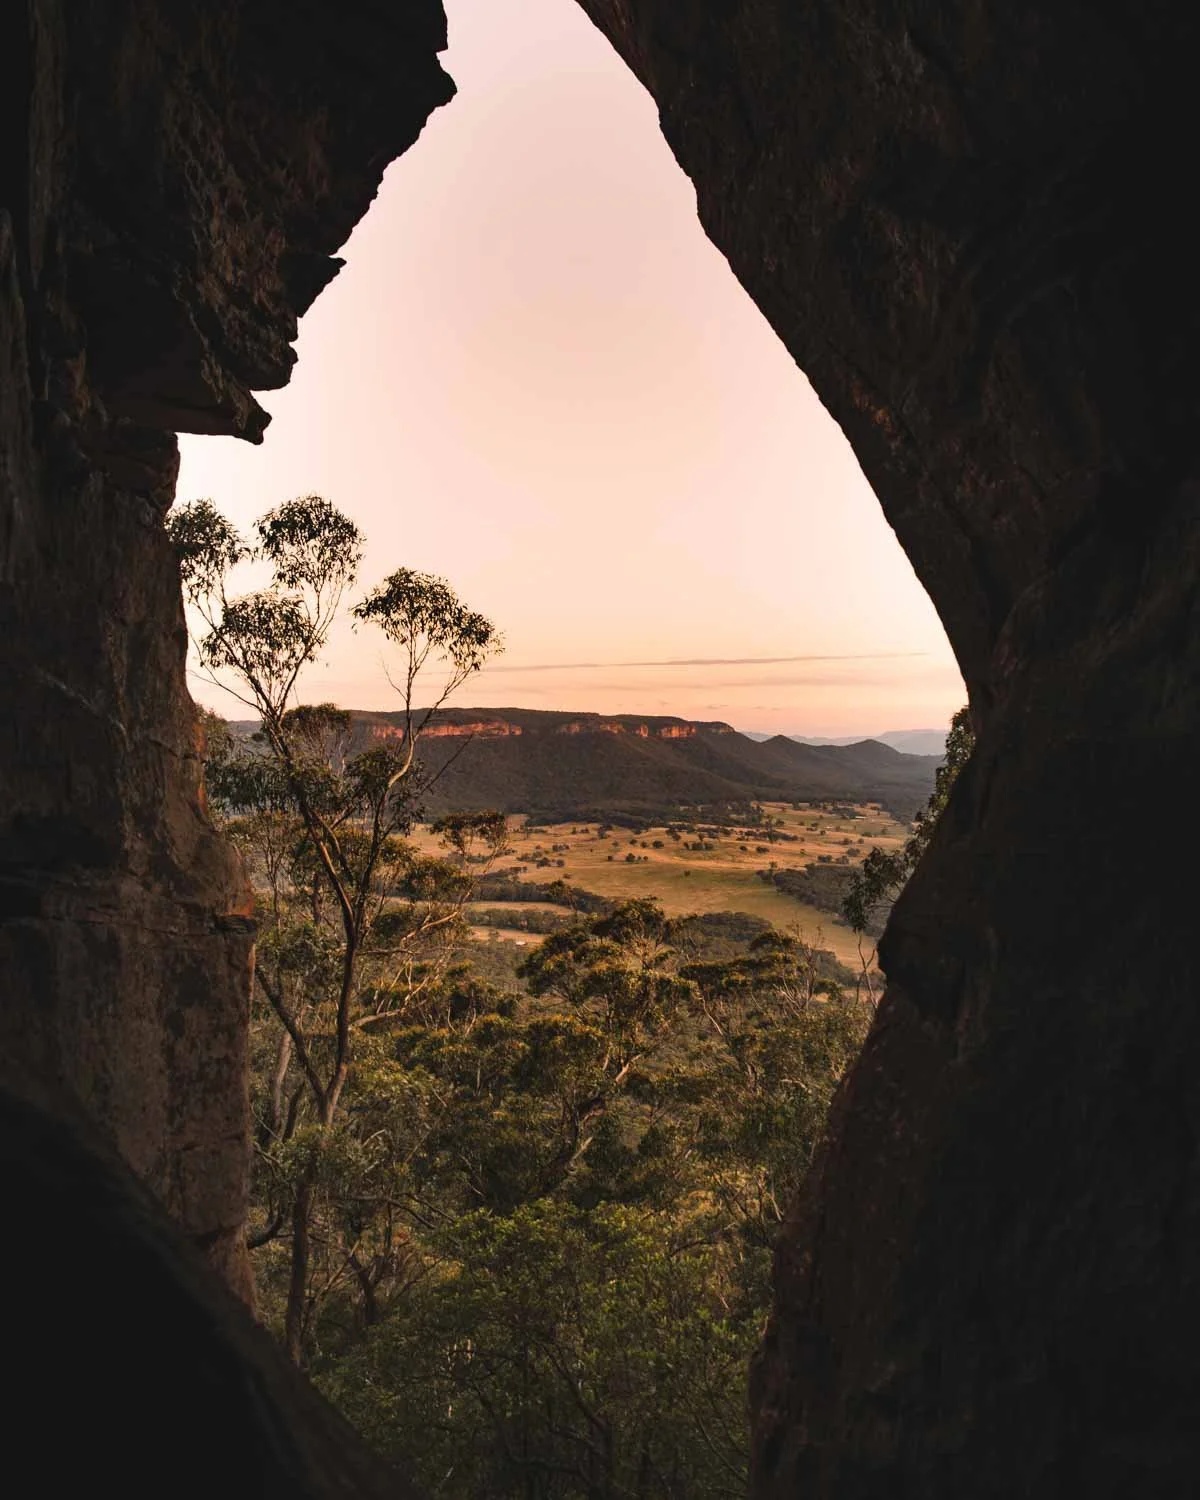
Bushrangers Cave
For us, after another quick visit to Swaggies, we headed back to the fork and then took the trail leading back to the car park (right from the junction if you don’t want to visit Swaggies Cave).
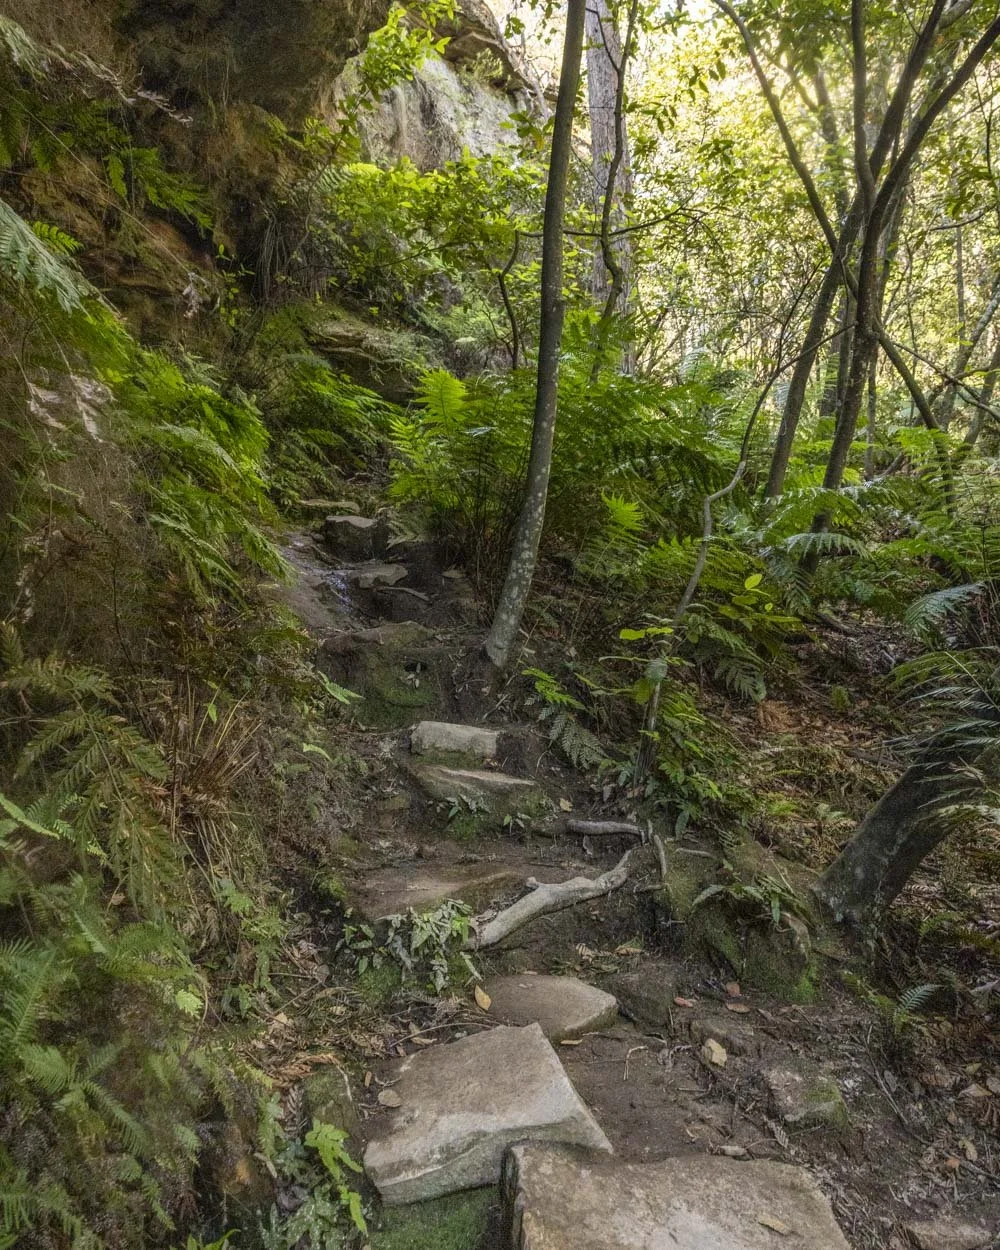
The path heads relatively steeply uphill for the majority of the way back to the car park, passing another small cave along the way. It’s again rough in places, but no more so than the track down to Ferris Cave was initially.
To reach the road from the junction with Swaggies Cave is 450m. You will then bear right and follow the road for 150m to the parking area at the trailhead.
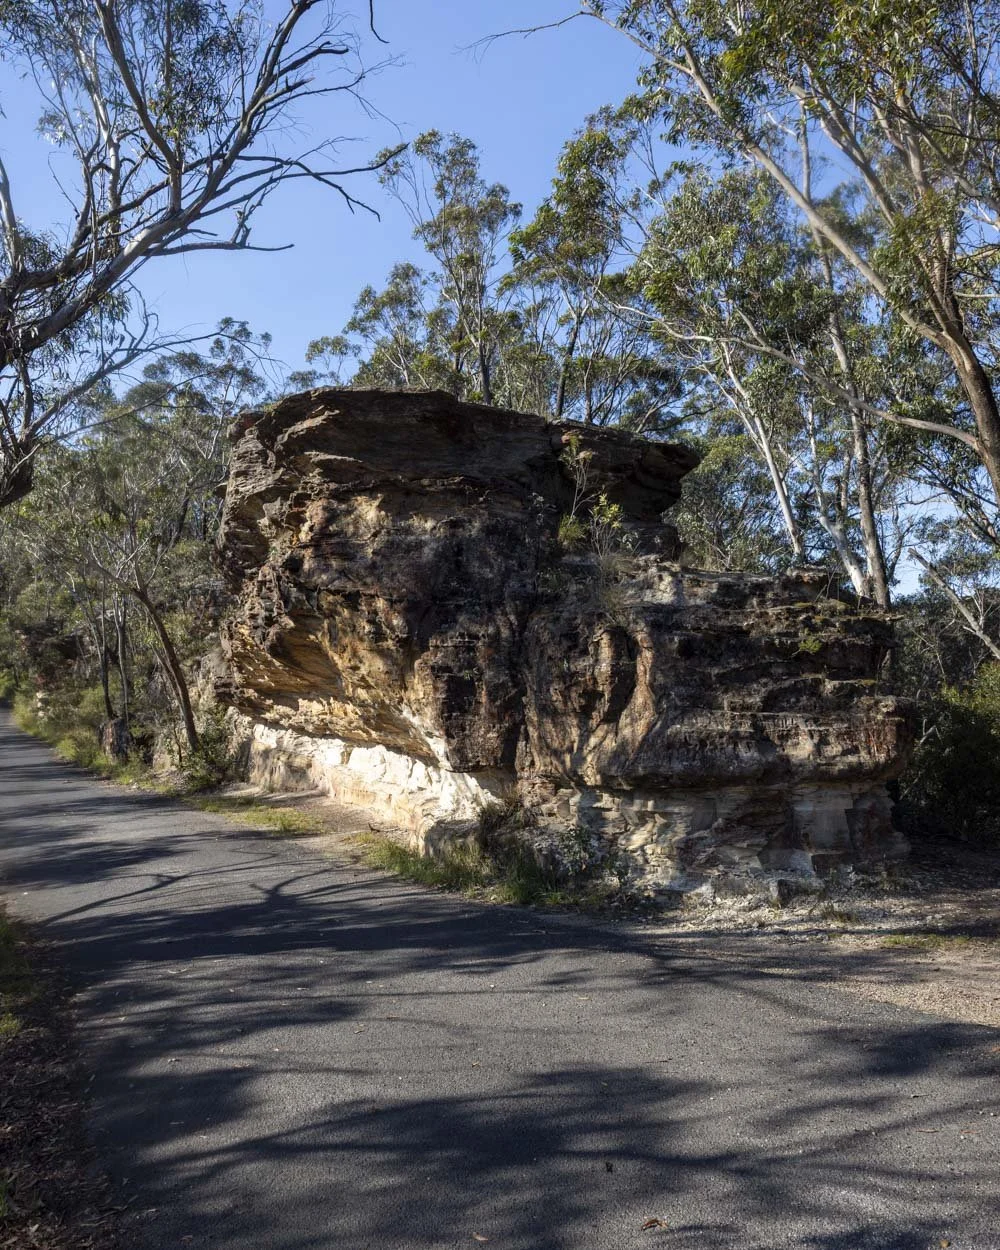
Parking for the Ferris Cave Walk
The Ferris Cave walk is located in Mount Piddington, around 1.5km from Mount Victoria in the Upper Blue Mountains. The trailhead is the same as for the Coxs Cave walk and begins at the southern side of the road that loops around the summit of Mount Piddington.
There are a few parking spots that are on the left hand side of the road in the reserve and you should be able to park right by the trailhead unless it’s busy.
You can see it here on Google Maps.
There is currently no charge for parking at the reserve and no time limit. There is a long drop toilet here but no other facilities.
This post may contain affiliate links, meaning at no additional cost to you, that we will earn a small commission if you click through and decide to make a purchase. This helps towards the costs of running our website. Thanks for your support.

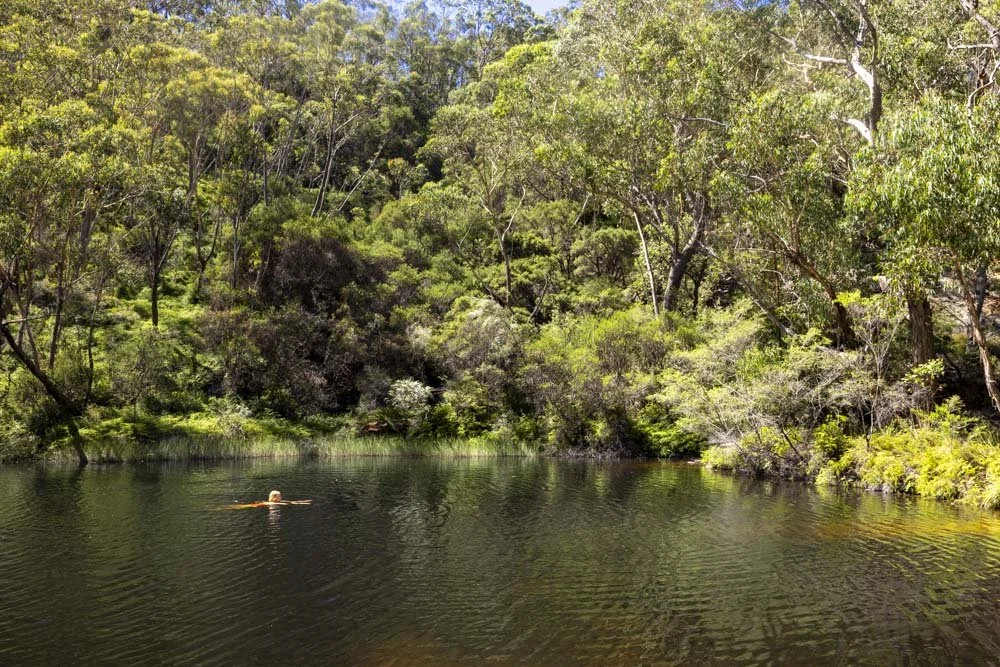
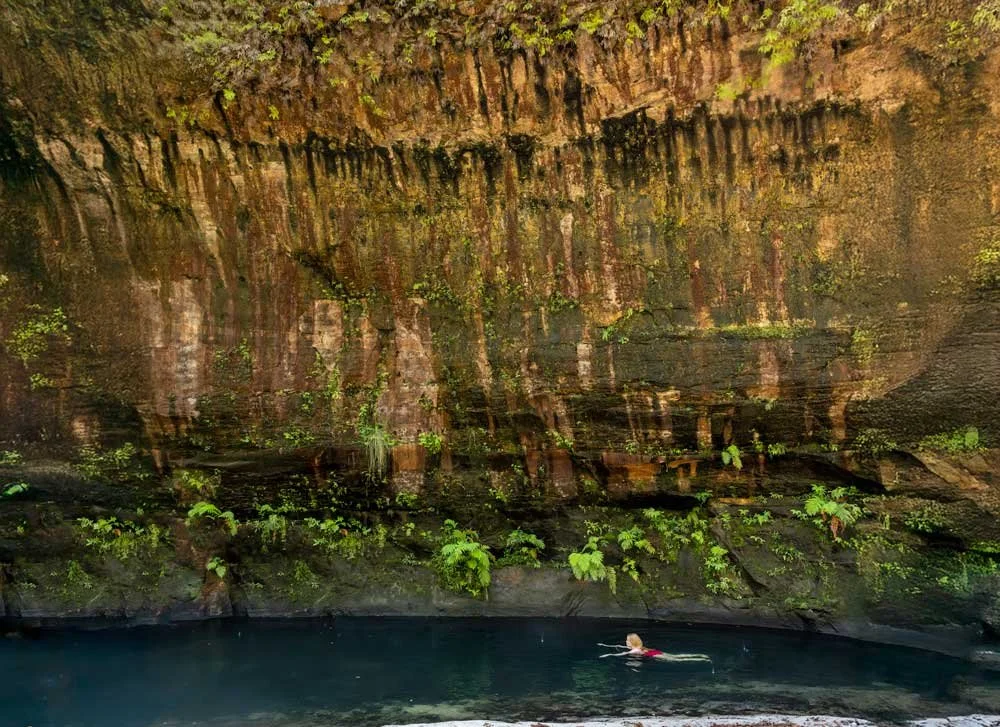

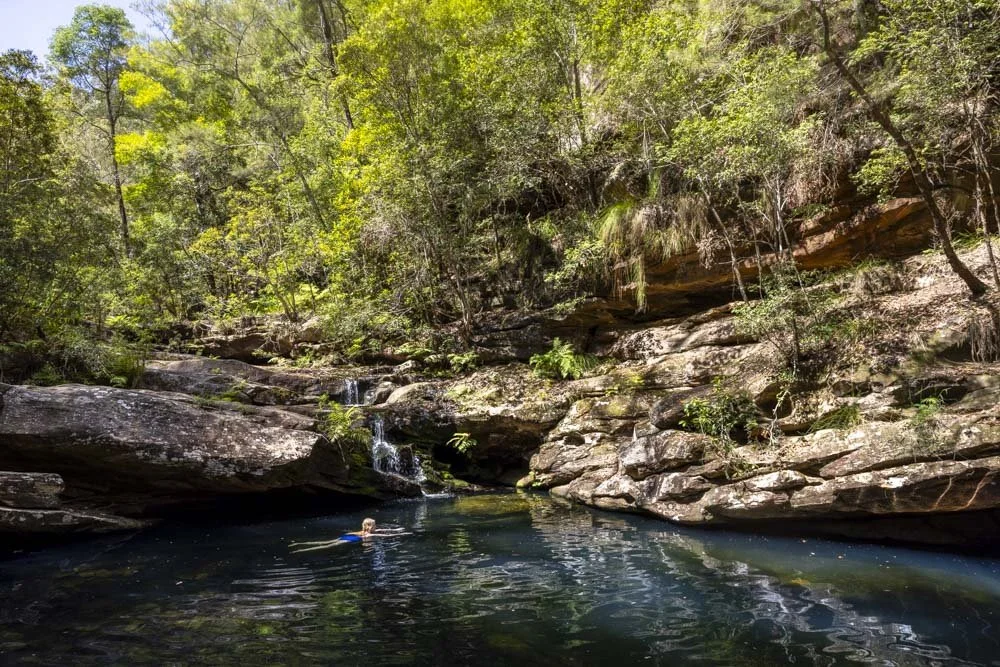
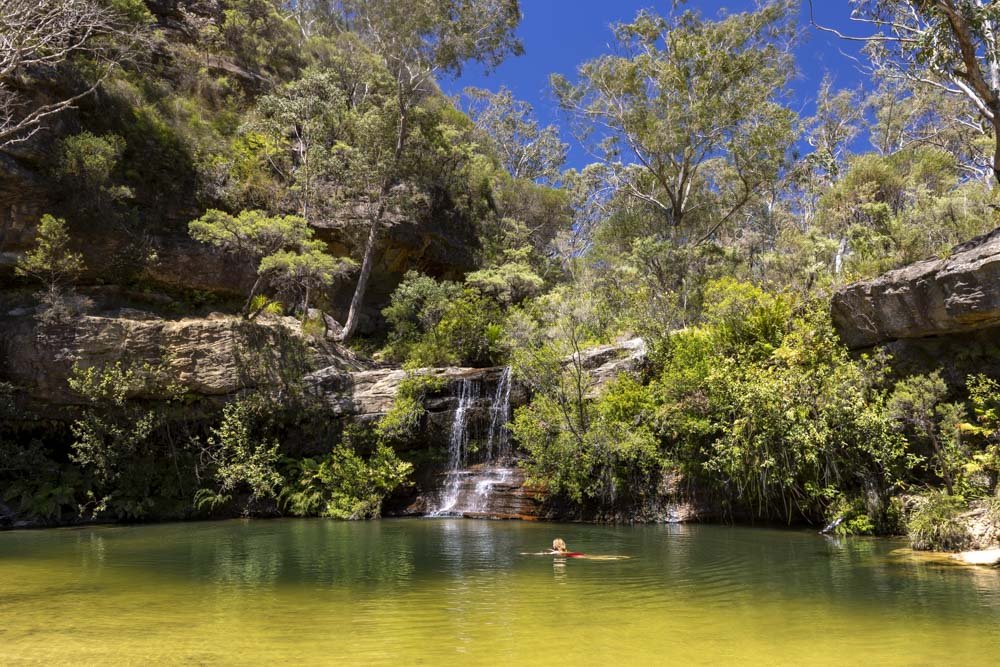


A little effort goes a long way when it comes to Victoria Falls. The steep but well maintained track will take you to both the base of Victoria Falls and some very pretty cascades, both of which are fantastic wild swimming spots. Here’s everything you need to know, including difficulty and what the pools are like.