
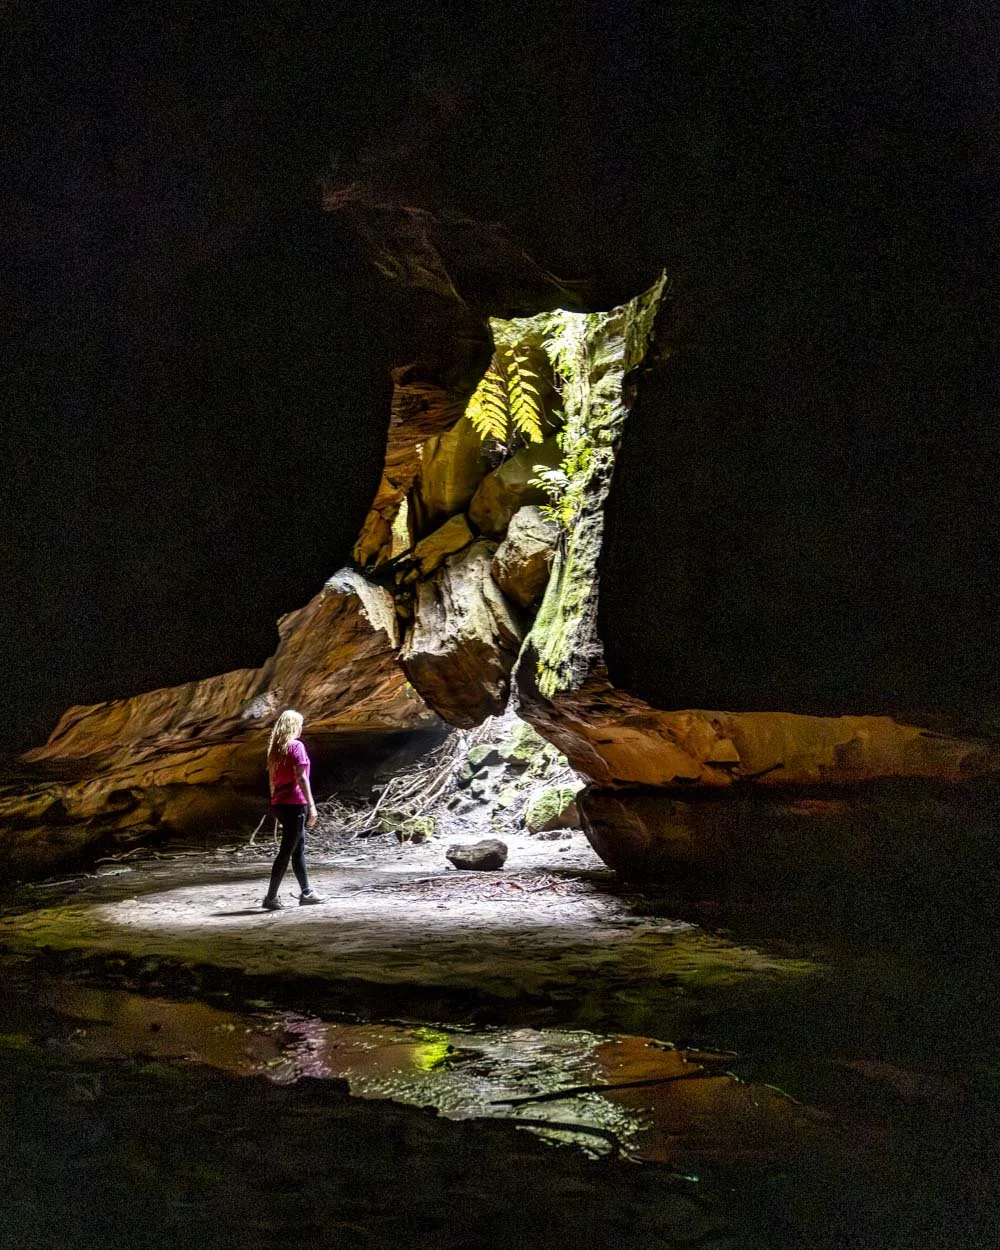
An un-forecasted grotty day had us switching our plans on the fly and what should have been a long canyoning adventure turned into a very short walk. But this short walk ended up being a lot of fun and offered the chance to explore a pretty little canyon as well as a dark and mysterious cave.
Adding in the magical Glow Worm Tunnel is the icing on the cake and the gloomy day ended up working in our favour - it turns out that even on a warm weekend in January the Glow Worm Tunnel will empty out when the drizzle sets in!
Here’s everything you need to know about one of the best short walks in the area.
The walk to Bells Grotto
The stats
Distance: 3.5km circuit
Elevation gain: 90m
Difficulty: Easy
Trailhead: Glow Worm Tunnel Trailhead
Summary: The majority of this walk is on a maintained path which is predominantly flat. The section through Bells Grotto is not on a formed path.
You will be walking through a canyon which is rocky underfoot, though unless there has been a lot of recent rain you won’t get wet boots at any point. It’s suitable for anyone who can manage a little bit of rocky terrain.
The path directly into the cave at Bells Grotto is only a few metres long but a touch steep. There are rocks to use as steps which avoids having to negotiate any loose dirt.
Starting the trail: to the Glow Worm Tunnel
The start of this adventure follows the usual walking track to the Glow Worm Tunnel. The path is in excellent condition and flat but for a couple of staircases.
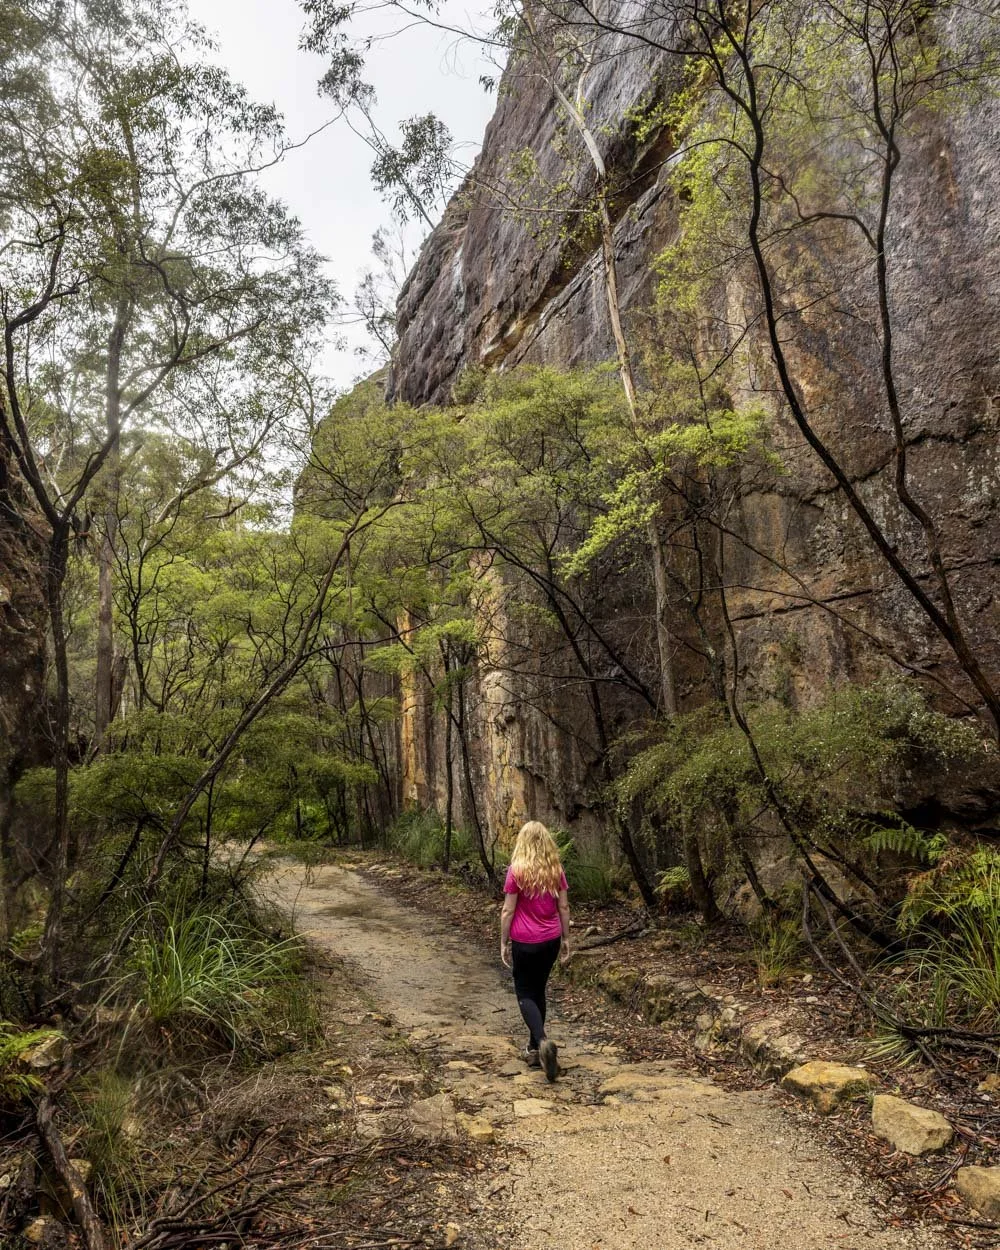
The scenery is gorgeous with pagodas, high rock walls and a little set of steps wedged between the cliffs. It’s also a lyrebird hot spot, so you’ll likely hear them even if you don’t catch a glimpse.
There are little information boards along the way that outline the history of the tunnel which was used to service the Newnes shale mining industry.
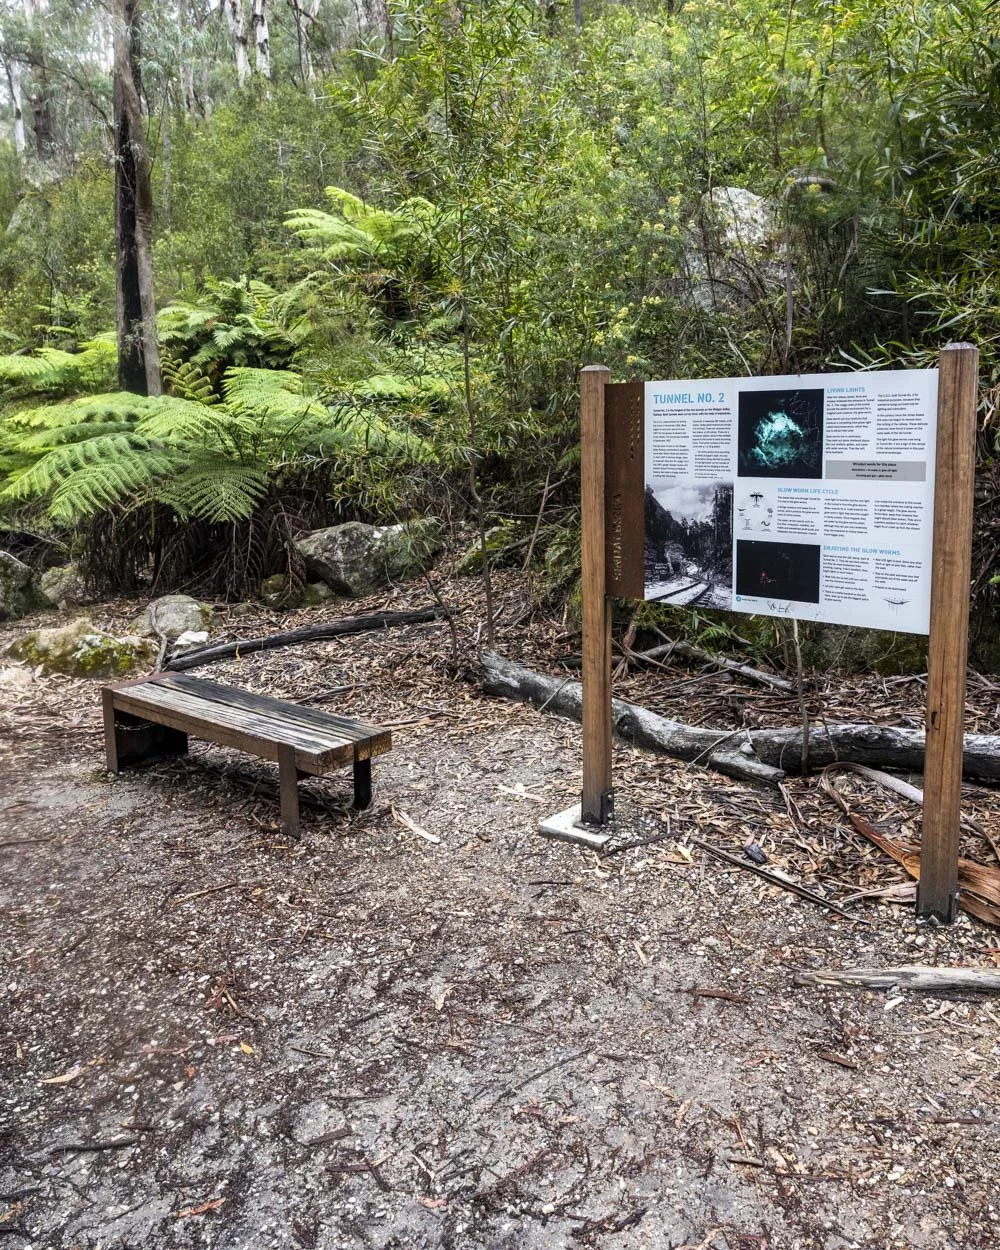
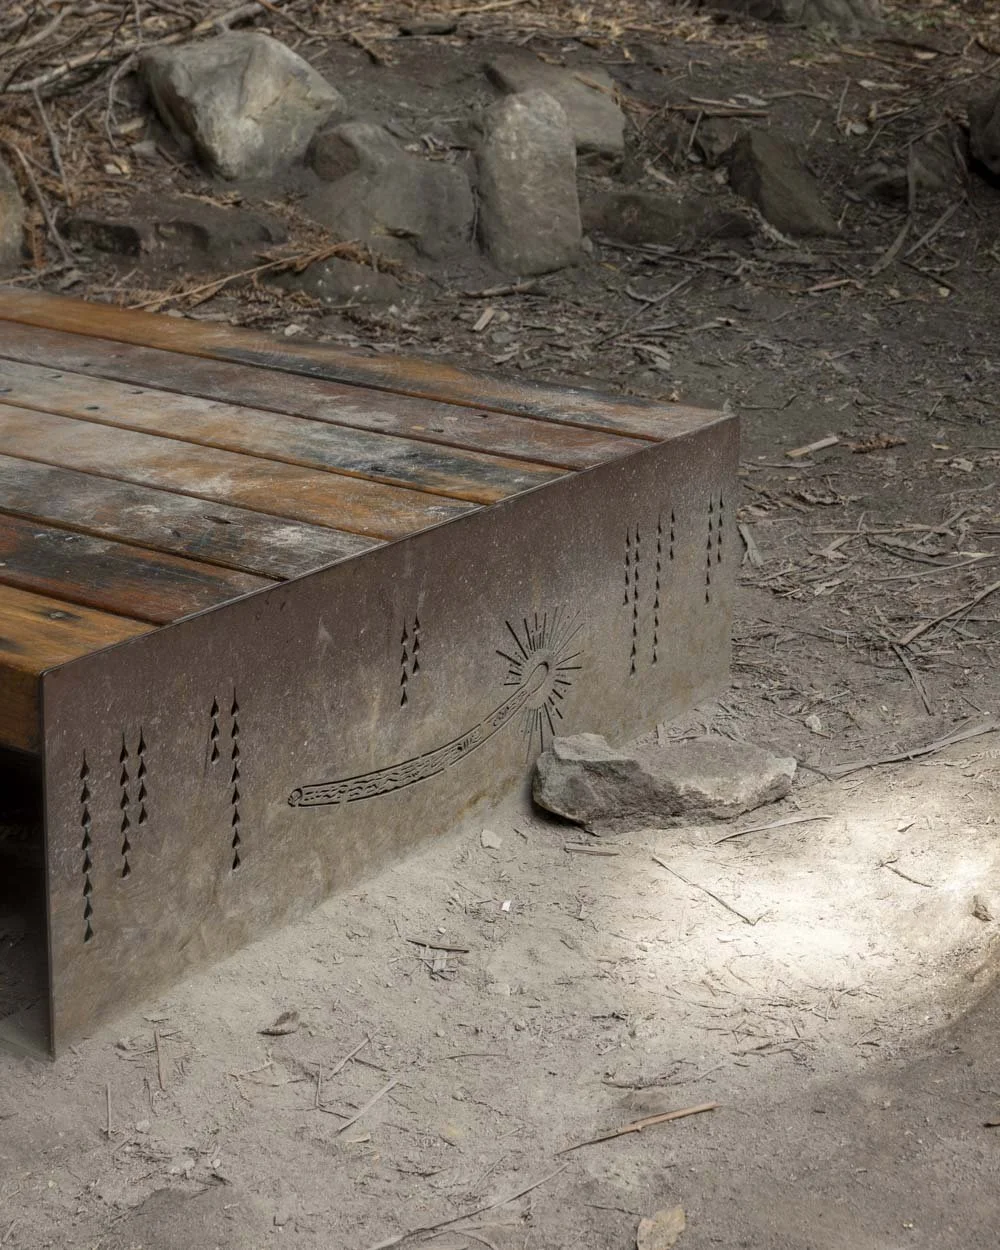
It takes around 20 minutes to reach the tunnel entrance at a leisurely pace. A series of new sandstone stepping stones lead into the tunnel allowing you to avoid the mud and puddles that often form here.
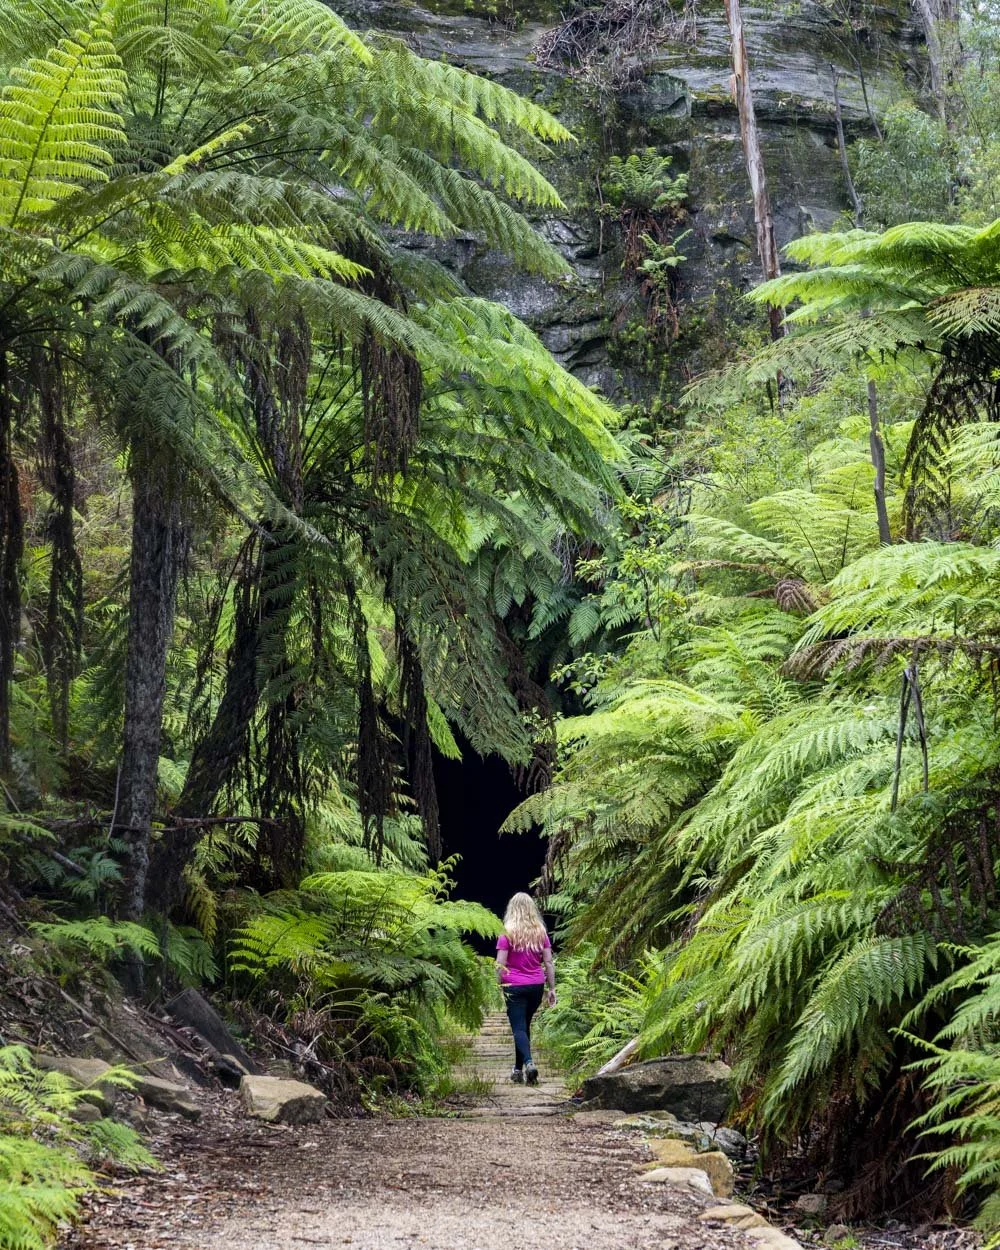
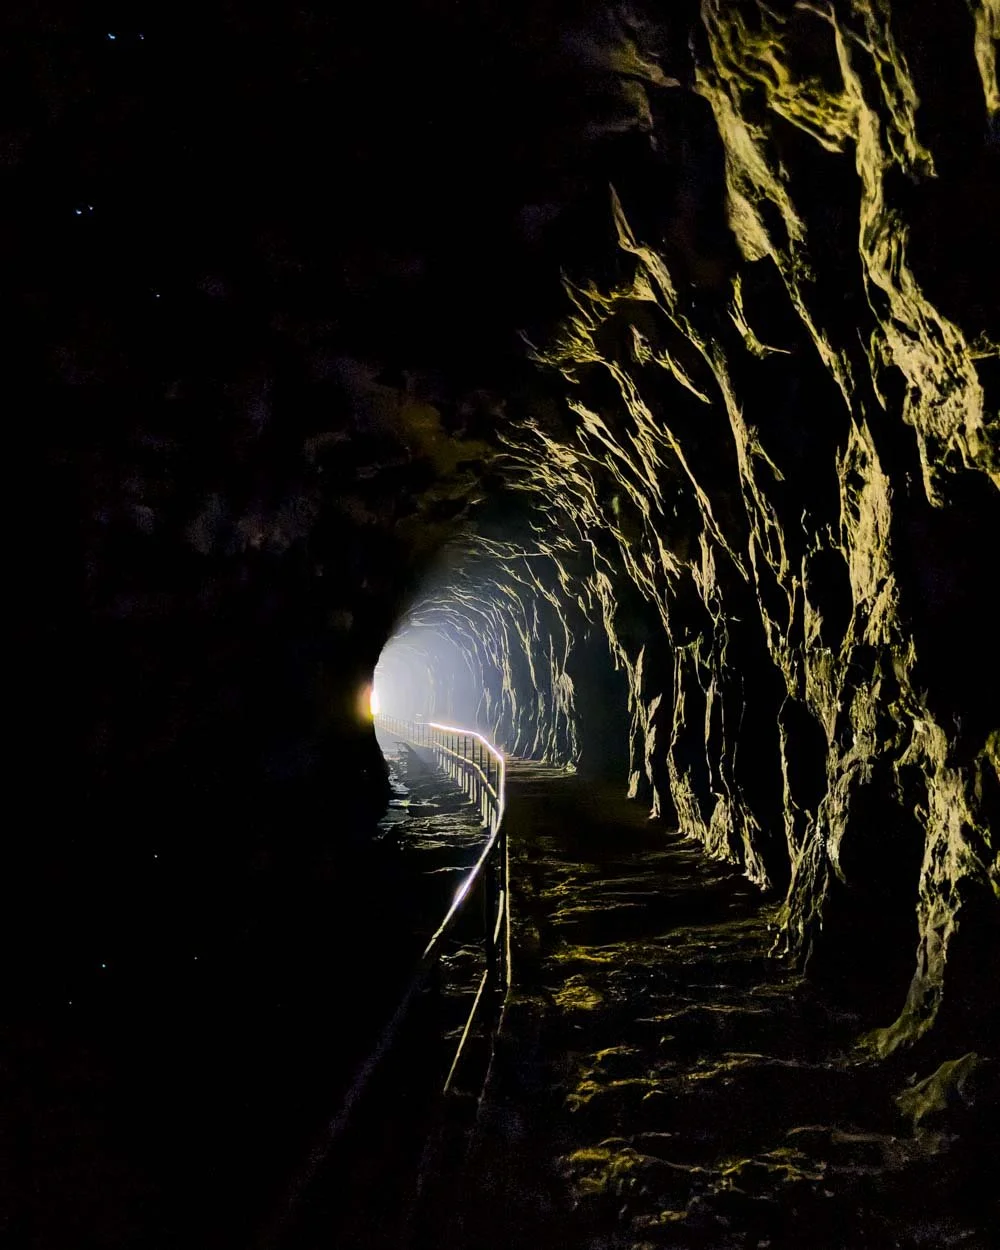
The next 387m are spent walking through the magical Glow Worm Tunnel. The concrete walkway and hand rail make passing through the dark tunnel a breeze.
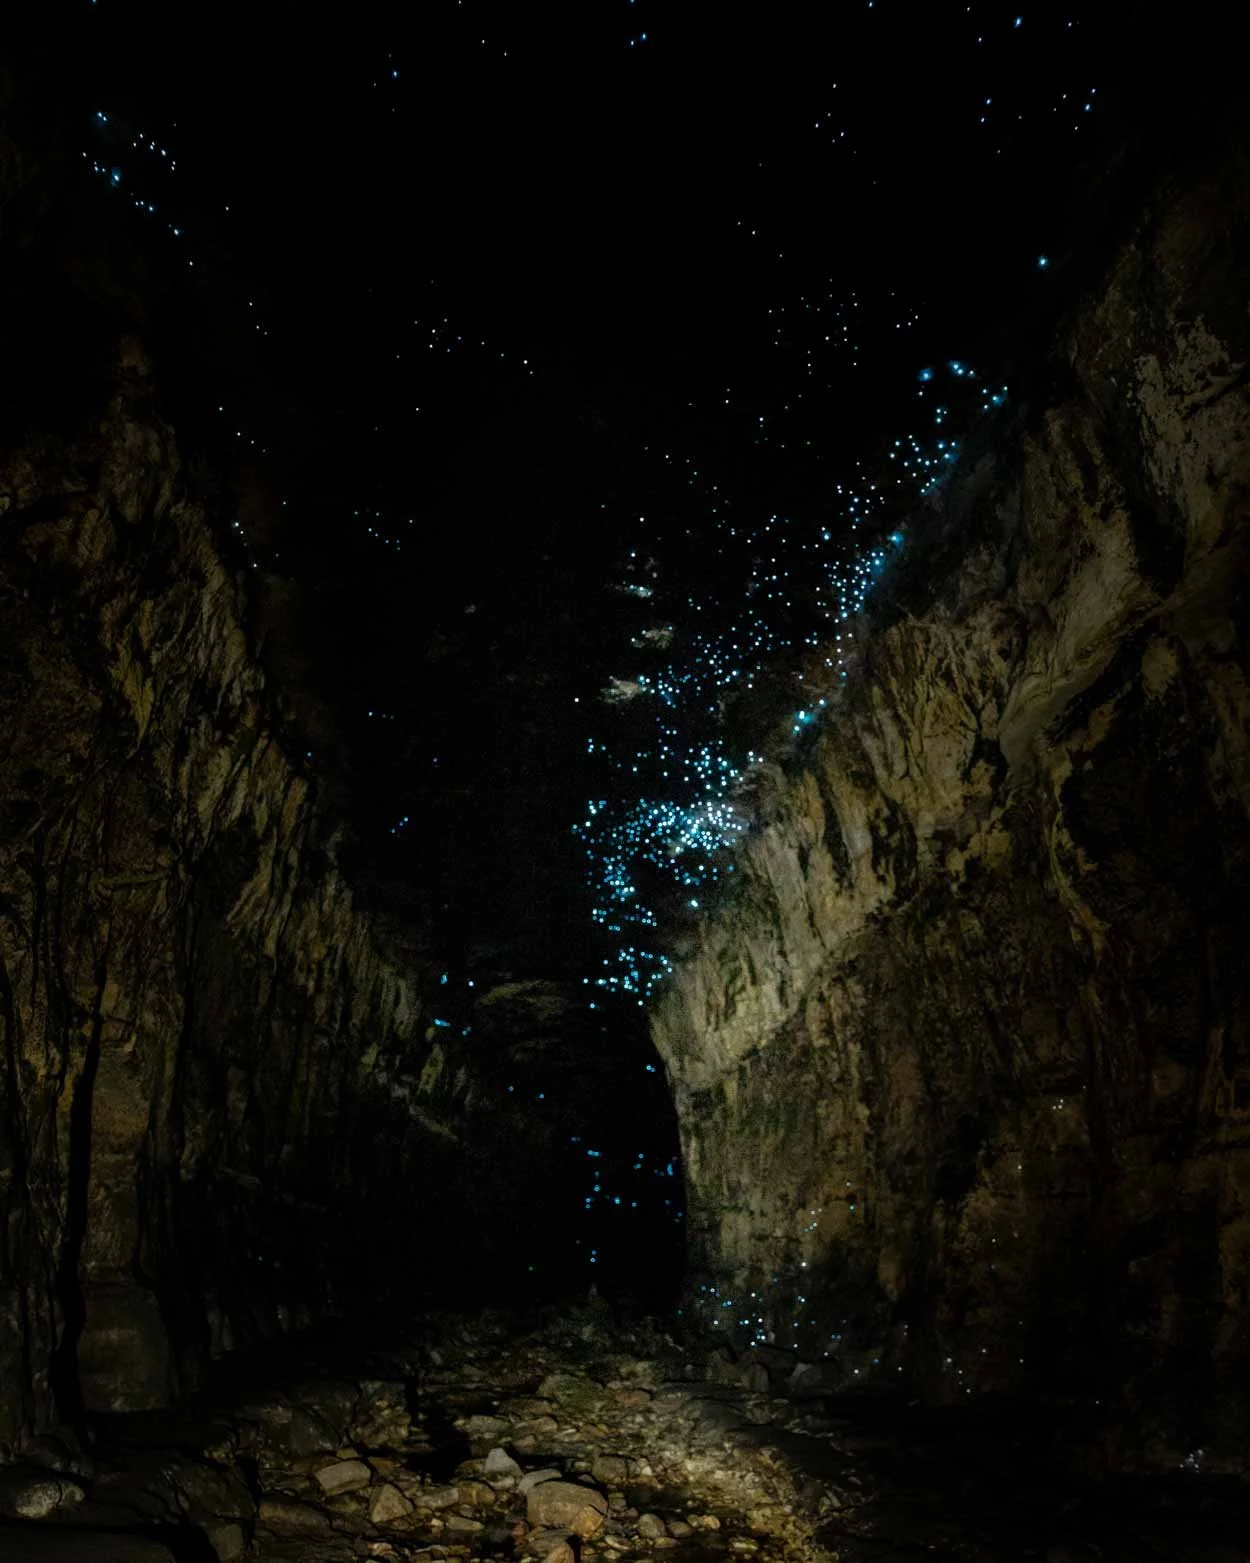
You’ll want to stop often and keep your torch (the one on your phone is more than adequate) pointed at the ground to help your eyes adjust so you can really make the most of the spectacle. If you don’t let your eyes adjust you will only see a fraction of the glow worms, with time more and more appear!
Please remember never to shine light directly on the glow worms.
Through Tunnel Creek, Bells Grotto
The next part of the walk takes you through a gorgeous little section of canyon. It’s only a few hundred metres long, but it’s an easy walk through and a great option if you’re keen to see a canyon, but don’t want to do any scrambling.
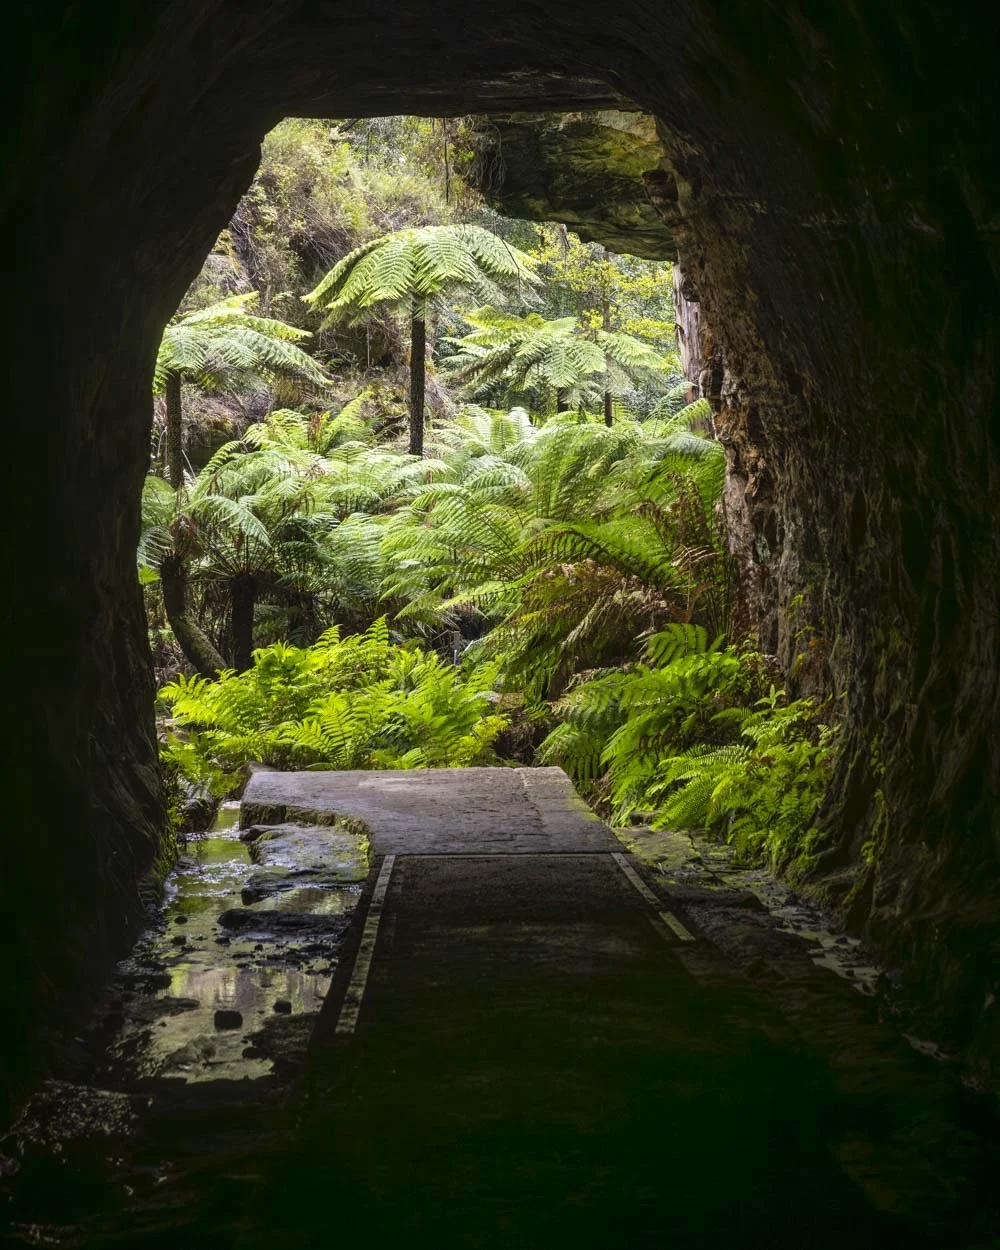
From the end of the tunnel you’ll head left, reaching a small but beautiful picnic area surrounded by tree ferns.
From here you can see a worn path hugging the left side of the cliff which takes you along a sandy track beside an overhang surrounded by yet more glorious tree ferns.
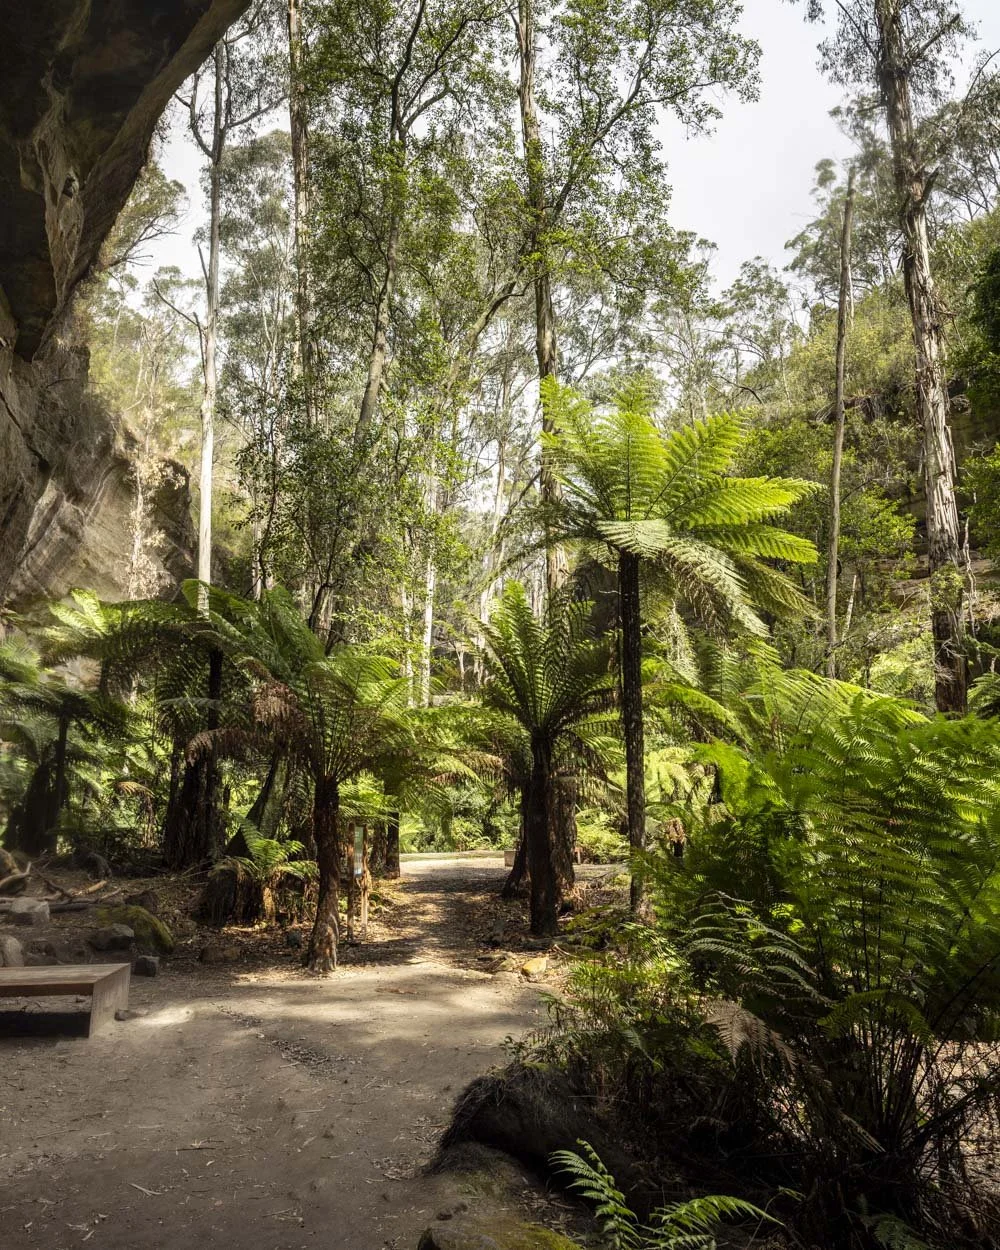
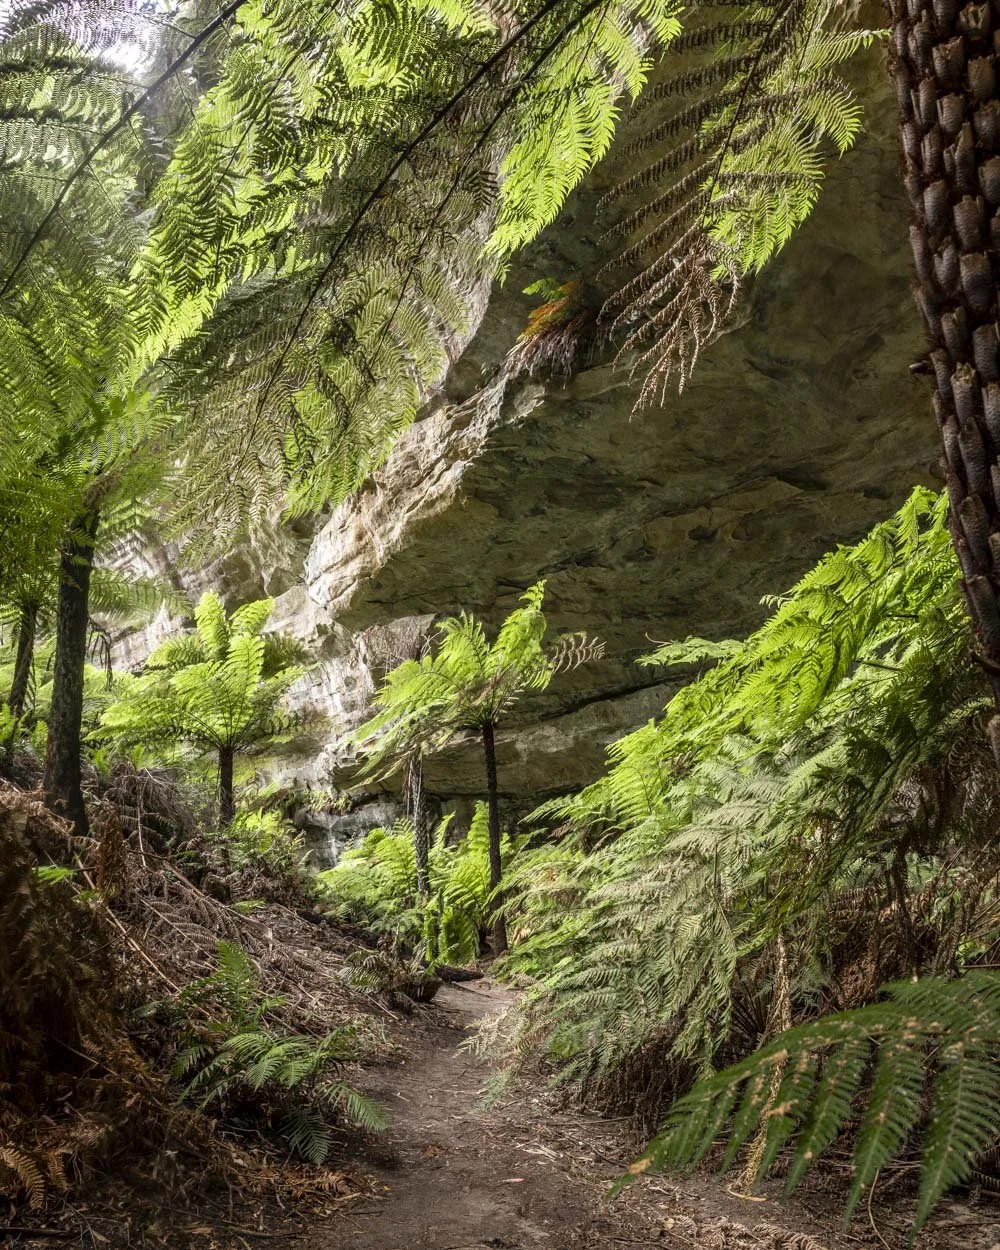
You then need to cross the creek (an easy step across unless there has been a lot of recent rain). Around 50m in there’s a bit of tree fall but you can easily step over it as you follow the worn path through the tree ferns.
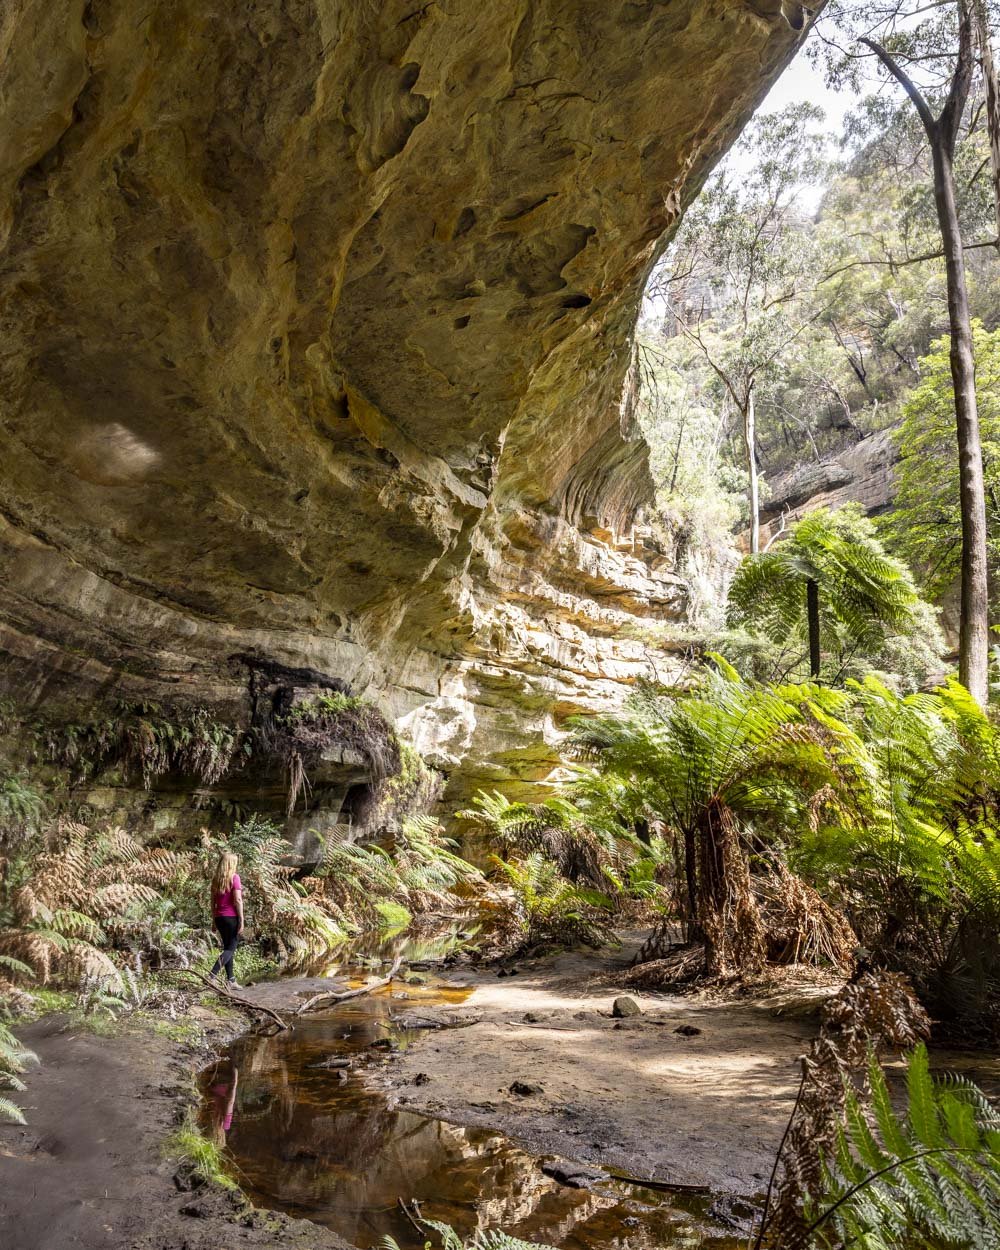
After another 50m most of the foliage melts away and the walls close in. This is when you really feel like you’ve entered a canyon.
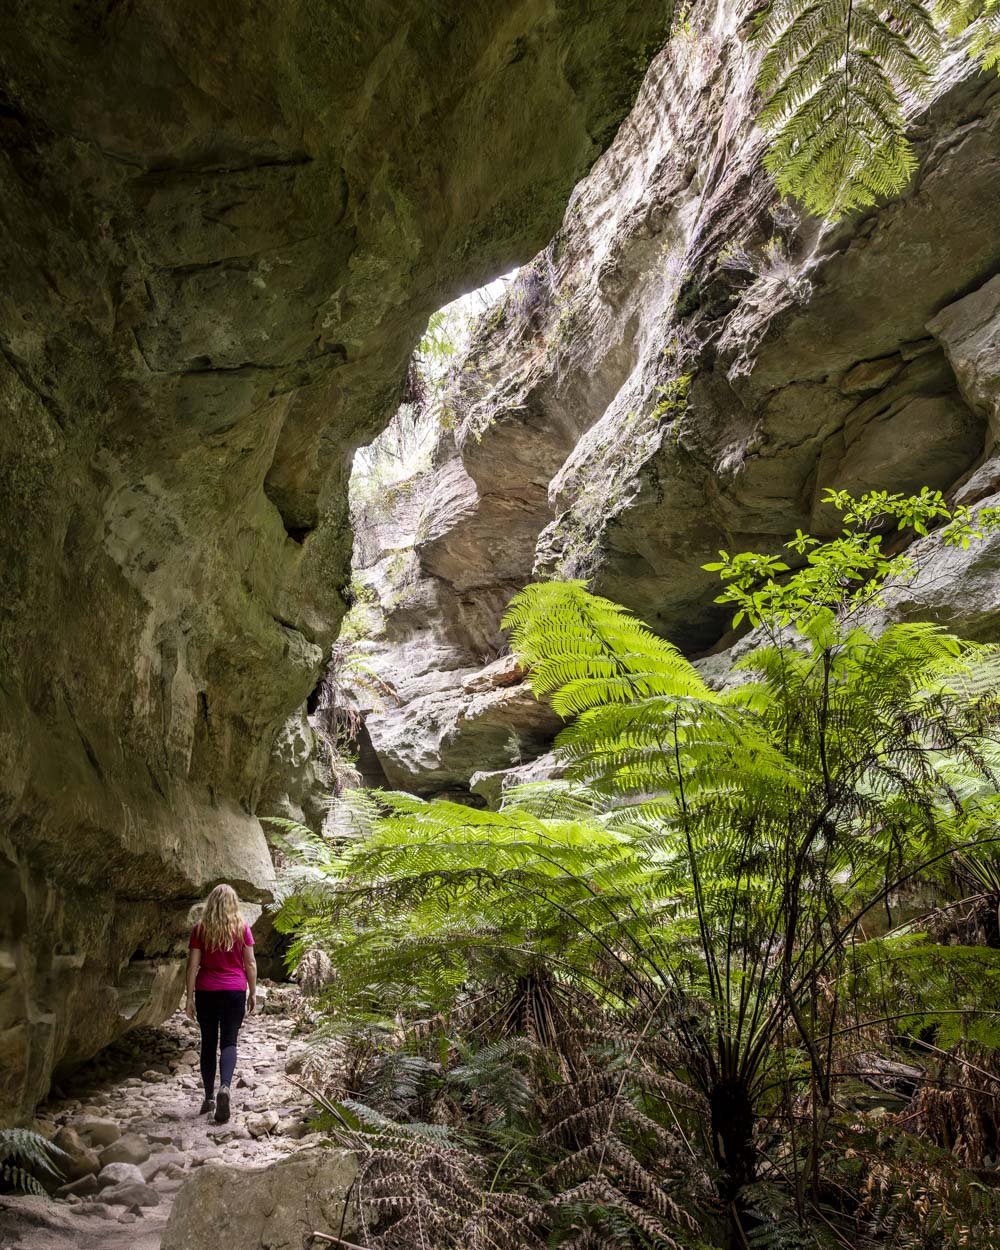
The cliffs are beautifully sculpted and the ground is rocky but still easy to walk on, allowing you to really focus on your surroundings. It’s over all too quickly but if it’s left you wanting more, Dry Canyon is not far away!
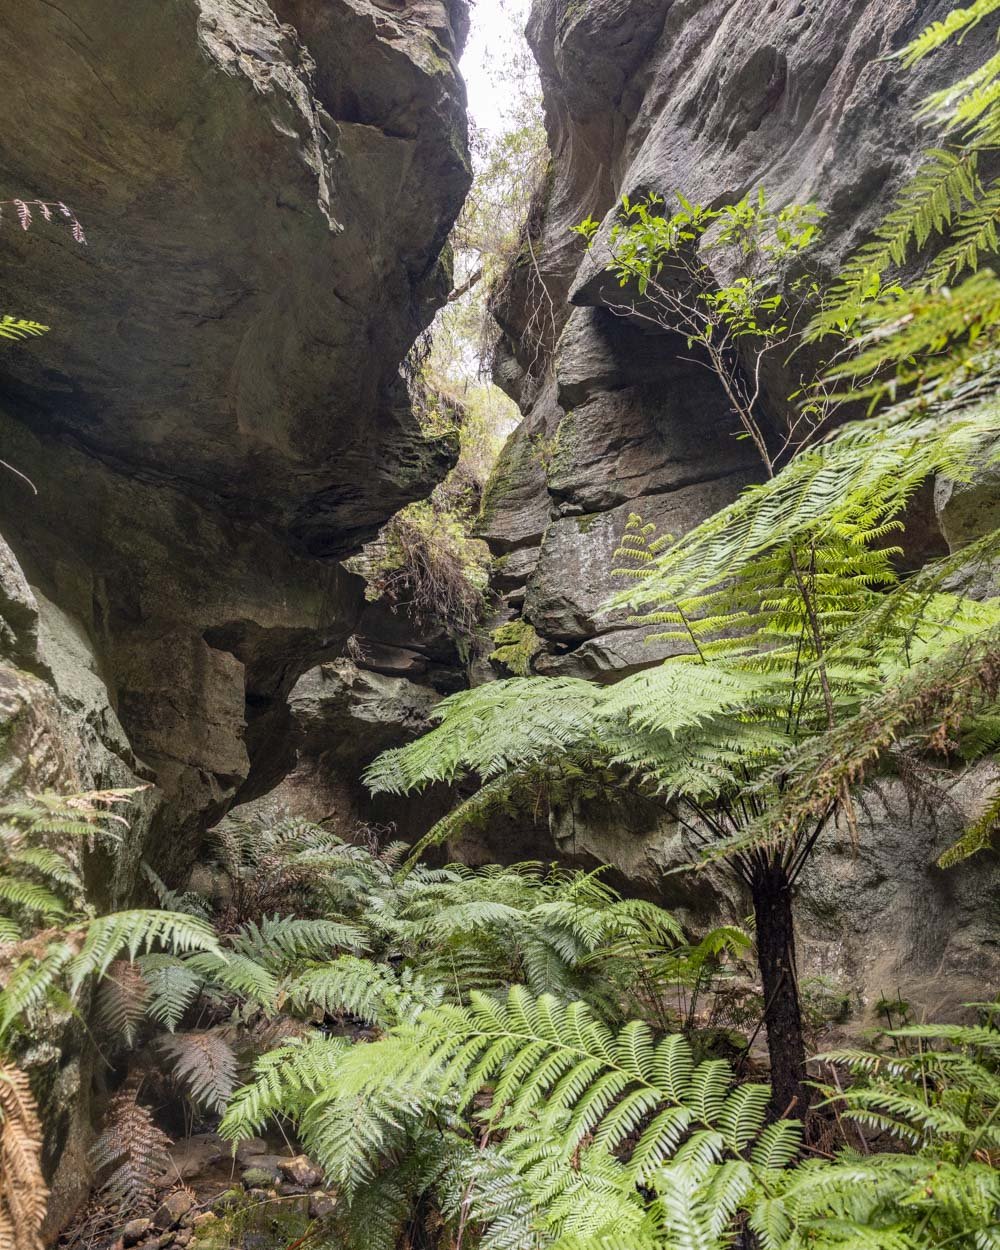
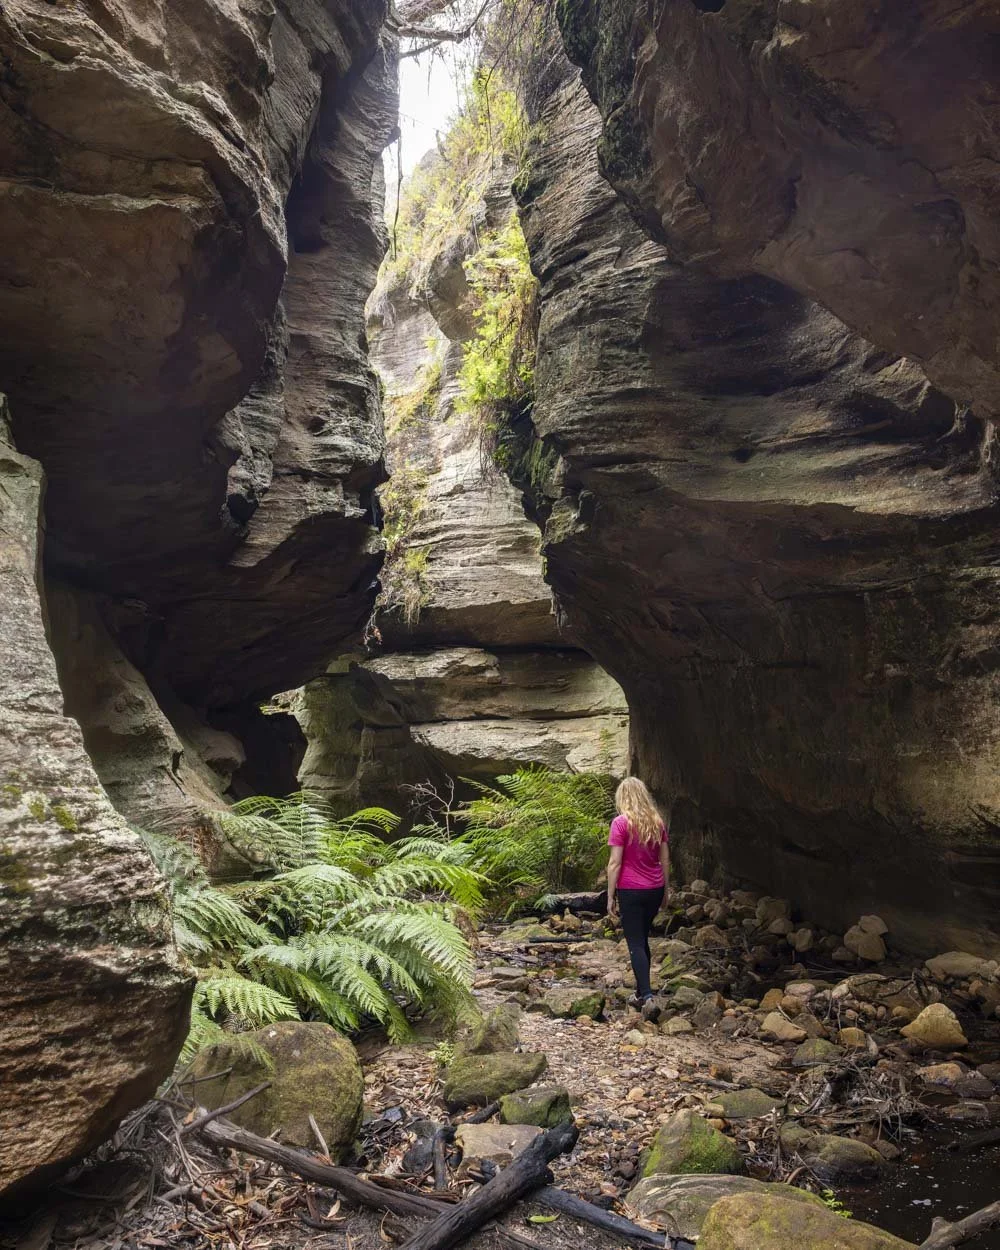
There’s a bit more water at the end of the narrow section of canyon, but the amount of rocks around mean you never need to get wet shoes.
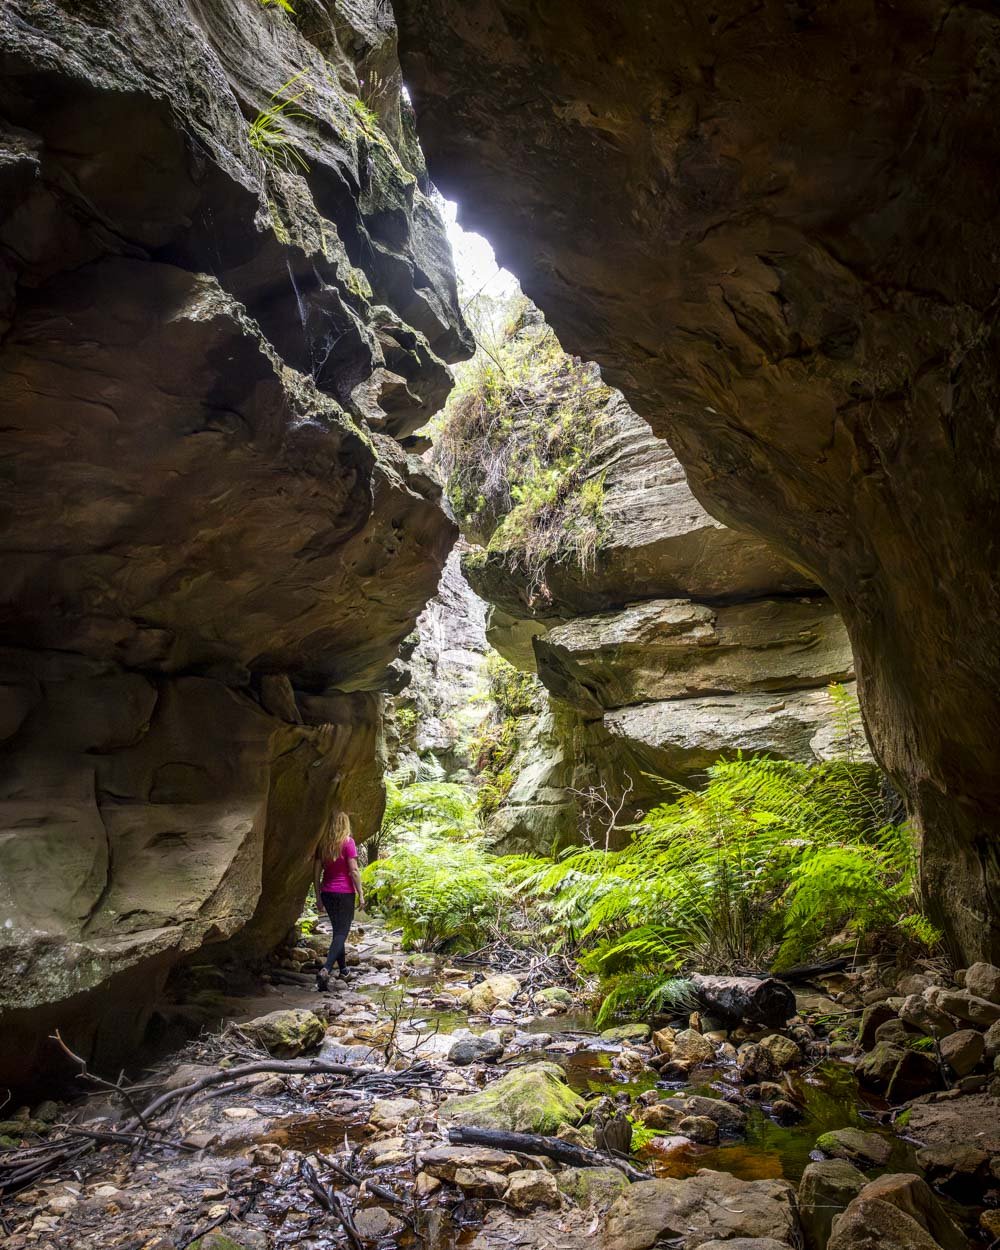
At this point to get to the Bells Grotto cave you have two choices: you can continue a bit further and re-enter the main walking track (creating a lollipop loop), or go back the way you came, through the tunnel.
Exiting without backtracking does involve a slightly rougher ‘track’ with a log jam and a few rocks to climb.
It’s not difficult but if you don’t like the look of it, going through the tunnel a second time is no hardship!
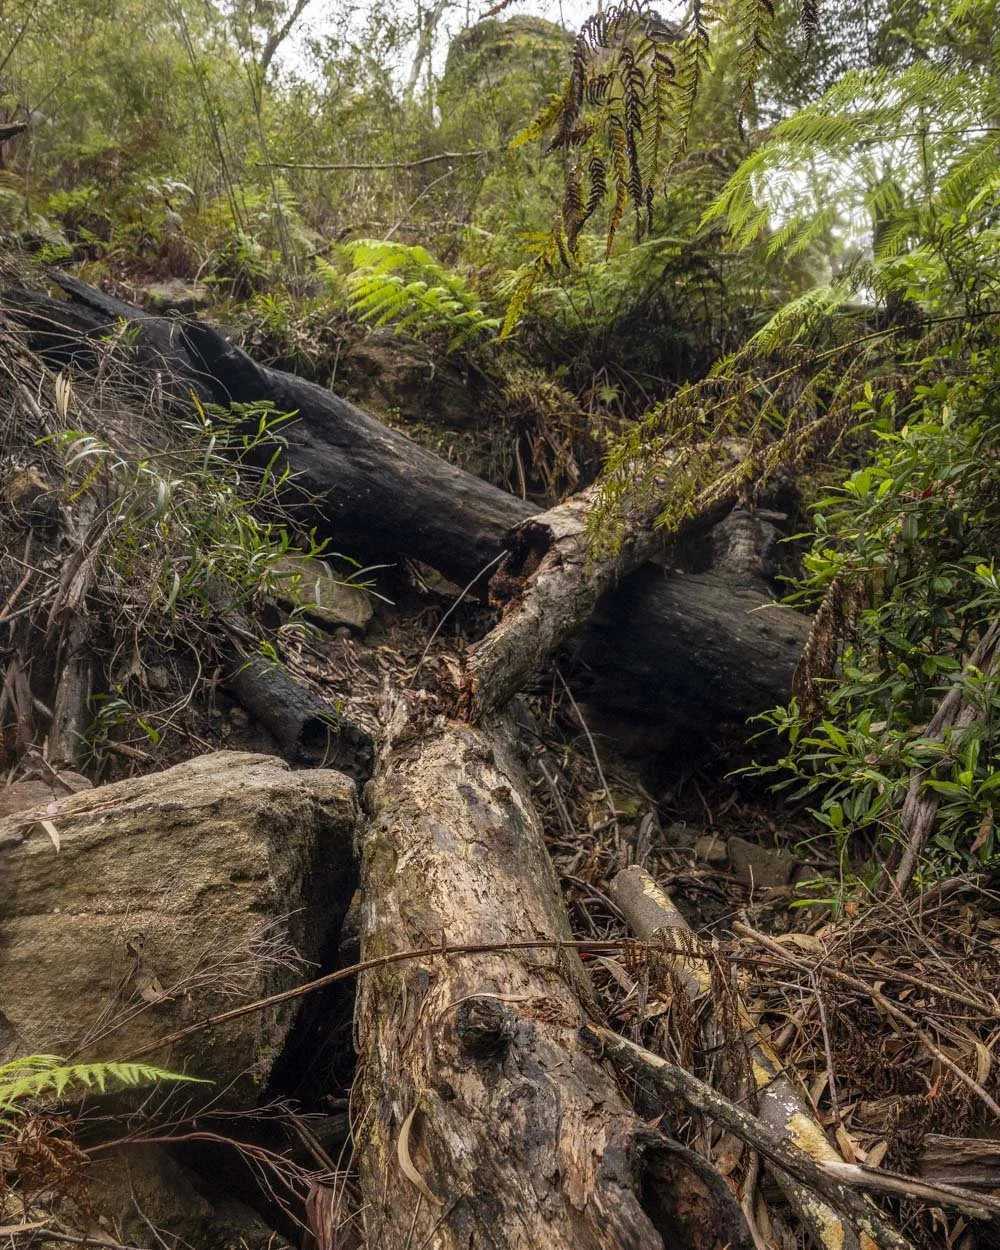
If you don’t mind the rougher terrain, continue for another 50m. You will need to climb over some logs and up a couple of rocks before making your exit when you see the culvert on your right (the bricks are easy to spot when you know to look out for them).
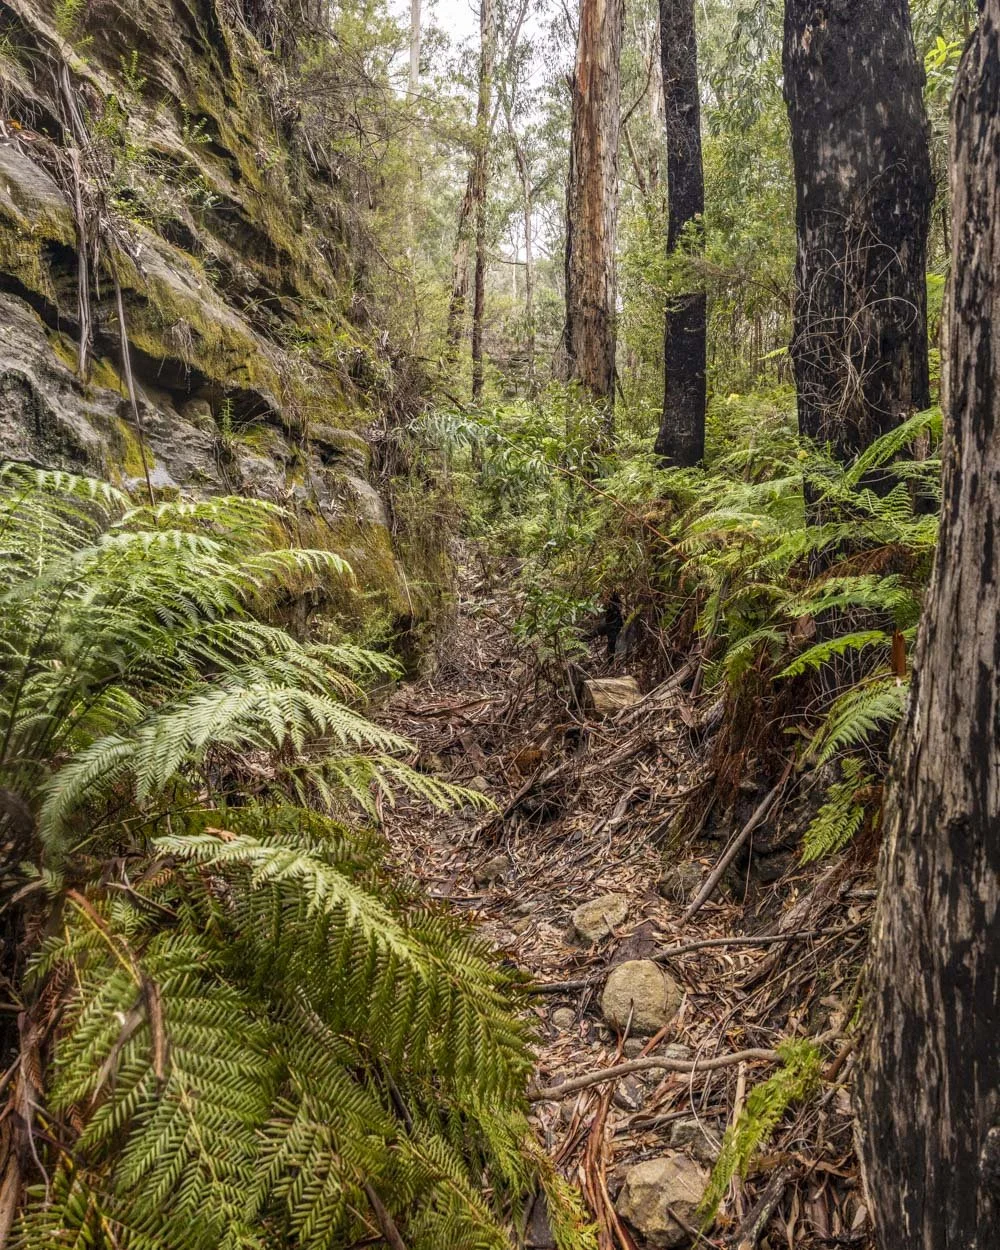
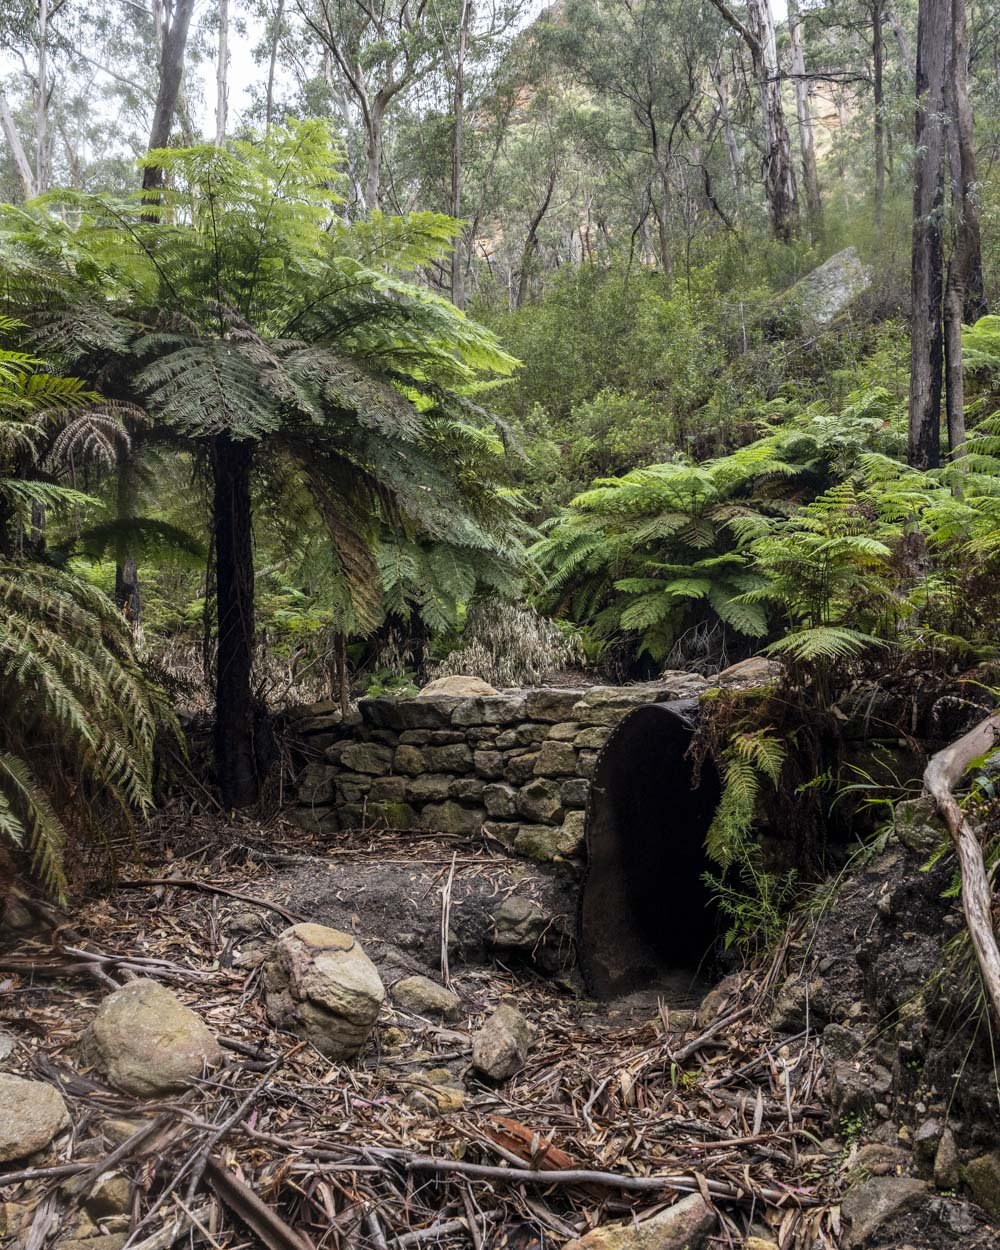
There’s a steeper exit track before this but the culvert offers a very gentle way up to the main Glow Worm Tunnel walking track.
Bells Grotto Cave
Coordinates: -33.2411512, 150.2273607
To reach the cave you need to continue back along the track towards the car park for around 350m. The entry to the grotto is beside a v-shaped tree and some chopped logs.
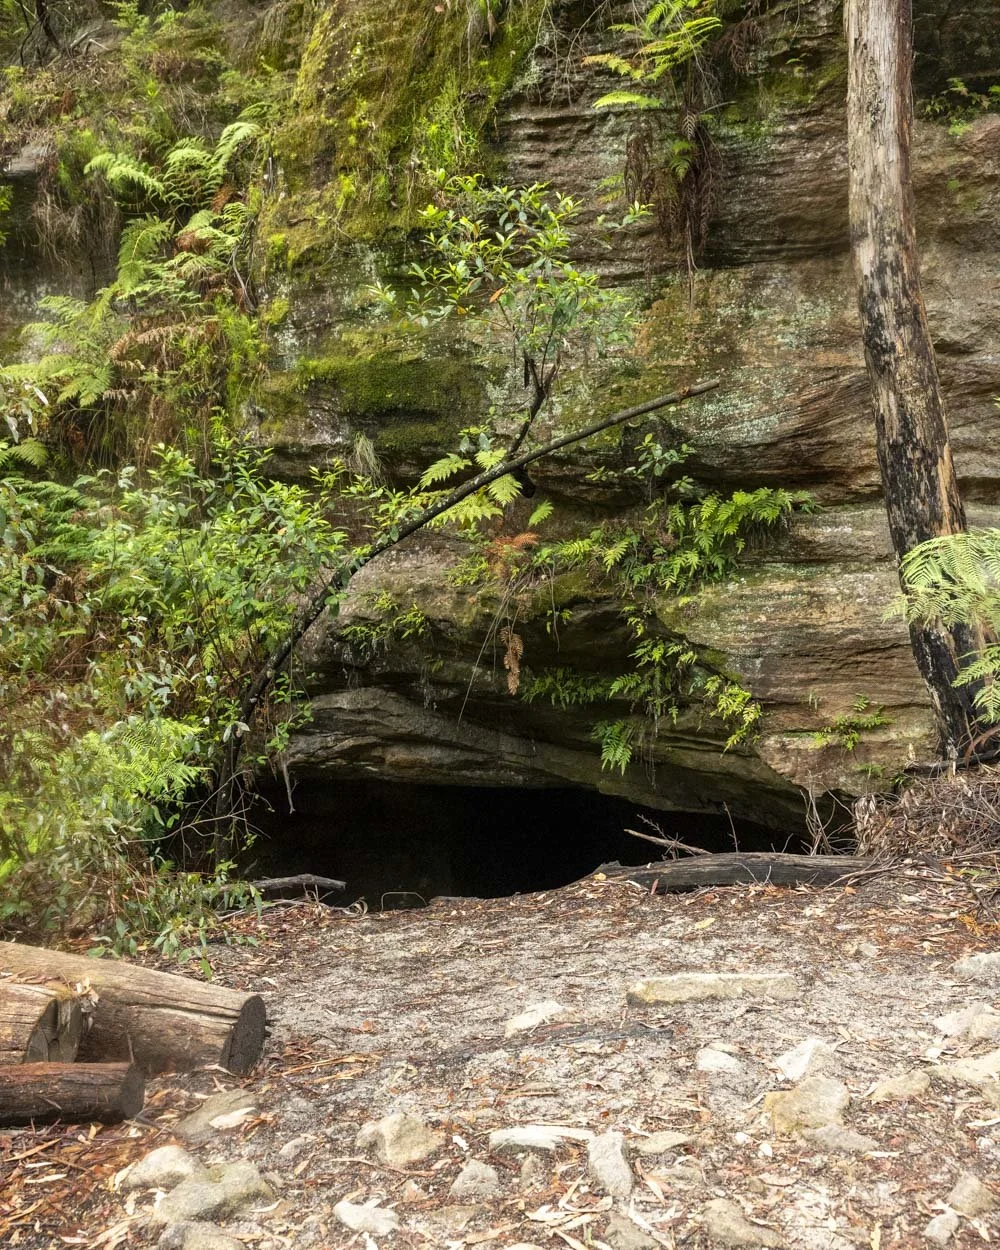
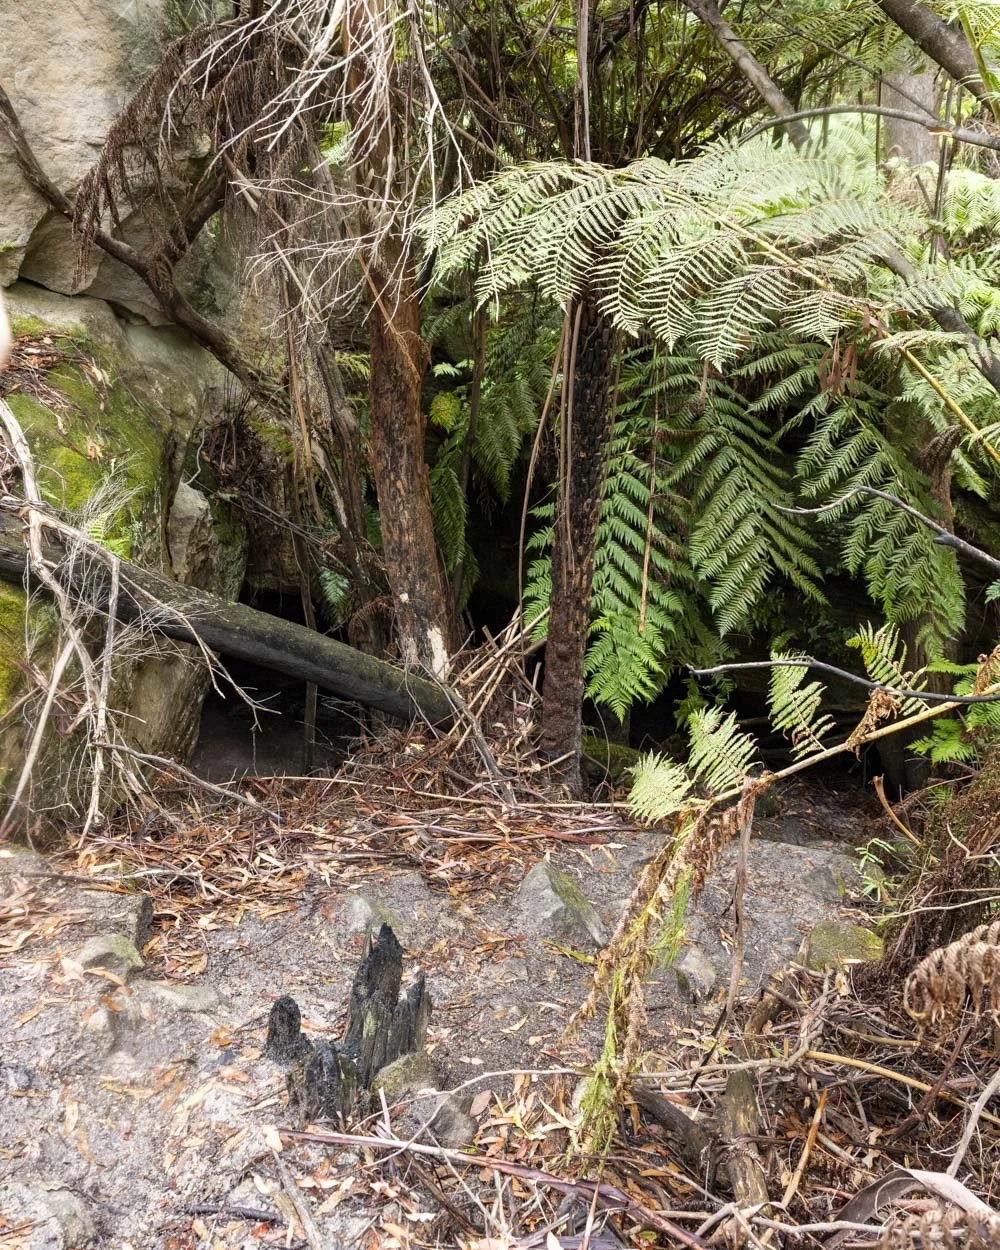
It’s on the western side of the main Glow Worm Tunnel trail - or the right side as you are walking back to the car park and away from the tunnel.
There is a worn path which would be easy to miss, but now you know roughly where to look for it you won’t miss it! It’s just a few metres from the main track to the cave entrance.
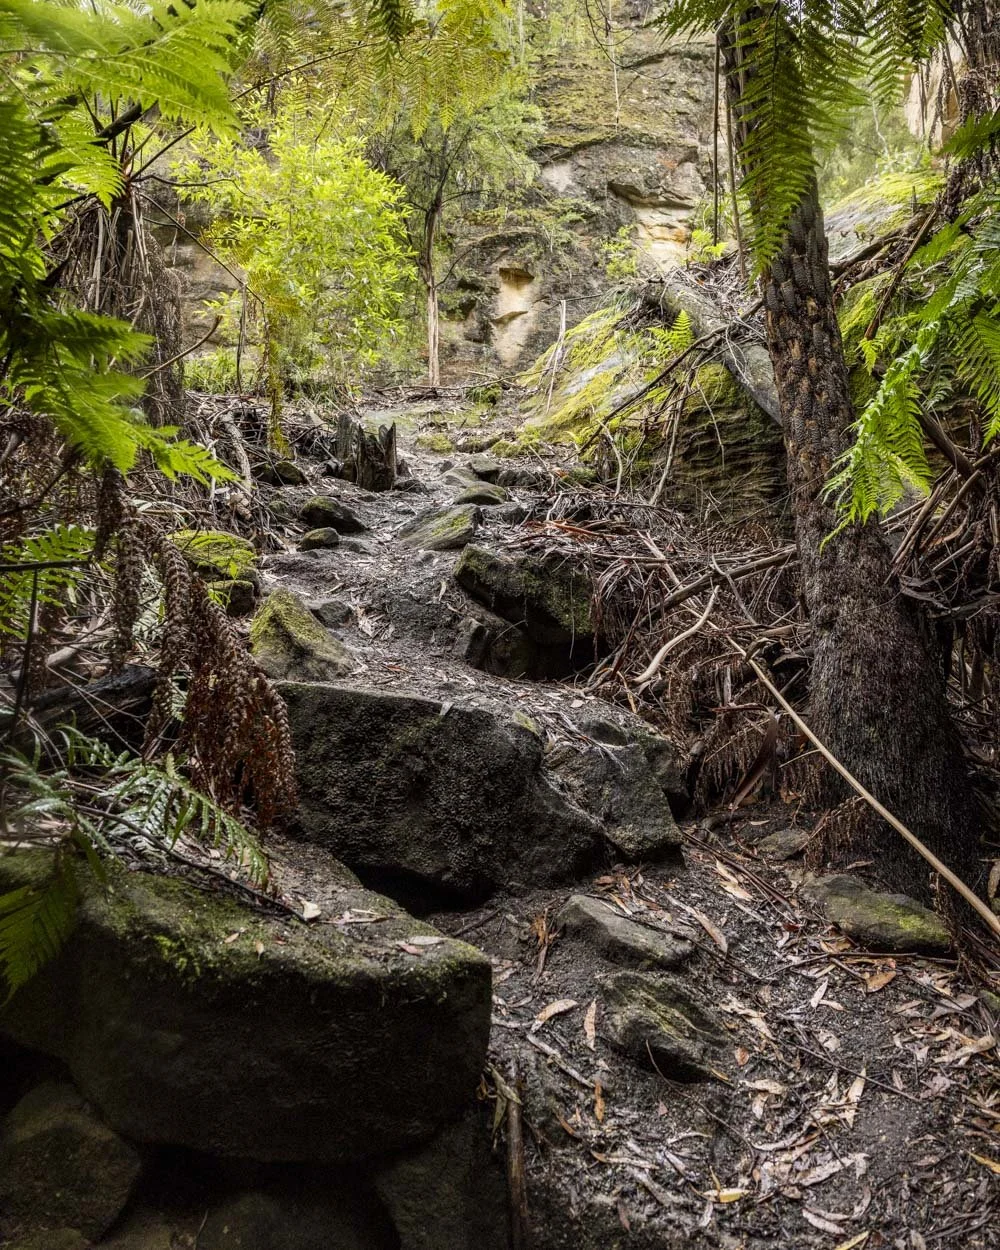
The path is downhill and a touch steep, but there are rocks to use to stabilise your footing (on what would otherwise be a loose dirt track).
The trail heads downhill and the grotto is on your left, it only takes 30 seconds to get to from the trail above.
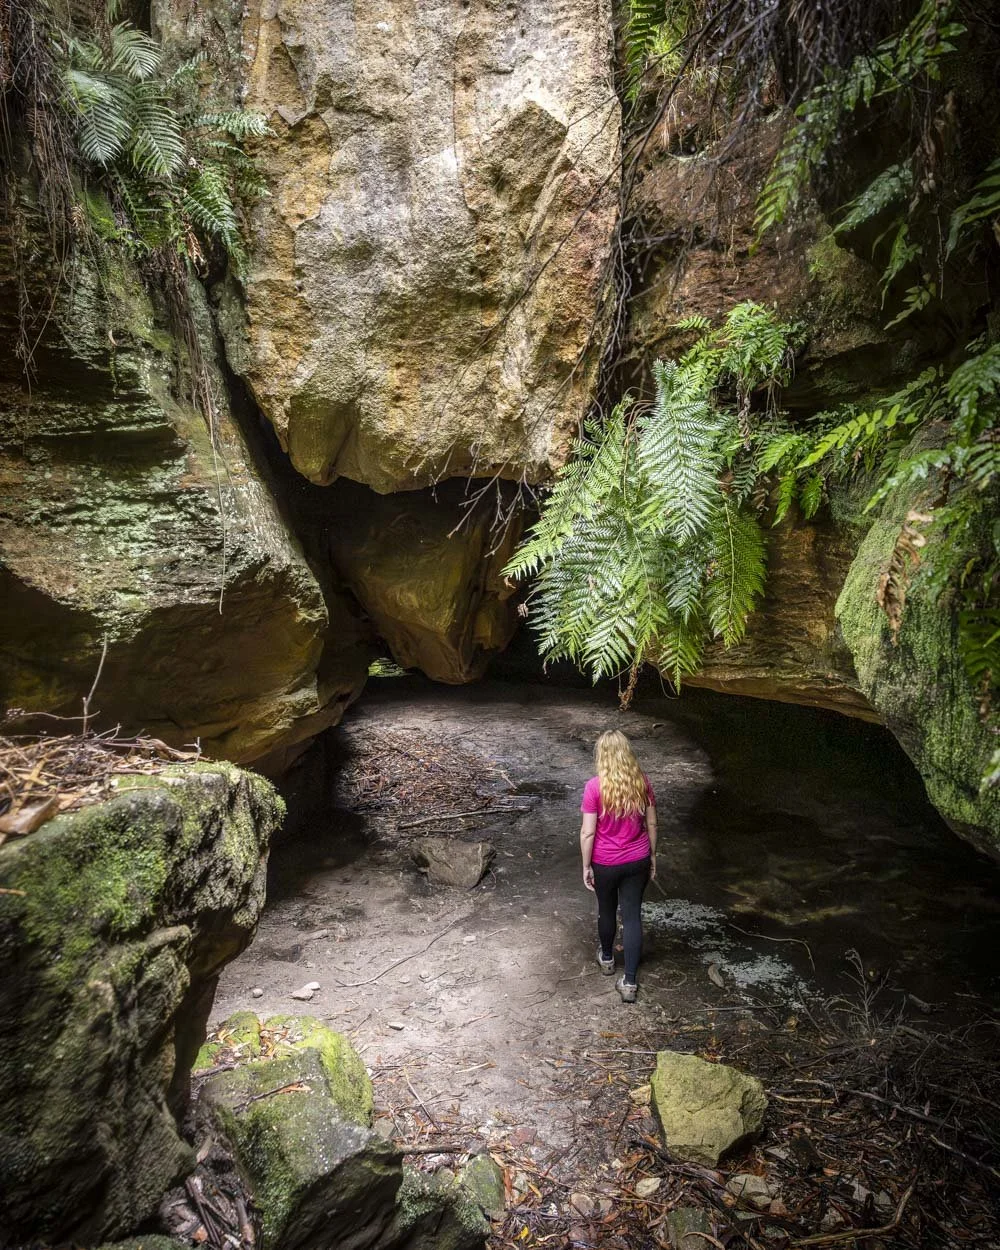
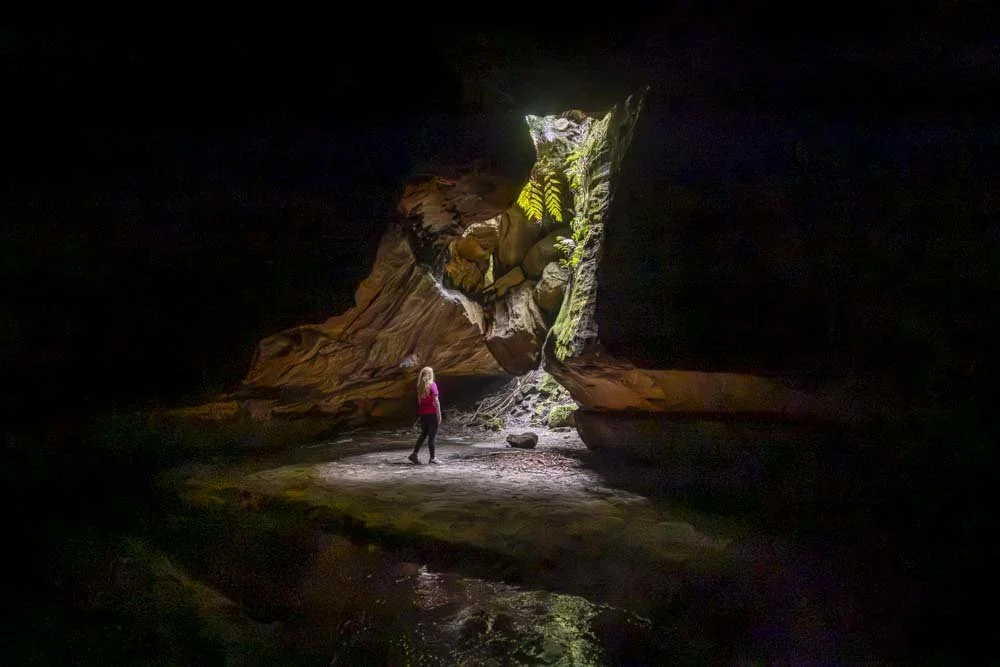
As you can probably see by our photos, the weather at this point had gone from drizzle to full on dark storm, so the grotto was almost pitch black.
That did however mean we got to spot a few glow worms in the cracks and crevices which was fun!
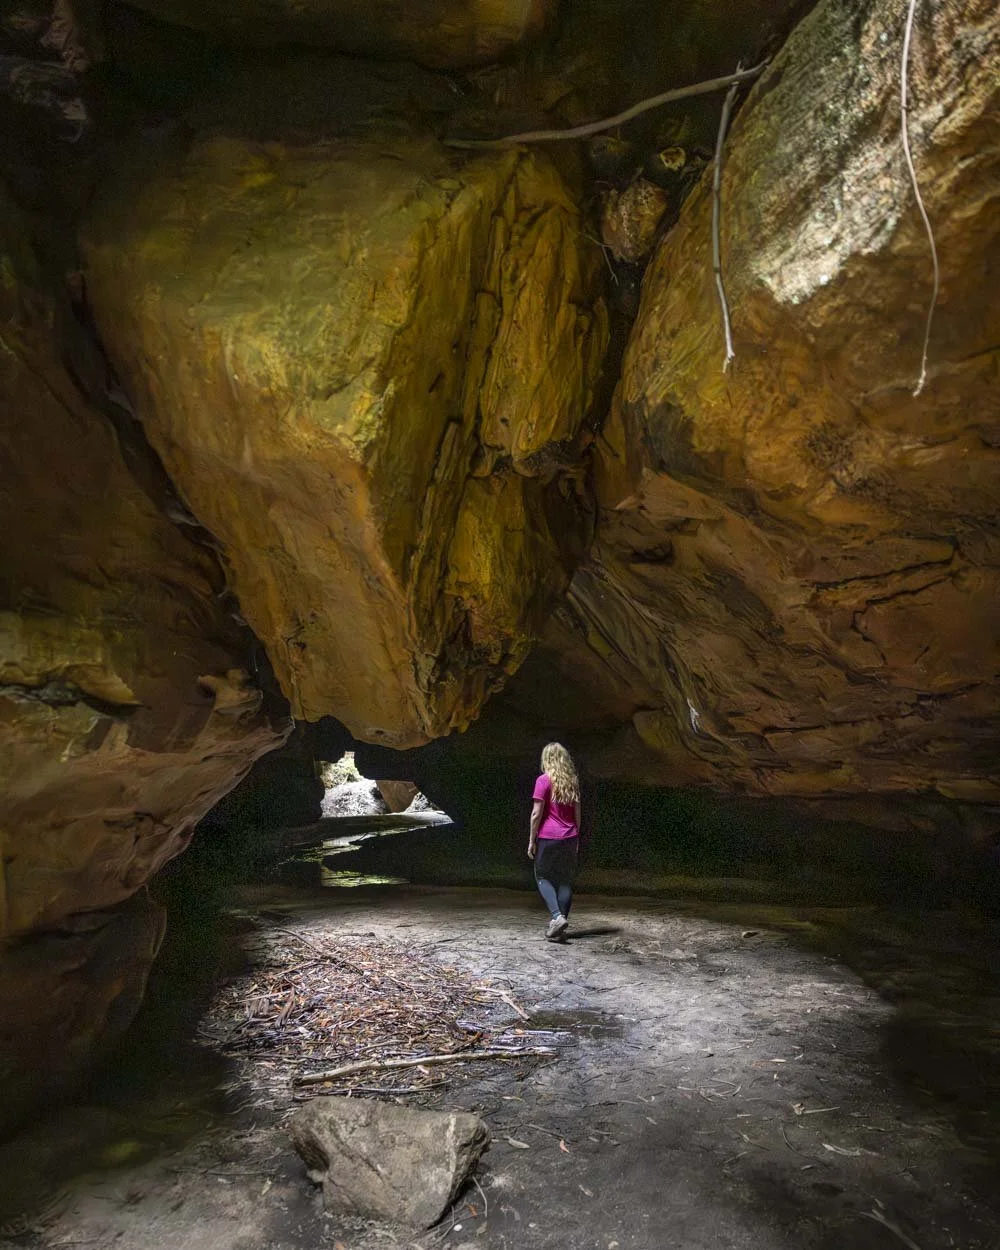
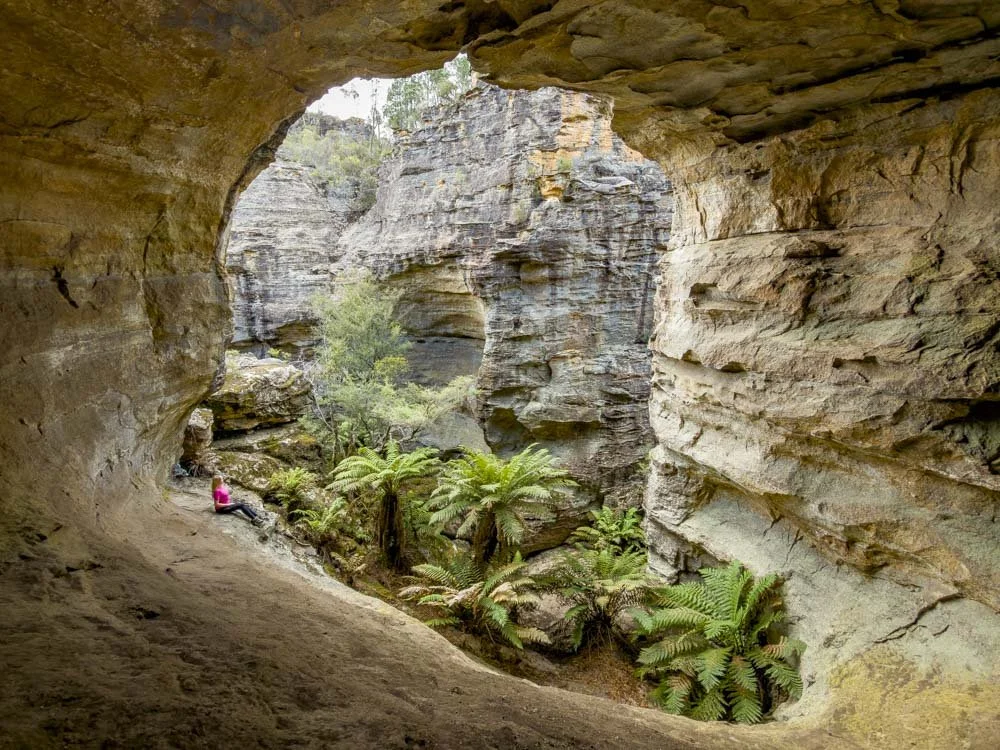
A creek runs through the sandy cave but you don’t need to cross it to reach the light at the end of the tunnel. You can hug the left wall and walk hunched over to the exit.
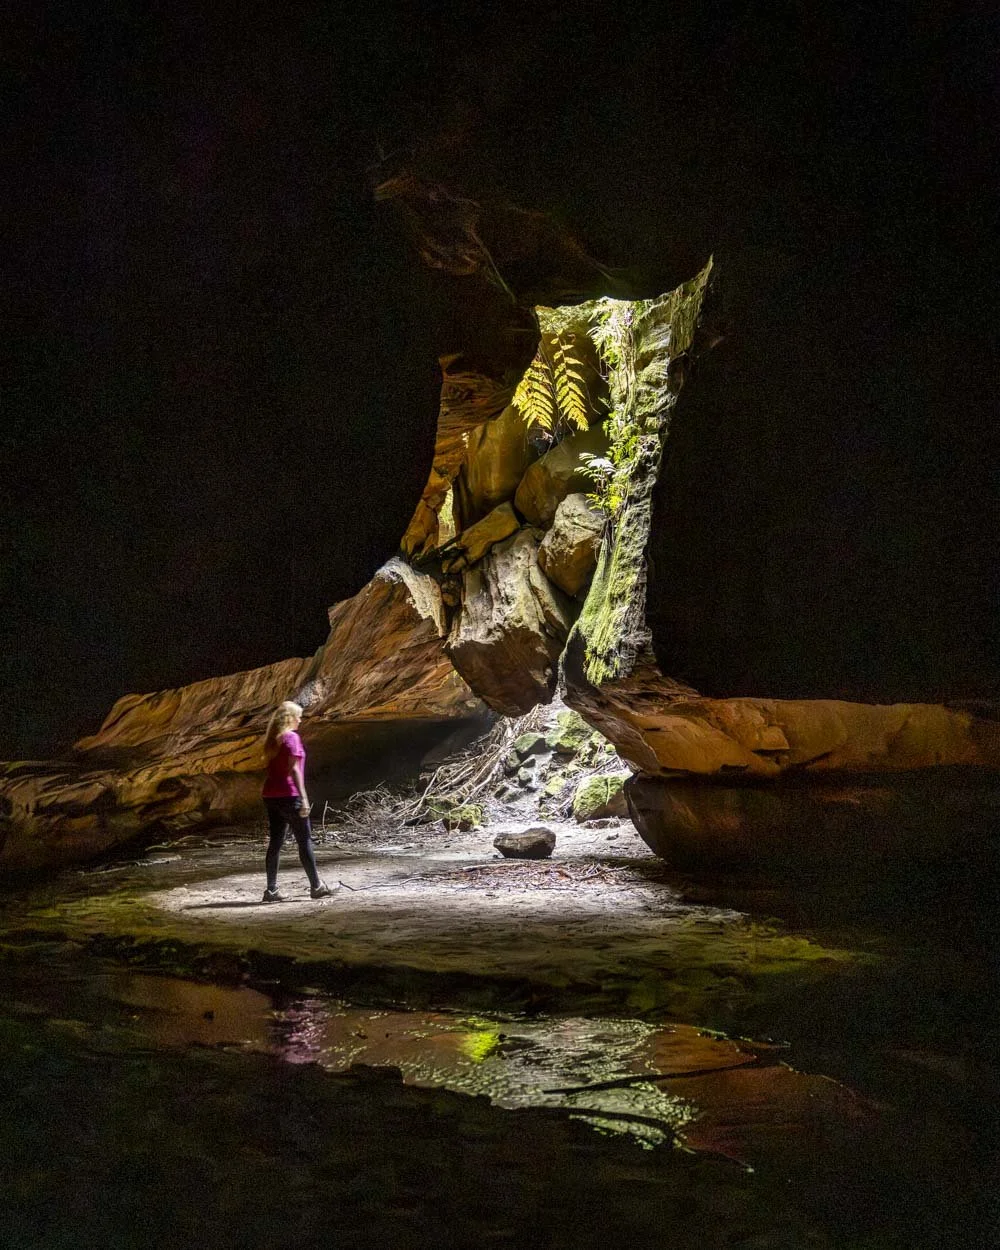
It’s a great little cave with pretty walls and a shaft of light coming from the opening at the far end.
I think it would be a really nice place for photography with a little more sunlight around, though it was still very atmospheric in the darkness.
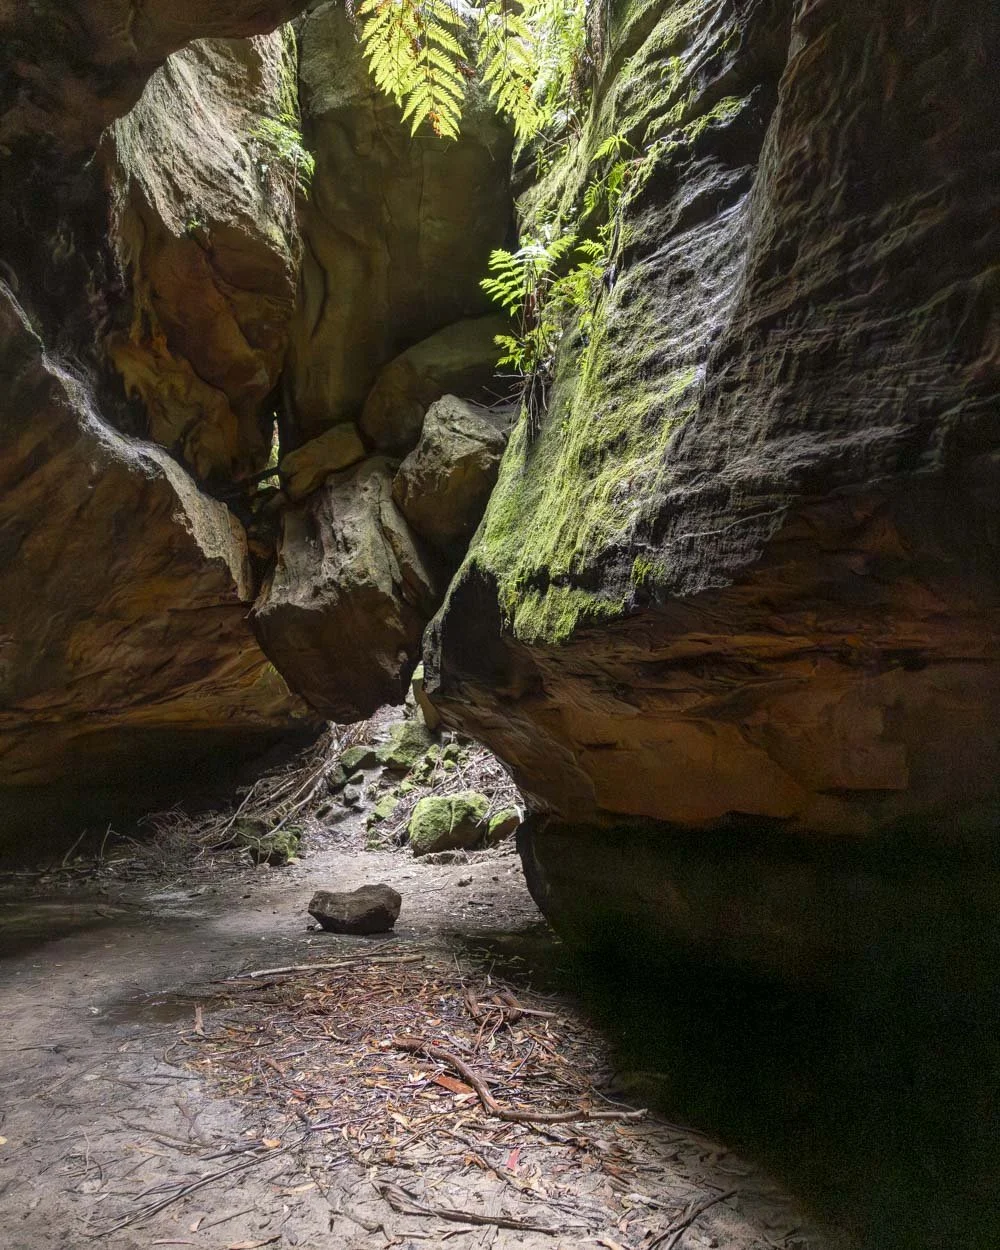
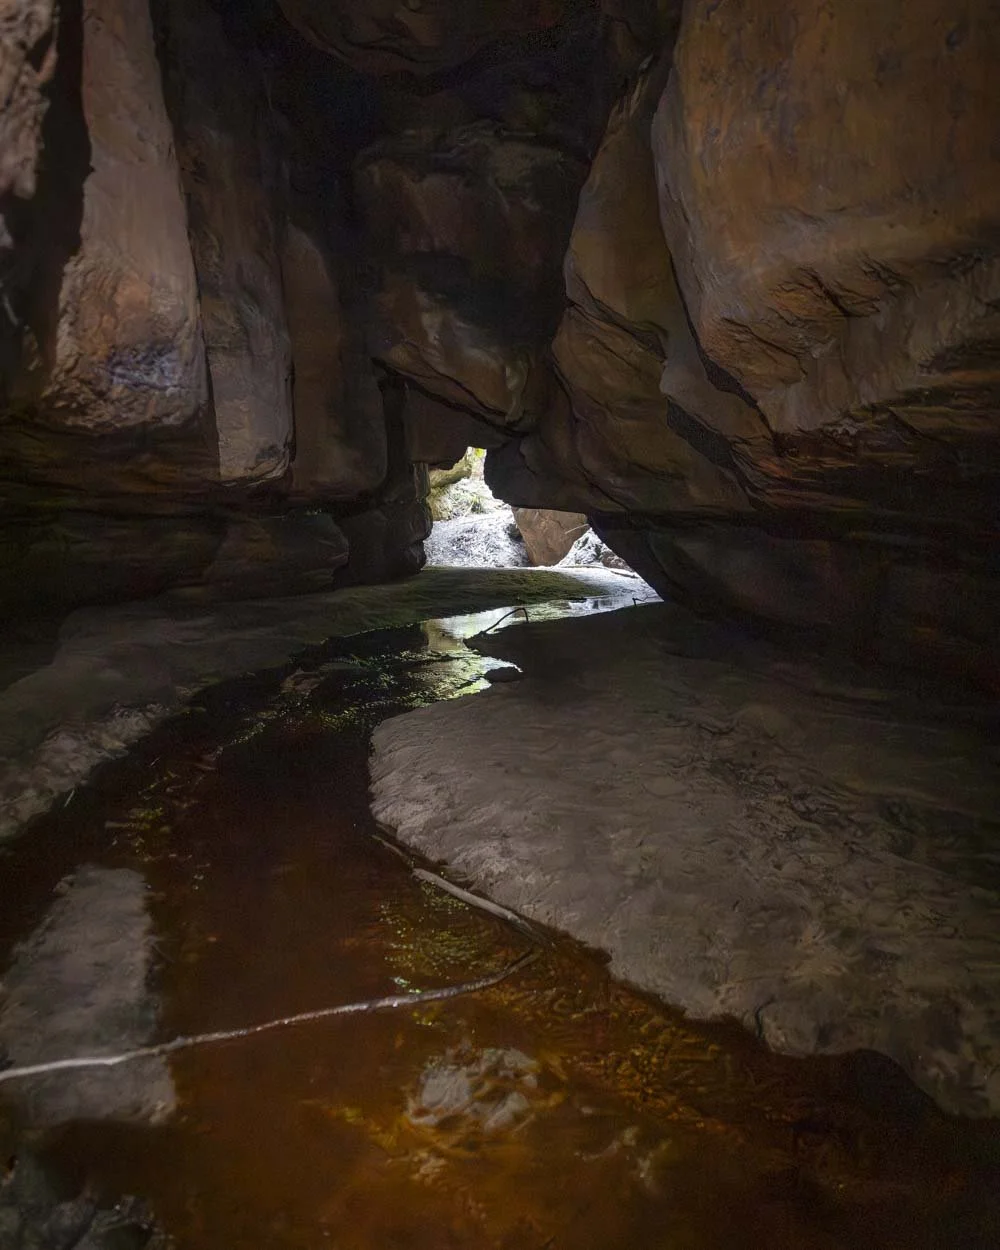
You can continue to the right through another overhang but it’s a bit choked up with debris and led to a dead end.
We originally thought we could join up walking through the canyon section of Tunnel Creek to the cave, but the debris was such that we preferred doing it in two parts instead.
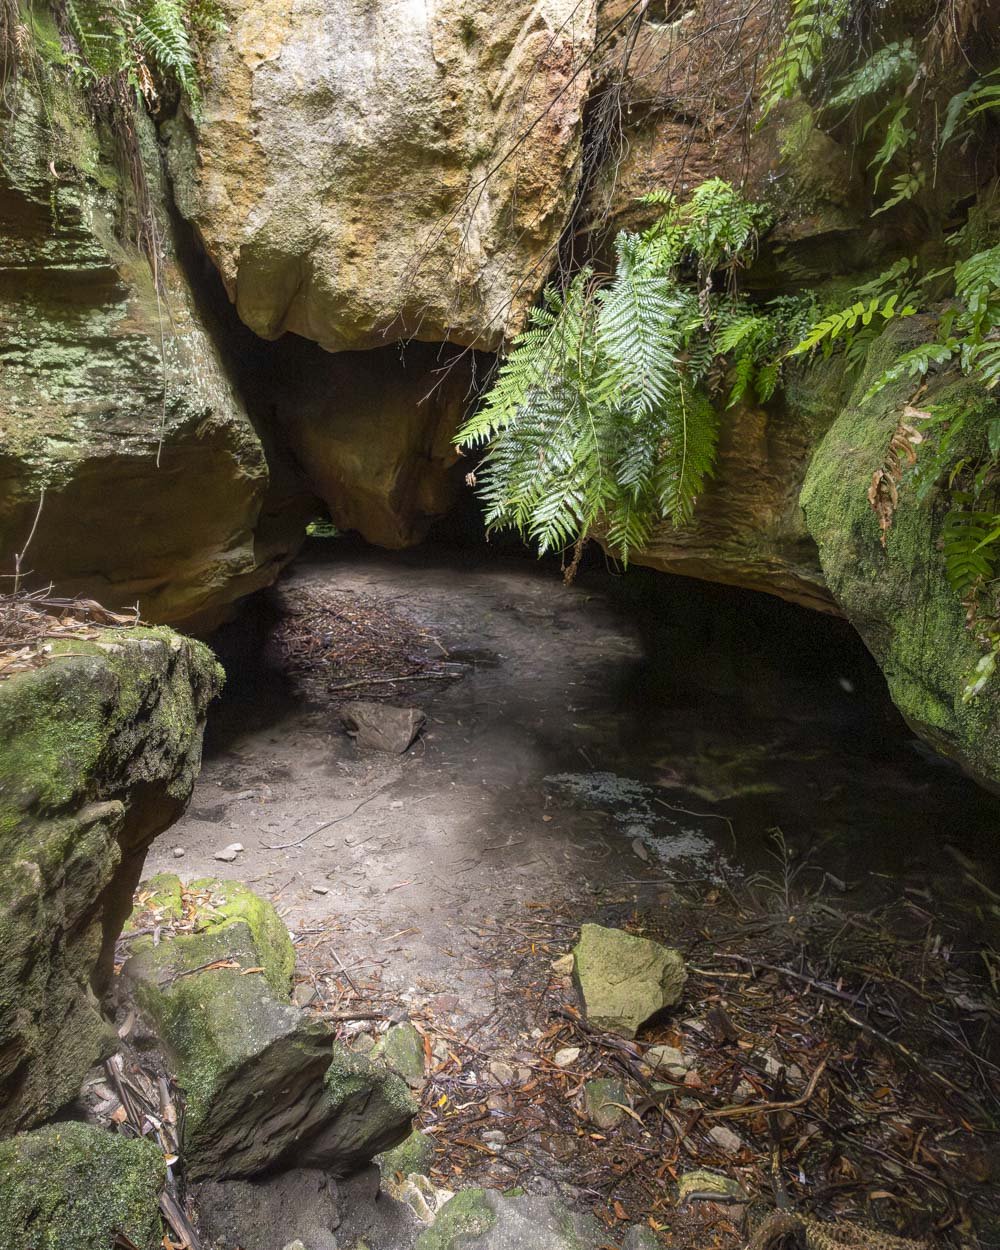
After exploring Bells Grotto cave you simply retrace your steps back to the car park, which is about 1km away.
Getting to the Bells Grotto Track
To get to the Bells Grotto Track, put “Glow Worm Tunnel Walking Track” into Google Maps - don’t write Glow Worm Tunnel, otherwise it will take you some much rougher 4WD tracks that you don’t need to go along. The route should stick to Glow Worm Tunnel Road and doesn’t deviate from this. You can click here to see the right place to aim for.
The right route still requires driving along 30km of unsealed road, but it’s in pretty good condition. There are some potholes and ruts, but it’s not too bad and it doesn’t seem to suffer from the terrible flooding that other roads off Glow Worm Tunnel Road do.
At time of writing, you do not need any kind of high clearance, but take it slow to avoid as many of the potholes as possible. If you are coming in a small car and are worried about the road, it’s best to call the National Parks Service for an update on the current conditions before setting out.
This post may contain affiliate links, meaning at no additional cost to you, that we will earn a small commission if you click through and decide to make a purchase. This helps towards the costs of running our website. Thanks for your support.

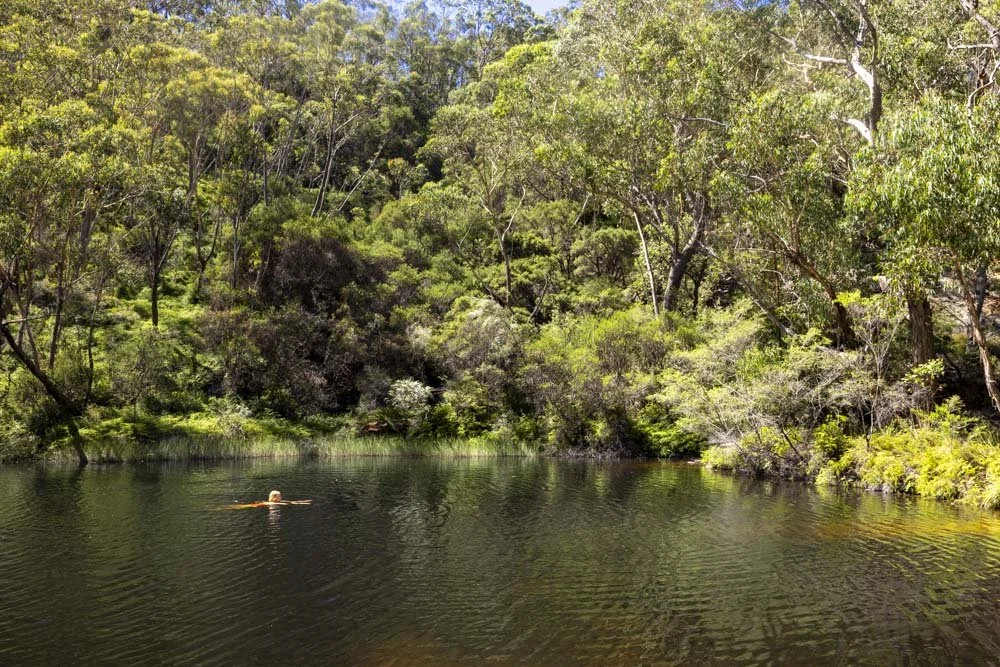
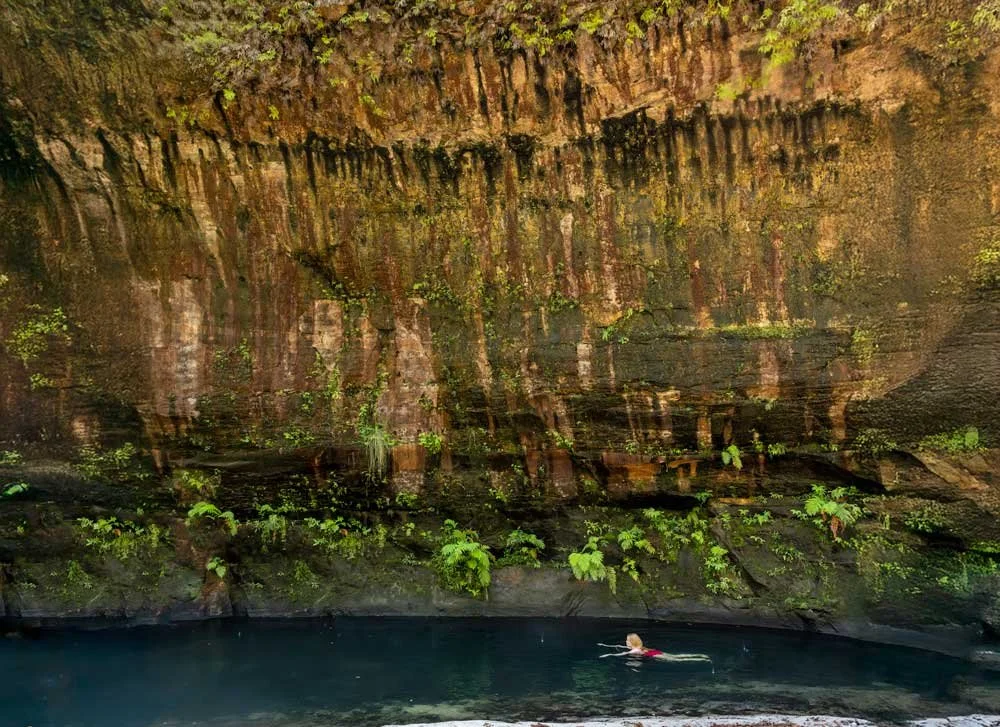
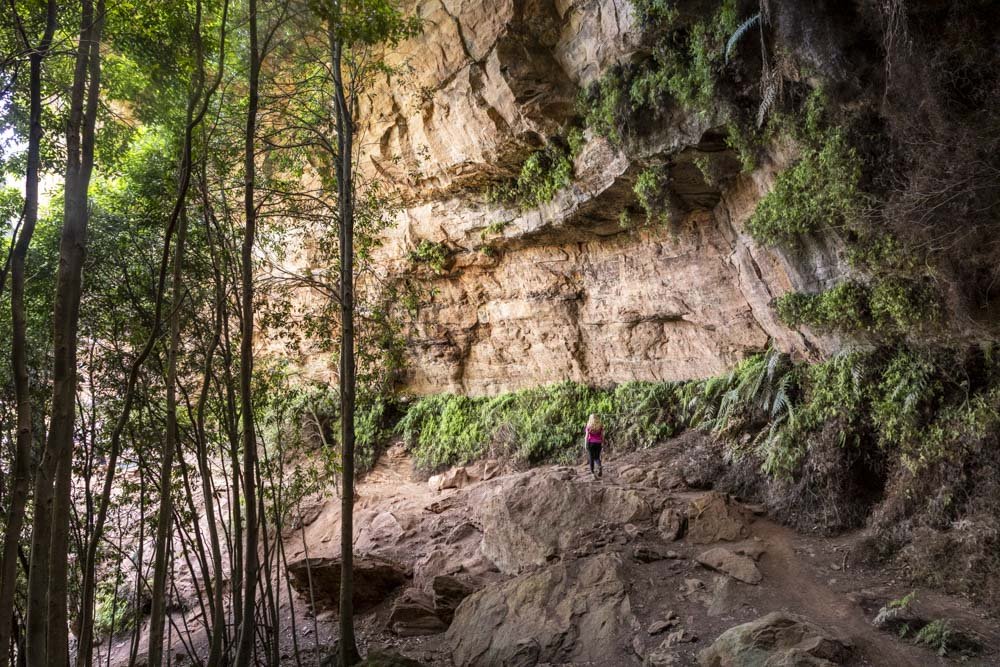

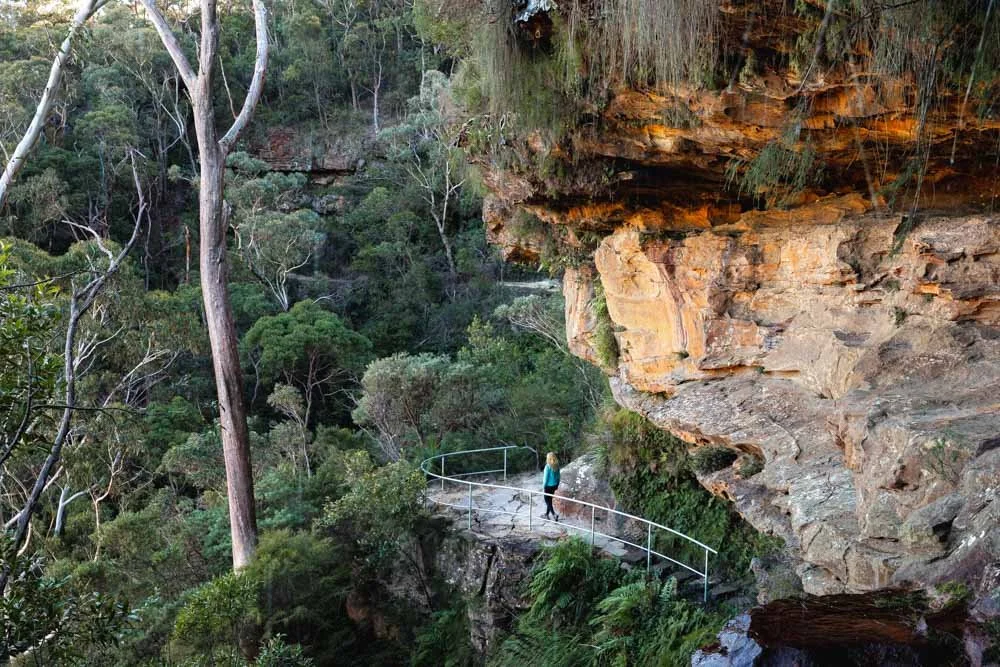
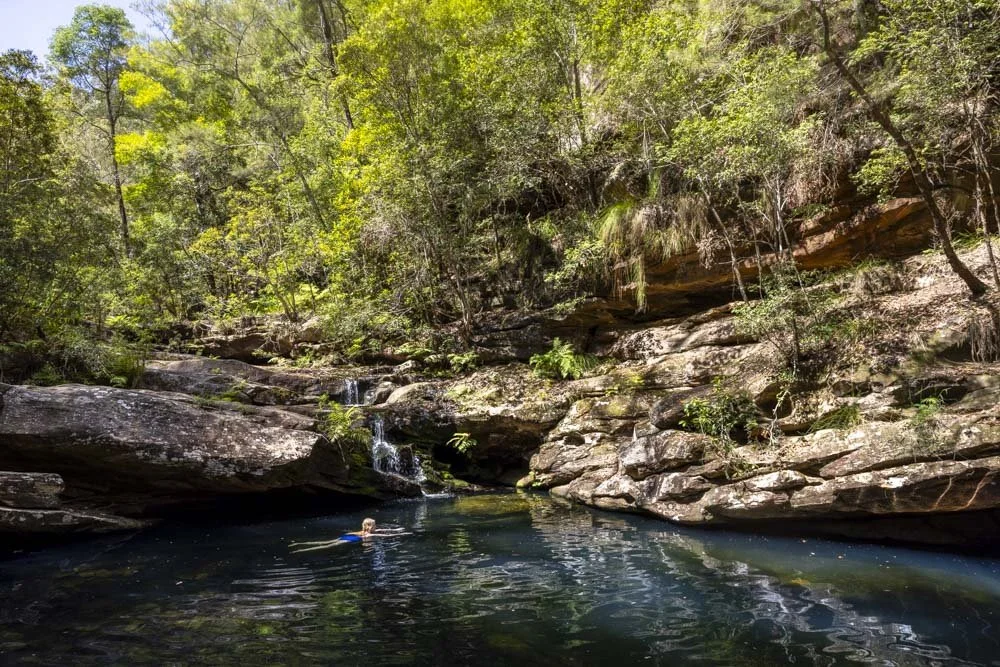
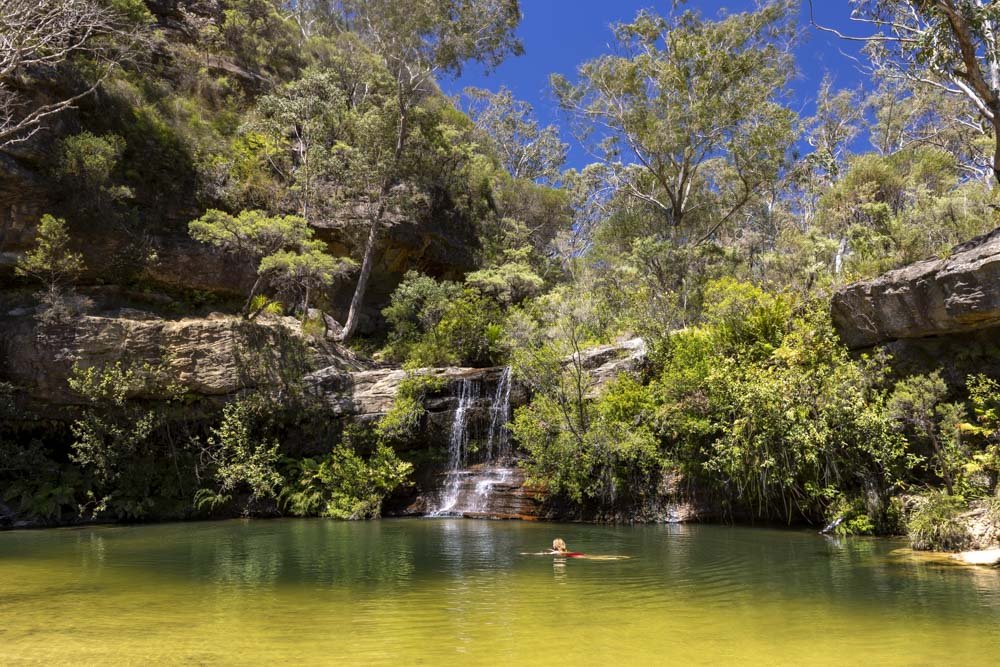


A little effort goes a long way when it comes to Victoria Falls. The steep but well maintained track will take you to both the base of Victoria Falls and some very pretty cascades, both of which are fantastic wild swimming spots. Here’s everything you need to know, including difficulty and what the pools are like.