
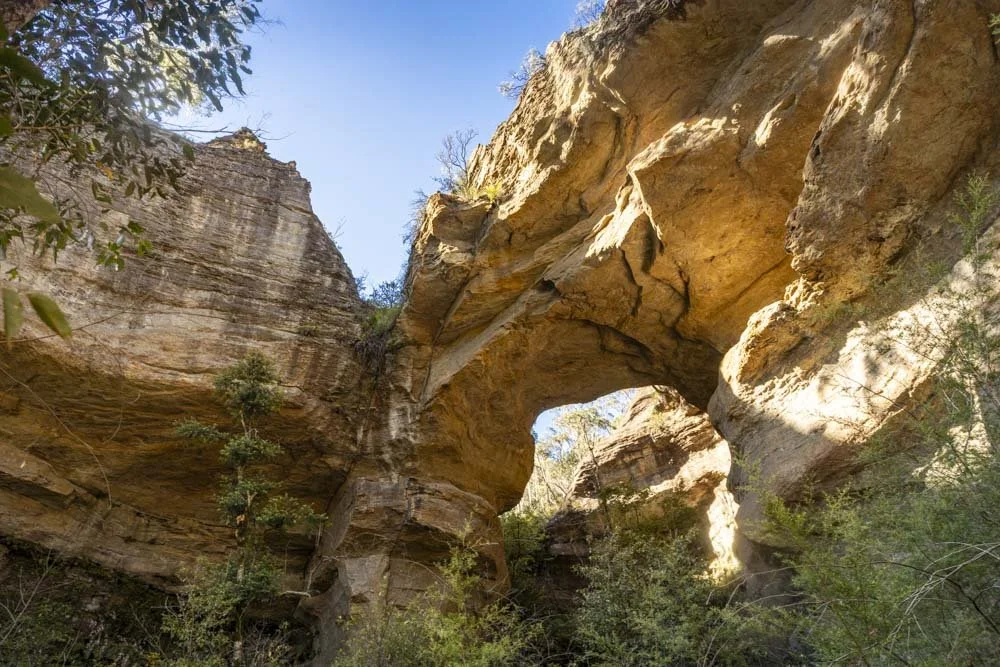
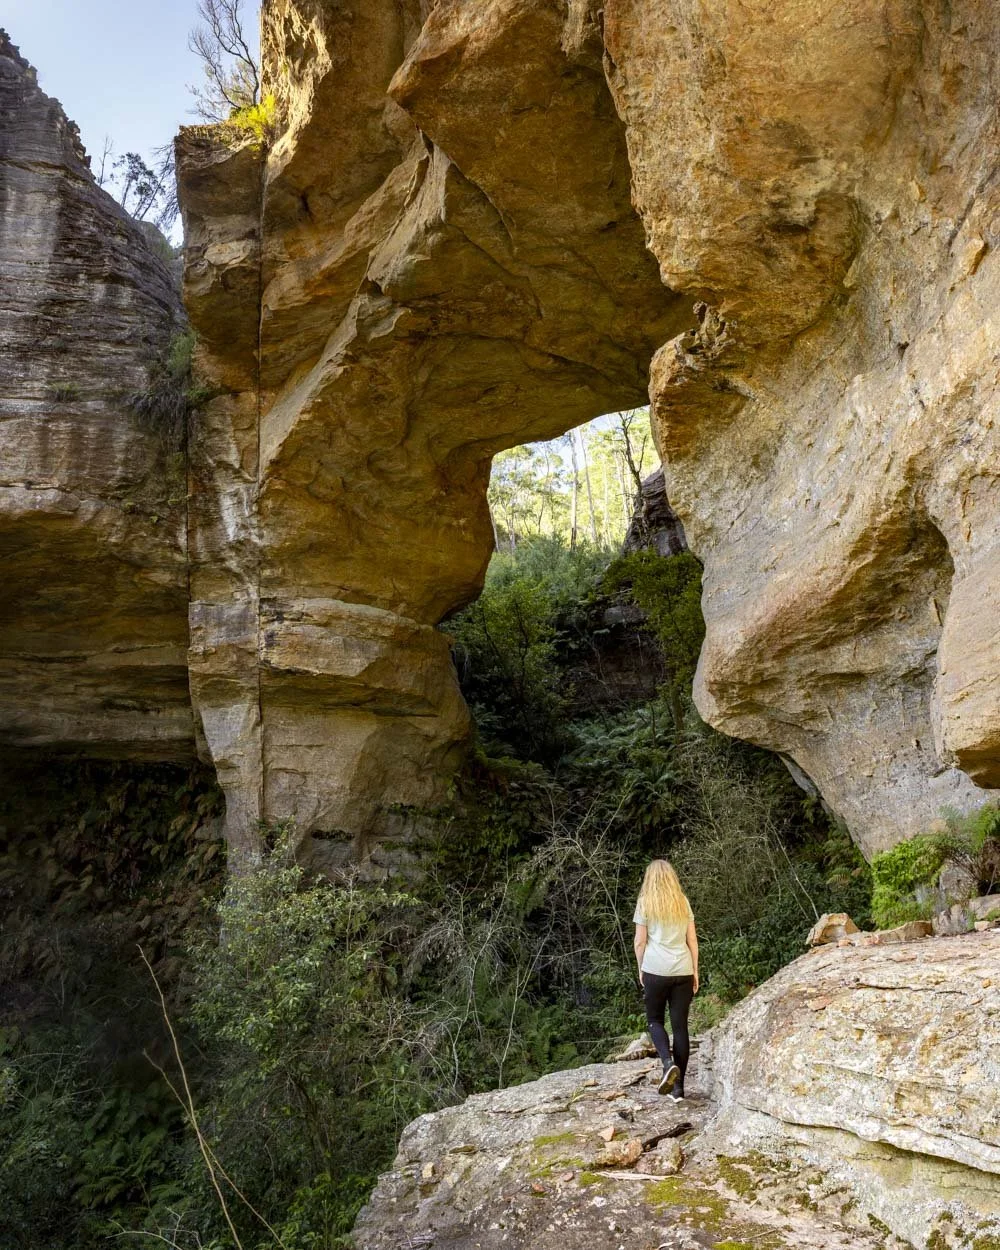
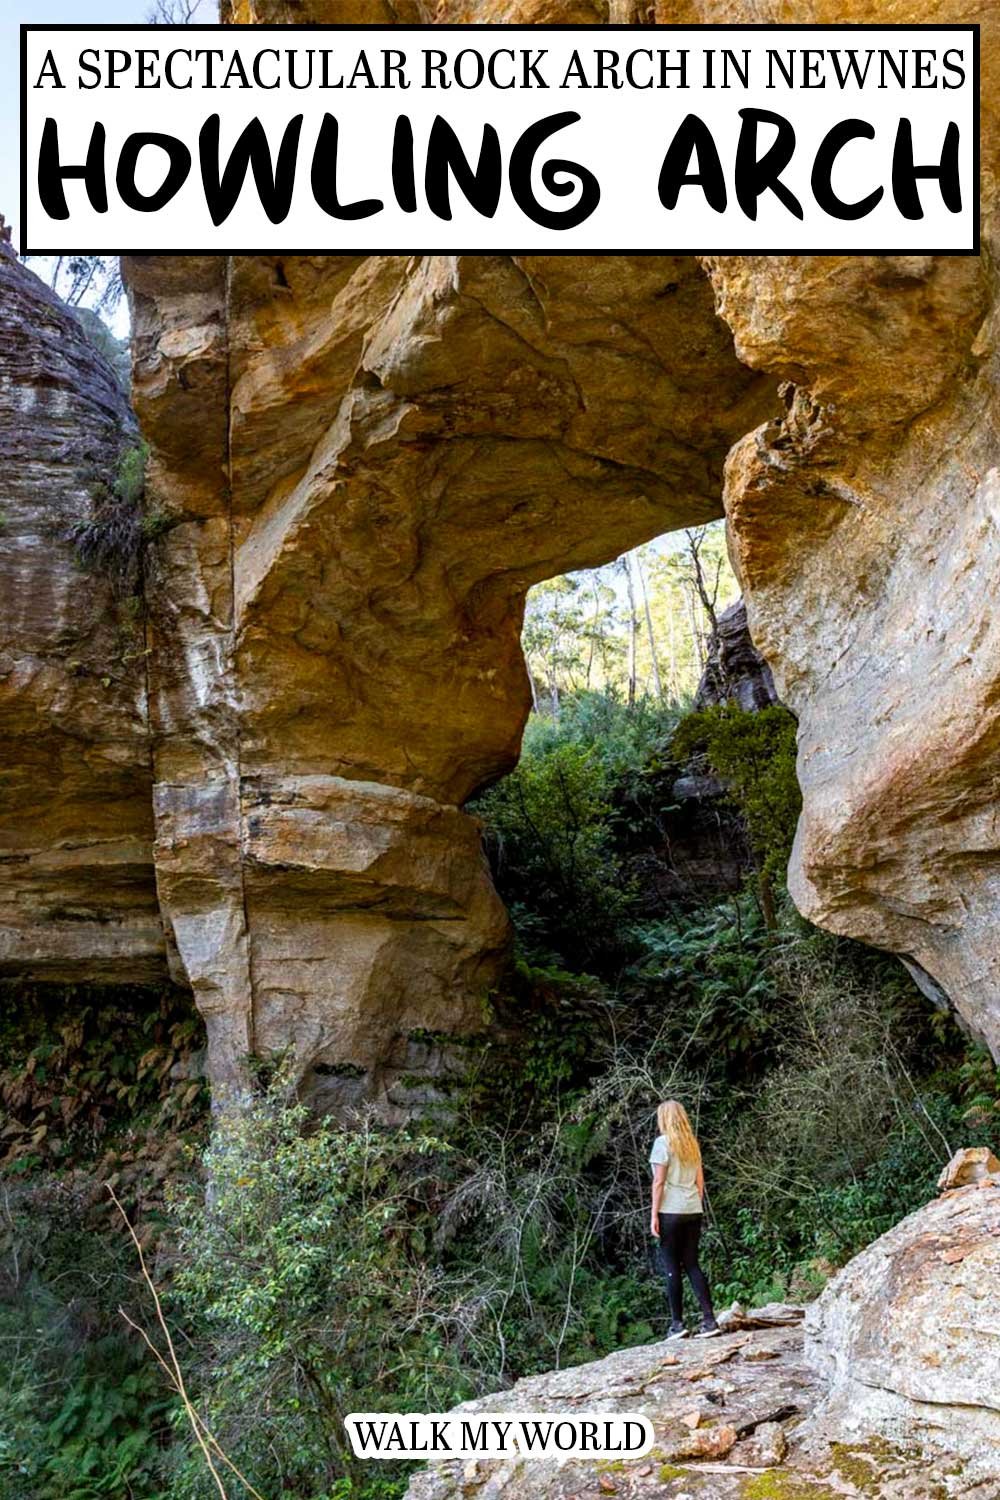
A fun name for what is one of the best rock arches we’ve seen in NSW. The huge arch sits between looming cliff walls and a ravine of dense ferns lies beneath creating a truly dramatic setting. It’s located just off the path that leads to the spectacular Pool of Diana and the combination of the two makes for one of the best short adventures in the area.
However, the final couple of hundred metres to the arch has no track - there’s a reason a place this special is so rarely visited.
Here’s what to expect from the trail.
The Howling Arch Track
The stats
Distance: 1.1km each way
Elevation gain: 145m
Difficulty: Moderate, but includes a bush bash
Trailhead: Pool of Diana Parking Area
Summary: The majority of the route to Howling Arch is in good shape, though it’s all downhill on the way, so you’ll have a bit of a climb on the way back out.
The descent has some looser sections, but it’s not particularly slippery and it’s quite short (less than 300m).
The tough bit of this walk is when you need to leave the formed path behind. From here you have to bush bash to reach the arch and this requires care.
Reaching the arch necessitates traversing some logs, climbing up and over some large rocks and pushing through a bit of scrub. This section is less than 200m long but will not be for everyone.
This part of Newnes is very remote, so it’s not advisable to visit alone unless you are carrying a PLB. We always carry a PLB in this area as there is very rarely any phone signal. We bought the GME, but you can check this one and many others out on Amazon by clicking here.
Starting the trail: along the fire trail and down to the creek
The first part of the walk is exactly the same as for the Pool of Diana. From the parking area (coordinates below) the walk heads left, down the obvious fire trail. It’s flat for the first 150m before it starts descending. It’s steepish at points, but always easy to walk on.
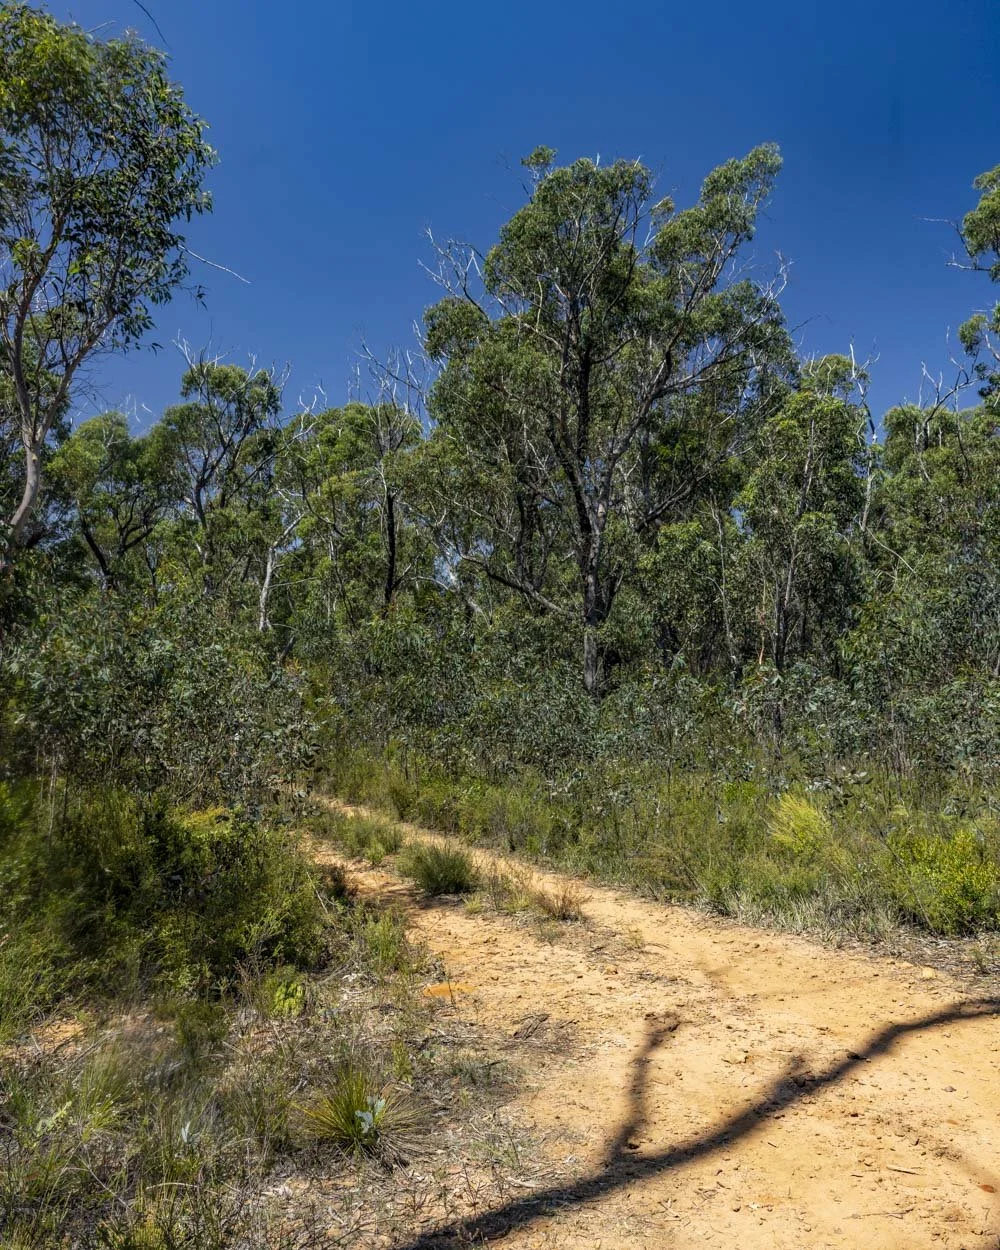
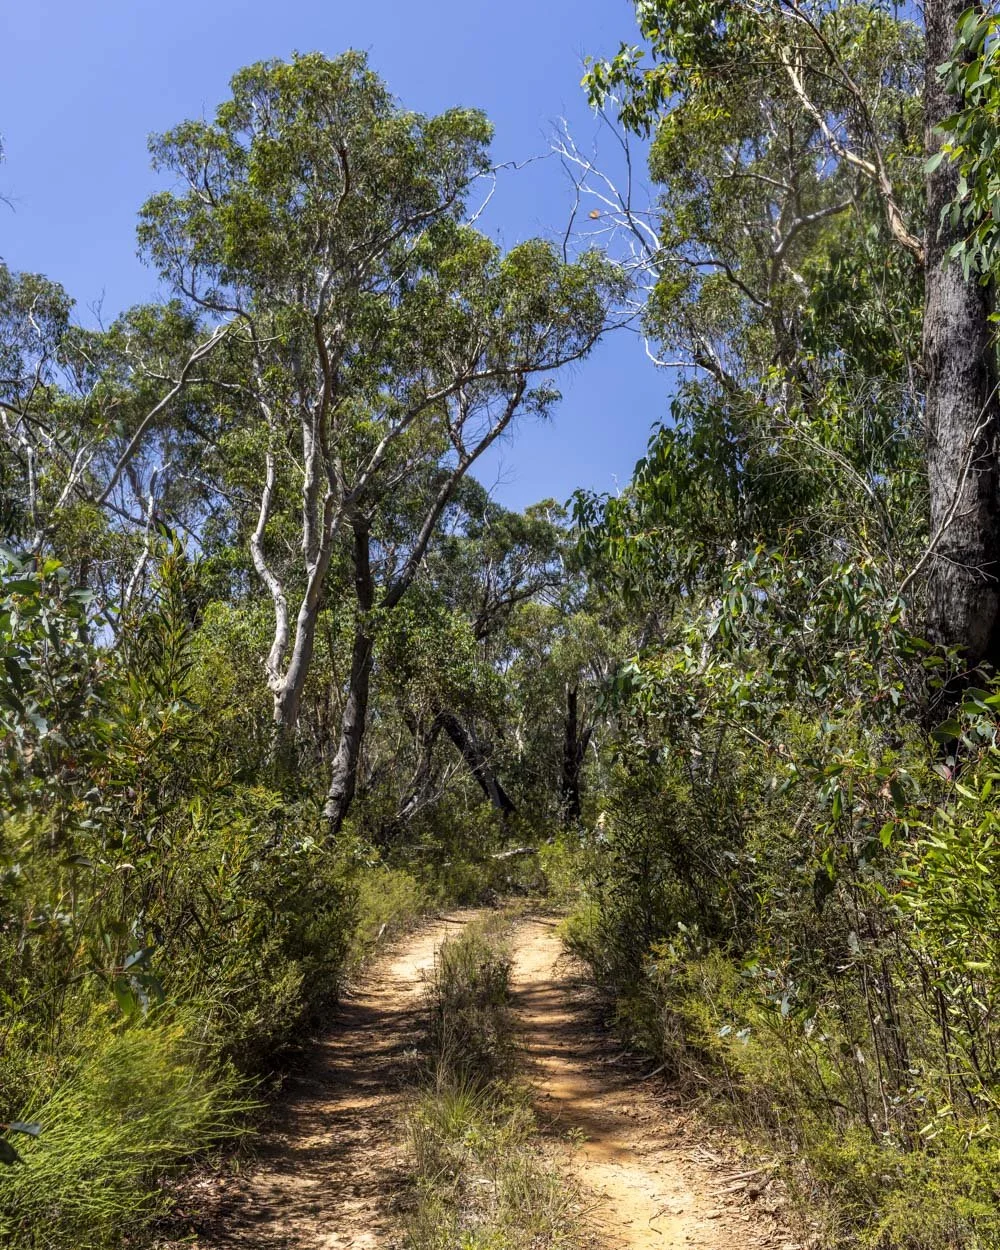
The fire trail ends 550m from the parking area. From here you need to turn left, down the rougher, but worn path and follow it steeply downhill.
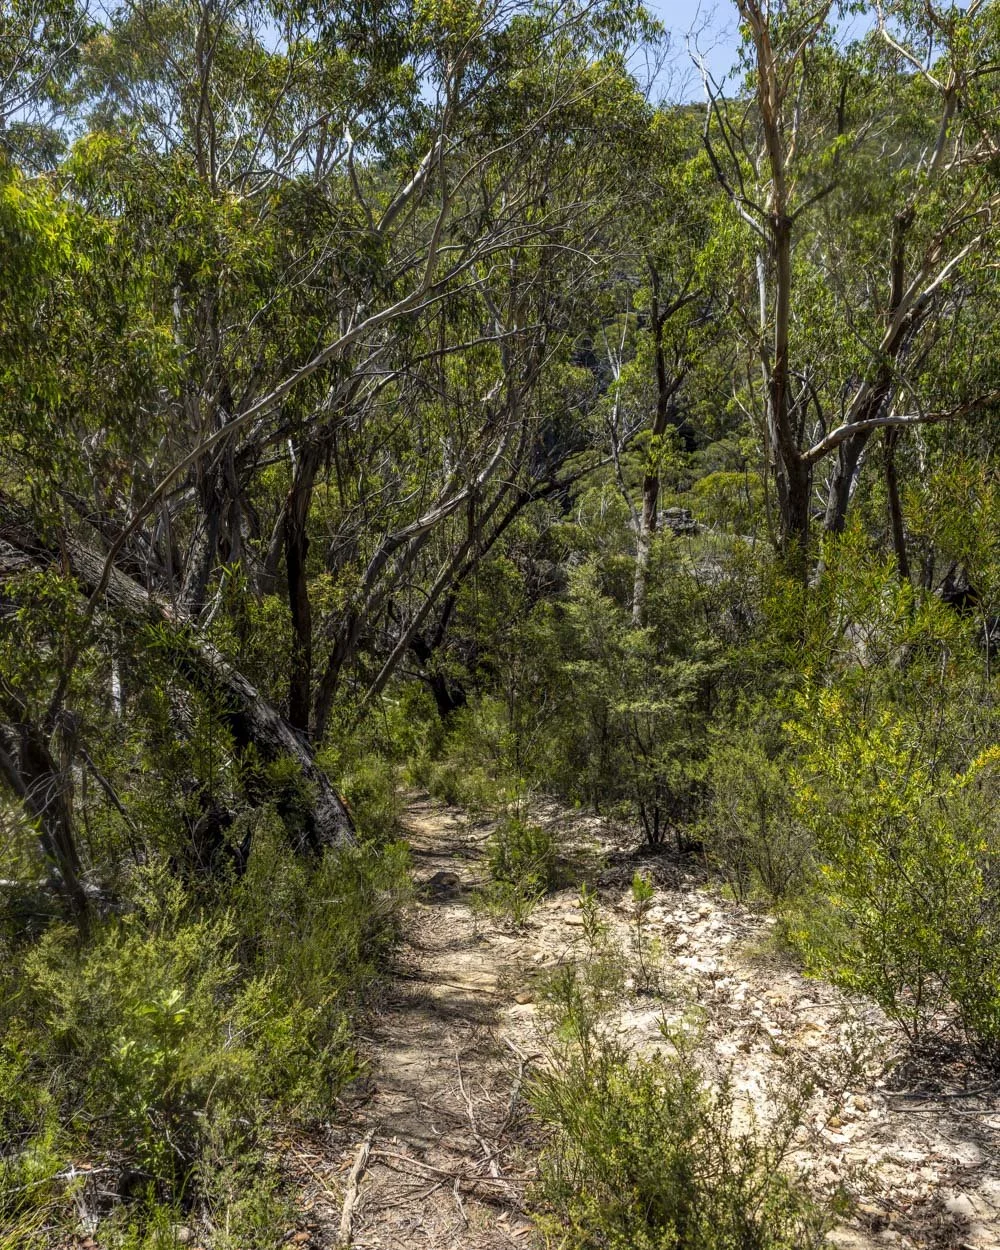
Since we first wrote about this route increased foot traffic means the path is now obvious. It’s not a set track as such, but it’s easy enough to pick your way down through the wide gully between the two cliff walls.
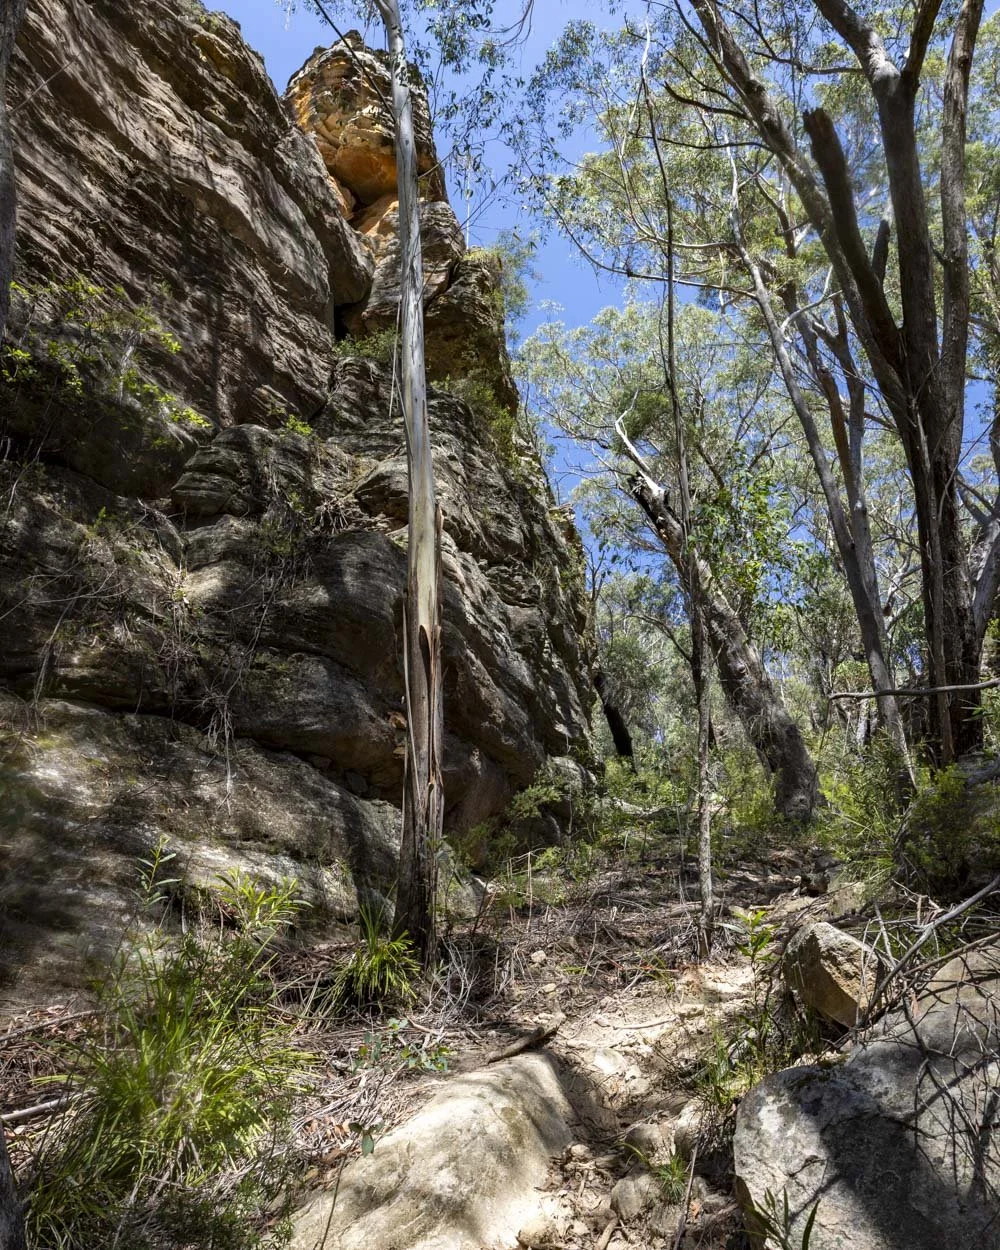
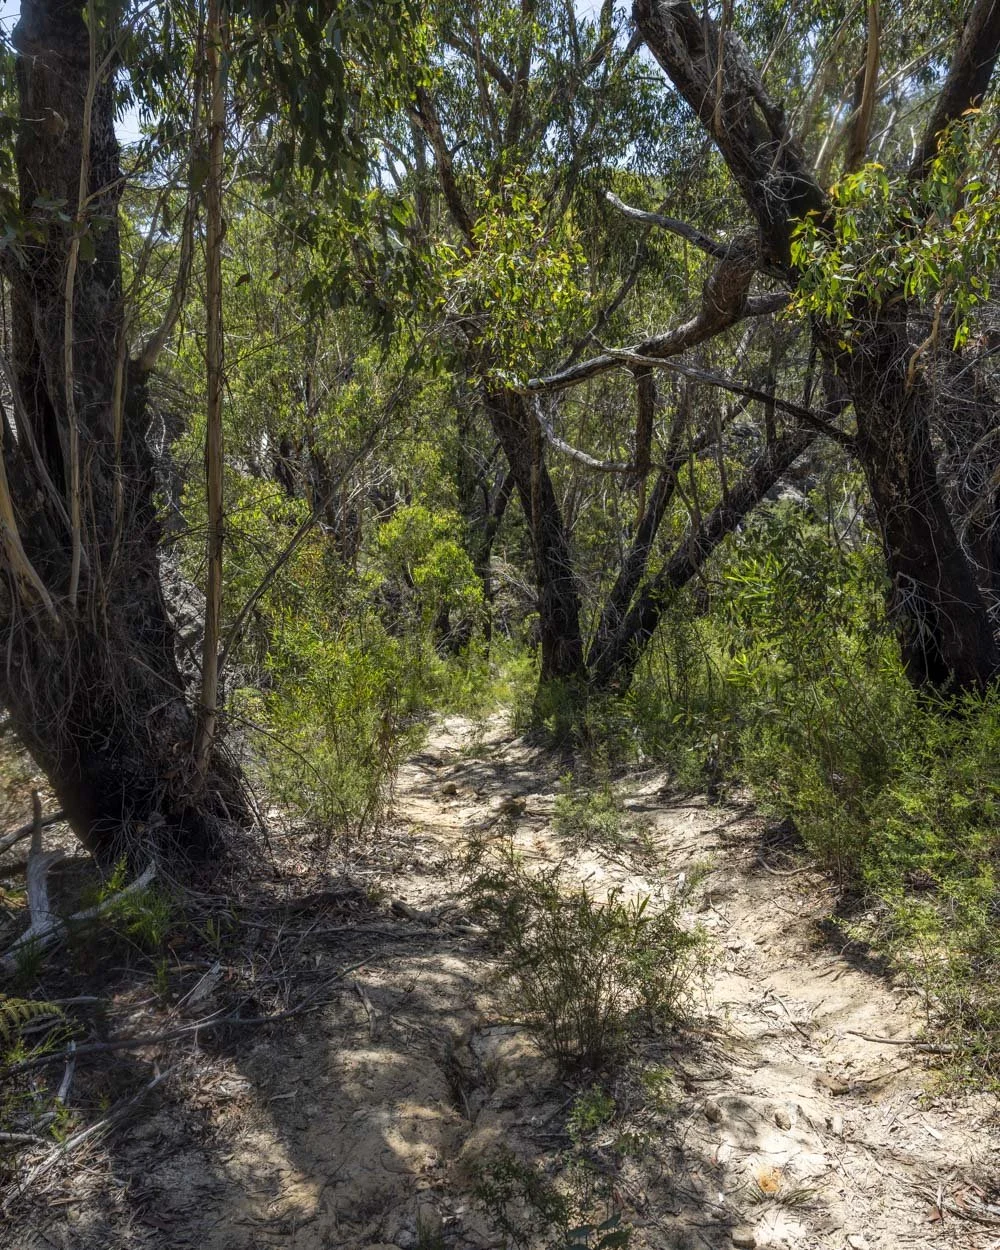
I don’t enjoy steep descents on unmaintained tracks, but this one isn’t slippery, so it was actually fine (it’s worth noting we visited on a dry day though).
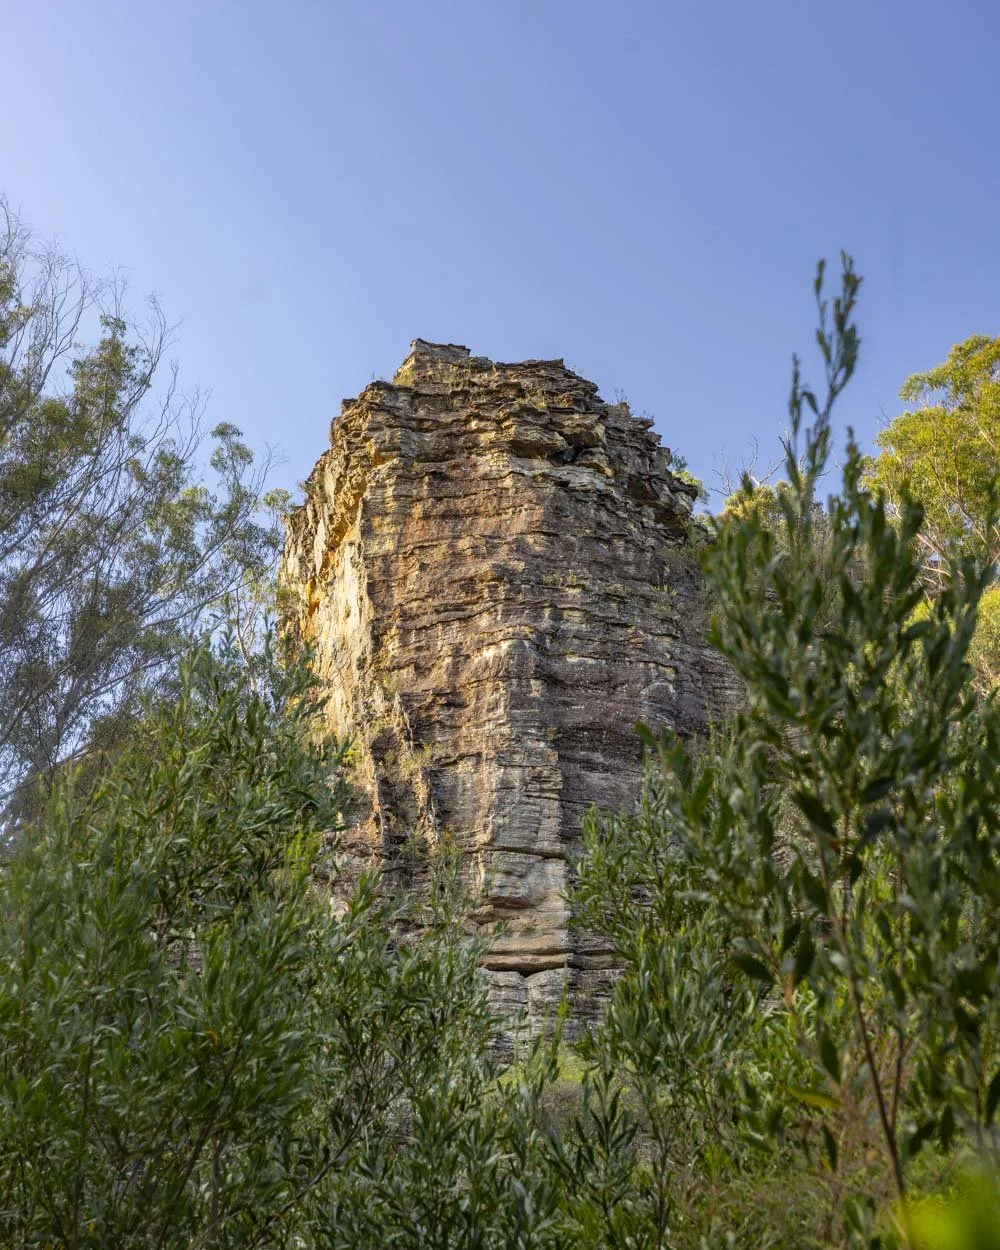
Finding the start of the off-track section
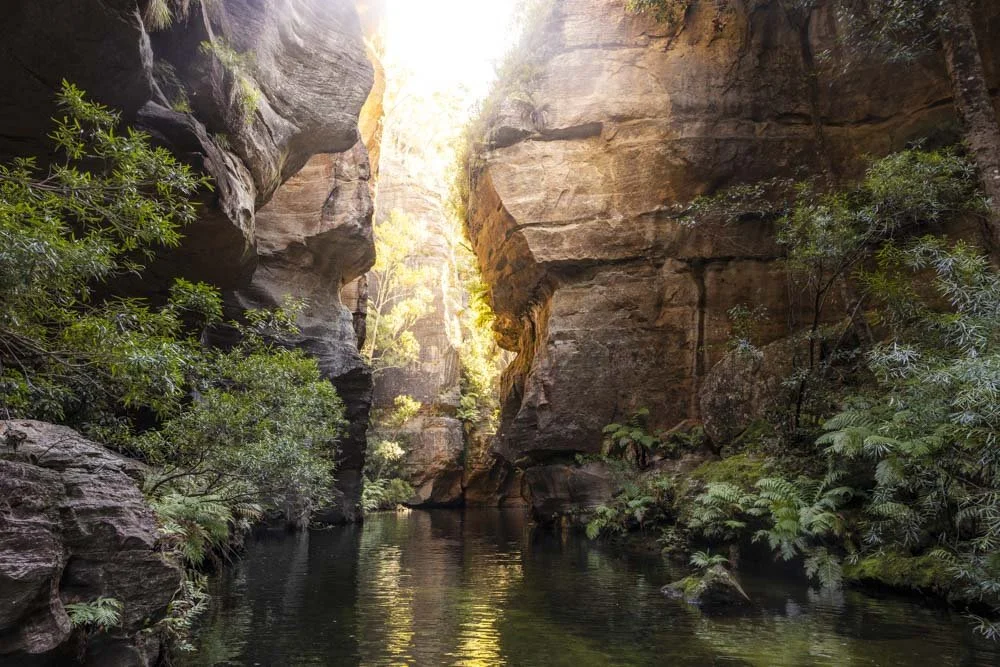
This steep section is only 270m long and will take you down into a tree fern filled valley. It’s that quintessential Gardens of Stones scenery and absolutely beautiful. Some of the bush looks dense and impenetrable, but with a bit of determination you can make it through.
Once you’ve made it downhill, bear right and hug the cliff line very briefly until you reach a bit of exposed cliff wall (you can see it in the photo below).
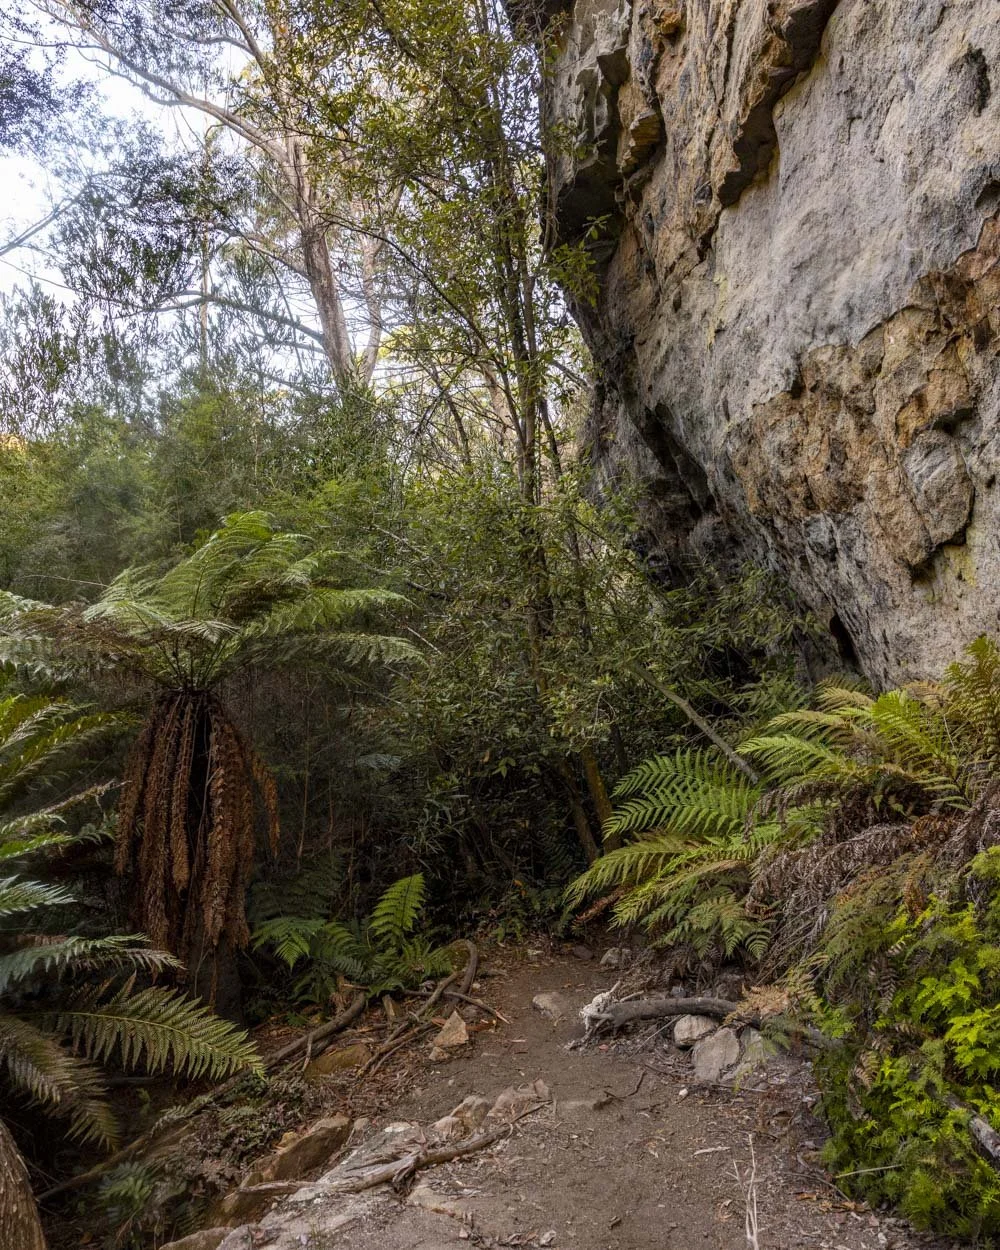
From here you need to turn left and leave the path behind -it’s time for the bush bash.
There are probably dozens of slight deviations you could make on this final part of the walk, we are simply sharing our route using prominent natural features as markers to help guide you, though you may find your own path!
With that said, at this point you are just 165m from the arch.
What to expect
The overgrown patch of bush between the trail and Howling Arch is dense, and it covers the creek and tributaries running through the valley. It is slow going, and whilst it is only 165m from the formed path to the arch, it will take about 10 minutes to reach - though this does depend on how good you are at picking your way through the bush!
The key to this section is to find the big fallen logs that will help you cross the creek. Even in dry times, the ground here is muddy and if you try to walk through the creek, chances are you’ll find yourself in knee deep mud.
The good news is that there are several big trees that have created a natural path; the bad news is that the bush has grown up around them, keeping them somewhat hidden.
As with any off-track walk this next section requires much more care with footing and you may get a few scratches here and there from the overgrown bush. Never trust any rocks or logs to hold your full weight without testing them first and don’t put your feet down into any area you can’t see firm ground or you may find it’s actually a hole!
The bush bash
At this point you should enter the co-ordinates of Howling Arch into your offline Google map to help point you in the right direction. They are -33.3629669, 150.2768005.
We will try to describe the route we took, but it is very overgrown, so it’s not easy to be accurate.
You need to make your way into the bush and climb up onto the large and very obvious rock you can see just ahead - reaching the rock requires negotiating uneven ground with trip hazards.
Once on the large rock you need to climb on to the next rock over which is most easily done by straddling the two and then moving across (which is easy).
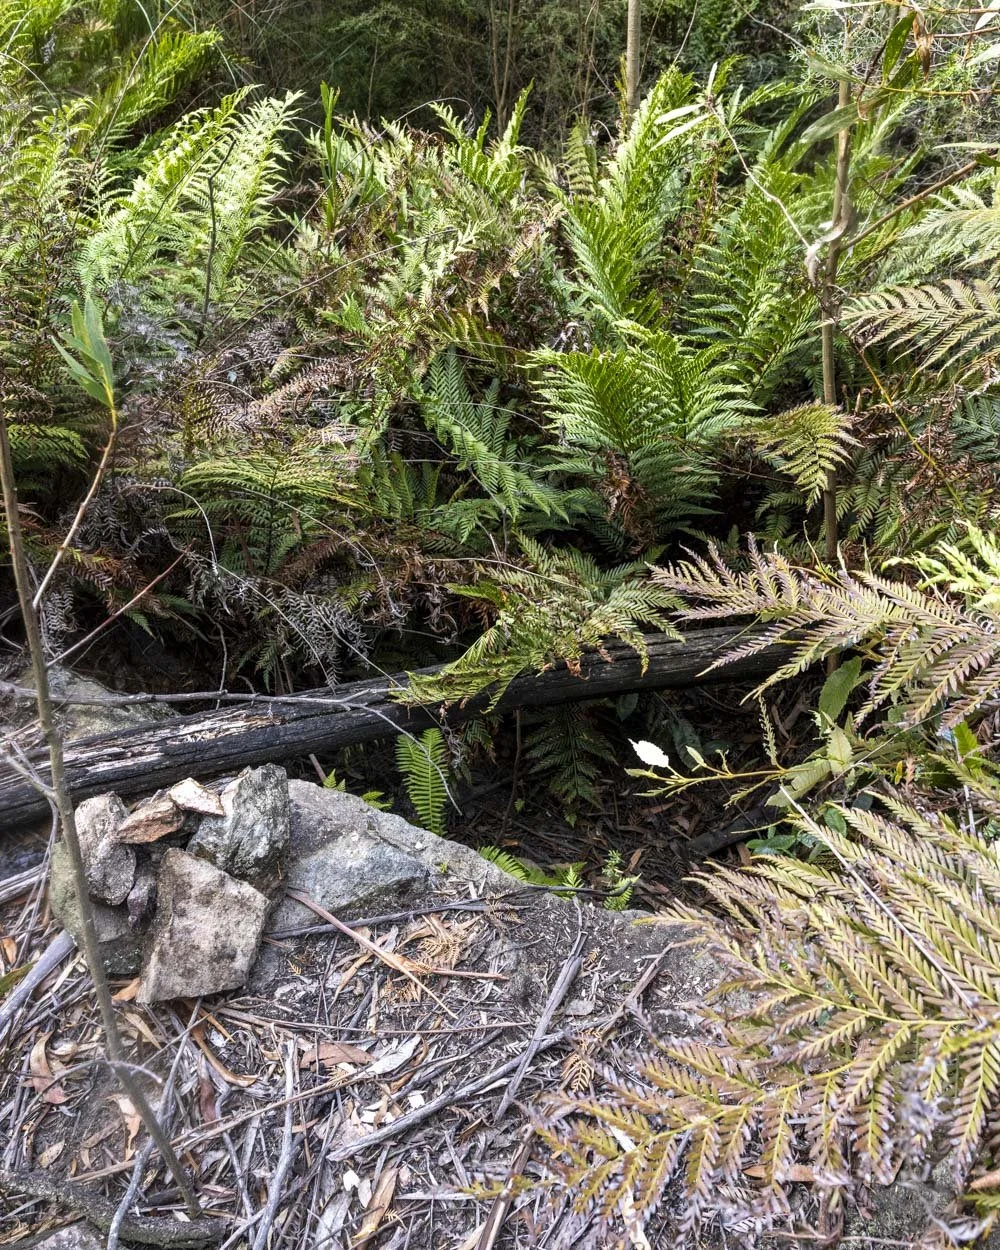
At this point, climb down at the cairn and you’ll be within the ferns at creek level. You should see a big fallen log to your right. This is the first of two large logs and at this point you have completed around 50m of the route.
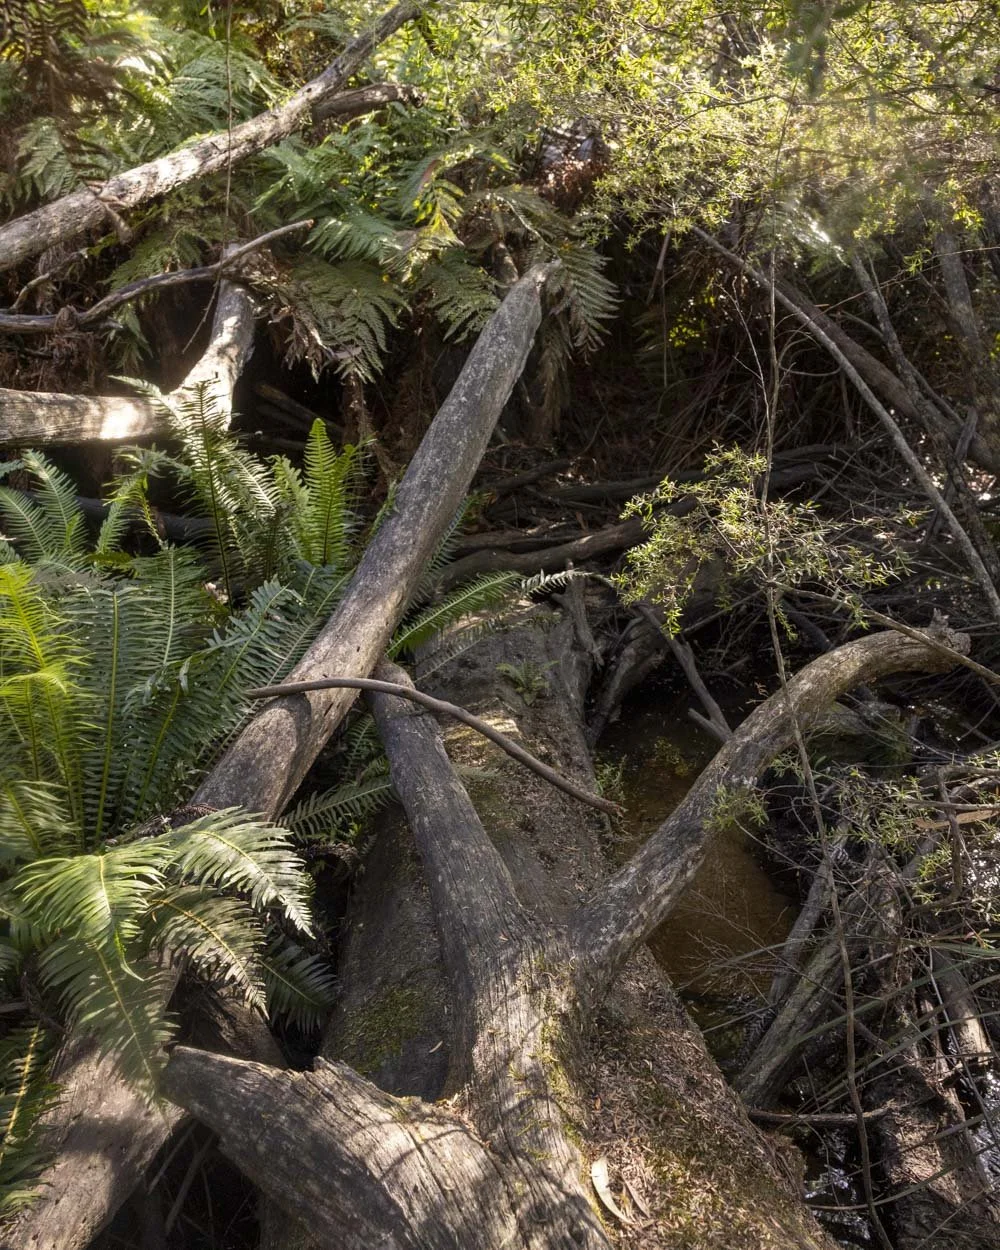
The logs are large and stable at time of writing but may weather over time, so check them before crossing as mentioned above. There are two little bits which are slightly awkward on what is otherwise a straightforward crossing.
One is where a branch protrudes from the log and you need to carefully make your way round it without being jabbed or falling off the log (you aren’t high above the bush so a fall would not be dangerous, but it’s thick scrub and would be unpleasant).
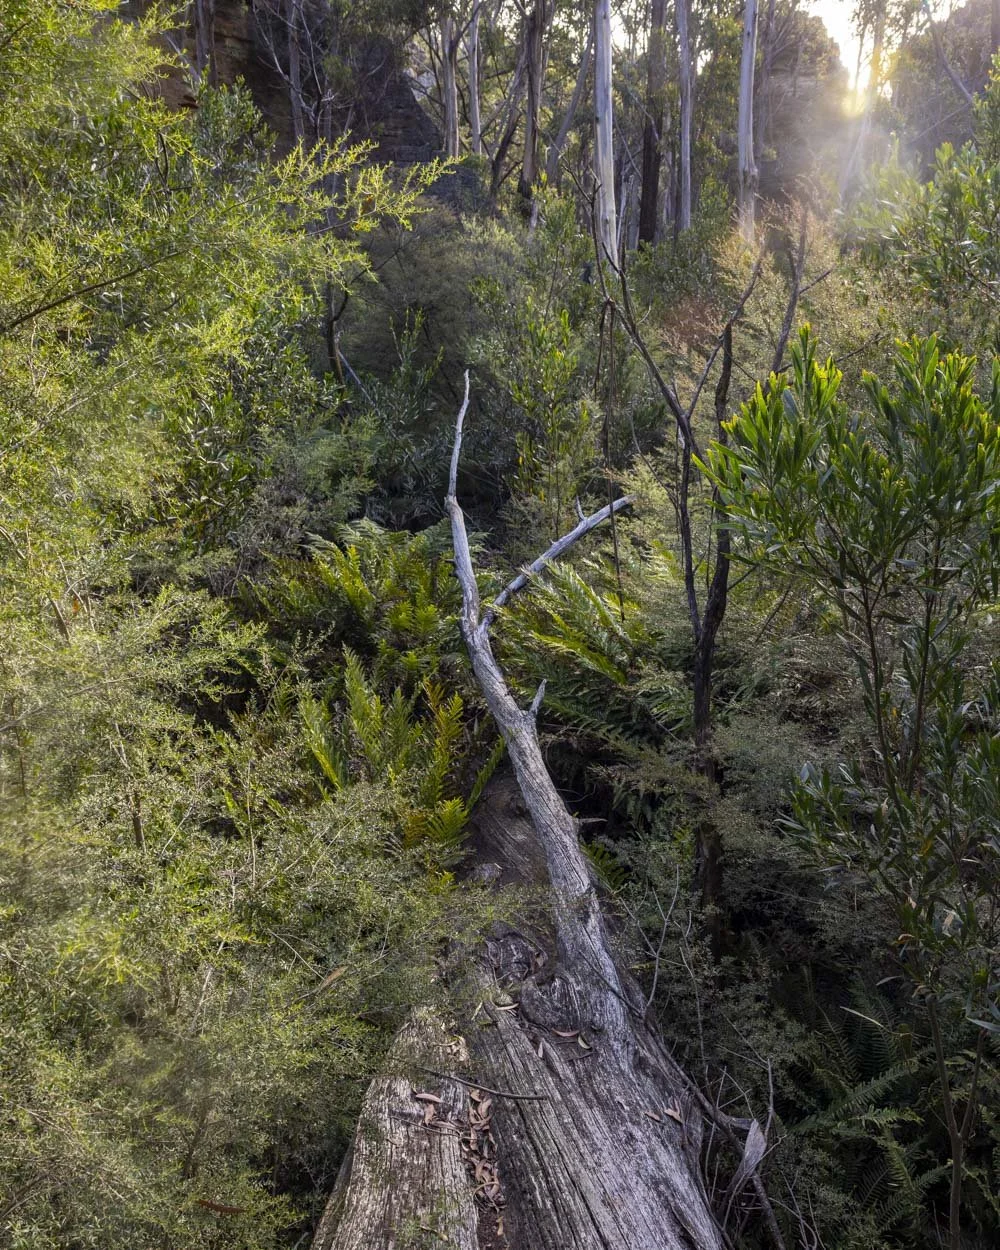
The next bit is where you need to duck under another large branch while on the log. If you crouch sideways this is also not too much of a problem.
You have now covered another 50m and the final 65m to the arch is much easier. You need to climb up the rubbly hill directly ahead of you after leaving the logs.
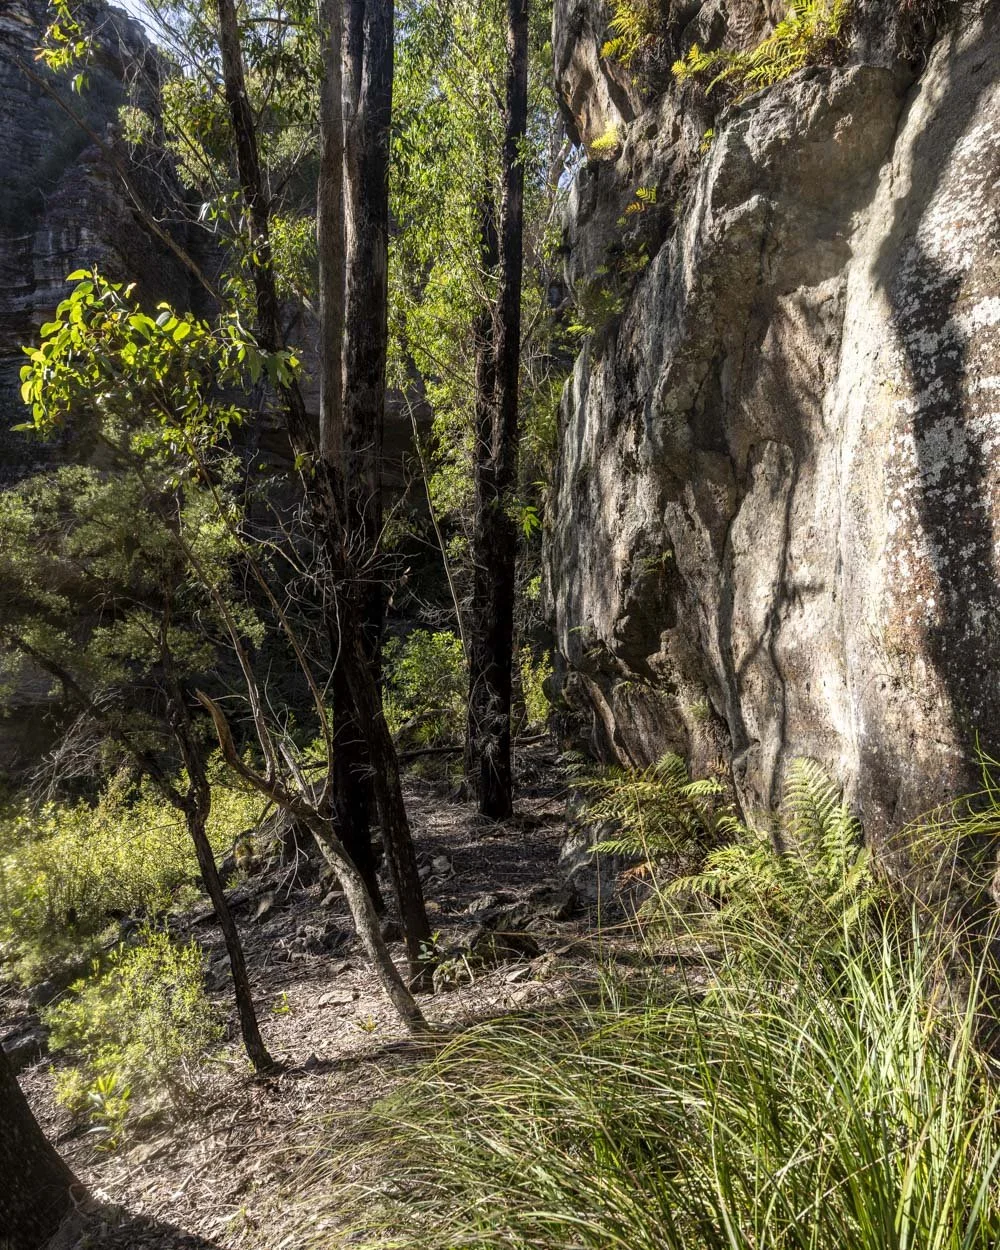
There are rocks in various places that make footing easier. You’ll reach the huge rock wall 20m later and follow it left.
The next 45m to the arch are an easy flat walk along the cliff line, before climbing up a bit of rock to reach the best view of the arch.
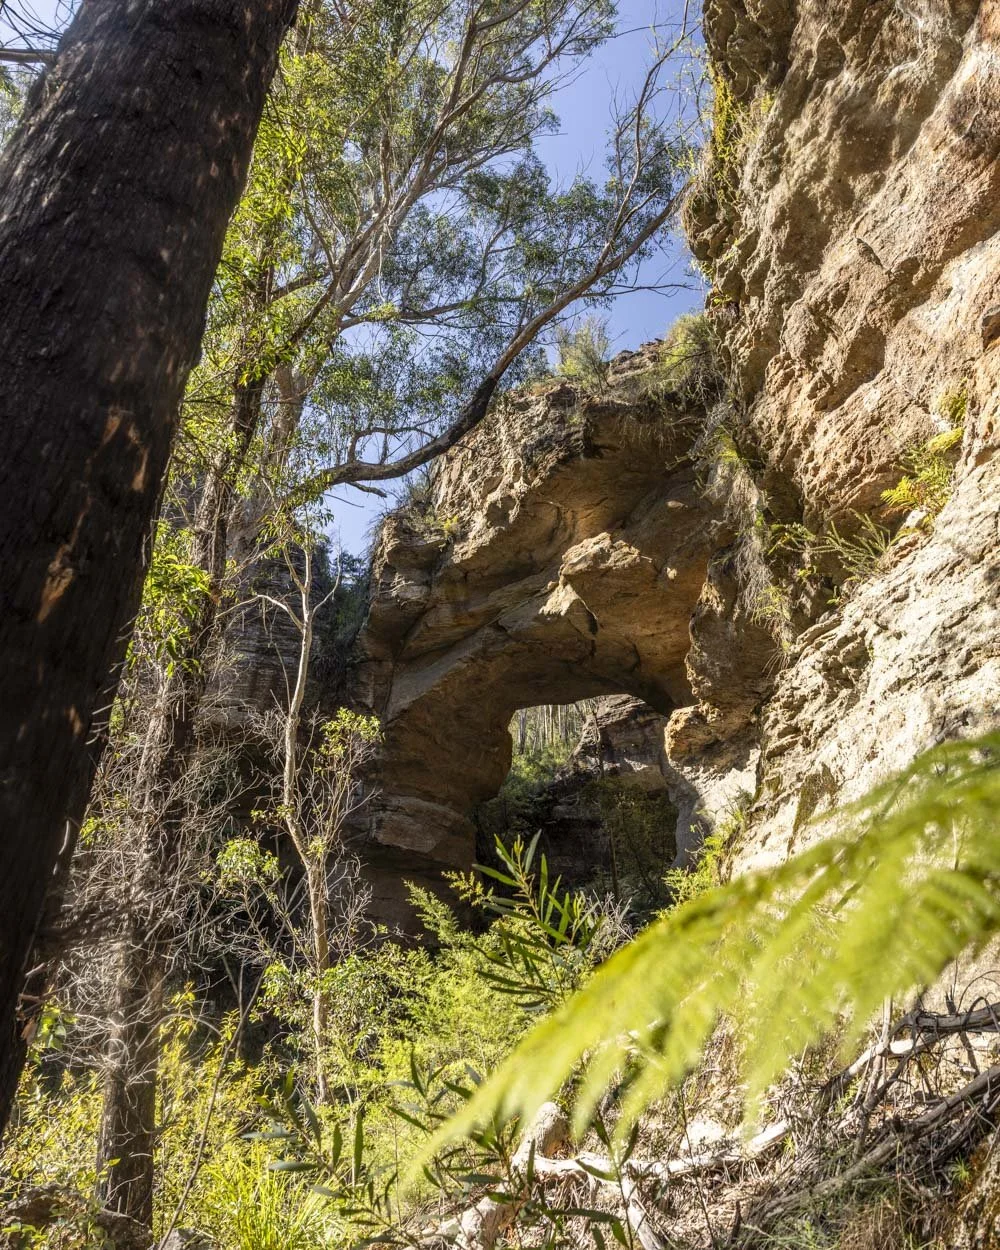
Howling Arch
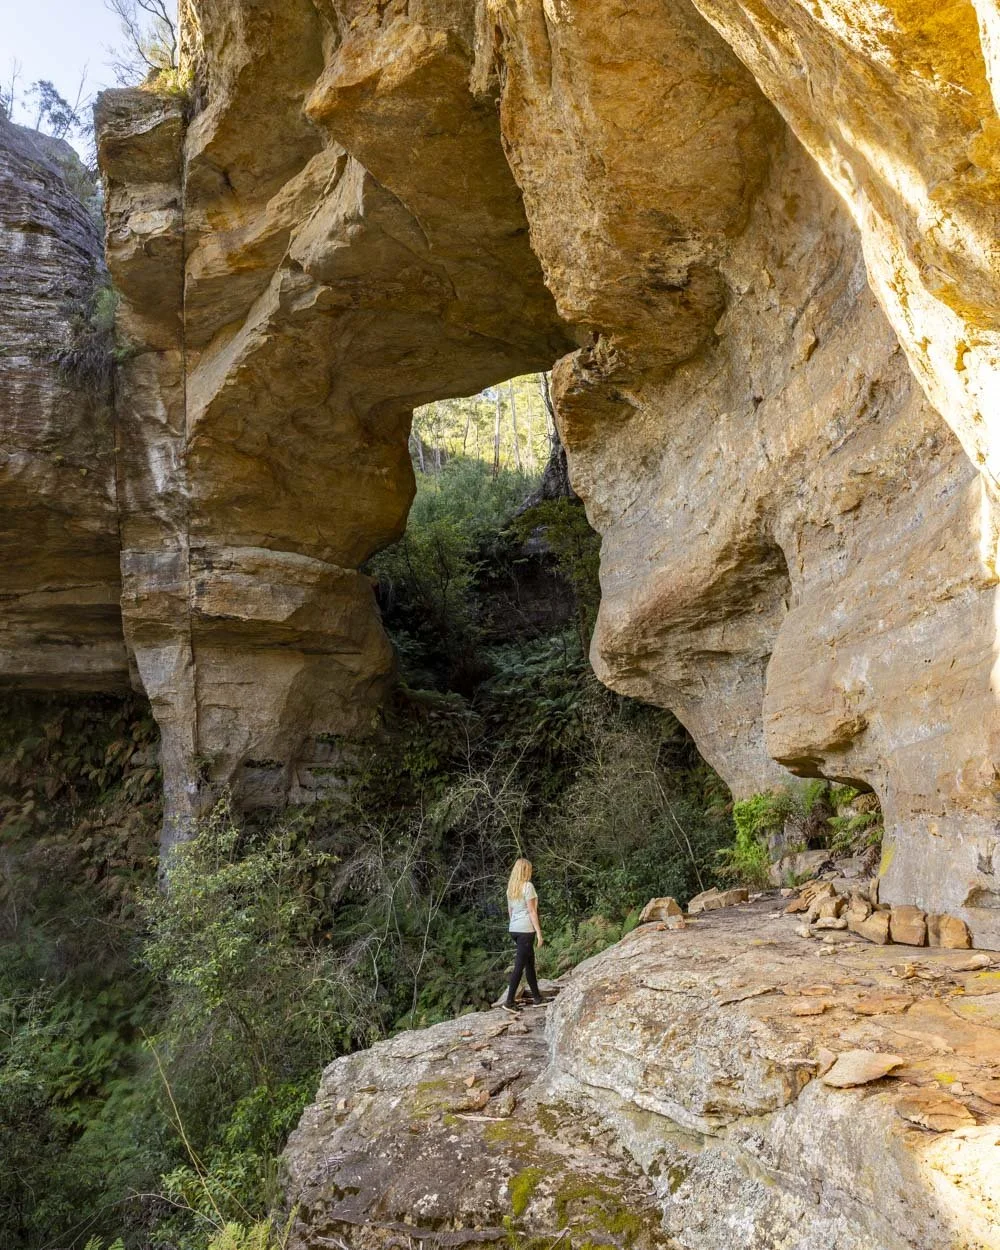
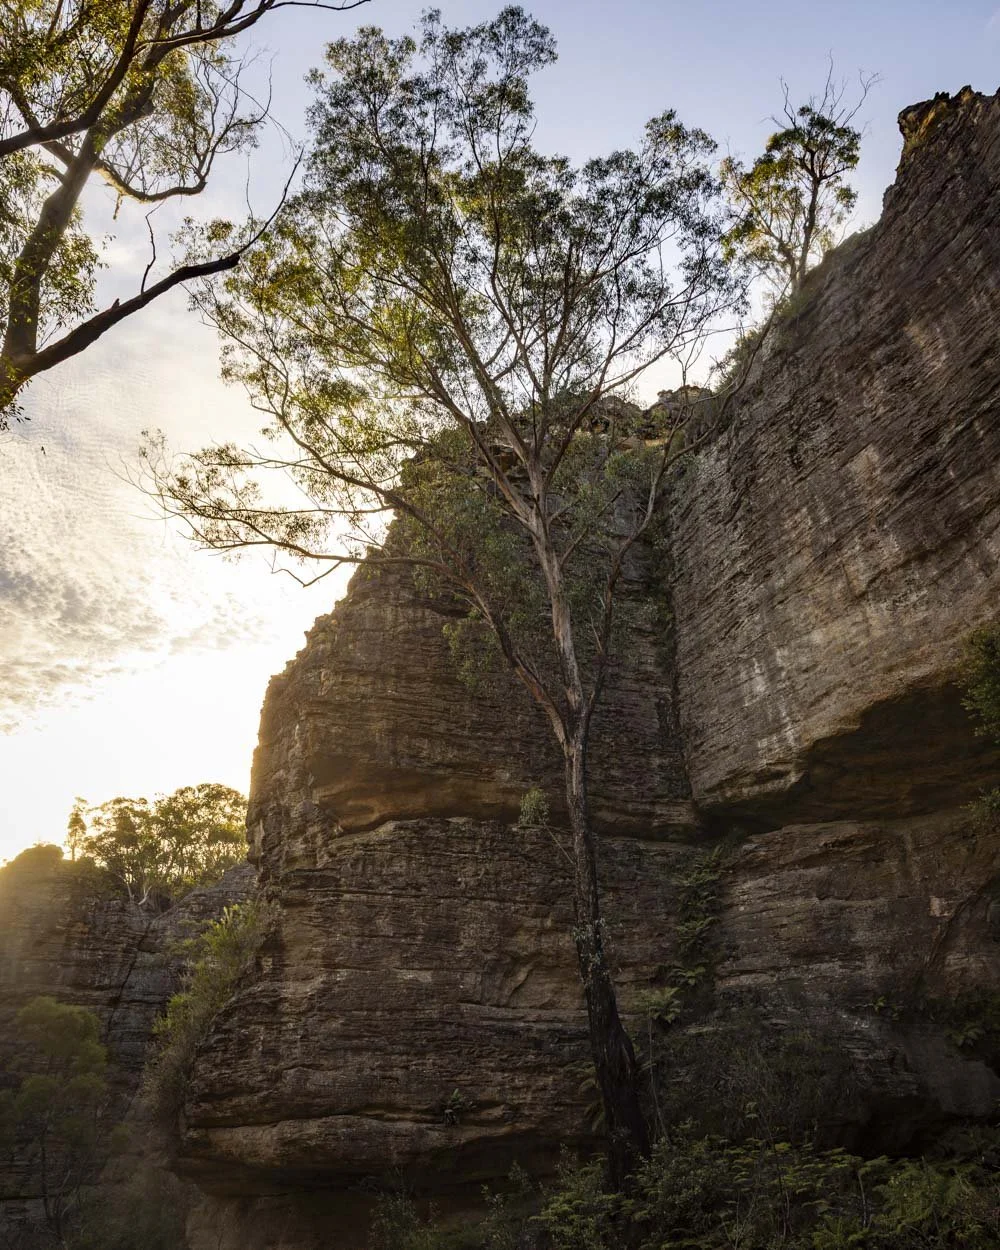
I am not a fan of bush bashing but reaching Howling Arch is definitely worth the effort. It’s an incredible natural feature and the scale of the cliff walls it sits between make for a very dramatic setting. The dense tree ferns and foliage that line the ravine give it a really wild feel and the fact there is no path makes it all the more atmospheric.
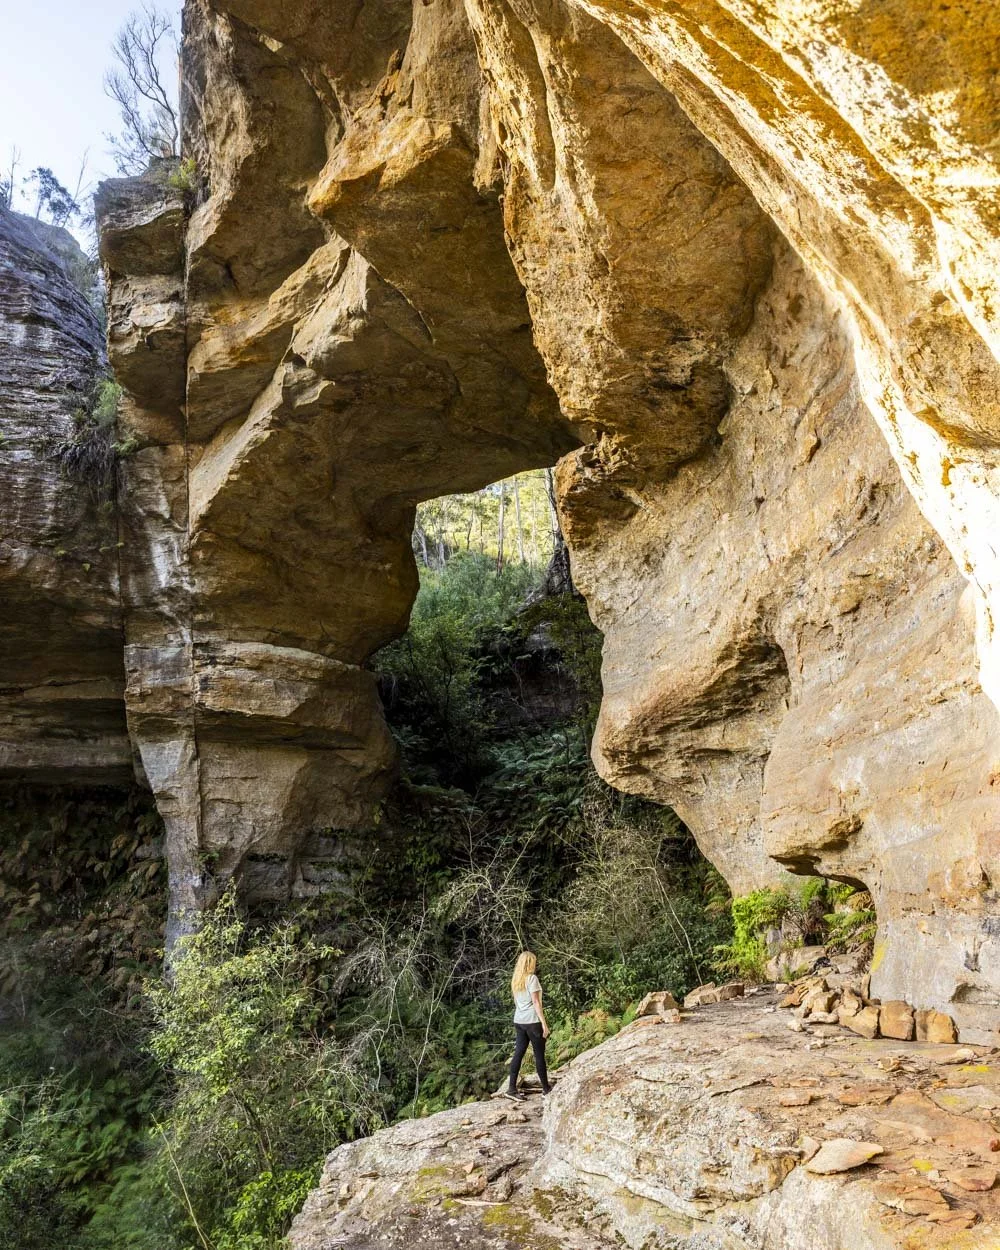
There was a bit of a trickle in the ravine which would probably become a proper waterfall directly after rain - but the walk would be harder and more slippery when wet.
It doesn’t require seeing a waterfall to have the wow factor anyway, it’s spectacular just as it is. There’s a sort of overhang or large rock platform you can sit on beside the arch which is shady and offers the perfect vantage point to sit and admire it from.
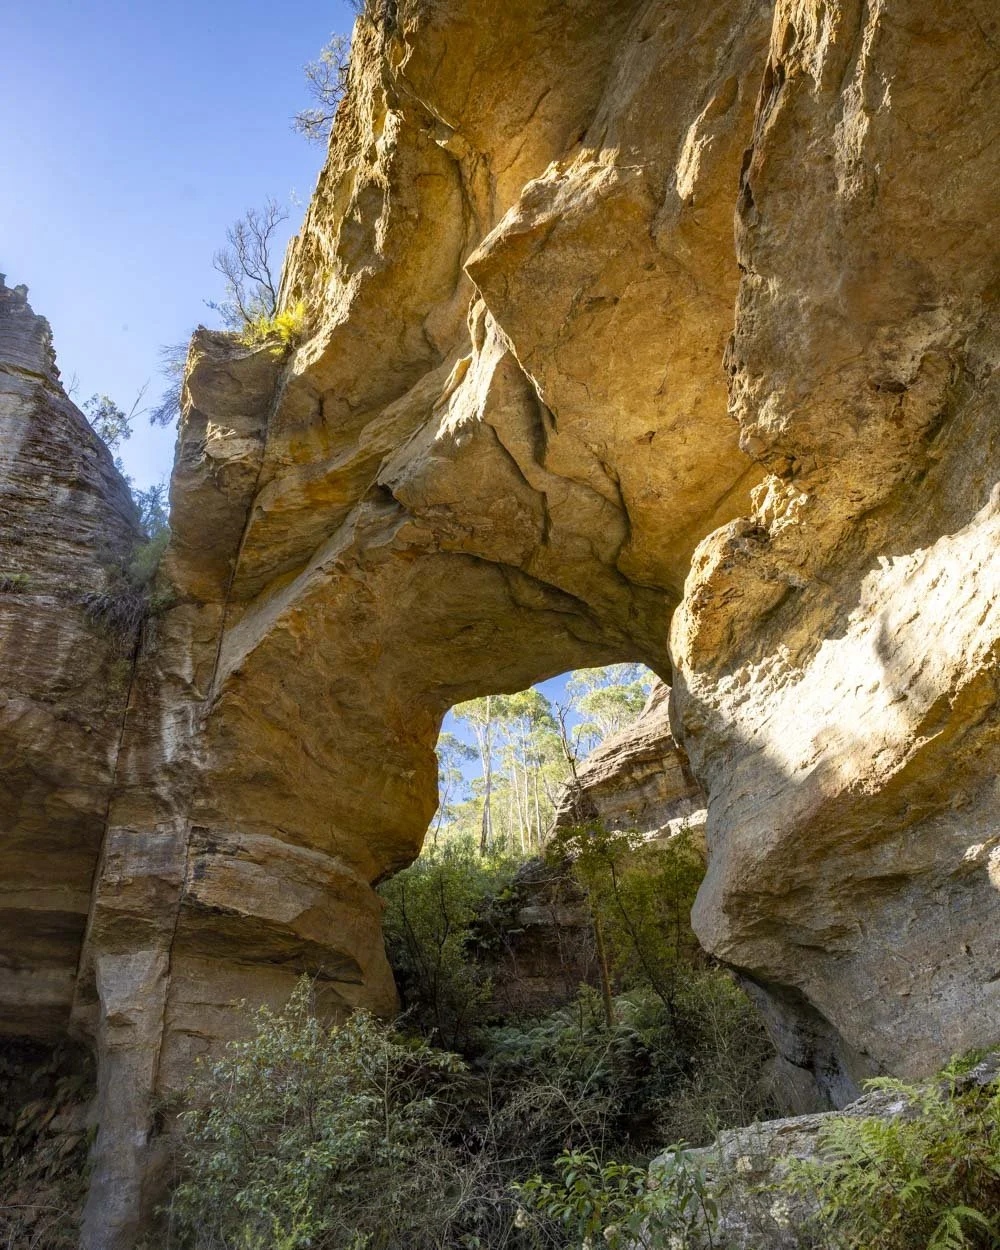
Walking along the various ledges to get close to the arch is easy up until the very last metre or so where it is steeper and to be honest you really don’t need to go that close when the views are so good all the way along.
There is no easy way to walk across the arch as you can at Dargan Arch, but it’s amazing simply to see it.
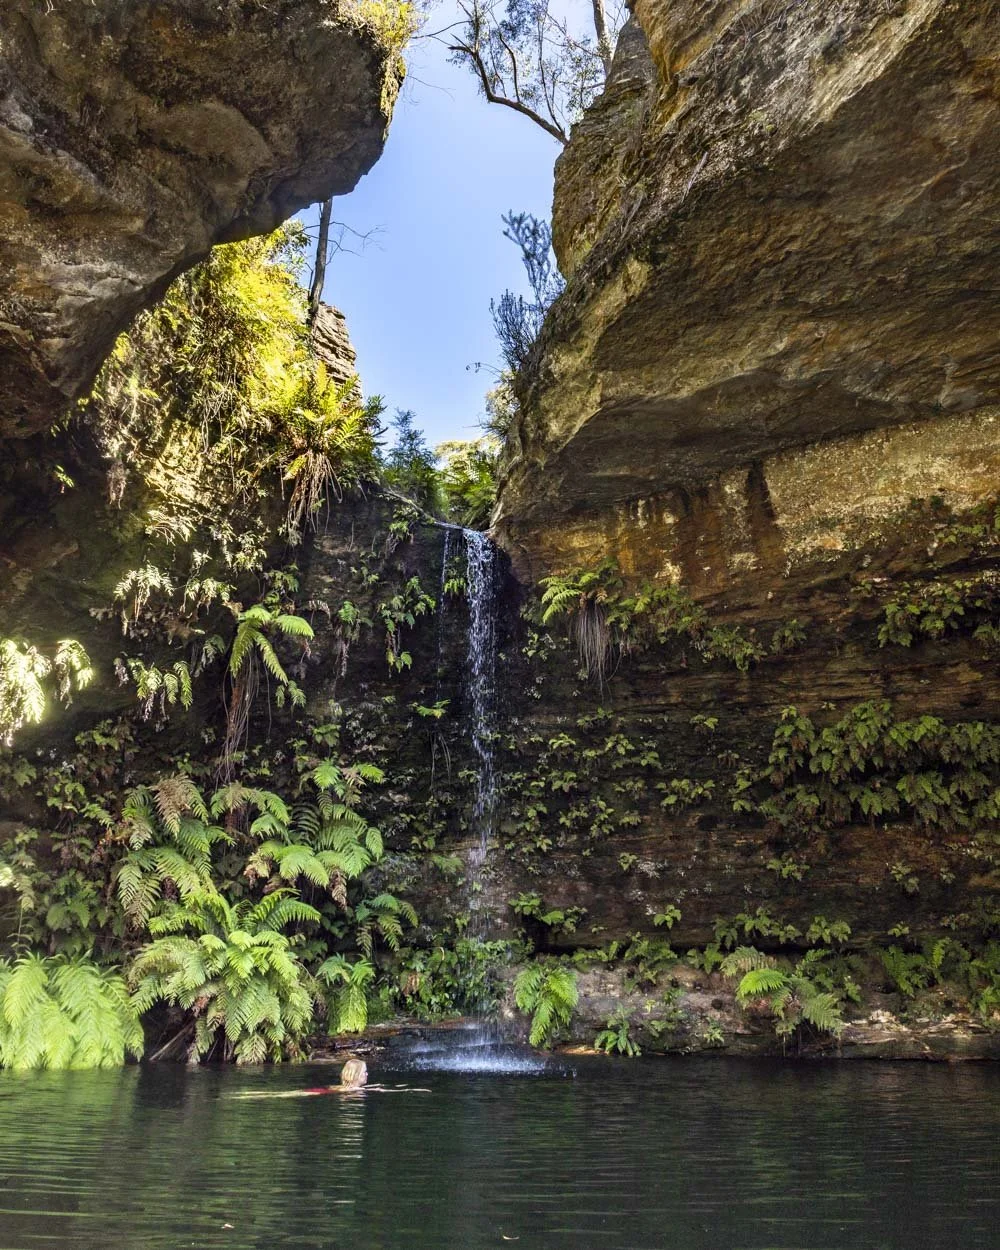
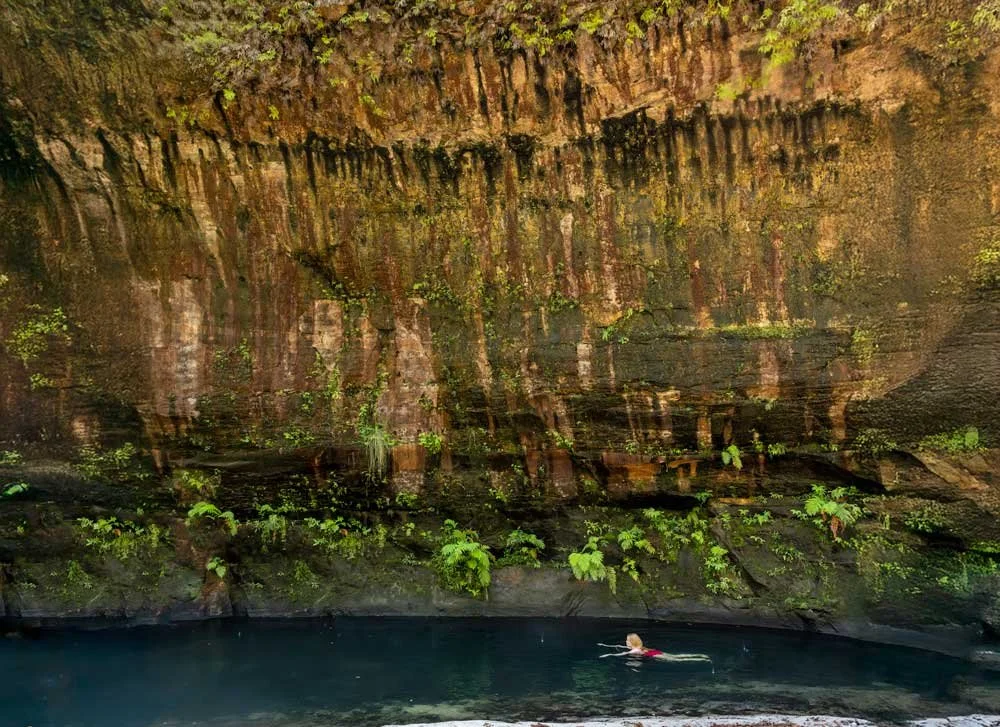
When you’re ready to leave you retrace your steps back to the main path, but before heading back to the parking area it’s well worth going to check out the stunning Pool of Diana, which is just a few hundred metres away.
Getting to the Howling Arch trailhead
The trail to Howling Arch begins in the Gardens of Stone Conservation Area in Newnes. Before driving here, make sure you have downloaded an offline map for the Newnes/Garden of Stone area as there is rarely any phone signal.
You can do this on Google Maps by clicking on your profile and selecting “Offline Maps” from the menu that appears (you can also follow these instructions)
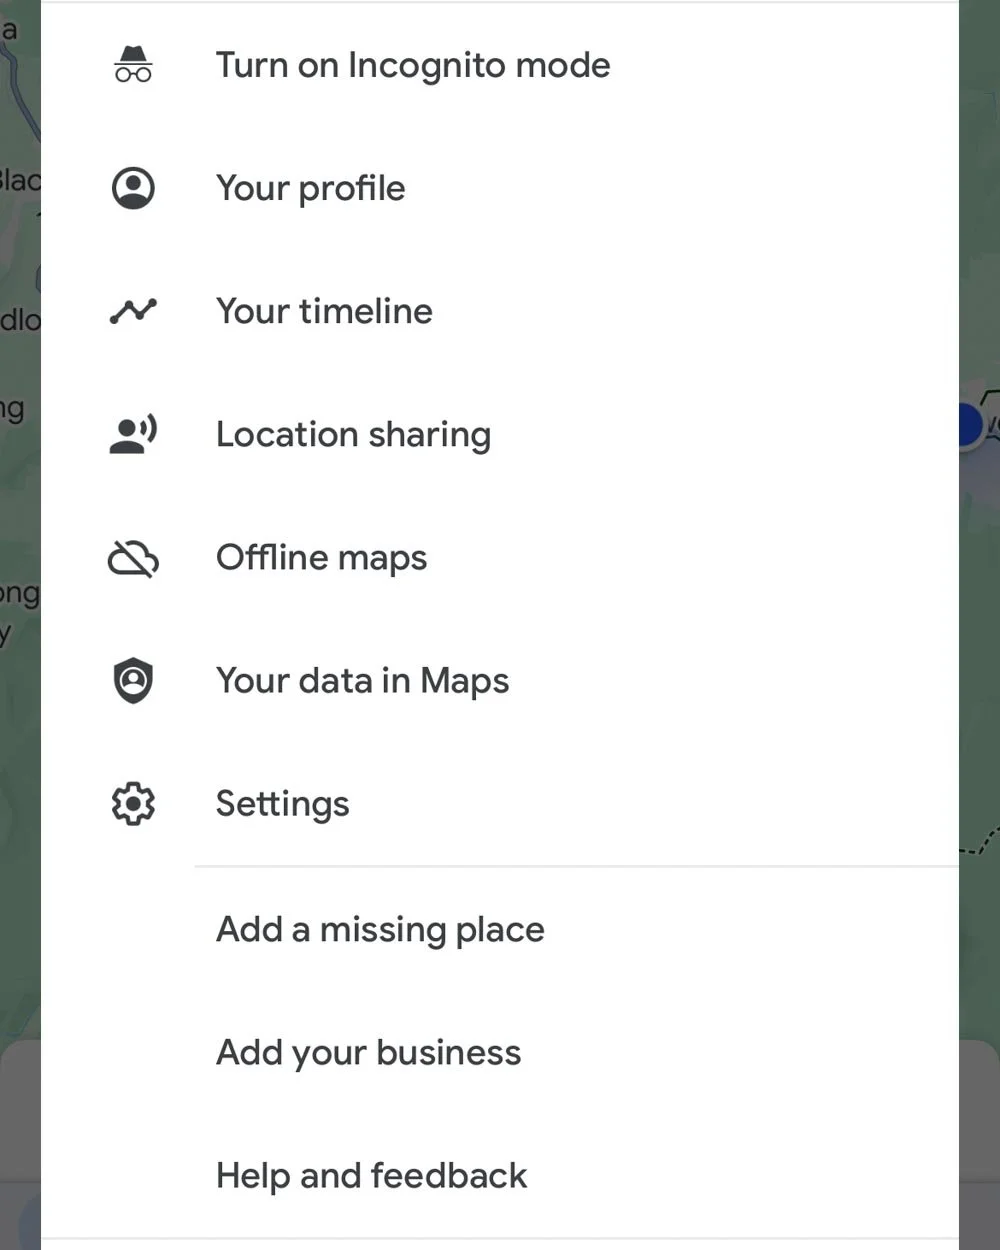
This is important as the route to Howling Arch involves navigating some unmarked roads and it would be easy to get lost. Having a GPS that works without data/internet connection will ensure you can navigate out of the area safely.
At time of writing, all roads are 2WD accessible, but they are unsealed and can deteriorate after rain. The roads do have some stones and bumps, but are currently well graded and don’t require any kind of special clearance (though I wouldn’t bring a super expensive low clearance car down here!). We’ll detail our route below which we found to be easy enough to drive.
The route to the trailhead
If you’re visiting from Sydney or the Blue Mountains, head to Clarence and turn right onto the Old Bells Line of Road, which is where the unsealed dirt roads start. Drive along the Old Bells Line of Road for 8.8km until you reach a T junction with the Glow Worm Tunnel Road - turn right. Follow the Glow Worm Tunnel Road for 5.3km before turning right onto Waratah Ridge Road. Once on Waratah Ridge Road, drive for 3.9km before taking a left onto Two Trees Road.
Until this point all of the roads are two lane roads which are signposted. Two Trees Road isn’t signposted, so you will want to keep an eye on your map to find it. The co-ordinates for this turning are -33.396250, 150.258592. At this point you are in a warren of unmarked dirt roads and there are many routes to the start of the trail, but we chose what looked the flattest according to our topographical map and it proved to be in good condition and easy going.
Here’s our route: drive up Two Trees road for 3km until you reach a clearing and turn right (co-ordinates: -33.3962801, 150.2586213). If you’ve had enough by this point, you can park here and walk the remaining 1.1km to the trailhead.
This road is a little more overgrown (in the sense there are some small shoots of grass etc on the road) and had some puddles, but was flat and fine to drive. Keep driving along this road until you get to another T junction and turn right. From here it’s just another 120m and you’ll see an overgrown fire trail on your left, which is the start of the walk.
The parking point can be found at these coordinates: -33.3678306, 150.2725613. Please make sure you pull fully off the road and don’t block the fire trail.
There are no facilities whatsoever in this part of Newnes, so please plan accordingly and take all rubbish with you.
This post may contain affiliate links, meaning at no additional cost to you, that we will earn a small commission if you click through and decide to make a purchase. This helps towards the costs of running our website. Thanks for your support.


How to find one of the most incredible natural rock arches in NSW, Howling Arch, including detailed directions, trail conditions and difficulty level.